
I think the time has come for me to explain the Double Down name we’ve given this Mustang RTR project car. You see, this whole experience of installing, tweaking, then finally driving the RTR with Air Lift suspension has really opened my eyes to the full capabilities of air suspension.
Let me start with this: I’ve installed, maintained and repaired air suspension on my rides and those of customers and friends for the past fourteen years. I’ve always been of the opinion that air suspension is good for one thing and one thing only – getting the frame on the ground. My cars and trucks are always built to drag. If you’re a mini-trucker, you’ll understand. So with that single expectation, I was never really disappointed with how any of those vehicles rode. They were a little bouncy and skittish, and I definitely swerved to avoid potholes, but you couldn’t wipe the grin off my face when I railed it down the street leaving a rooster tail of sparks.
So with that out of the way, back to the name Double Down. After this installation was wrapped up, it really struck me that the RTR had taken on a dual nature. It looked aggressive when dropped to the ground, but what surprised me was just how well it drove and handled. As the build developed we noticed how well the name worked – what with SEMA being held in Vegas, plus the two-sided wheel treatment we chose.

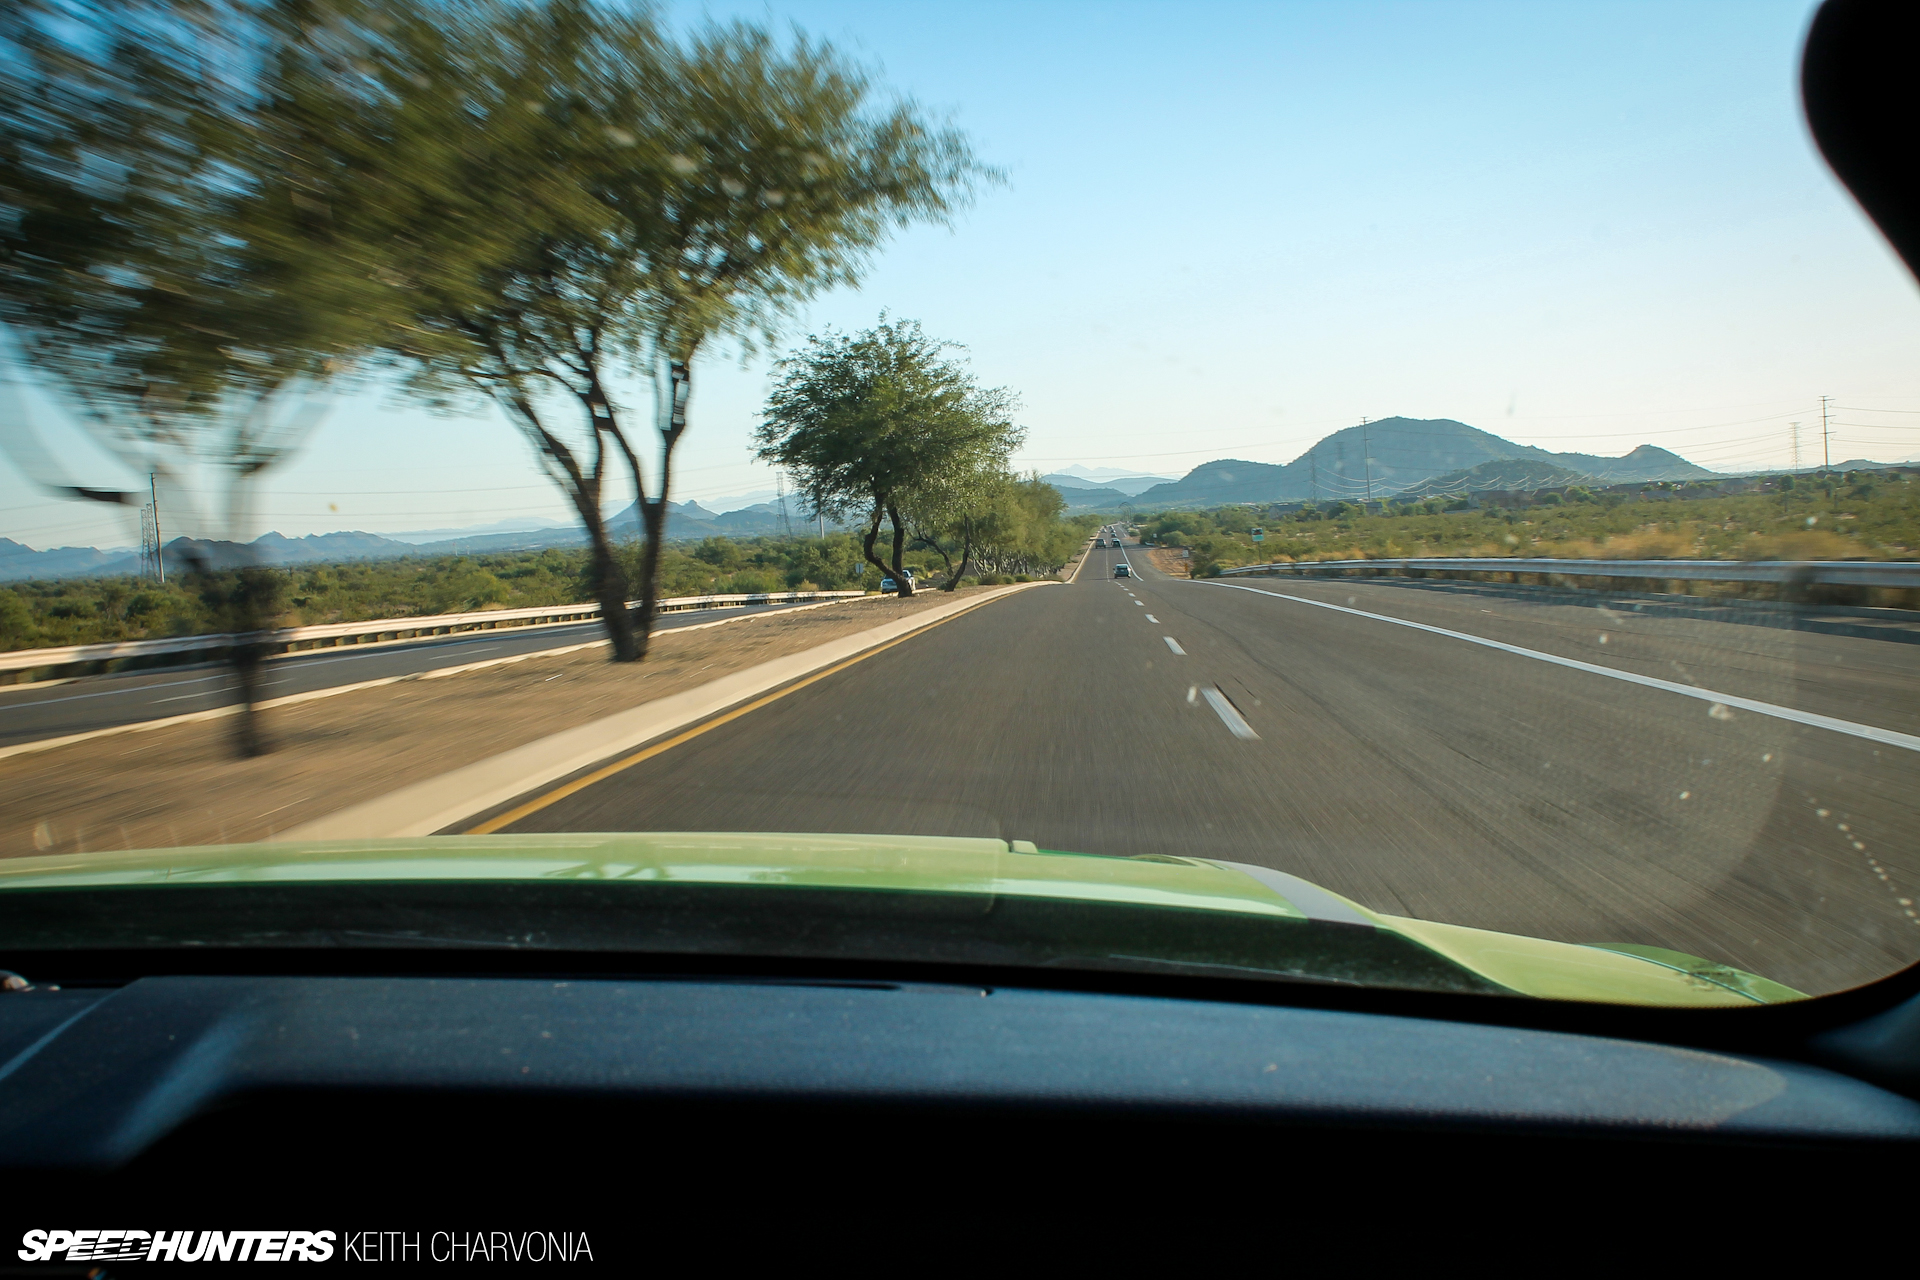
Back to the beginning then. Exactly one week after I picked up the RTR at Formula D Irwindale, this guy showed up: Brian Vinson, head engineer at Air Lift Performance. I thought he flew all the way from Michigan just to lend a hand with the installation, since we only had a few weeks until the SEMA show. To my surprise, the first thing he did was ask for the keys. Okay, I guess we’re going on a test drive then. He proceeded to put the car through a series of, ahem, ‘aggressive’ maneuvers while I flailed around in the passenger seat with my camera and tried not to lose my breakfast.
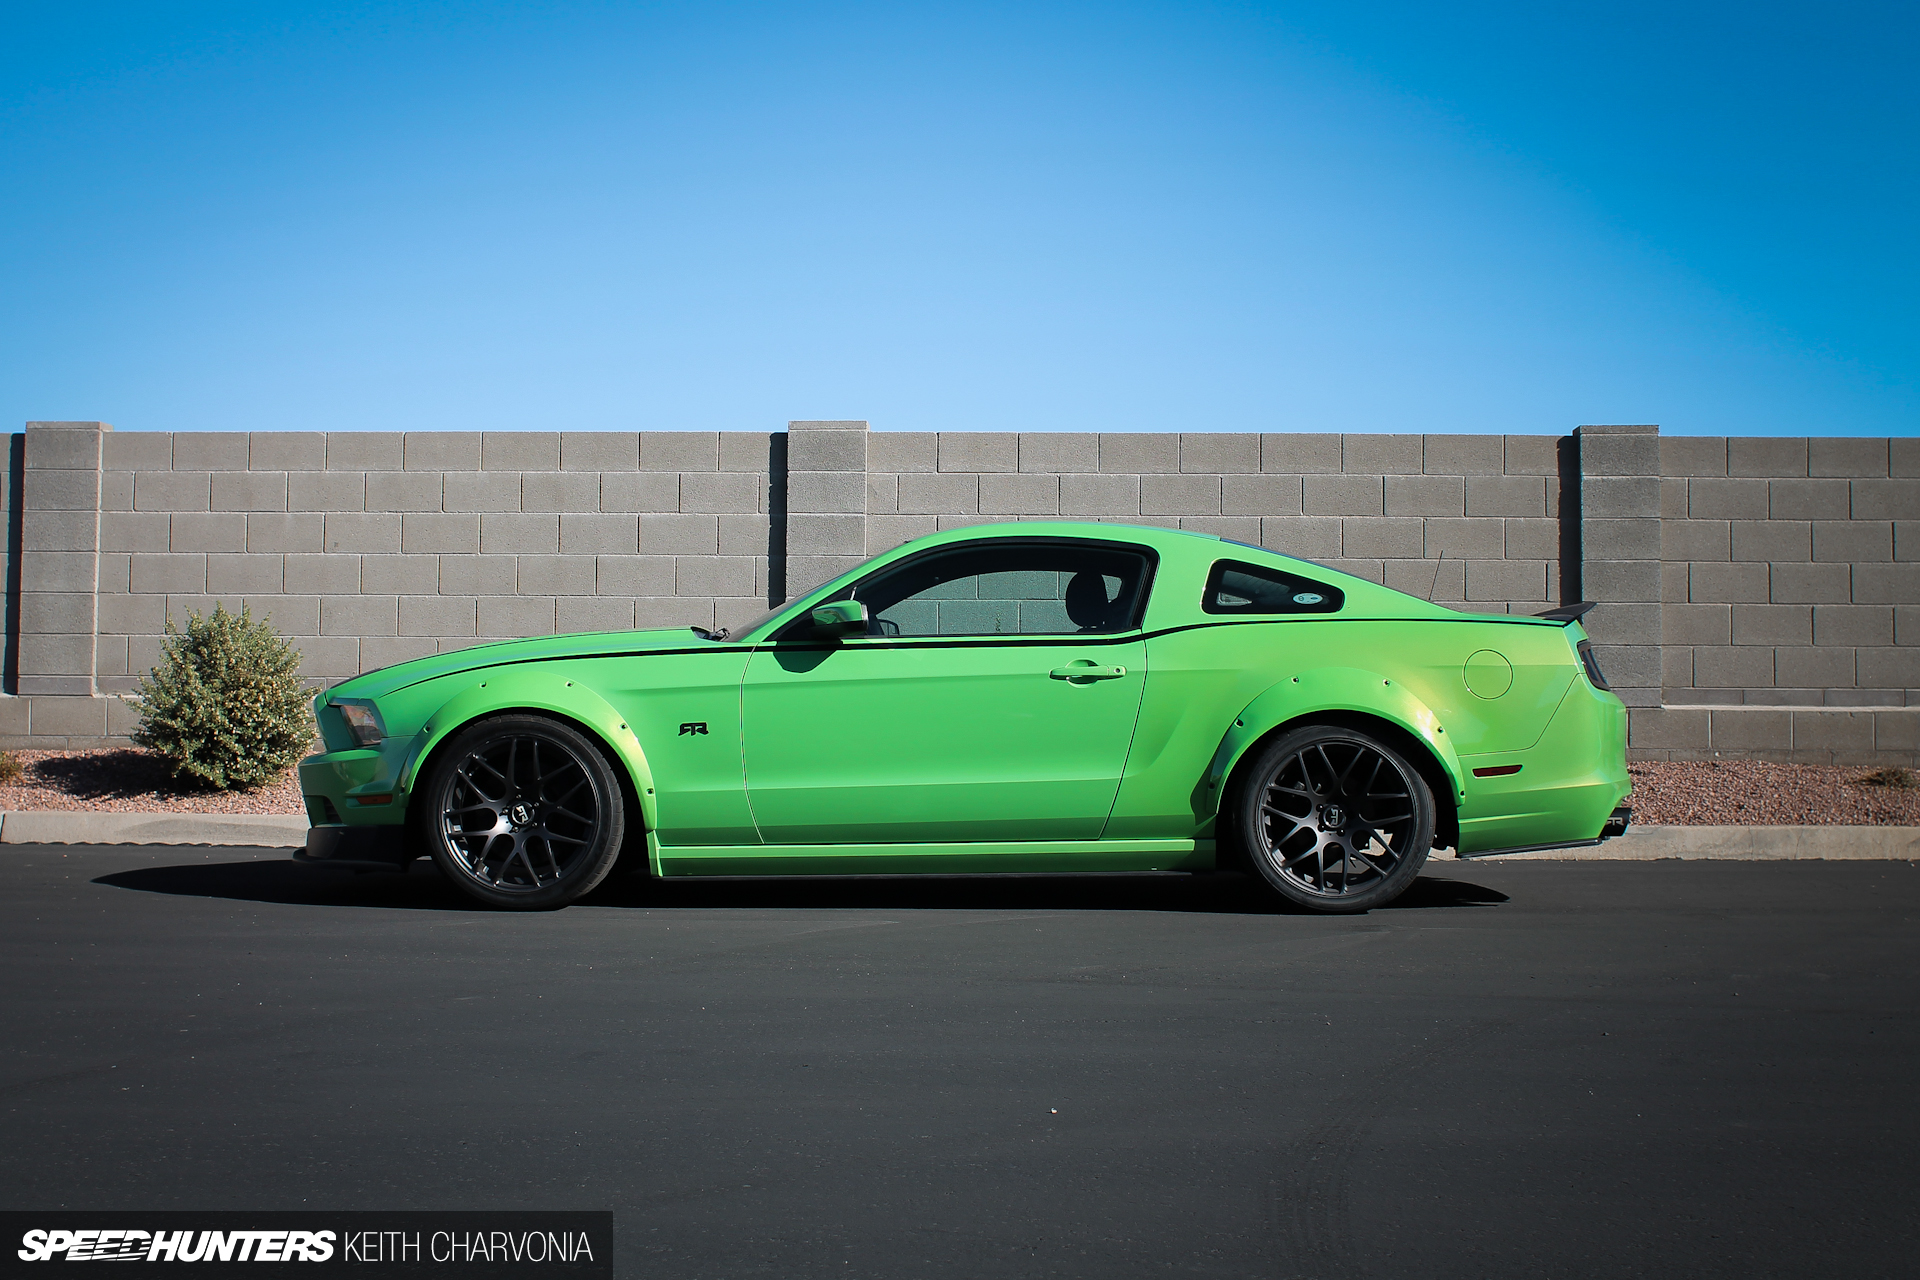
On that drive I figured out why Brian was so keen to drive the car with the existing suspension. Turns out he’s been working on track-bred air suspension technology for over a decade, and before that he was a Vehicle Dynamics Engineer for Chrysler. I was quickly convinced that this guy might know a little more than my old mini-trucker buddies who showed me how to bag a pickup. After the drive I shot this ‘before’ picture for comparison’s sake.

Airaid Filter Company was kind enough to loan us the workshop for the weekend. We encountered our first hurdle as we went to swing the lift arms under the car with its static drop. Out came the floor jack so we could get the car on the lift.
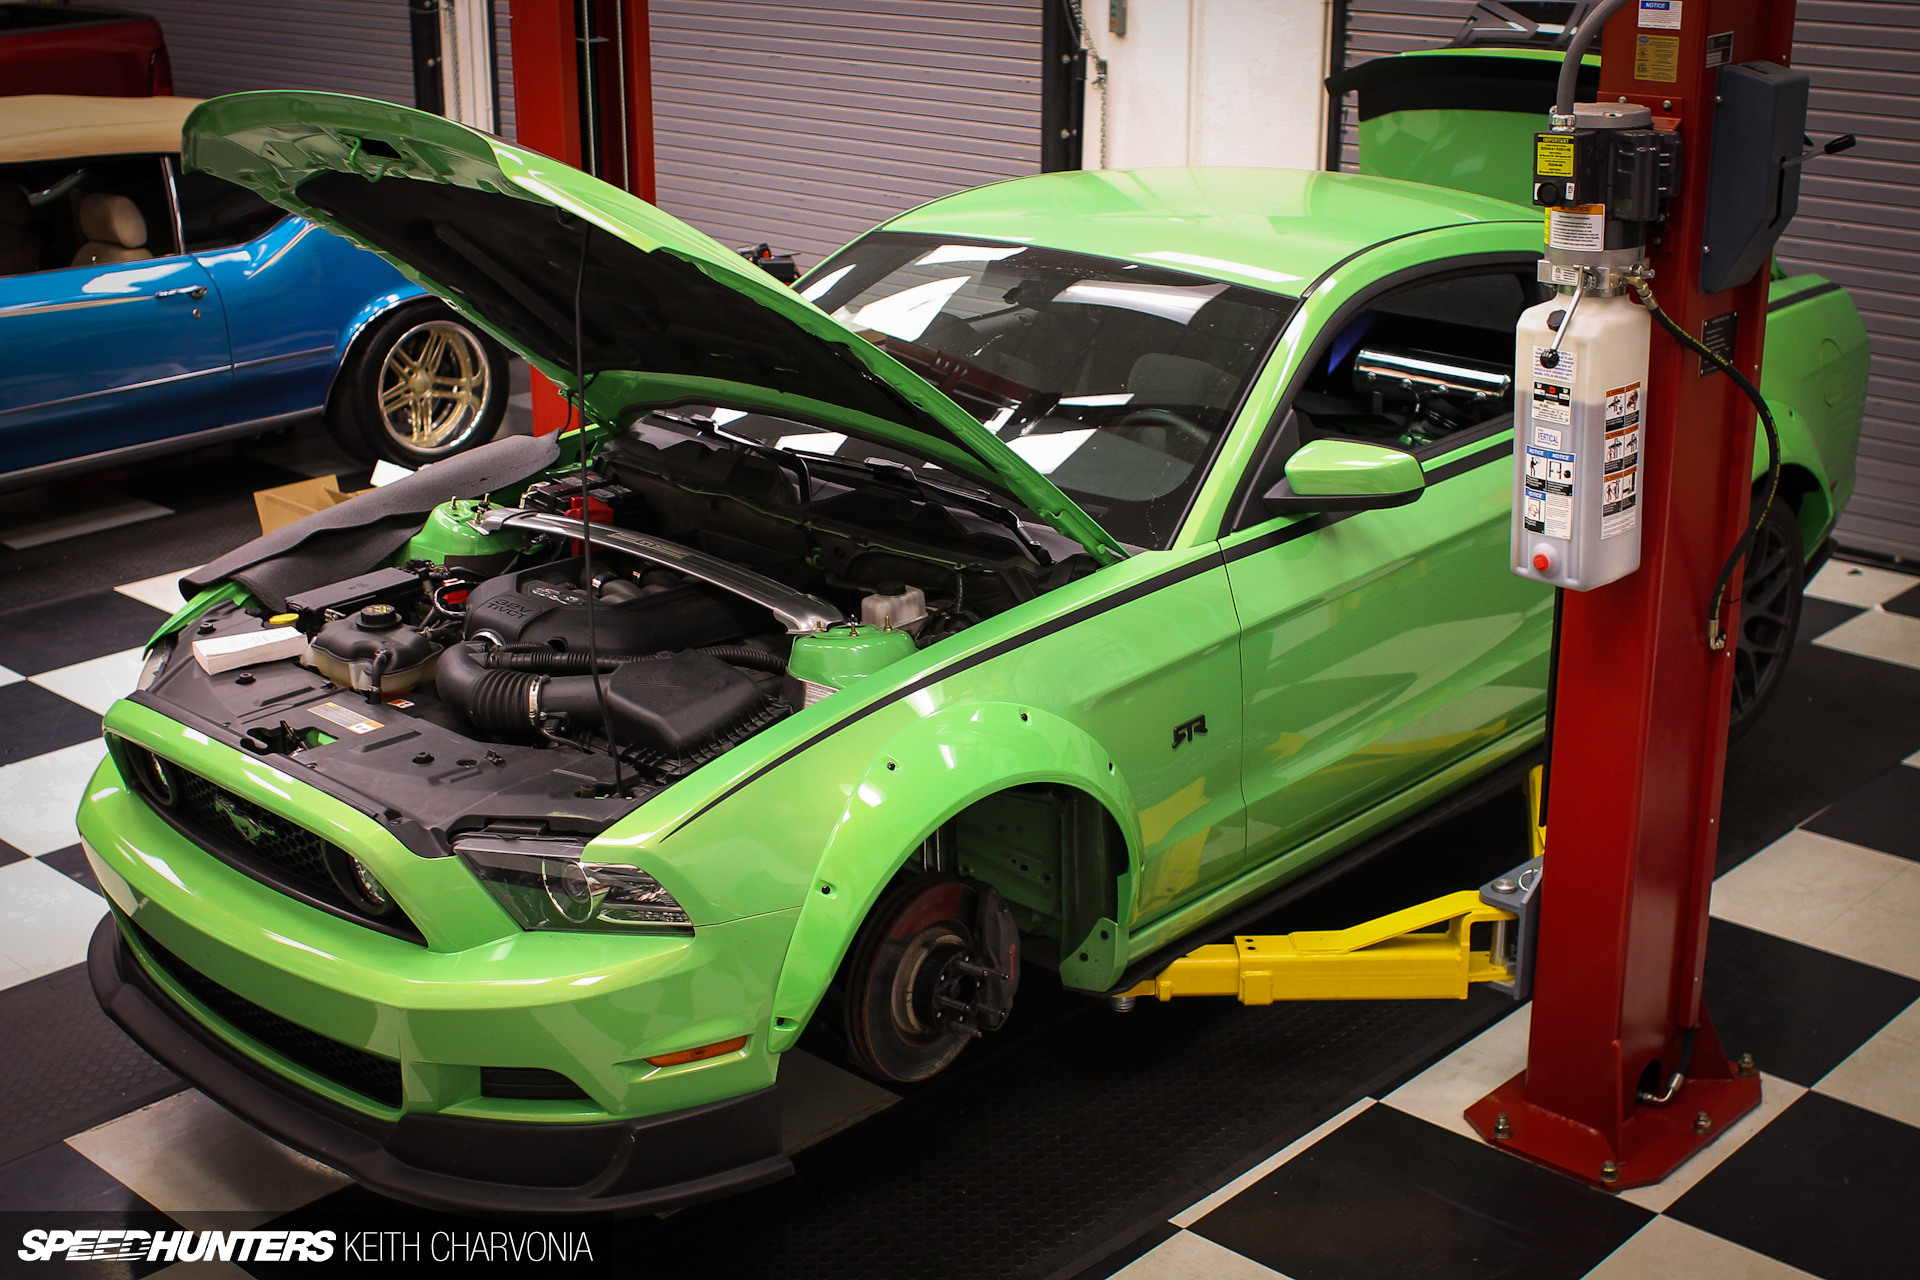
Soon we had the RTR racked and ready for surgery.

The Air Lift stuff had been shipped ahead of time, so we dragged it all out of my office and into the shop.
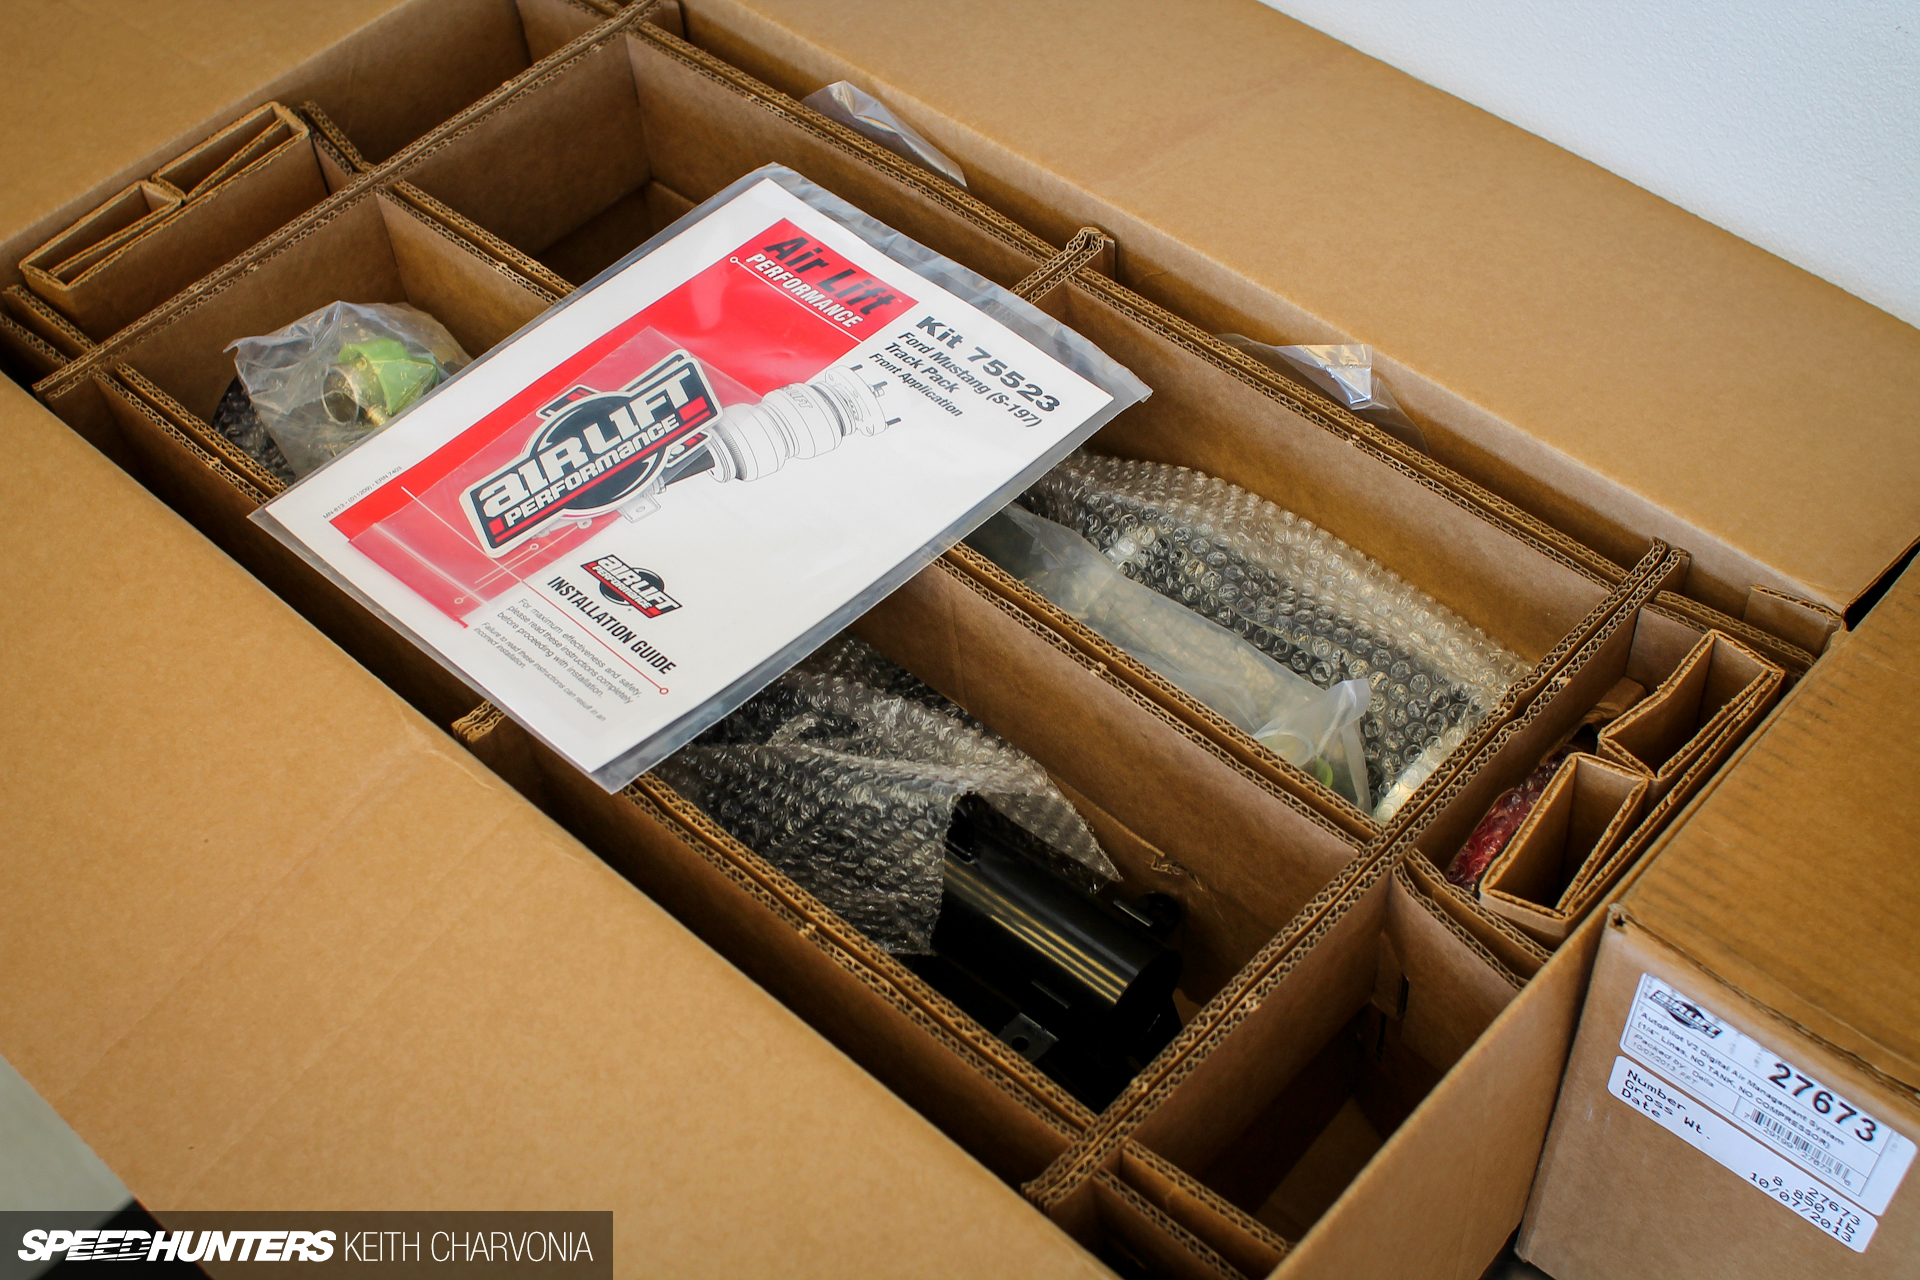
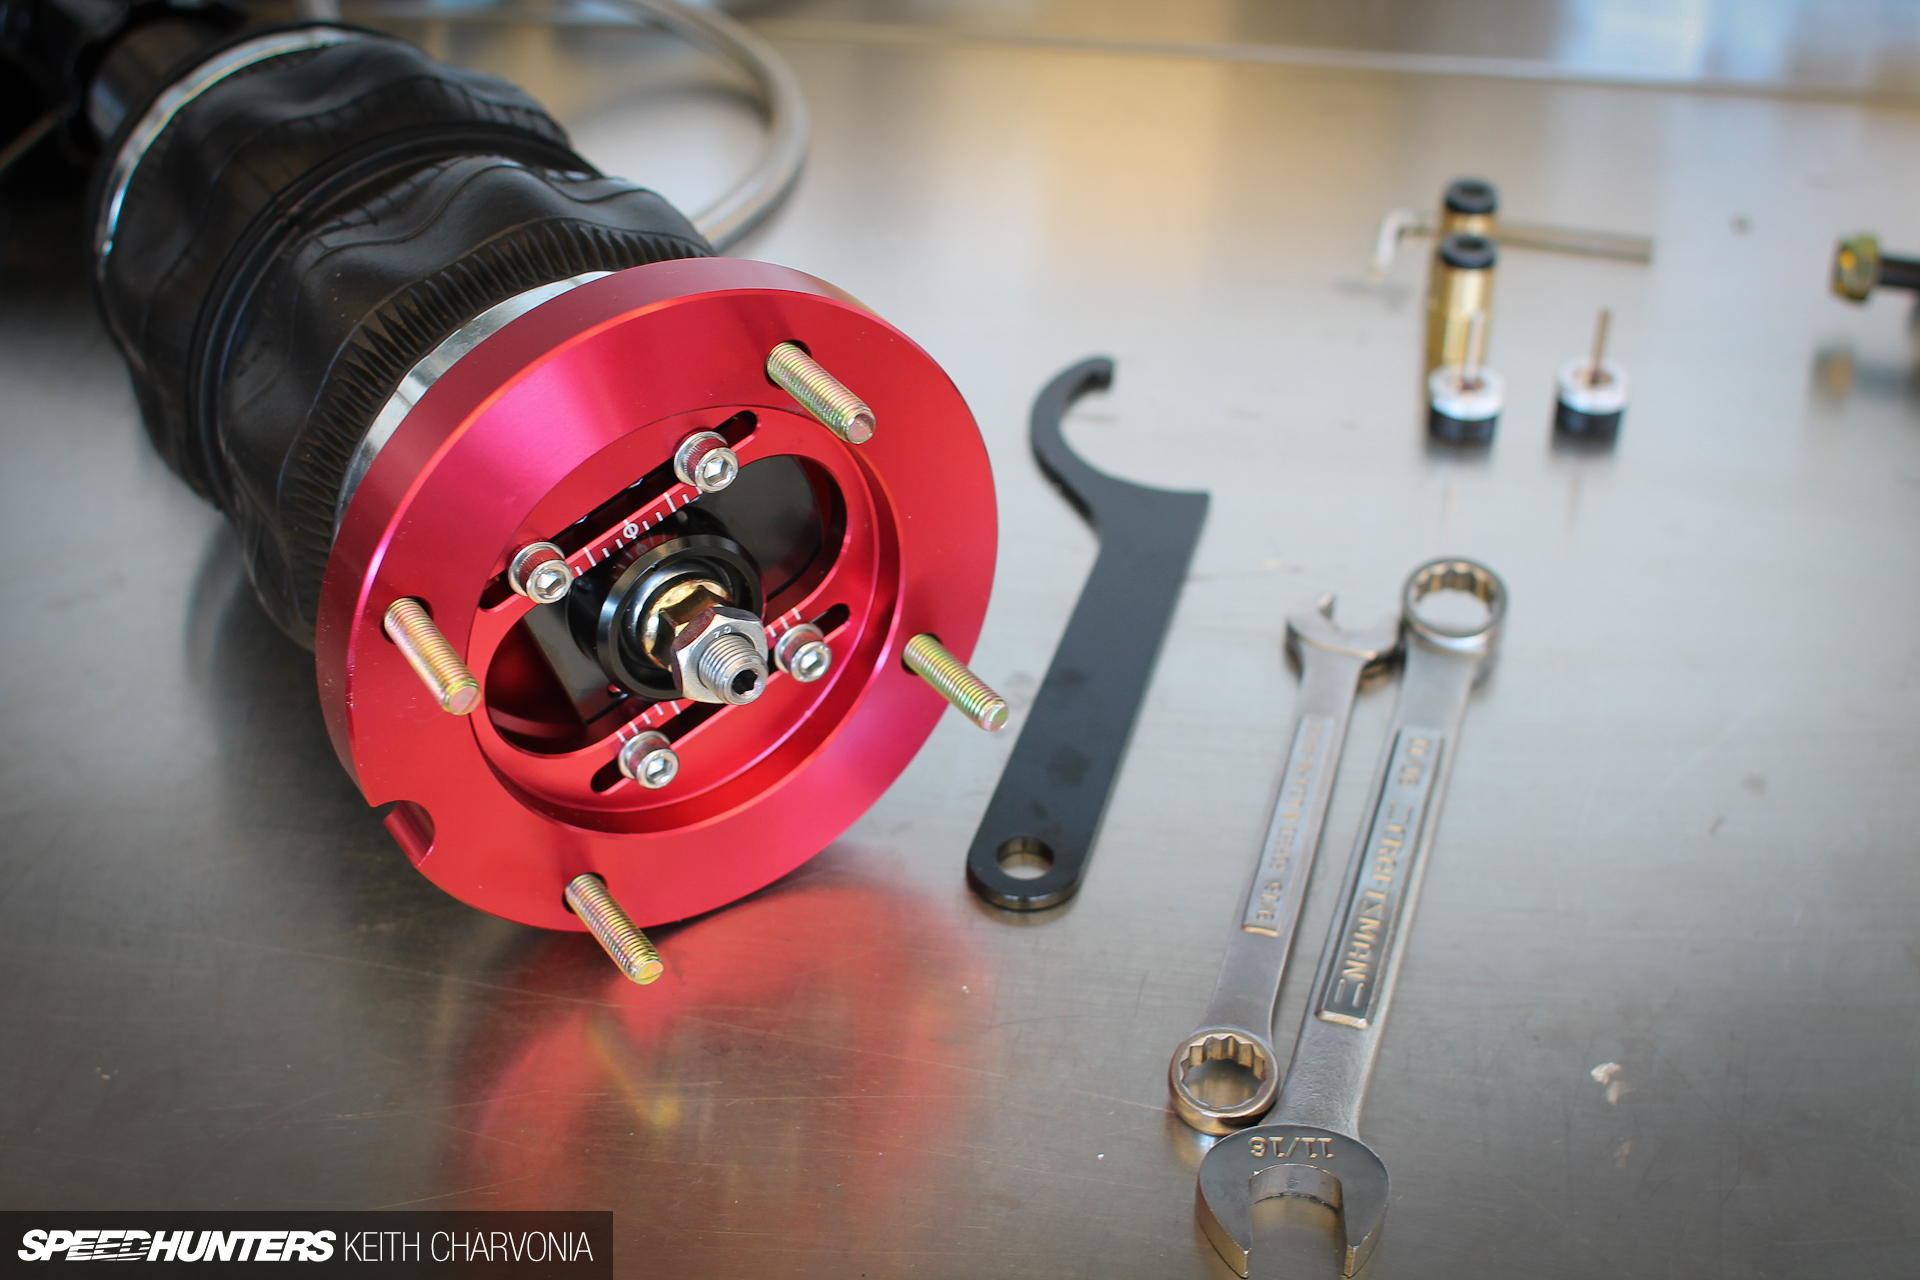
I could finally unwrap all the shiny new parts and see what we were installing.

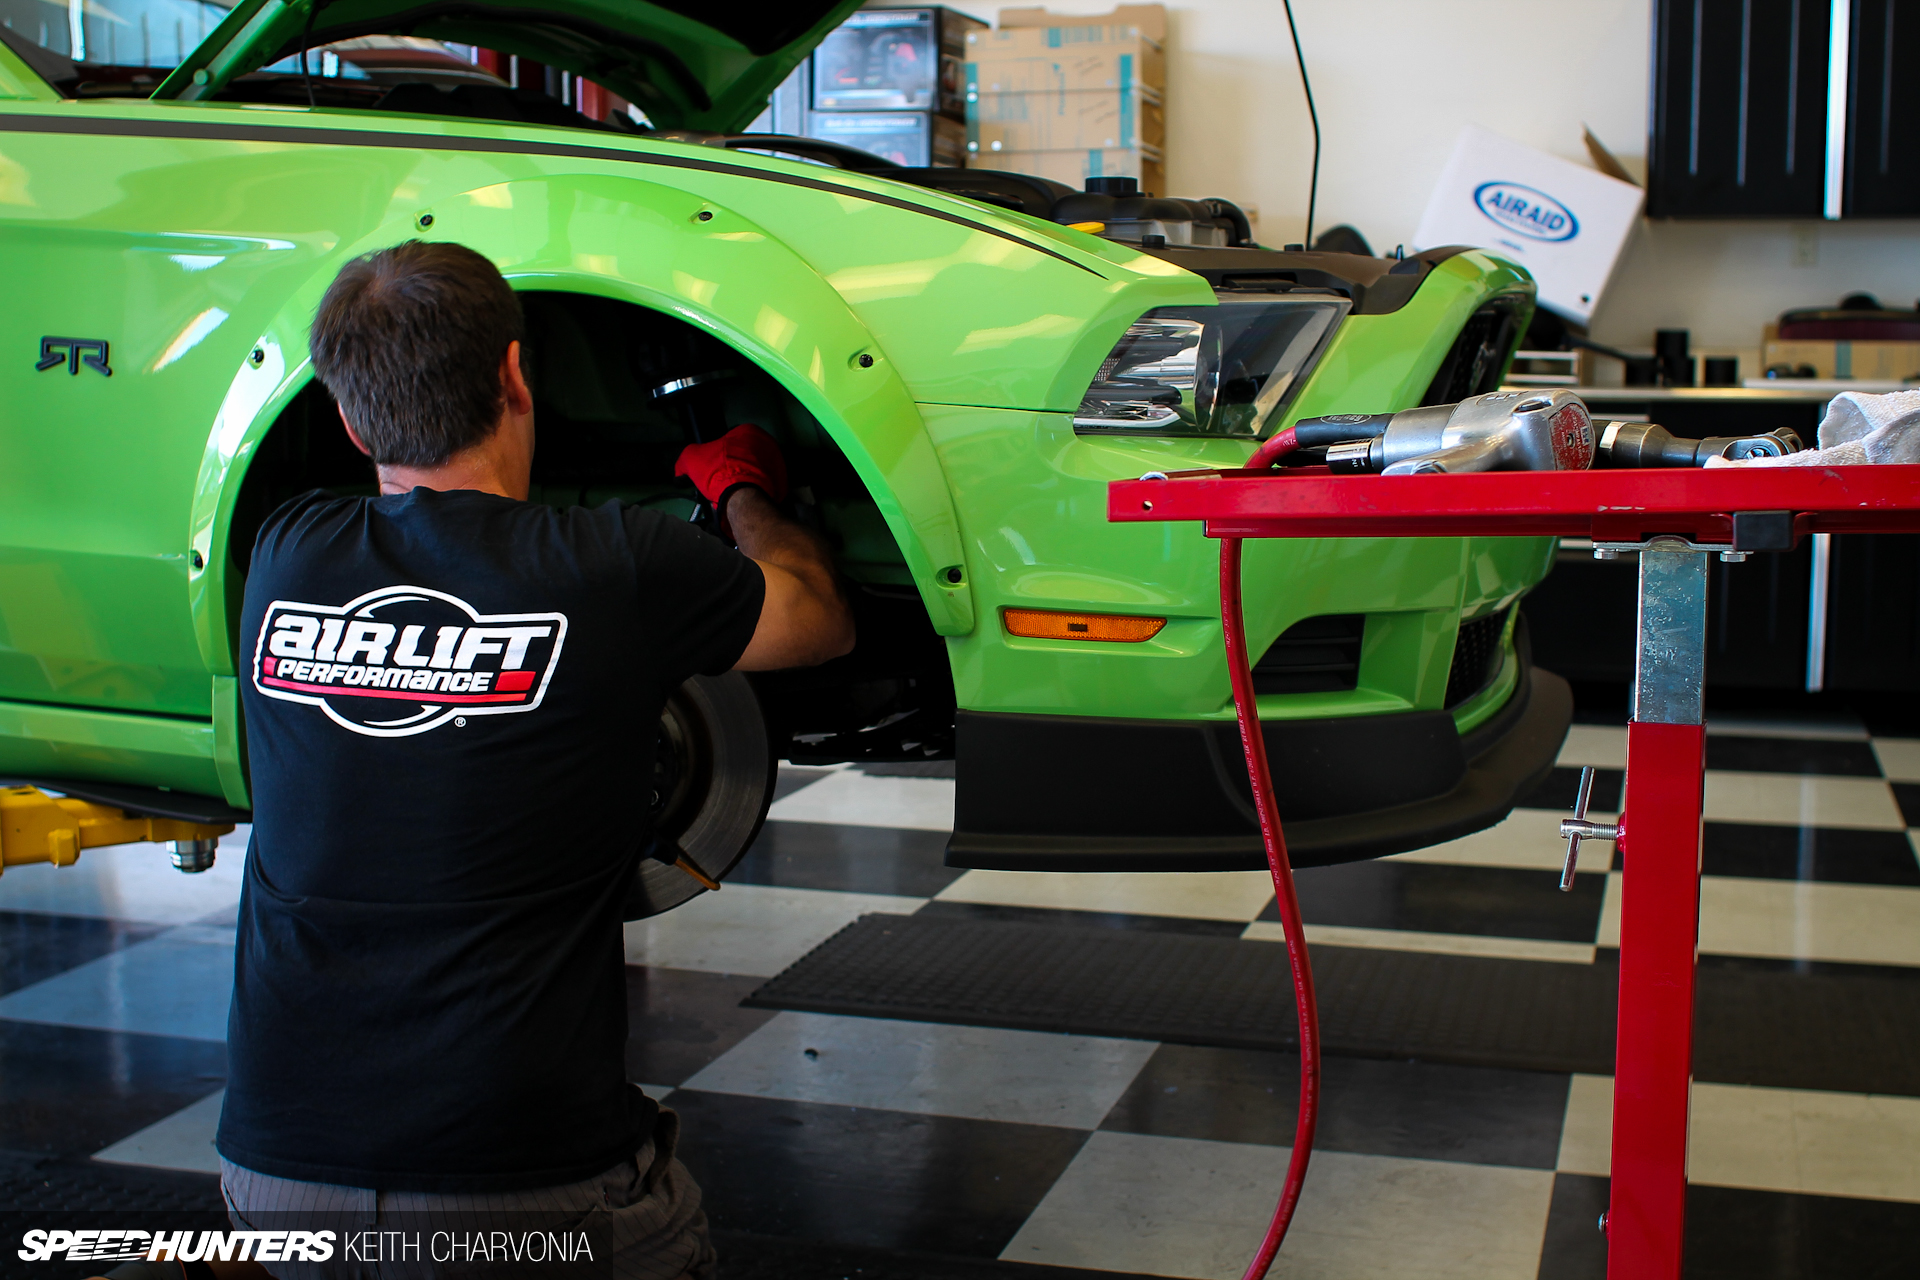
With the wheels off, we pulled the front struts: a pretty straightforward process.
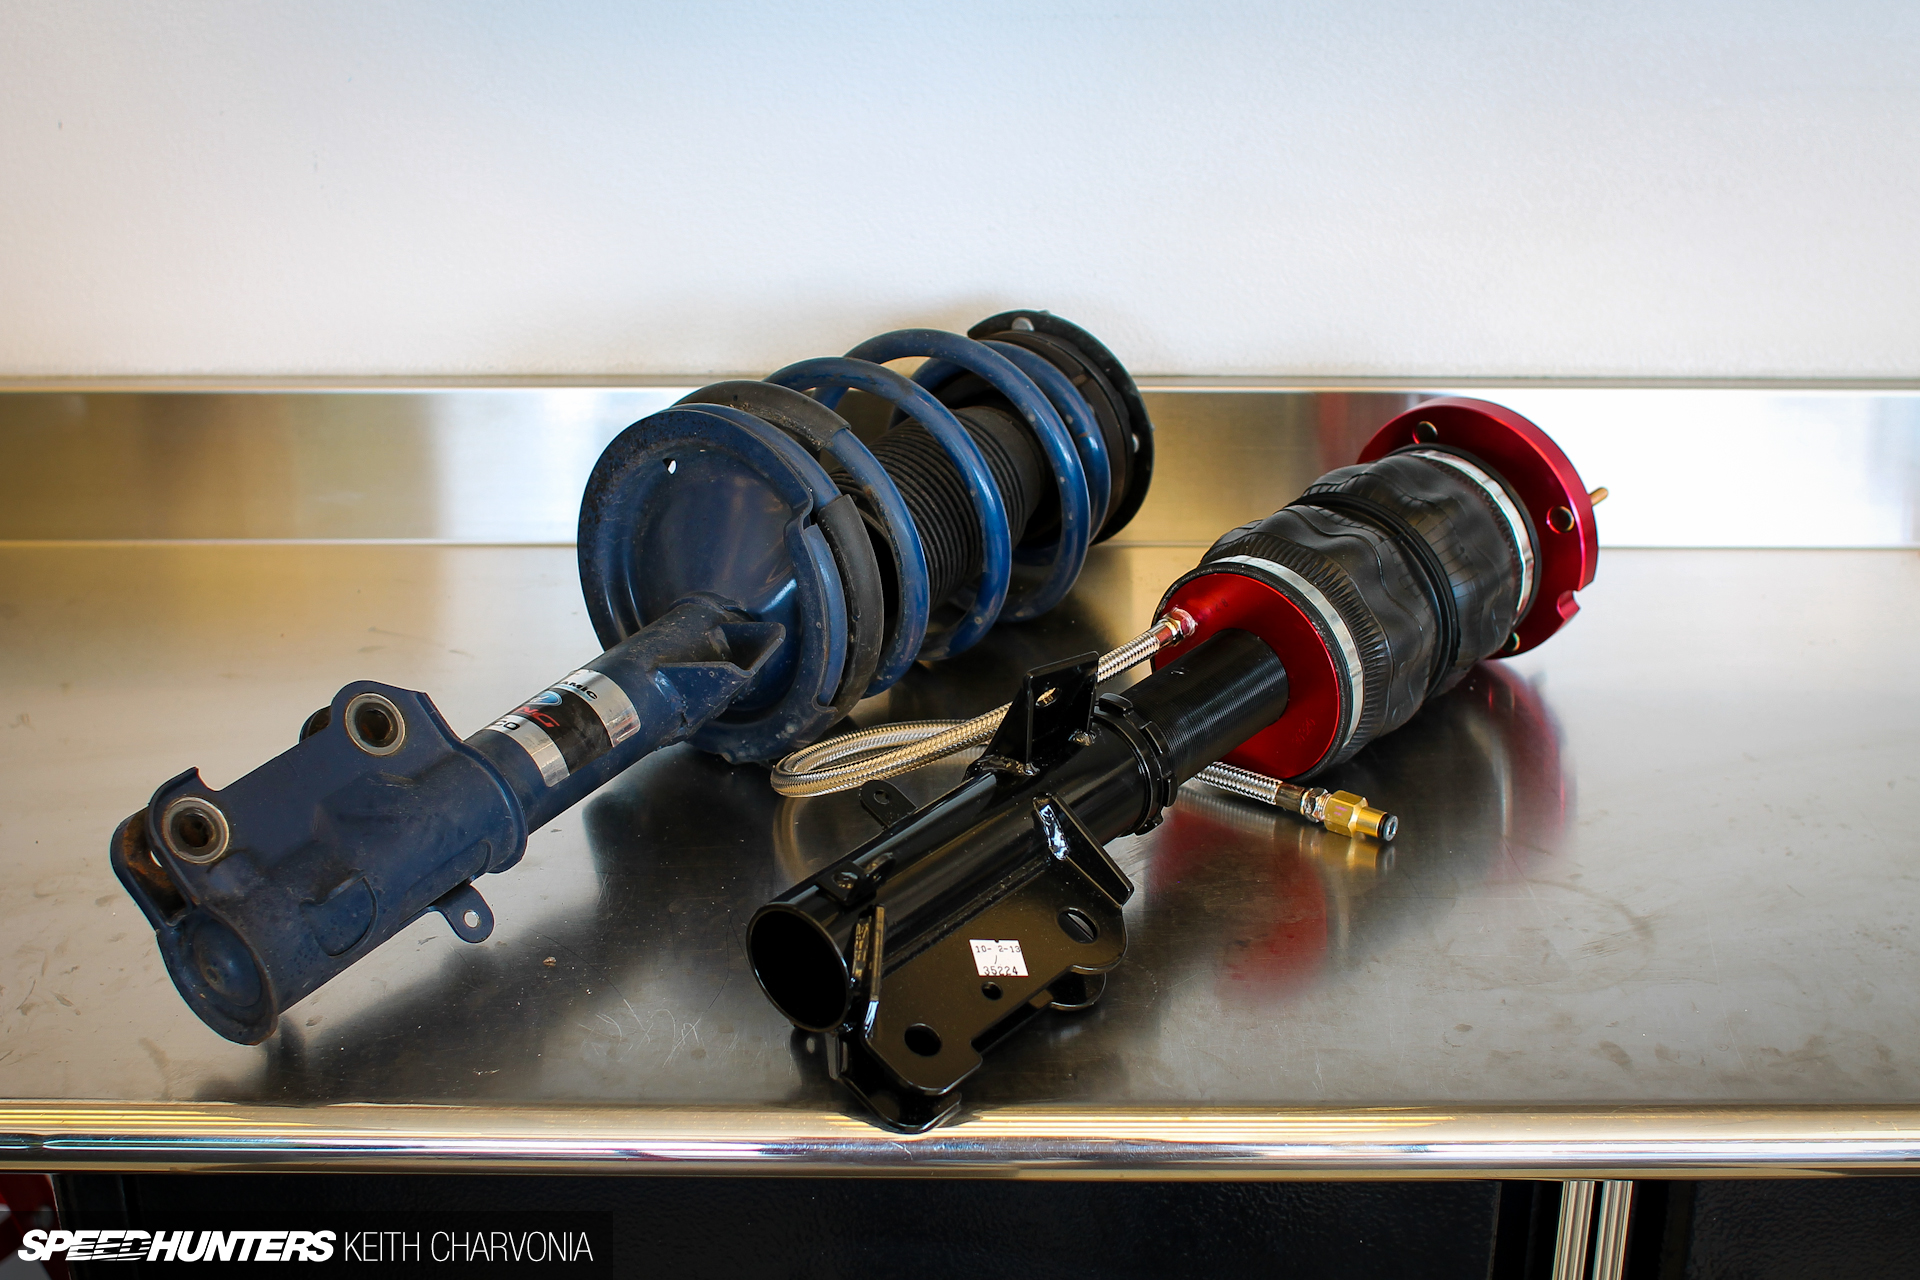
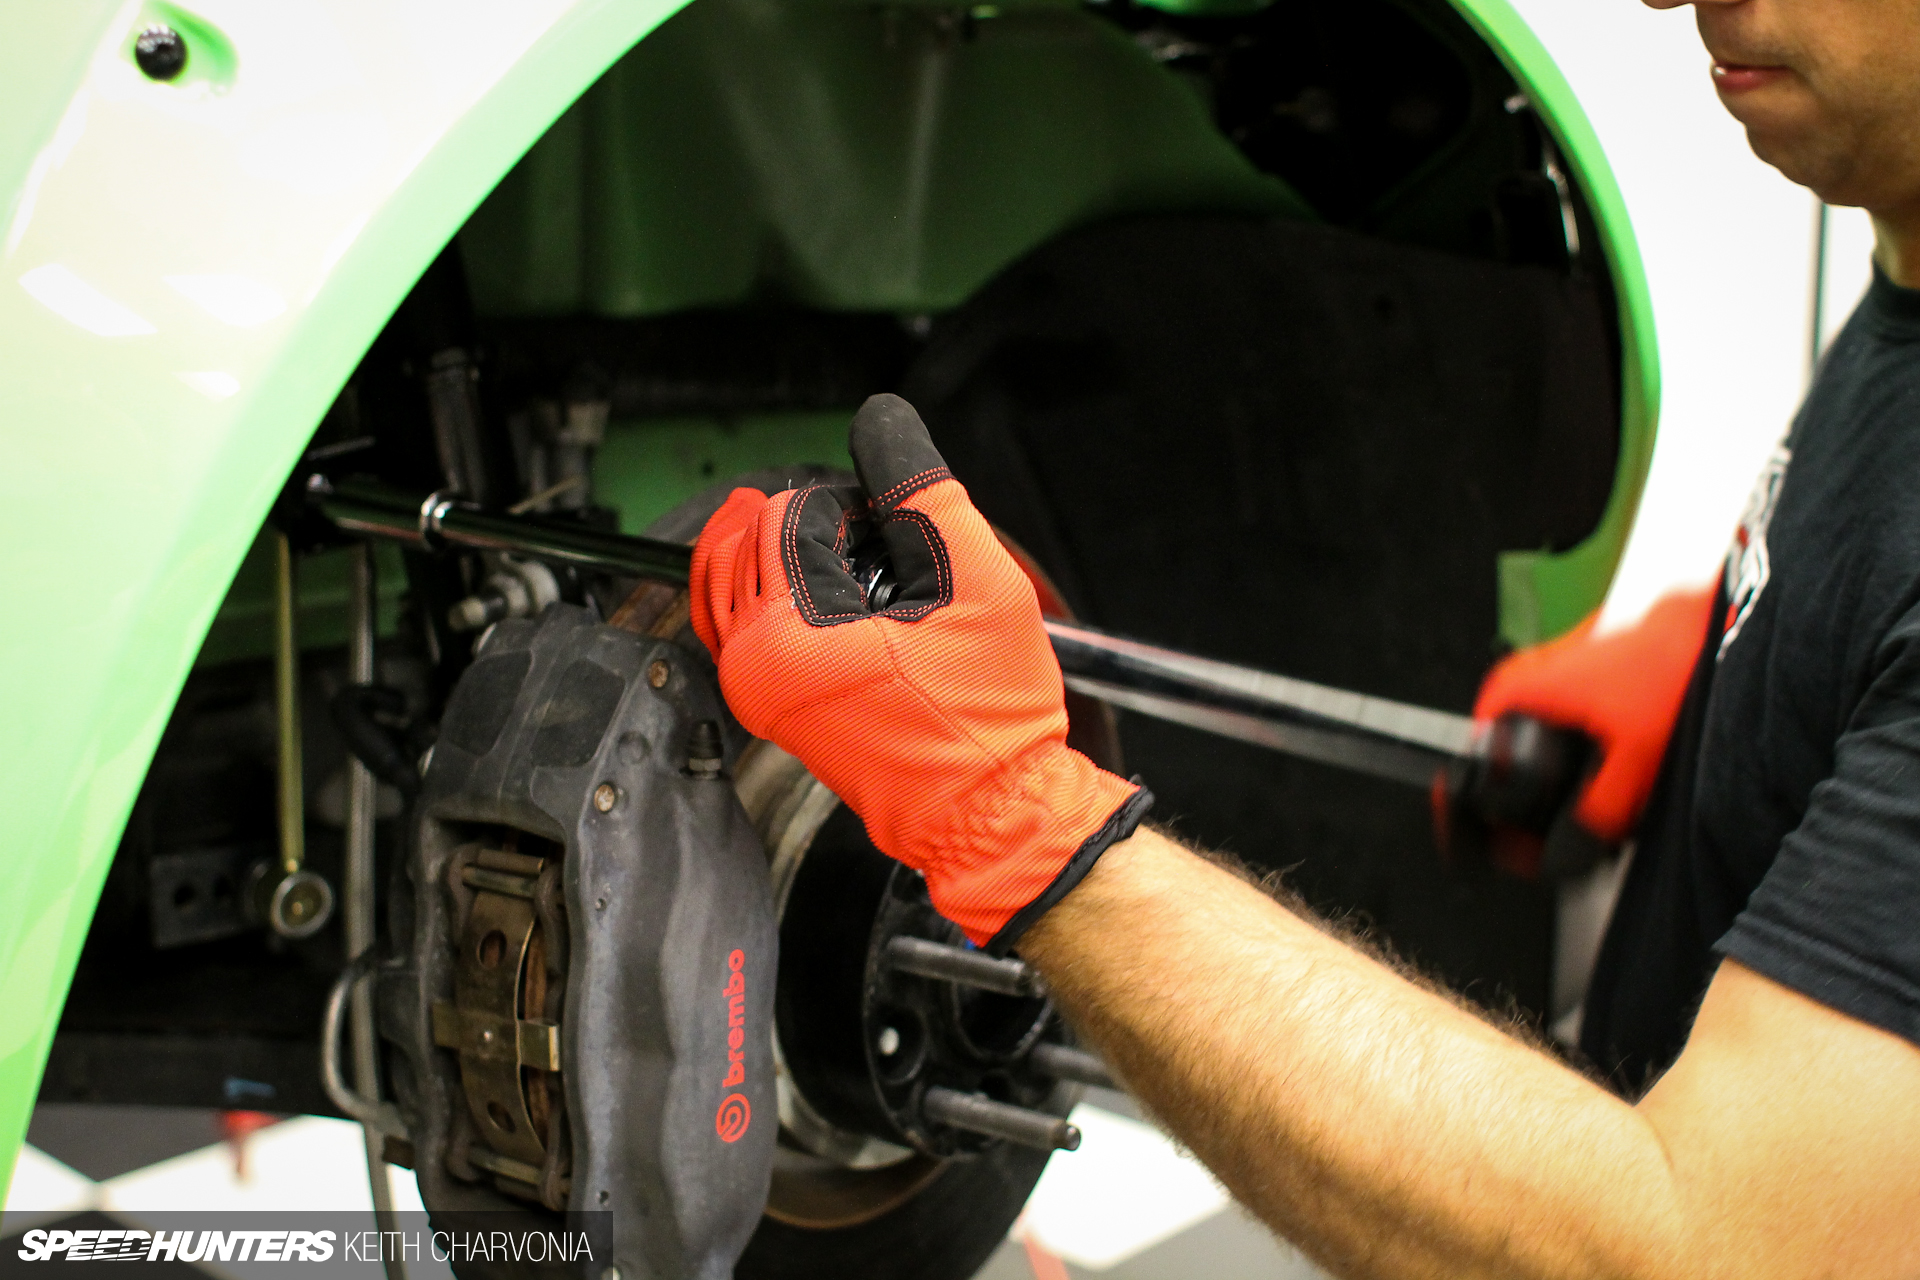
Brian assembled the braided stainless leader hoses while I removed the other strut. Believe it or not the air struts are actually 7.5 lbs lighter than the stock parts!
As I worked on the installation I realized that these were basically coilovers with air springs instead of coils.
Installation is just like installing a normal strut.
Of course you want to re-torque everything to the factory specs.
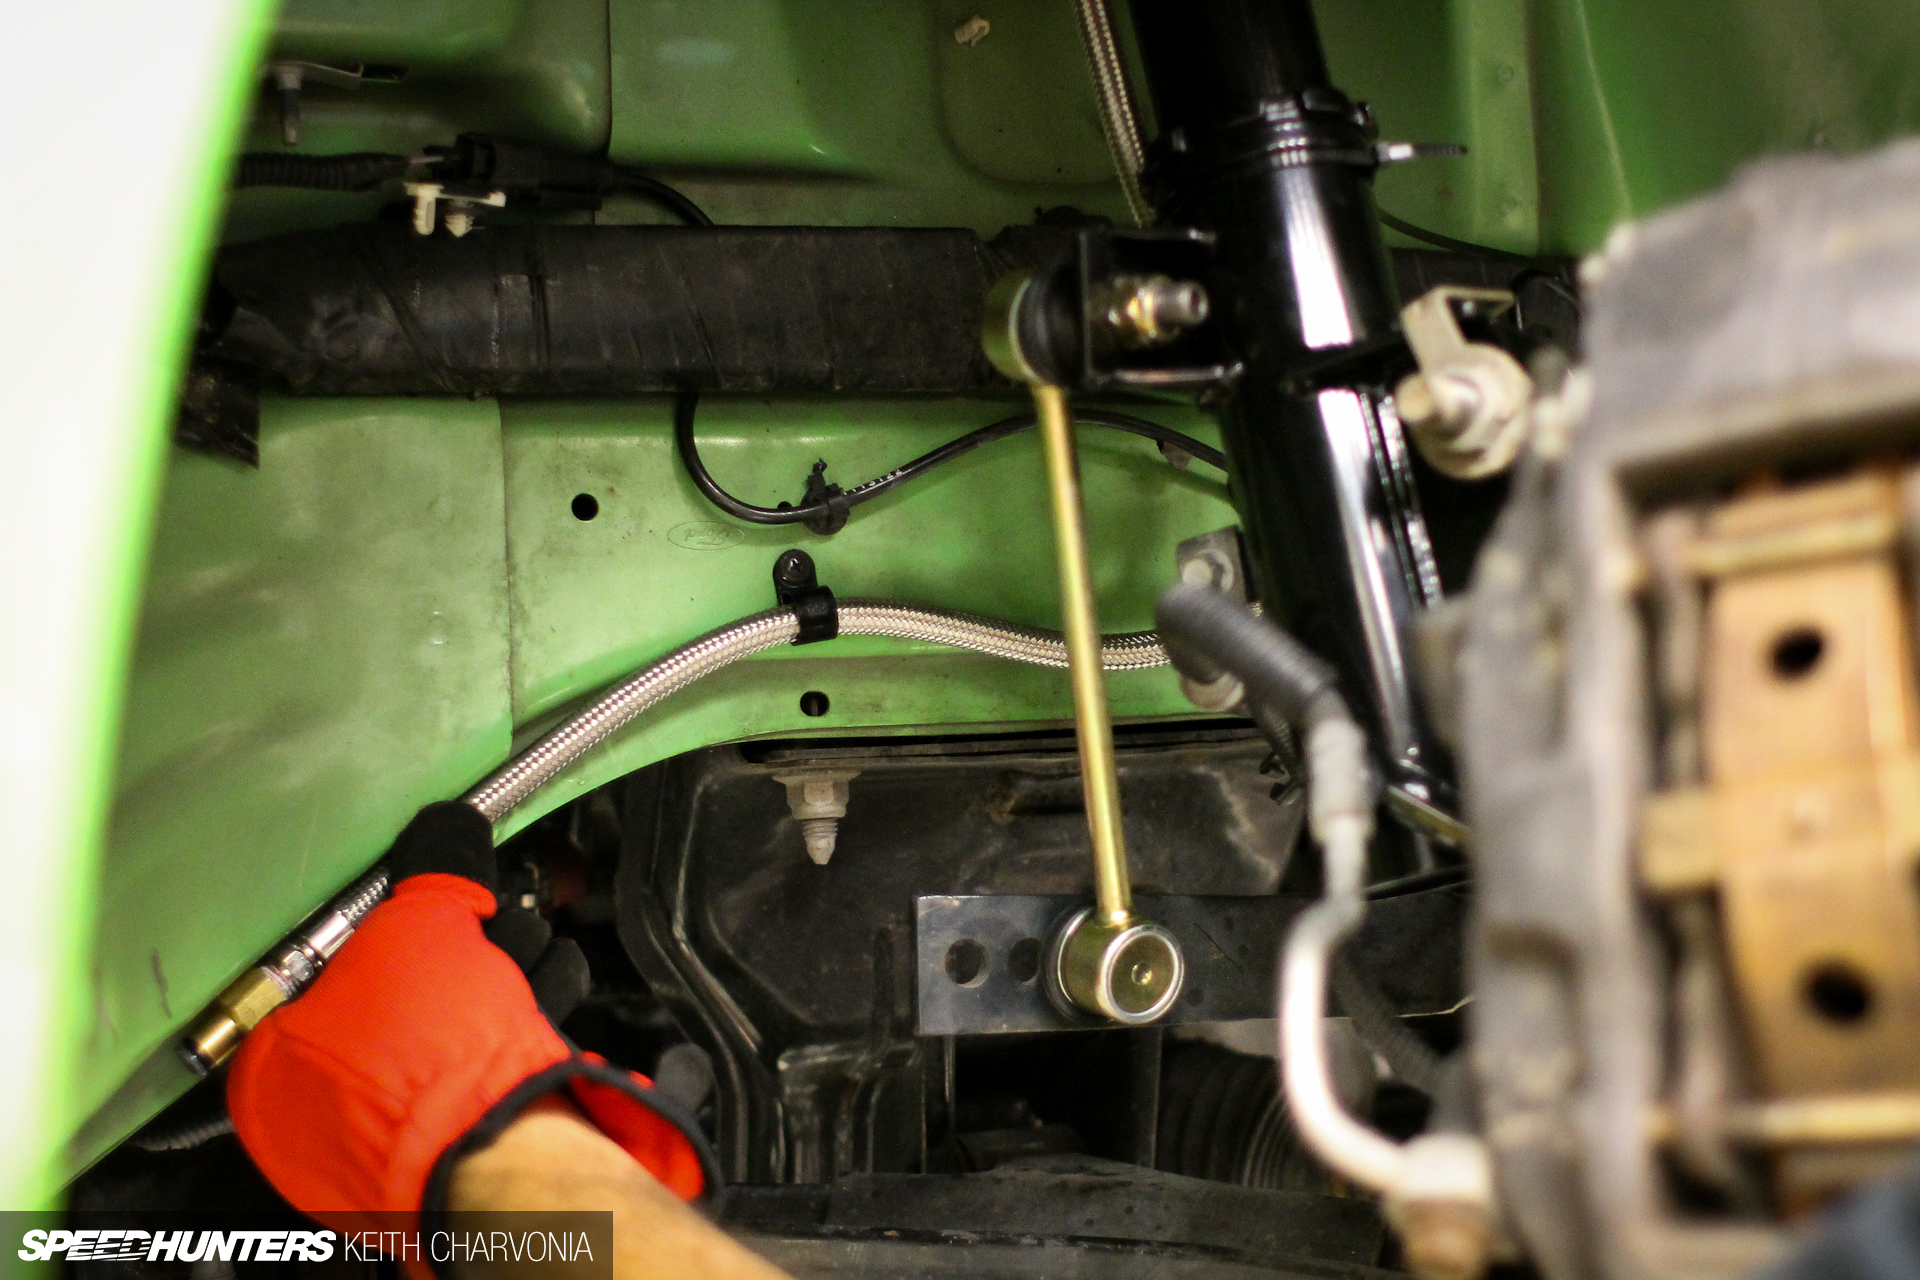
Here’s where the installation starts to differ from a normal coil spring. You do need to give some thought to how you are going to route the air lines. They should be positioned safely away from anything that could rub, and also need enough slack to let the strut turn with the wheel.

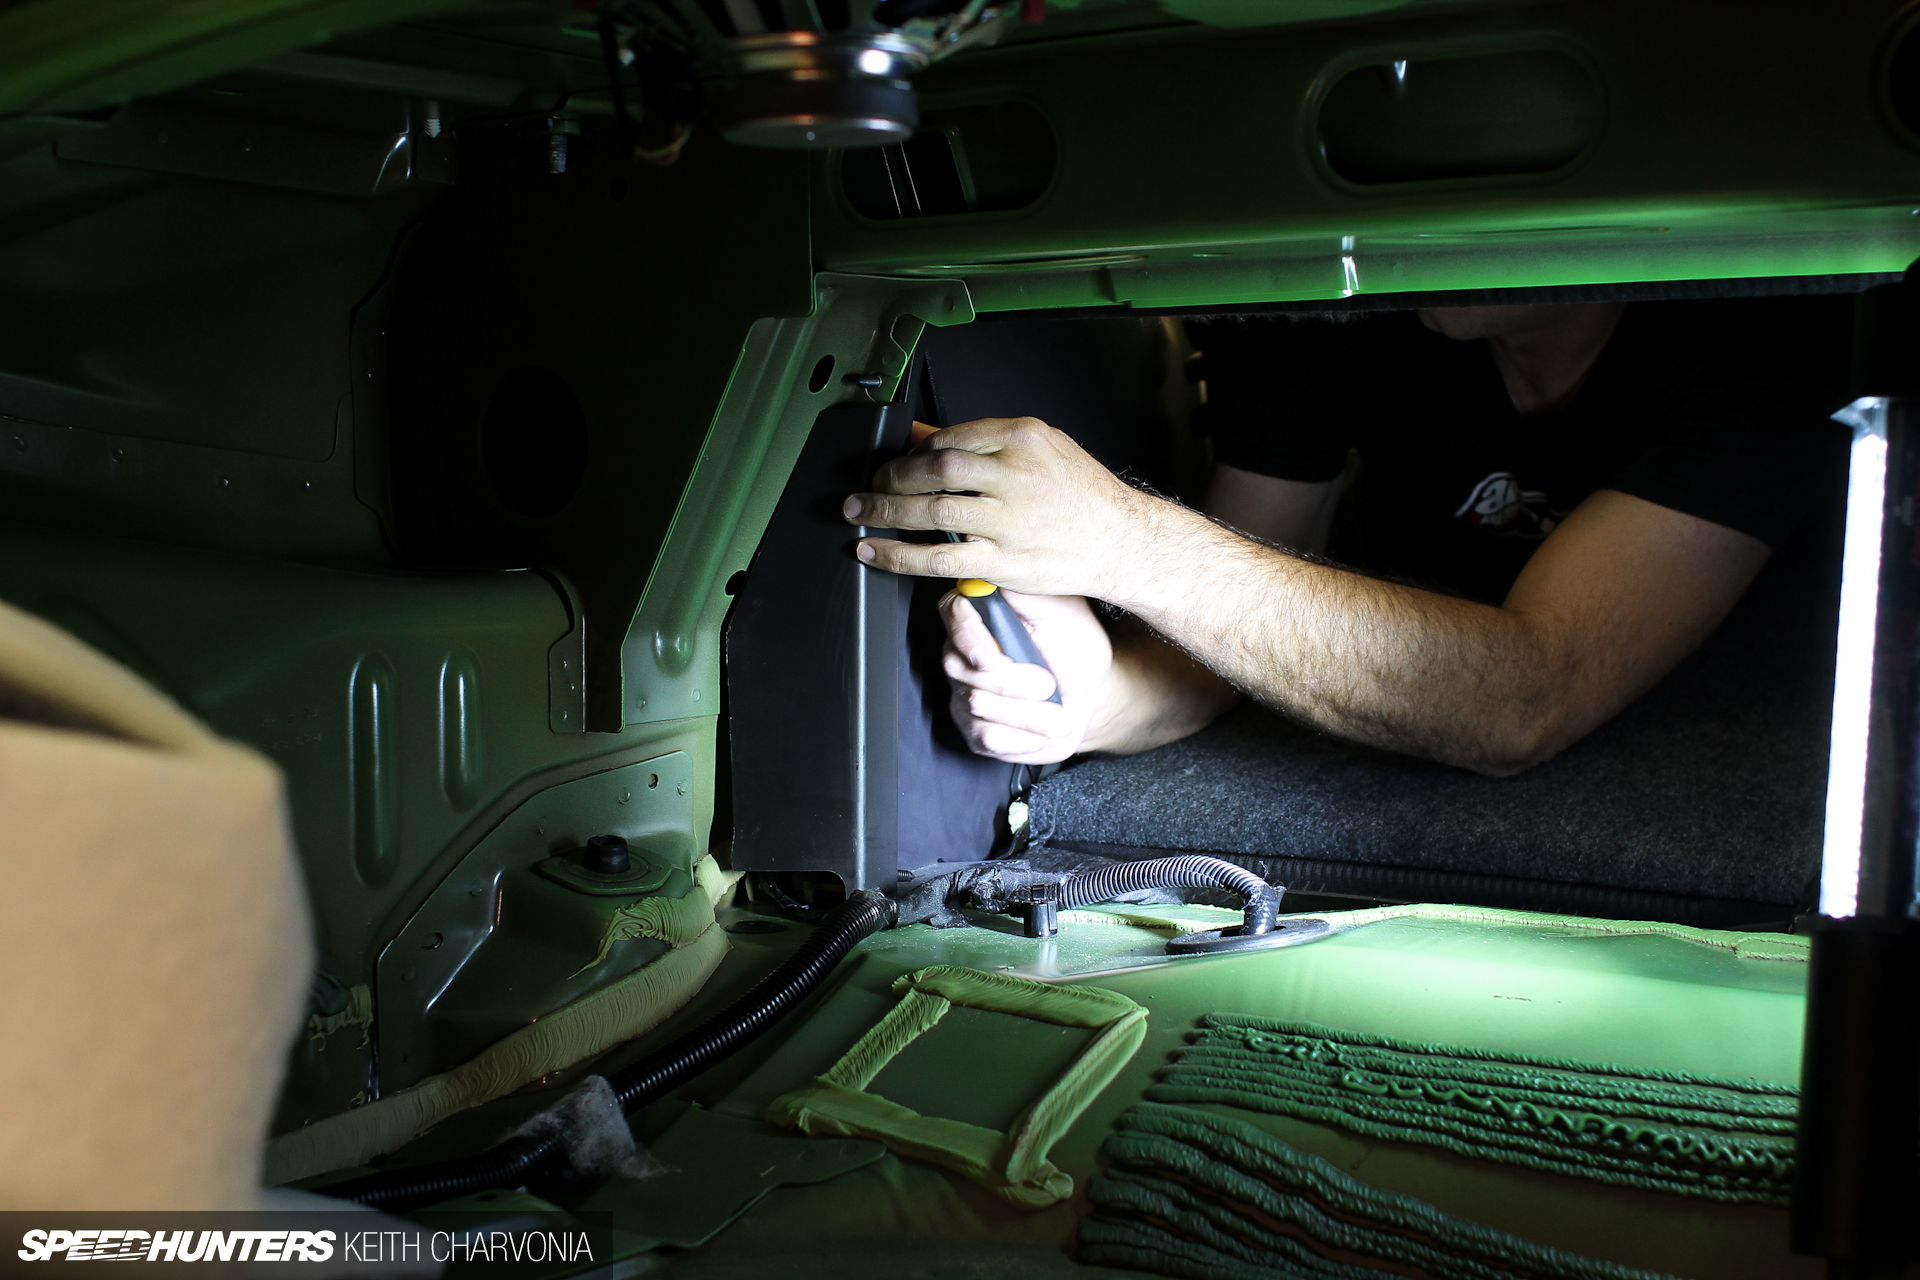
You also need to think about where to run the air lines, since they will eventually be connected to the manifold. We planned to mount the manifold and tank in the trunk, so we chose to run the lines inside the car. Luckily Ford provided the perfect blank spot in the factory grommet.

This was definitely one of the easier times I’ve had routing things through a firewall.

Brian had a good tip here: Make a loop in the air line (without kinking it) and leave it under the carpet. This way you won’t have to run an entire new line or use a splice if you need some extra length later on.
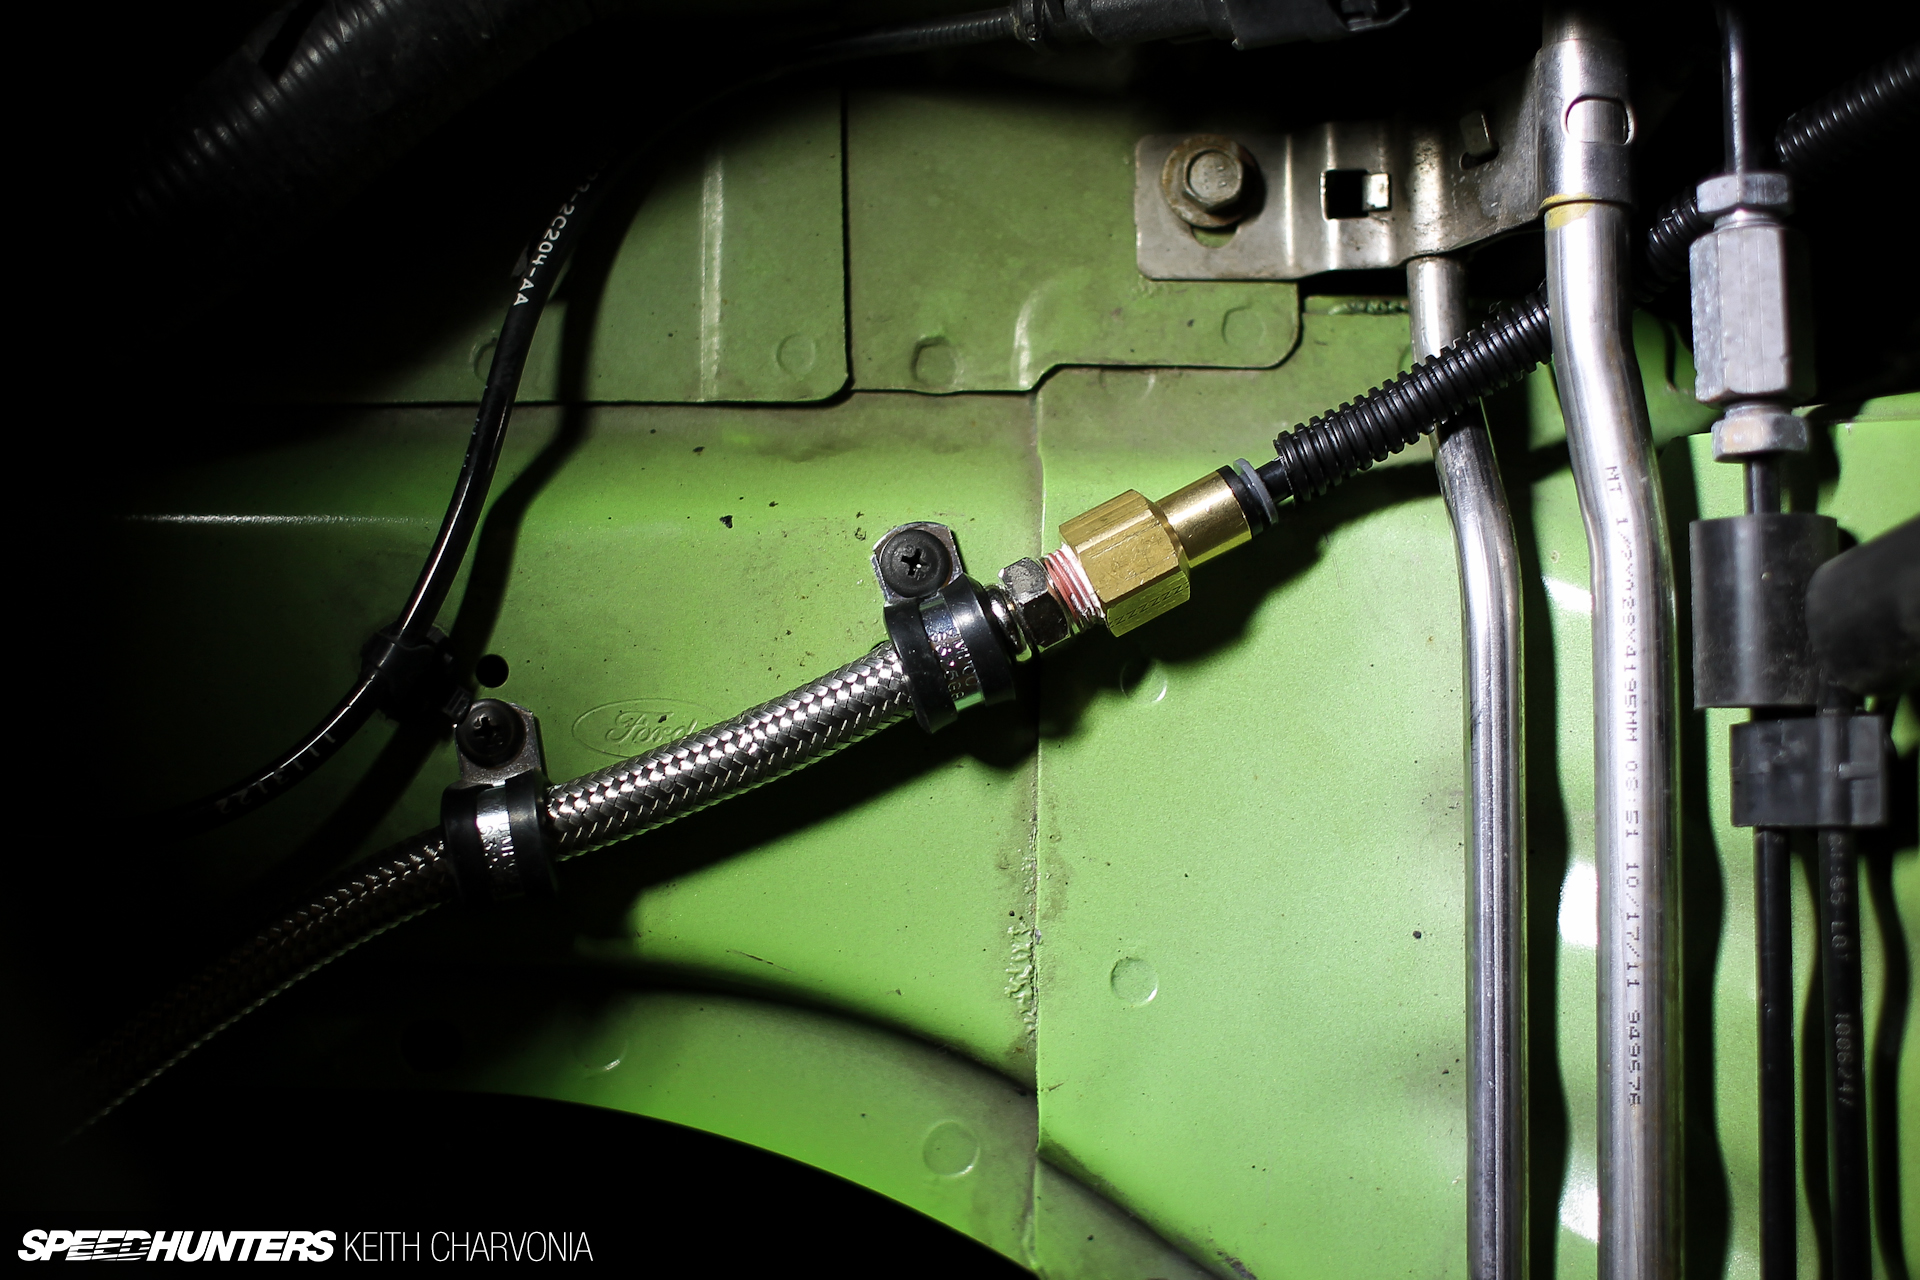
Once you have the line routed, it’s good practice to trim the end with a nice square cut so it seats well in the fitting.
We also added a bit of rubber over this sheetmetal edge and installed some convoluted loom for an extra layer of protection. These are the small things that make an air system reliable.
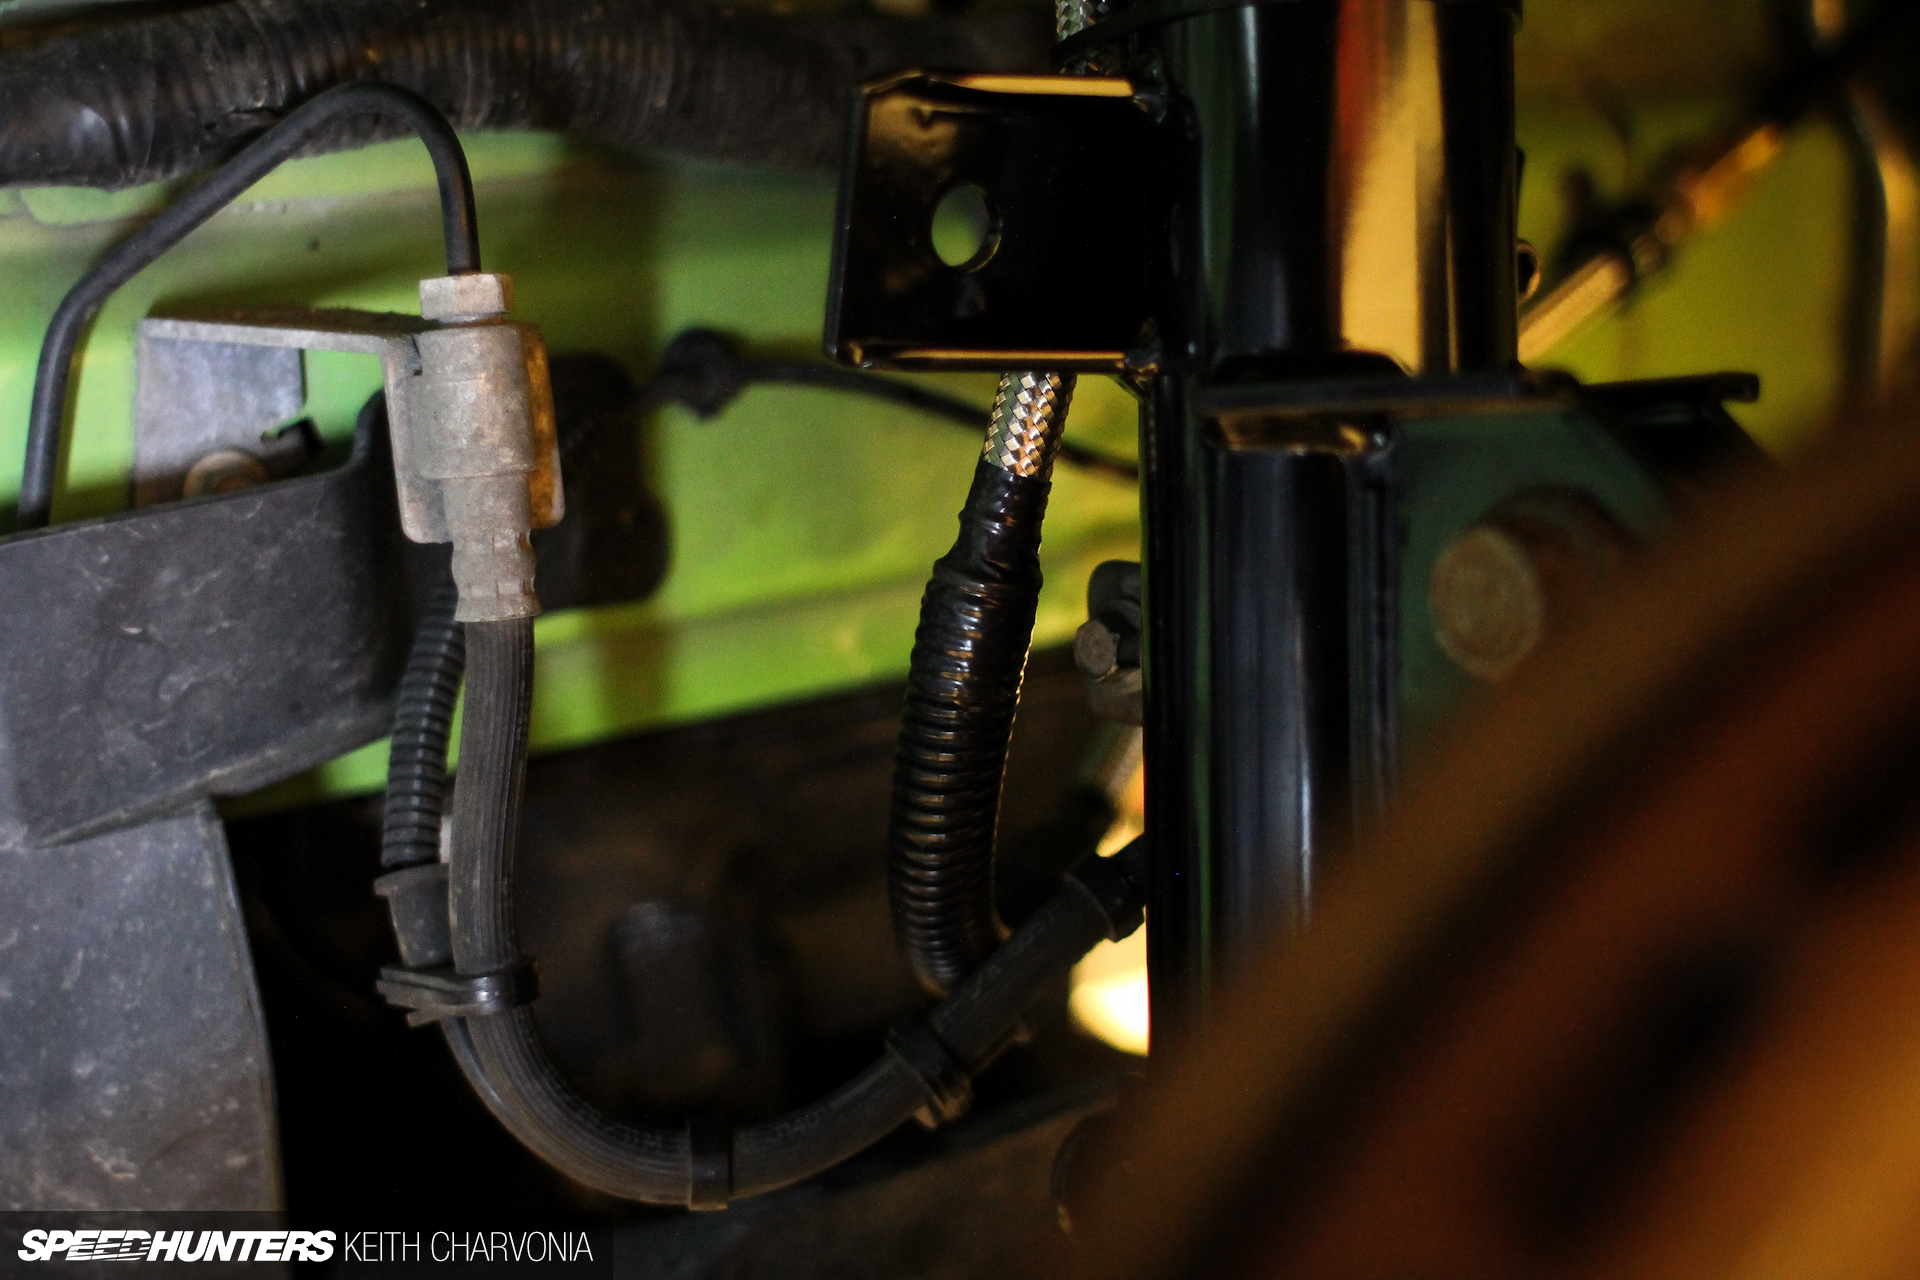
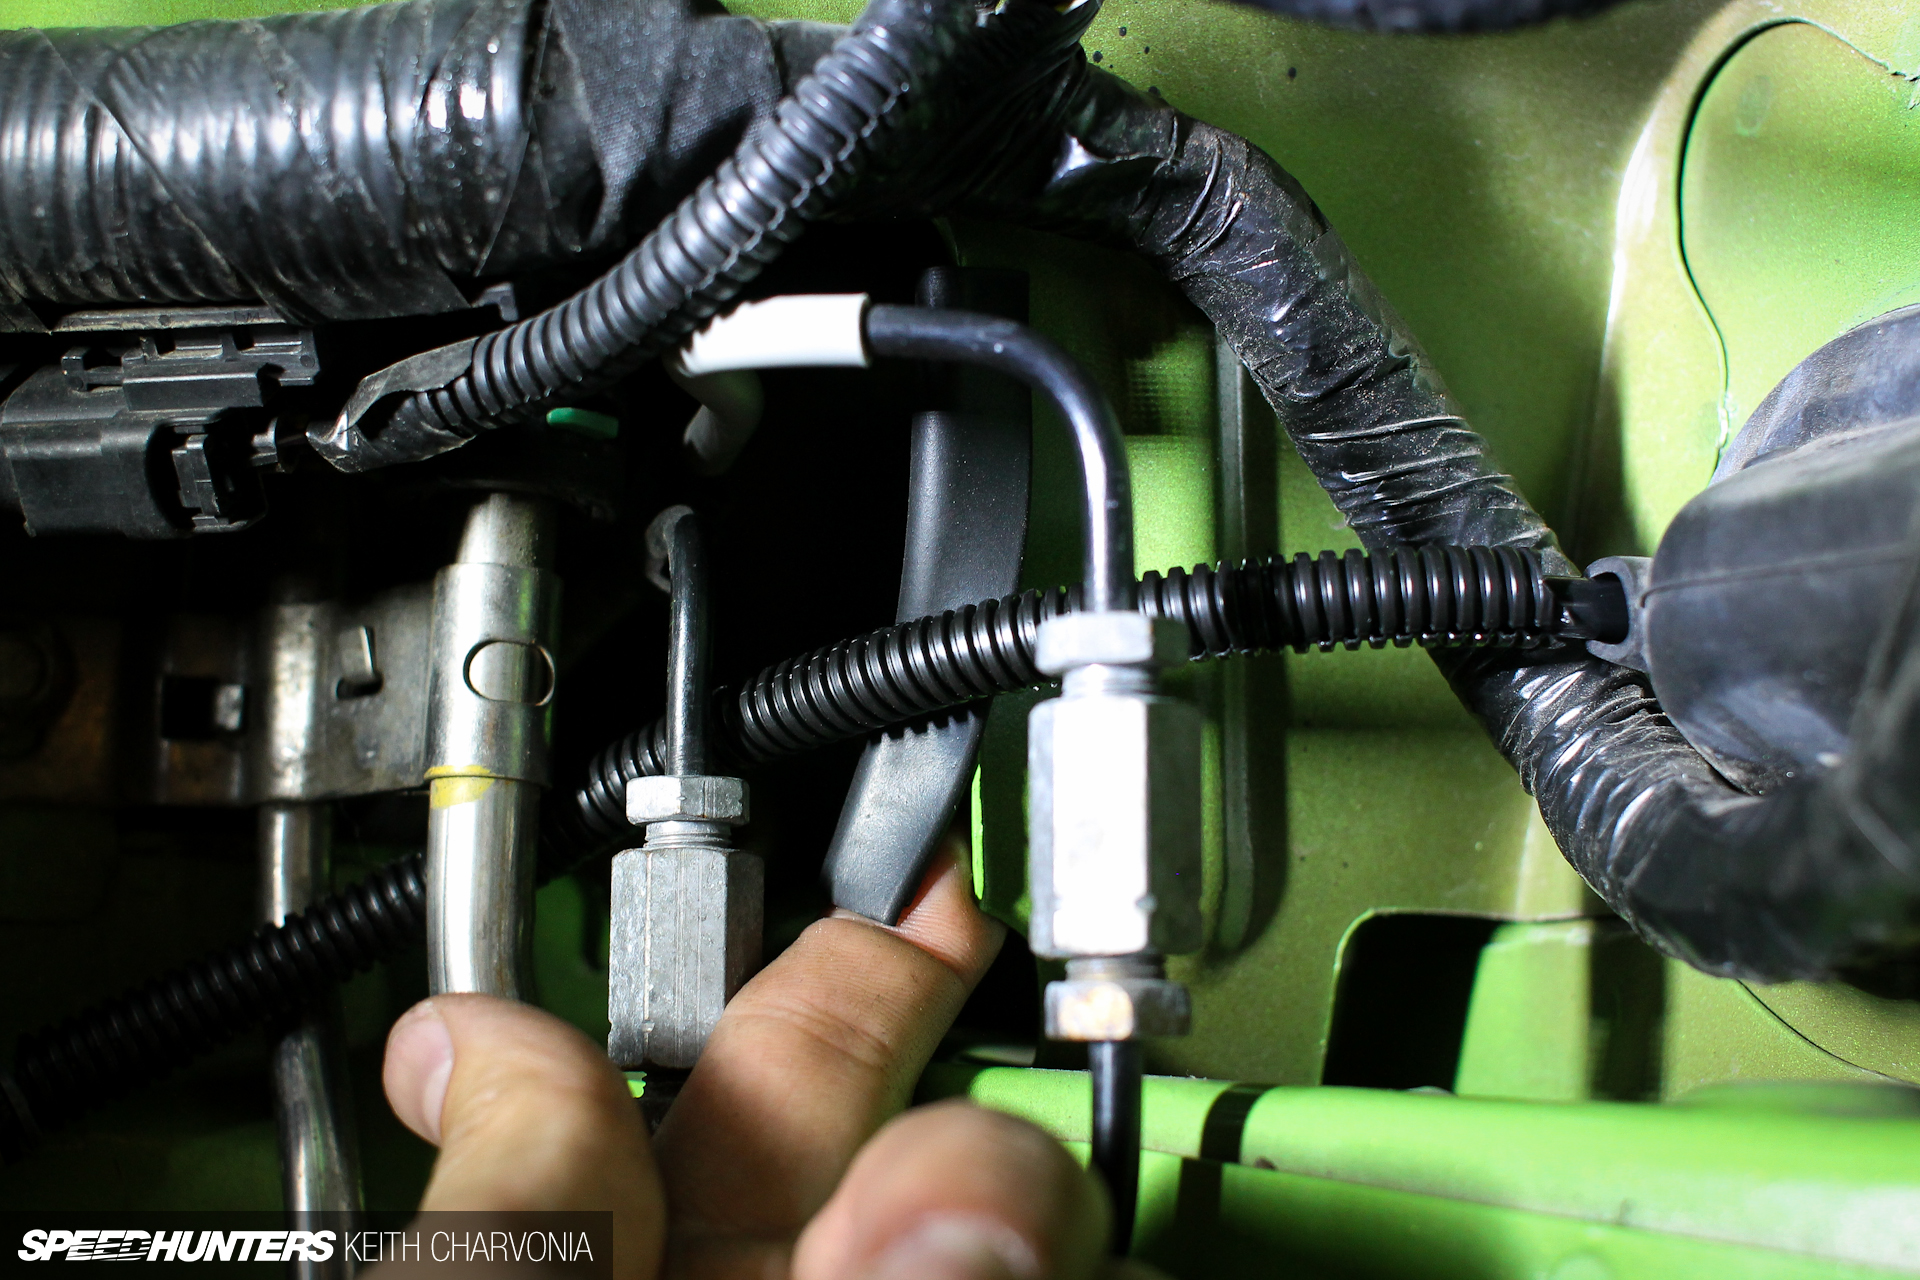
The braided leader hose could possibly contact the brake lines while turning, so we added some loom to keep it from rubbing on the brake line.
Finally we tethered the line using loop clamps, making sure to leave enough slack for the wheels to turn.
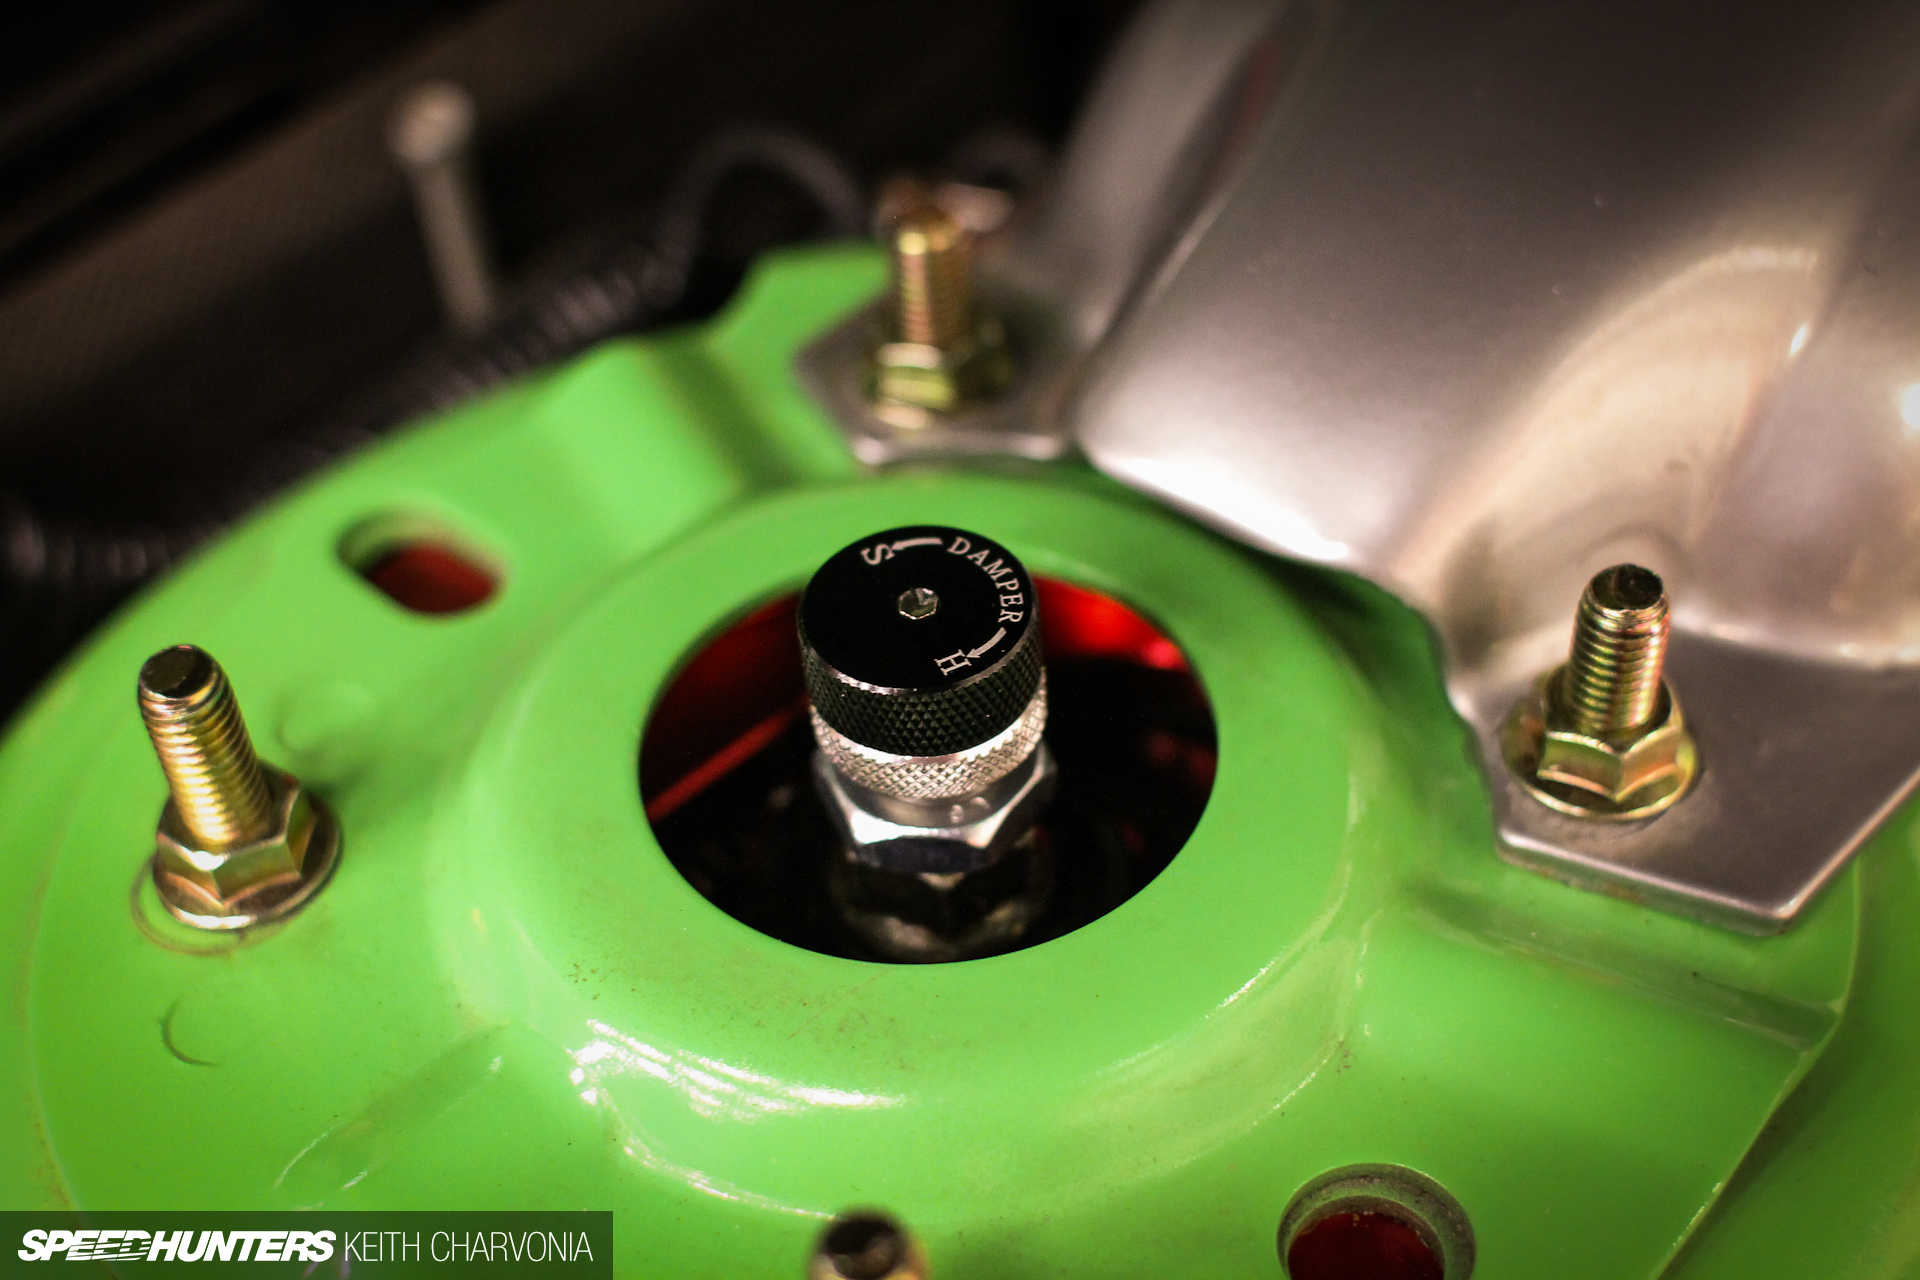
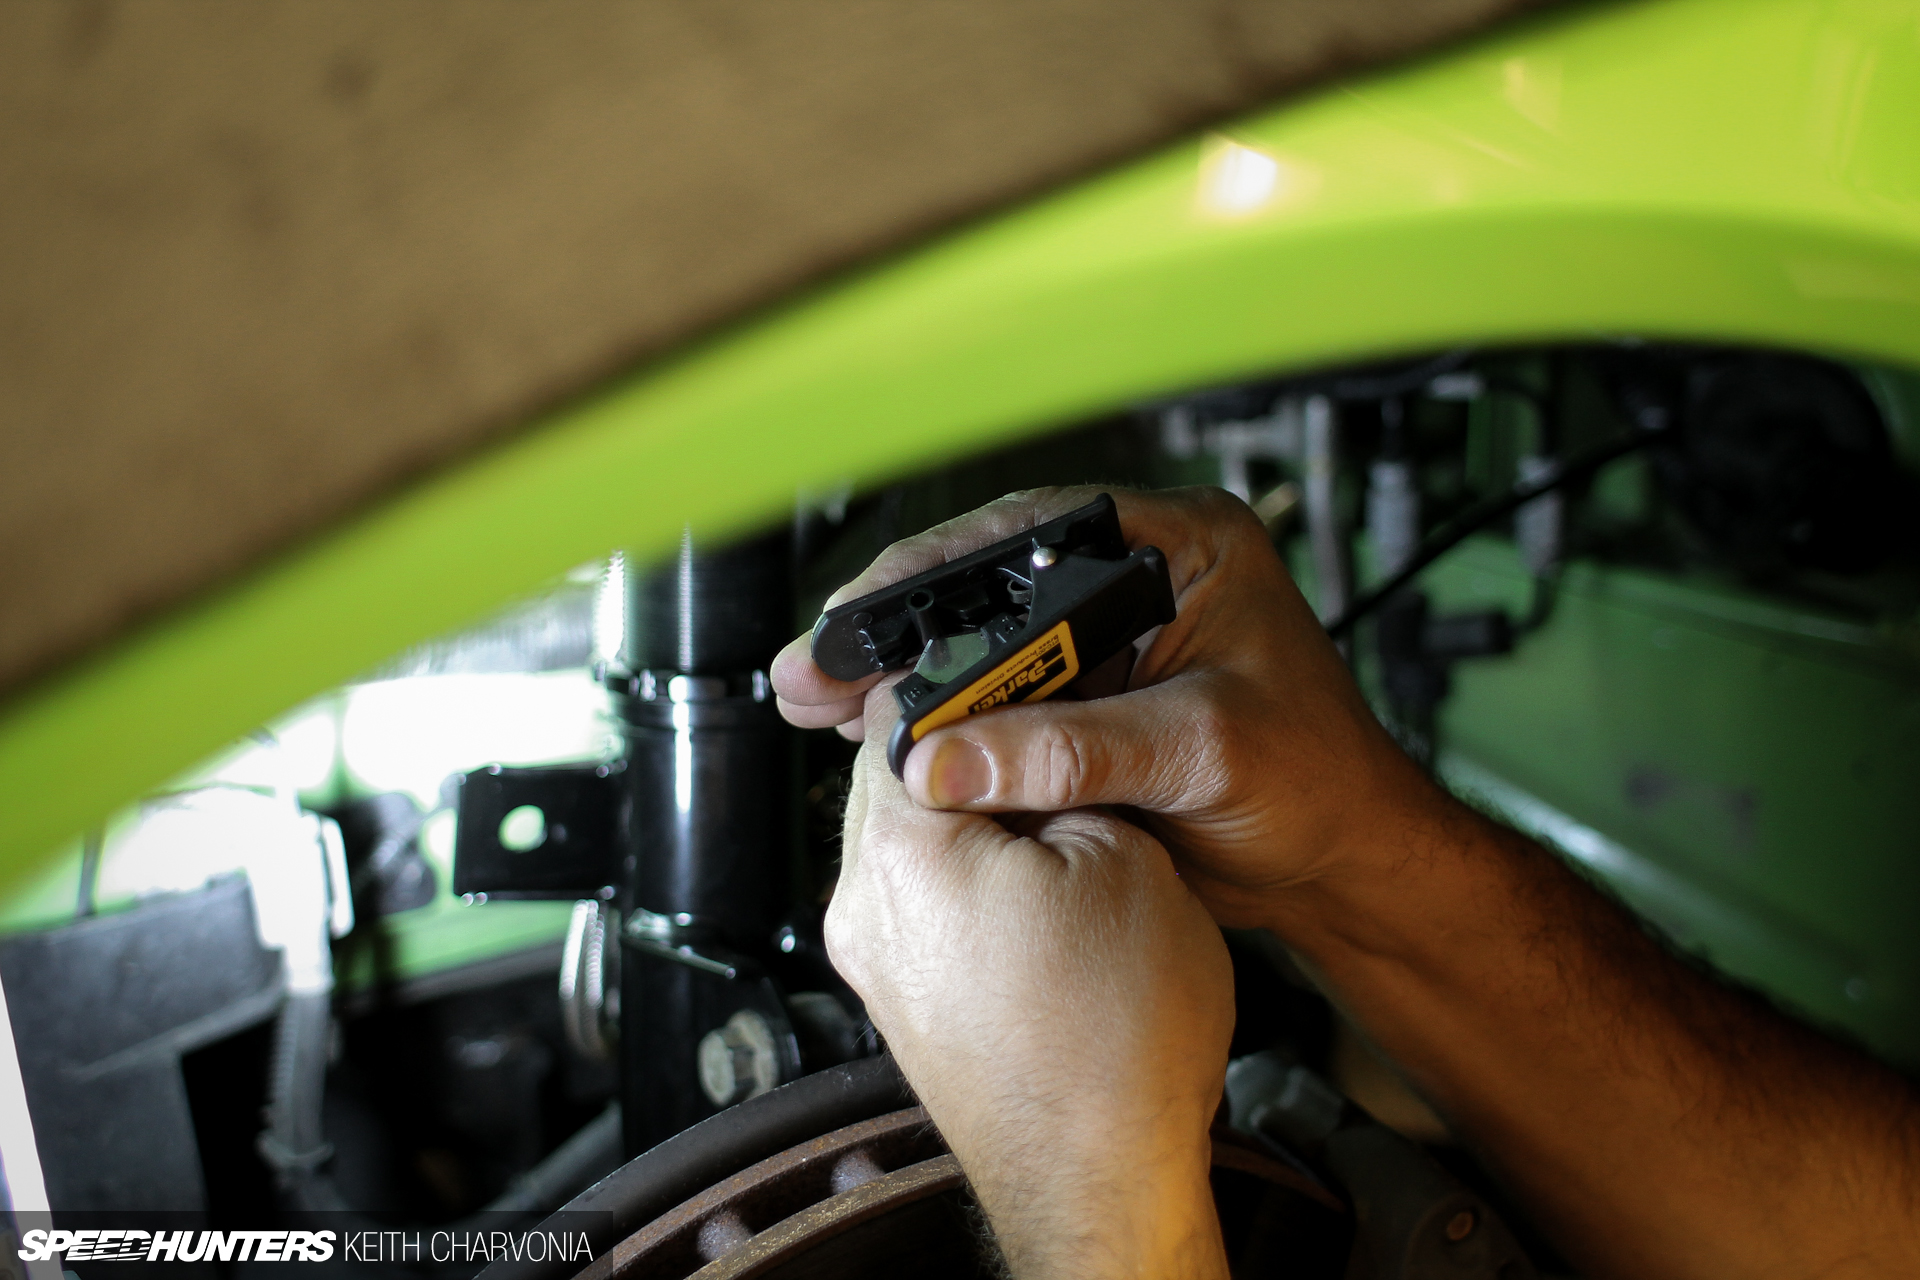
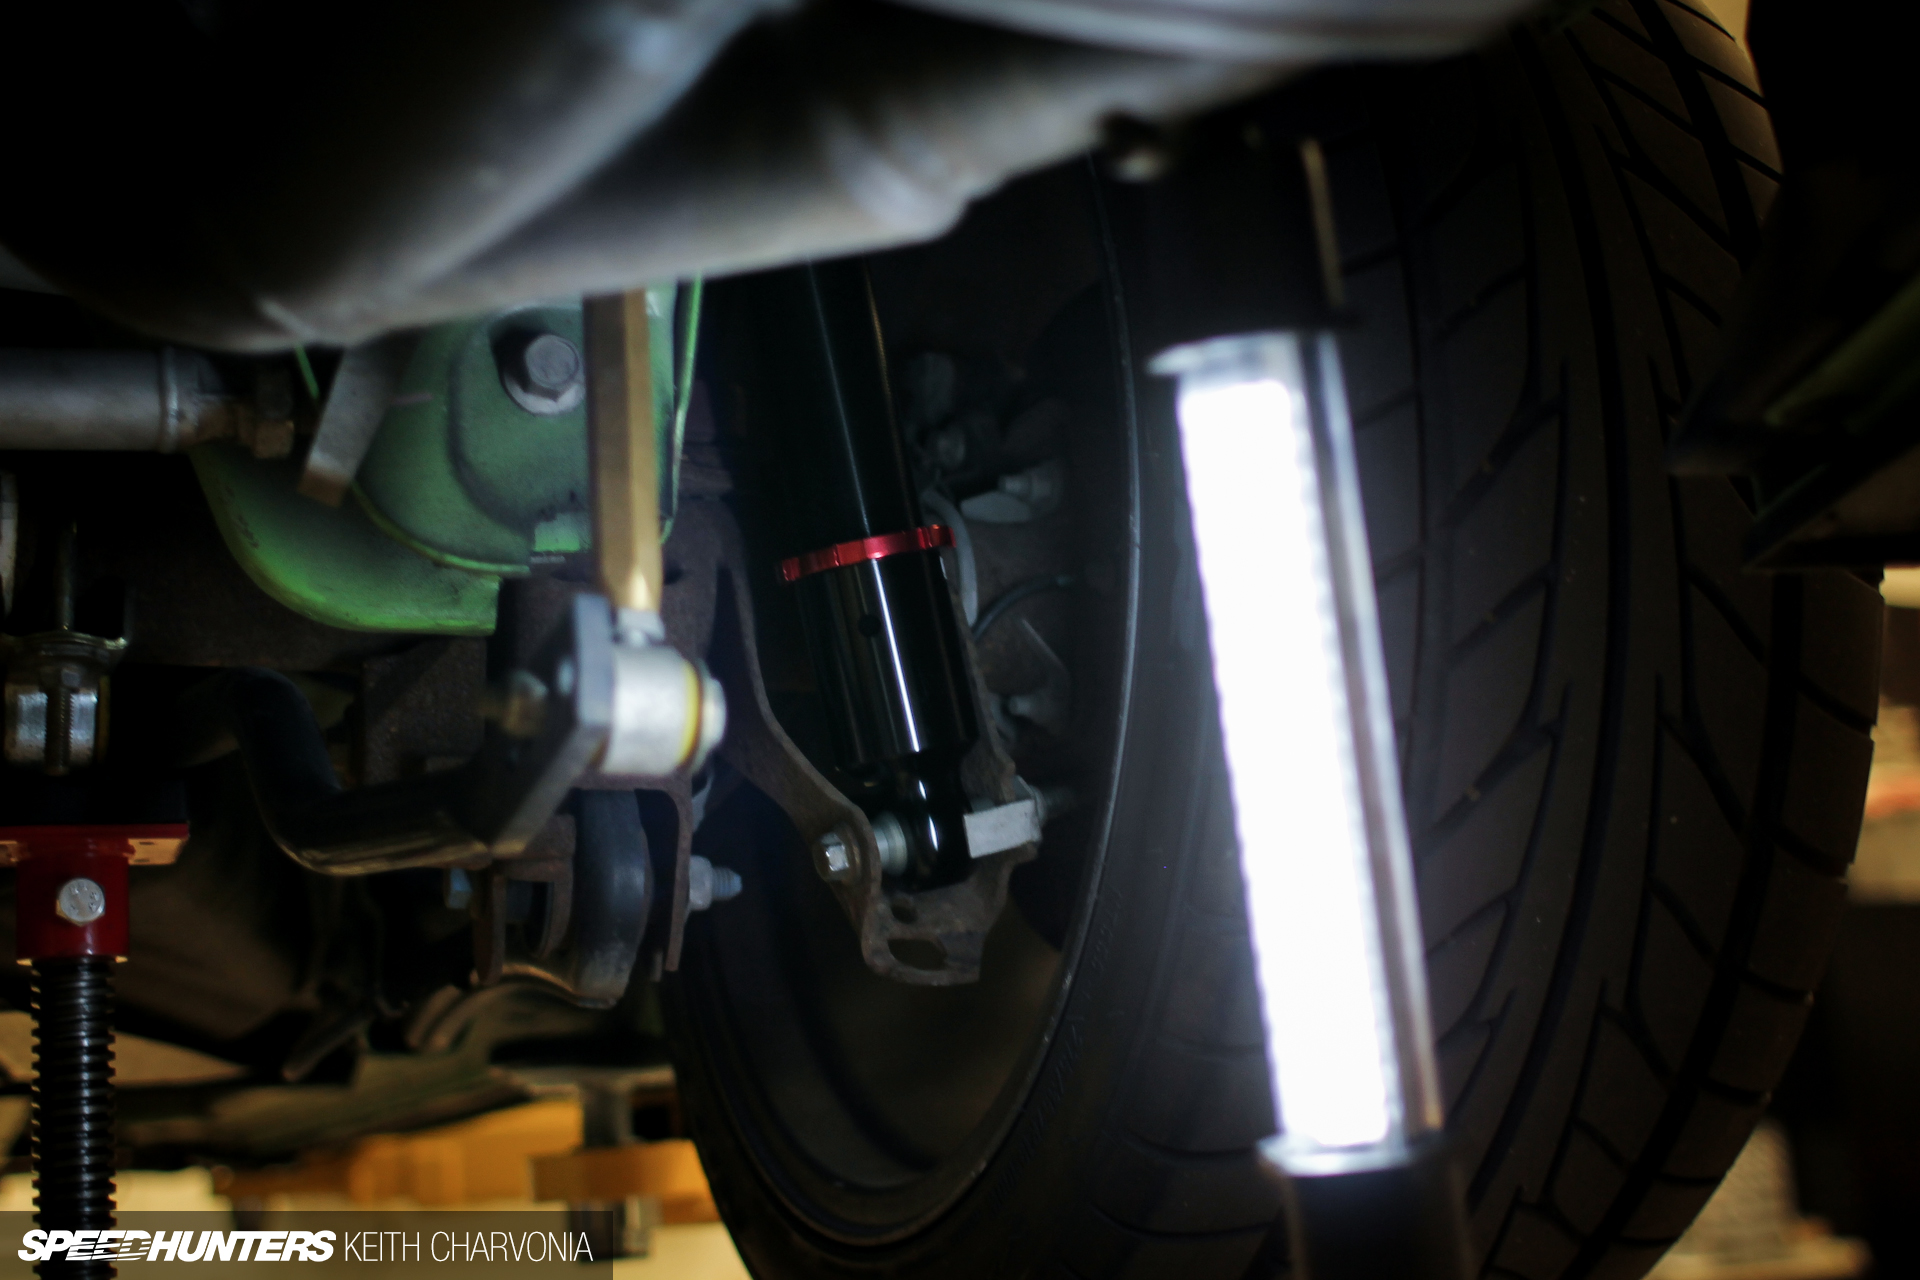
Brian showed me how to use the shock tool to adjust the damping from soft to hard. You get 30 clicks of adjustment with this kit: plenty to tune with.
On to the rear
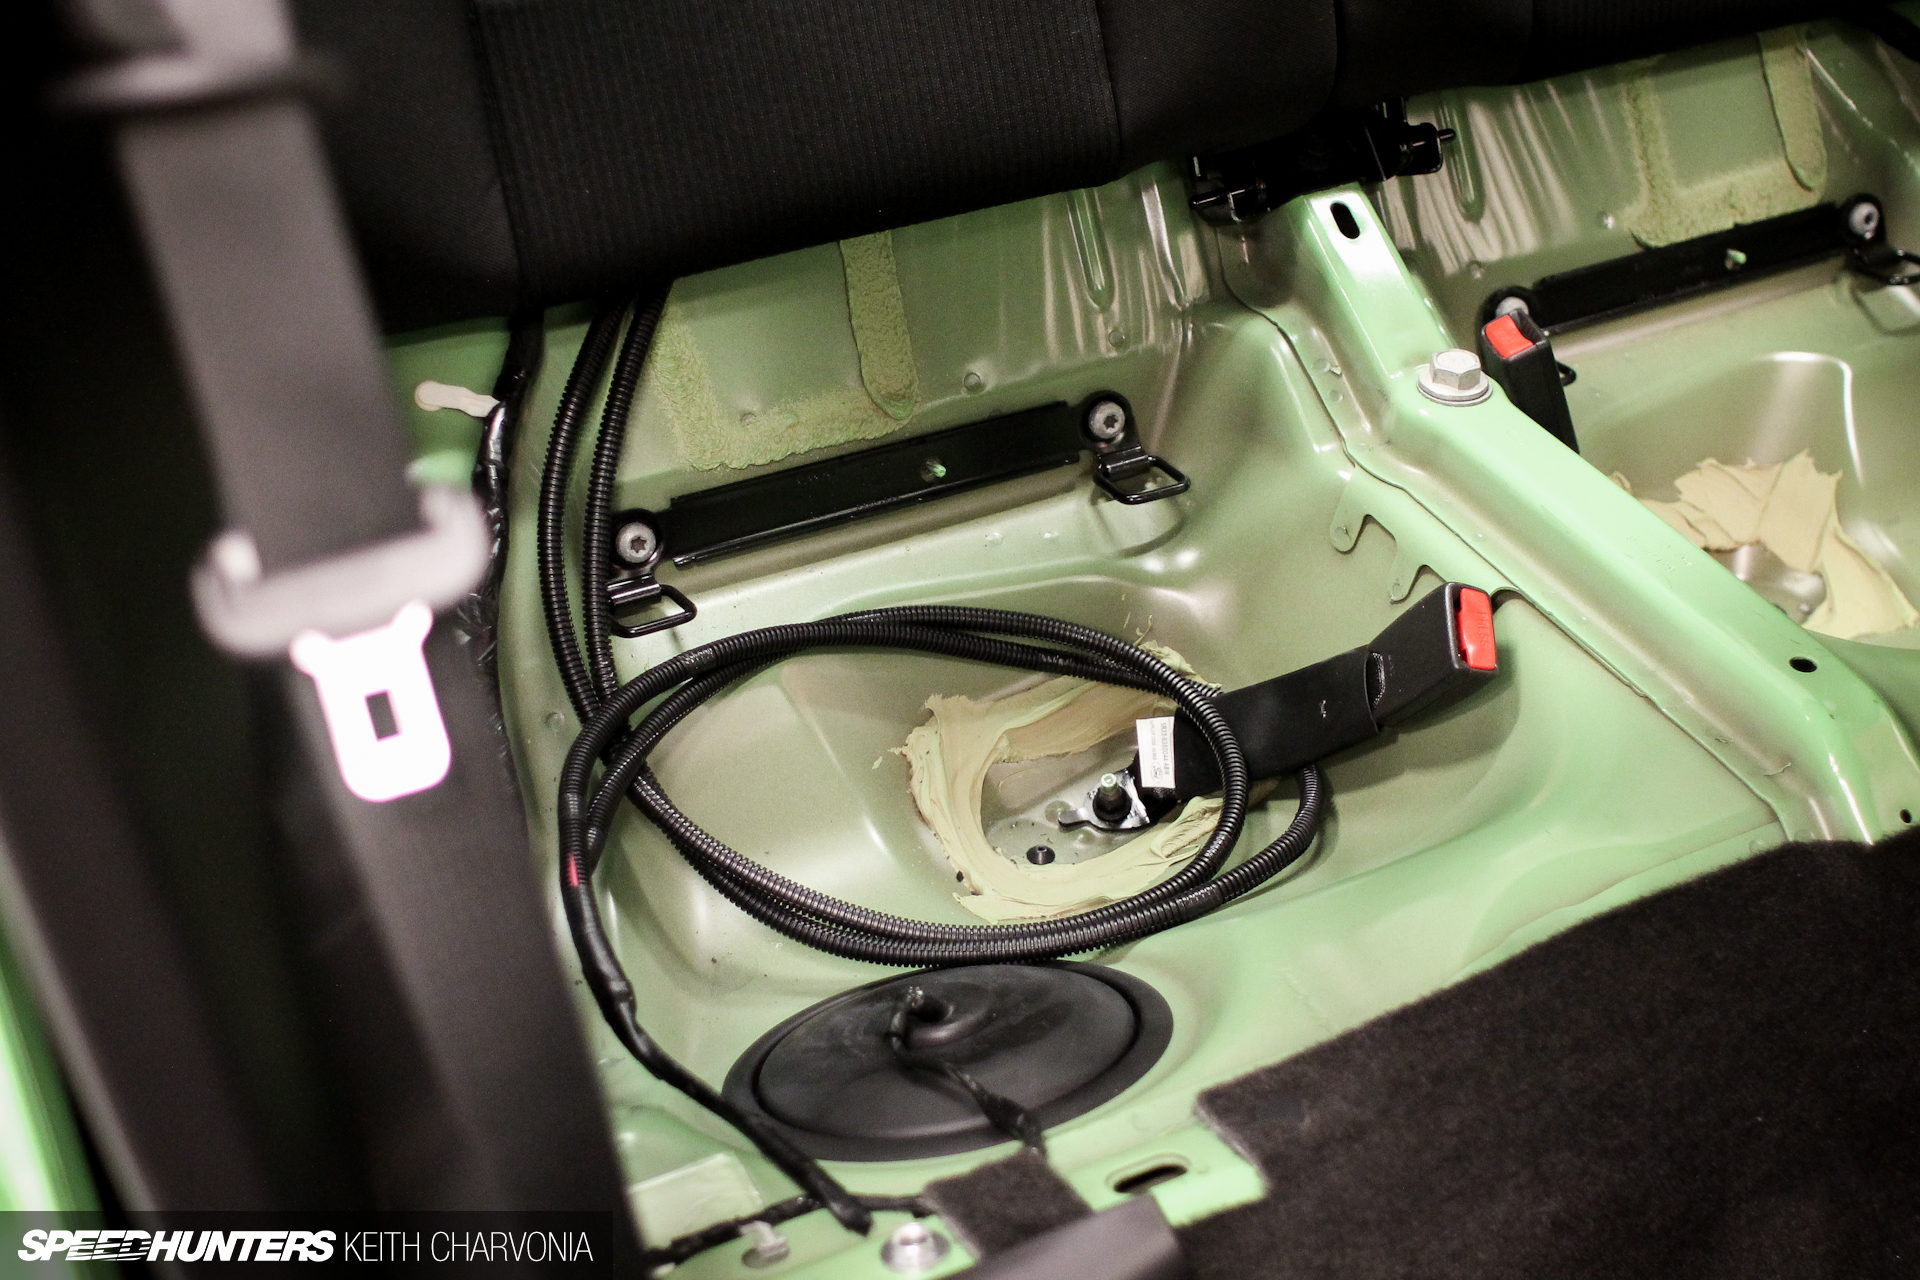
The first step in installing the rear set-up is to remove anything that’s in the way, like the back seat.
We also pulled the plastic interior panels.
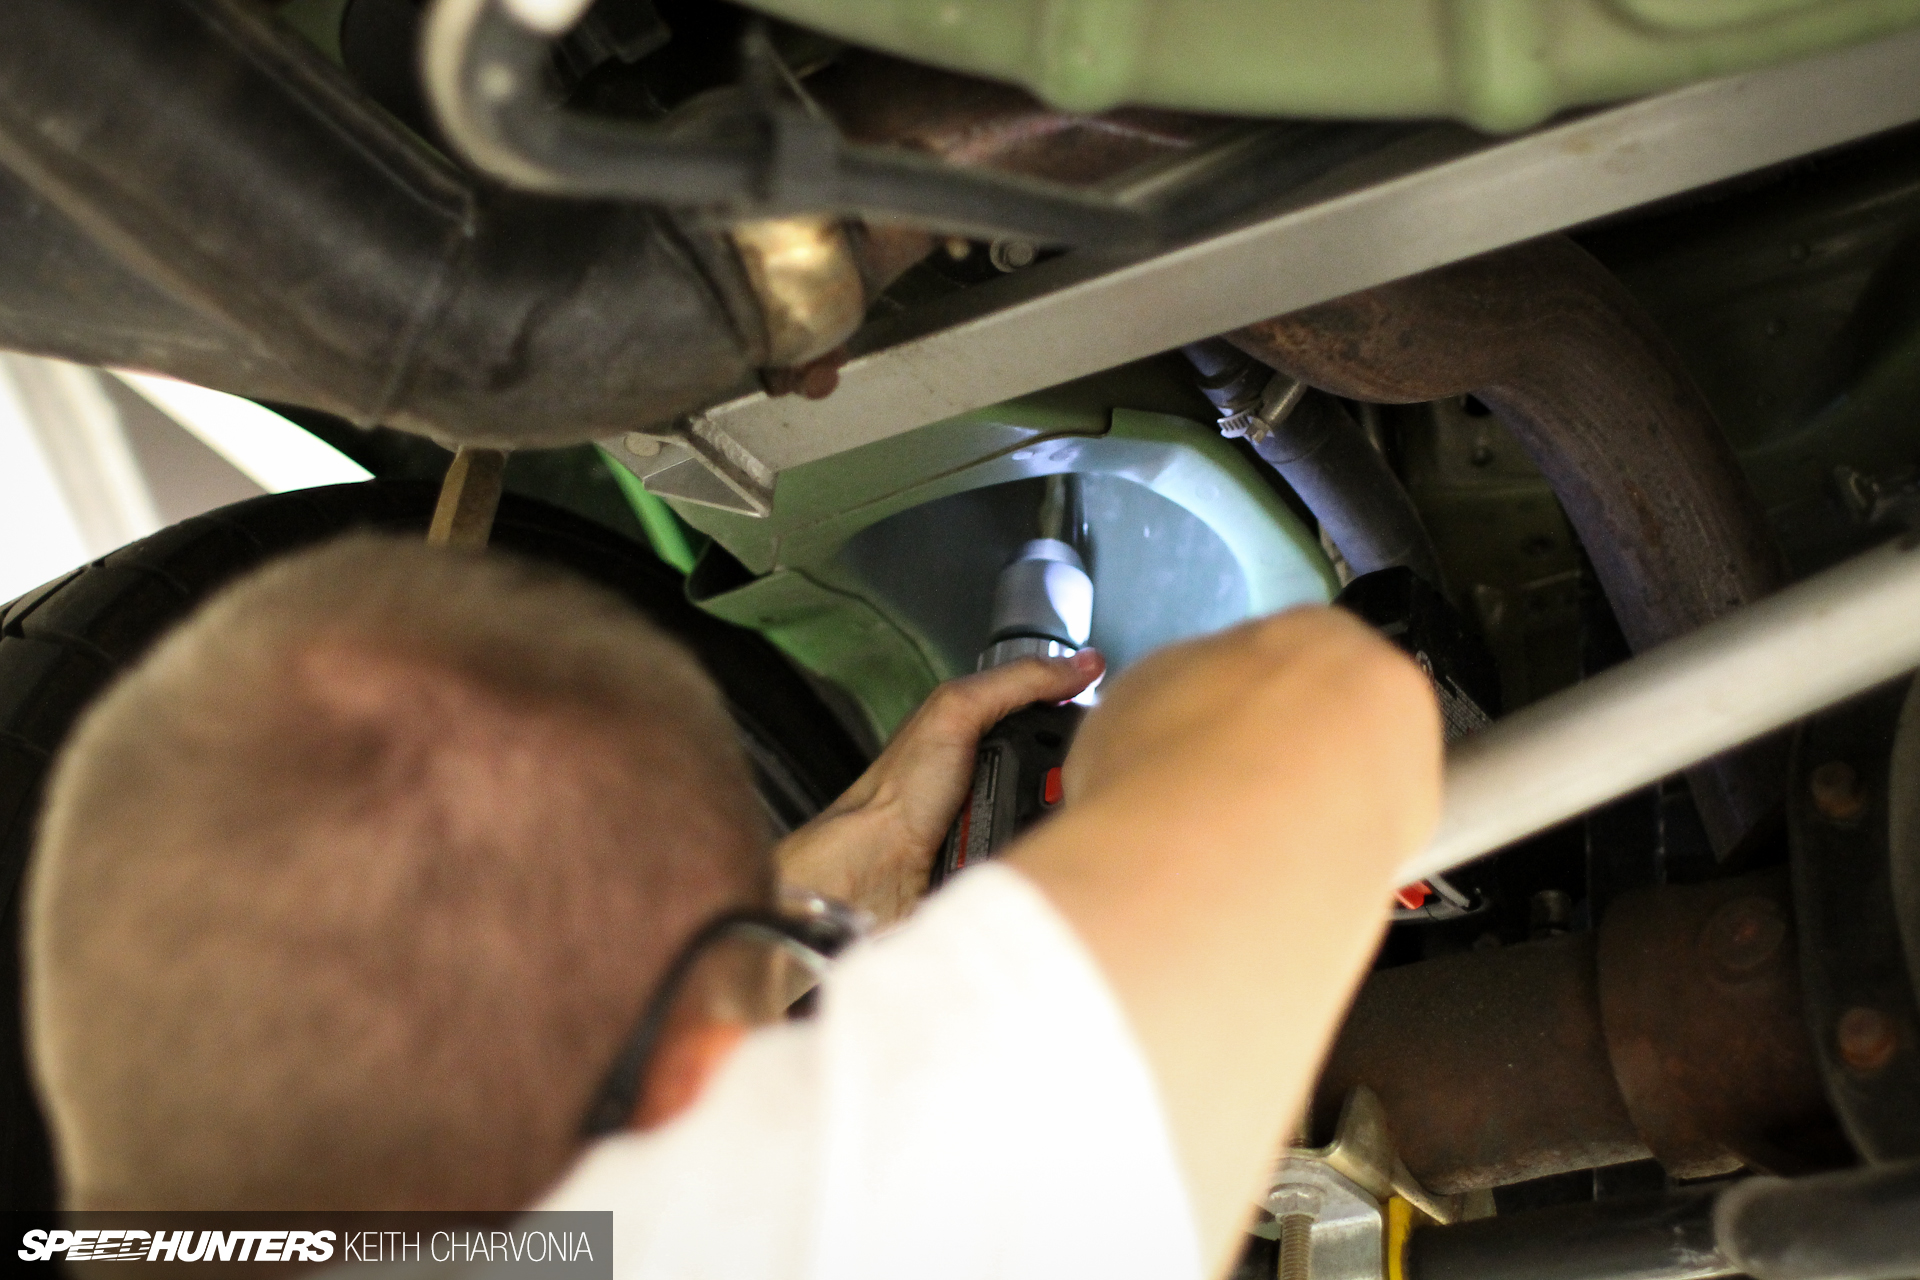
Since I’m a fabricator I was entrusted with measuring and then drilling the four required holes.

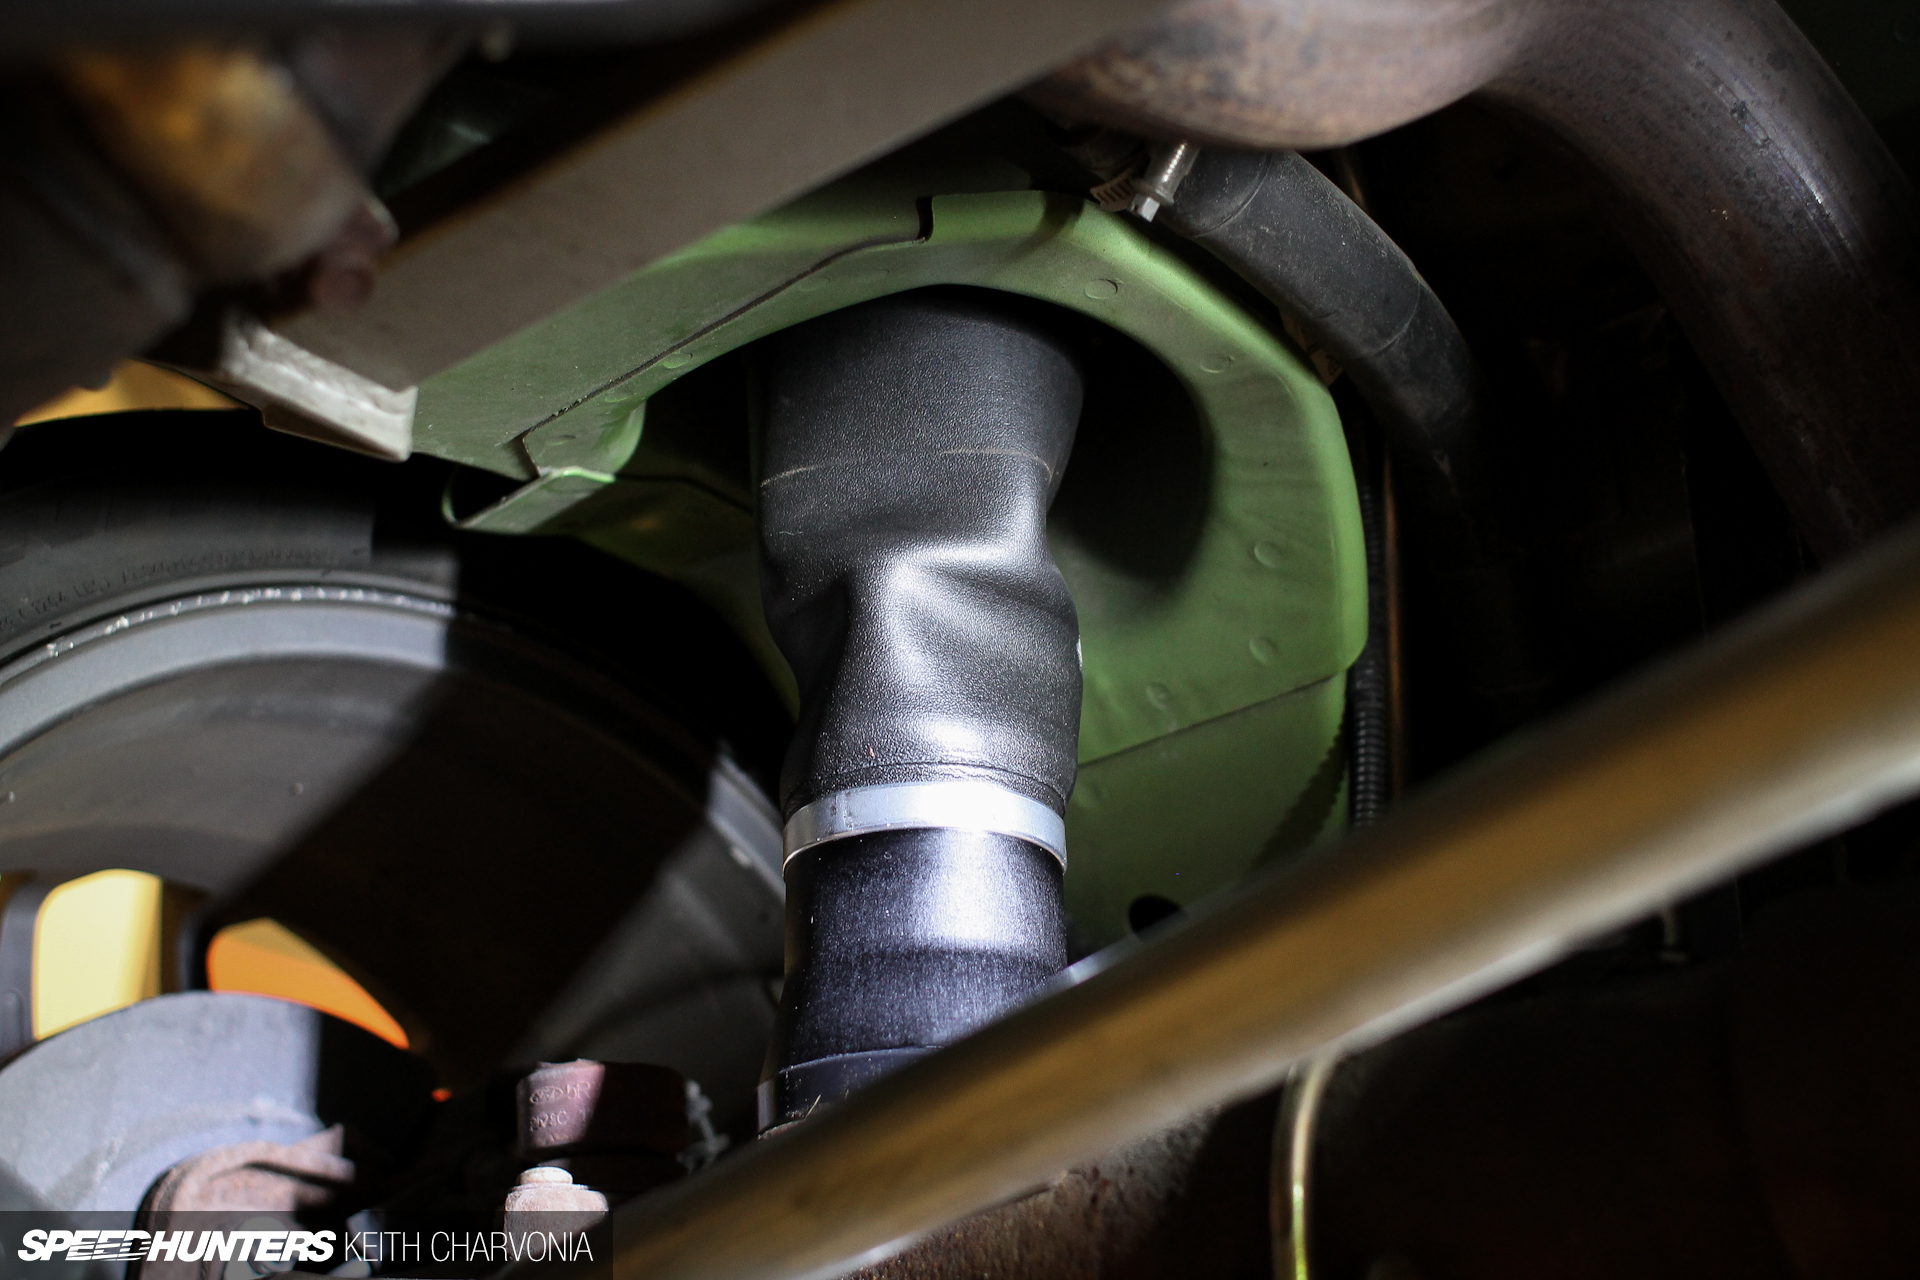
The center hole is where the airbag bolts in and the side hole is where the air line will be routed.
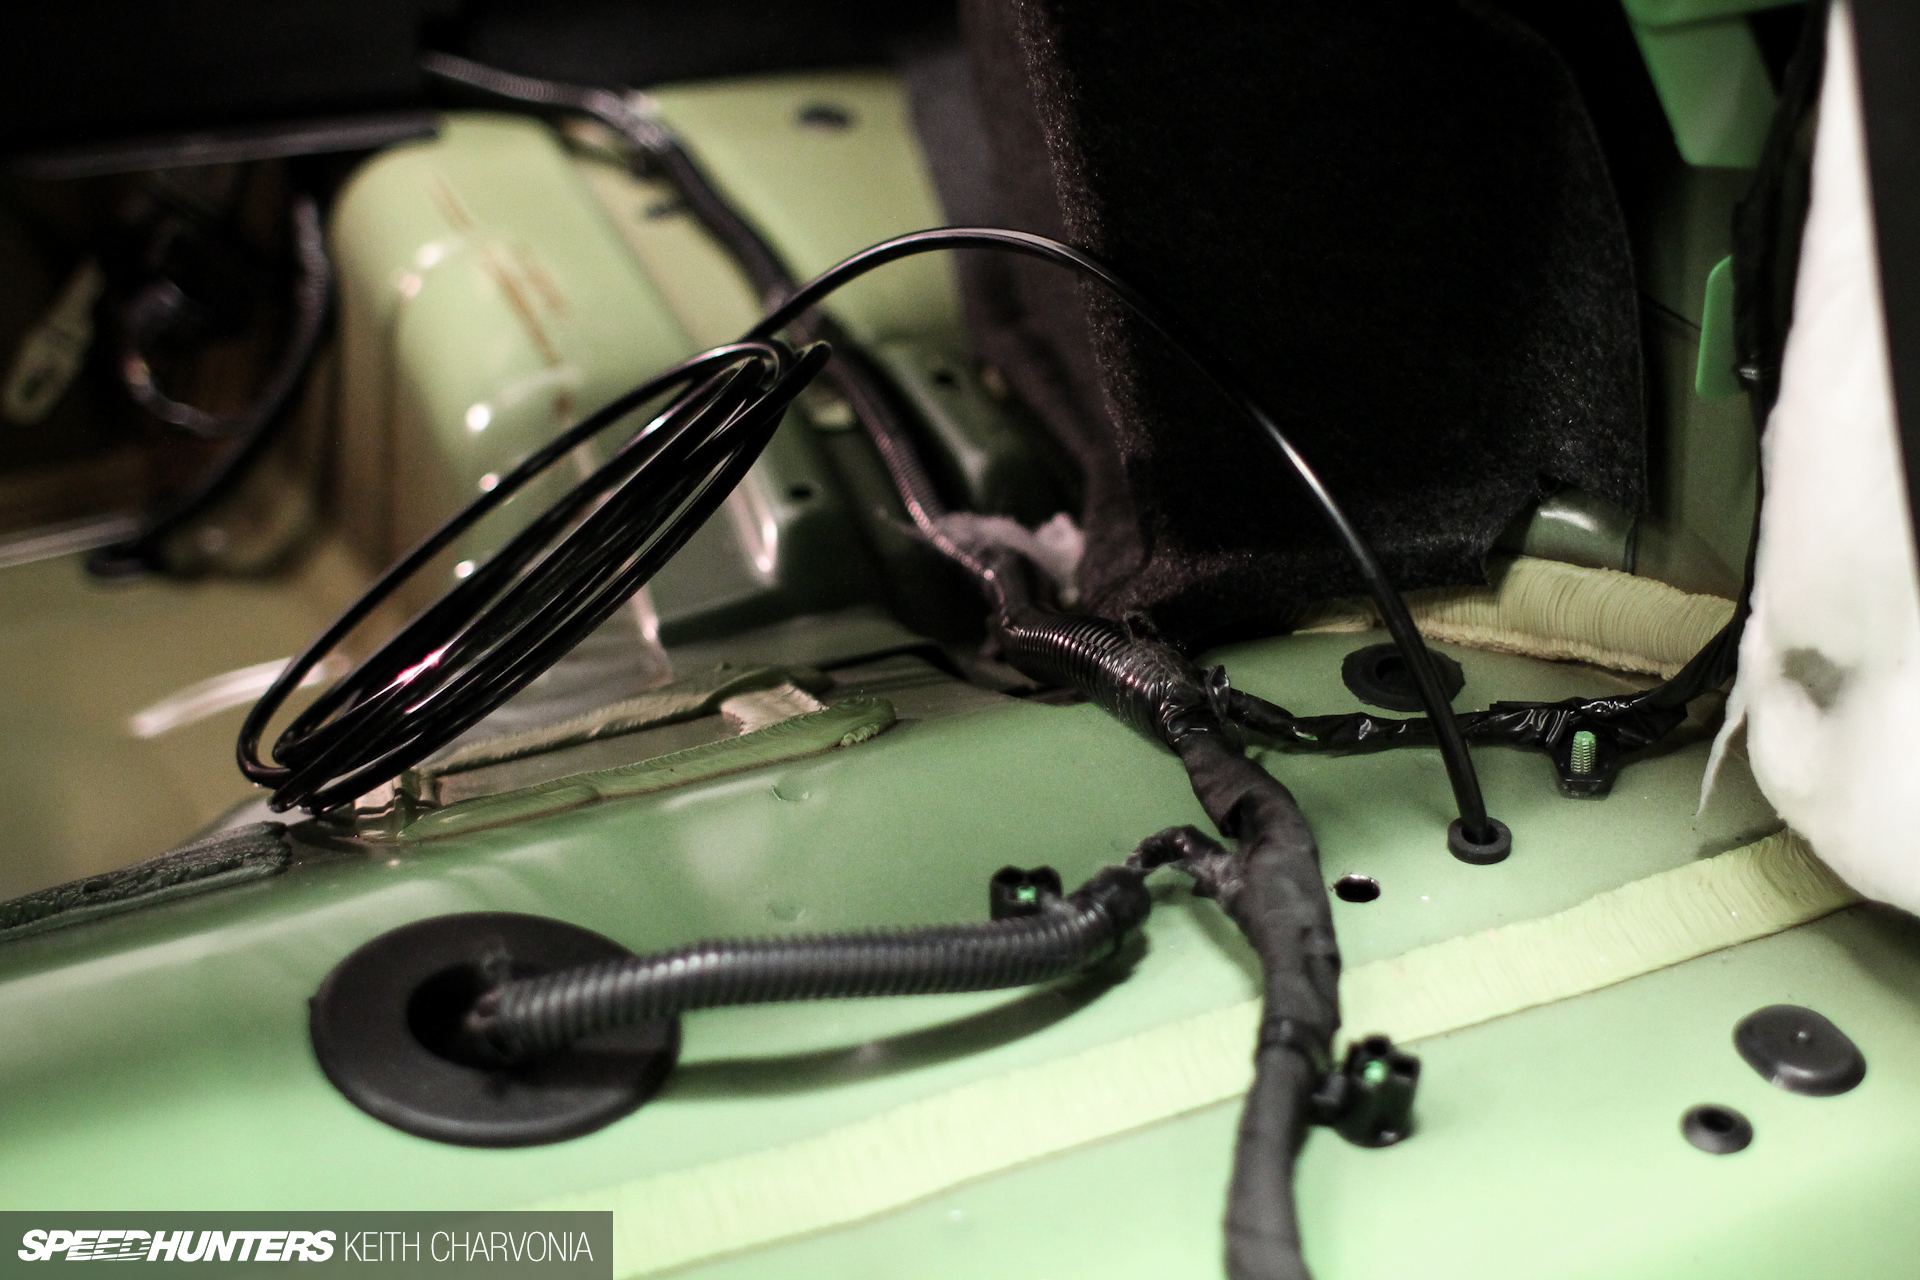
I stuck a grommet in the hole and ran the air line through, leaving lots of excess line to work with.
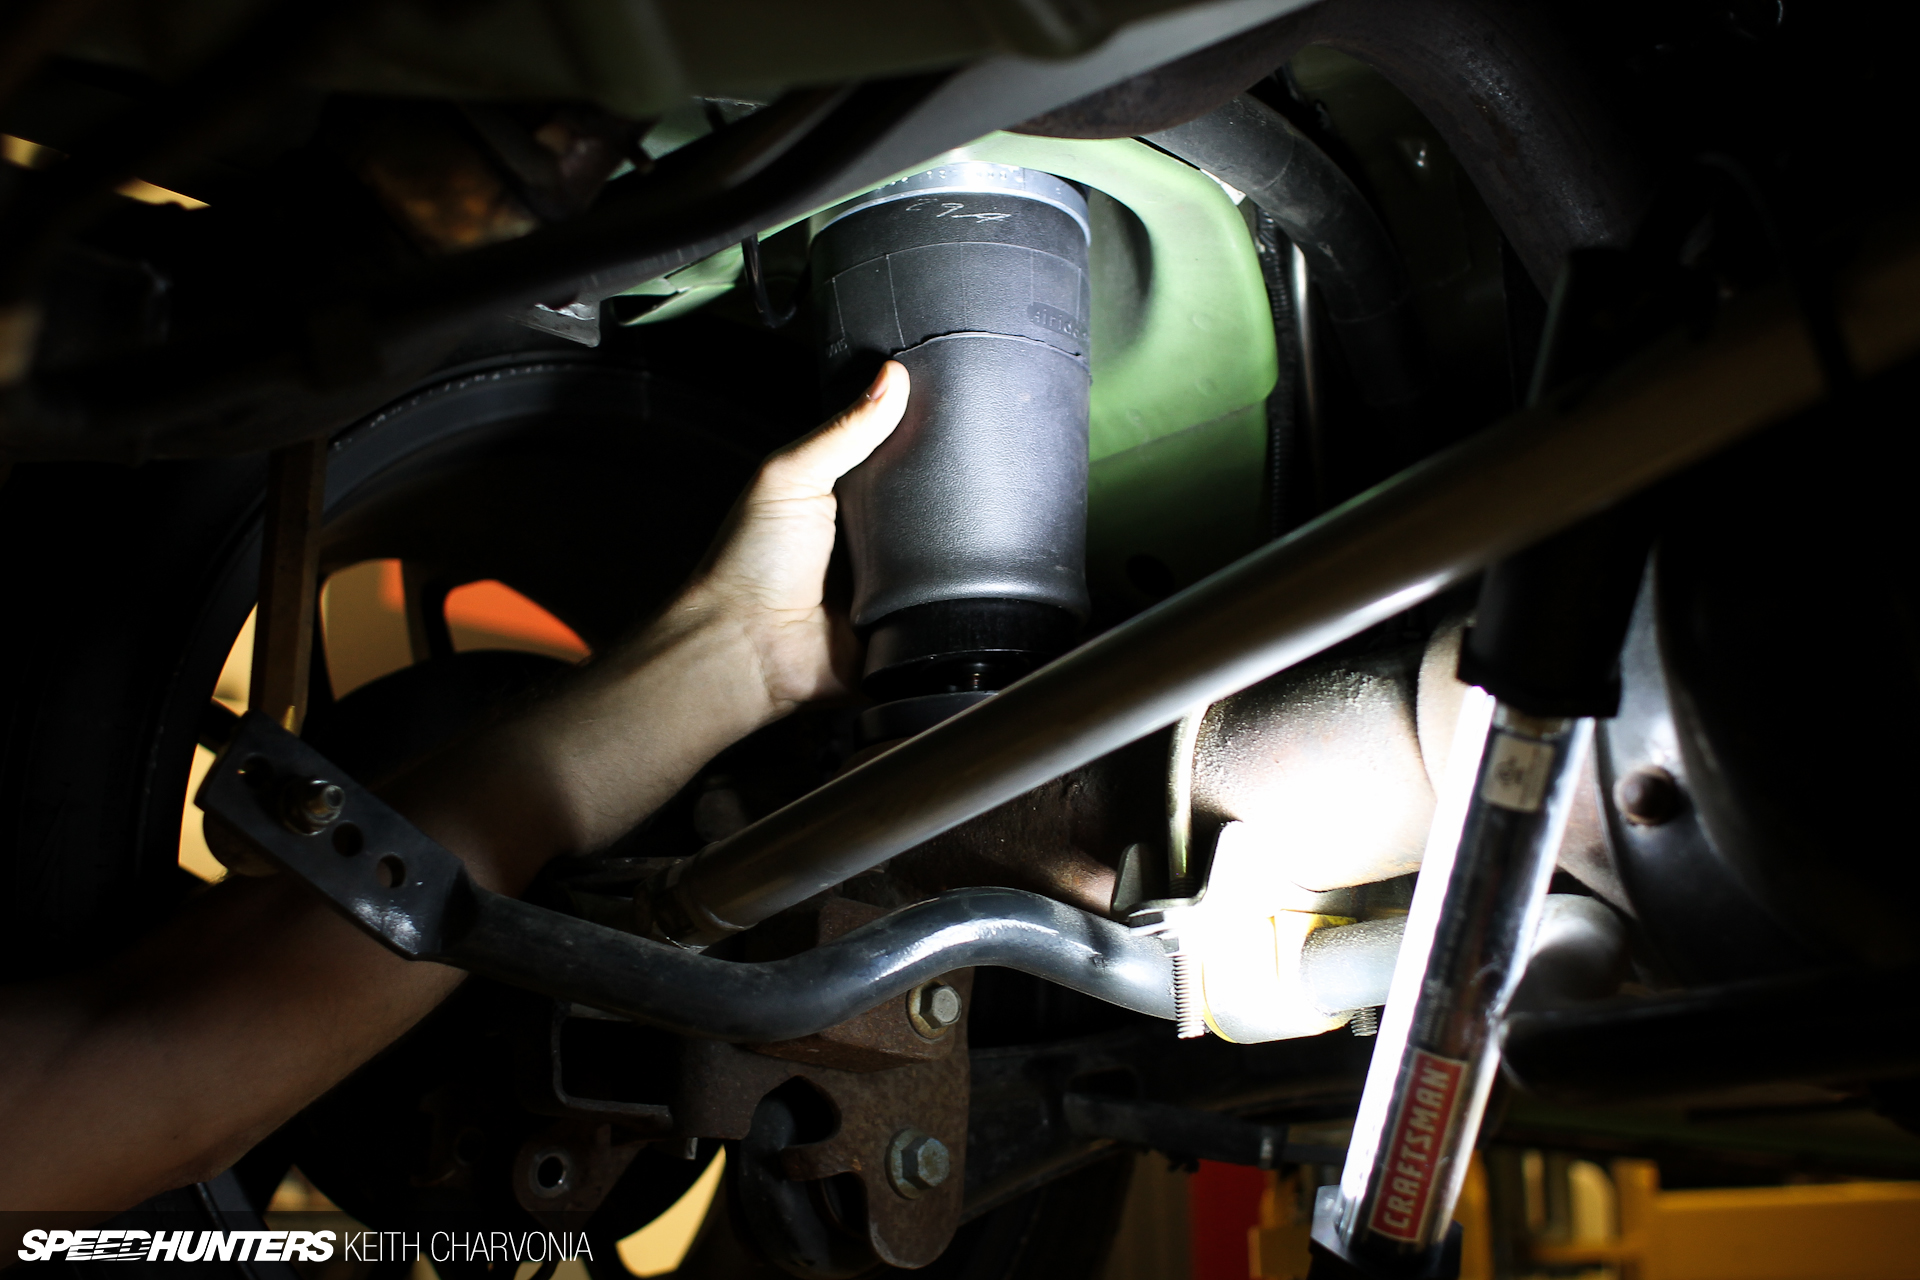
Brian slipped the provided threaded plate into the lower spring mount and spun the airbag onto the threads.

Next we compressed the bag so we could plug in the air line. Again, it’s advisable to trim the end of the air line so you don’t have to undo all your work later to repair a leak.
Finally we could bolt the top of the bag in through the holes I just drilled.
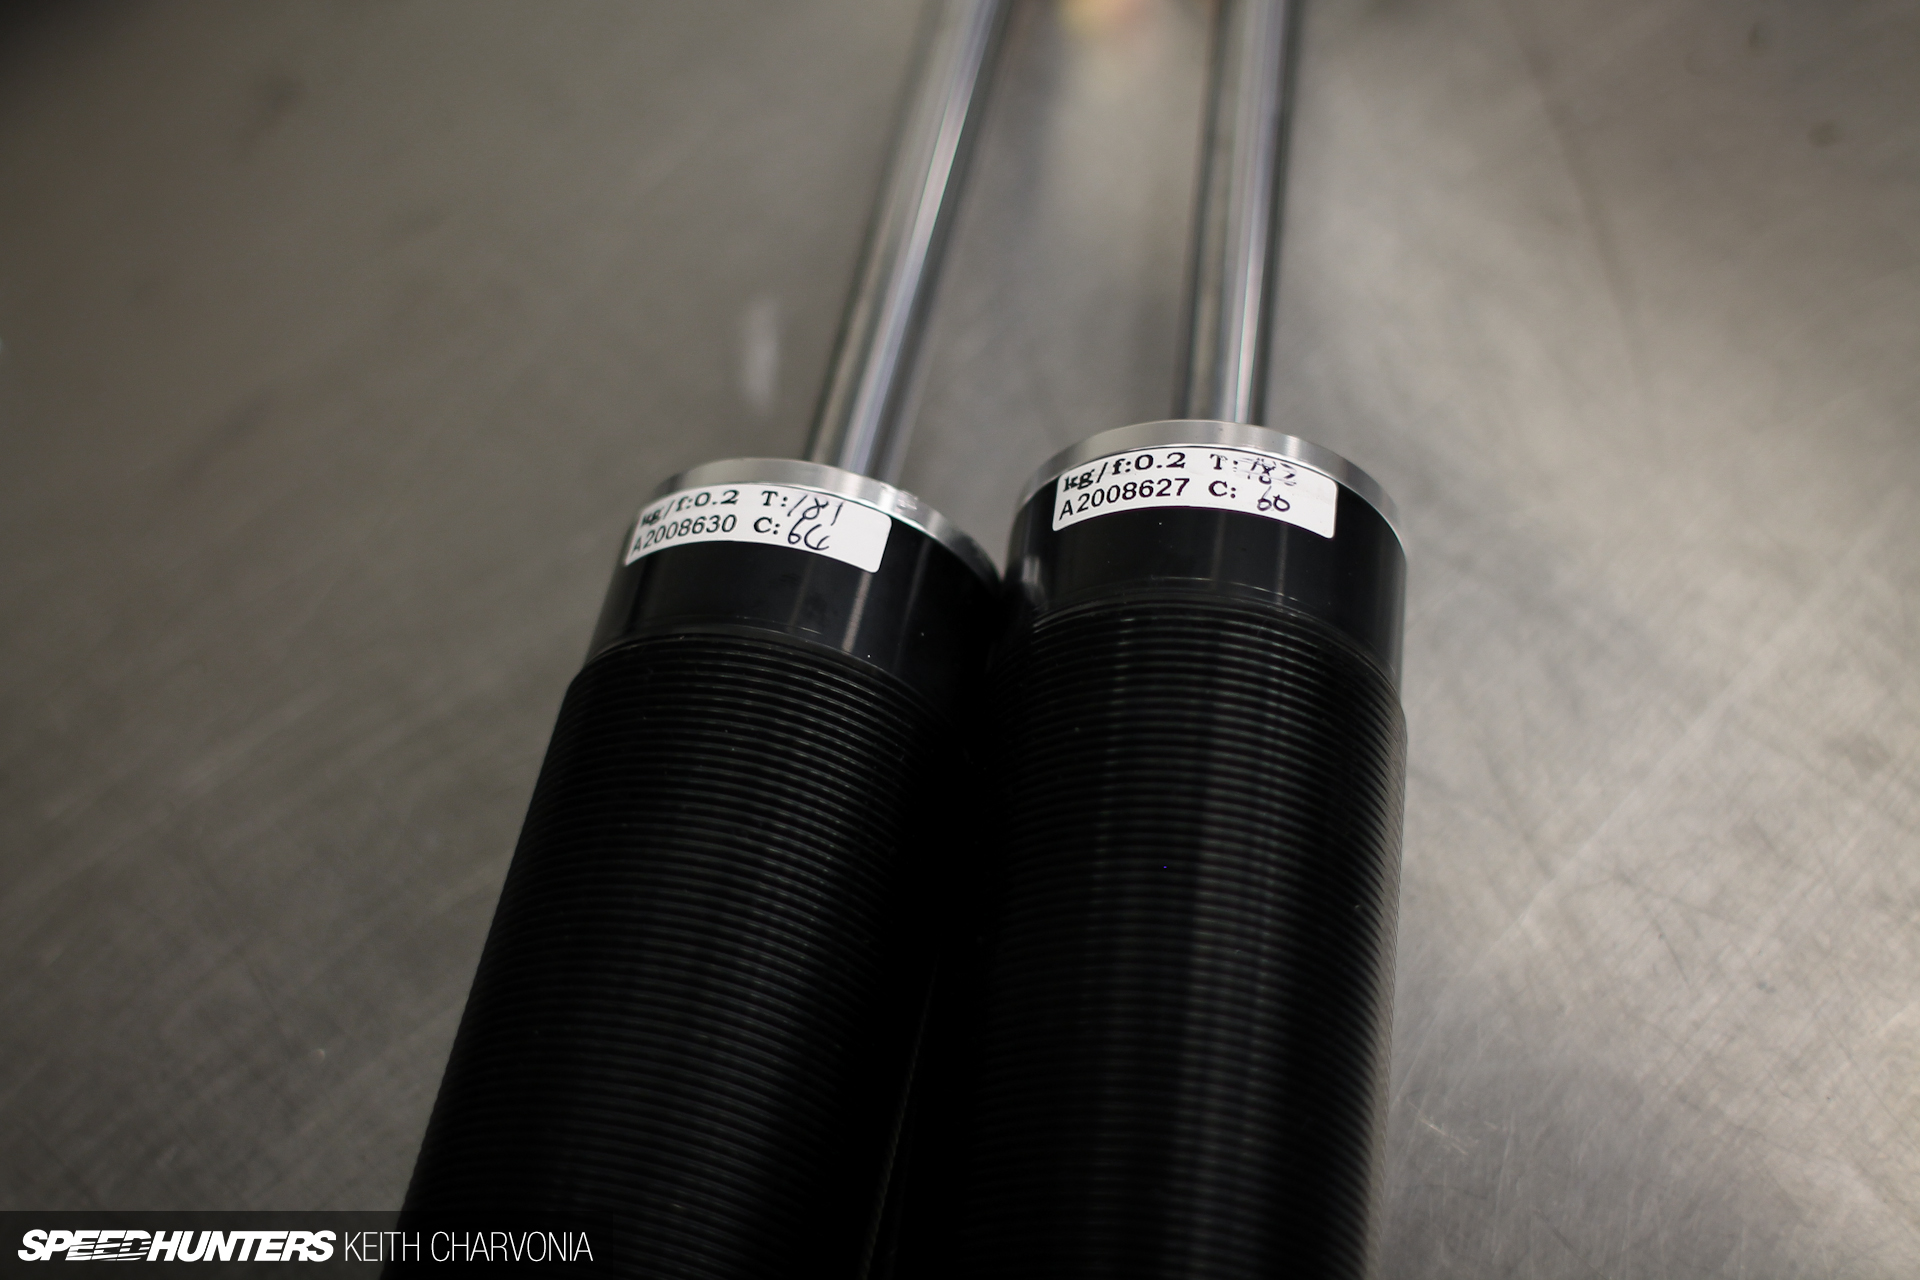
These hand-written numbers caught my eye. According to Brian every shock is run on a shock dyno and the rebound and compression ratings are written on these tags. A pair of shocks must be within a few pounds to be deemed a matching set. Also notice the threaded bodies: clearly a set of coilovers could be built with this same hardware. No sealed monotube shock absorbers here!
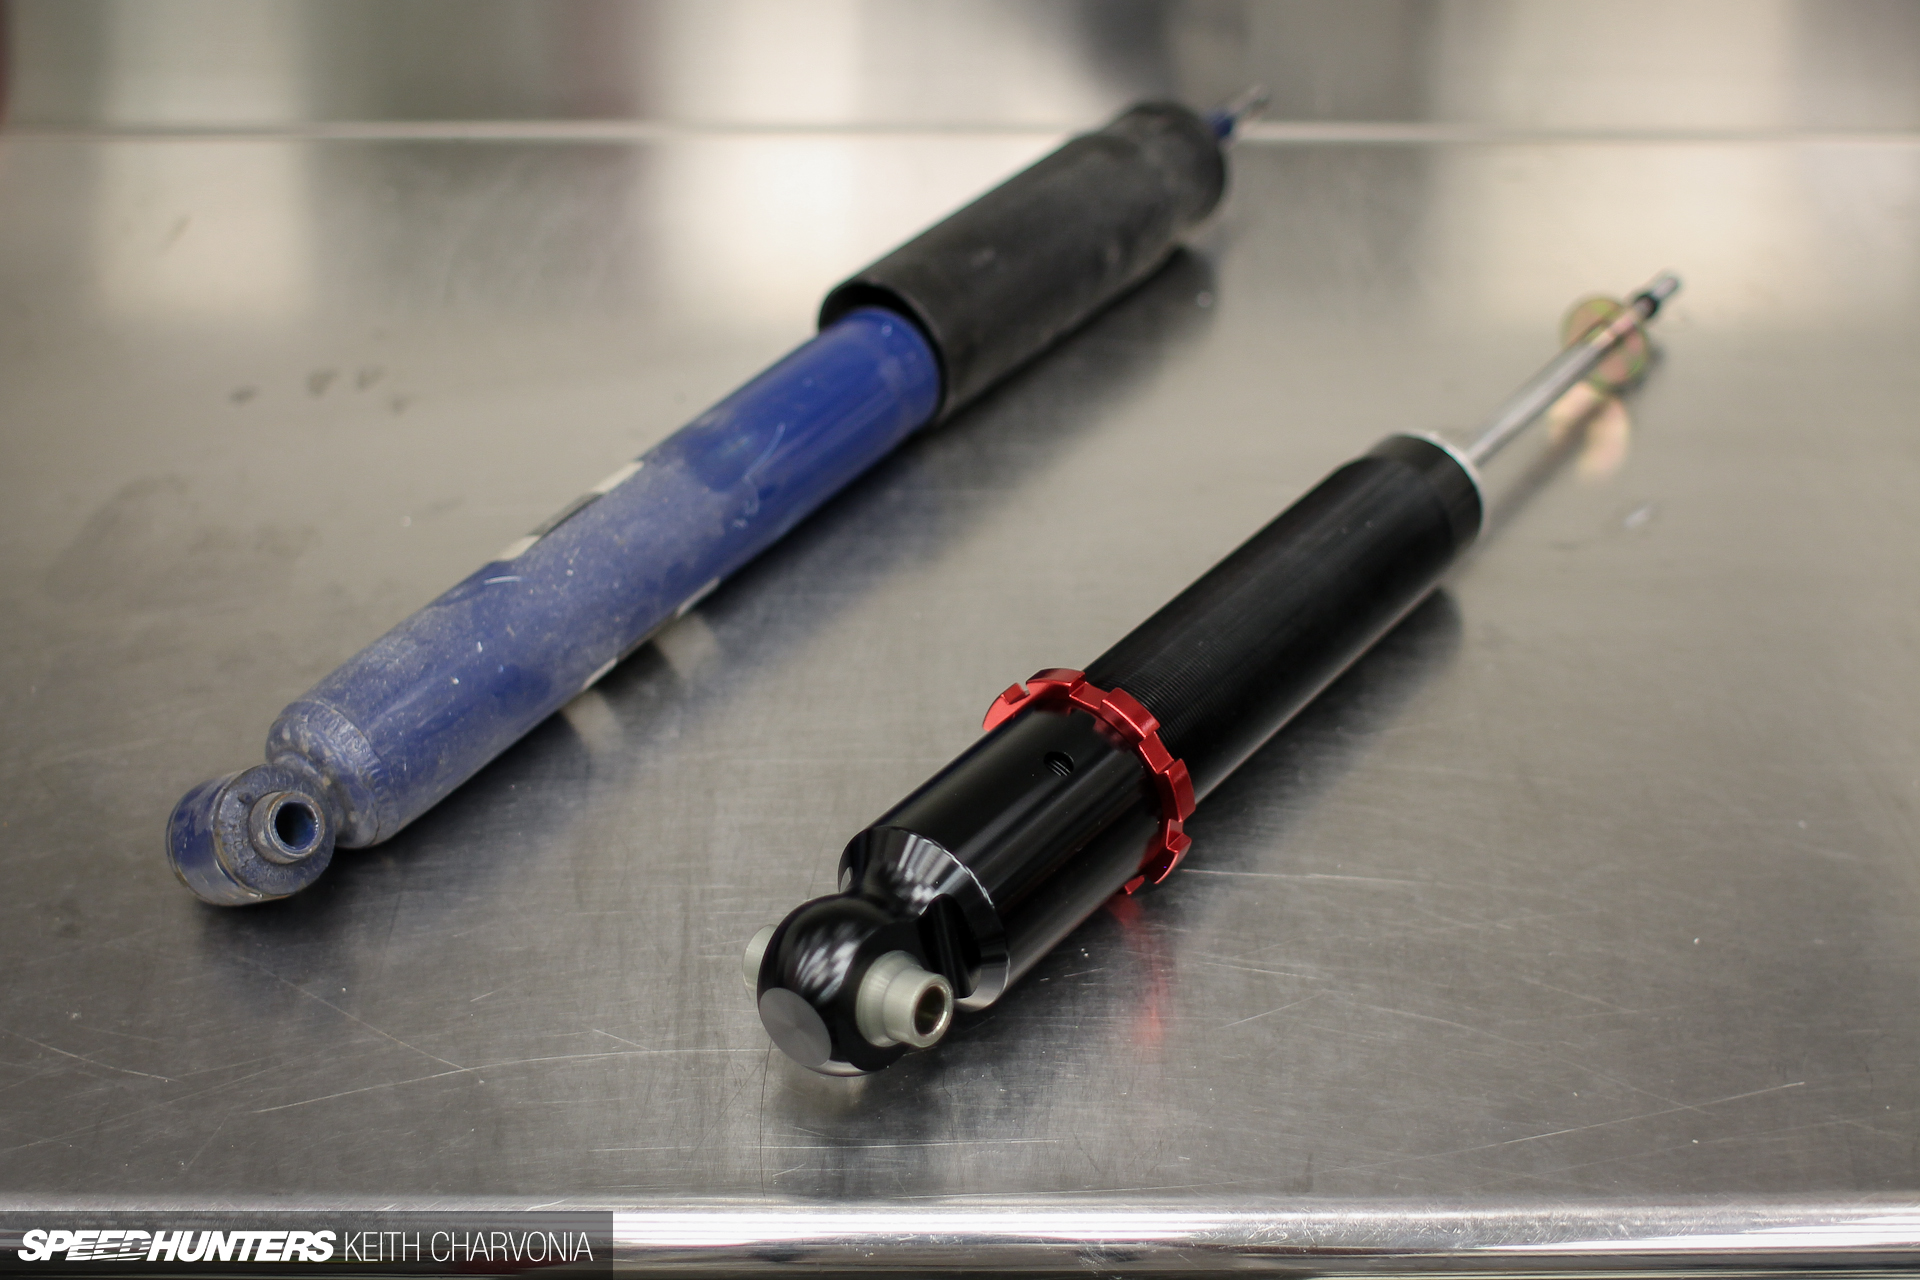
Here’s what came out and what went in.
They bolted in just like any other rear shock.
Wiring and plumbing, the fun stuff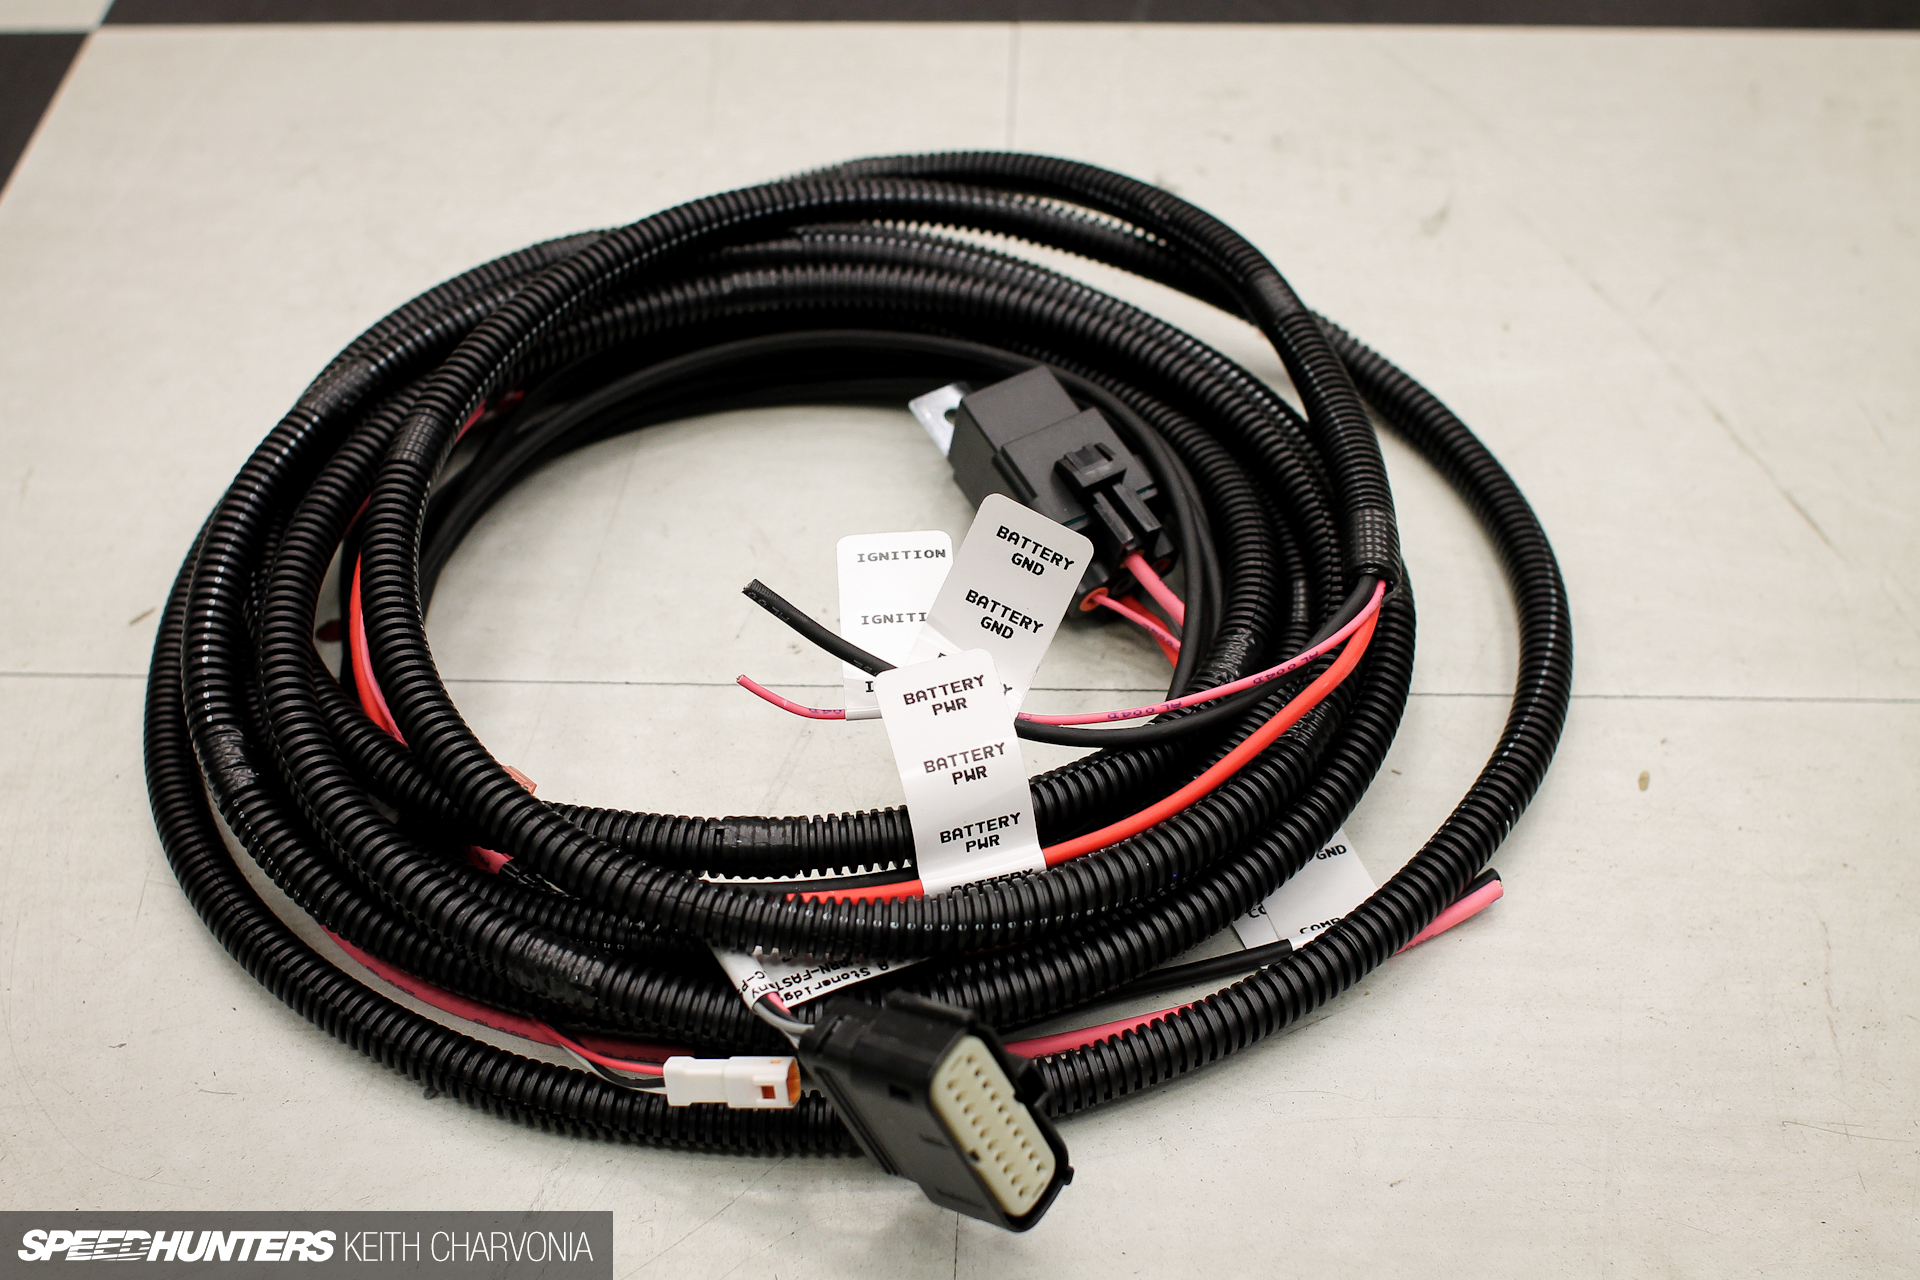
With all the wrenching out of the way we could finally turn our attention to the tasks that I really enjoy – mounting the manifold and tank, and running the wiring and air lines. As you can see, Air Lift provides a plug and play harness. The only wires you need to connect are power, ground and switched ignition for the system plus two wires for the compressor.
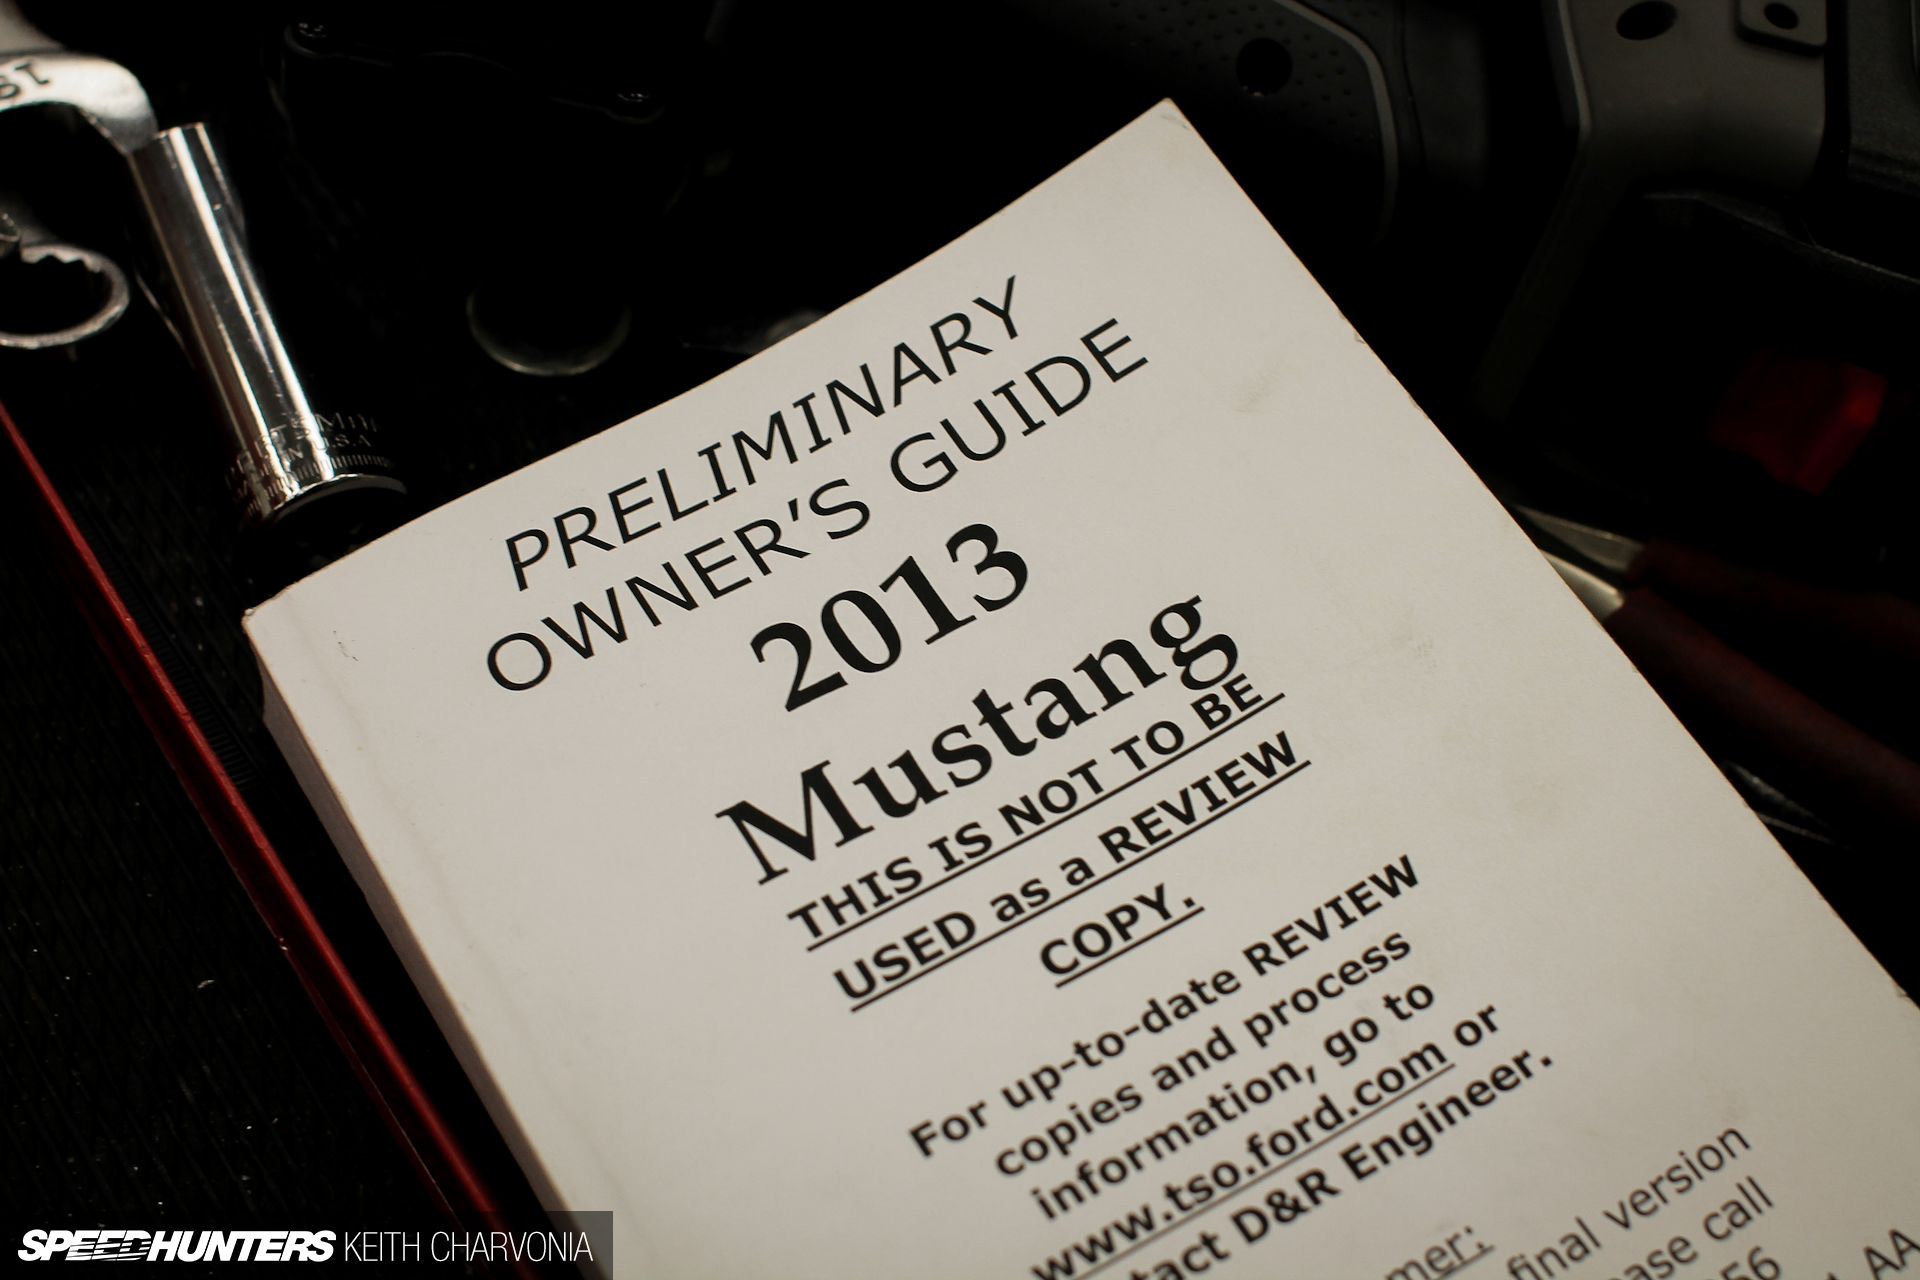
We grabbed the manual from the glove box and noticed that it wasn’t any ordinary manual. Brian was still able to find the hot and ignition switched spots in the fuse box that we would need.
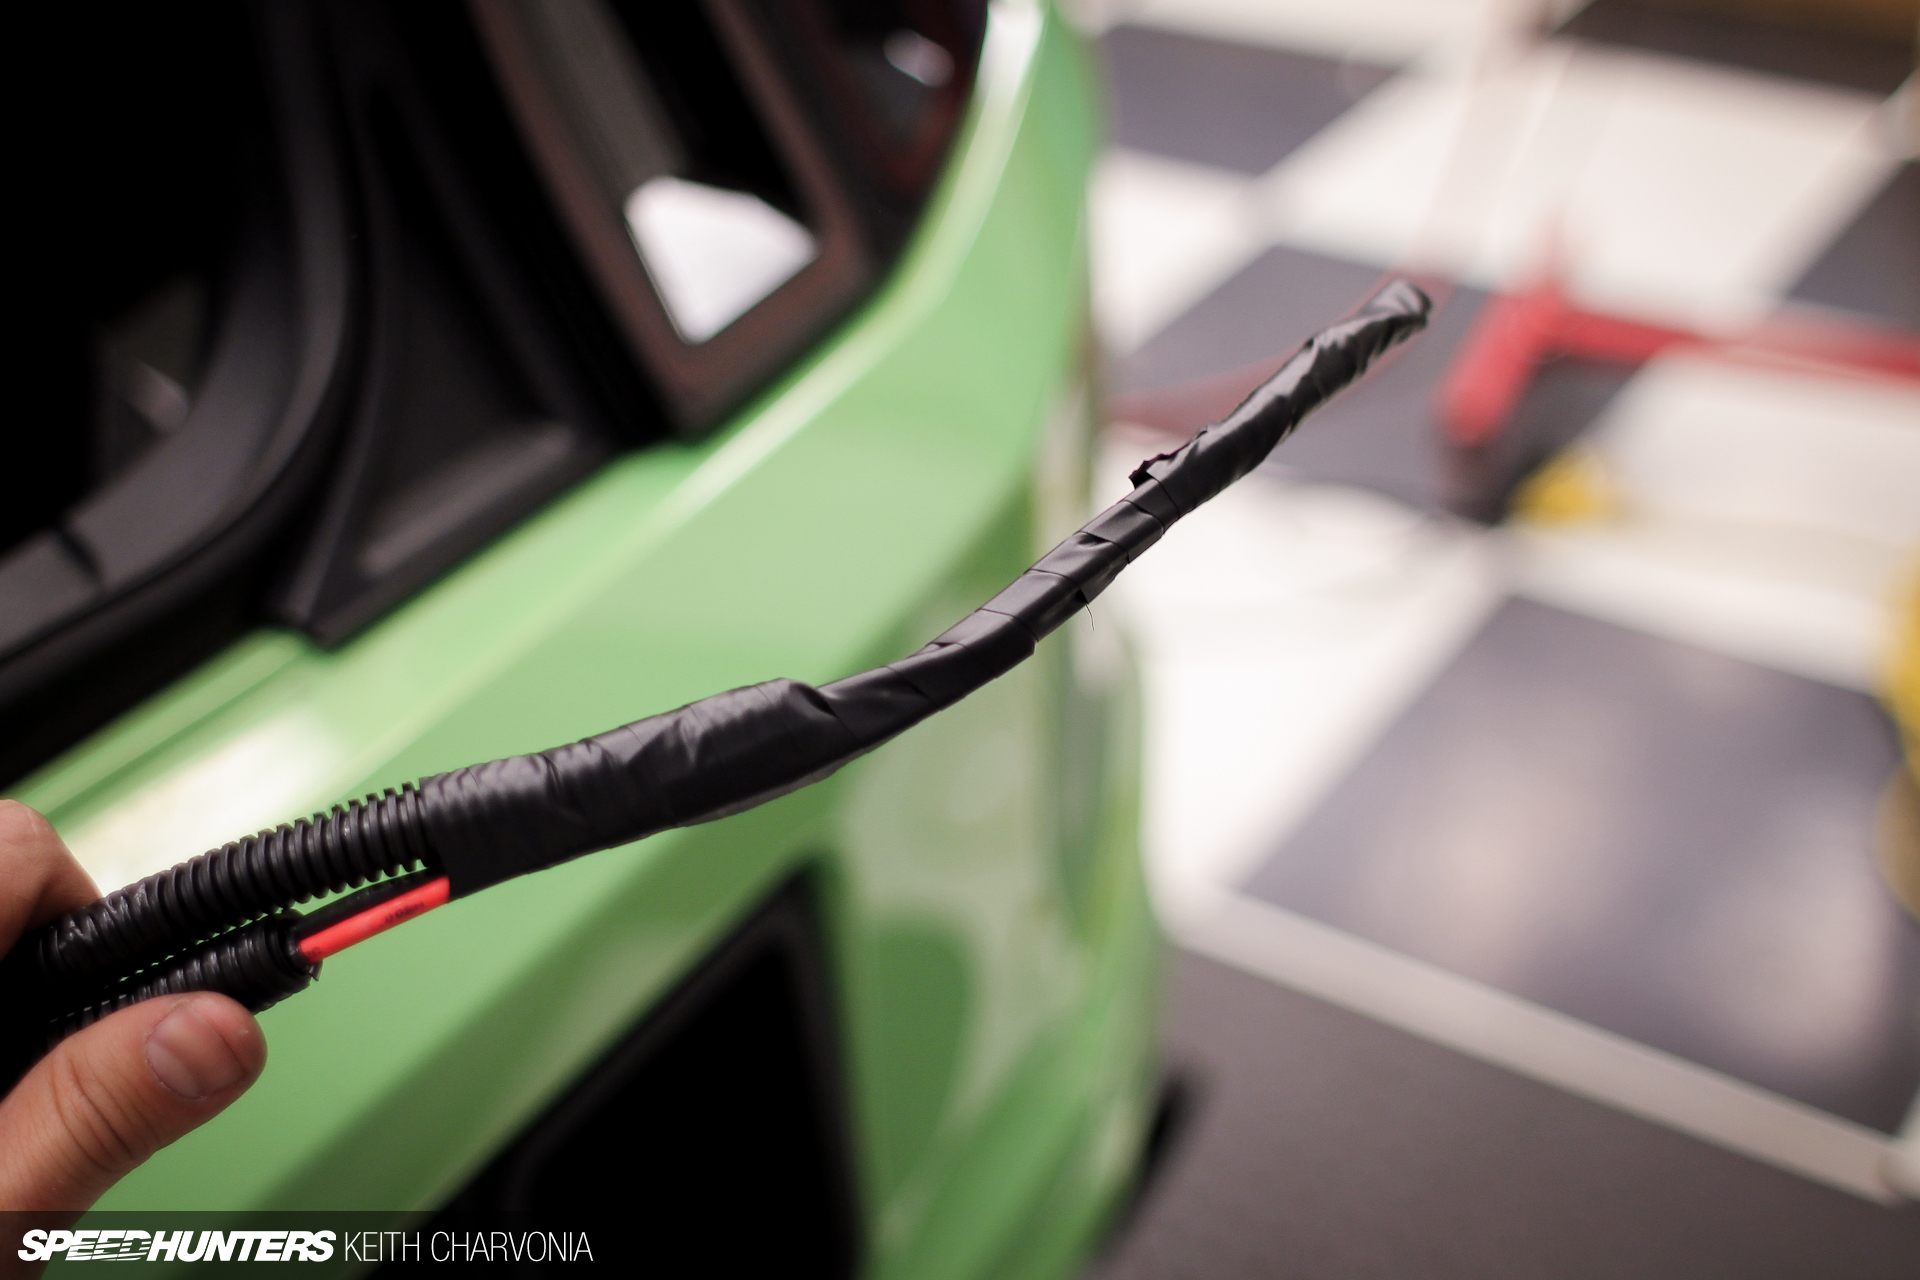
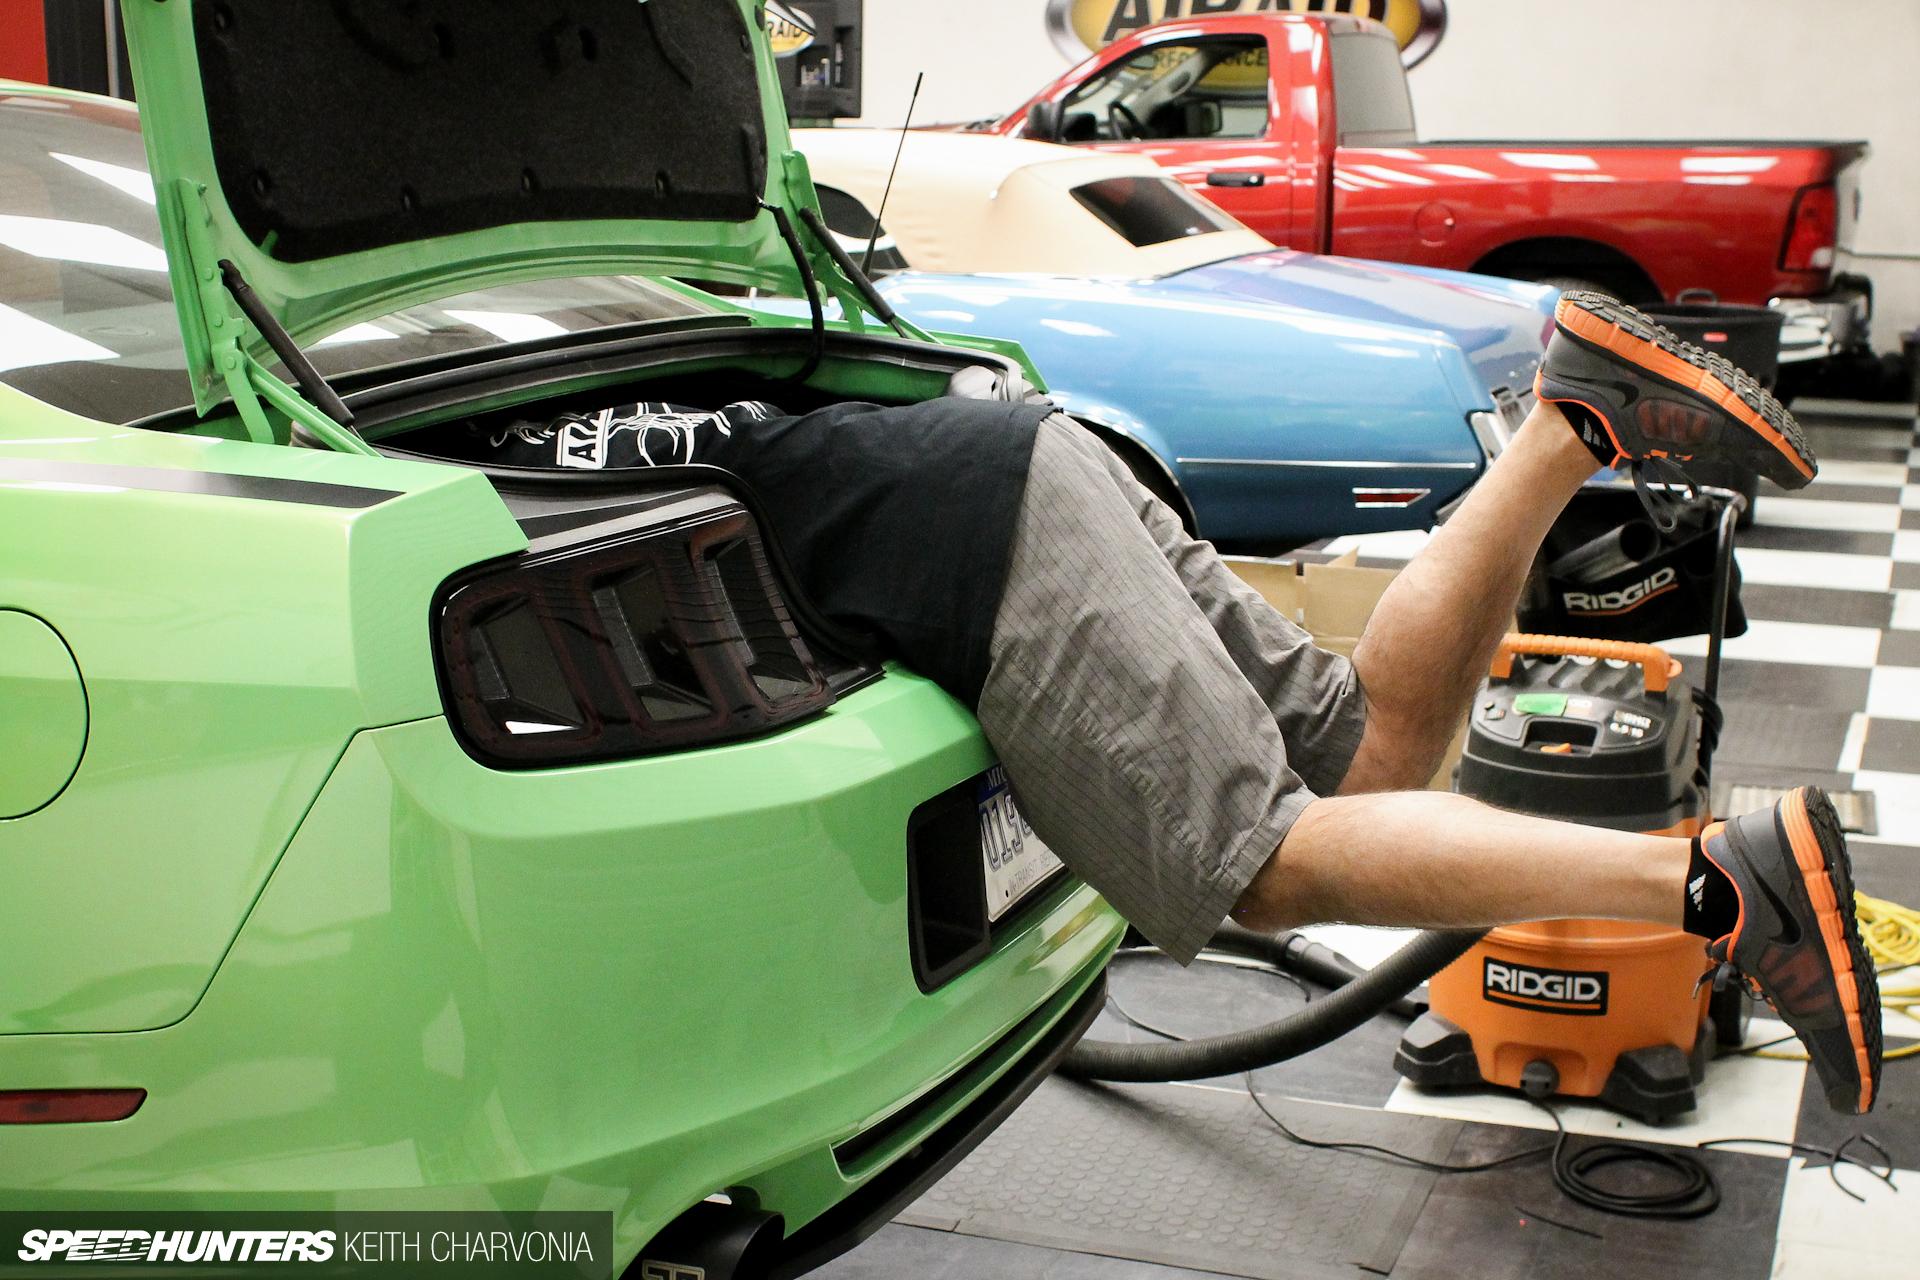
As he looked for the electrical connections, I started running the harness. It helps to tape everything into one tight bundle at the end so you can just stuff all the wiring through any tight spots or grommets.
I made my way through the car with the harness.

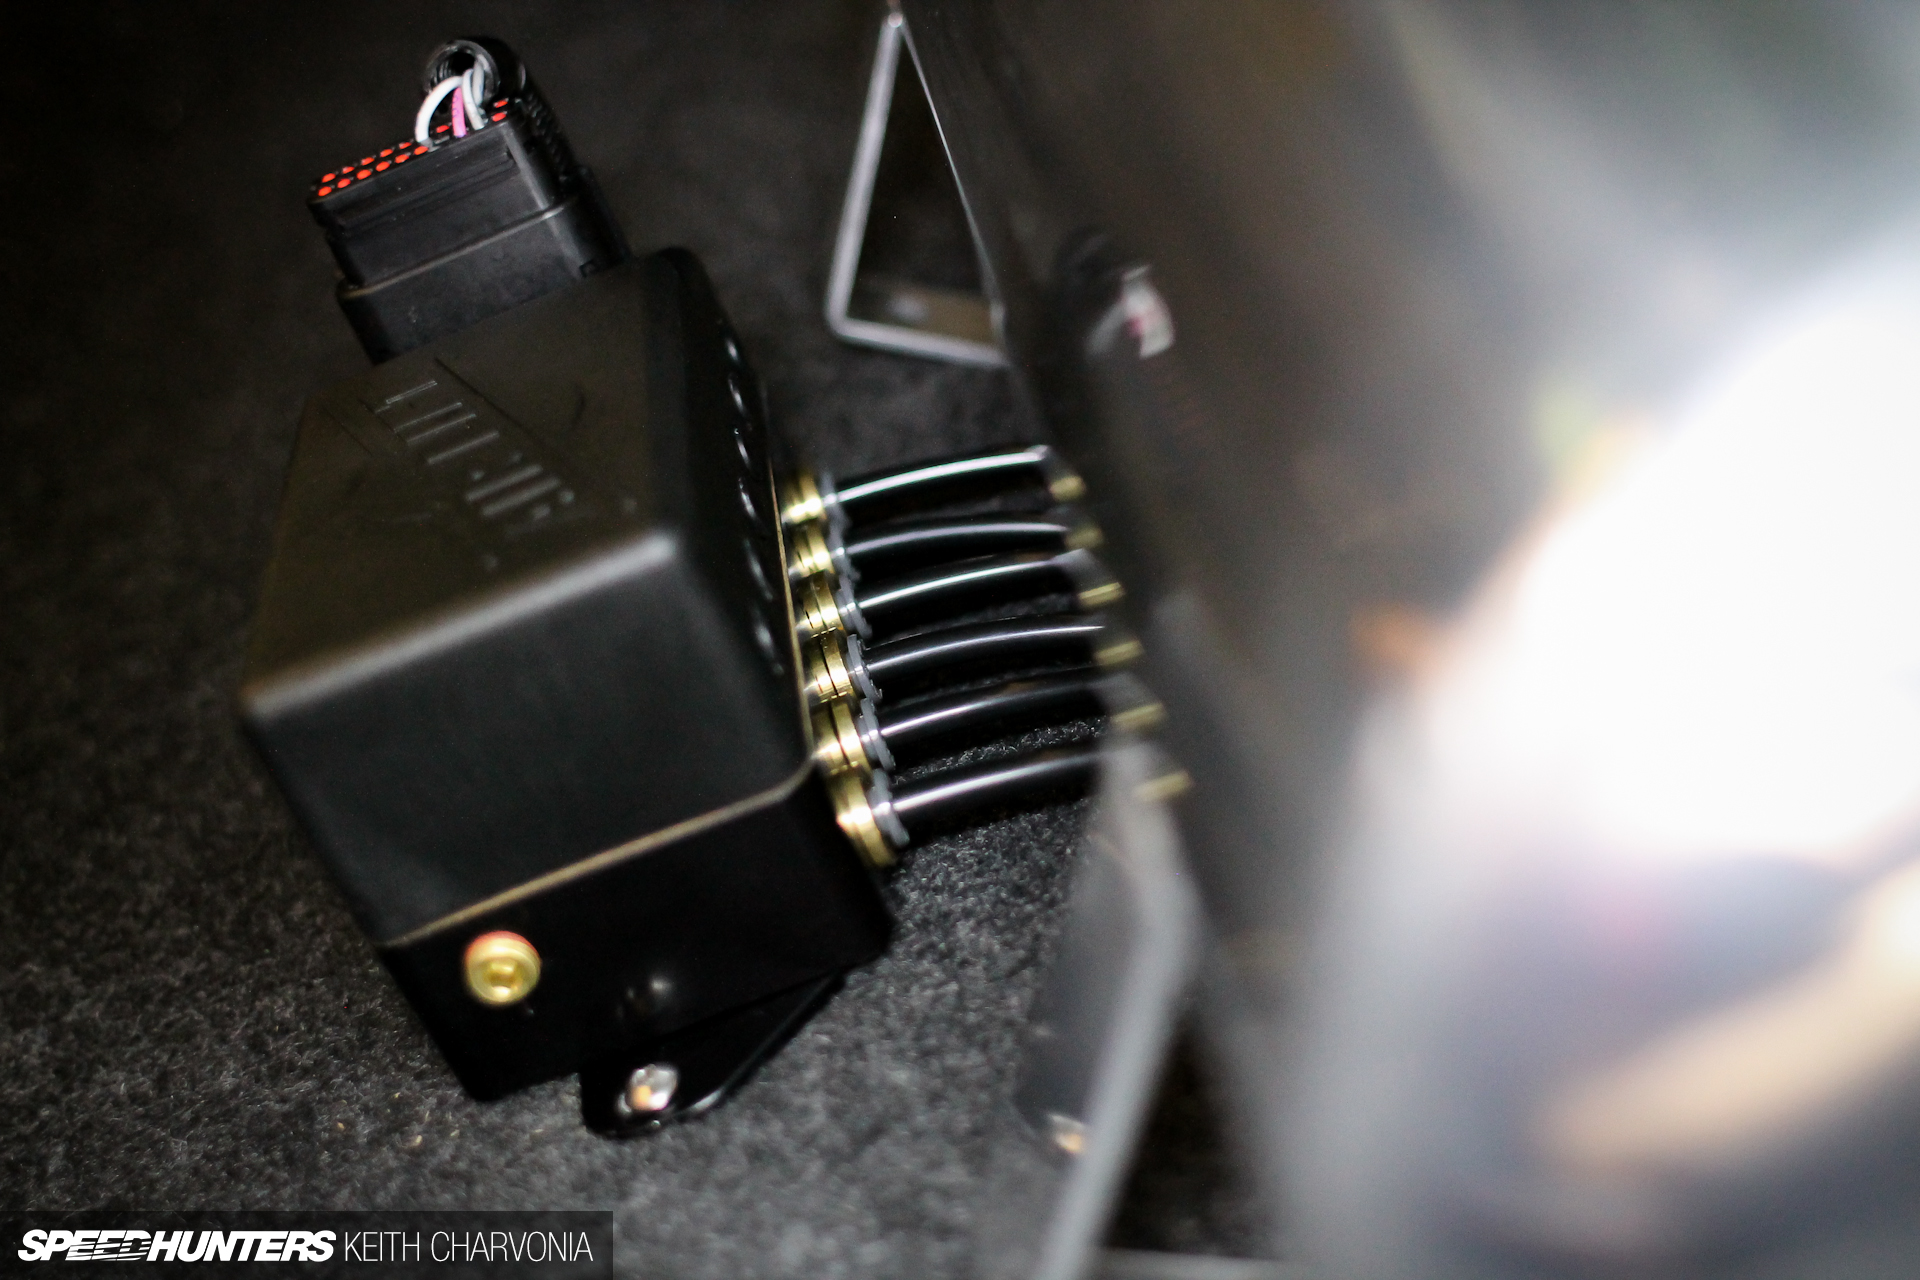
Meanwhile Brian had moved on to assembling these trick vibration-isolating feet for the compressors.
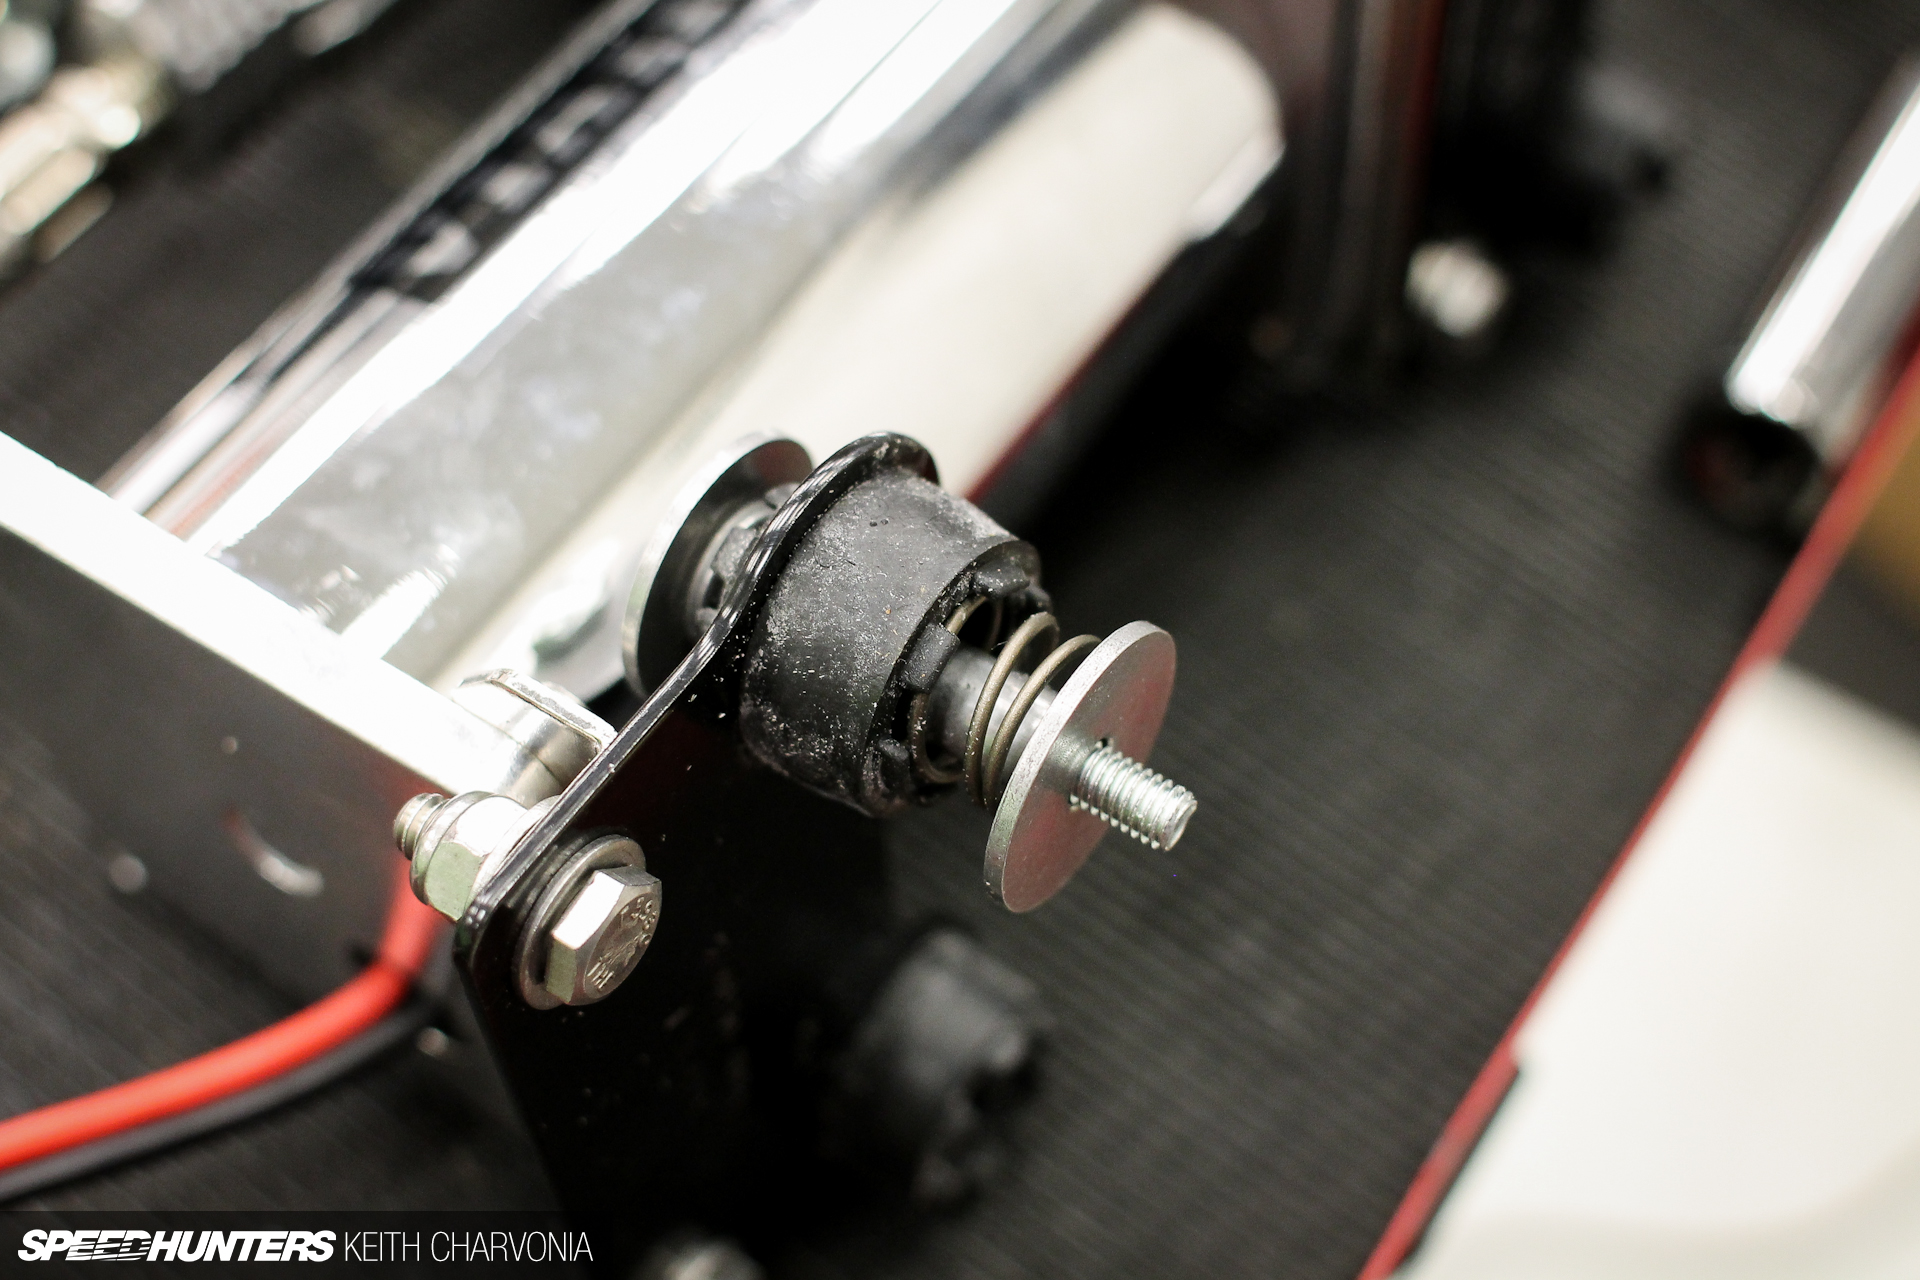
Instead of the little rubber grommets that come on the compressors, Air Lift adds spring mounted isolation bushings to keep noise to a minimum. I’ve had four of these electric pumps hard-mounted in the bed of a truck before, so I can really appreciate something like this.
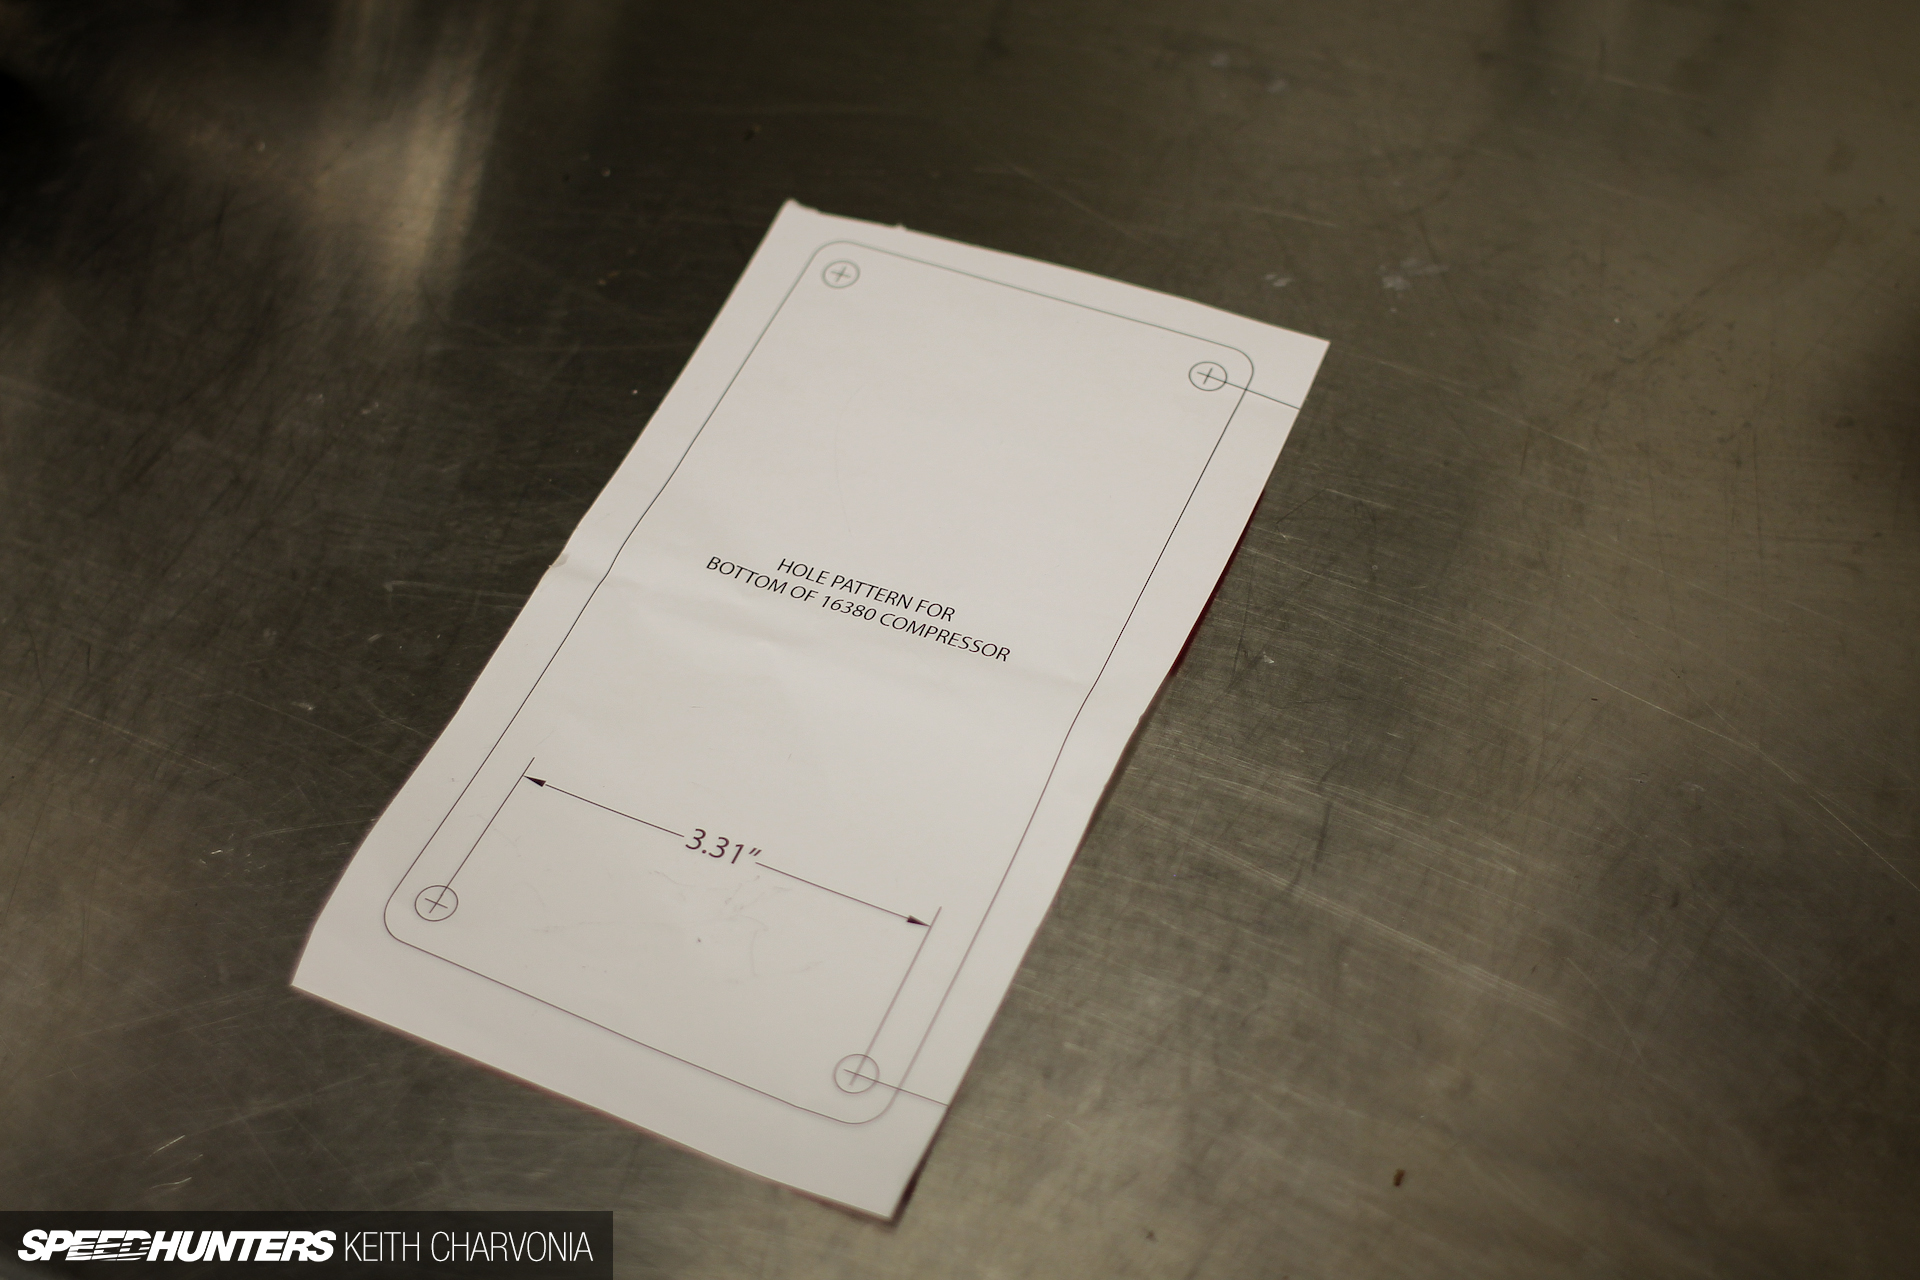
I cut out the template from the instruction manual and drilled some holes in the floor of the trunk.
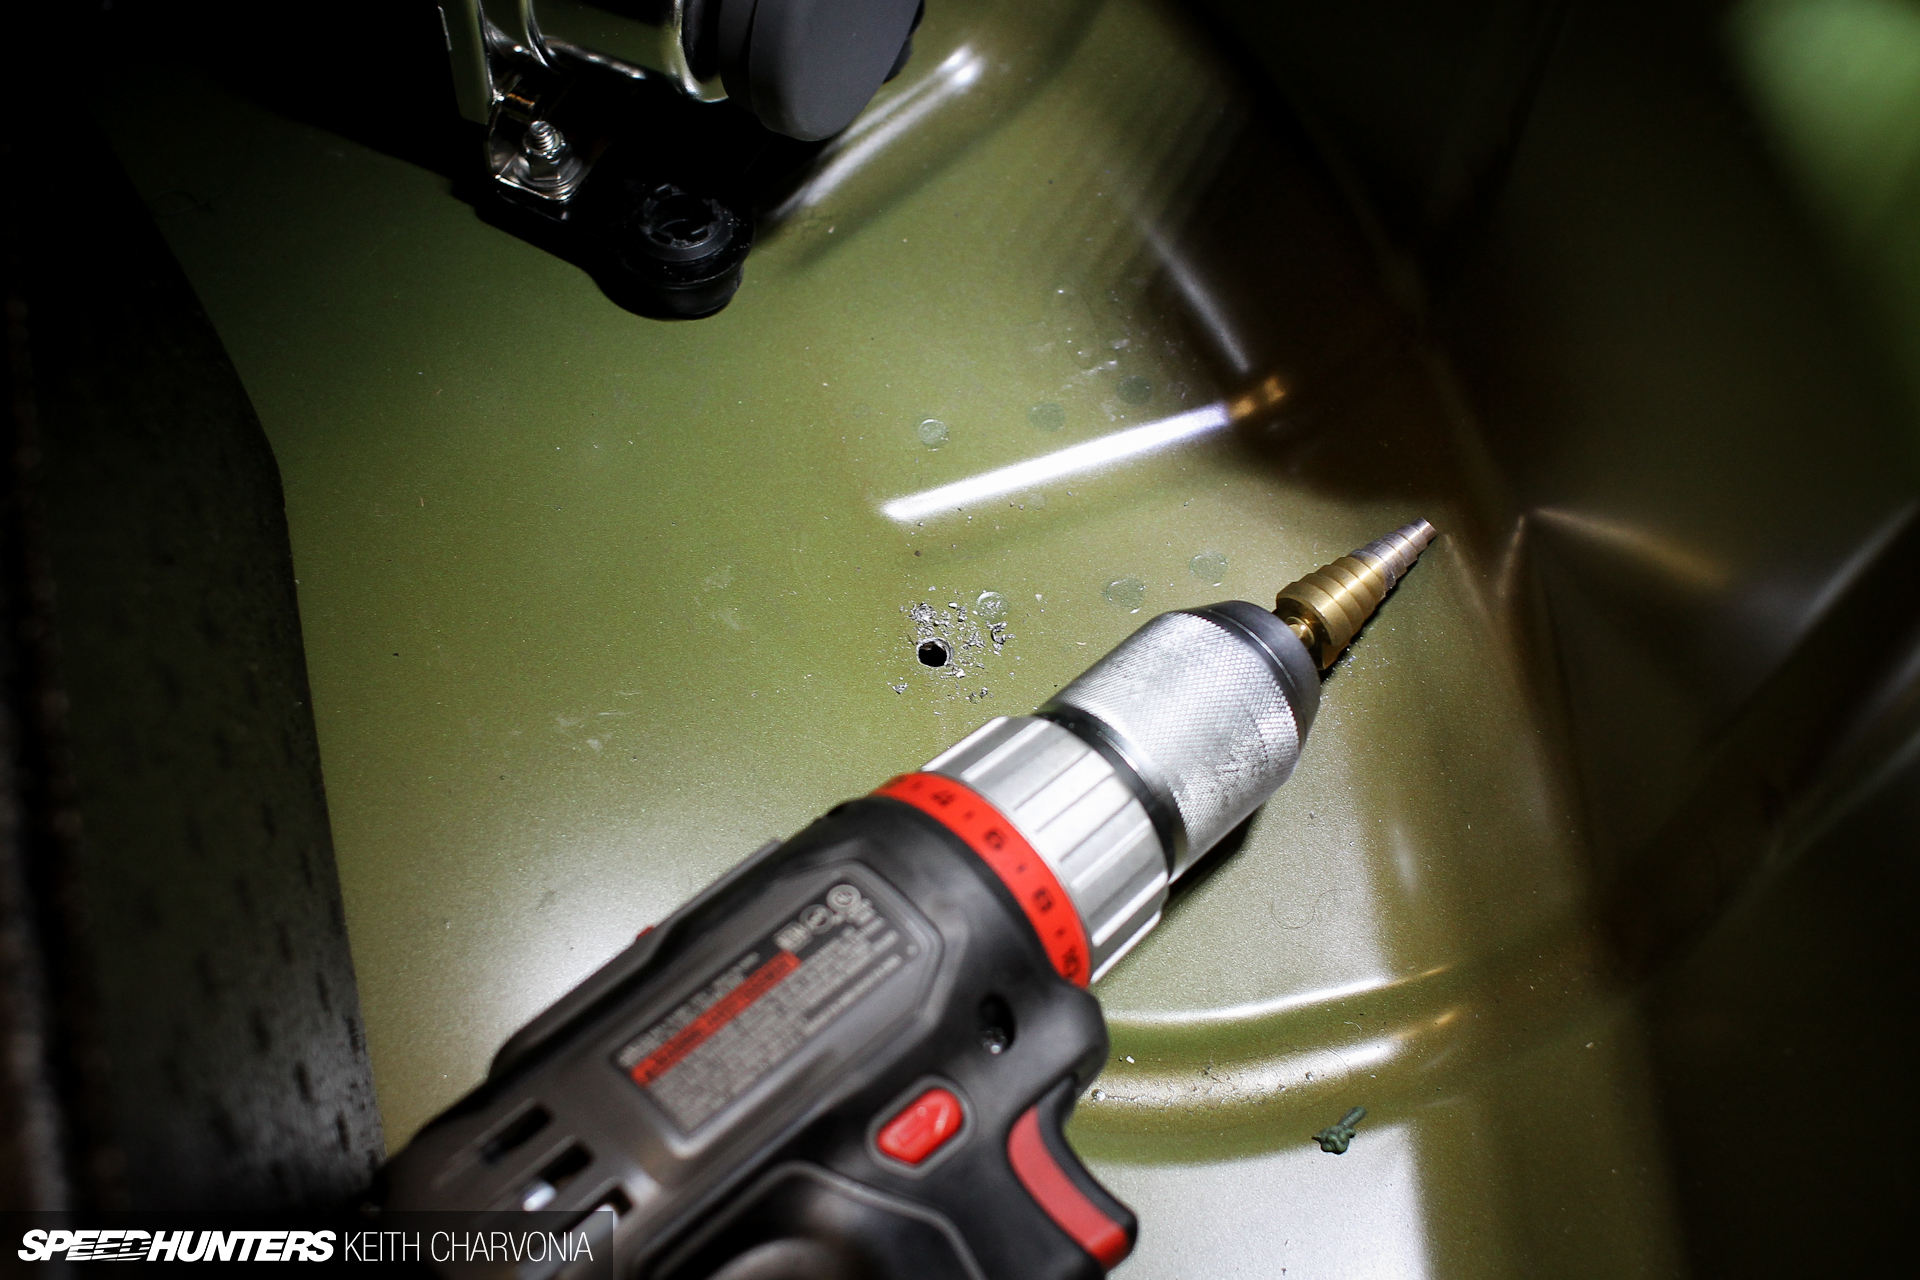
We decided to mount the compressors in the spare tire well since there wasn’t a spare anyway. Putting them under the trunk floor would quiet them down even more.

With two compressors and two relays I was able to do a nice symmetric layout that disappears under the trunk carpet.
When I first started playing with airbags, we were stuck with industrial parts and stuff from big rigs. That meant heavy steel tanks that rusted and individual valves to let air in and out of each bag. There were eight valves in total, and they all had to be wired up individually.
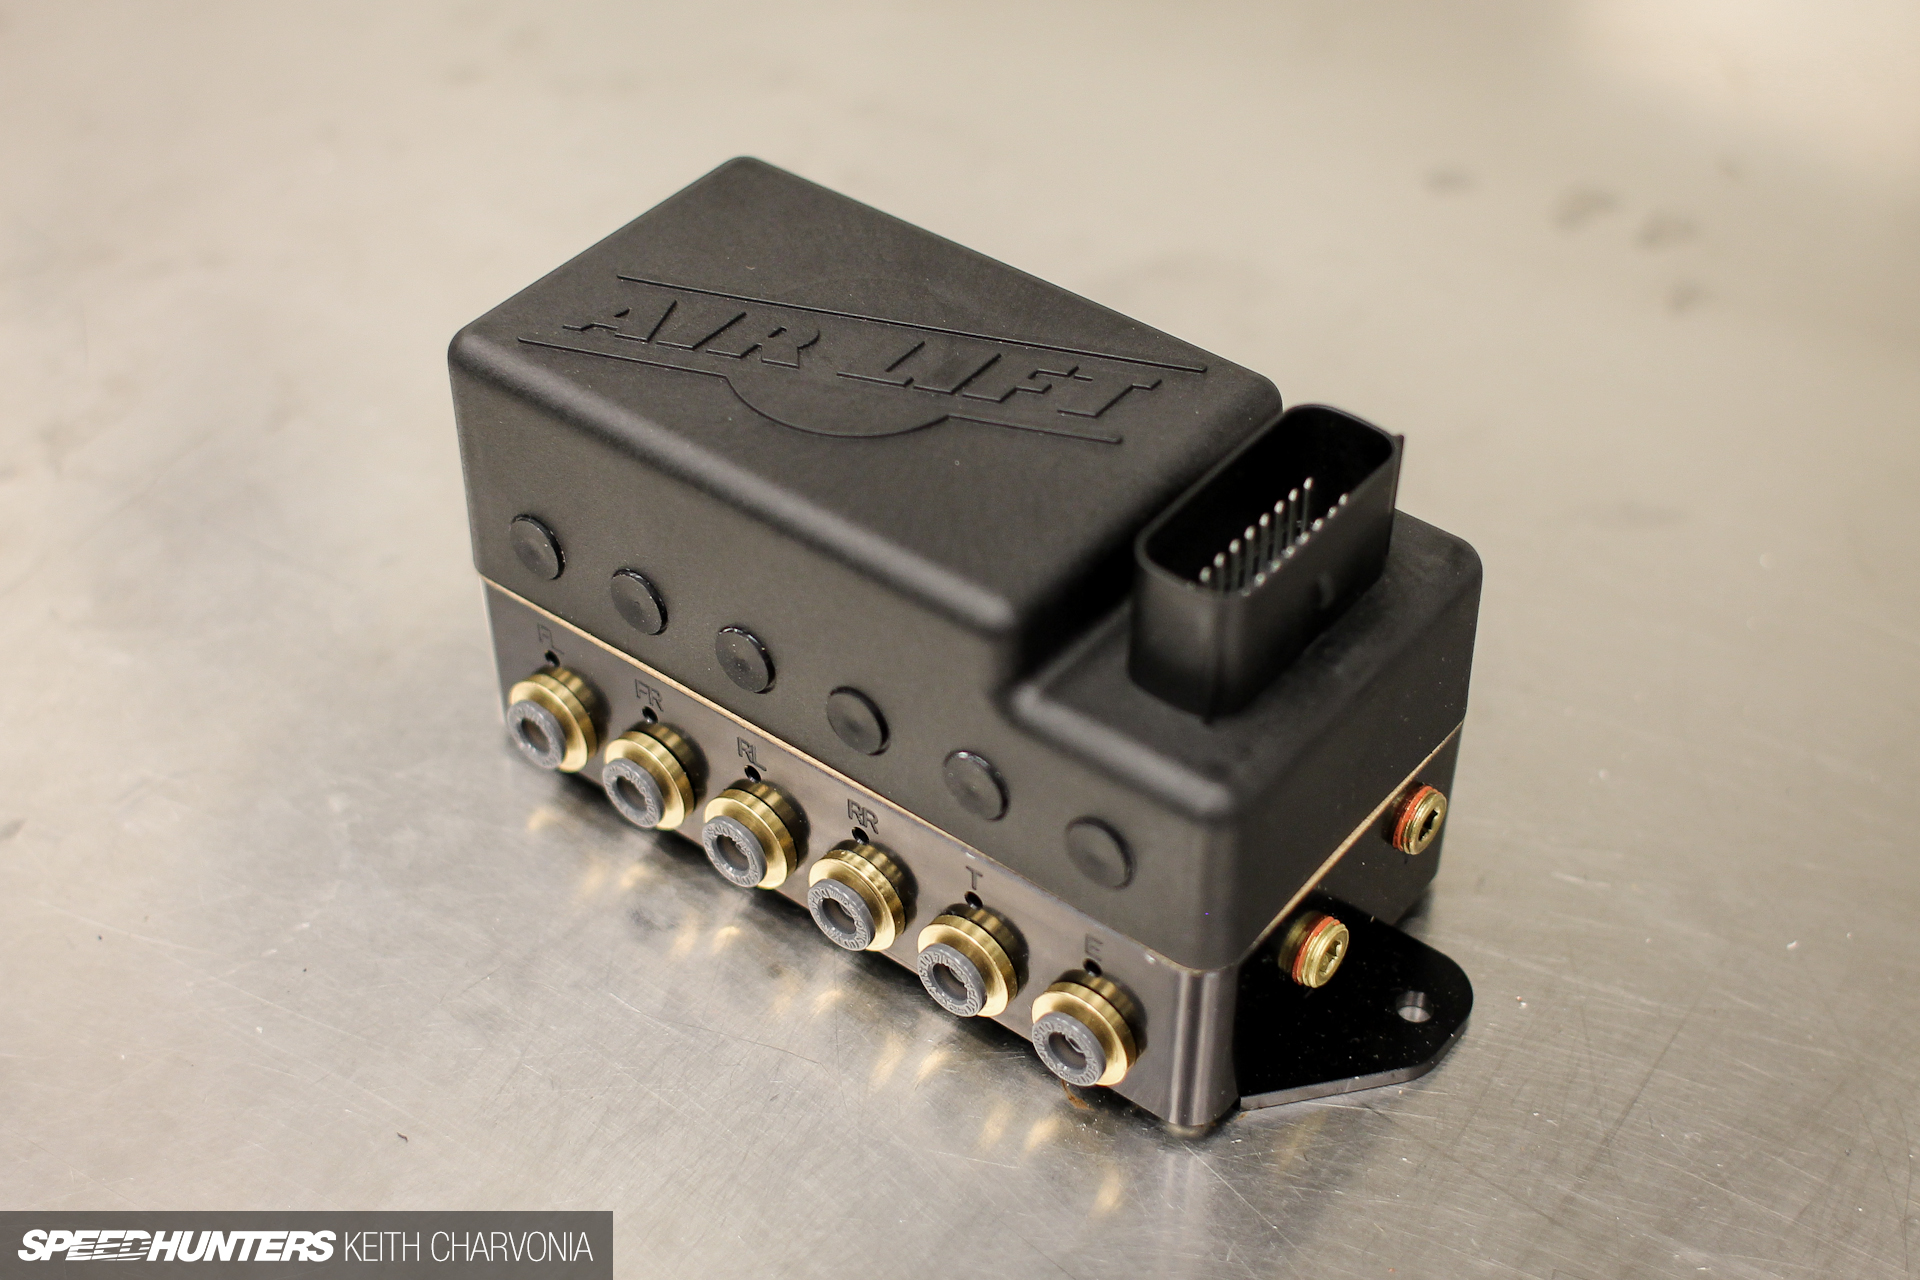
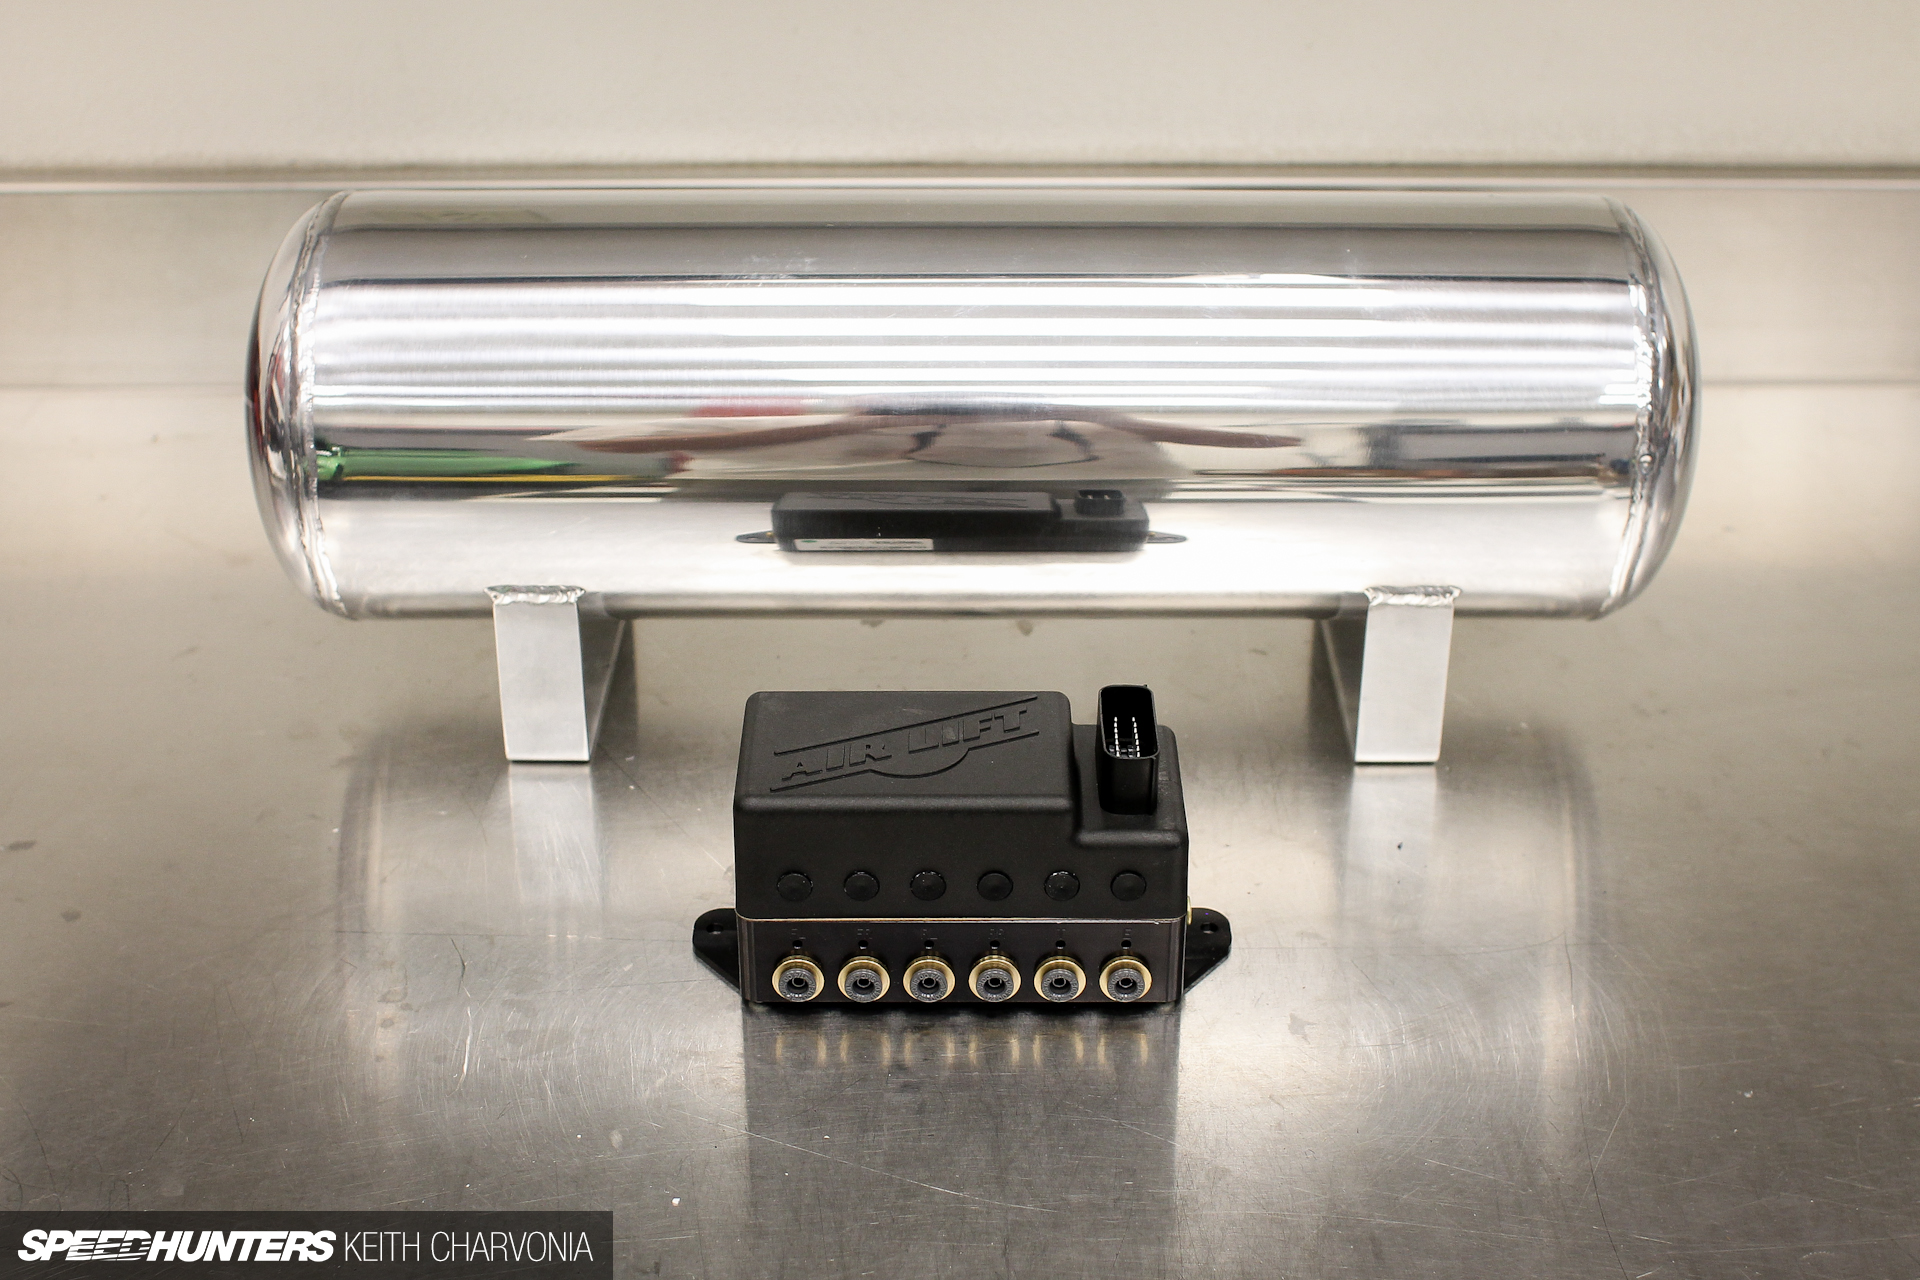
So imagine how happy I was to see this tiny ECU-controlled manifold that controls the whole air system.

Air Lift’s manifolds are made in the USA. No junk here.
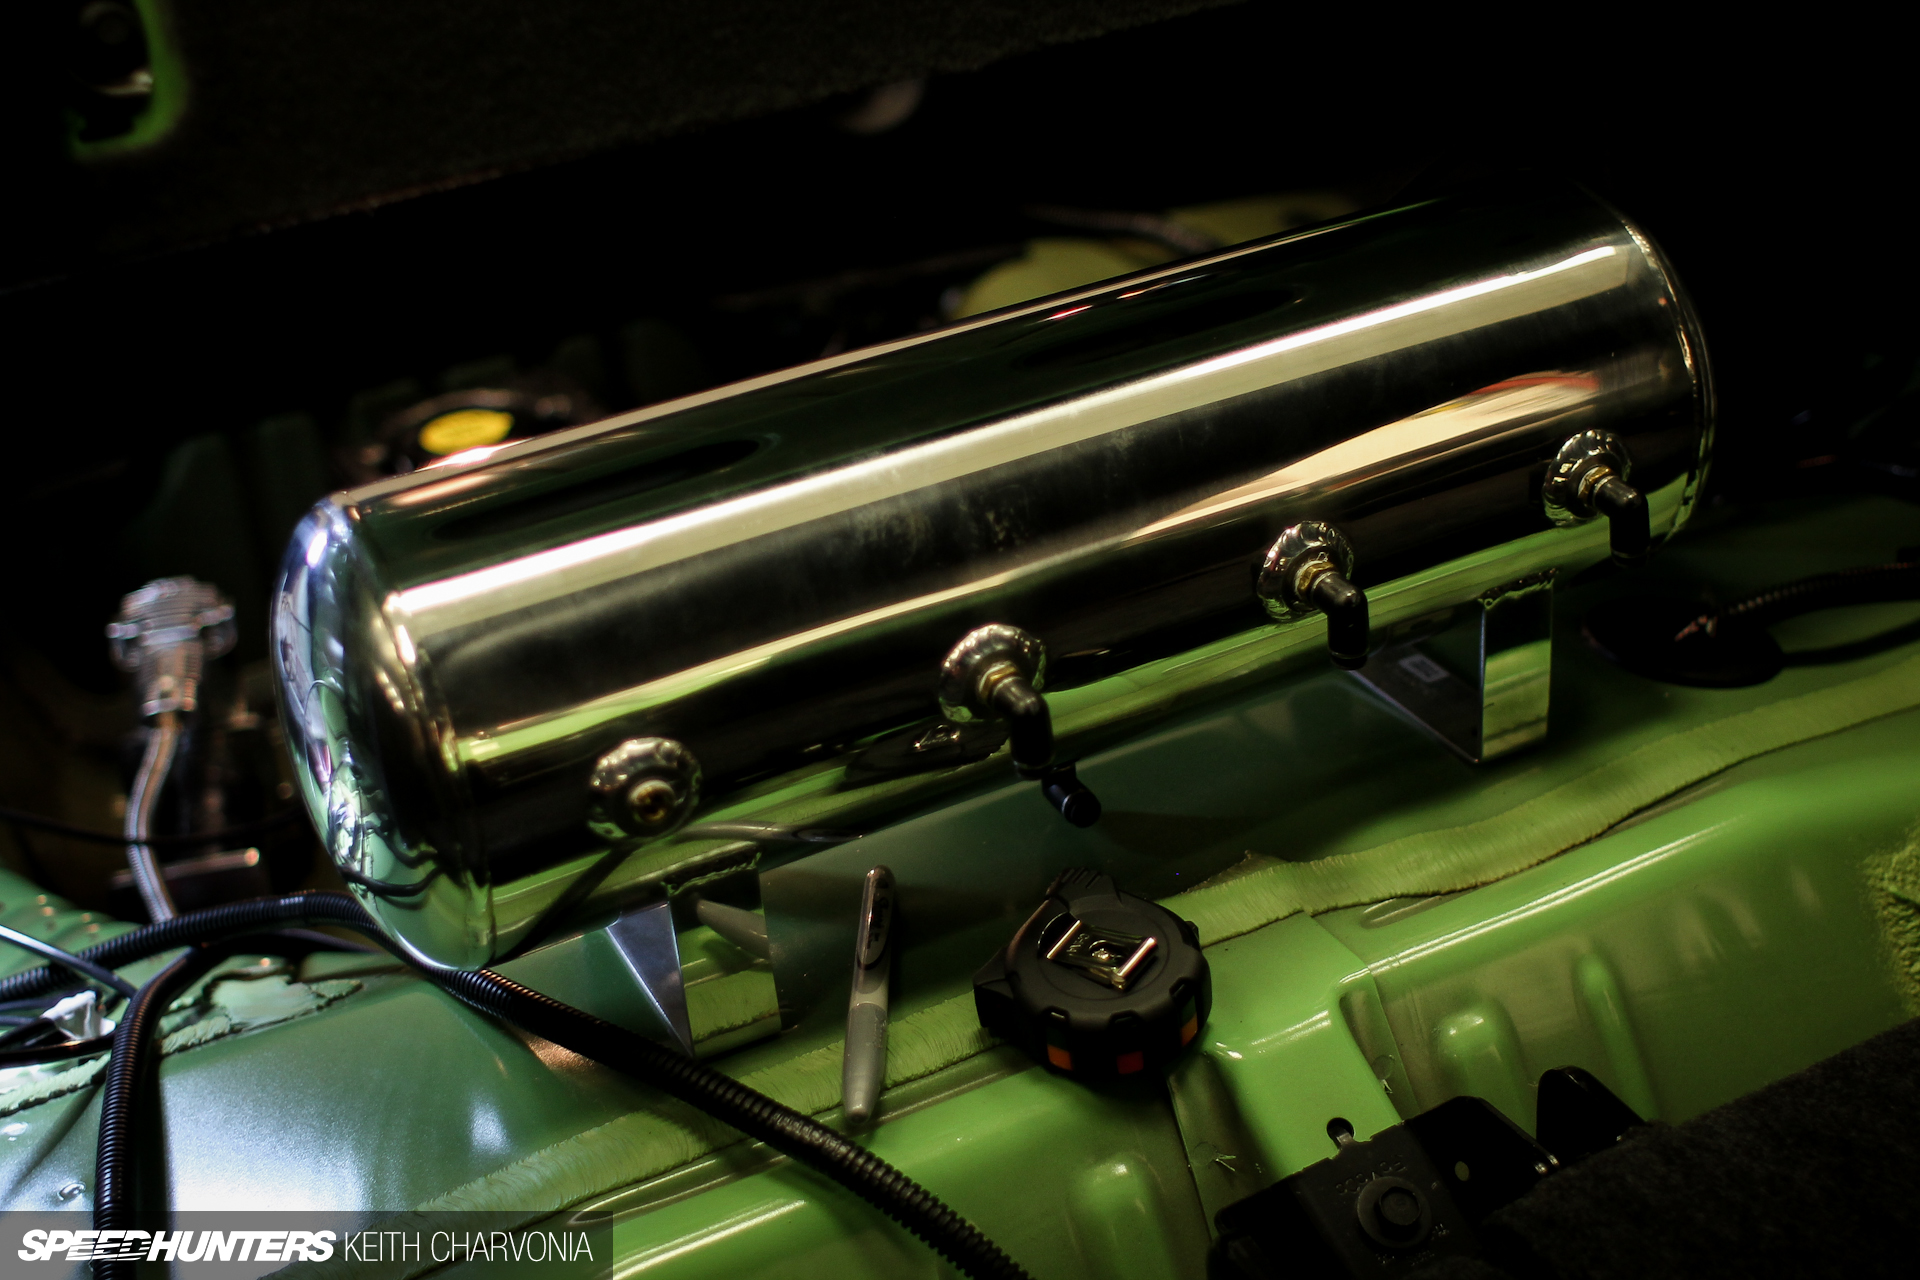
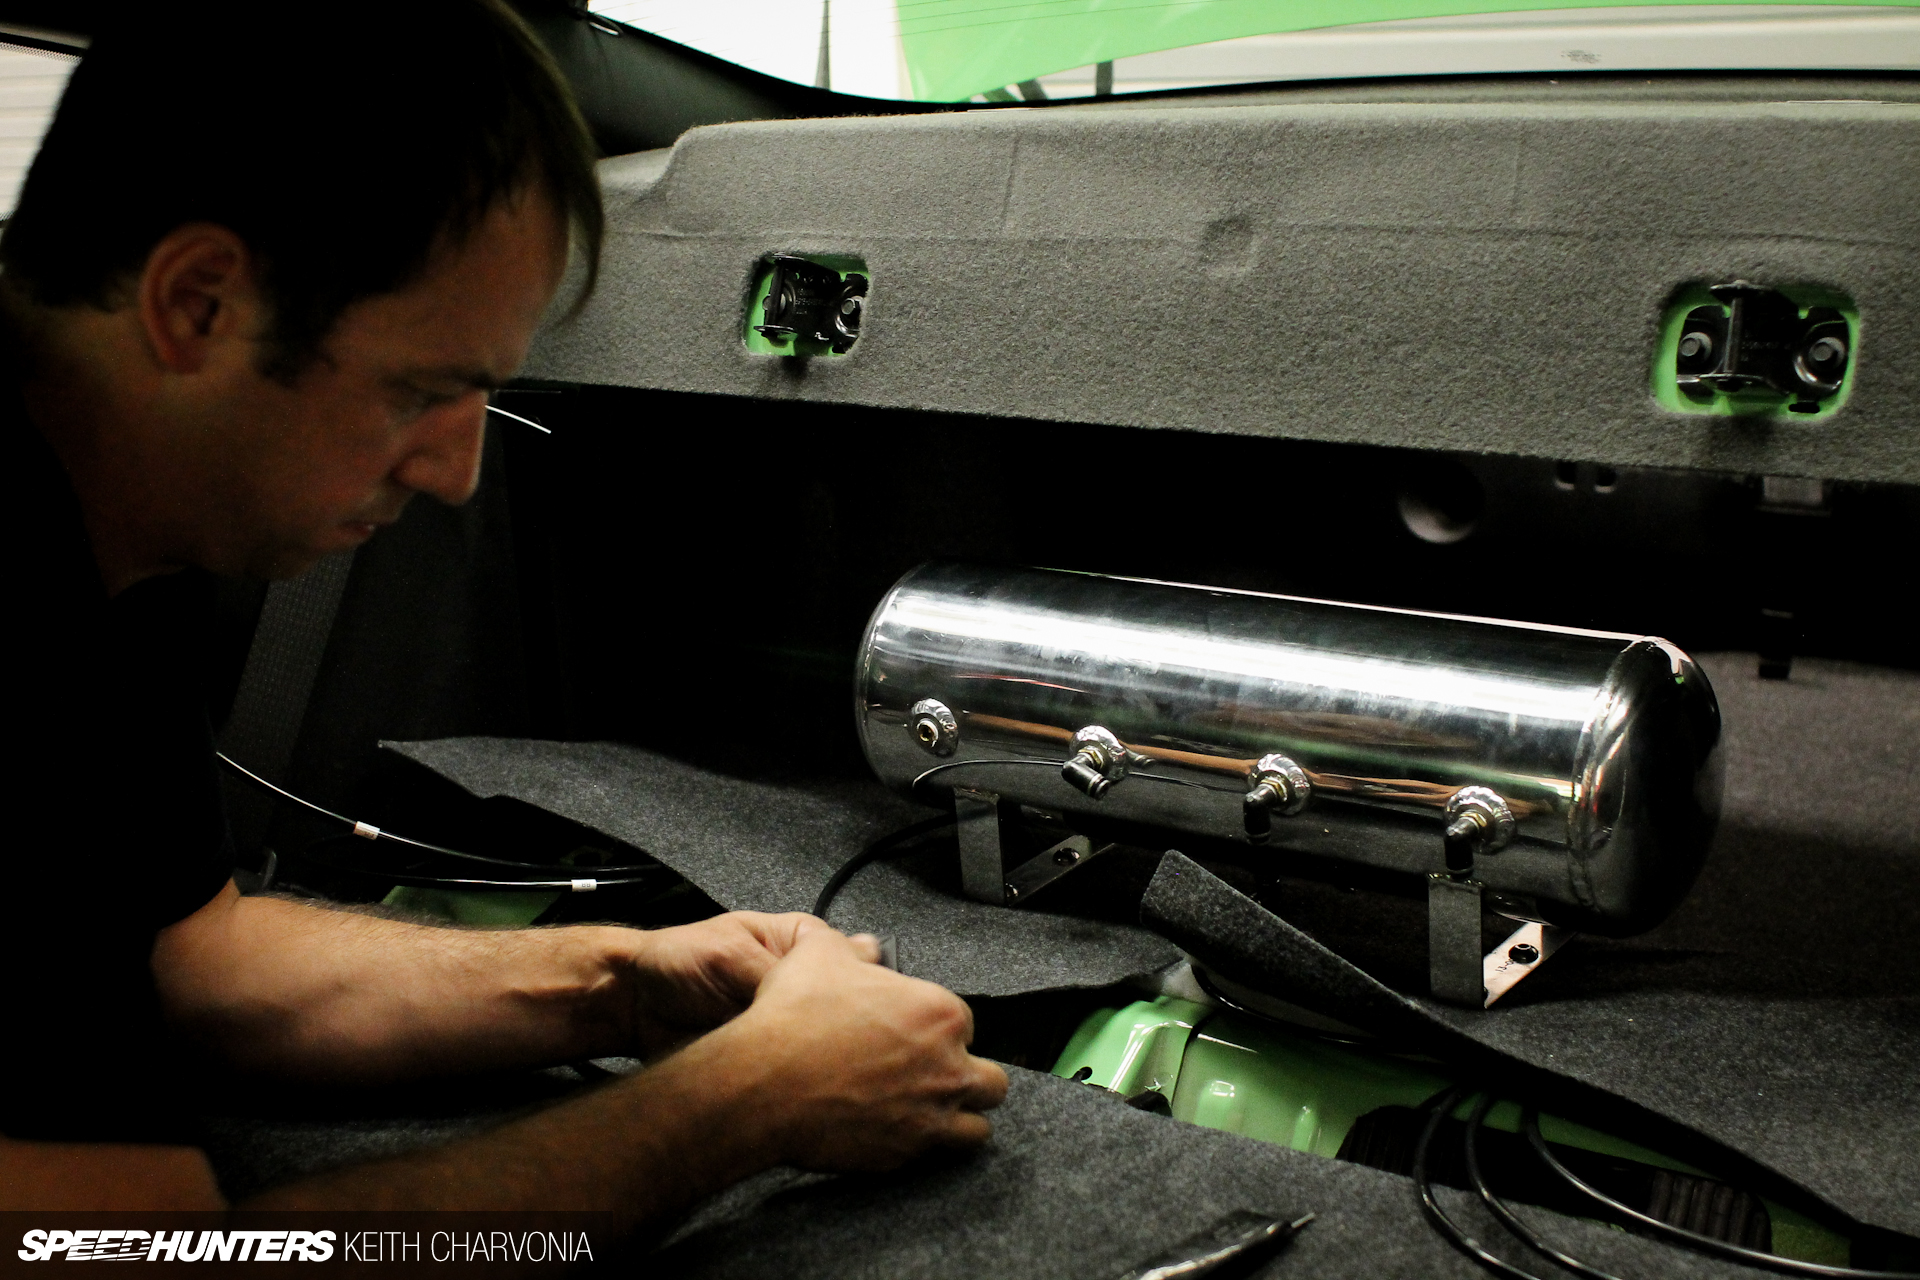
We mounted the aluminum tank in the trunk against the back seat with the air lines hidden from view. The folding back seat made this task much easier.
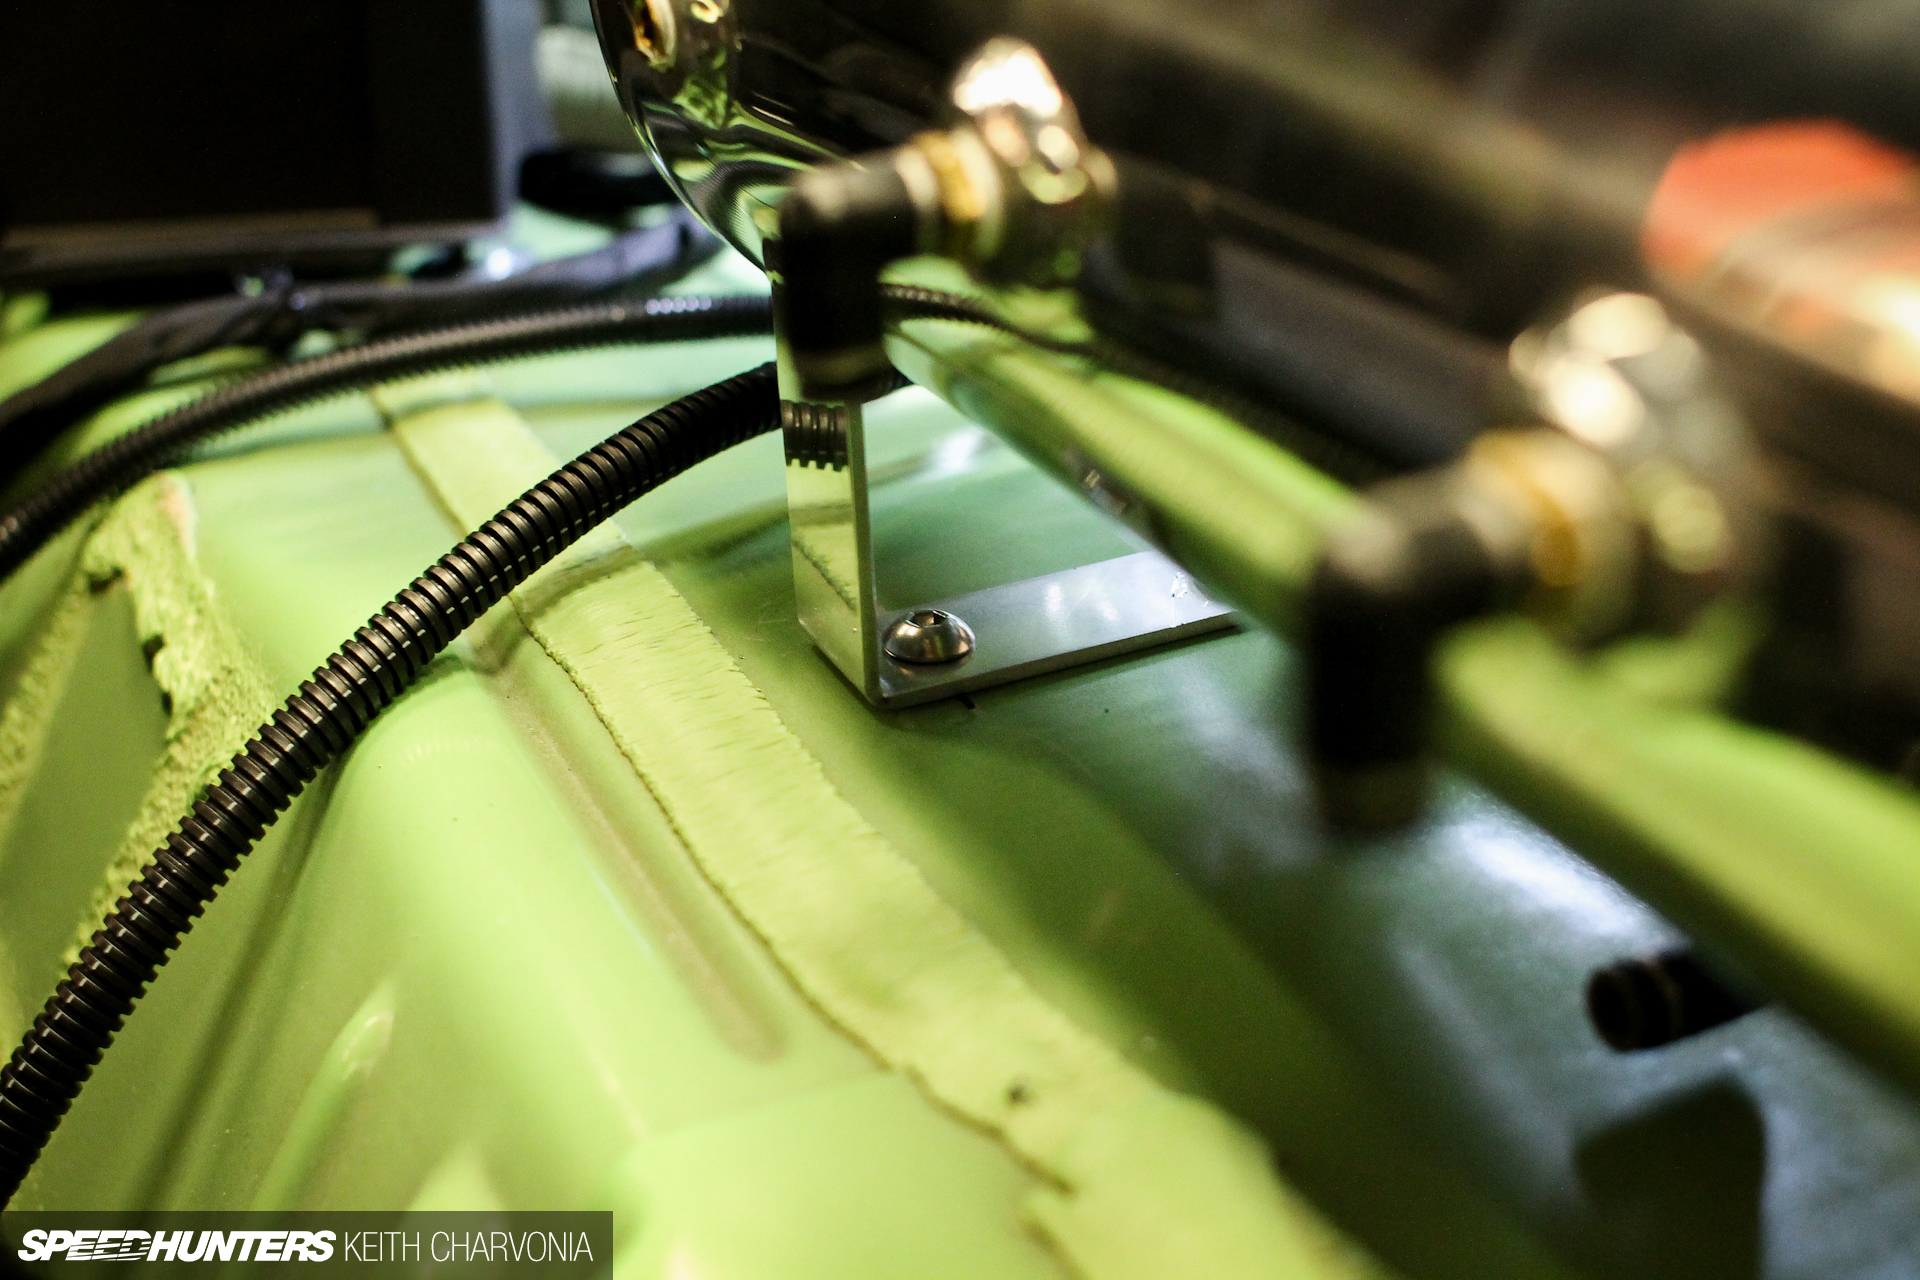
I drilled four holes in the floor and bolted the tank down using stainless button head screws.
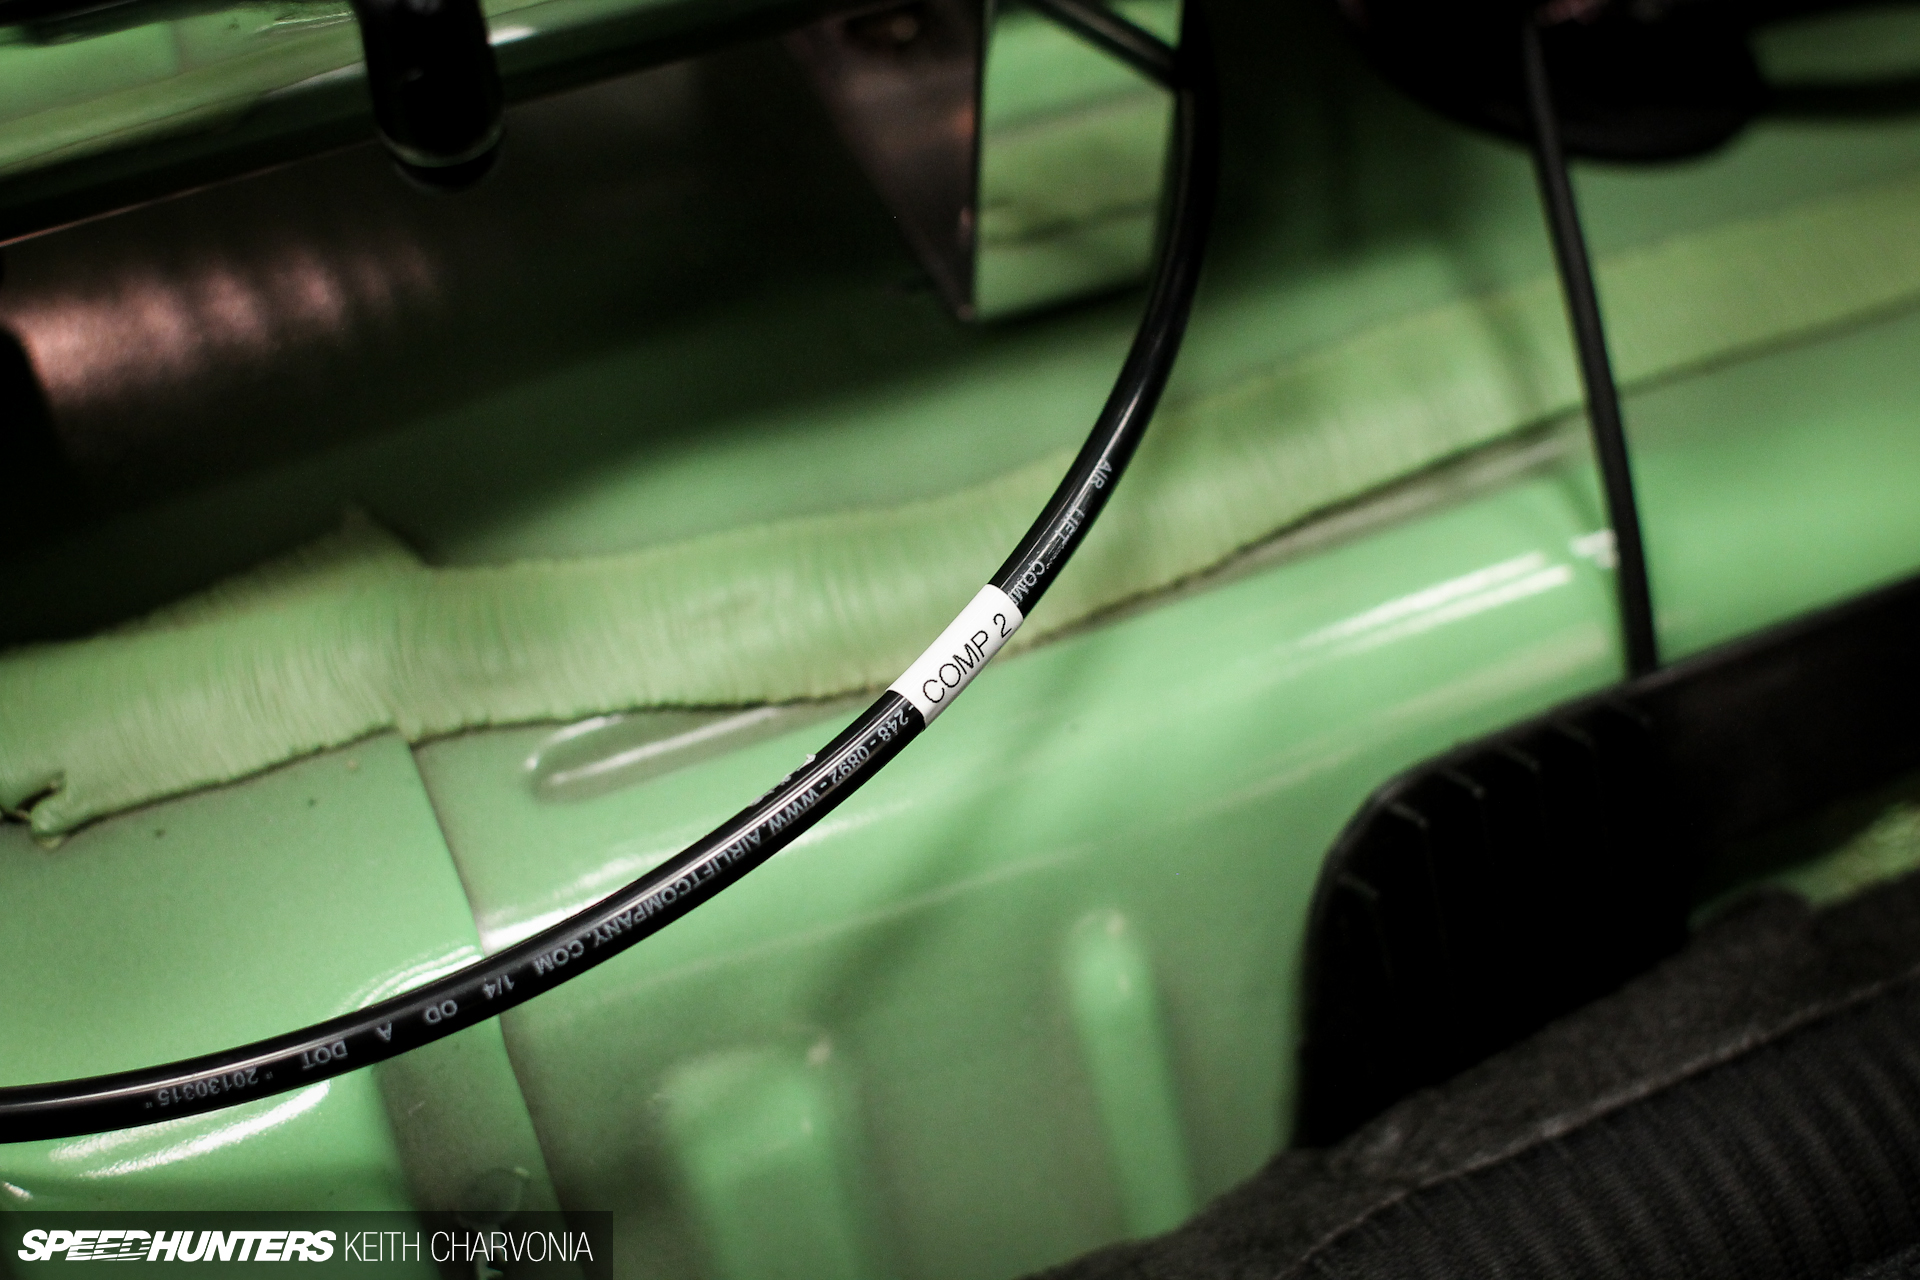
We got out the label maker and marked each line. This isn’t entirely necessary but it sure makes things easier later if you need to service the system, especially if someone else works on it.
Brian climbed inside the car…
… and trimmed each line to length before plugging them into the tank and manifold.
I can’t believe how far air suspension has come in the last few years. This is really a beautiful sight if you’ve ever plumbed and wired eight individual valves.
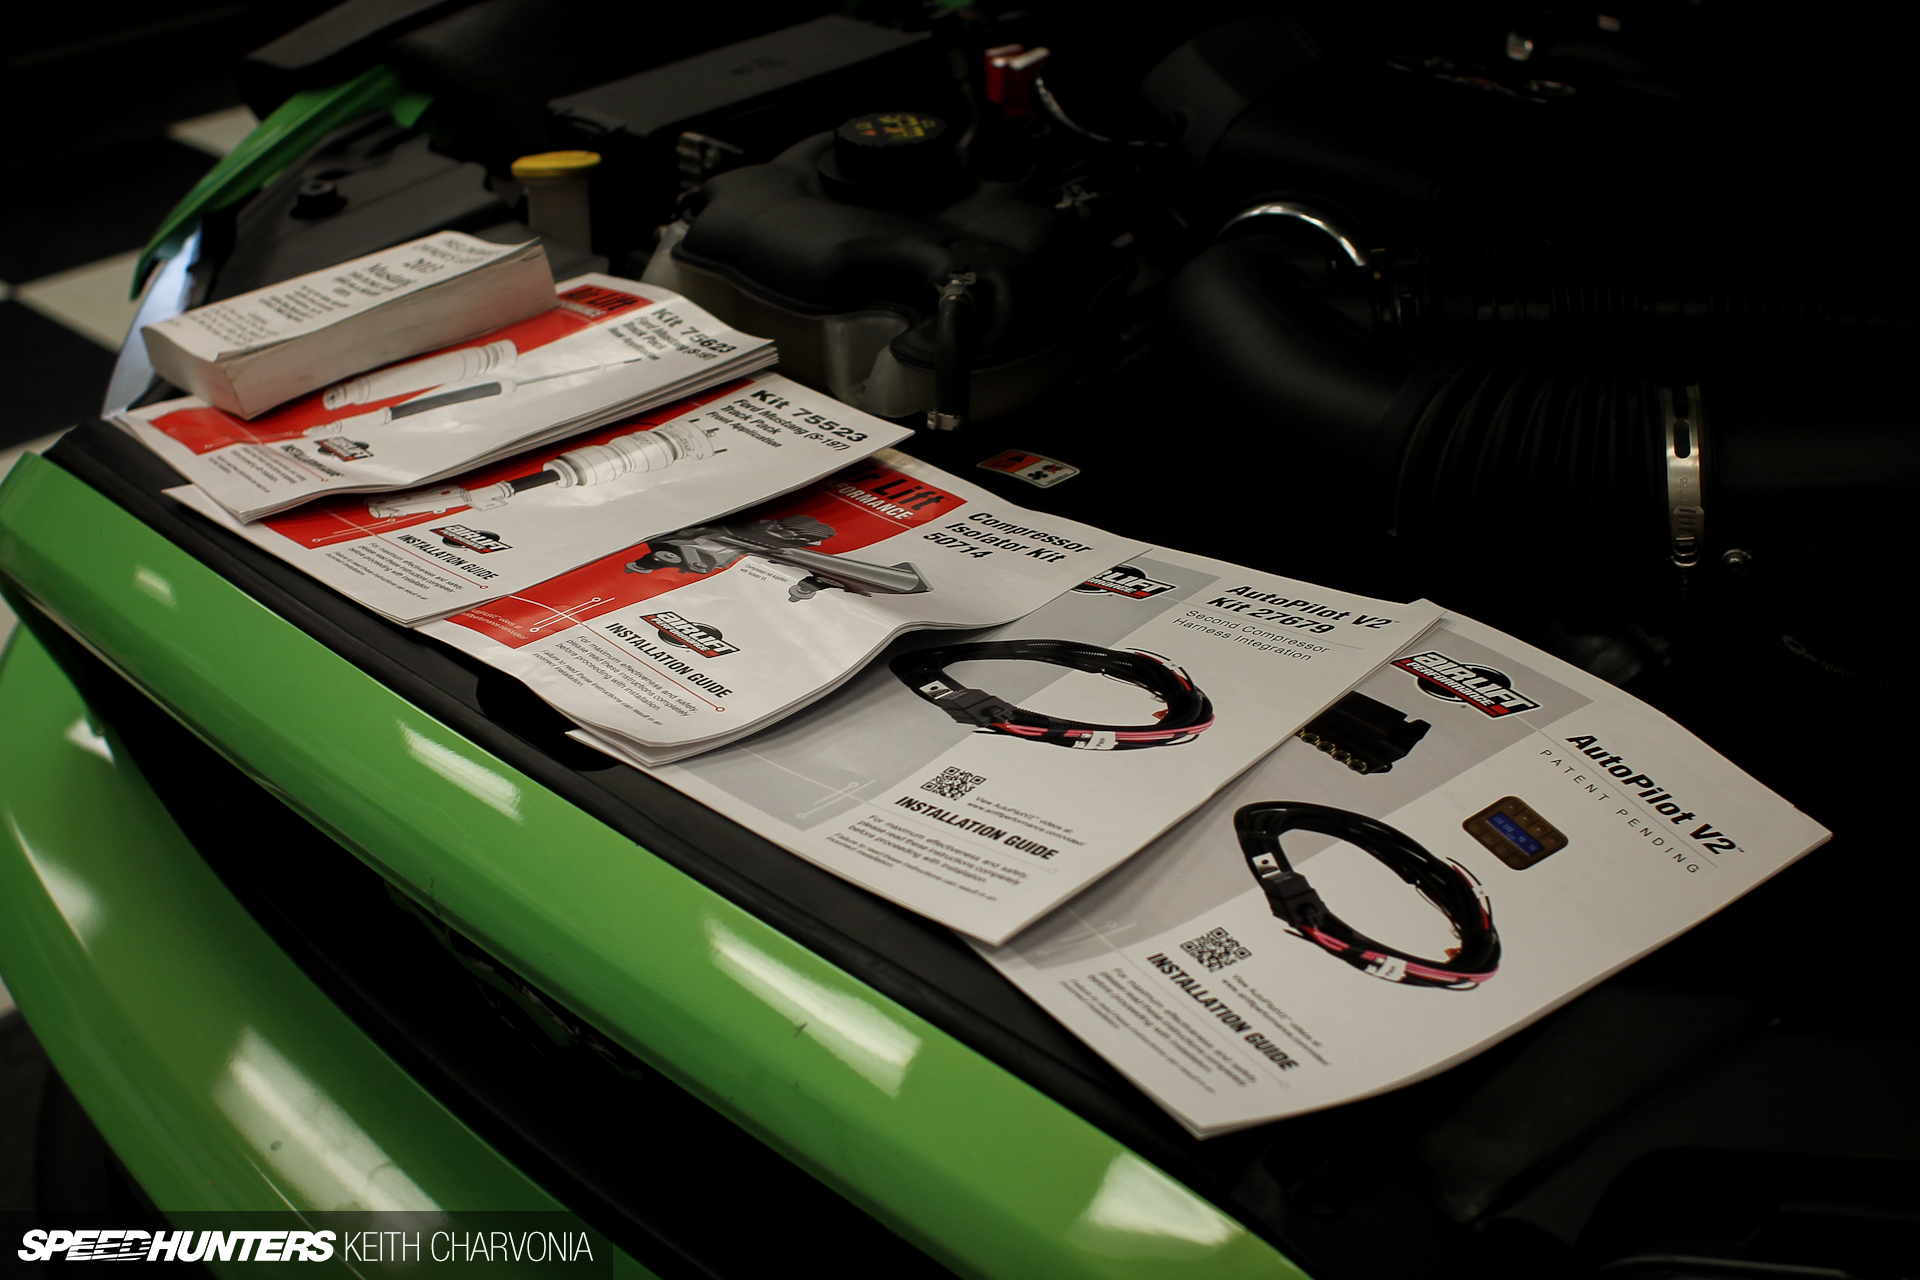
We thought we should show all of the manuals you get with each component, but to be honest we didn’t use them much since I had the engineer there to guide me through the installation.
With everything plumbed and wired, we finally turned the key and let the compressors fill the tank. With a little air in the bags we checked for leaks using a soapy water solution in a spray bottle. Brian must have done this before, because we didn’t find a single leak.
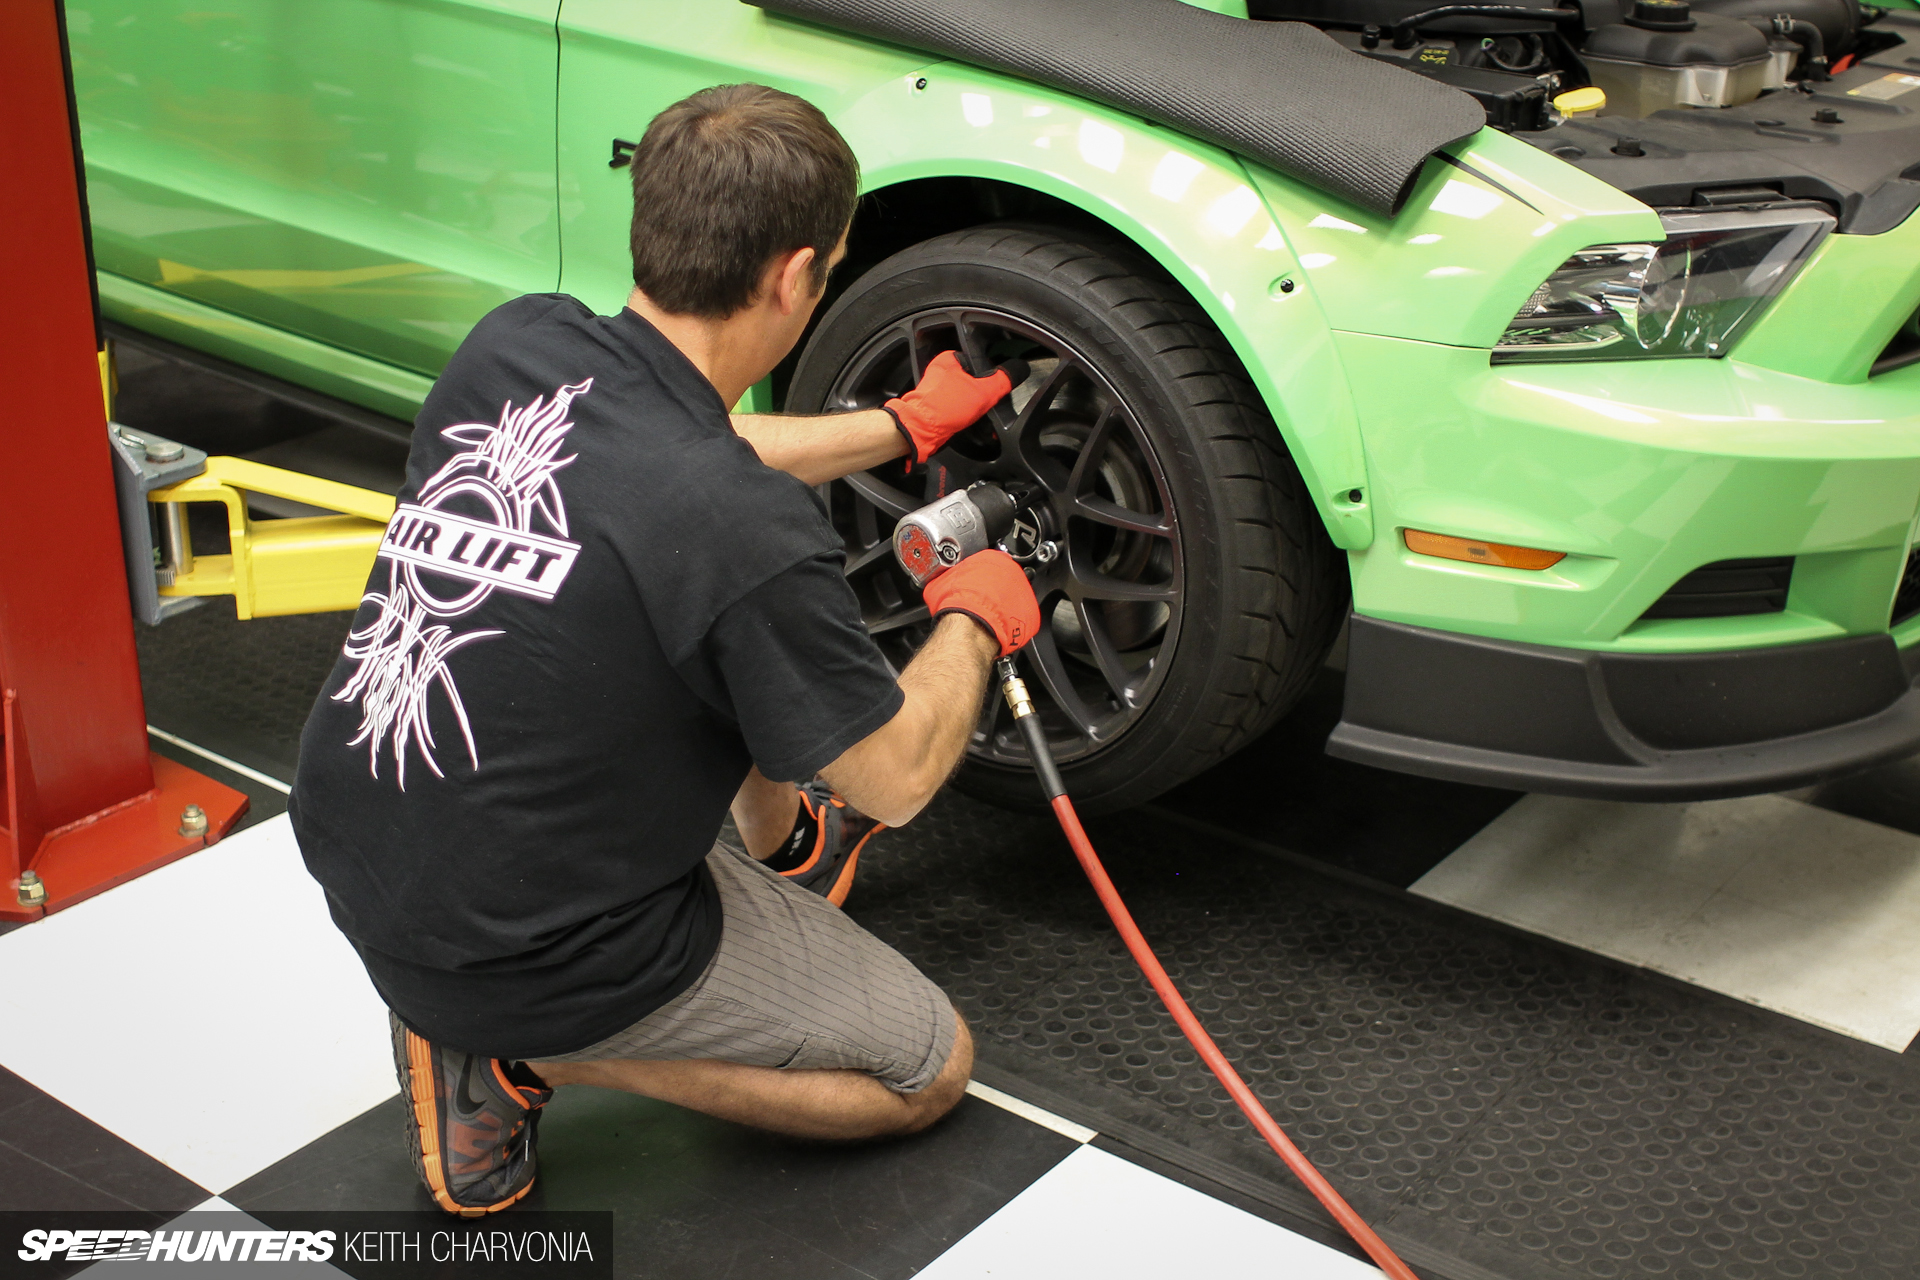
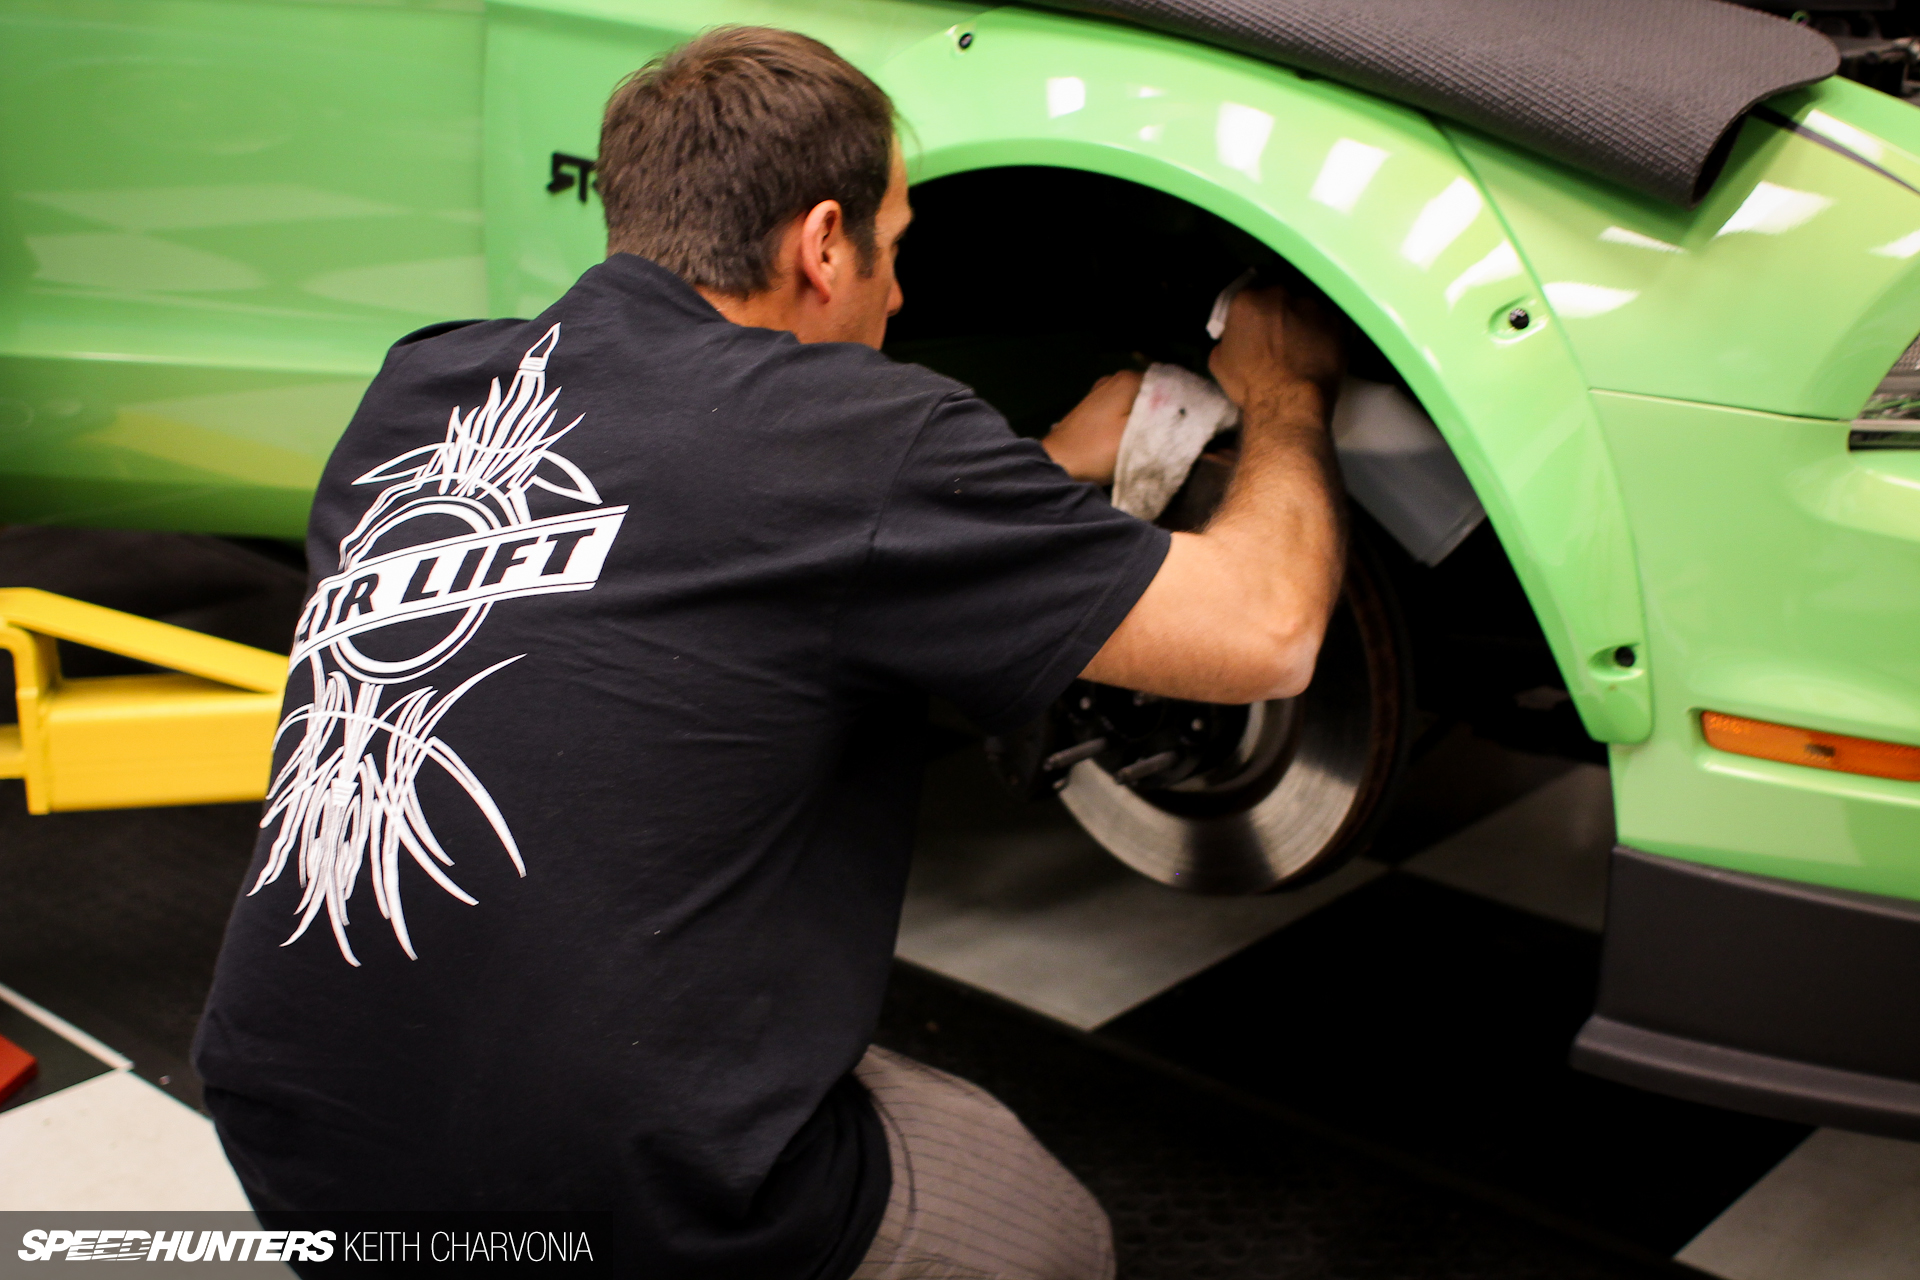
We hurried to mount the wheels so we could test out the new system.
With the car back on the ground we had no problem getting the lift arms out – we just lifted the car up with the new air suspension.

Check out the trick little switchbox Brian is holding. I used to use three way momentary toggle switches and terminate every single wire in a ten switch box. Air Lift’s Auto Pilot V2 system is light-years ahead of the way we used to do things.
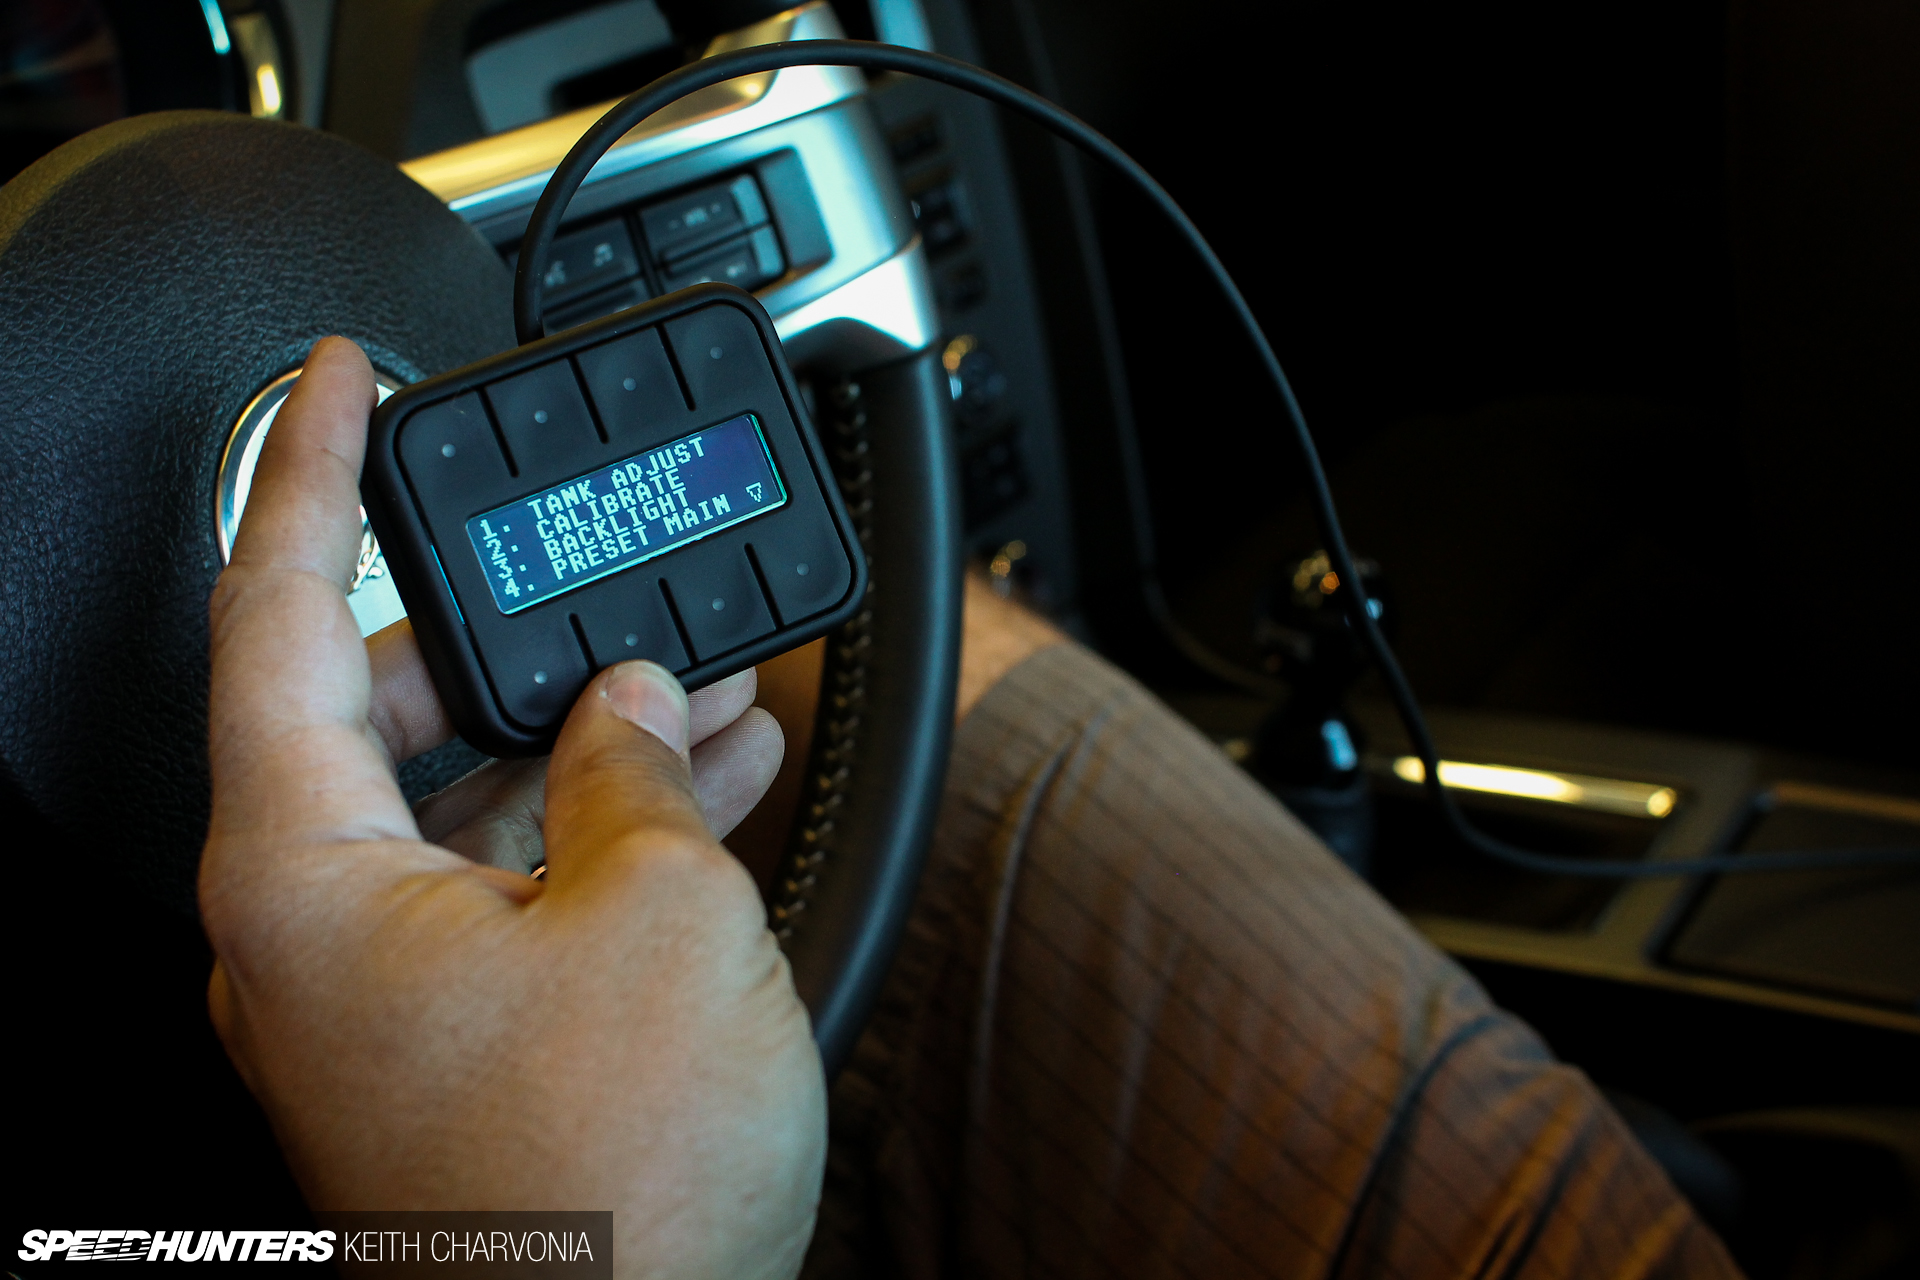
Brian ran through the menus with me and showed me how to calibrate the system. The calibration process was very interesting: basically burping air in and out of the bags then checking to see what the resulting pressure is versus the valve-open time. It plots a curve so the ECU knows how long to open each valve to reach a desired pressure.
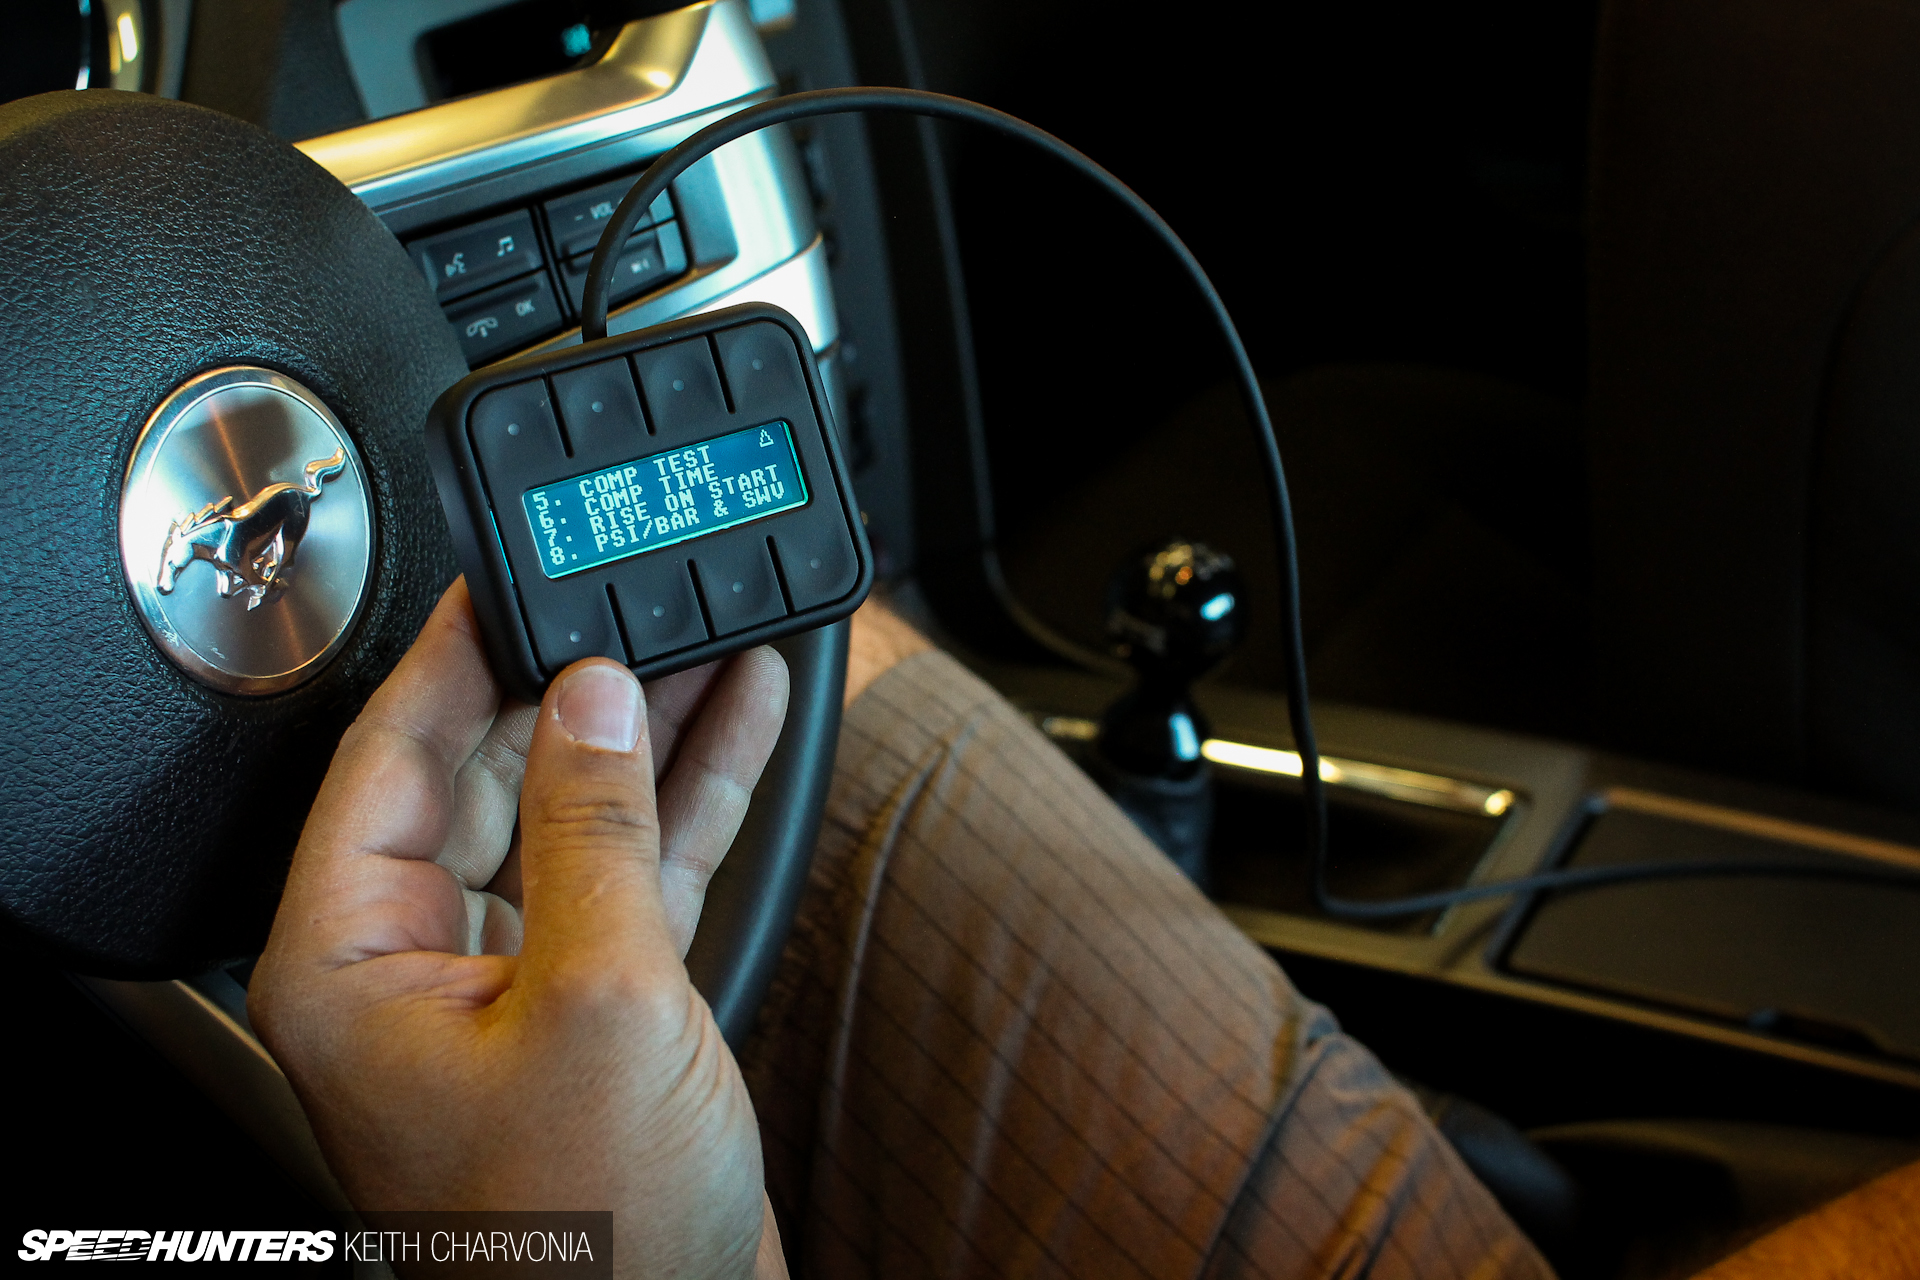
We set the pressure at which the compressors would turn on and off, similar to the function of an analog pressure switch. As you can see, you can do other things too, like command the ECU to rise to your preset ride height when you turn the key.

With the calibration complete, we could now dial in our ride height.
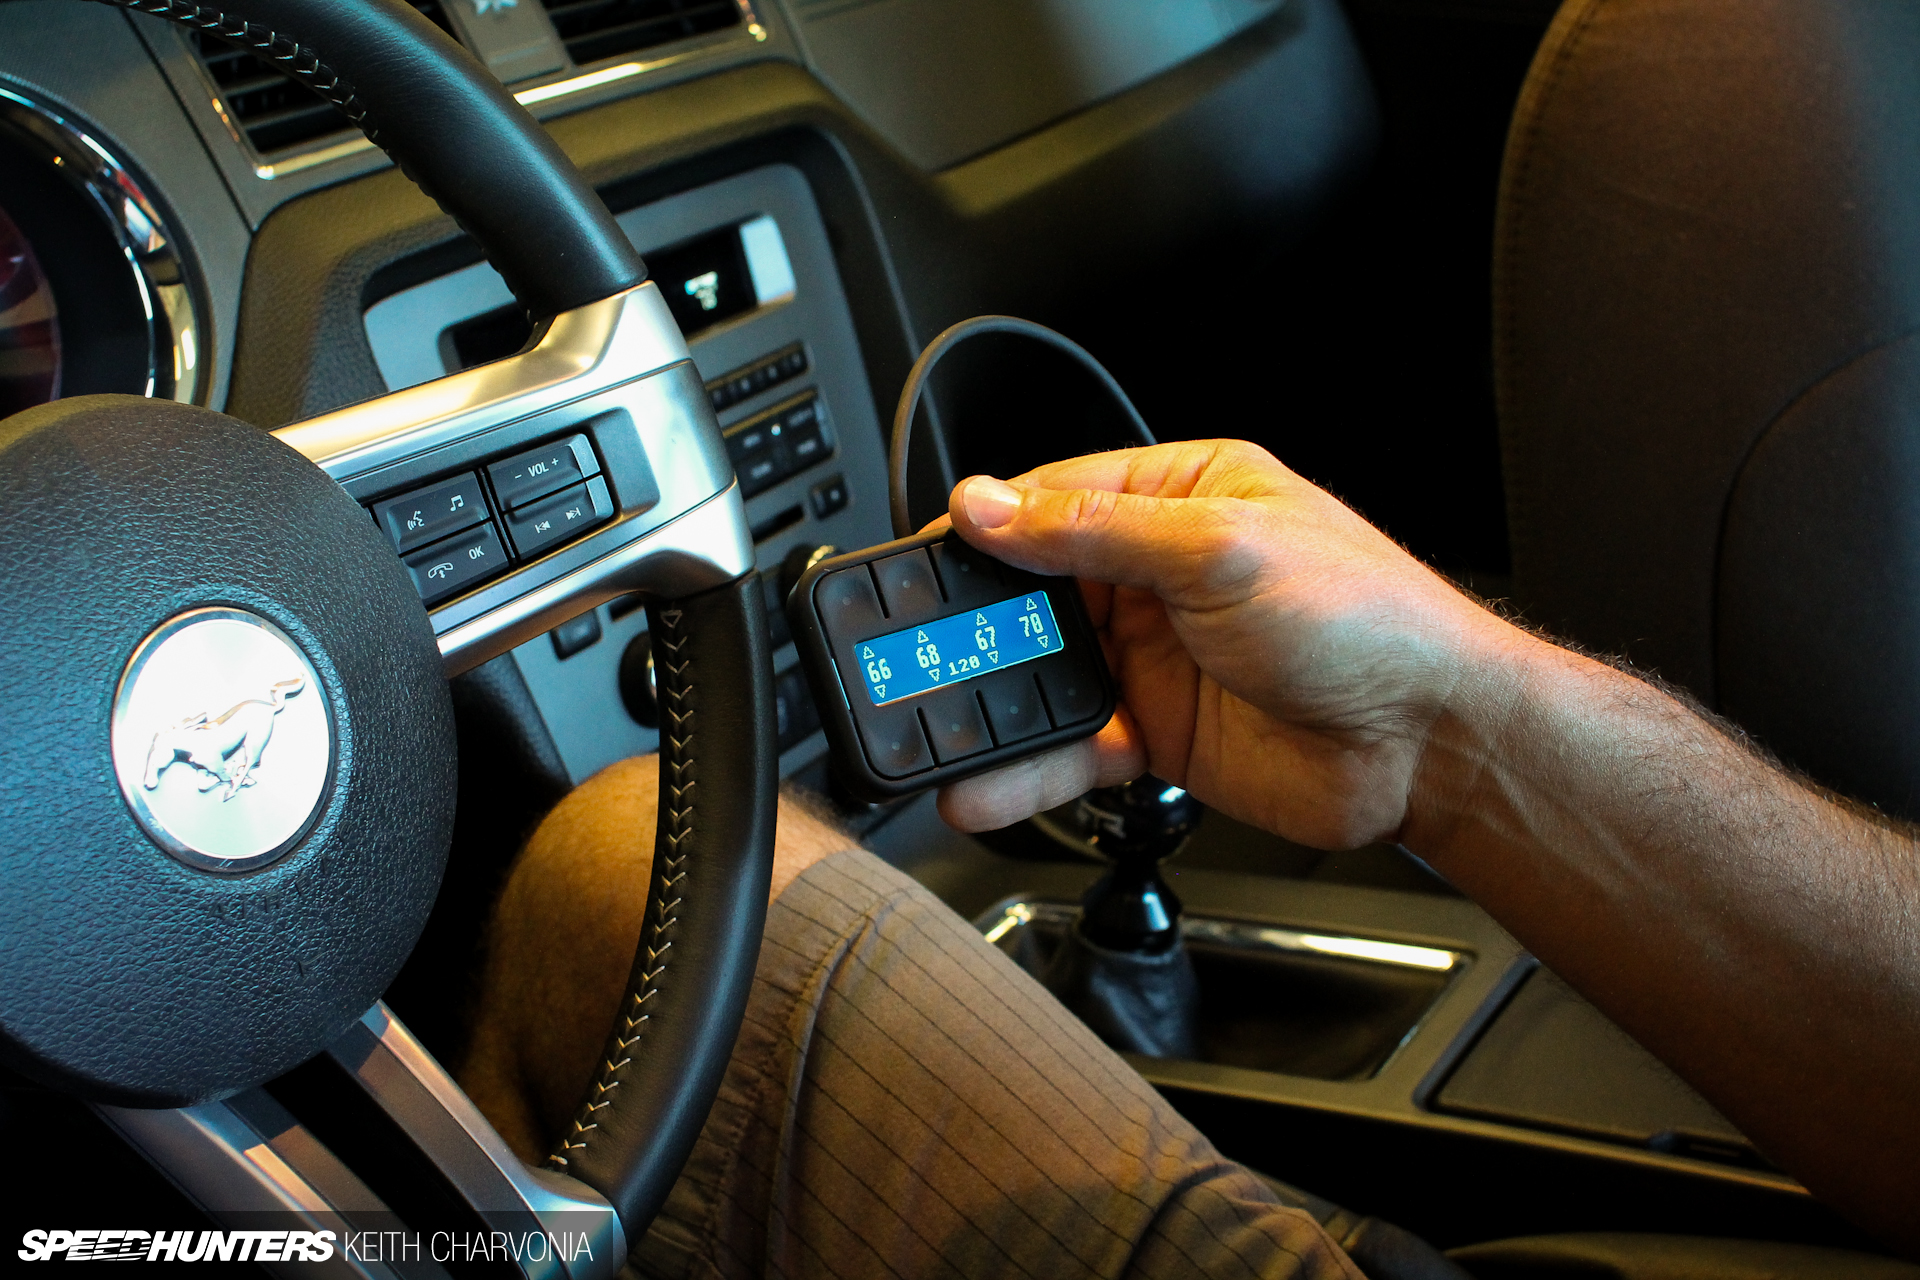
In manual mode the eight buttons control each wheel up and down, but in preset mode you can have up to eight preset ride heights. I have since set up three: a normal driving height, a lifted height for speedbumps and driveways, and a maximum lifted height. Of course there’s also a preset to put all the bags at 0 psi for that show stance. Admittedly this one is used quite often.
The test drive and the verdict
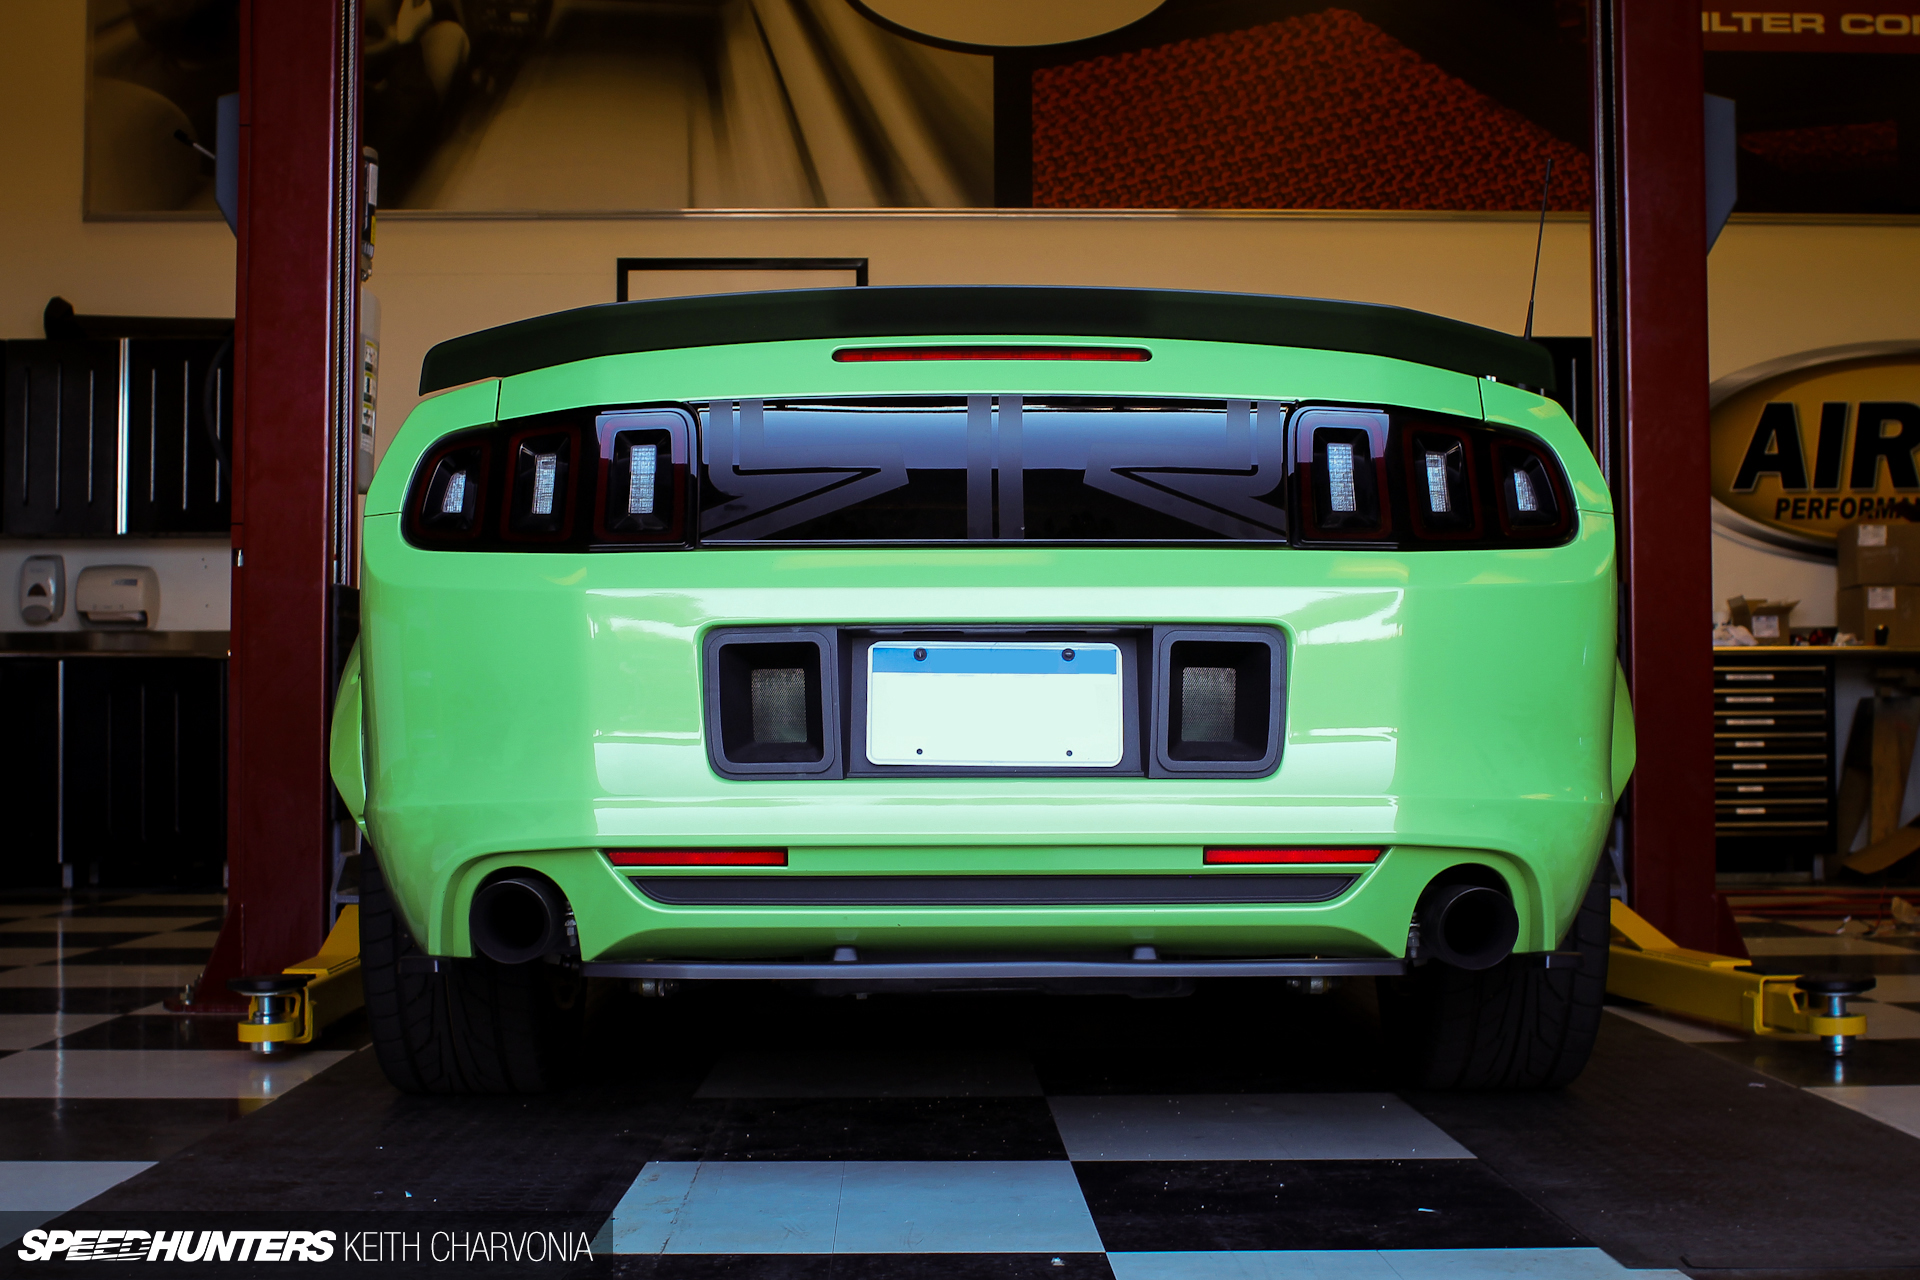
Before Brian pulled the car out of the bay I just had to see it dumped for the first time. I was not disappointed by what I saw.
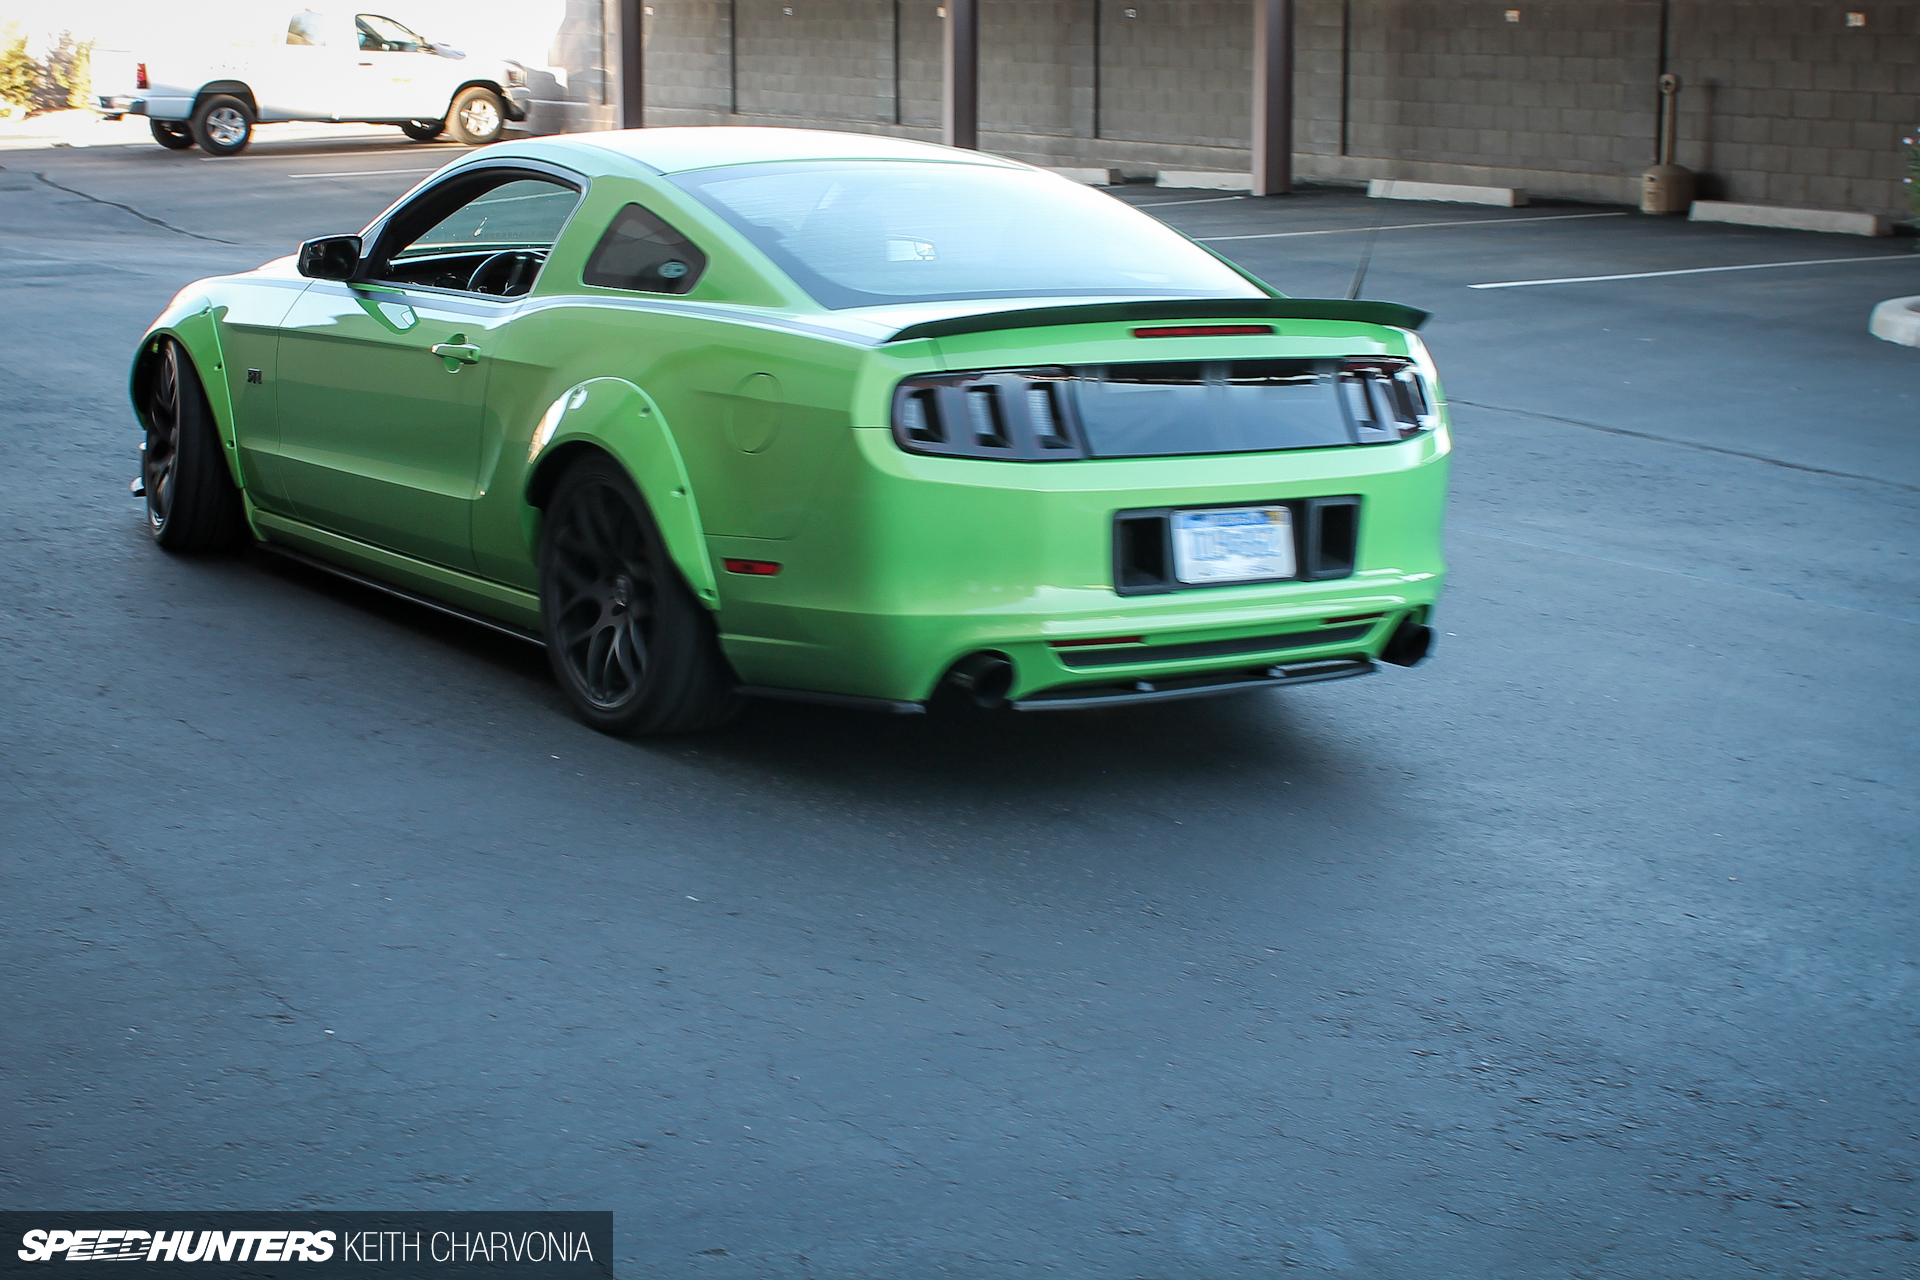
We were off for our test drive to see how it would perform.
Once again Brian took the wheel and I attempted to take pictures. What he did next was something I’ve never in my life done in a lowered car – he aimed for every rut, dip and pothole he could find. The first time I cringed, then I just started blubbering about how I couldn’t believe the way the RTR soaked up bumps. No jarring, jumping or swerving, the Air Lift system took everything in stride. I’ll sum it up this way: I could hide the switchbox in the center console and you would swear it was riding on a premium set of coilovers.
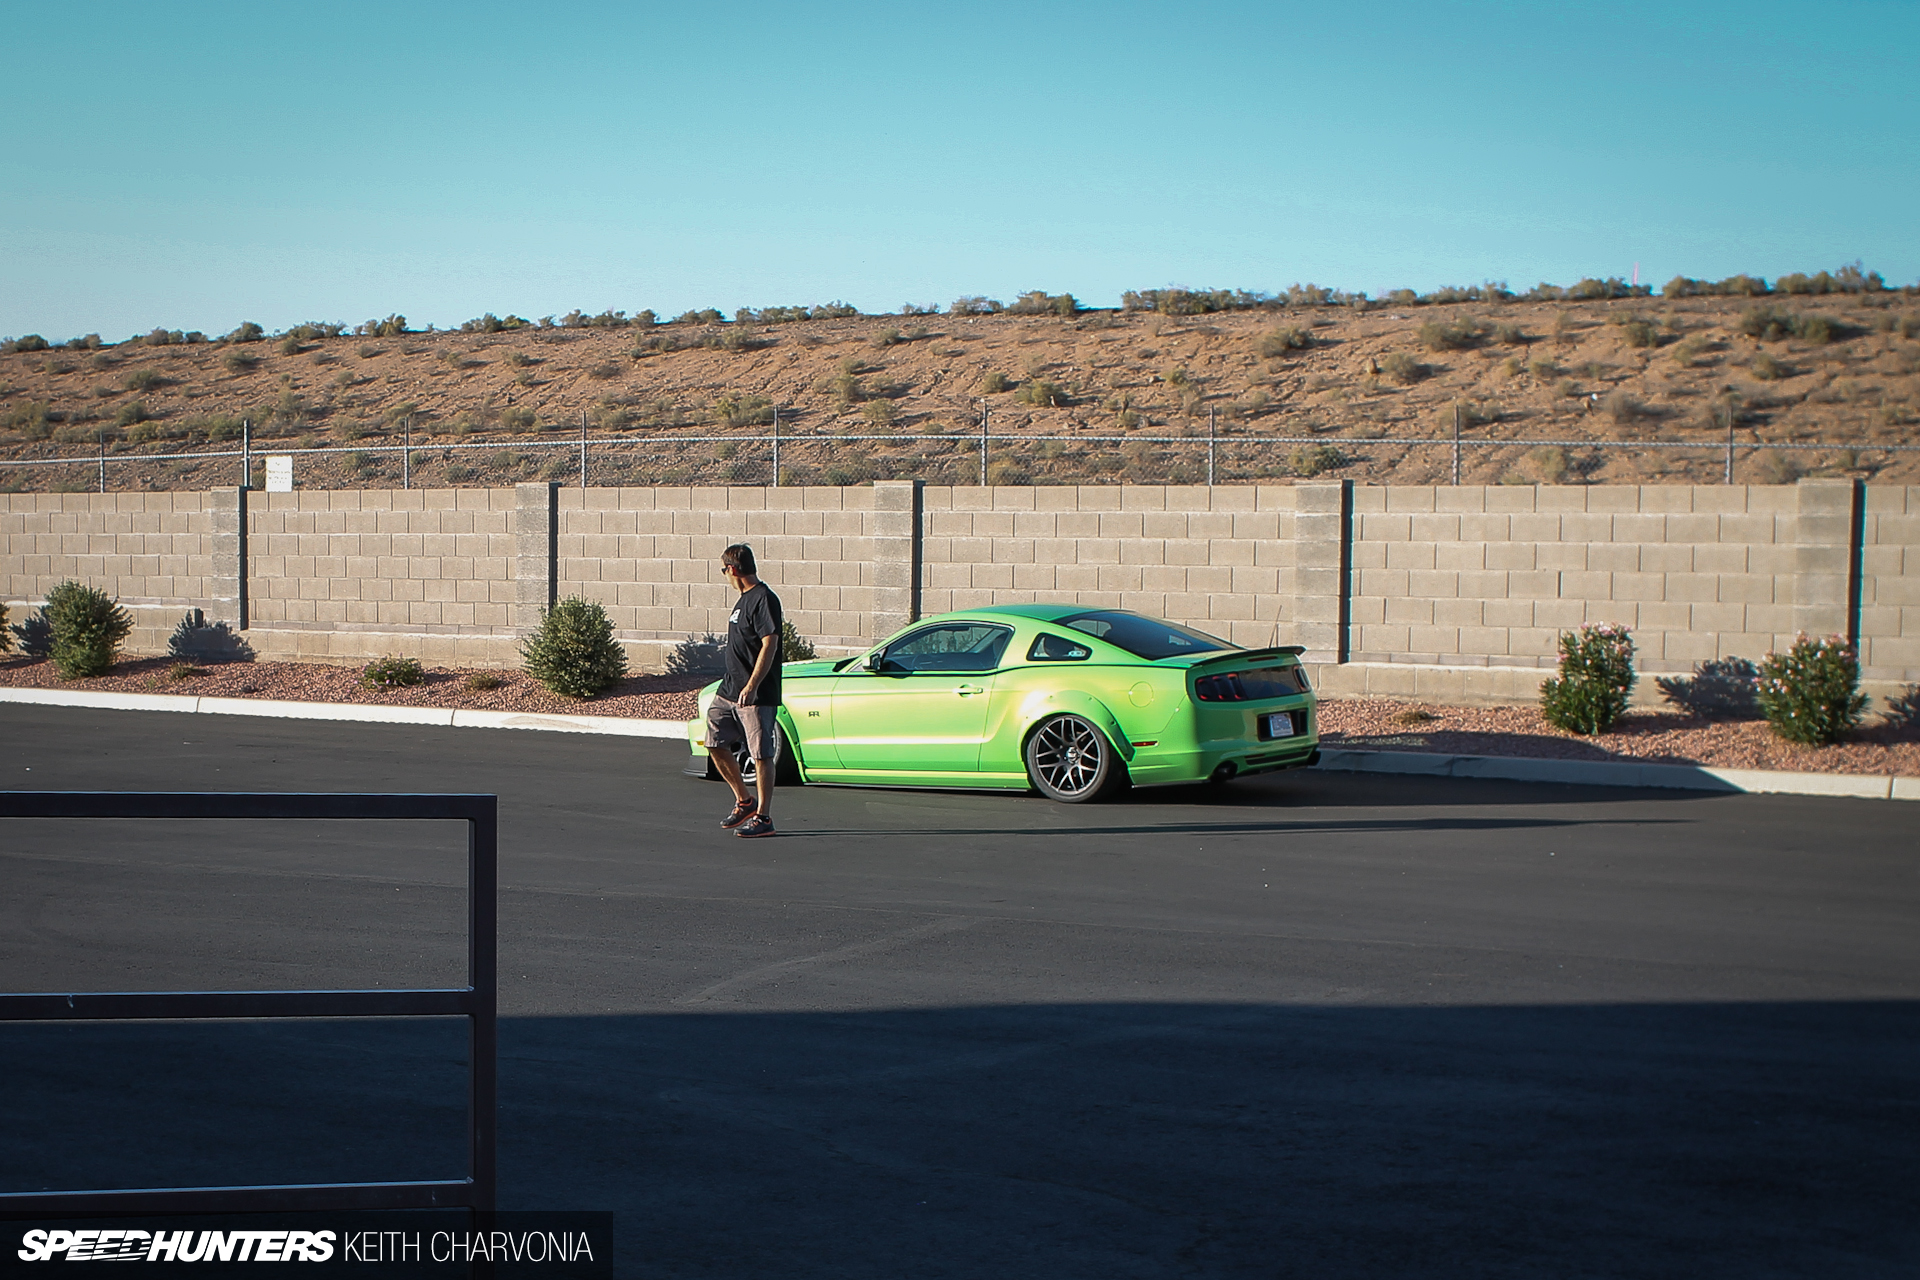
After the test drive we parked the car back in the same spot to take an ‘after’ photo. I loved seeing Brian turn around to check it out as he walked away. He’s seen this view plenty of times, but being a hardcore petrolhead like the rest of us, he still couldn’t wait to see how badass it looked.
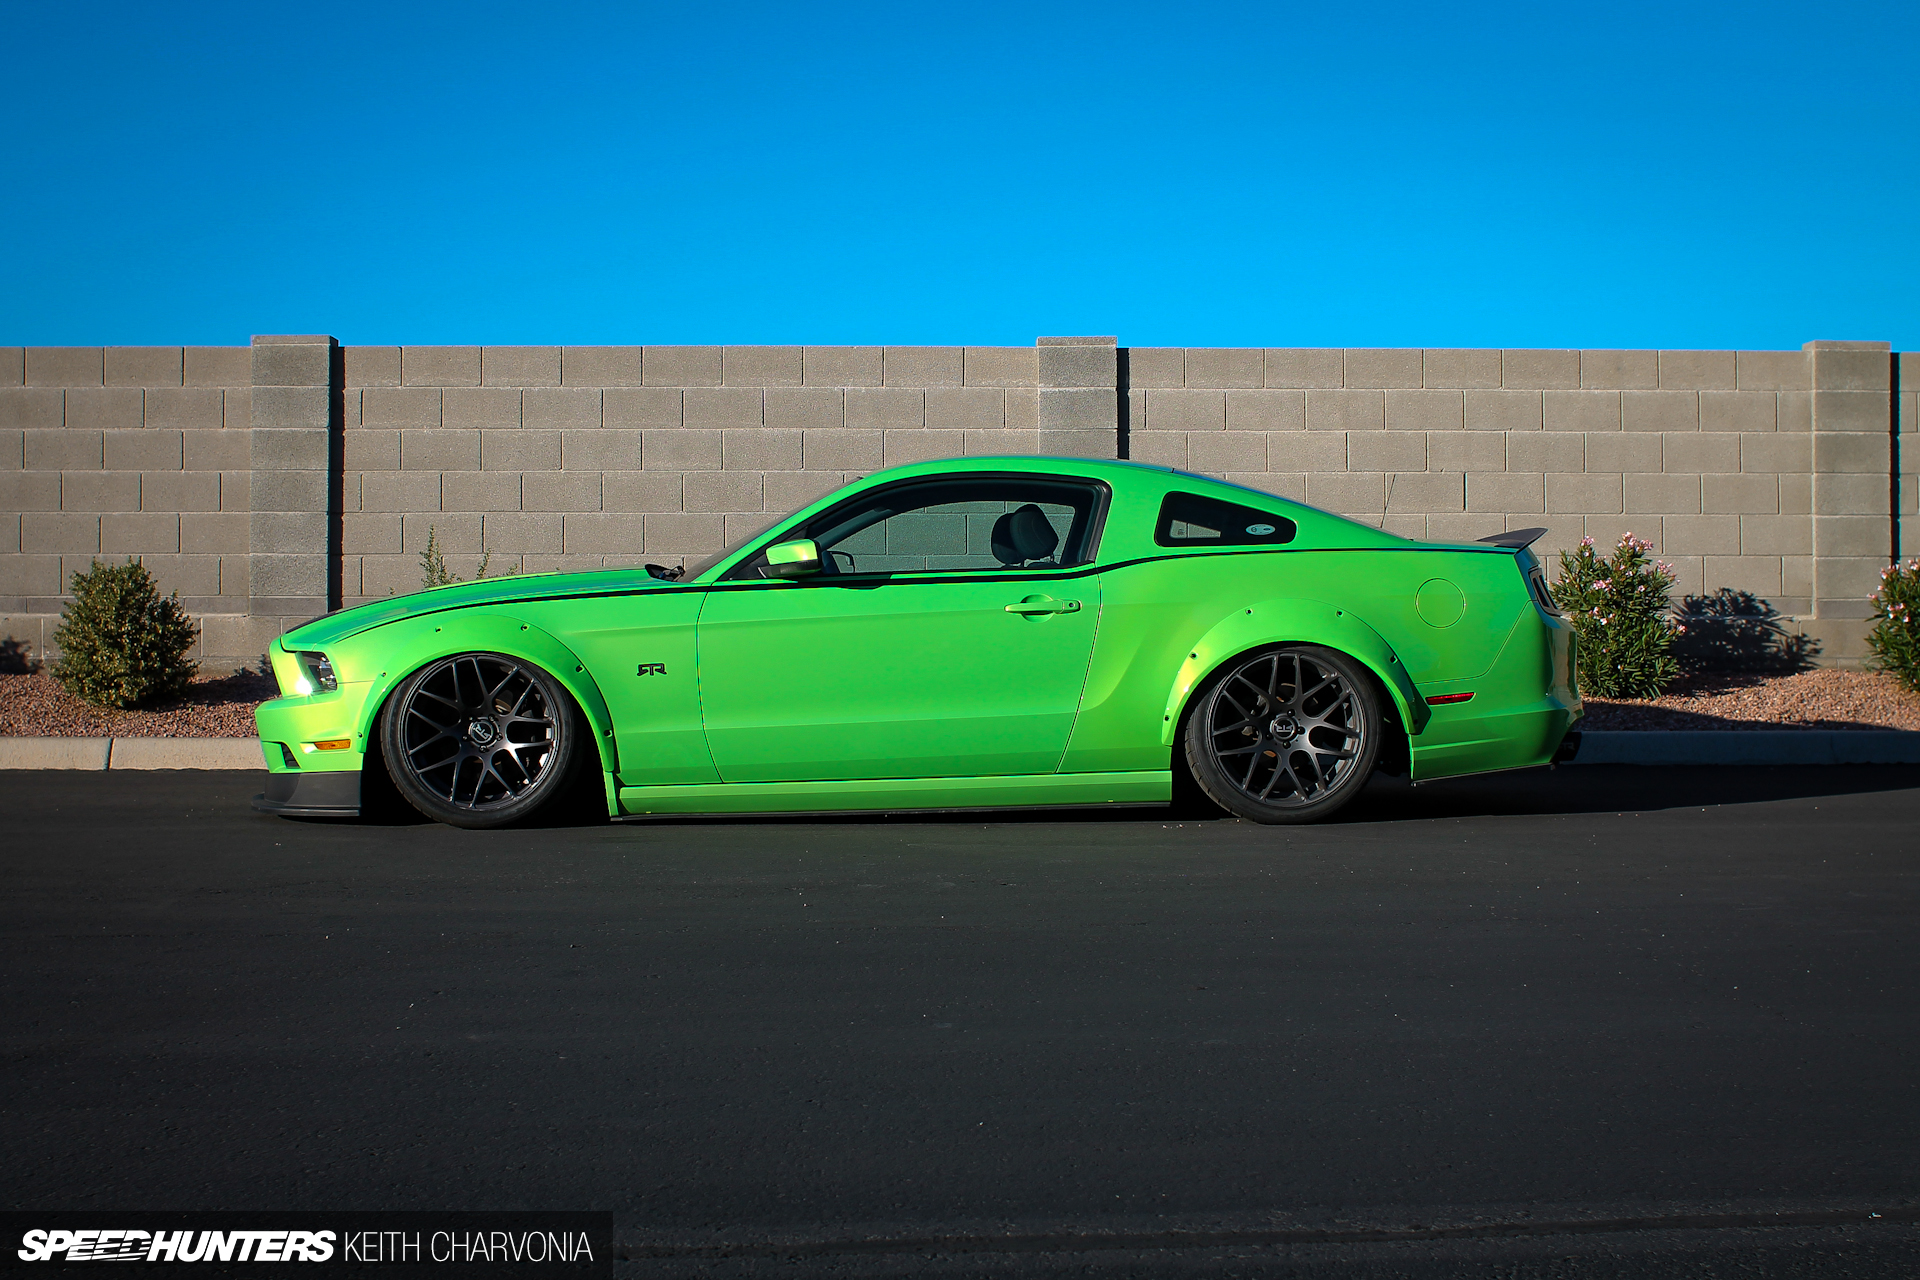
Here’s the other side of the dual-natured car I started the story speaking about. While you could drive the car at ride height all day and be perfectly comfortable, or take it to the track and lay down competitive lap times, you can also air it out for the ultimate stance. We’ve been doing it for years with kustoms and mini-trucks, and now it’s hit the modern car scene too; with much better hardware to boot.
Since this install I’ve driven the car over a thousand miles and I have yet to find something to complain about. It’s simply a bullet-proof system that does it all. No leaks, no wiring mess, and no fuss; just push the button and drive away. If you don’t feel like messing with the air suspension, then don’t. The beauty is that you can completely forget about it, or you can go for the ultimate stance. Take your pick – you really can have both.
OFFICIAL SPEEDHUNTERS SUPPLIERS


Cool...
Question: why did you decide to go with a pressure based system over one that minds the ride height through linear sensors? is there a big difference between the two methods of determining ride height?
@Mike I'm no expert but I believe the reduced complexity of the pressure based system is the main reason behind going that route. It saves the need to mount and wire two sensors.
Excellent post. I don't like the car at all, not my cup of tea. What I do like is the nature of this post. It doesn't hurt for you guys to show the more technical side of things from time to time. Give your less mechanically-inclined readers an inside look at how these cars get to look the way they do. The manner in which you've written the article does a good job of showing that the difficulty level of such an installation isn't as high as most would think.
how does the handling in a performance setting compare to a coil over system? what would the "spring rate" of the airbag compare to at a performance setting? thanks in advance to anyone who knows
Great post Keith
Makes me want to bag my Honda Insight now
Another one with airbags...
@getwell I had the same questions for Brian when he visited. We are planning an Ask The Expert article with him so he can address these questions. I'm not the expert, but he explained the benefits of the progressive spring rate you get with an air spring versus the linear spring rate of a coil spring. Basically when you compress an air spring it is soft initially and the spring rate increases rapidly. This means that it can soak up small hits without jolting the car, but stiffen up quickly when cornering etc.
As for the performance, Air Lift recently track tested their system against coilovers on three cars and made a video about it. I think they were even surprised by the favorable results. Their track times were equal or better in each case.
Simply P Great feedback, thanks very much.
PowerTryp That's also my understanding. The alternative would be to mount a sensor at each wheel to relay ride height to the ECU. Why bother mounting extra hardware and running wires when you can just set a pressure for a known ride height? This seems like the simplest solution.
KeithCharvonia thanks for the insight. i look forward to the article. cheers!
Interesting article.
So can you fit this kit to any car?
another great article Keith, good to see articles with some knowledge based notes. not that the other guys don't do a great job, but yours have that little bit more depth to them. hope to see a few more tech based articles in the future, especially the rodding ones
aussieANON We make chassis specific bolt on kits. You can see our offering at airliftperformance.com
KeithCharvonia PowerTryp The sensors (if not mounted correctly, or if they come into contact with debris [snow/ice]) can break and fail as well.
I've been on the autopilot v2 for 16k now and never had a single issue with the pressure based system. 8 settings is really more than you need. I think I'm up to 5 now most of which I never really use.
"Performance airbags" are about the dumbest thing I've ever seen. The majority of people who want to put airbags on their car aren't going to give a crap about performance or handling, and the vast majority of people that do give a crap about performance or handling are just going to go with coilovers.
I mean, look at all the headaches and needless complication that a system like this brings, and for what? To be "just as good" as coilovers? So explain to me why I wouldn't just buy coilovers? This system won't be bought by driving enthusiasts as it was intended to be, it will be bought by "stance enthusiasts" who want to be able to walk around with a chip on their shoulder thinking that their 25 year old economy car with 11 inch wide wheels, stretched tires, and "performance" air bags can out-handle that Porsche Cayman they just saw, even though their ruined econobox will never see a race track in its life.
It's somewhat admirable that this company cares about improving a car's handling, but I just don't know who would buy this product.
@Jake Laird Thankfully they're most certainly not the dumbest thing I've ever seen, I fully appreciate your points but you have to drive the kit to fully understand it's implications on current ways of thinking. The progressive rate in which they react is really a revelation, don't mistake this for something new. The technology has been developing in the background for many years and it's now at a stage where Air Lift can bring it to the aftermarket with commitment and confidence. Headaches and needless complication? So there are a few more steps in the installation process, this is akin to complaining about cooking a good meal over eating the ingredients raw. You get what you put in.
You'll also have noticed that more and more performance orientated vehicles such as Porsche, Audi RS's etc are attractive to the enthusiast who wants the choice, so elements of the stance movement, drive it to a track etc. This answers the need and I think you'll find it will be a popular choice when peoples attitudes adjusts and the blinkers come off.
I took that first picture before driving the RTR on a mix of terrains in different driving styles, I come to everything with an open mind and was left impressed. I don't care if Air Lift are a partner or not, this is a good thing.
take my monies. i want my ride dumped then. i was worried about the whole pot hole thing. im sold.
Speedhunters_Bryn I get what you're saying, but I honestly don't see the advantage to coilovers. The whole KISS adage comes into play here. There's simply more to fail if you've got hoses, wires, compressors, and tanks rigged up together to work your suspension. Coilovers are all just one self-contained unit, and they can offer a much more intricate range of adjustability. Notice that I'm not saying that these airbags aren't capable, I'm sure they are, but to me, it just looks like a needlessly complex arrangement. Now, if they held some monumental advantage to coilovers on the track, then I could understand all that excess, but from what I've heard, they really don't.
@Jake Laird Speedhunters_Bryn You're right, there are more parts than with a static drop coilover, but like I said in the story current air suspension technology has improved leaps and bounds since I started doing this 14 years ago. The simplicity (for an air system) equals long term reliability. It's not the kluge you're describing it as, but ten years ago it would have been.
Simply P I agree with this, too. I think it's really important to try and demystify airbags a bit. Stuff like the plug and play wiring harness and eight books of instructions are great.
MidshipR Mainly I was talking about the tips that he passes on regarding installation. Things like labeling the hoses, the isolation bushings, the rubber on the sheetmetal edge, covering the braided hose with loom... Each one of those things preemptively solves MAJOR problems, believe me. I guarantee that Keith learned most of those tricks the HARD WAY, and here they are, all in a single article for people to learn from. His advice on making sure the ends of the hoses are cut square? I learned that the HARD WAY, not with airbags, but with a methanol injection kit. What I applaud Keith on doing is demonstrating an attention to detail that can be applied to installing airbags, power adders, car audio, you name it... These small details add up to a clean installation that will look good and perform reliably for a long time.
Regarding the point you've made, yeah, this post goes a long way toward opening minds toward 'bags (those whose minds can be opened, that is). Personally, for a car that will never see serious track use, only daily grinding and hard parking, I'd choose a 'bag setup over coils anyday. And actually, some bag setups are capable of handling all but the most all-out of track days, so there's that too.
KeithCharvonia No prob, keep it up.
I gotta be honest... I have flares on my own car and something about this just doesn't... fit. The flares seem mis-aligned or something.. they don't really flow. *shrug* can't all be winners I guess in my own book of taste.
show
Perfect
@Jake Laird Speedhunters_Bryn - I agree that coil-overs are certainly the simplest approach to a performance suspension. That's why proper race cars use them! The real draw to our air suspension is the ability to have a Jekyll & Hyde set-up for a car that gets driven on the street but sees occasional track use. As Keith mentioned, we have moved the bar on performance and reliability significantly in the last 3 years. And this has transformed the product into a system that not only rides great, but has serious performance capability that can change modes with a push of a button and a twist of a knob. And let's not forget the appeal of a car laid low for all to see.
If you are willing to put up with some complexity of installation, then you can enjoy a very SIMPLE transition between modes and all the benefits of having control of your ride height. Those that have made the jump have become believers.
d_rav -if it helps you at all...I drive my e46 BMW over some nasty train tracks on my ride to work and I absolutely ATTACK them. When people ride with me they cringe, expecting the car to bottom out severely! Instead, the progressive rate air springs soak it up like a minor bump and the damping properly snubs the rebound. You gotta experience it to really understand. Maybe KeithCharvonia will relate some more of his experiences on this subject.
@Jake Laird Bags may not be the best choice for everyone. Regardless of what happens in the future of the automotive aftermarket, coilover suspension will still be a very viable solution for many. What we are trying to to push is that fact that, with the proper car, you can have your cake and eat it too. Bryn is spot on in saying that you really have to drive a car on our suspension to really understand it. I hope our Ask the Expert article will shed light on some of your questions and concerns.
For now, here is a video we recently released demonstrating three different cars on a very reputable brand of coilovers vs. our air suspension. The proof is in the data my friend.
http://www.airliftperformance.com/airvscoilover/
which fuse panel did you wire into? Got a pic of it?
I bought the kit bc I occasionally take it to the strip/track, but mainly bc its my daily driver and right now I have to avoid certain roads or end up shaving the bottom of my car. Roads in Norway suck. They're rutted and have the most evil of all speed bumps (island style). I finally got my kit in so I'm getting ready to do the install. Just reading up as much as I can before I begin.
Manny78On our 2005, we
tapped into the fusebox under the hood to fuse 40 (Engine #2). I don't
remember exactly which one we used in the Double Down, but it was in
that same fusebox and may have been the same one. I believe this was a
15A circuit and needs to be active only when the ignition is in the RUN
position. The Air Lift ECU draws less than 3A maximum. Just be sure
you tap into the main power side of the fuse, not the output side.
Enjoy
your kit out there in Norway and please come back and post your
feedback. I'm sure many people would love to hear your comments.
And,
BTW, you will love this suspension for drag racing! Imagine pre-loading
the right rear spring, increasing rake, and tuning weight transfer rate
with the front dampers. All this with the same suspension that you
drive every day.
AirLift_BrianManny78 Thanks for the info. On day two of installing this kit along with a bunch of other parts. I'm done with the front and I have the lines, harness ran. Getting ready to do the rear, then mount the tank and compressor. I did order a second compressor. Didn't realize I need another harness for it, so I got to get it ordered. The roads here were killing me, so I'll be happy to have the adjustability. I'm going to the mainland in the spring, so I'll be able to test it out on the drag strip, the various tracks in Germany, and of course, the autobahn!
AirLift_Brian Finished the install around 0200 Monday morning(its my only car) Did a leak test and then test drove it. No issues, and OH MY GOD this is a million times better than what I had! Old setup was Roush springs on Tokico's. I also put in new front rear sway bars while I was at it. Still have to install front control arms and bump steer kit but that will have to wait for the weekend.
Car drives geat! Took it over to the industrial park where they have a series of interchanges and round about me and fellow enthusiasts make runs. Car stays flat in the corners and runs over bumps like they were nothing. I was able to run much faster. Before the ass end would get way too upset.
Only install issue I had was with one of the spring perch plates. The plate and nut were misaligned so the bag wouldn't thread. Fortunately I have very nice tap n die set that I finally got to use! To fix it.
Only question is how much of a drop in psi is ok over the course of five hrs? I didn't see any air bubbles when I sprayed the connections but the front right dropped 2 psi from when I parked it at 0300 and left for work at 0830? Should I redo the connections for that bag?
Manny78 AirLift_Brian It rides nice huh?
2 psi drop is nothing really. It could even be within the tolerance of the sensor that reads the pressure. Definitely not worth taking apart at this point!
Manny78 Great to hear that the install went well for you!
Personally, I consider >5 psi loss overnight to be leak. Make sure that you are using water with a few drops of mild detergent (we use Dawn) to check for leaks. The soap makes the bubbles much easier to see. If it is not too hard, check where the leader hoses thread in to the bag, the threaded portion of the push to connects, the push to connects to the nylon hoses and also at the manifold. I soak the fittings and wait a couple of minutes to see if any bubbles develop. Just a FYI, if the rear is where you are seeing pressure loss it could be due to the tapered sleeve bag we use. We see up to a 3 psi pressure change after letting the car sit for a while due to the nature of the bag.
On my own car I have parked it for 2 weeks and seen less than a 2 psi drop!
KeithCharvoniaAirLift_Brian rides amazing! I'm monitoring the drop make sure it doesn't go more than 5psi, If it nstaysnwithin that I'll leave it for the weekend. Still have control arms and bump steer to do.
Below is how I setup my tank. Second compressor will go on the left once I get my harness in. I still have a spare and no AAA round here. Manifold is up top by the speakers. Debating whether or not to put it behind the tank.
My car friends all called me crazy among other things for getting this kit. They all were preaching coil overs. I almost went that way but I need my car to be livable and still track it/drag it. Glad I made the jump.
Thanks for the advice and the help. Weather clears up I'll take the car down the North Sea highway. Lots of twisties
AirLift_Lucas Rears are good and the FL too. Not a single psi drop on those. FR is the only one with a variation. Checked the manifold already. No bubbles, so it may be at the front hut that's easy enough to get to unlike the rears!
Manny78 Very clean install you did there! Still plenty of room for cargo.
The most common leaks are the push to connects to the nylon hose, usually due to the hose not being cut straight. When you have the chance to take a closer look, drain the air out of your FR and disconnect the hose from the fitting at the bag. Chances are it is either not pushed in completely or the hose is cut at a slight angle. The manufacture of our fittings recommends the cut be 90° +- 7°. It may not sound like much but that 7° can be the difference between a small leak and a completely leak free system!
AirLift_Lucas Manny78 Nice! That's a very solid install.
AirLift_Lucas found the leak. It had dropped from 62 to 55 so I figured I should go ahead and check it. It was the ptf connector for the braided hose. Very slow leak almost didn't see it. double chkd the nylon hose and recut to be safe. I don't have an airline cutter so I made one with a cigar cutter and a deepwell socket. Seems to have worked great!
Manny78 KeithCharvonia I step away from the computer for a couple days and you guys have all the fun! Glad to hear you like our kit and how it performs. Your feedback to the audience is much more valuable than mine. Please keep it coming, especially when you get it out to the track.
Your install looks great. And I see AirLift_Lucasgot you through your leak issue. Thanks for highlighting your install here. While not that complicated to do, sometimes it is a very simple thing that needs to be addressed for a perfect result. Your attention to detail at this point will provide you with a robust system that should provide years of smiles!
Enjoy the ride.
What is the Air Lift part number for the polished air tank used in Double Down RTR?
ScottPatterson the Air Lift part number for the 2.5 gallon polished tank is: 12958. Cheers!
ScottPatterson The 2.5 gallon polished tank is Air Lift part#; 12958. Cheers!
Thanks, thought it looked familiar! Just working on my install now. Have that tank mounted in my tire well.
Can anyone add some finished trunk pictures to this install?
Drichardjackson
Not sure if you are asking about the RTR install or my install in the last post. If mine here are a couple of pictures. Everything fits nicely in the tire well and with the carpeting back you would never know it is there.
ScottPatterson Drichardjackson
Specifically I was asking about the RTR build but I appreciate any and all install pictures as I will be doing one soon! Thank you Scott!!