In the immortal words of comedian Karl Pilkington, “I never finish anything unless it’s a packet of biscuits.”
This is something that, as I get older, I’m trying to overcome, with varying degrees of success. And this is why I’m genuinely surprised at myself for managing to successfully rebuild Project GC8‘s engine – in my kitchen.
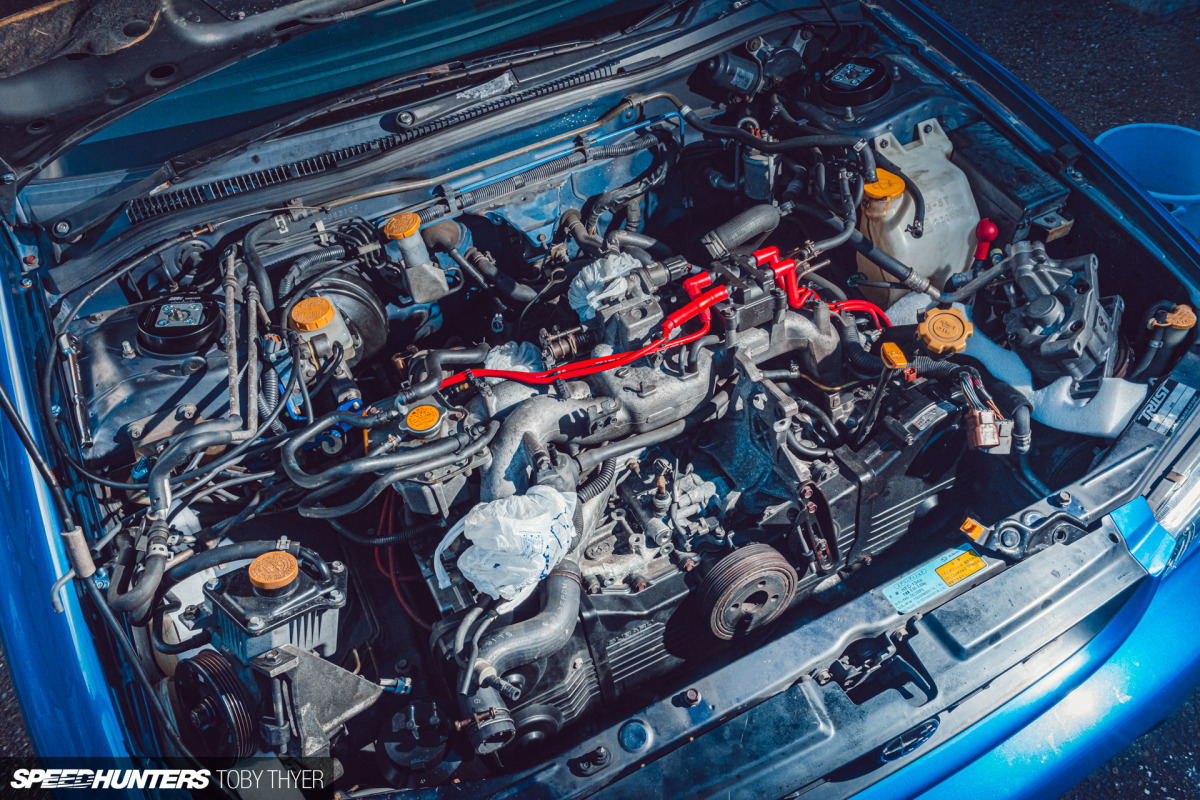

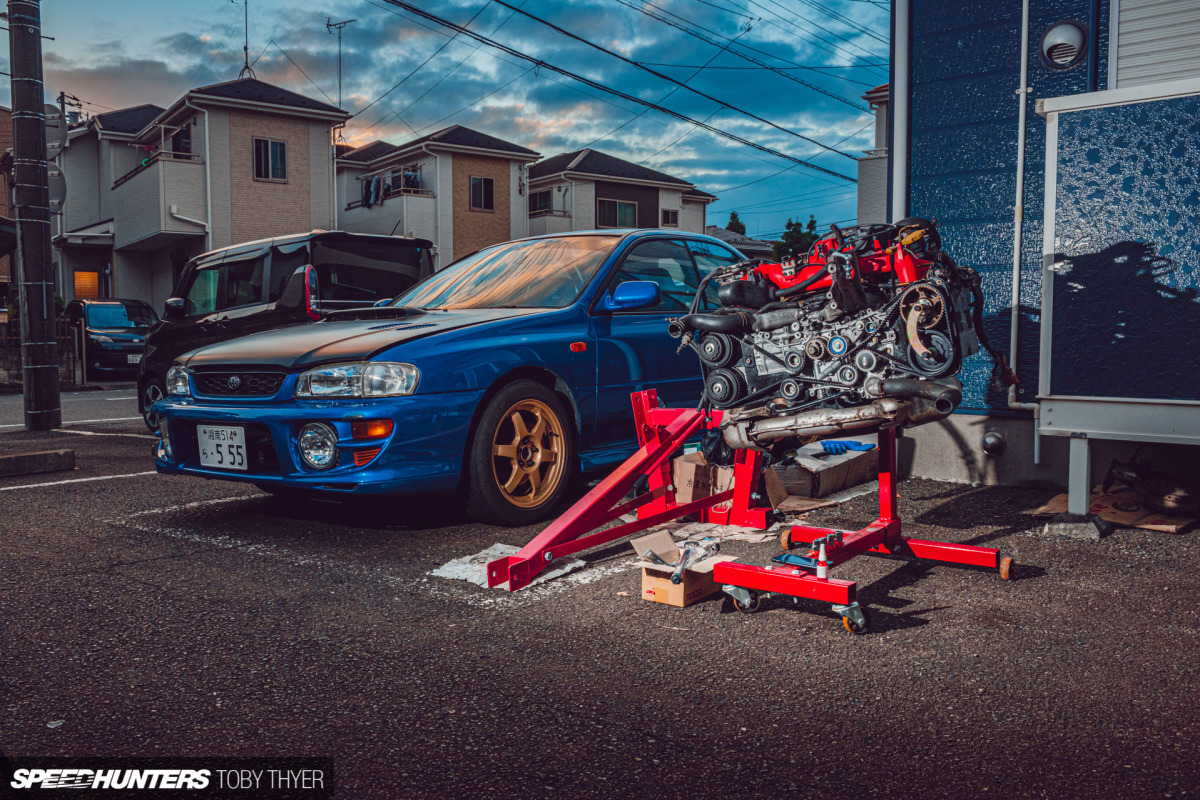
As those of you who have been playing along at home will know, my sight-unseen Yahoo! Auctions Japan Subaru Impreza WRX Type RA purchase came complete with a surprise – an unsettling knock from within its EJ207 boxer engine. So, with summer holidays and cash in hand, I gave myself a month to extract, dissect and reassemble the troubled flat-four.
Full disclaimer: I am in no way a mechanical expert, so please don’t take any of this as gospel; I’m sure there are better ways to do everything.
To be honest, I was absolutely terrified at the prospect of pulling apart this engine, but also pretty excited. If, like me, you are fairly mechanically dexterous, know how to use YouTube and can follow a workshop manual, then I encourage you to put your fears aside and jump into your own engine project.
Removing the engine was surprisingly easy, thanks in part to the Subaru Only channel on YouTube, which provided plenty of tips.
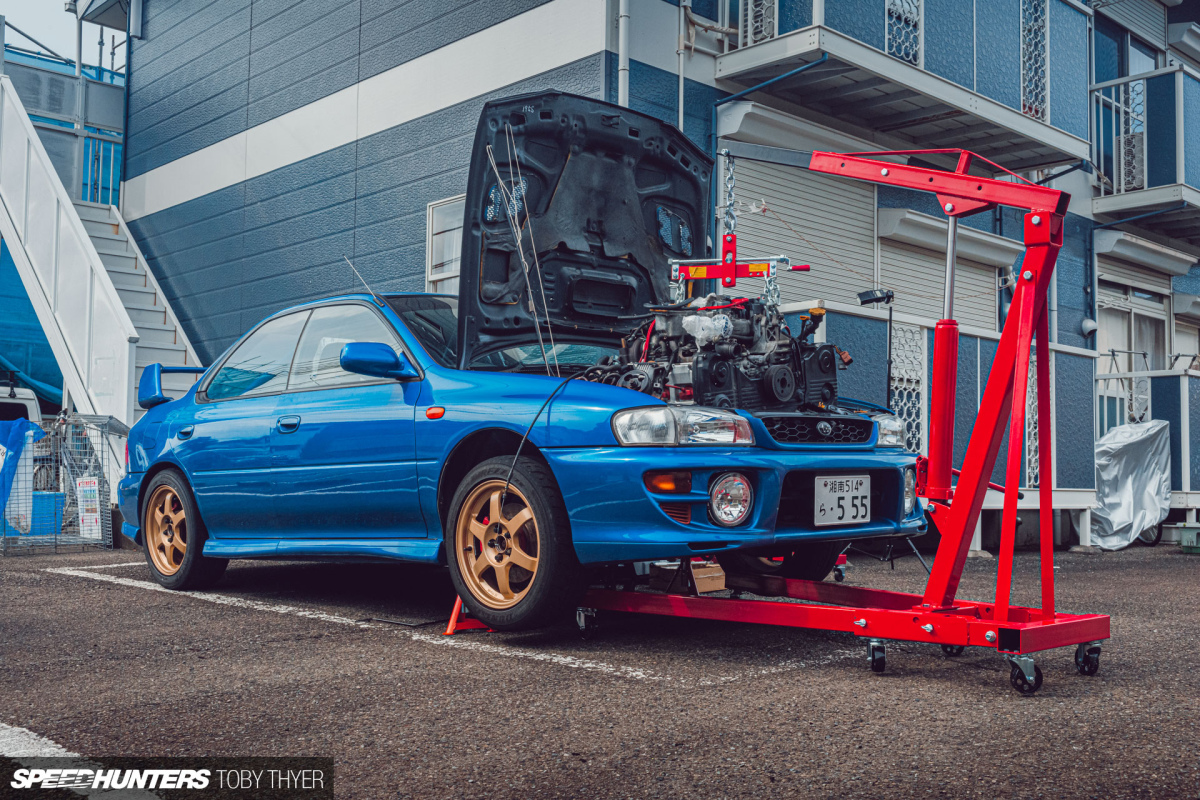
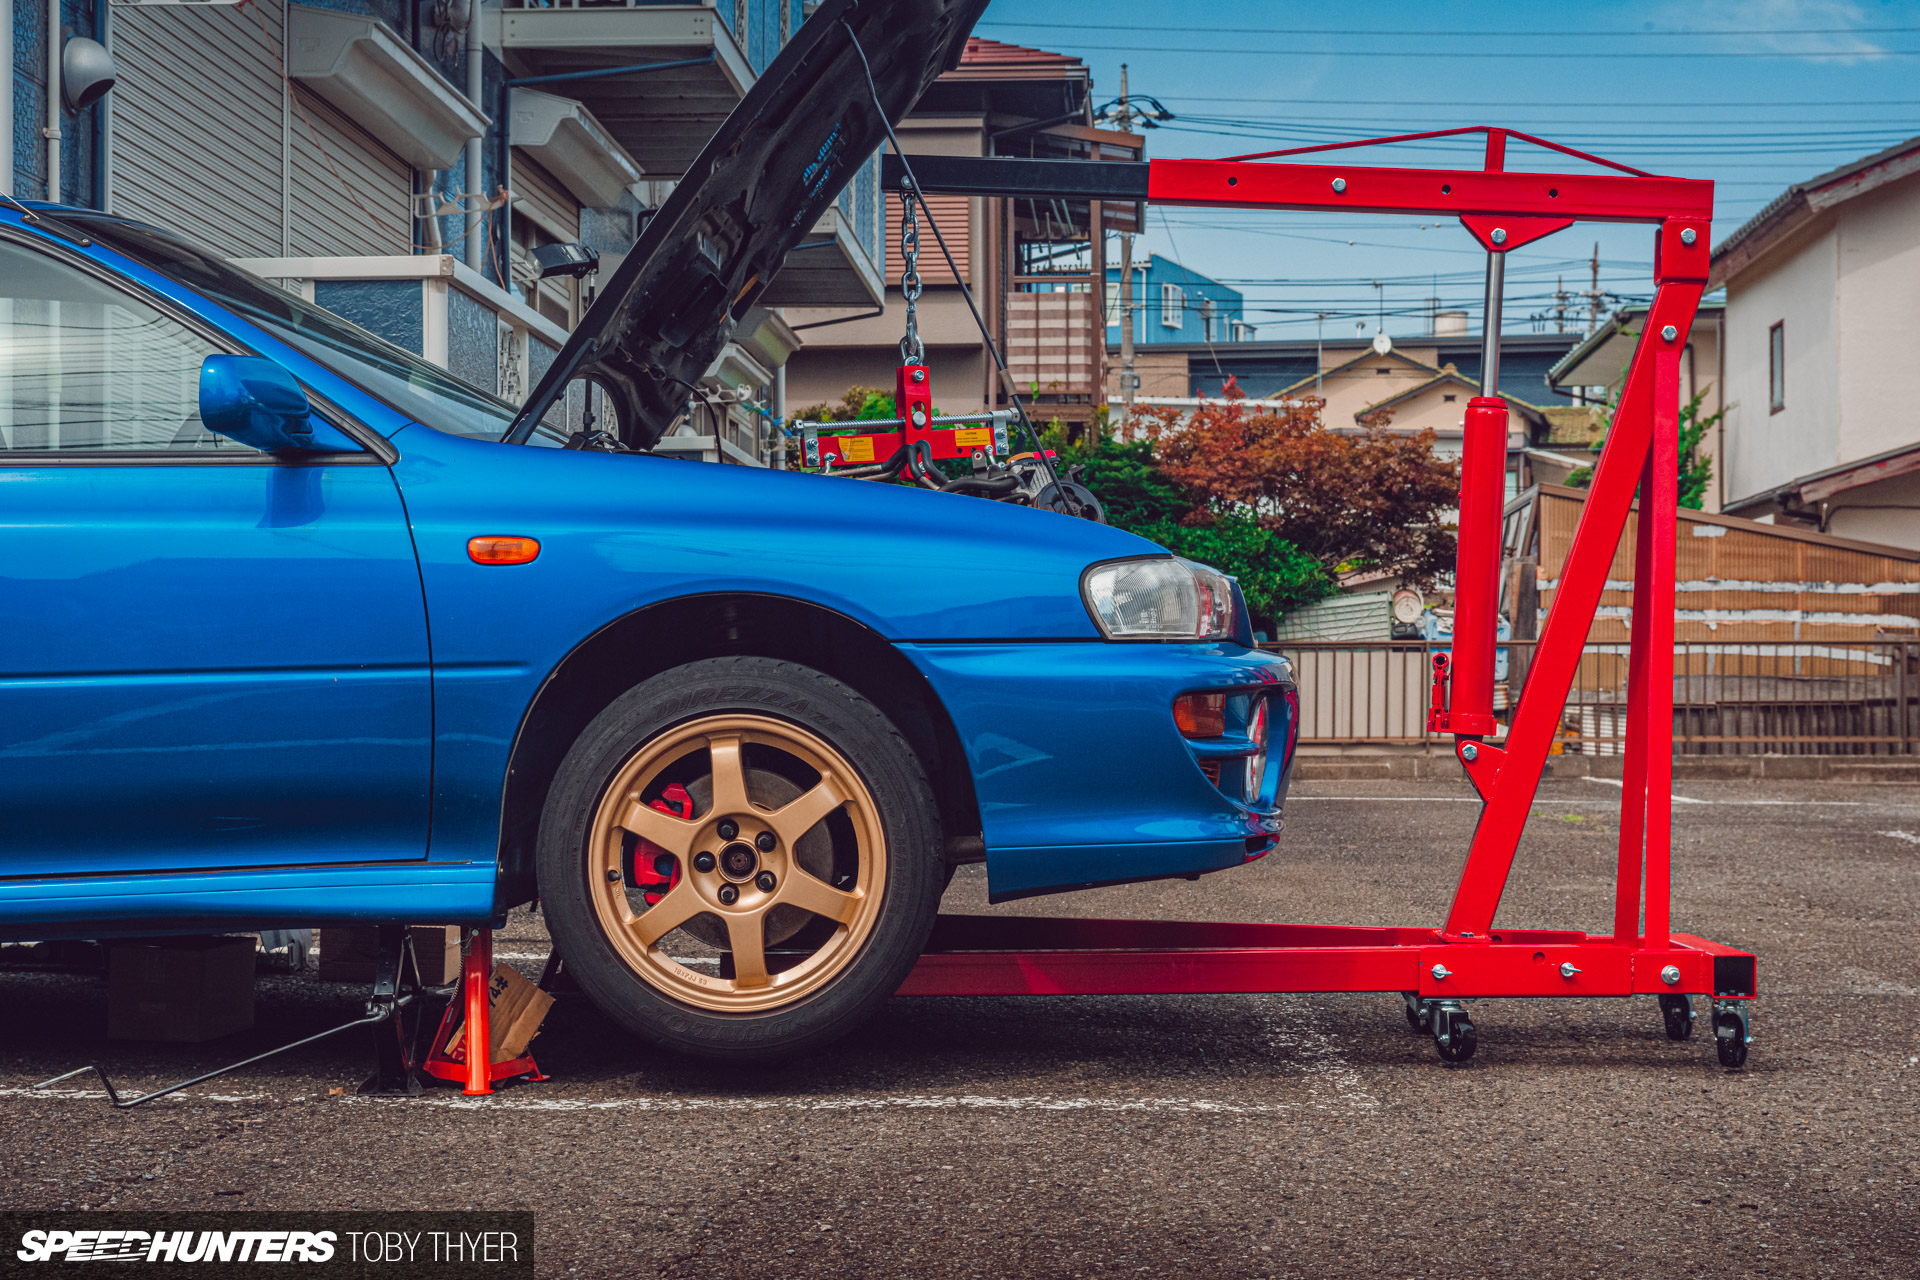
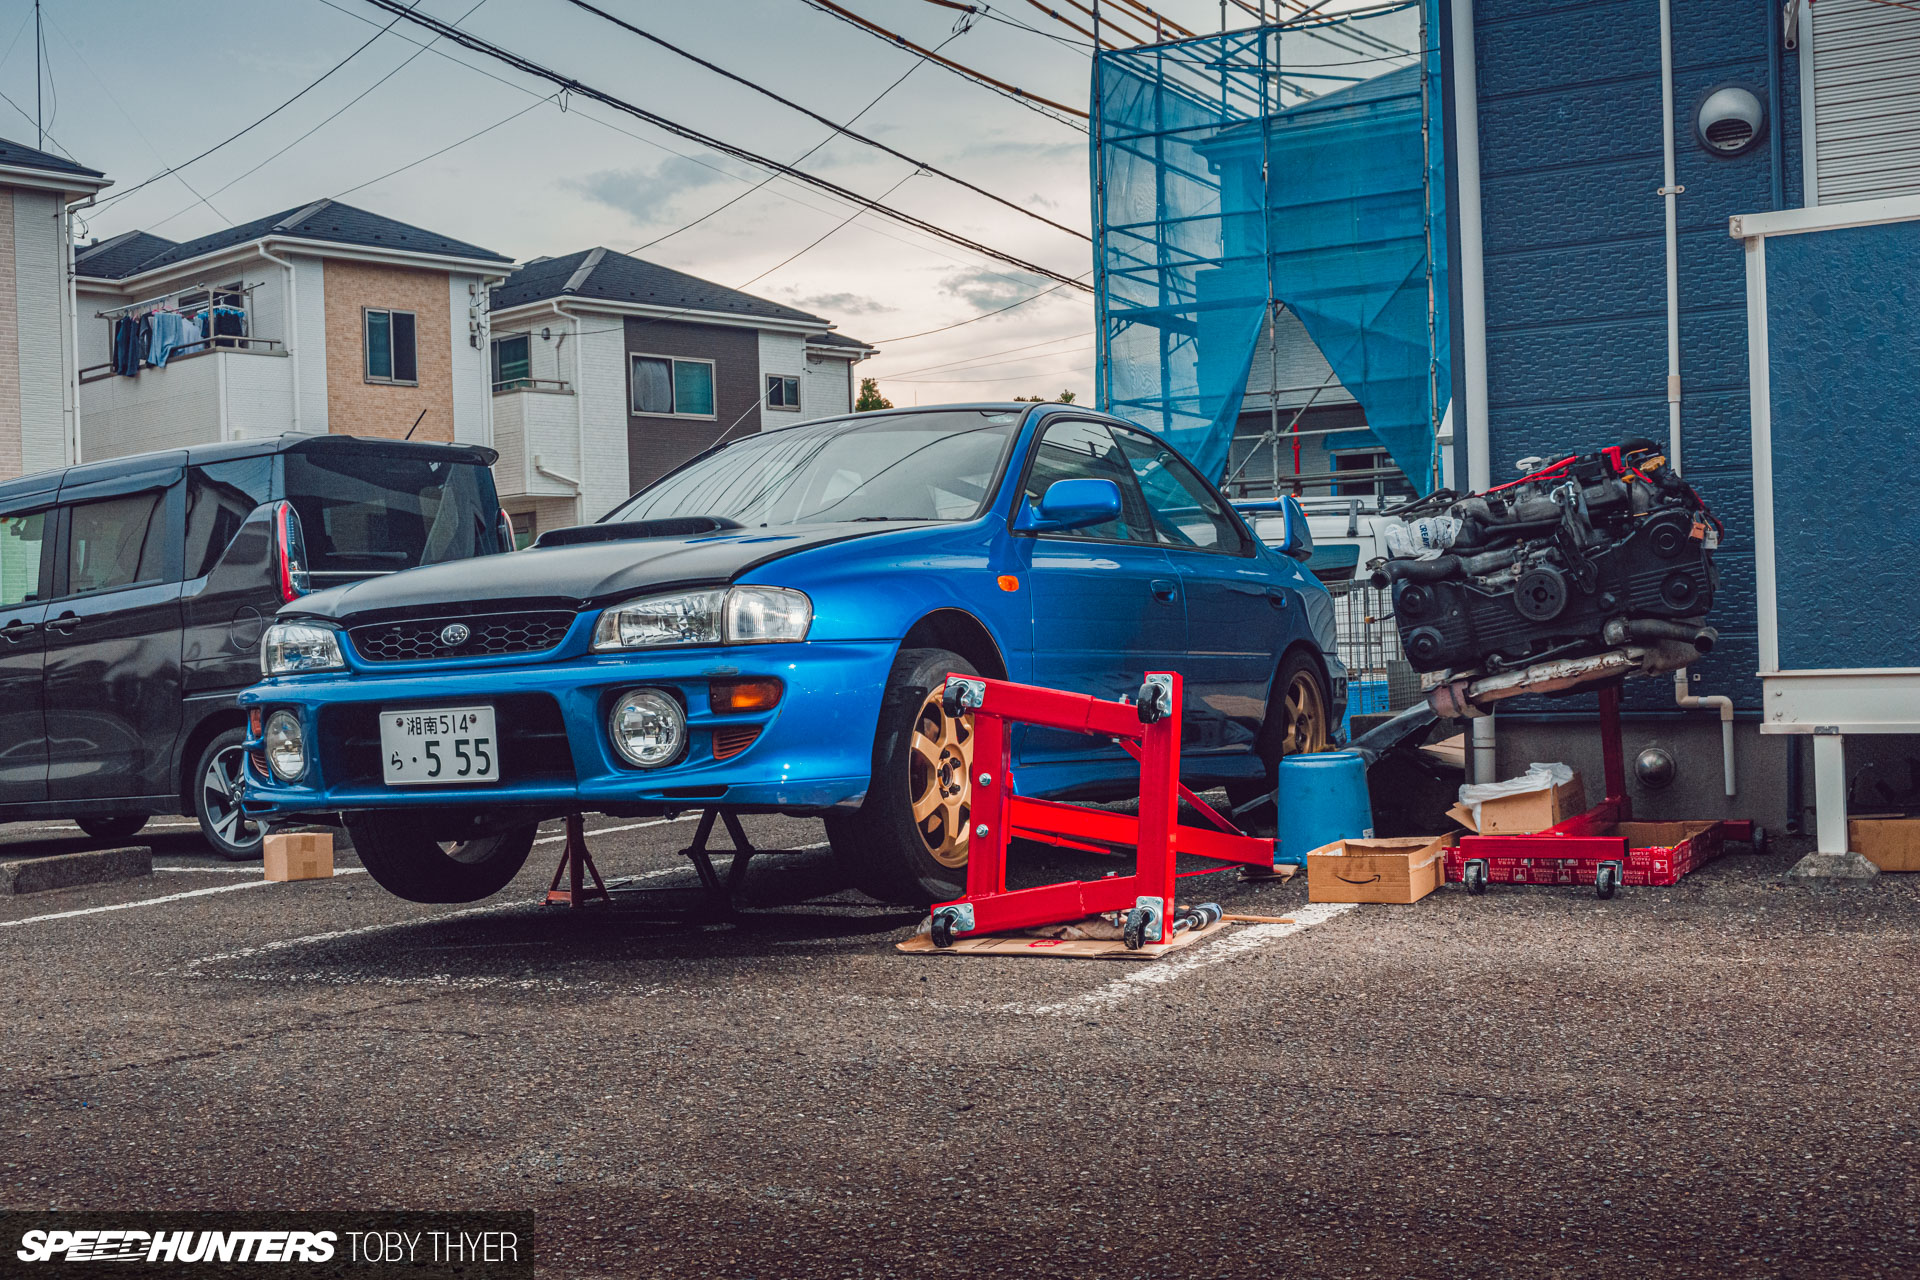
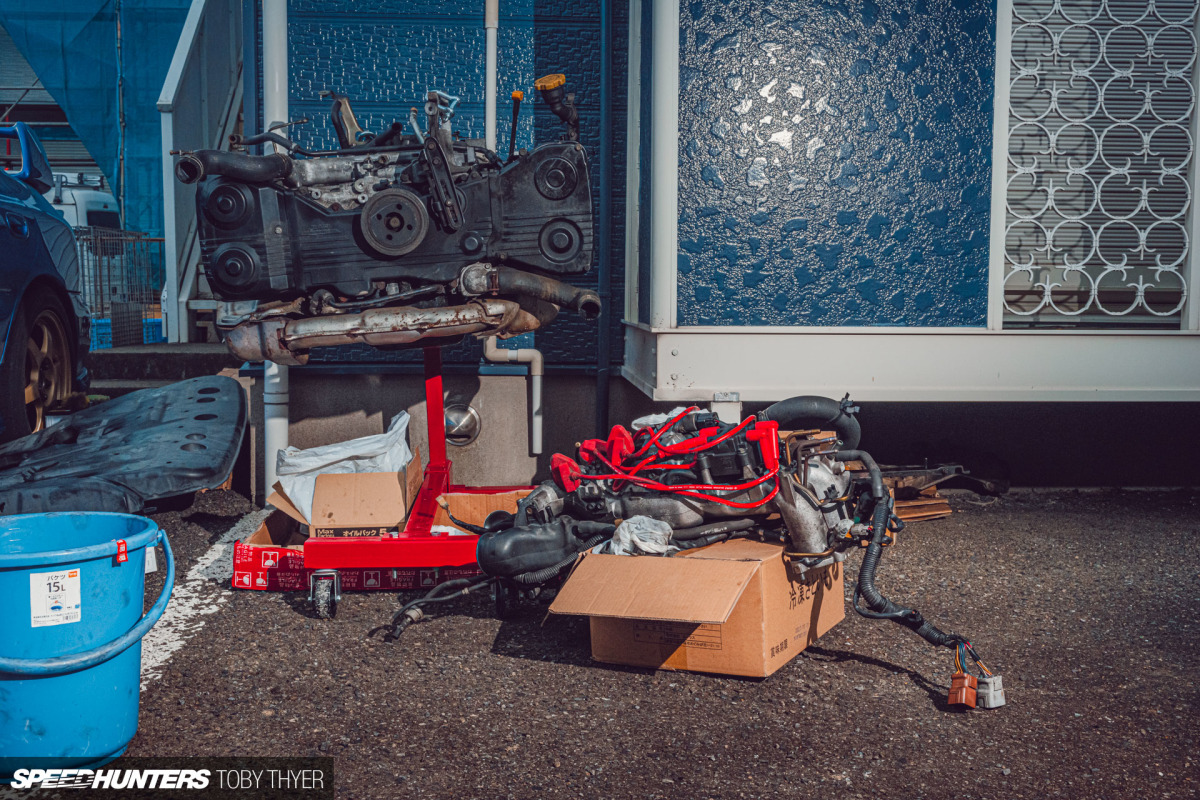
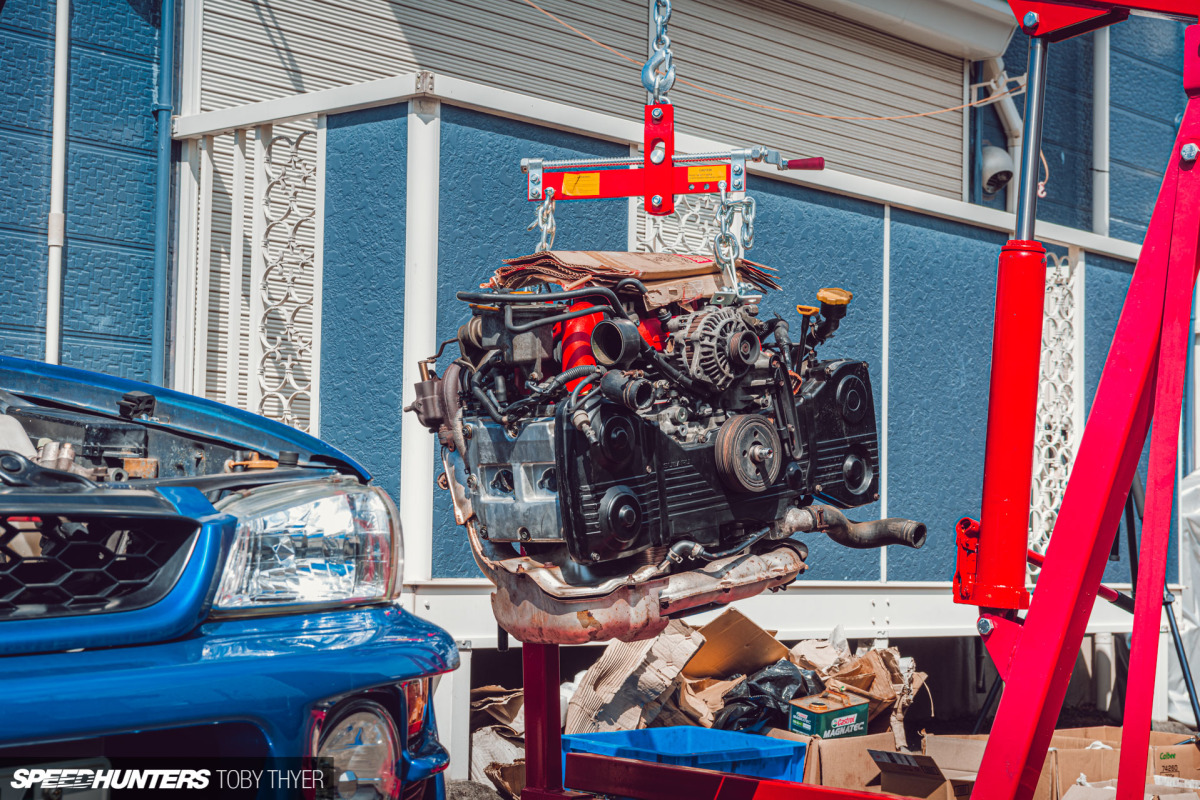
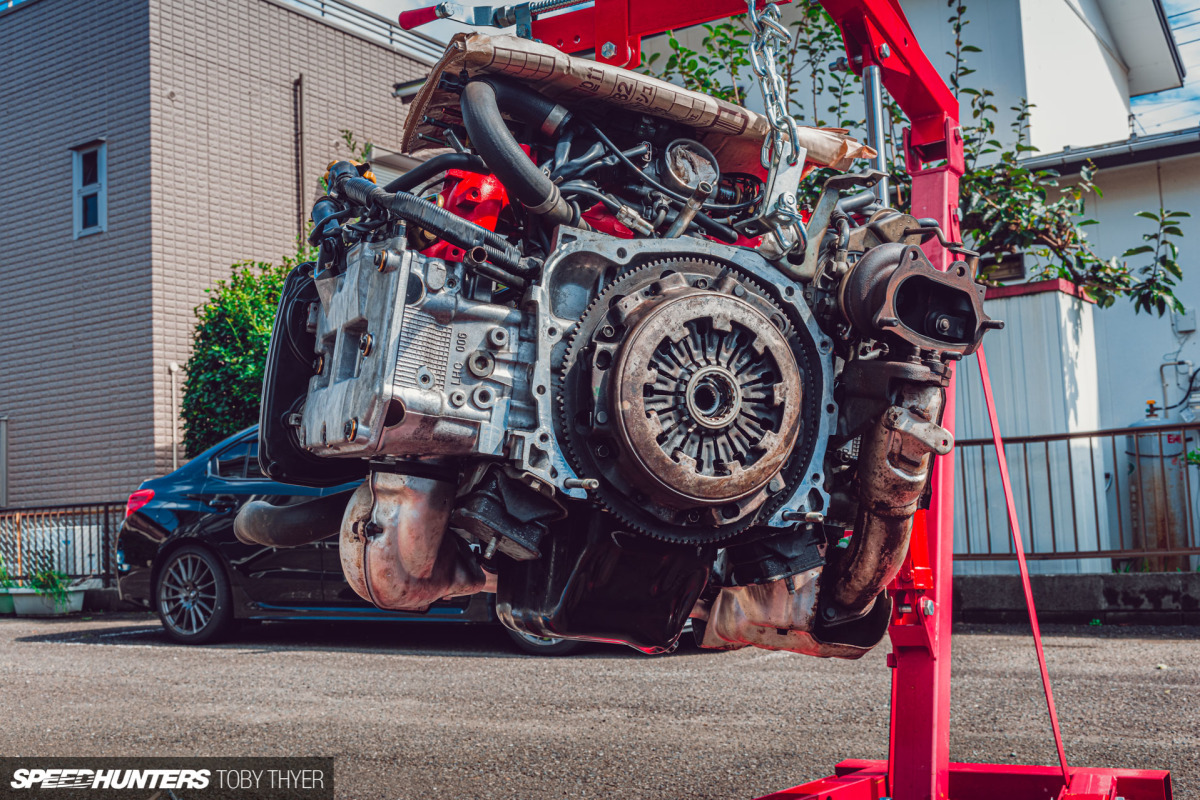
Once all the auxiliaries were unplugged from the engine and set aside, I linked up the crane and took a deep breath. The engine separated from the transmission almost immediately, and with a little wiggle lifted straight out of the bay.
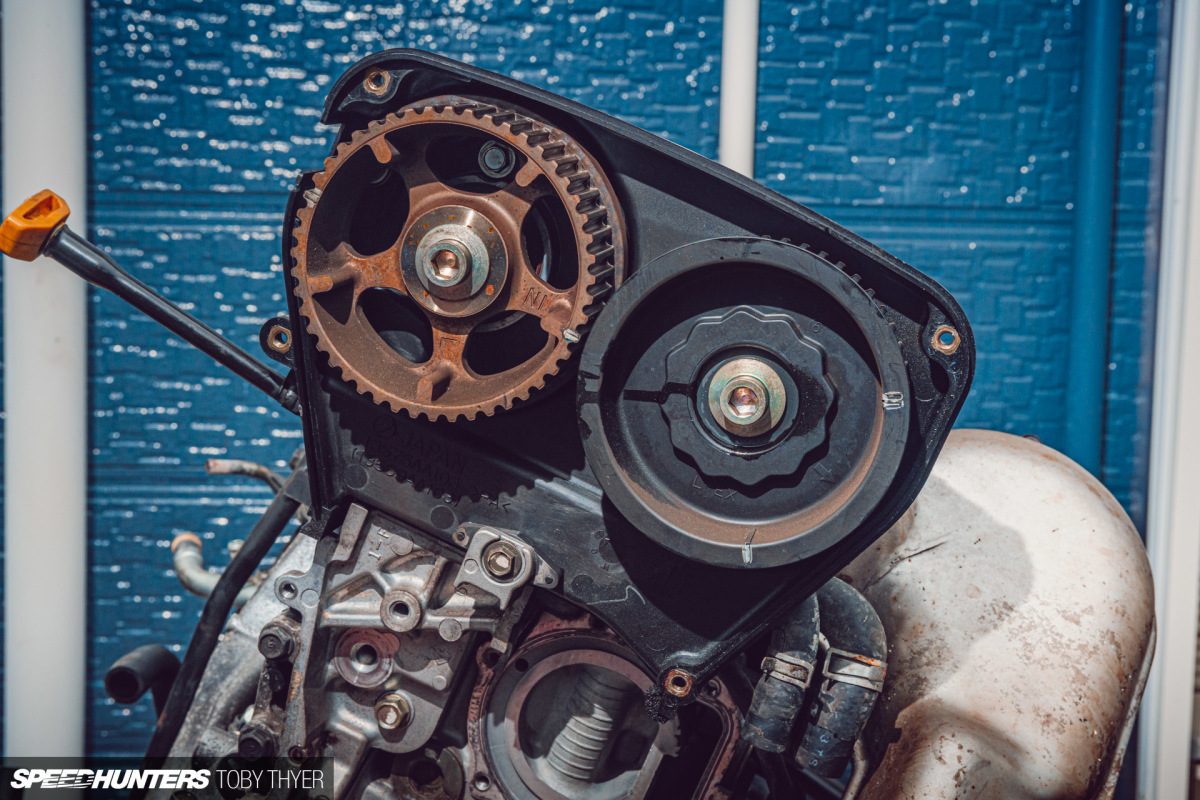
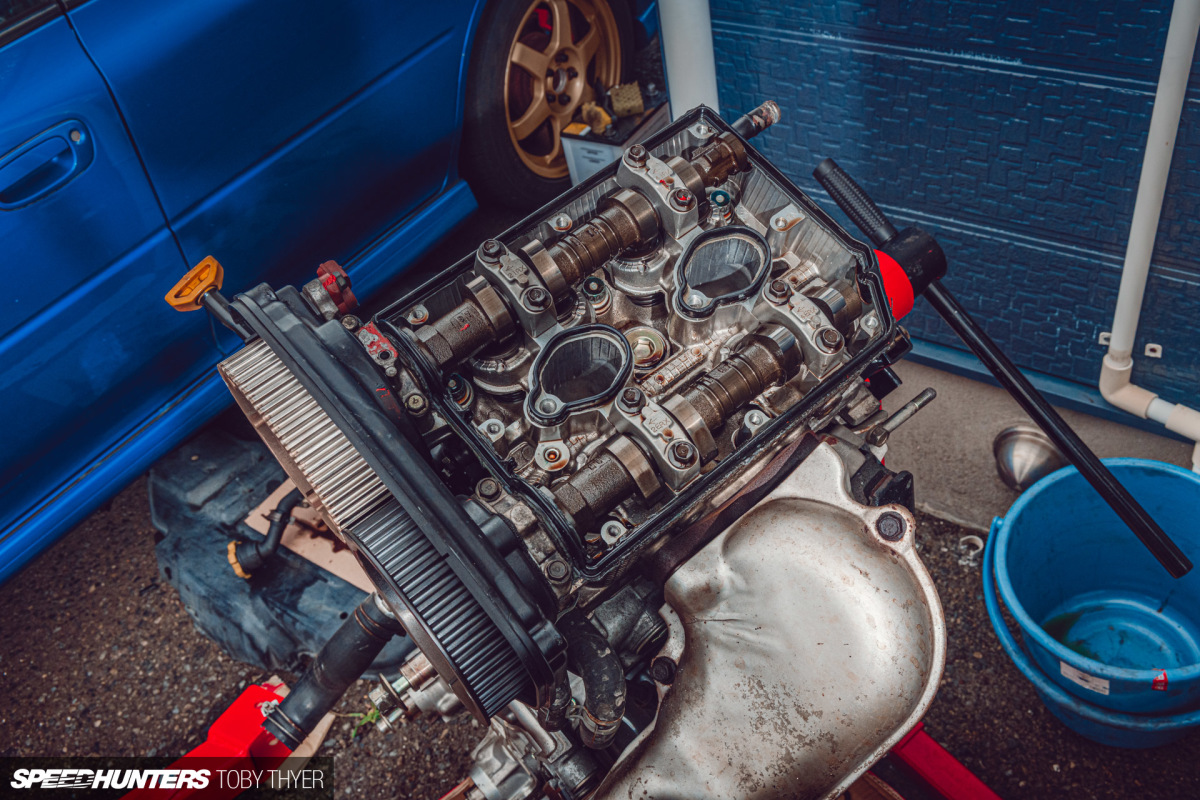
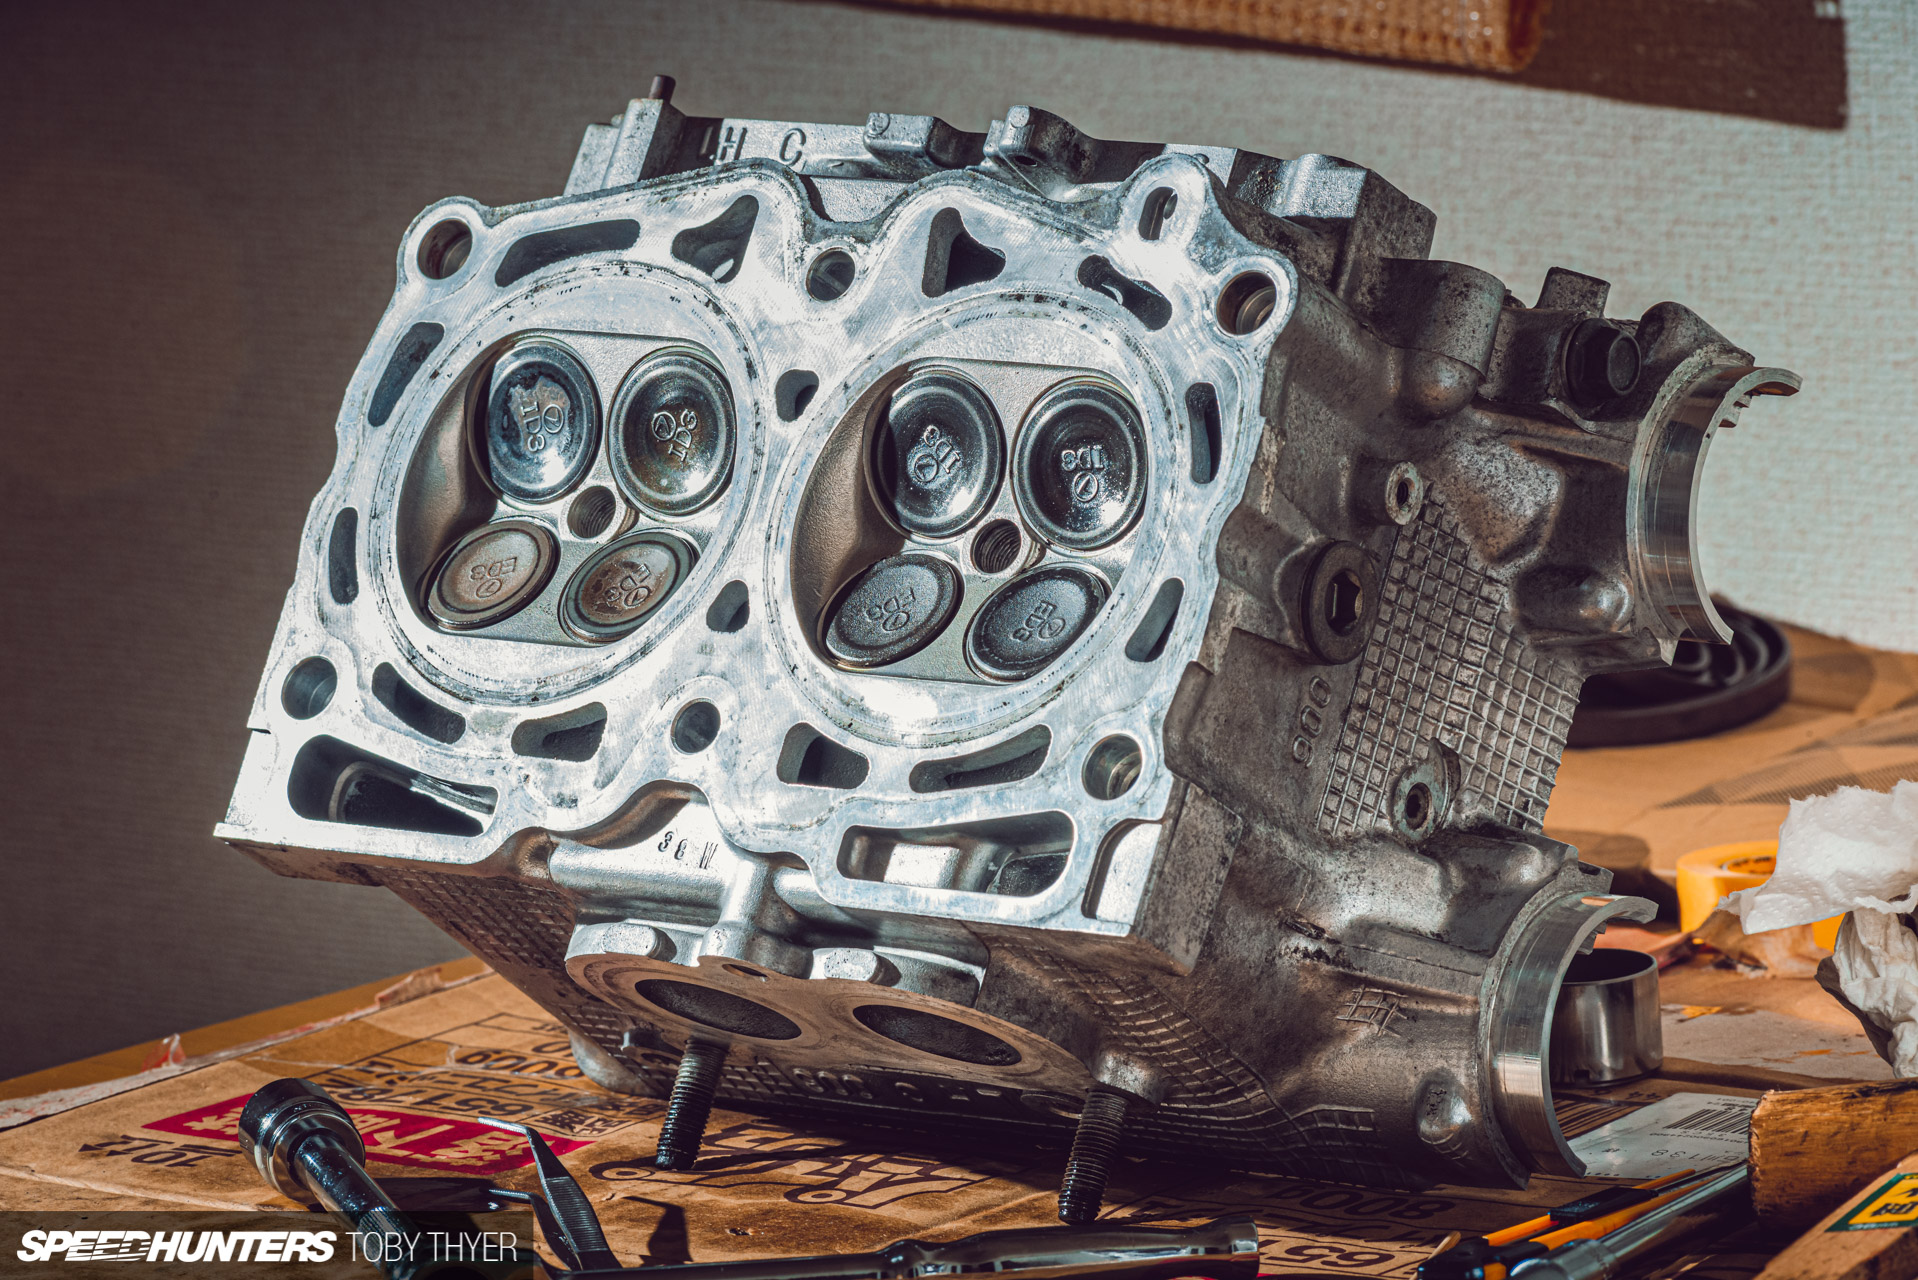
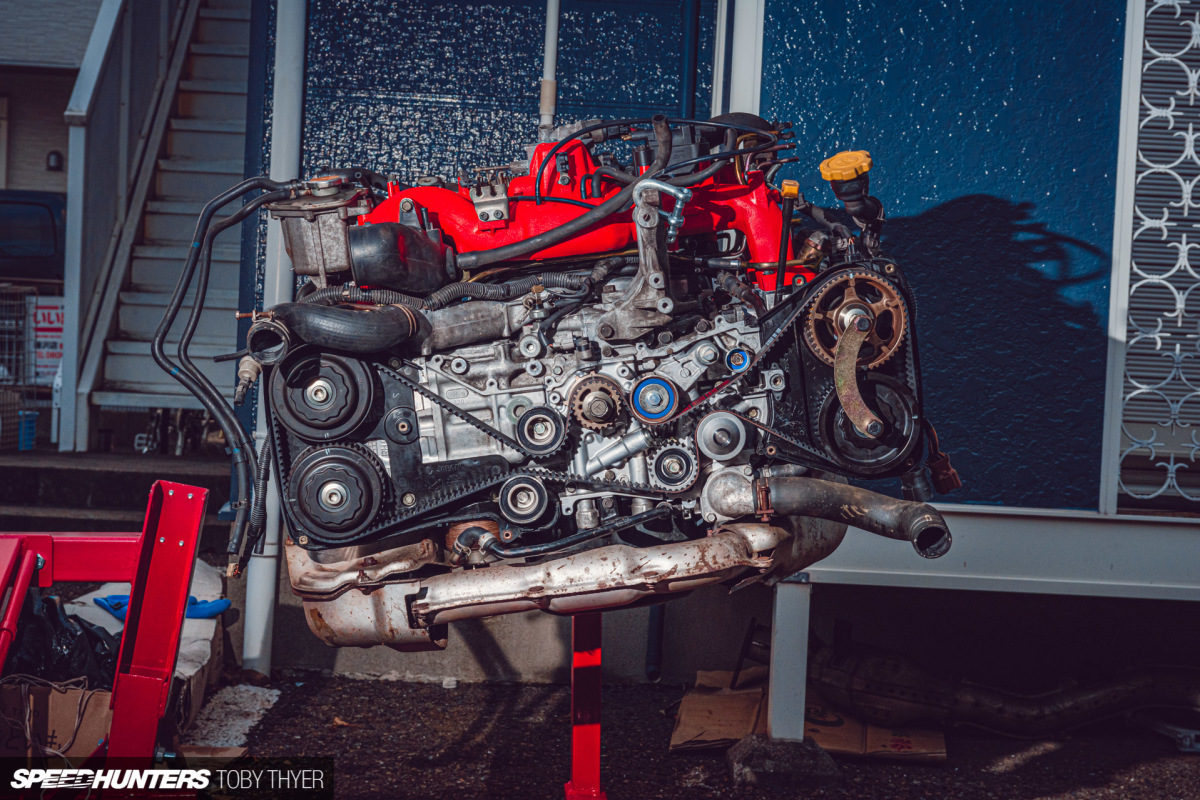
Once it was on the engine stand I could start removing the intake and cooling parts, along with the cam sprockets and timing belt pulleys. Taking the rocker covers off, I used the built-in wrench points on the camshafts to crack the camshaft bolts.
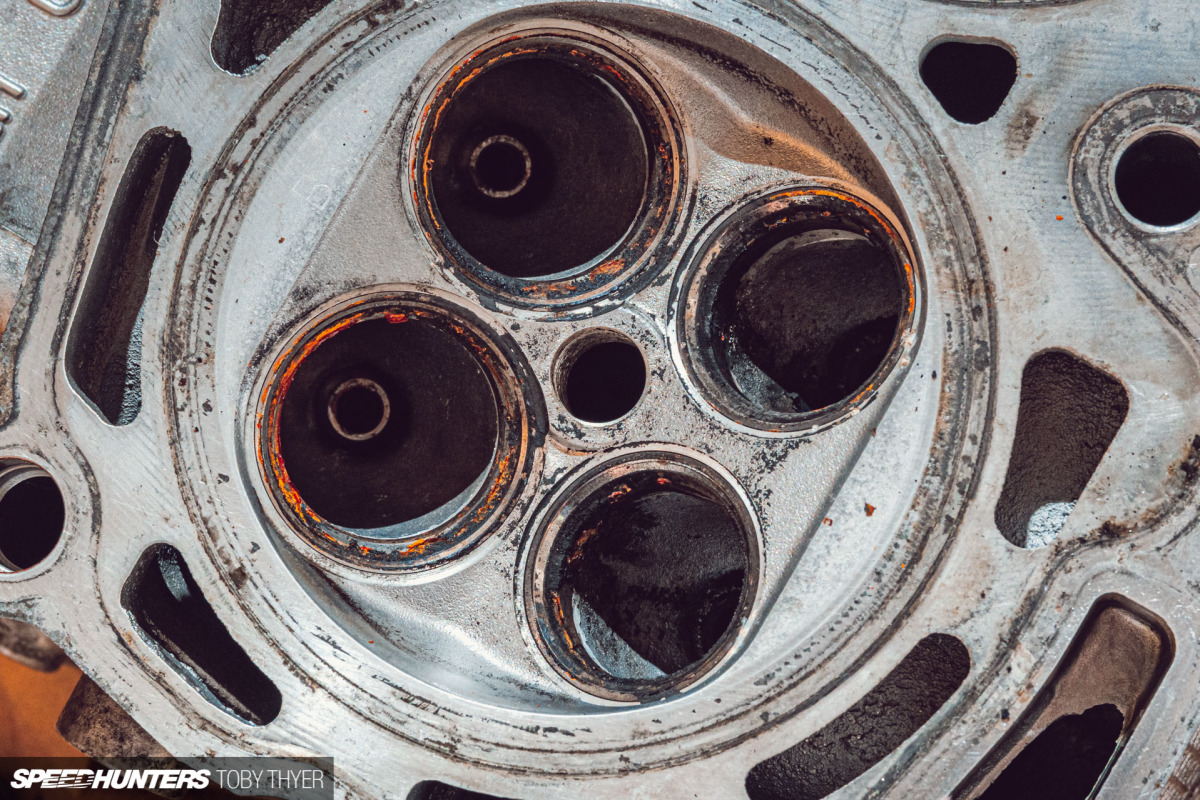
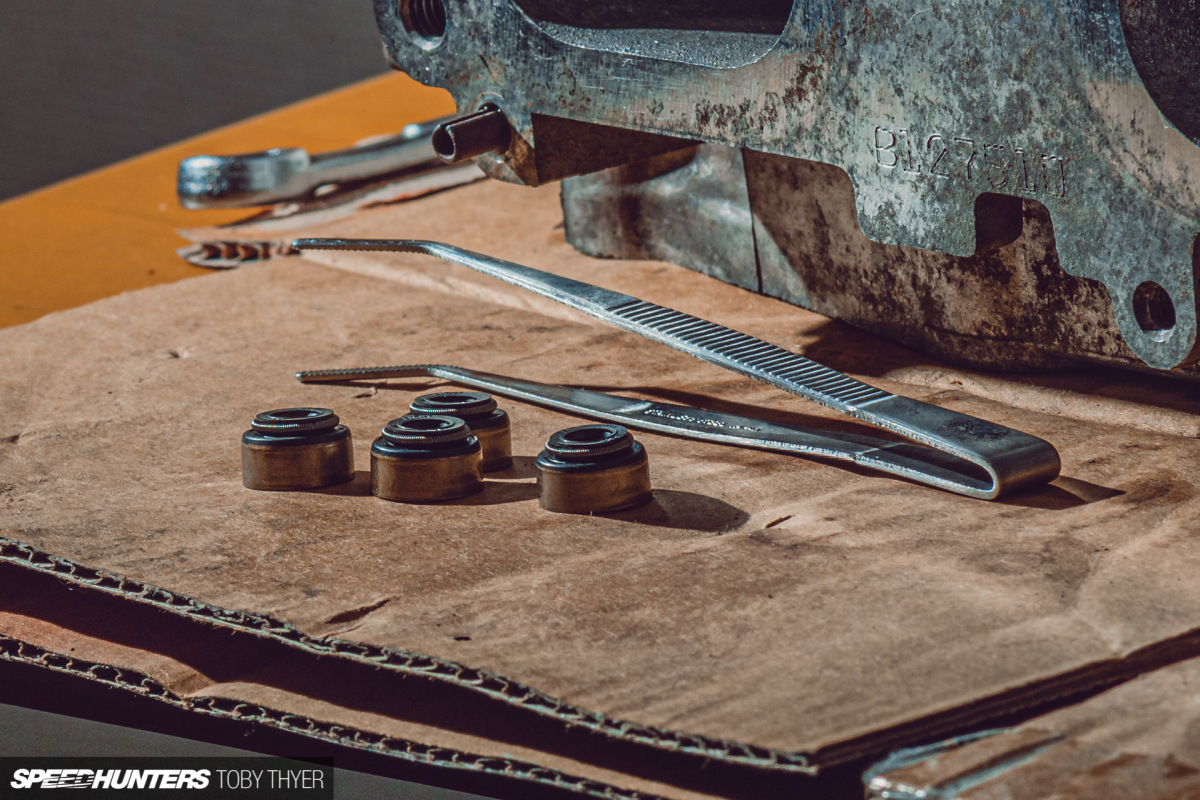
With the cylinder heads off, I was keen to start cleaning away years of carbon and oil build up. This was the point that I noticed excessive use of grey sealant around the rocker cover seals; someone who had previously worked on the engine had obviously misunderstood the workshop manual instructions and used far too much of the stuff. Sealant is only required on the corners of the rocker seal, not around the whole thing. I started to suspect possible reasons for this engine’s demise.
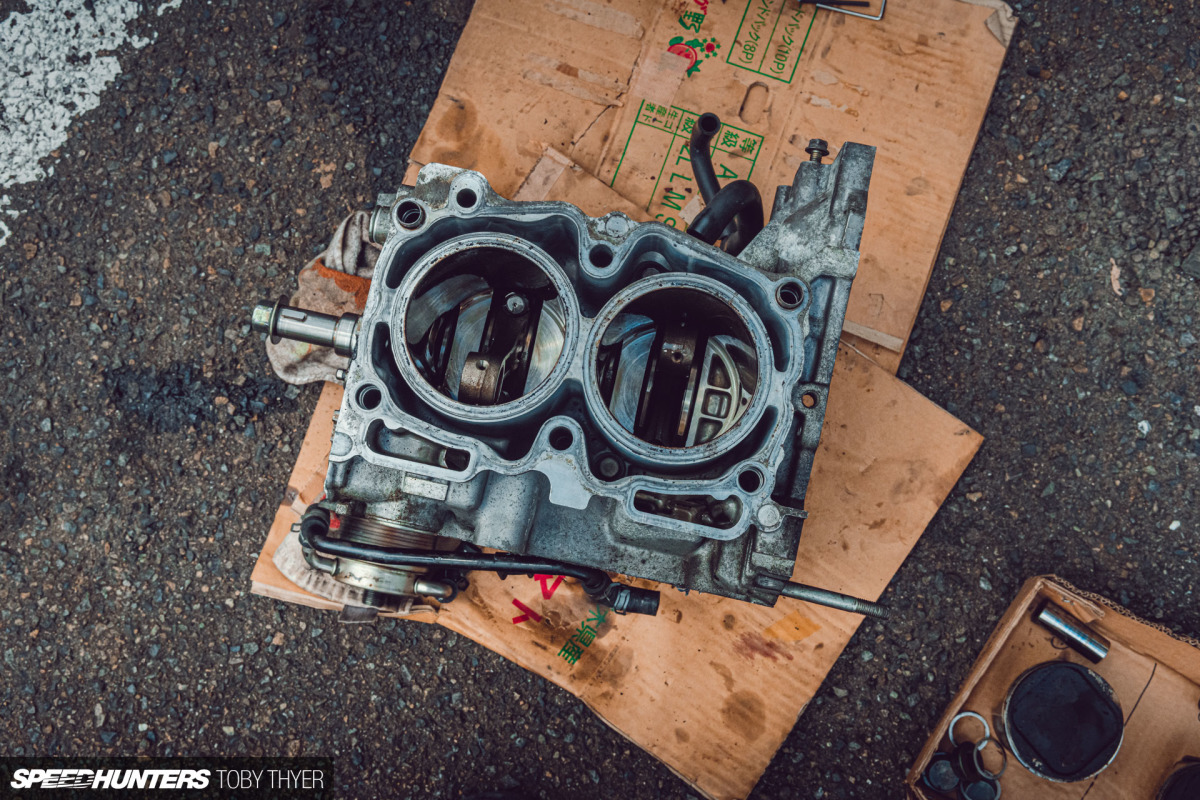

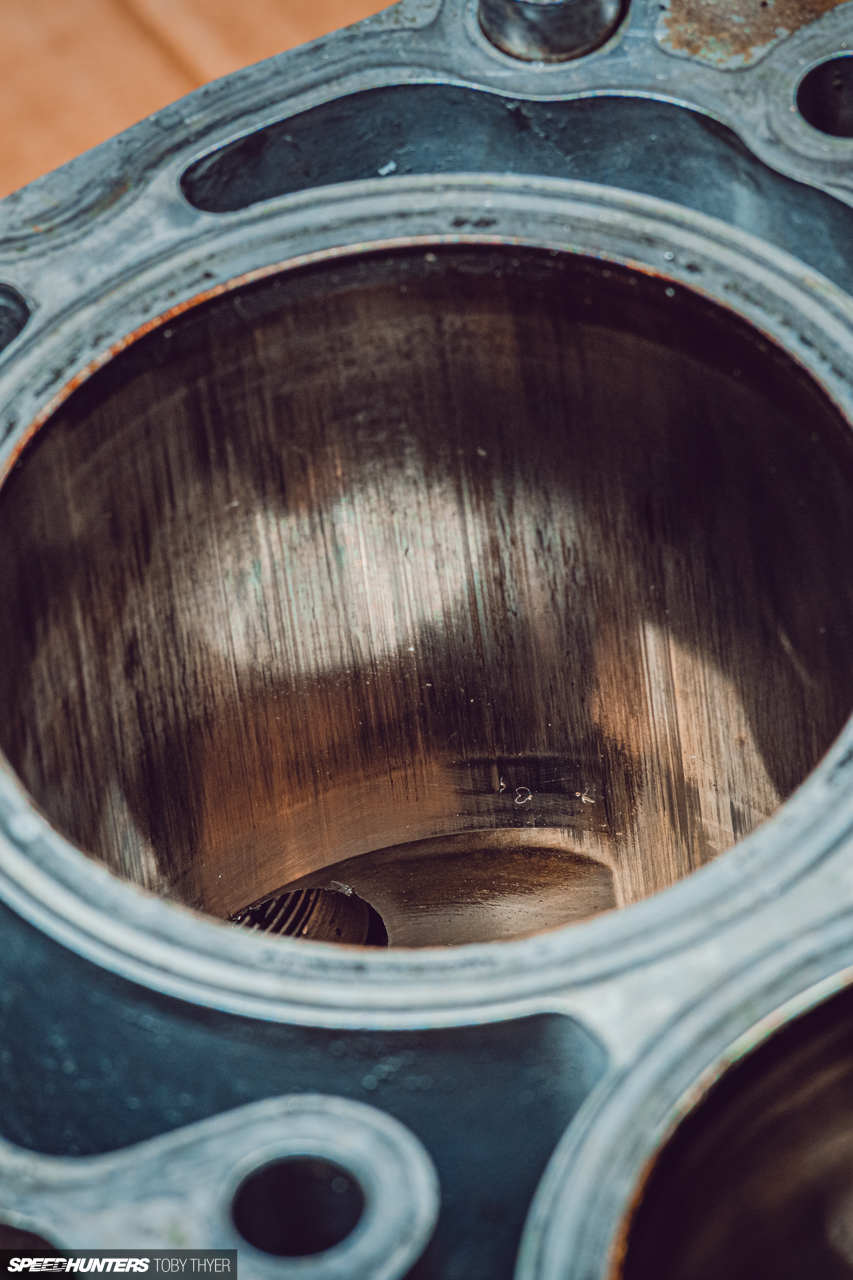

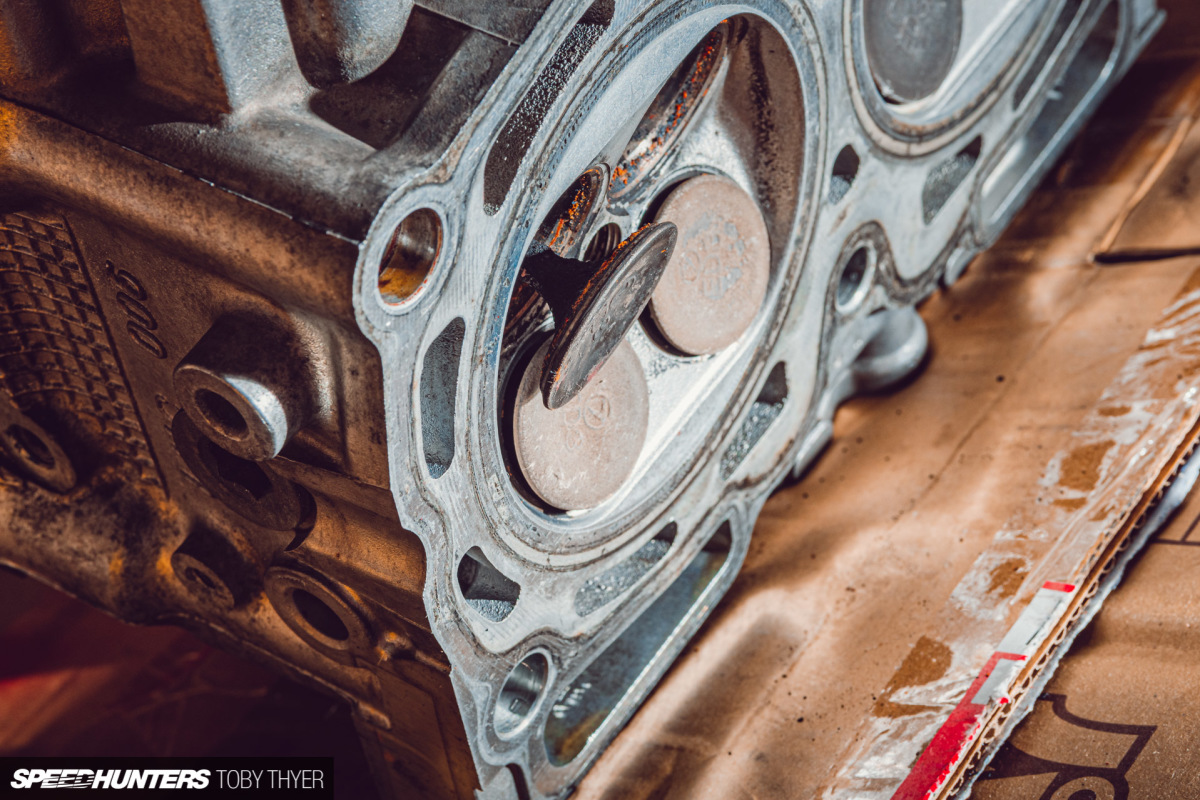
Needless to say, I was eager to see what the cause of the knock was – and the extent of the damage.
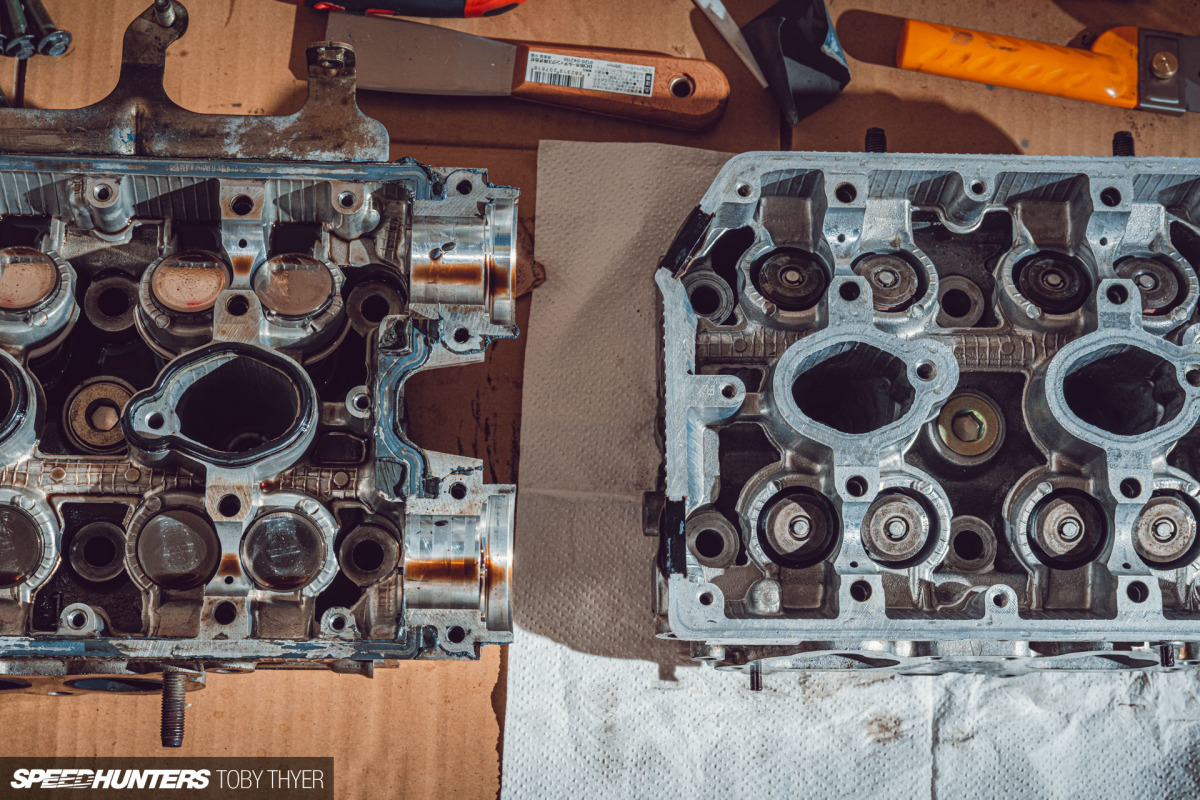
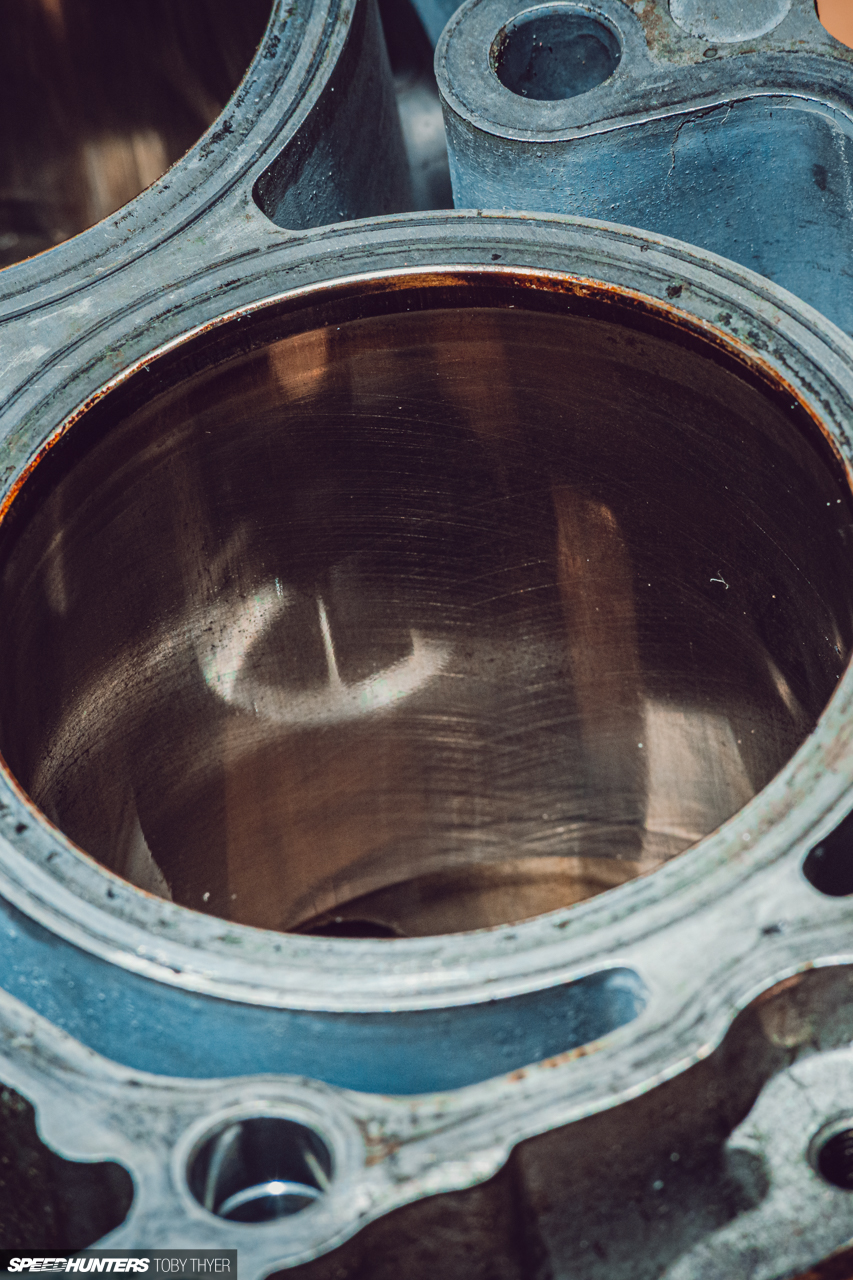
As you can see, cylinder #2 was badly scored by the ruined piston on the left. The piston rings were completely seized into the ring lands and there were chips broken off the piston itself. But the strange thing is, there was no debris, shavings or flakes anywhere through the heads or block. It may be that the previous owner stopped driving immediately after the event, and had since flushed the oil out of the system.
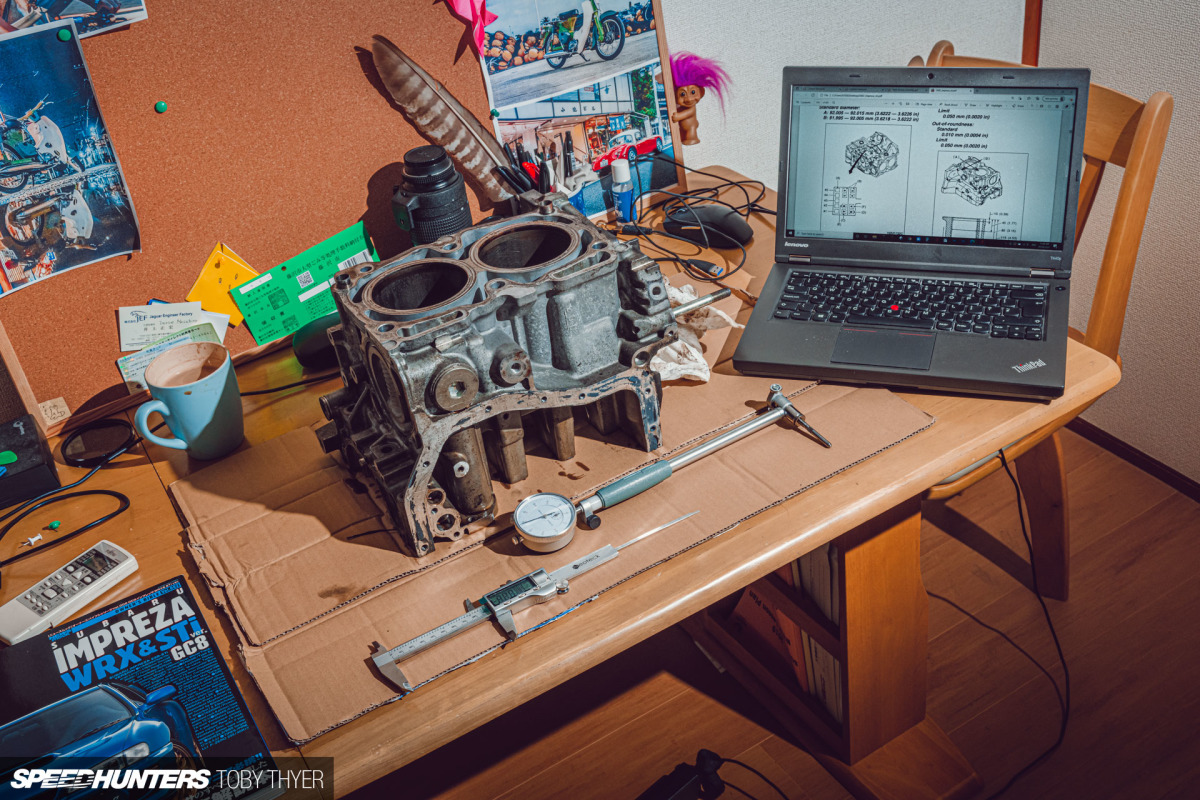
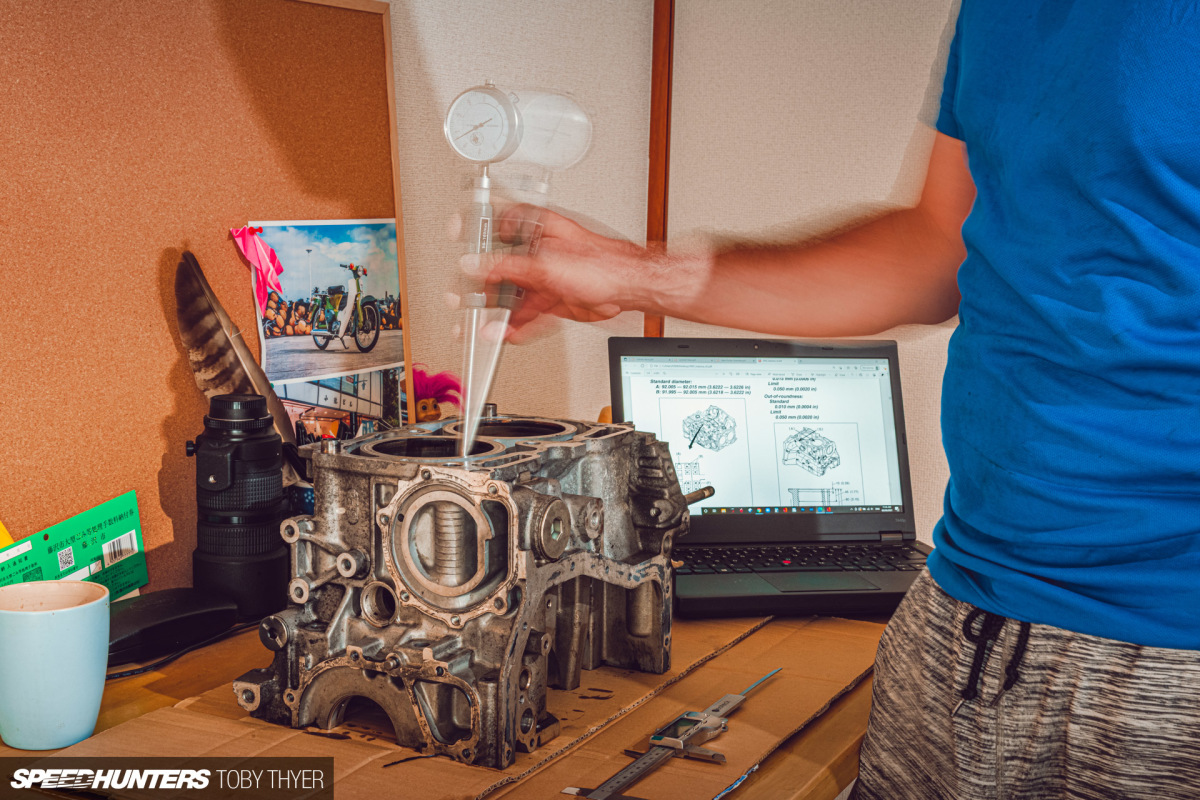
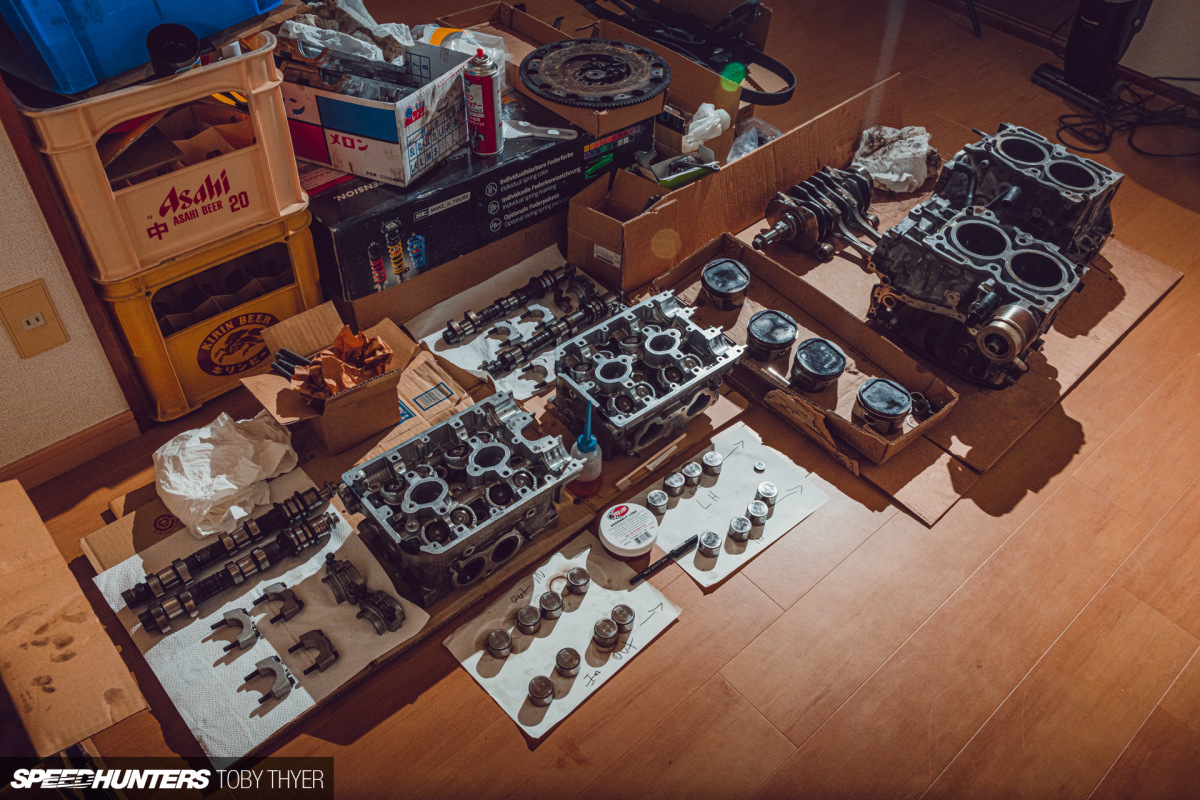
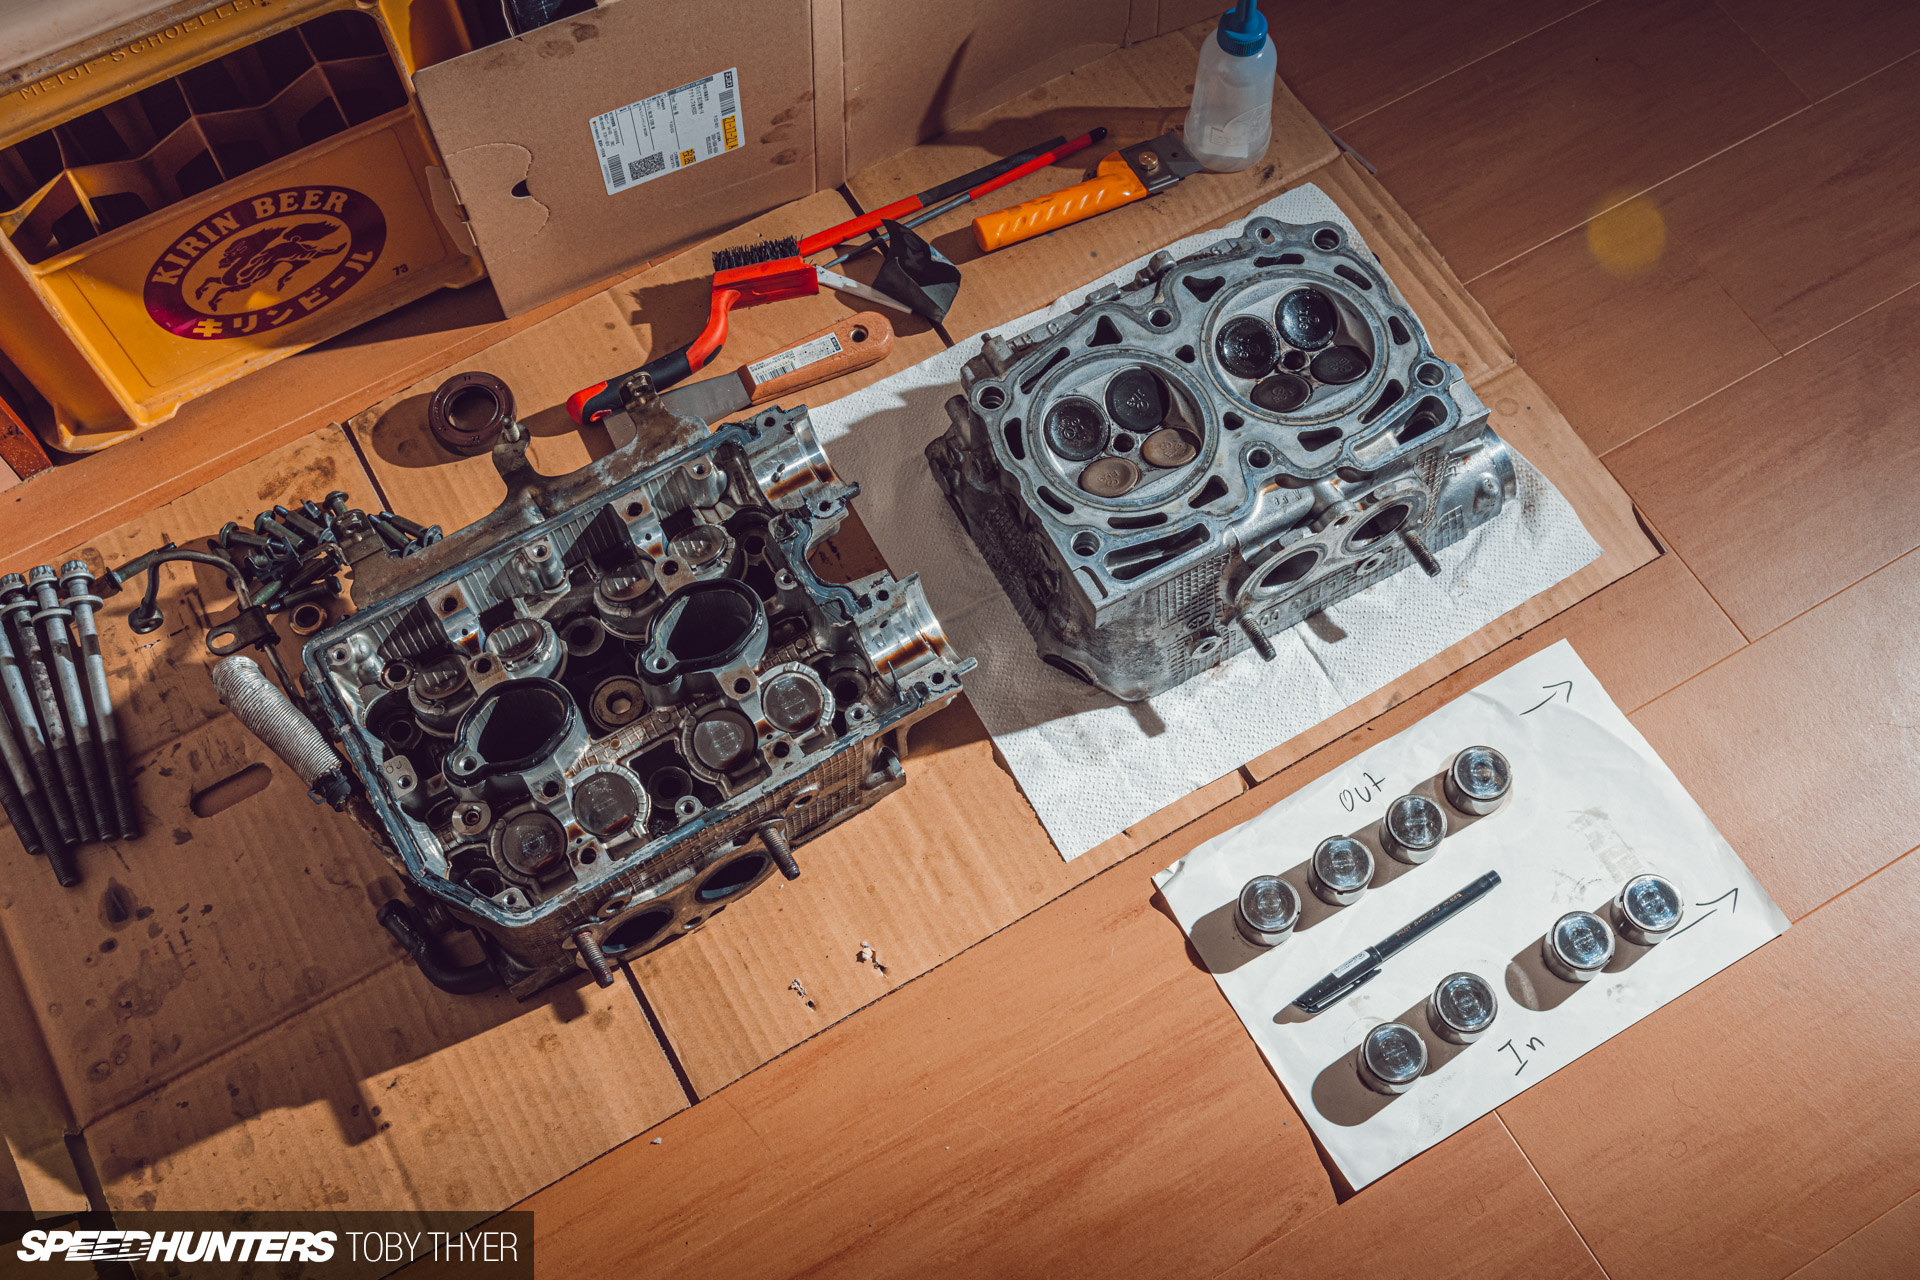
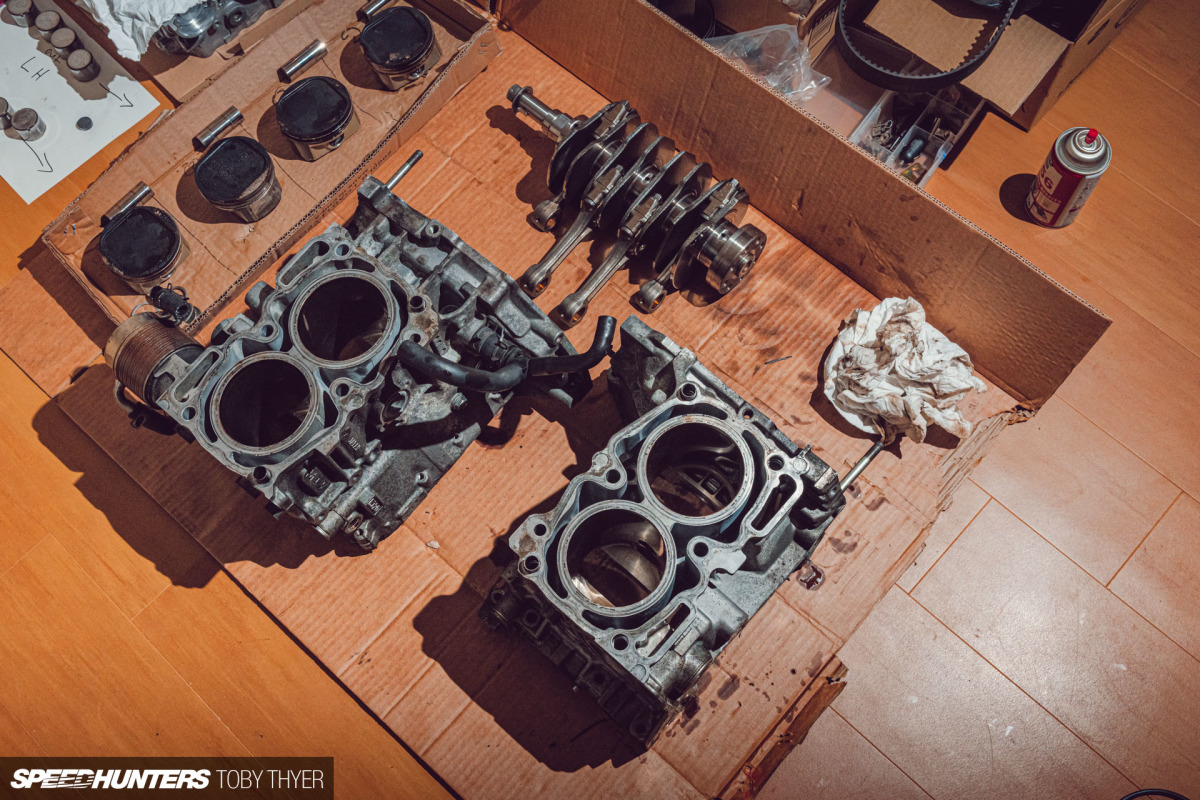
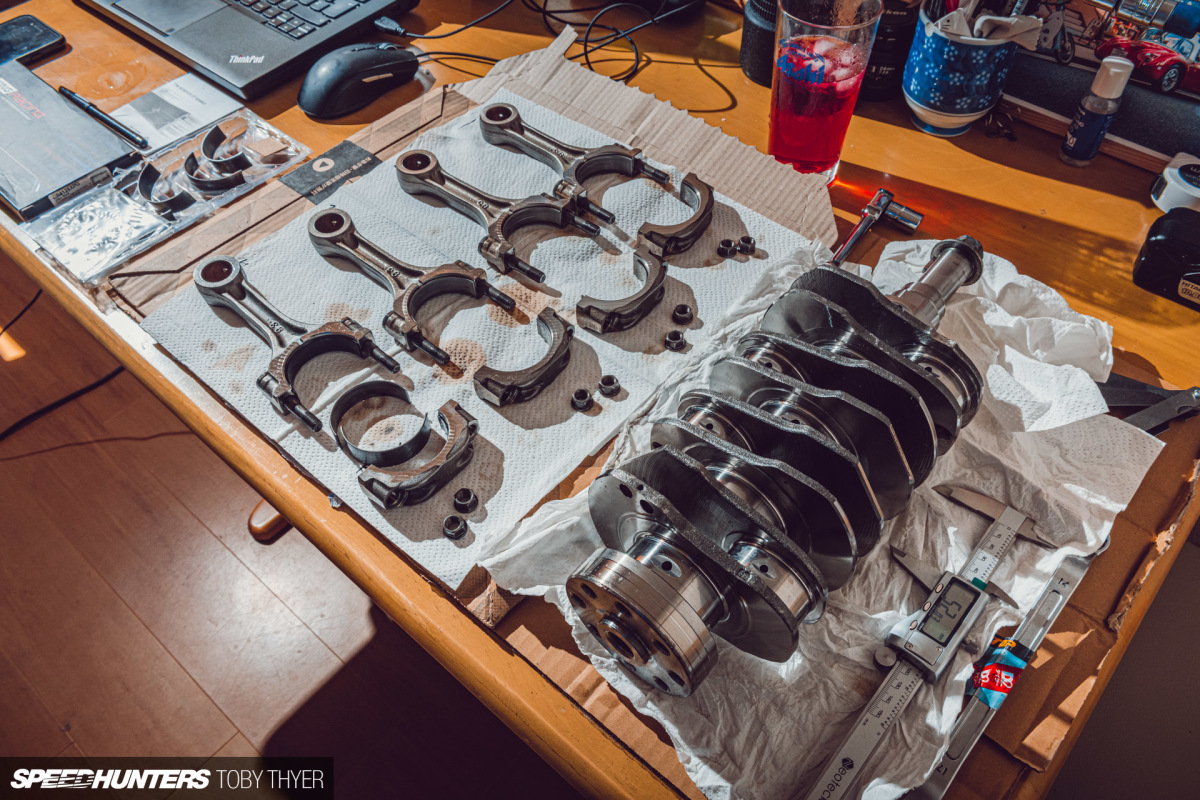
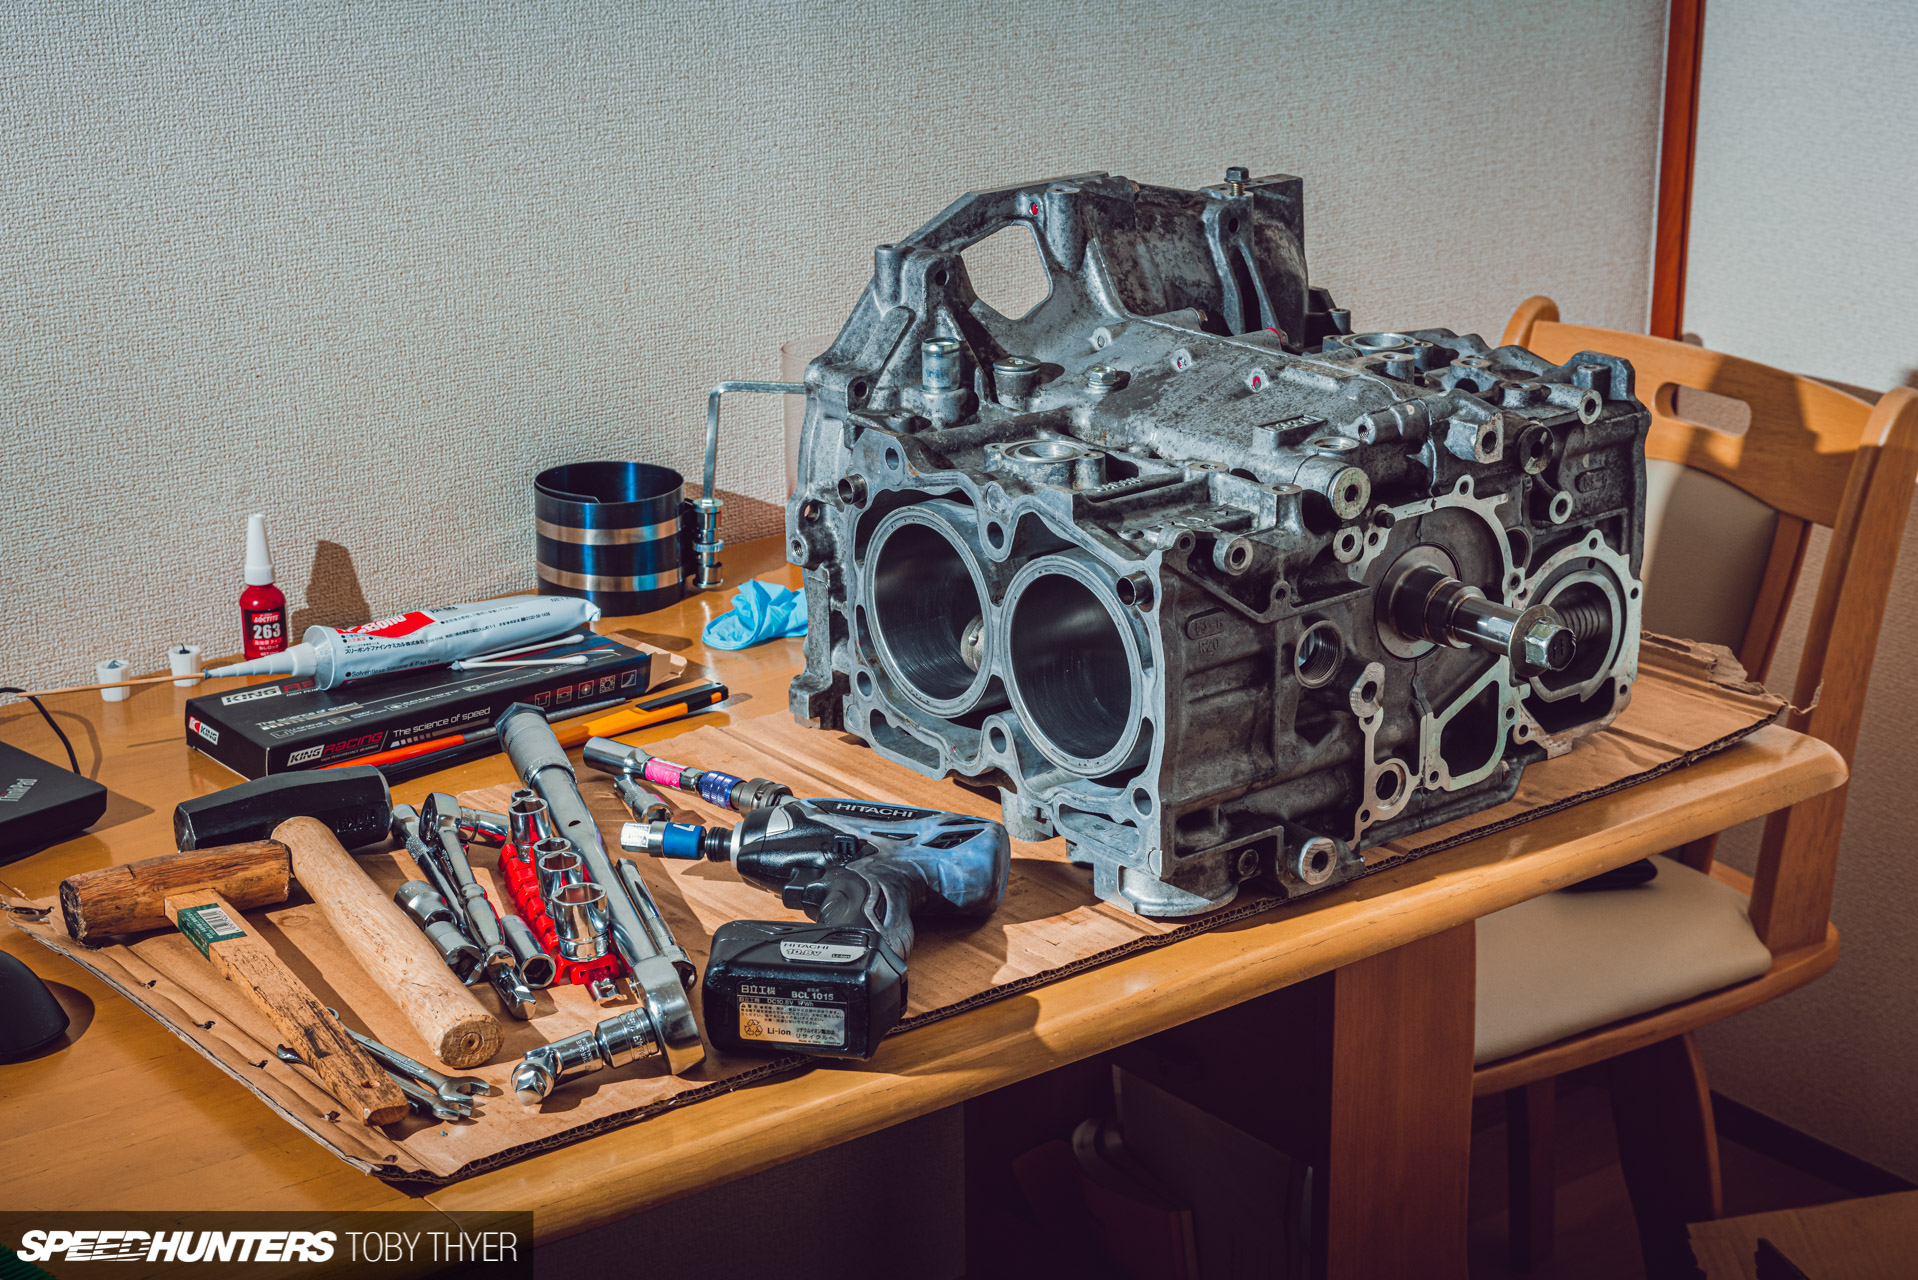
With the EJ now completely dissected and laid out in my kitchen, I was able to get my head around how all the parts worked together to form the iconic boxer engine. I could now also start measuring up the various components to see what damage the ruined piston had done. To my surprise, things were still within spec. Except, of course, for cylinder #2, which measured a few hundredths of a millimetre out. The cylinders would need over-boring by 0.5mm all round and new oversized pistons to suit.
After asking around, Nagoya Precision – better known as NAPREC – came up time and time again as the place to go for the machine work. I made a booking, and then started ordering all of the new parts required for the rebuild.

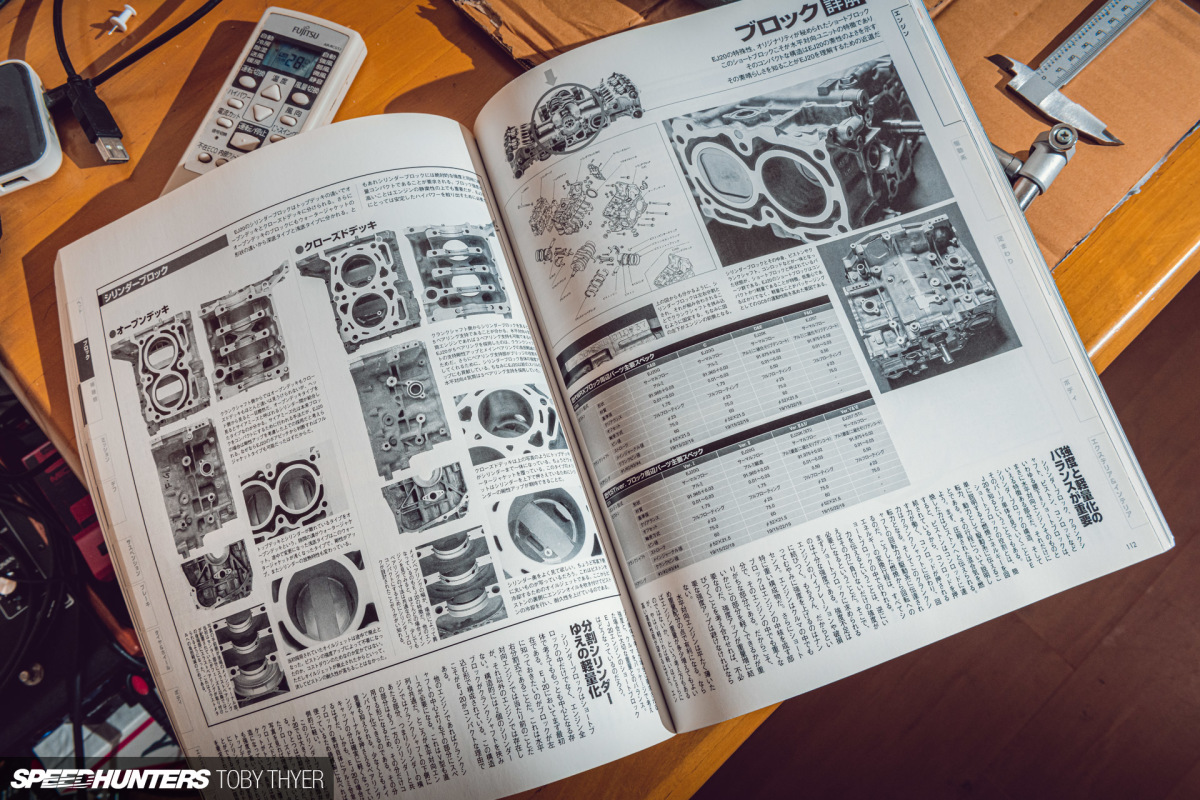
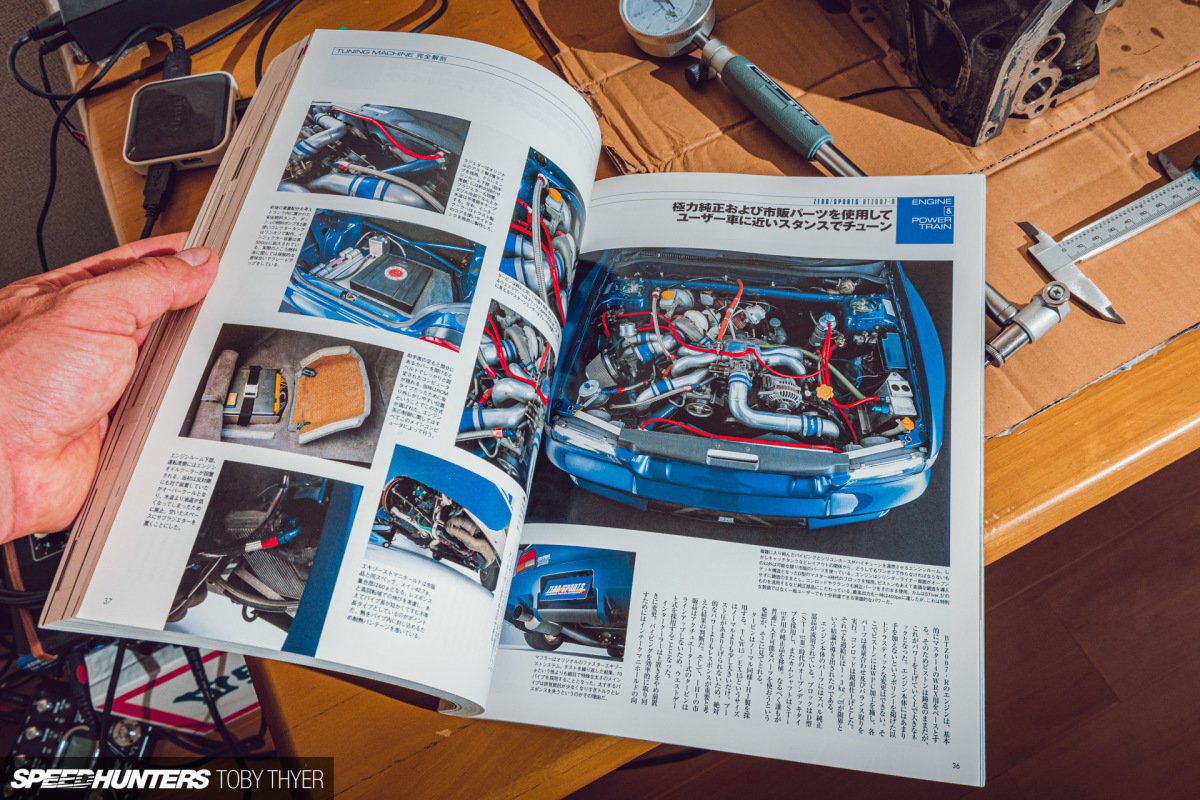
I cross-referenced manufacturer specs, part numbers and discrepancies between the WRX, WRX STI and WRX Type RA components using a combination of workshop manuals, internet forums and parts suppliers, as well as the Impreza Owner’s Bible, a must-have for any GC8 owner.
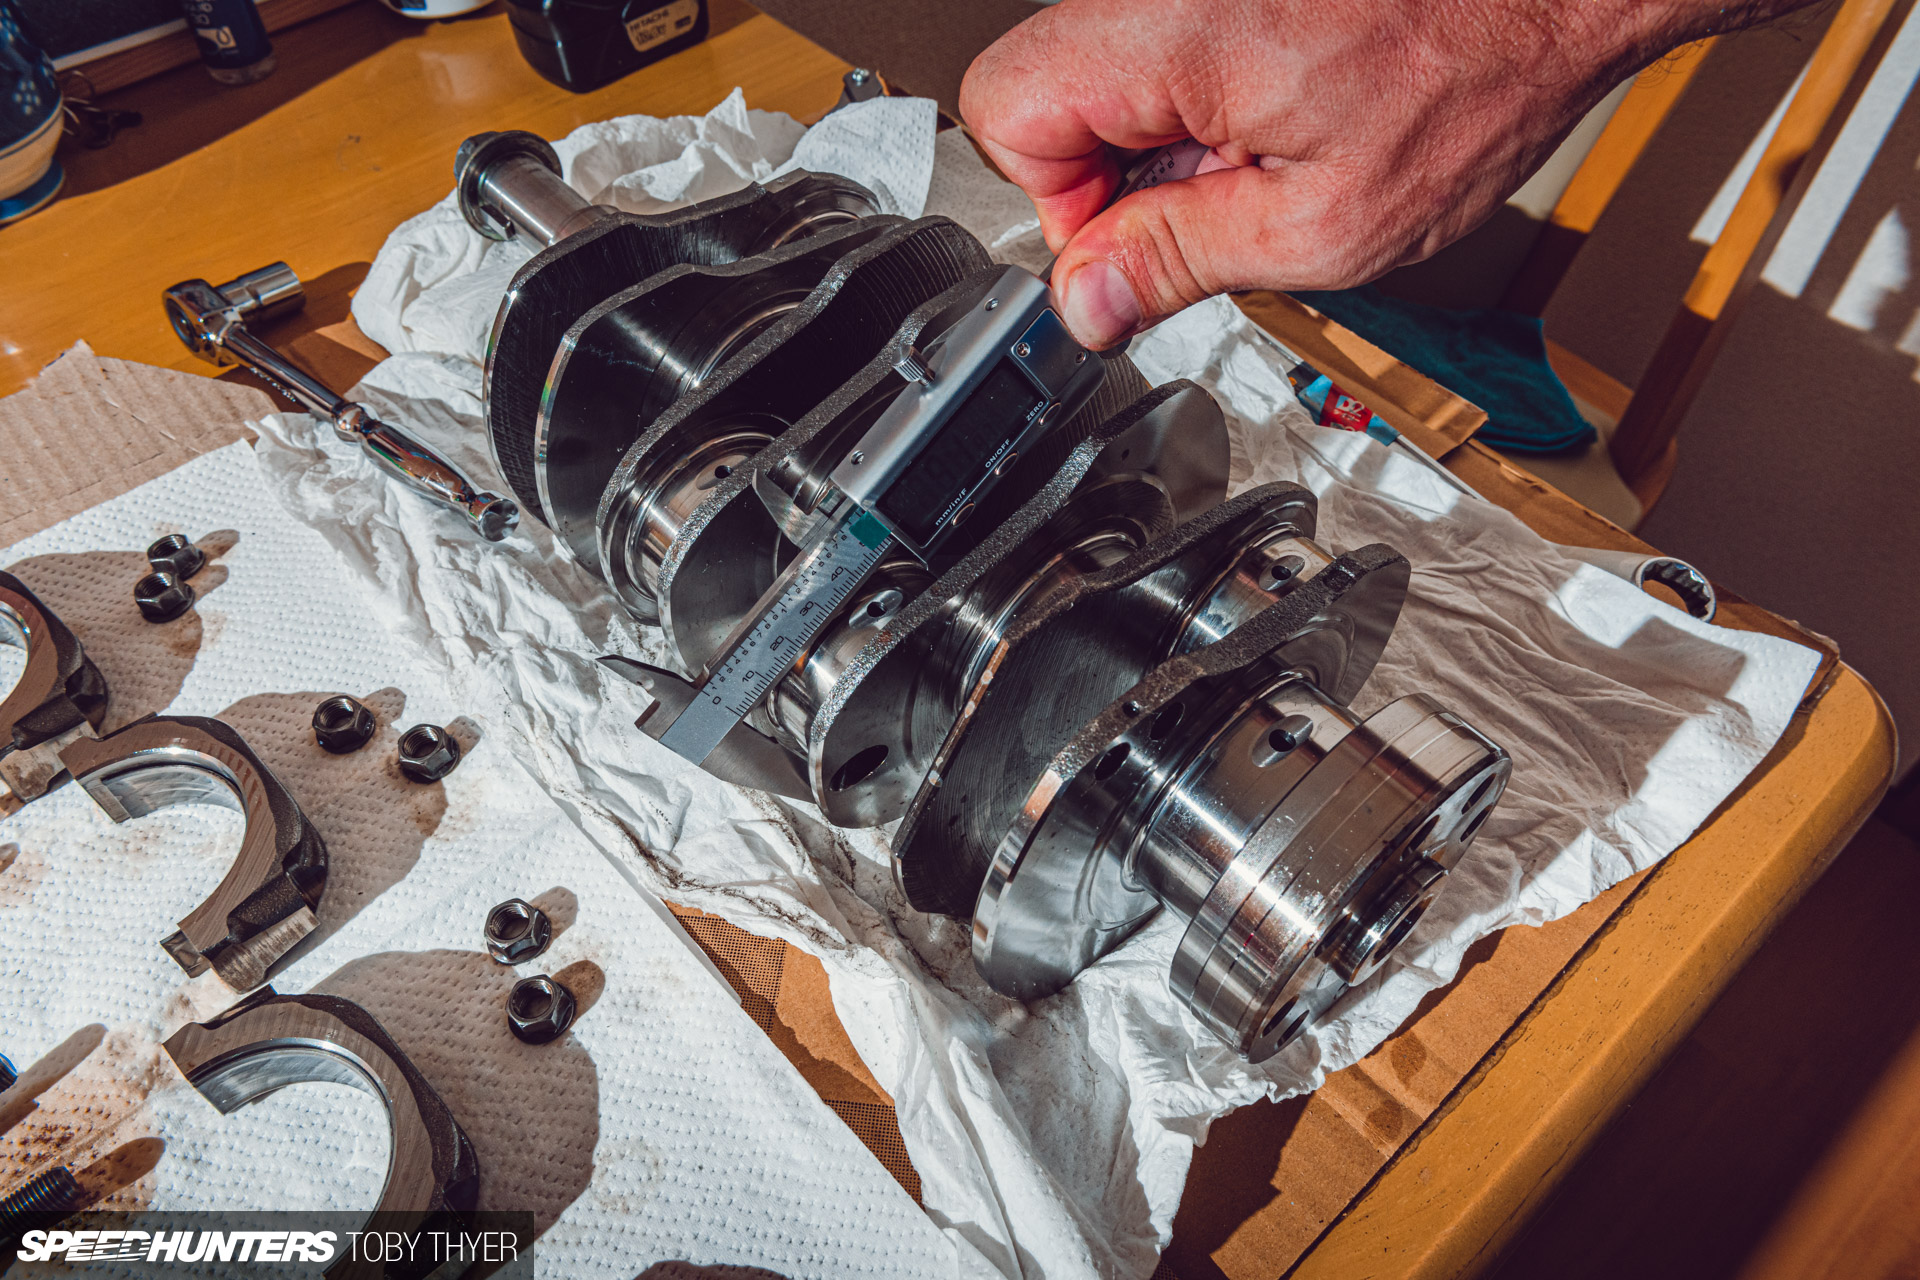
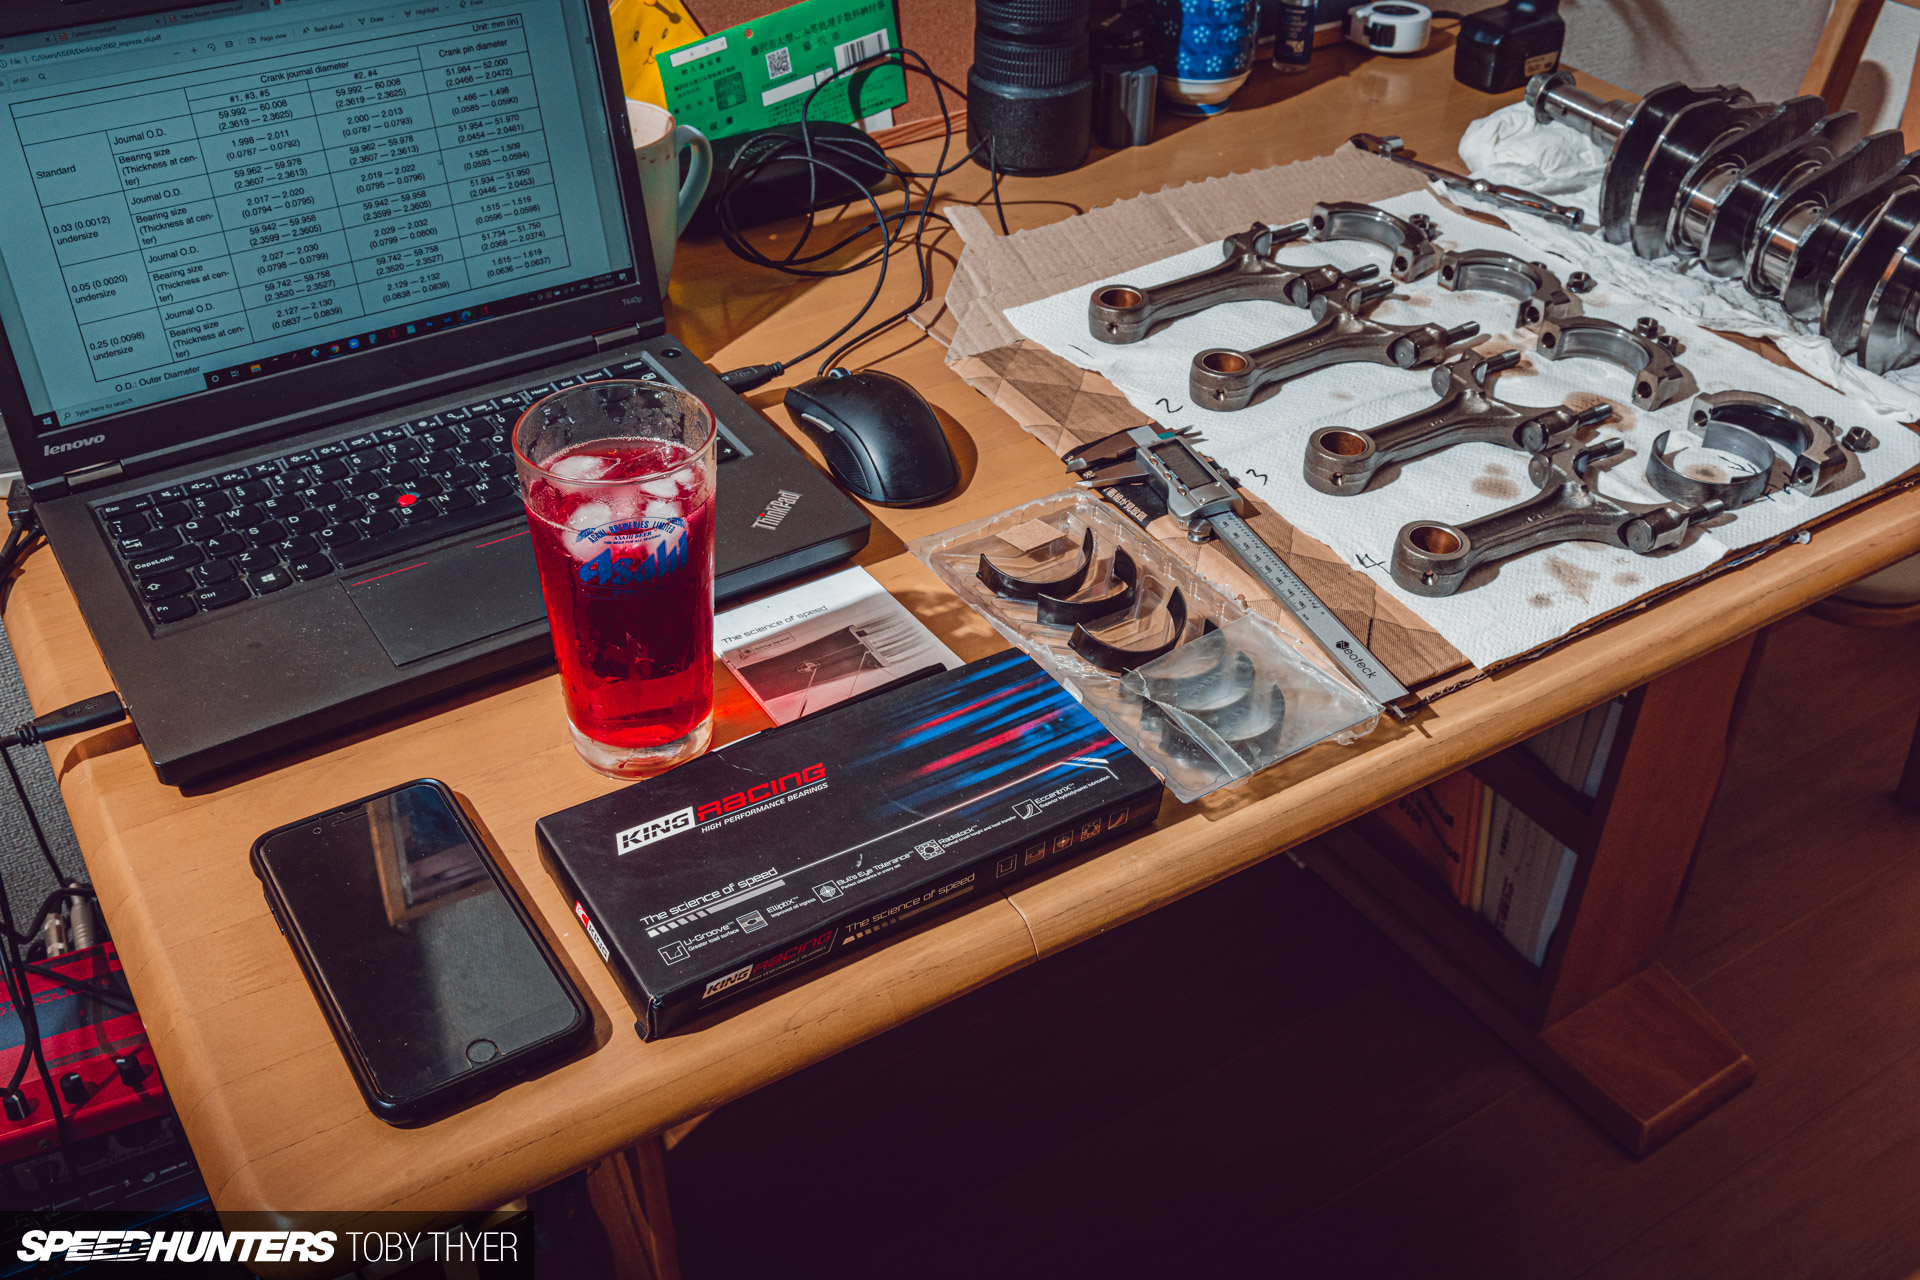
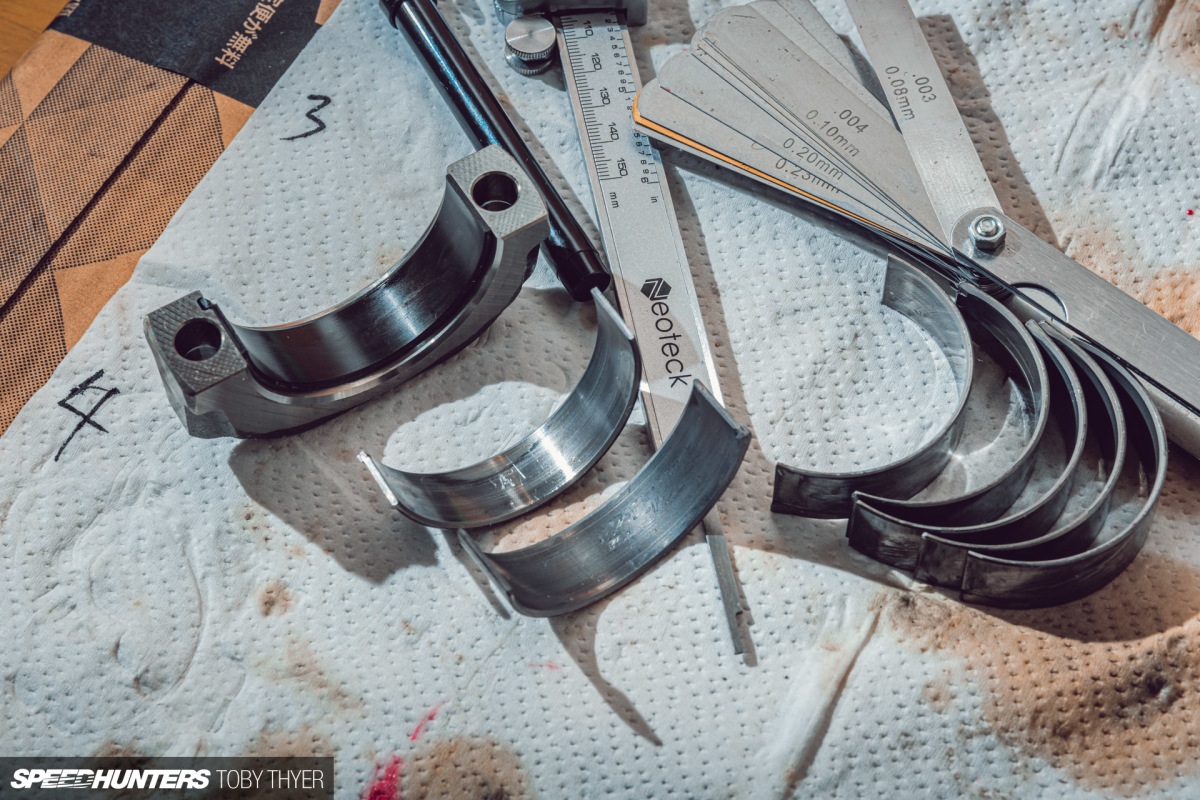
Checking and crosschecking part numbers, torque settings and bearing clearances is the most important part of any engine rebuild.
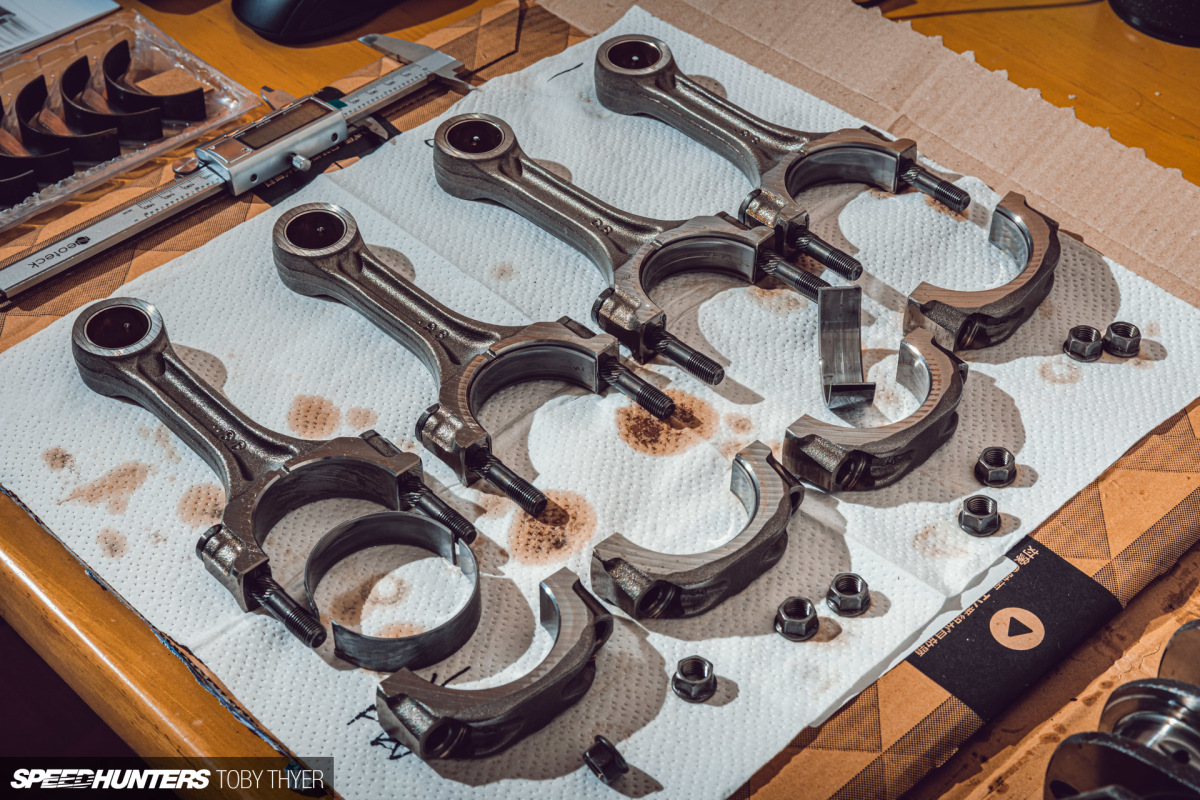
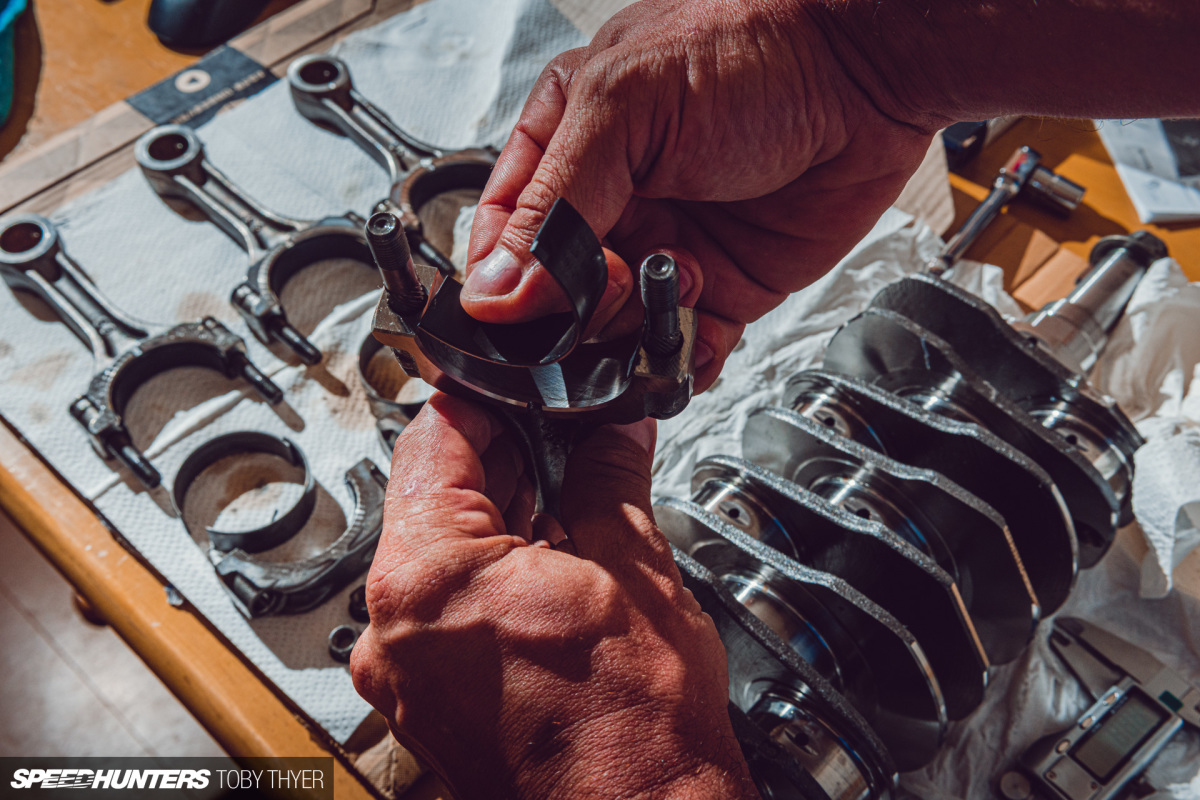
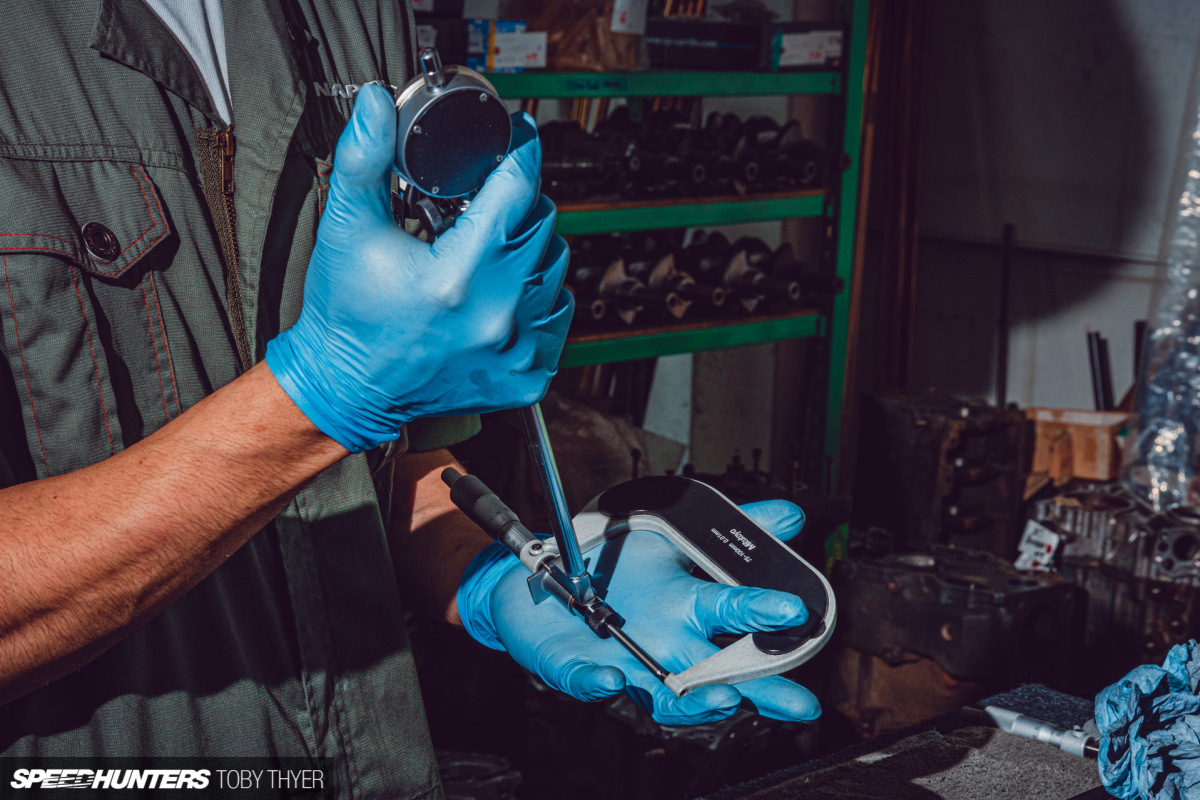
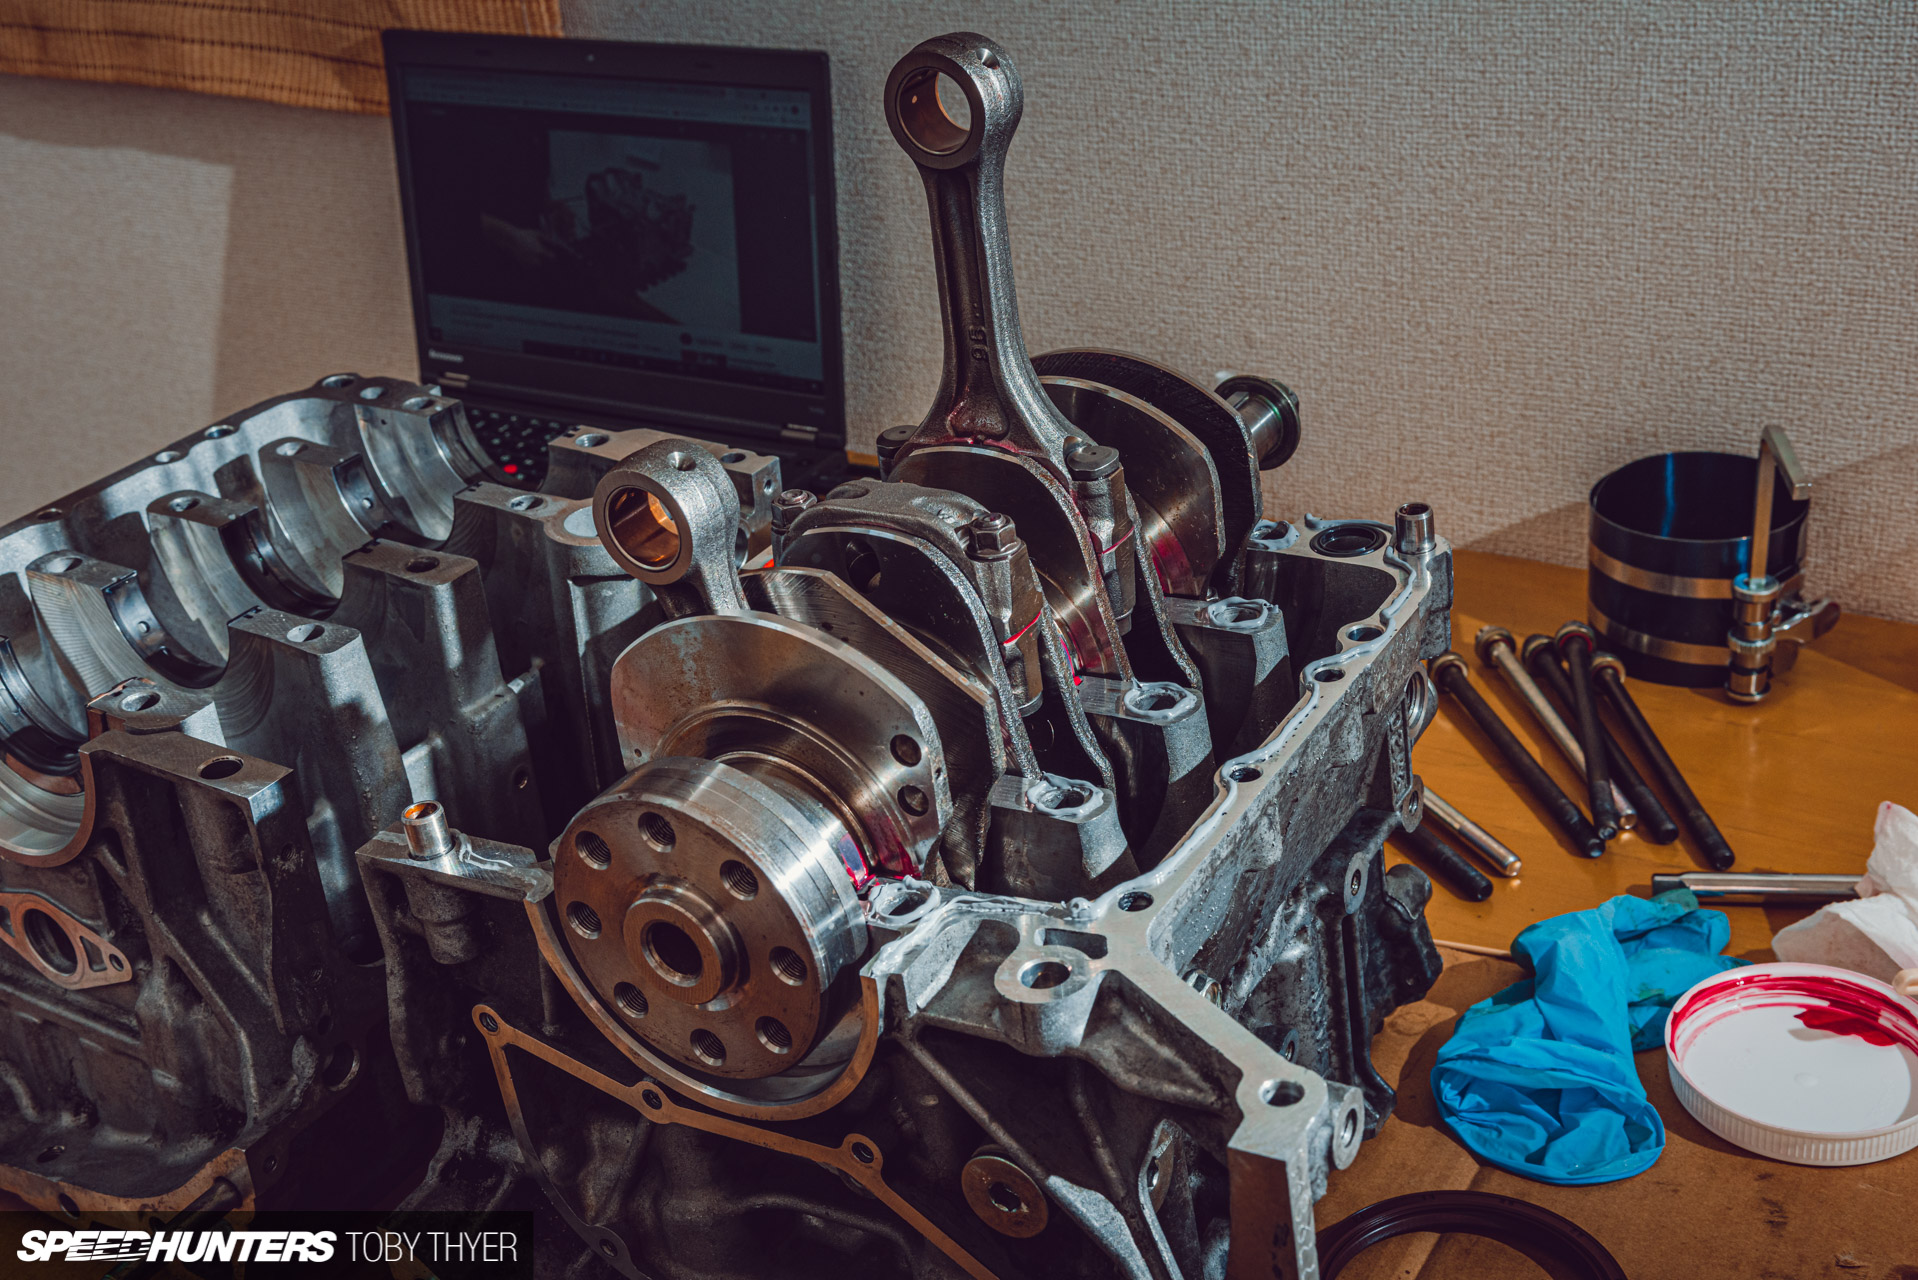
I measured the bearing journals of the crank as well as double-checking the thickness of the new King bearings I purchased. I measured the inner diameter of the connecting rods, added the bearing thickness and then subtracted the bearing journal measurement, which left me with the clearance needed between the bearing and journal. The clearance needs to be just enough for oil to lubricate the bearing but not too much to cause excessive play. It was a little on the large size but within spec. Just.
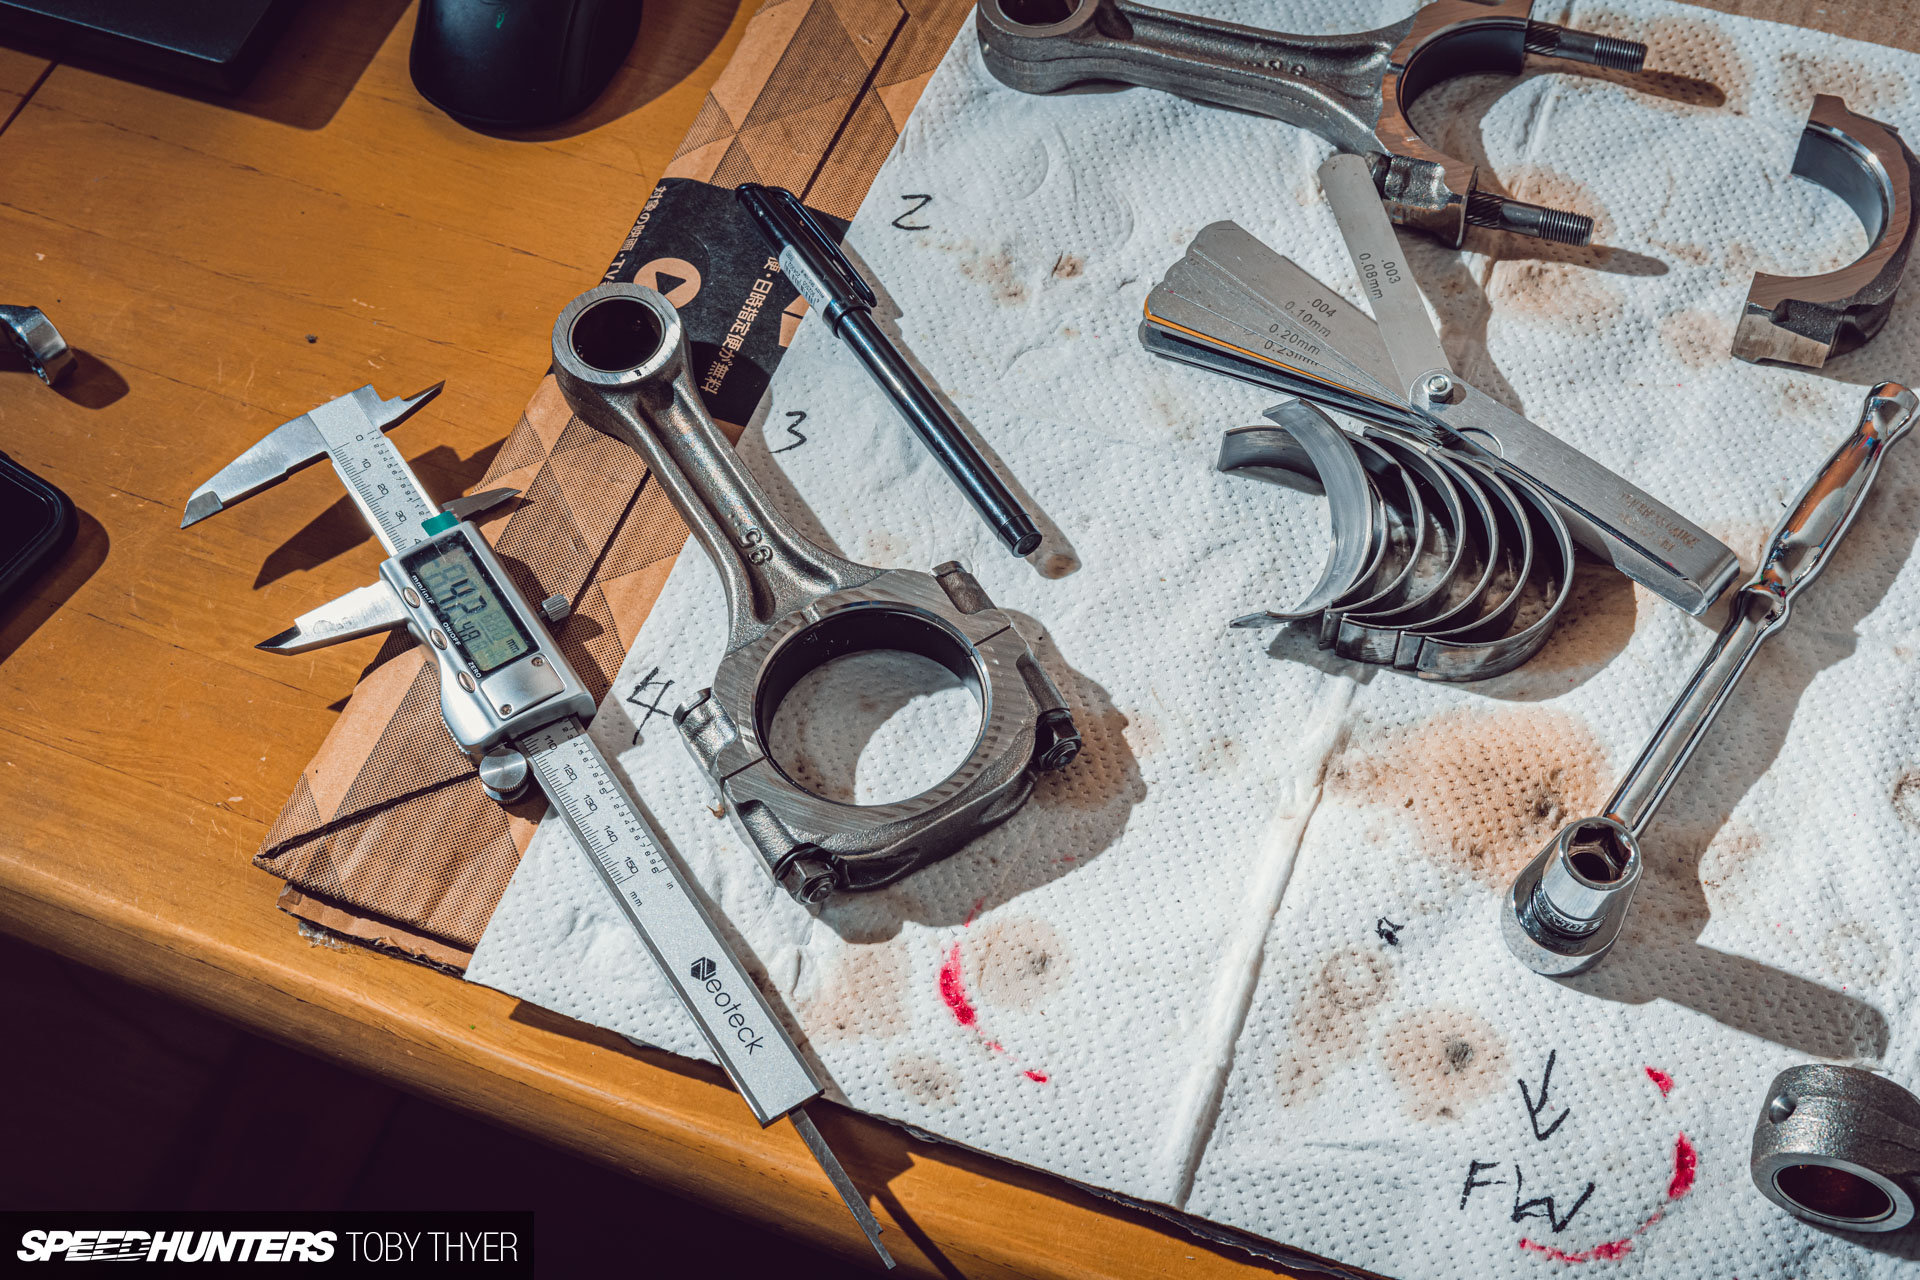
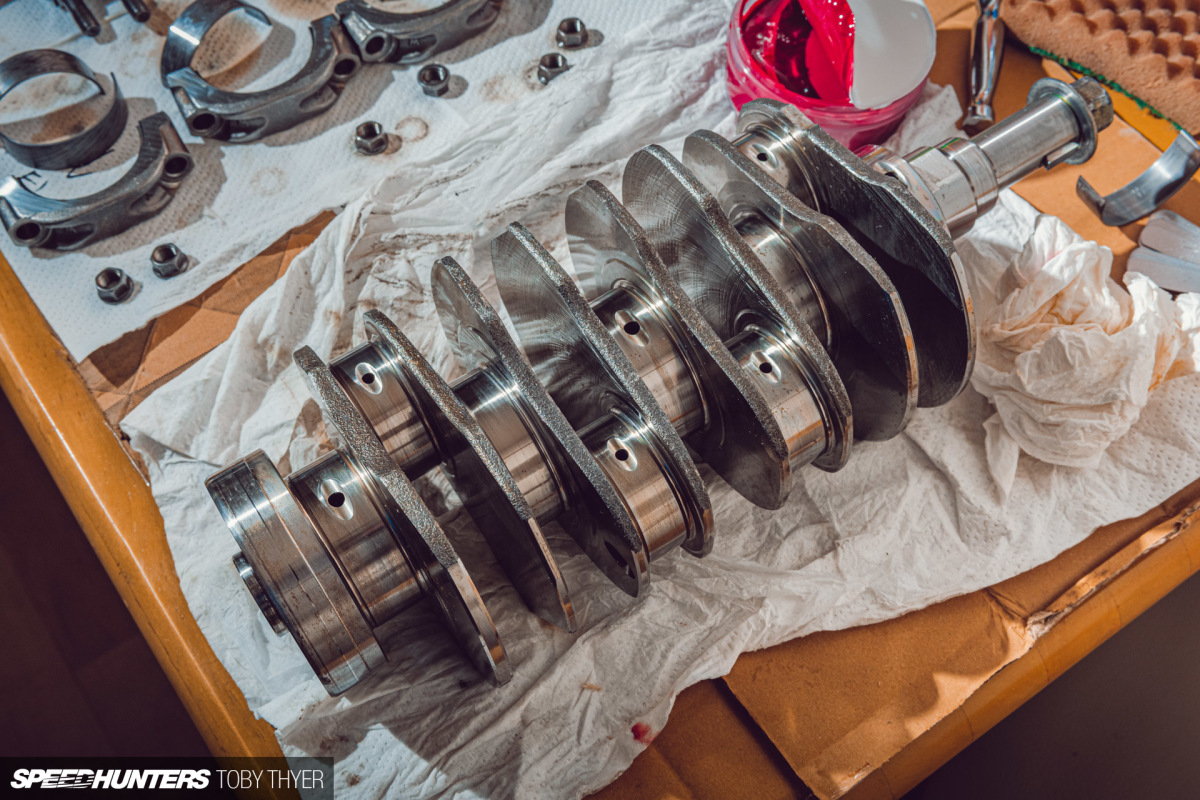
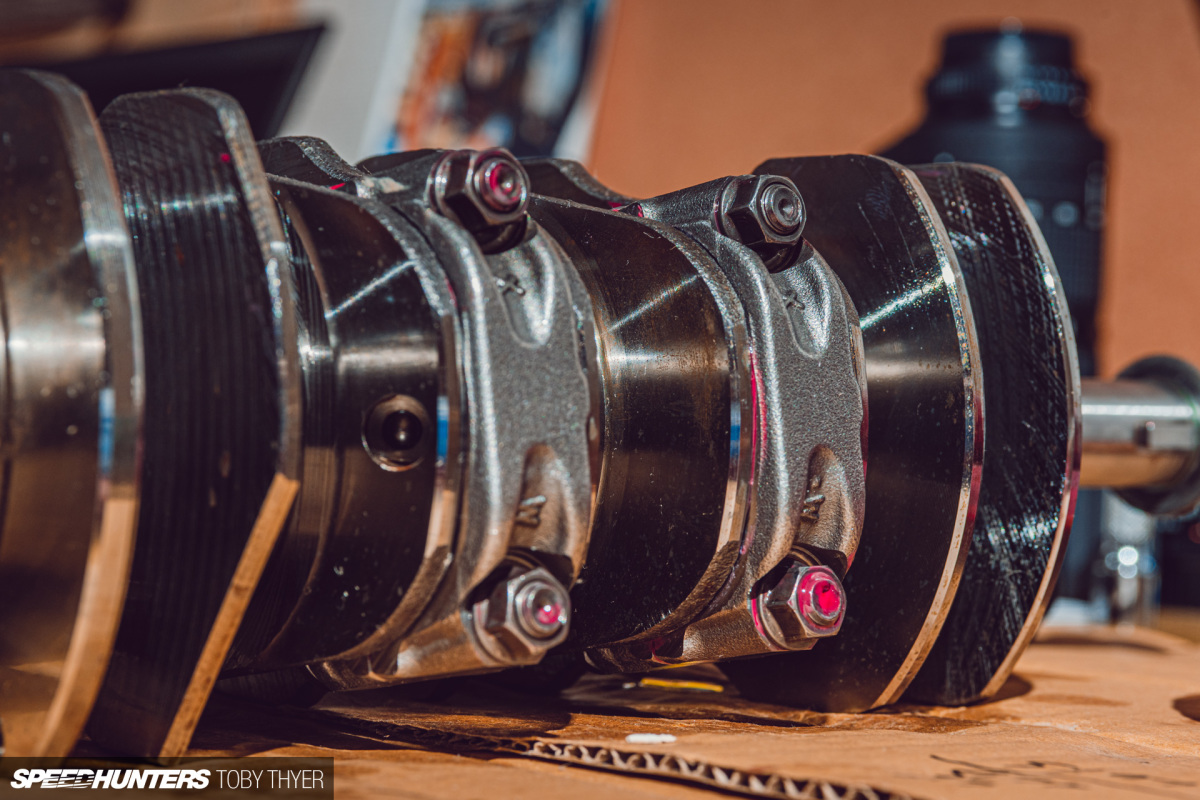
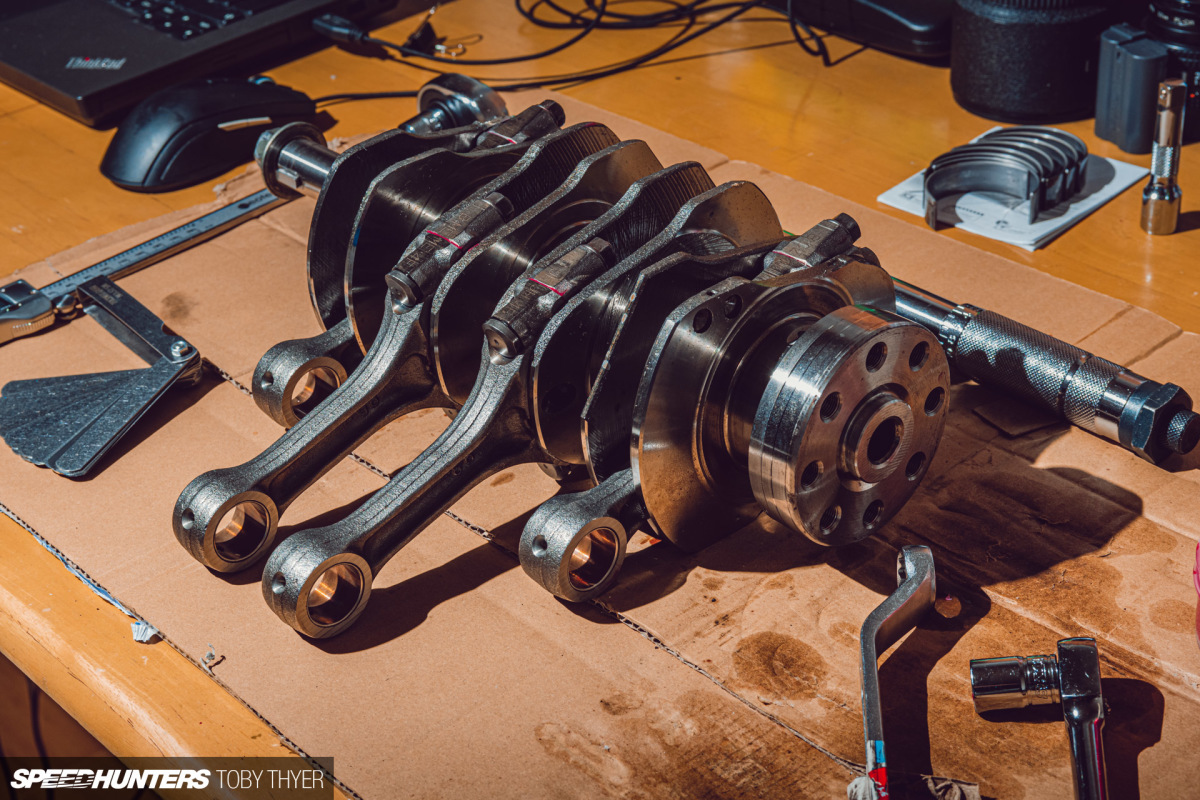
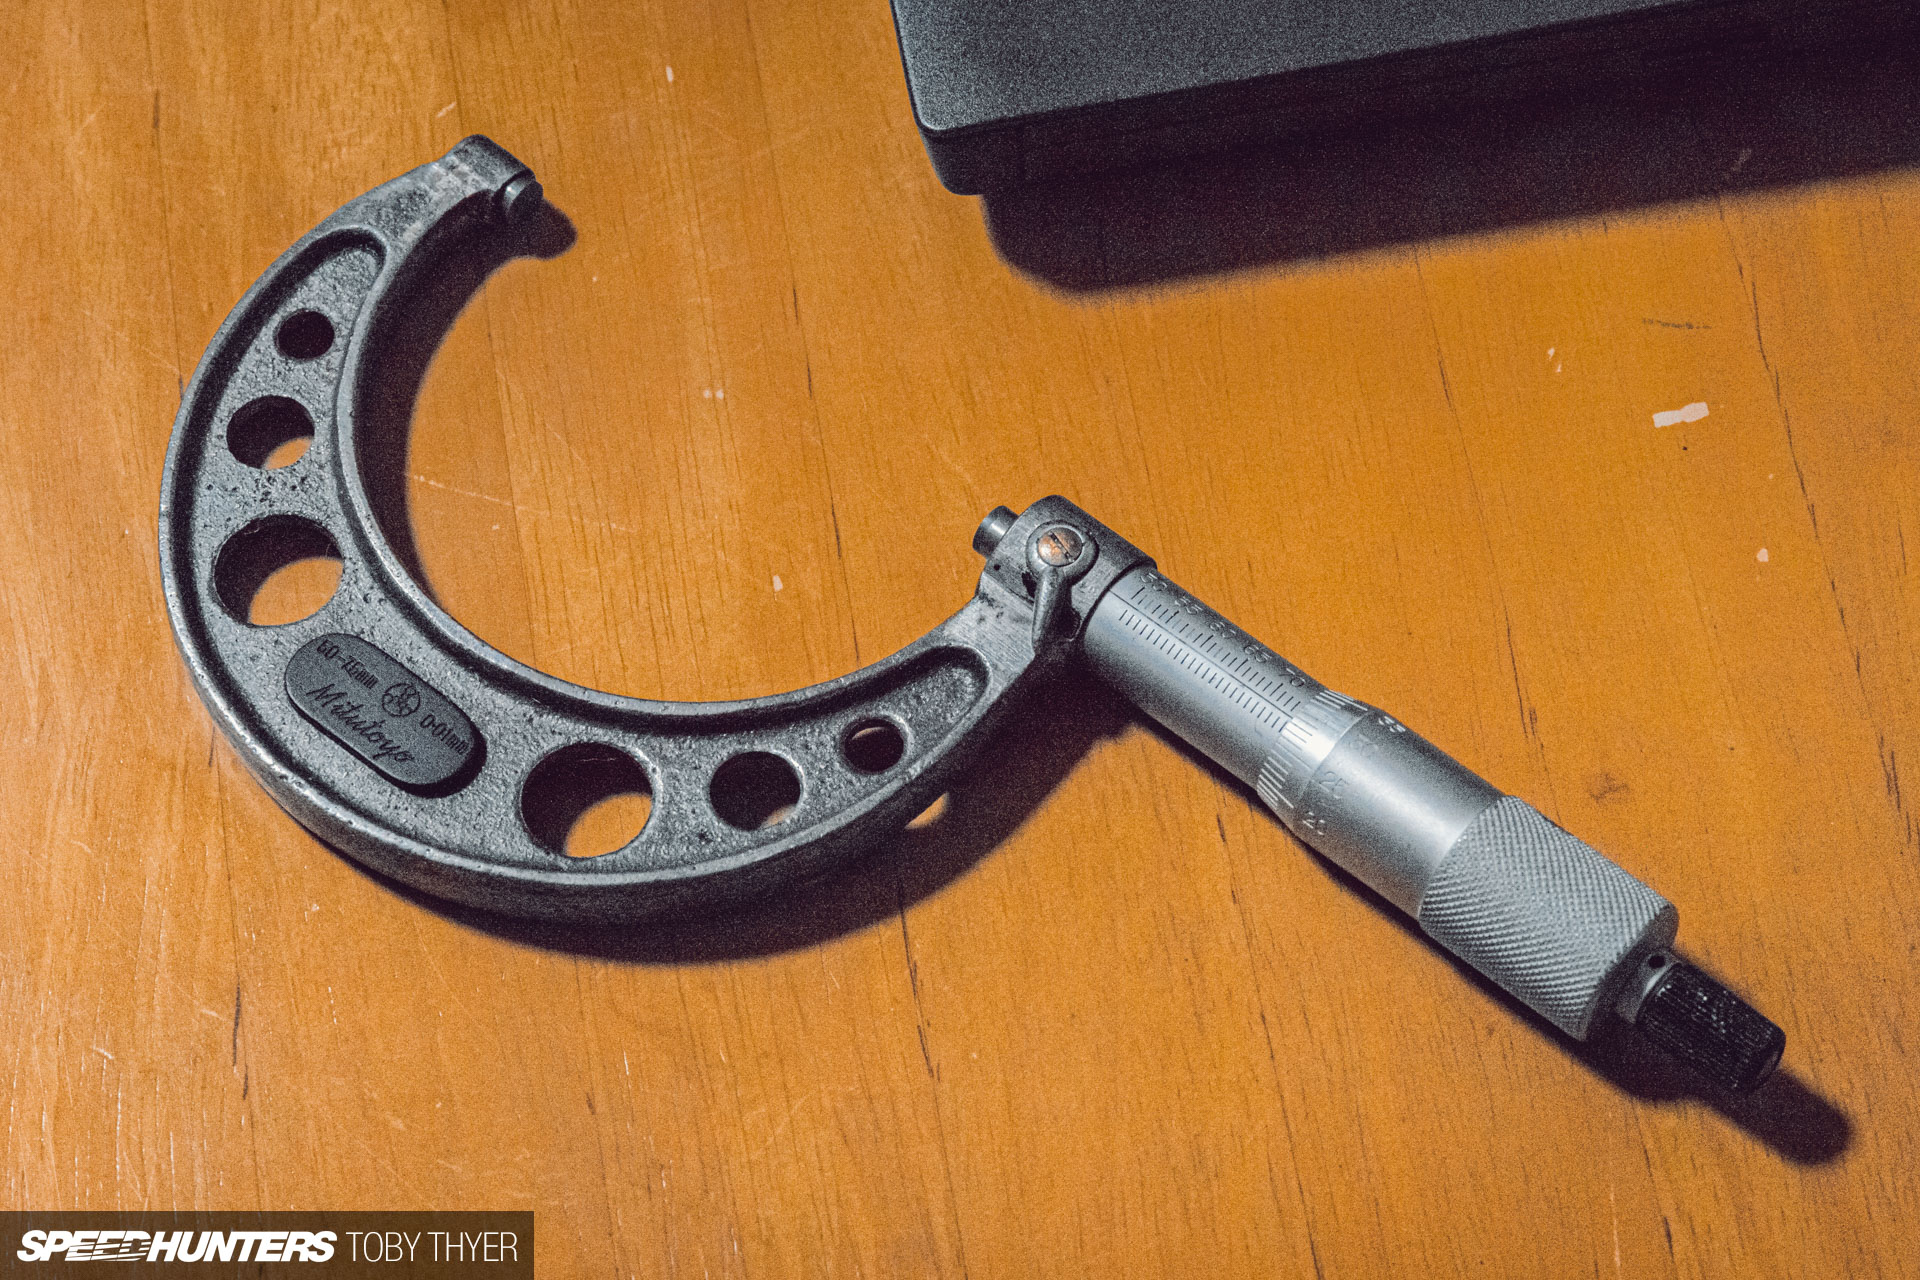
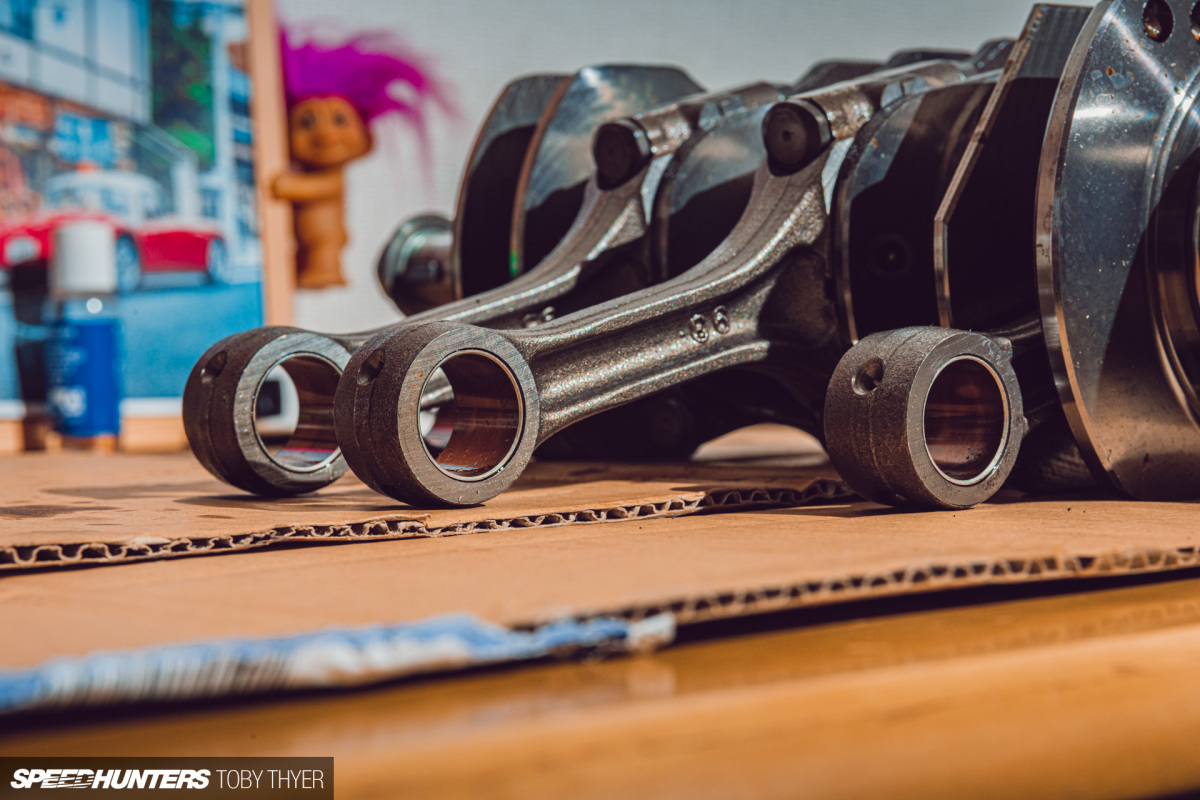
Knowing that the crankshaft and connecting rods were all in spec, I couldn’t wait to get them cleaned and reassembled. These pictures show me using a vernier calliper to measure, but I did later buy a Mitutoyo micrometer and promptly forgot to take any photos of it in use.

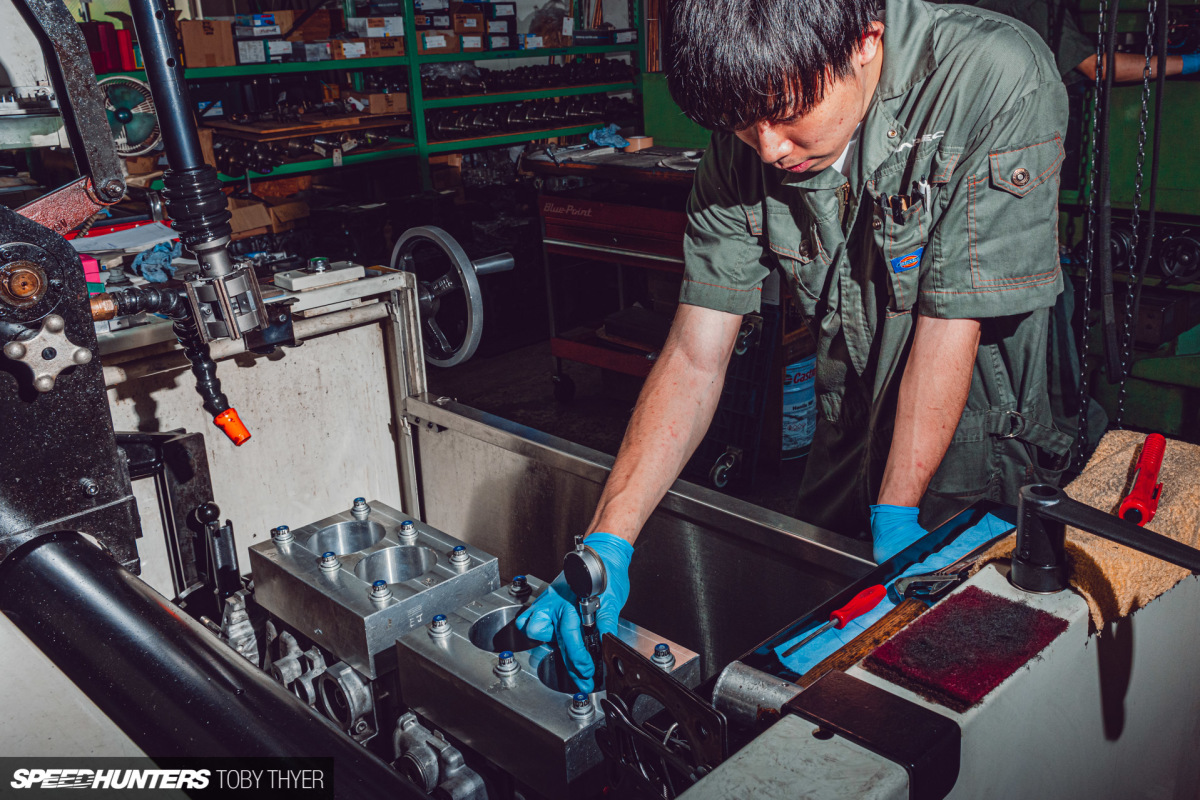

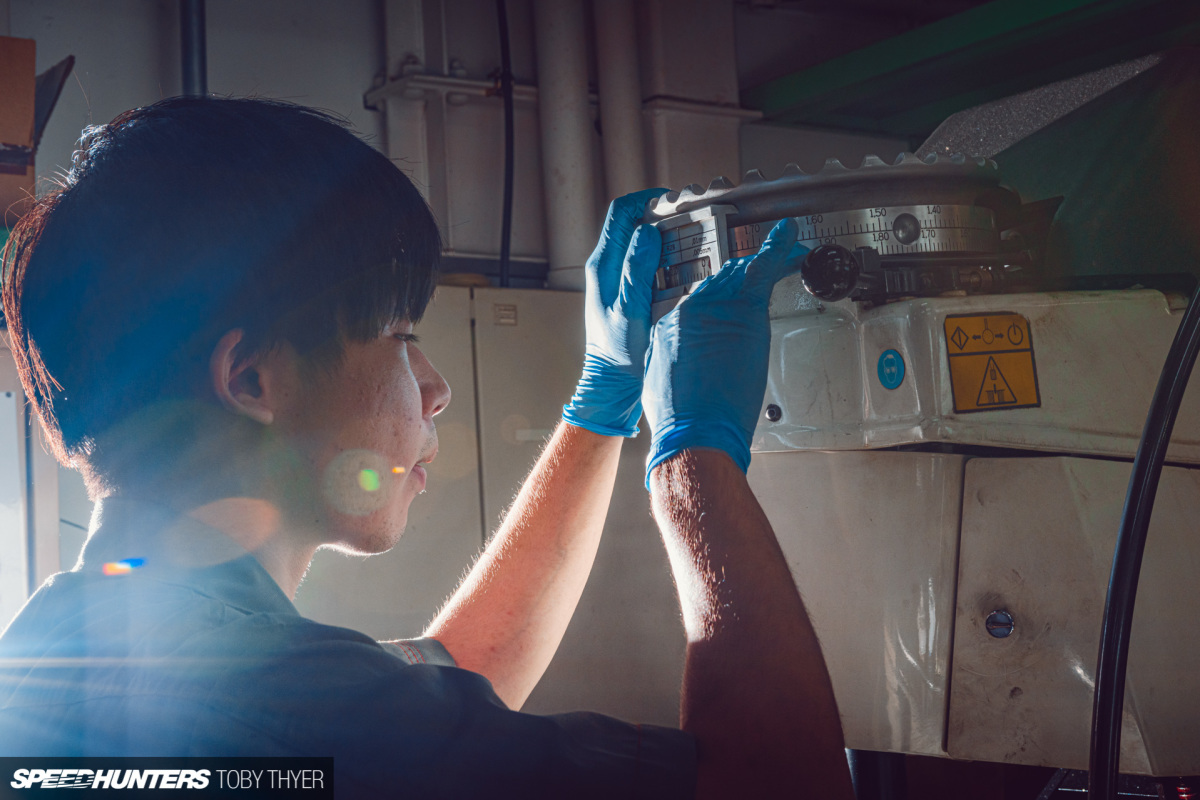
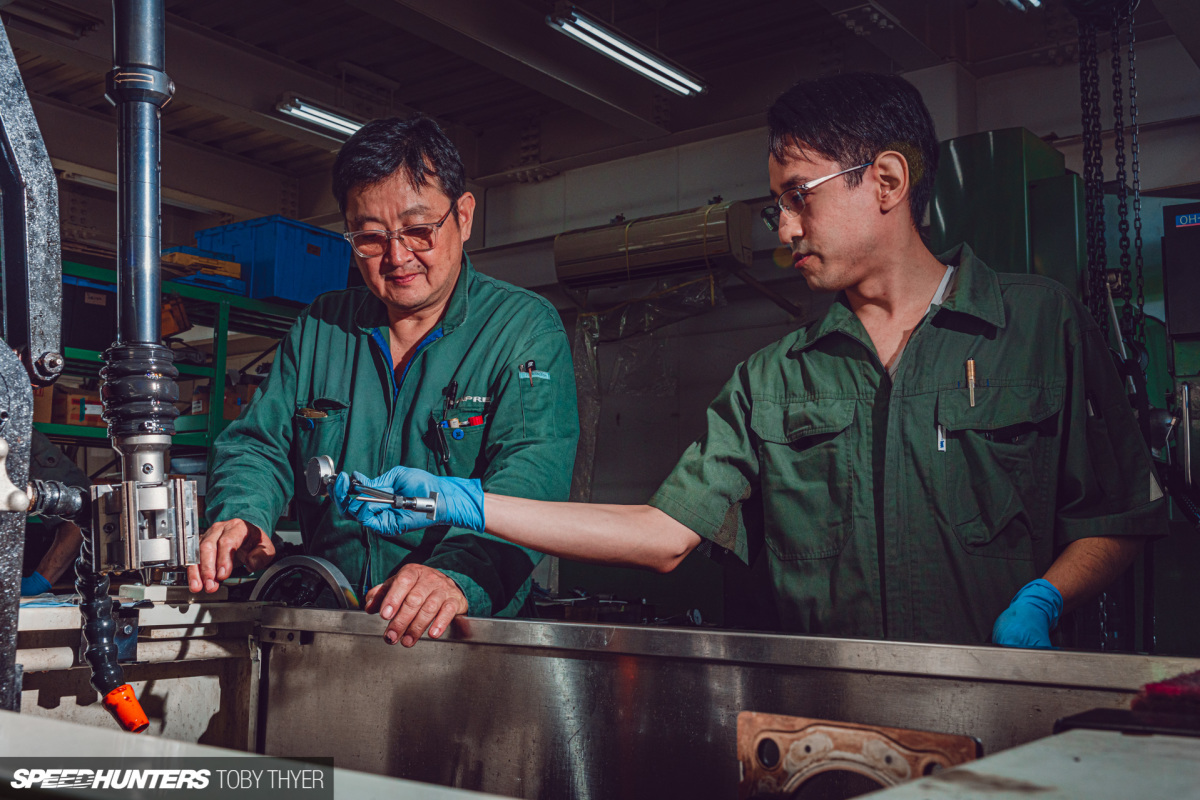
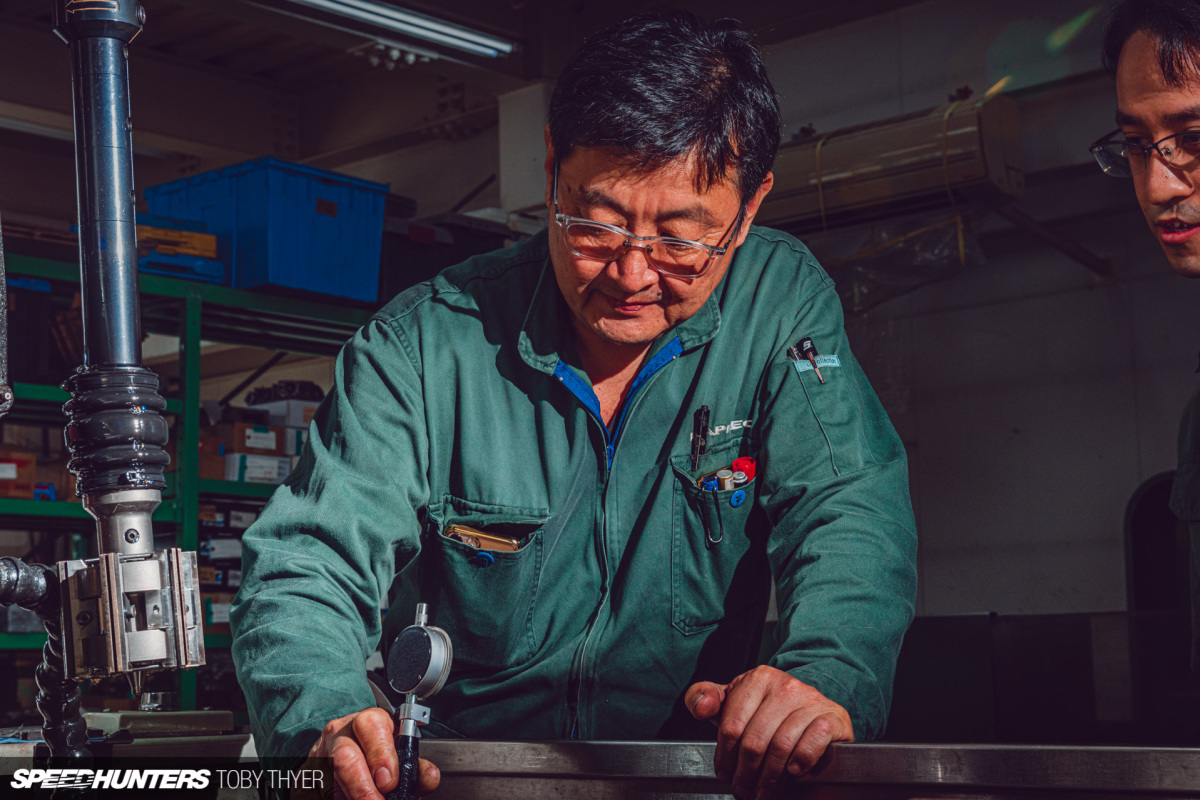
After a two week wait, NAPREC finally had a time slot to get to work on my scored #2 cylinder. Master machinist Nagoya-san was kind enough to oversee the work and check over some measurements, but the younger staff members handled the actual machine work. Anybody trusted by Nagoya-san is trusted by me.
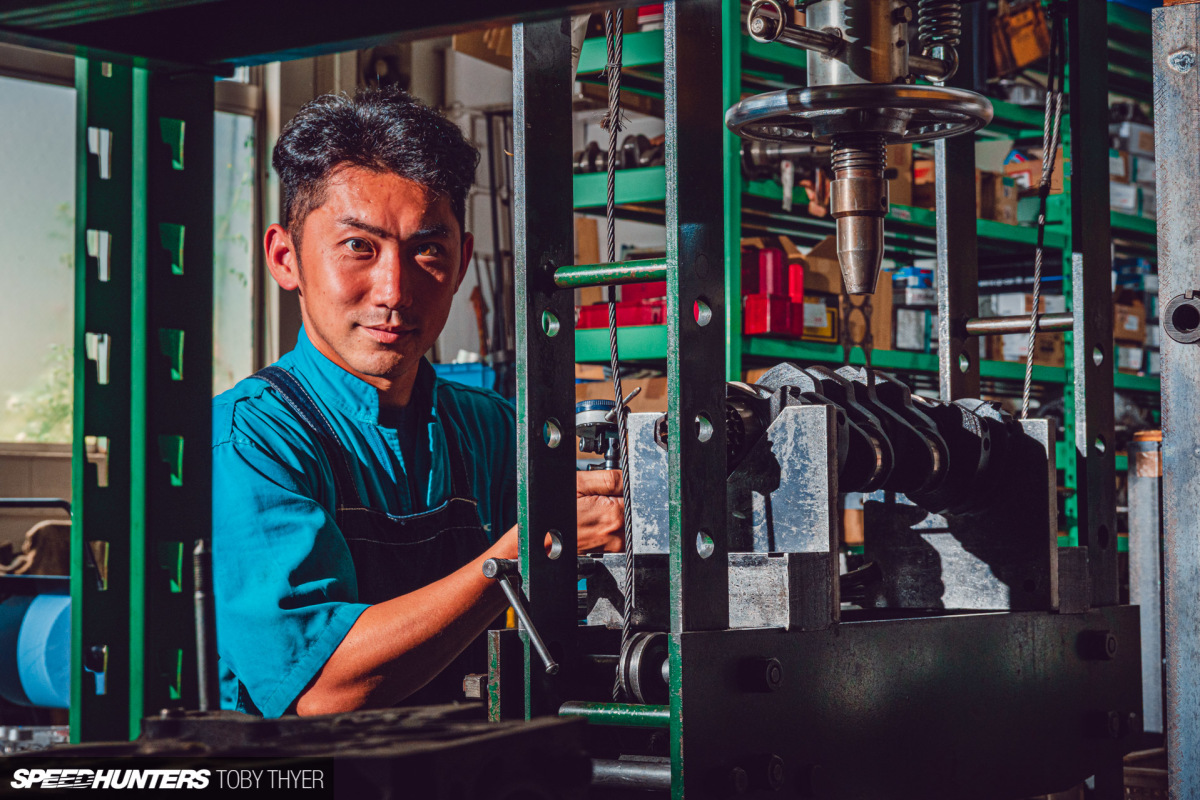
While the remaining cylinders where bored out, I took a quick look around NAPREC, but you can see the full tour that Dino did in 2017 here.
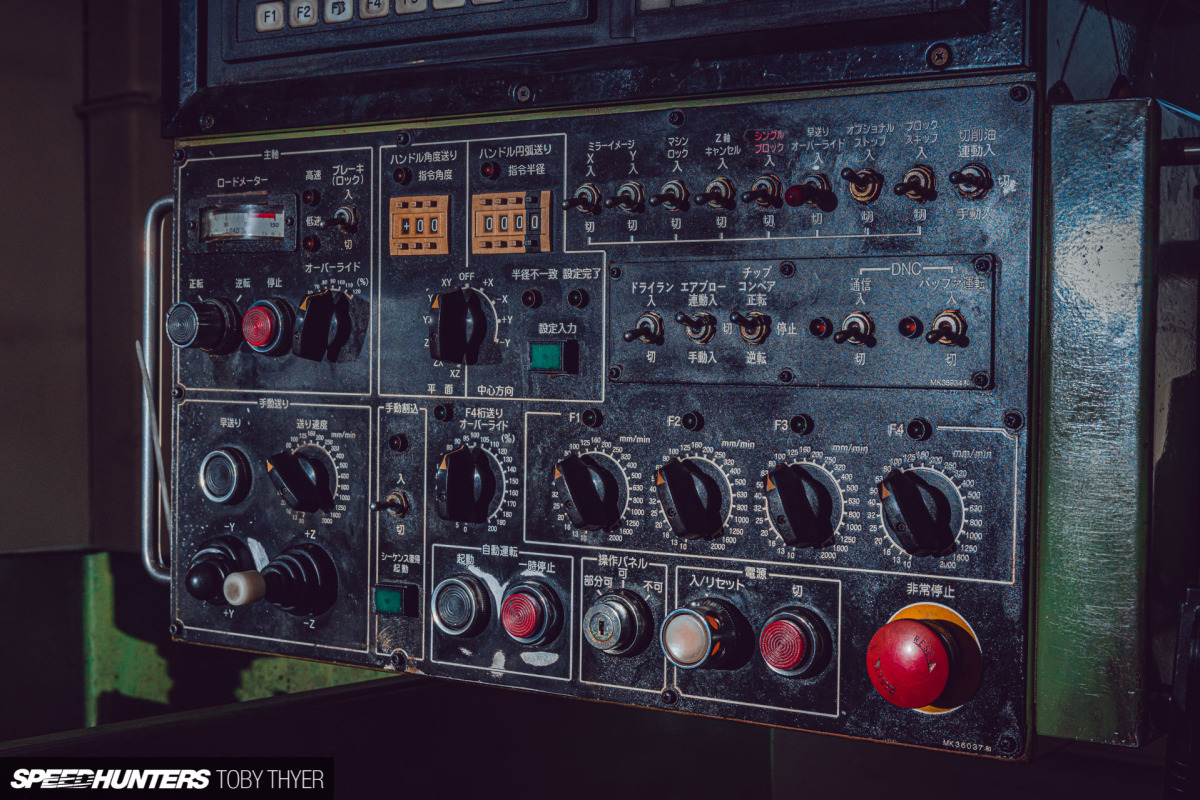
The NAPREC workshop is awe-inspiring, filled full of all the traditional and modern machines needed to overhaul engines with the precision required for big-power motorsport applications.
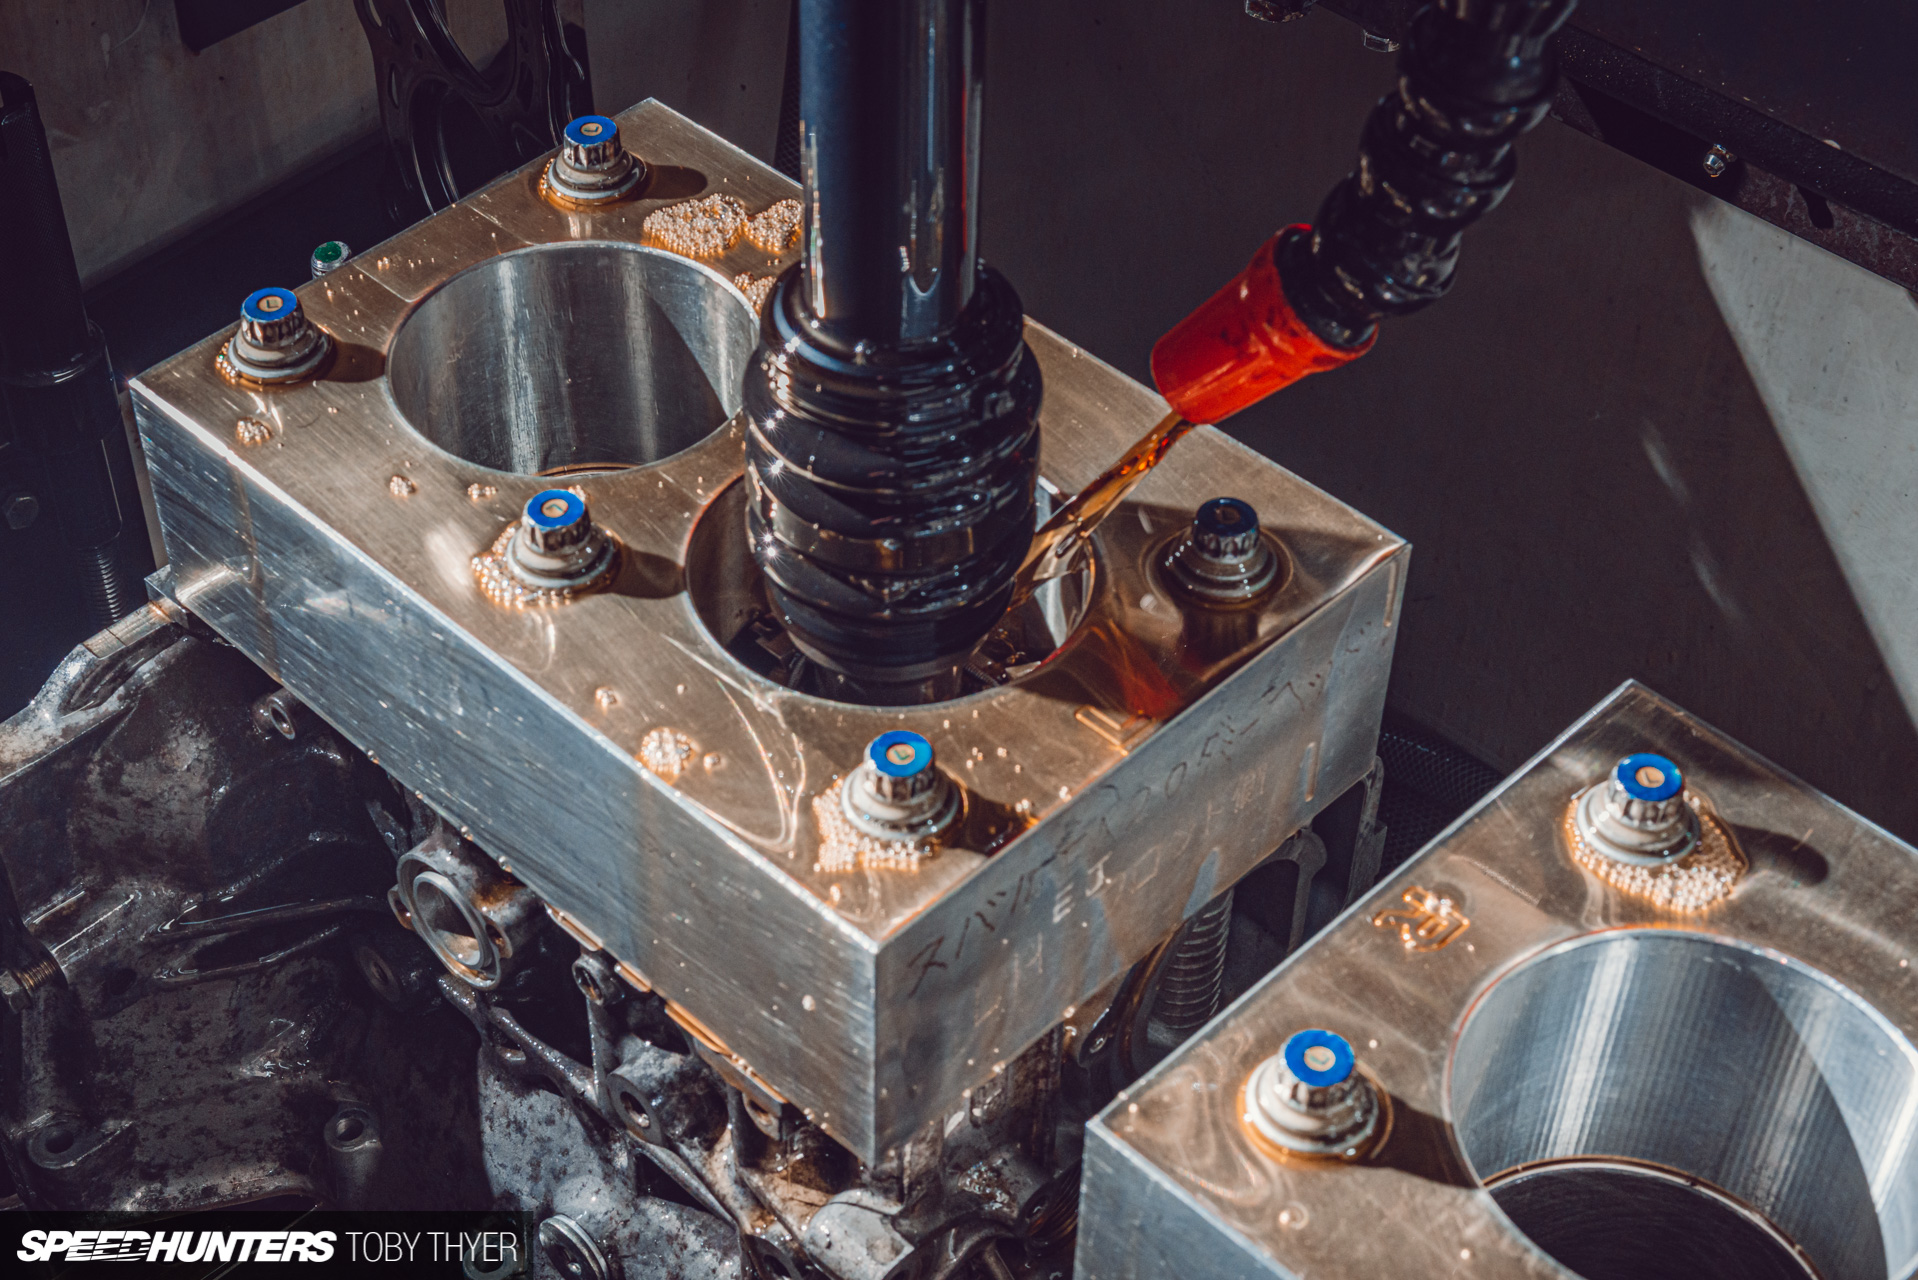
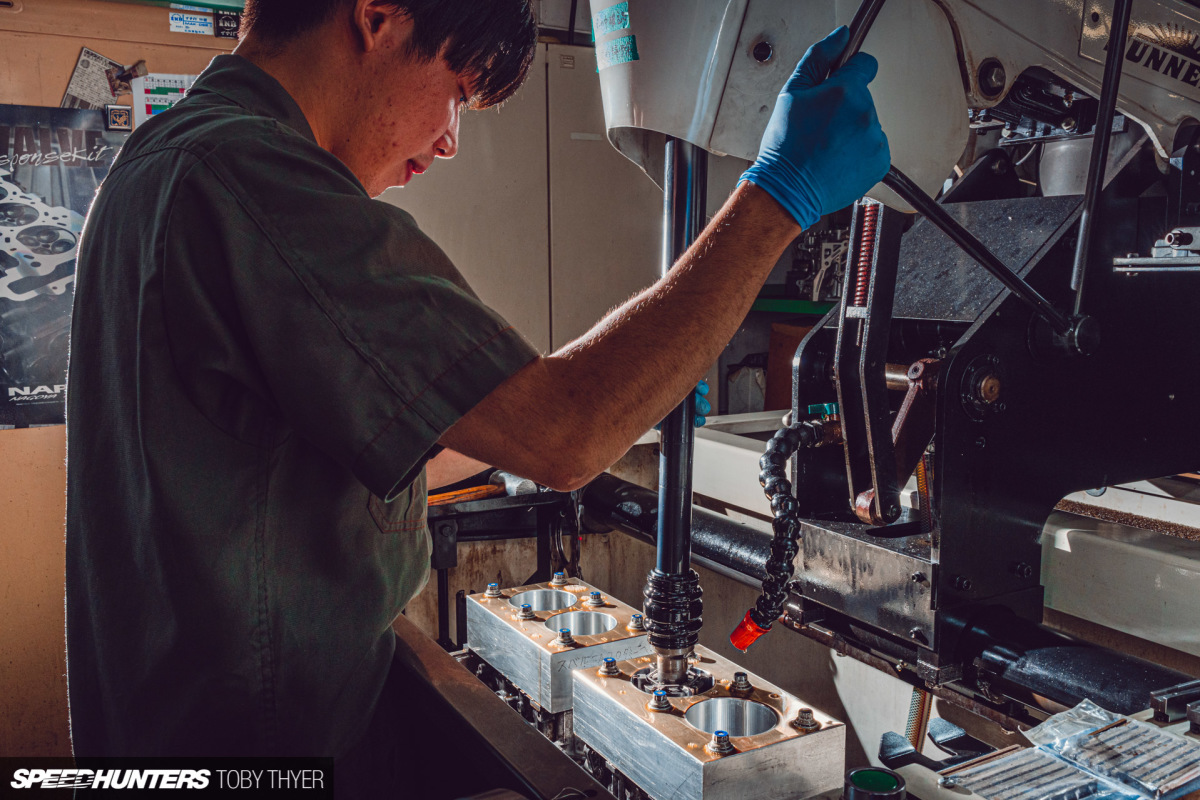
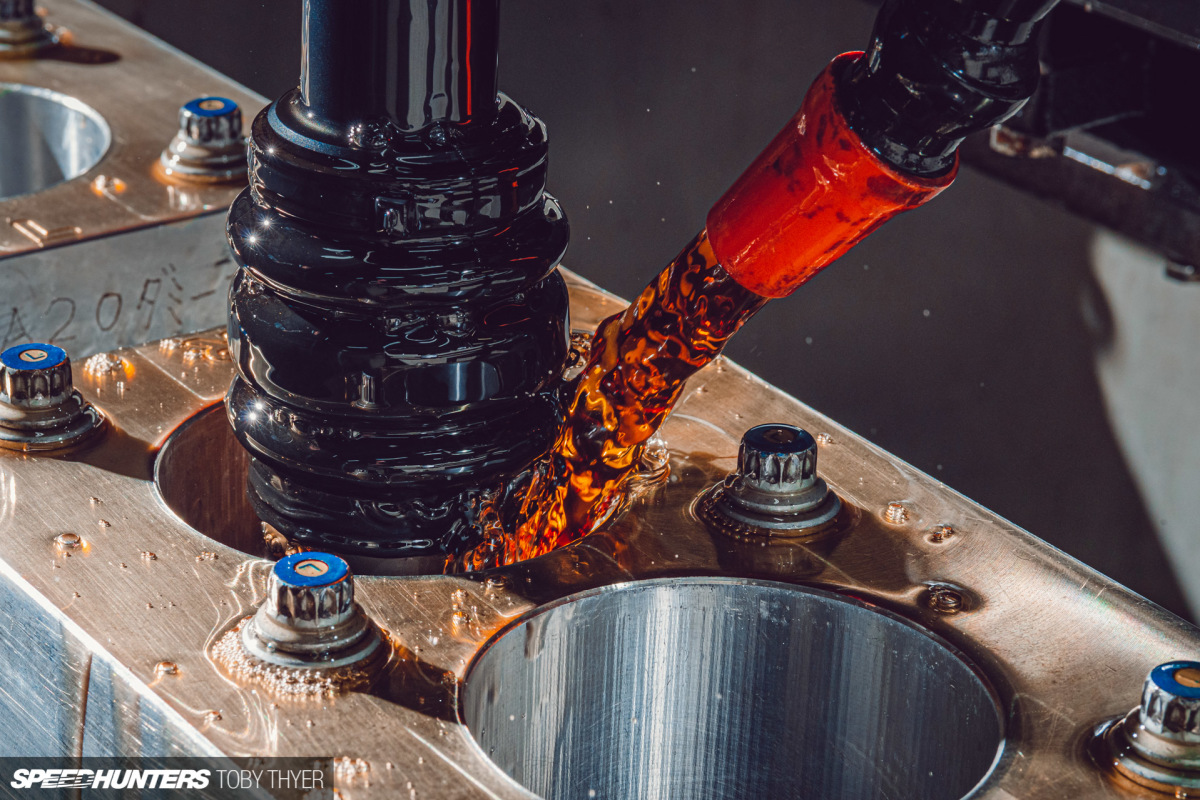
When I returned back to the machine station, the guys had almost finished my freshly bored block. For this, they used a torque plate to simulate the shape of the block with the cylinder heads attached. The block is also torqued from the back to simulate the two halves of the boxer being bolted together.

Finally, my block arrived back to my kitchen workshop in a huge NAPREC shipping box, so I cranked up the air-con to the recommended 20°C for engine assembly, and got to work.
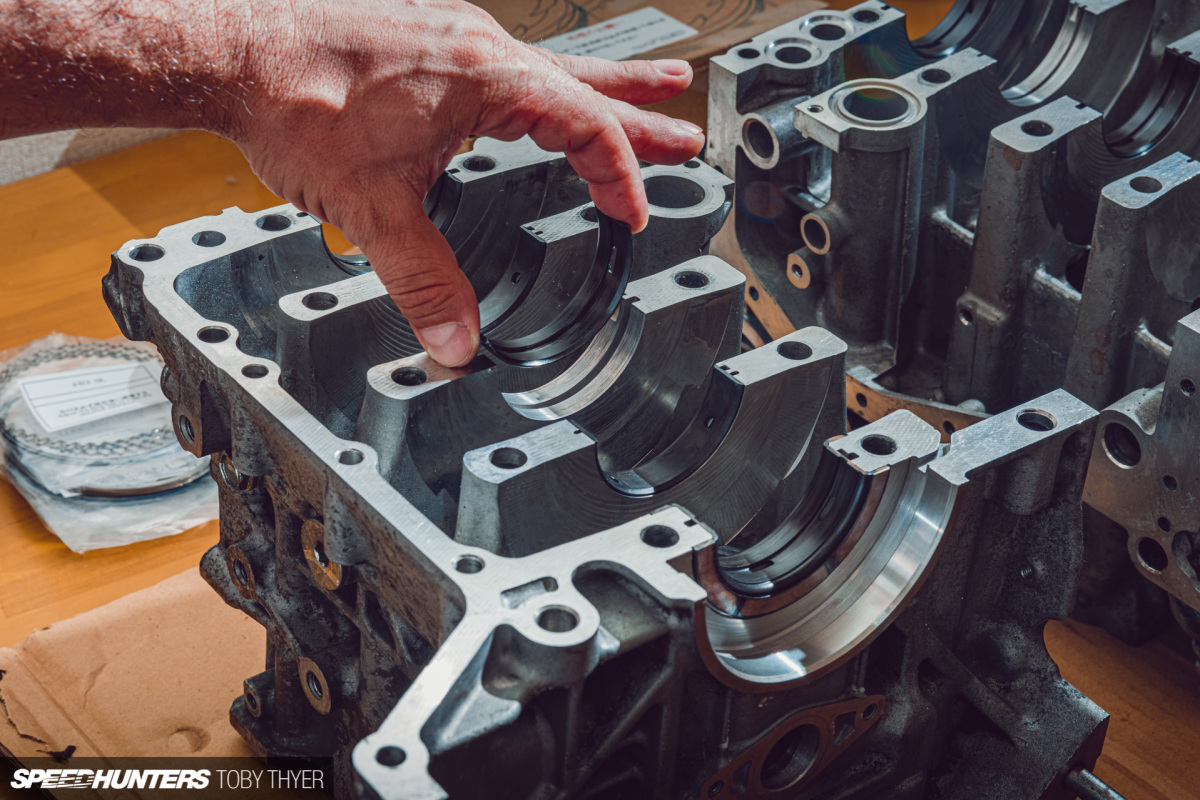
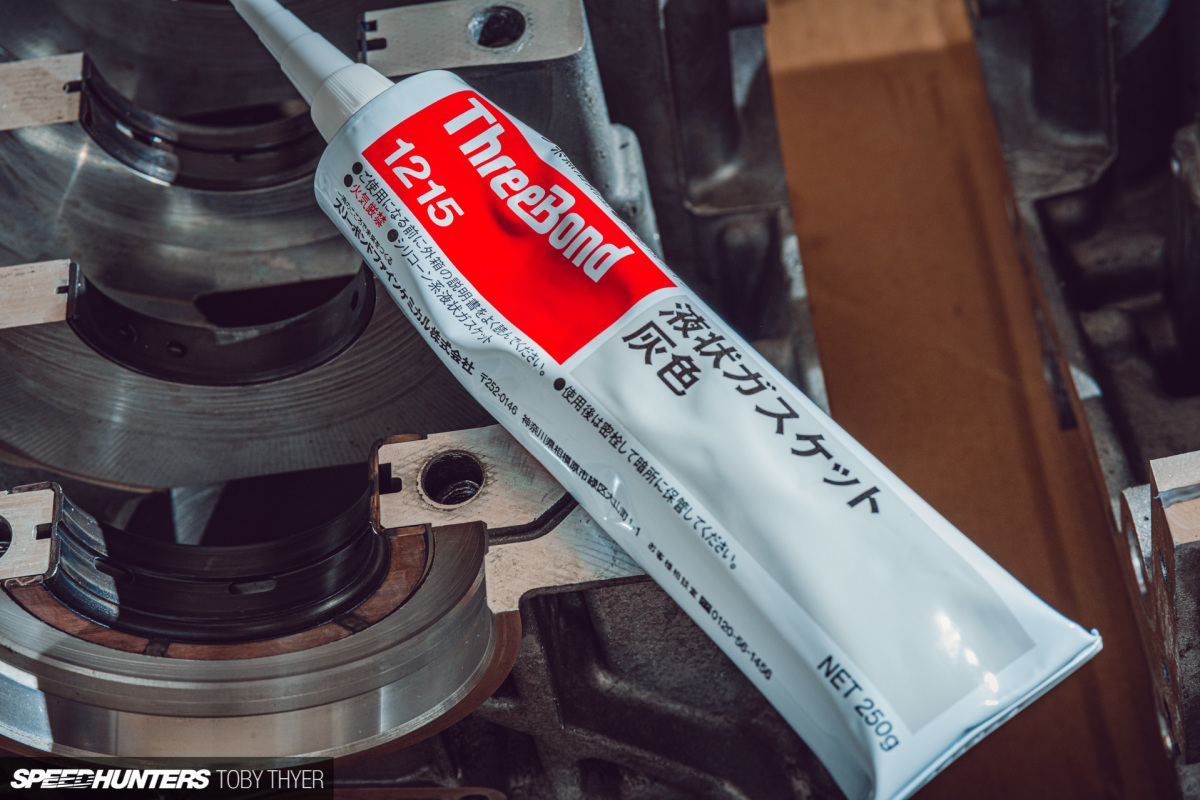
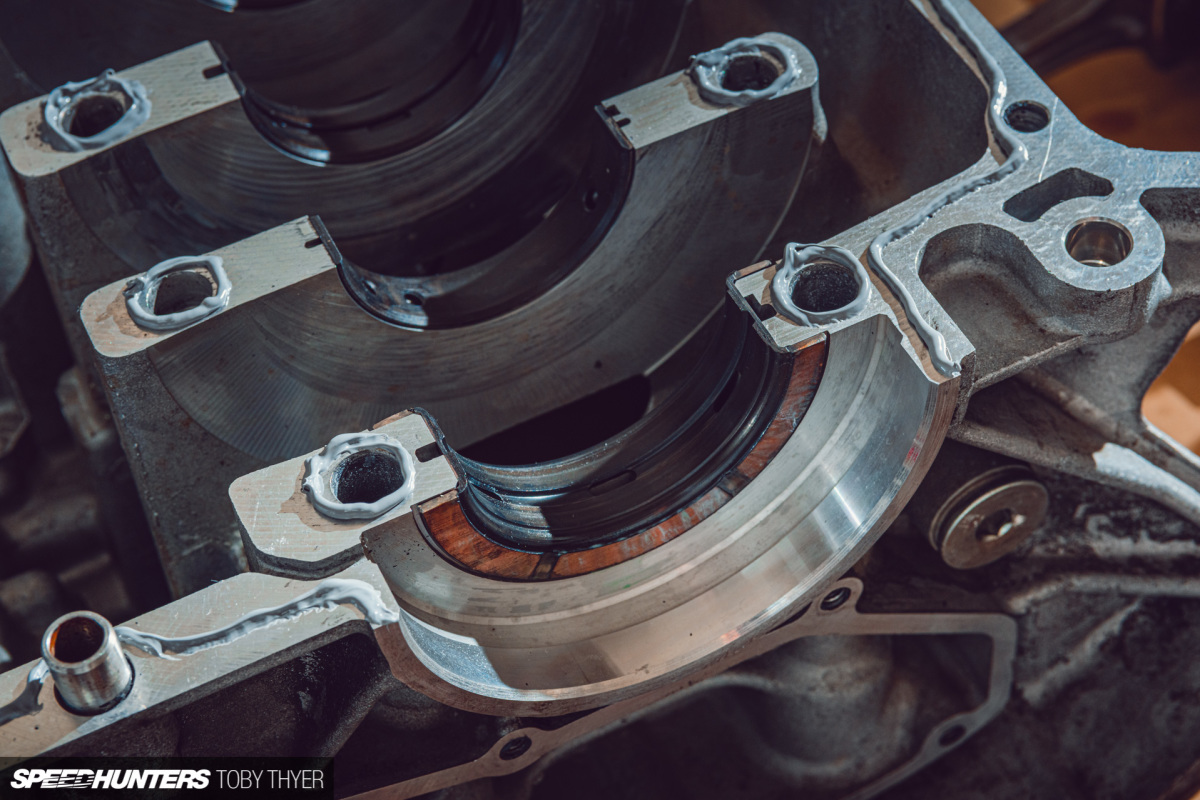
My new King main bearings popped in, and I laid a bead of ThreeBond around one half of the block. I was careful not to use too much, but looking back at these photos, I probably did use more than necessary. The concern here is, if too much is used it can spread out and break off into the oil passages within the block and cause blockages. Only time will tell I suppose…
I remeasured the new main bearings, just to be safe, as well as the crankshaft main bearing journals. At this point I did not measure the block halves together to find the main bearing clearances, which I would encourage you to do. The block itself looked to be in great condition, so I crossed my fingers and hoped for the best.
Once again, I must stress not to follow this as gospel.
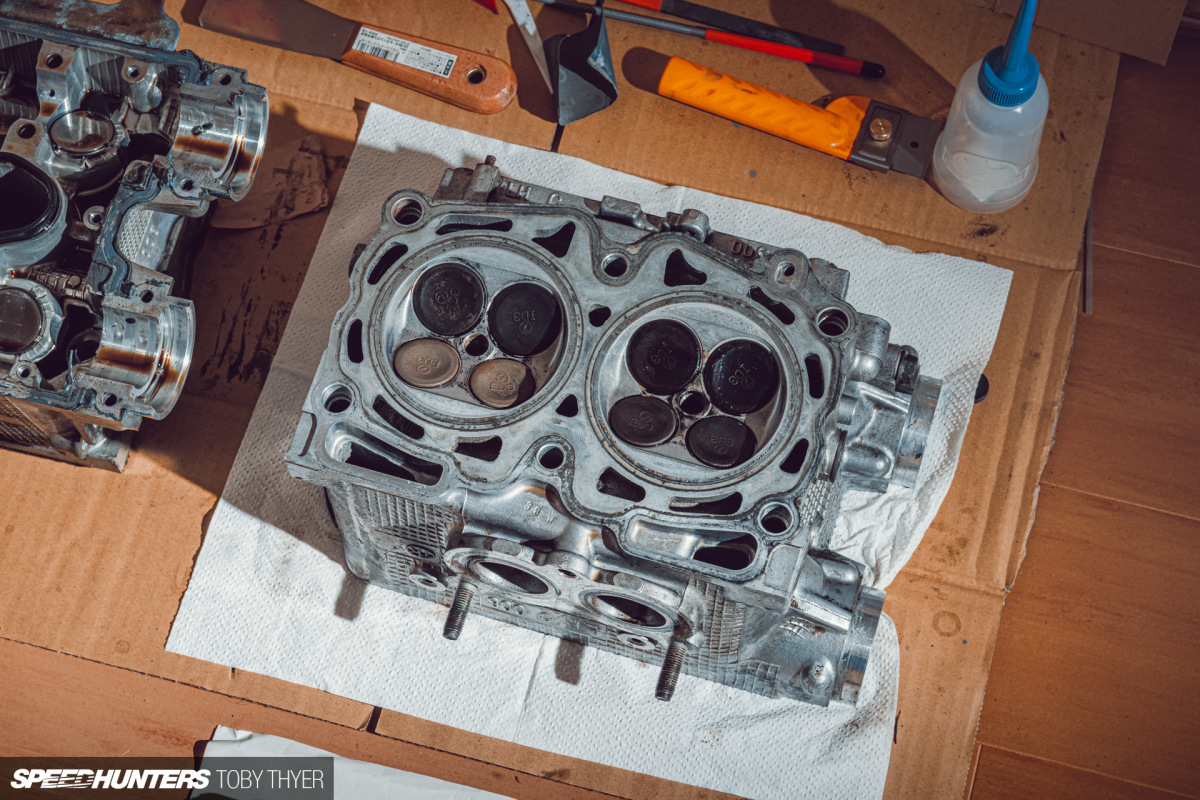
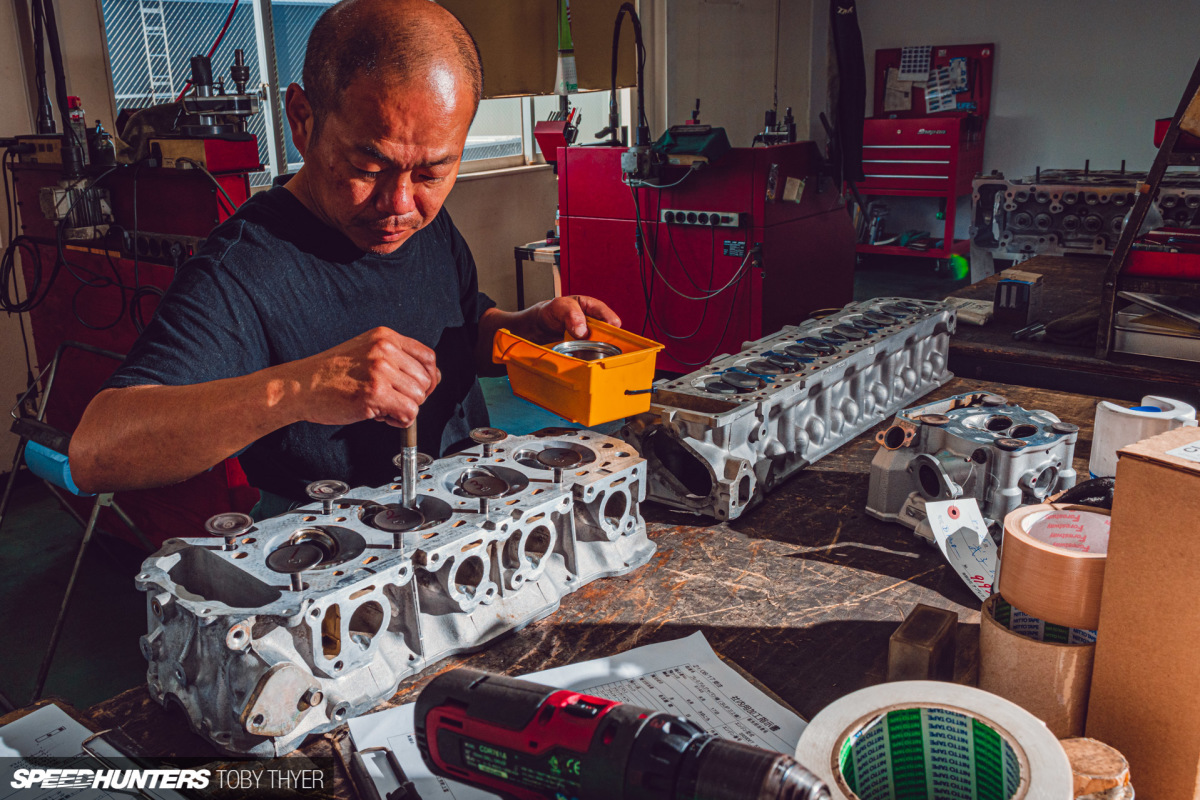
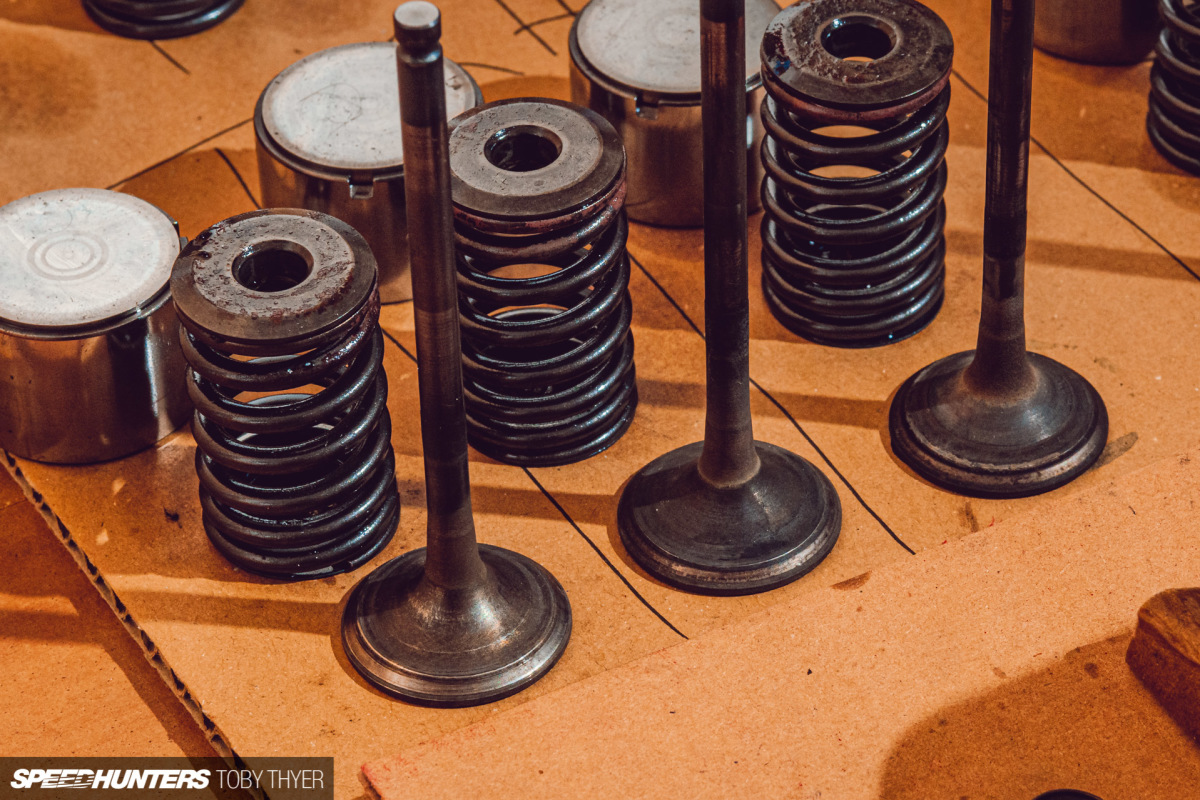
With the block together and some time to kill while I waited for a set of Tomei forged pistons to arrive, I turned my attention back to the cylinder heads. Even though I had hot bathed them and cleaned them with carburettor cleaner, the intake and exhaust ports were still caked with carbon, as were the valve stems.
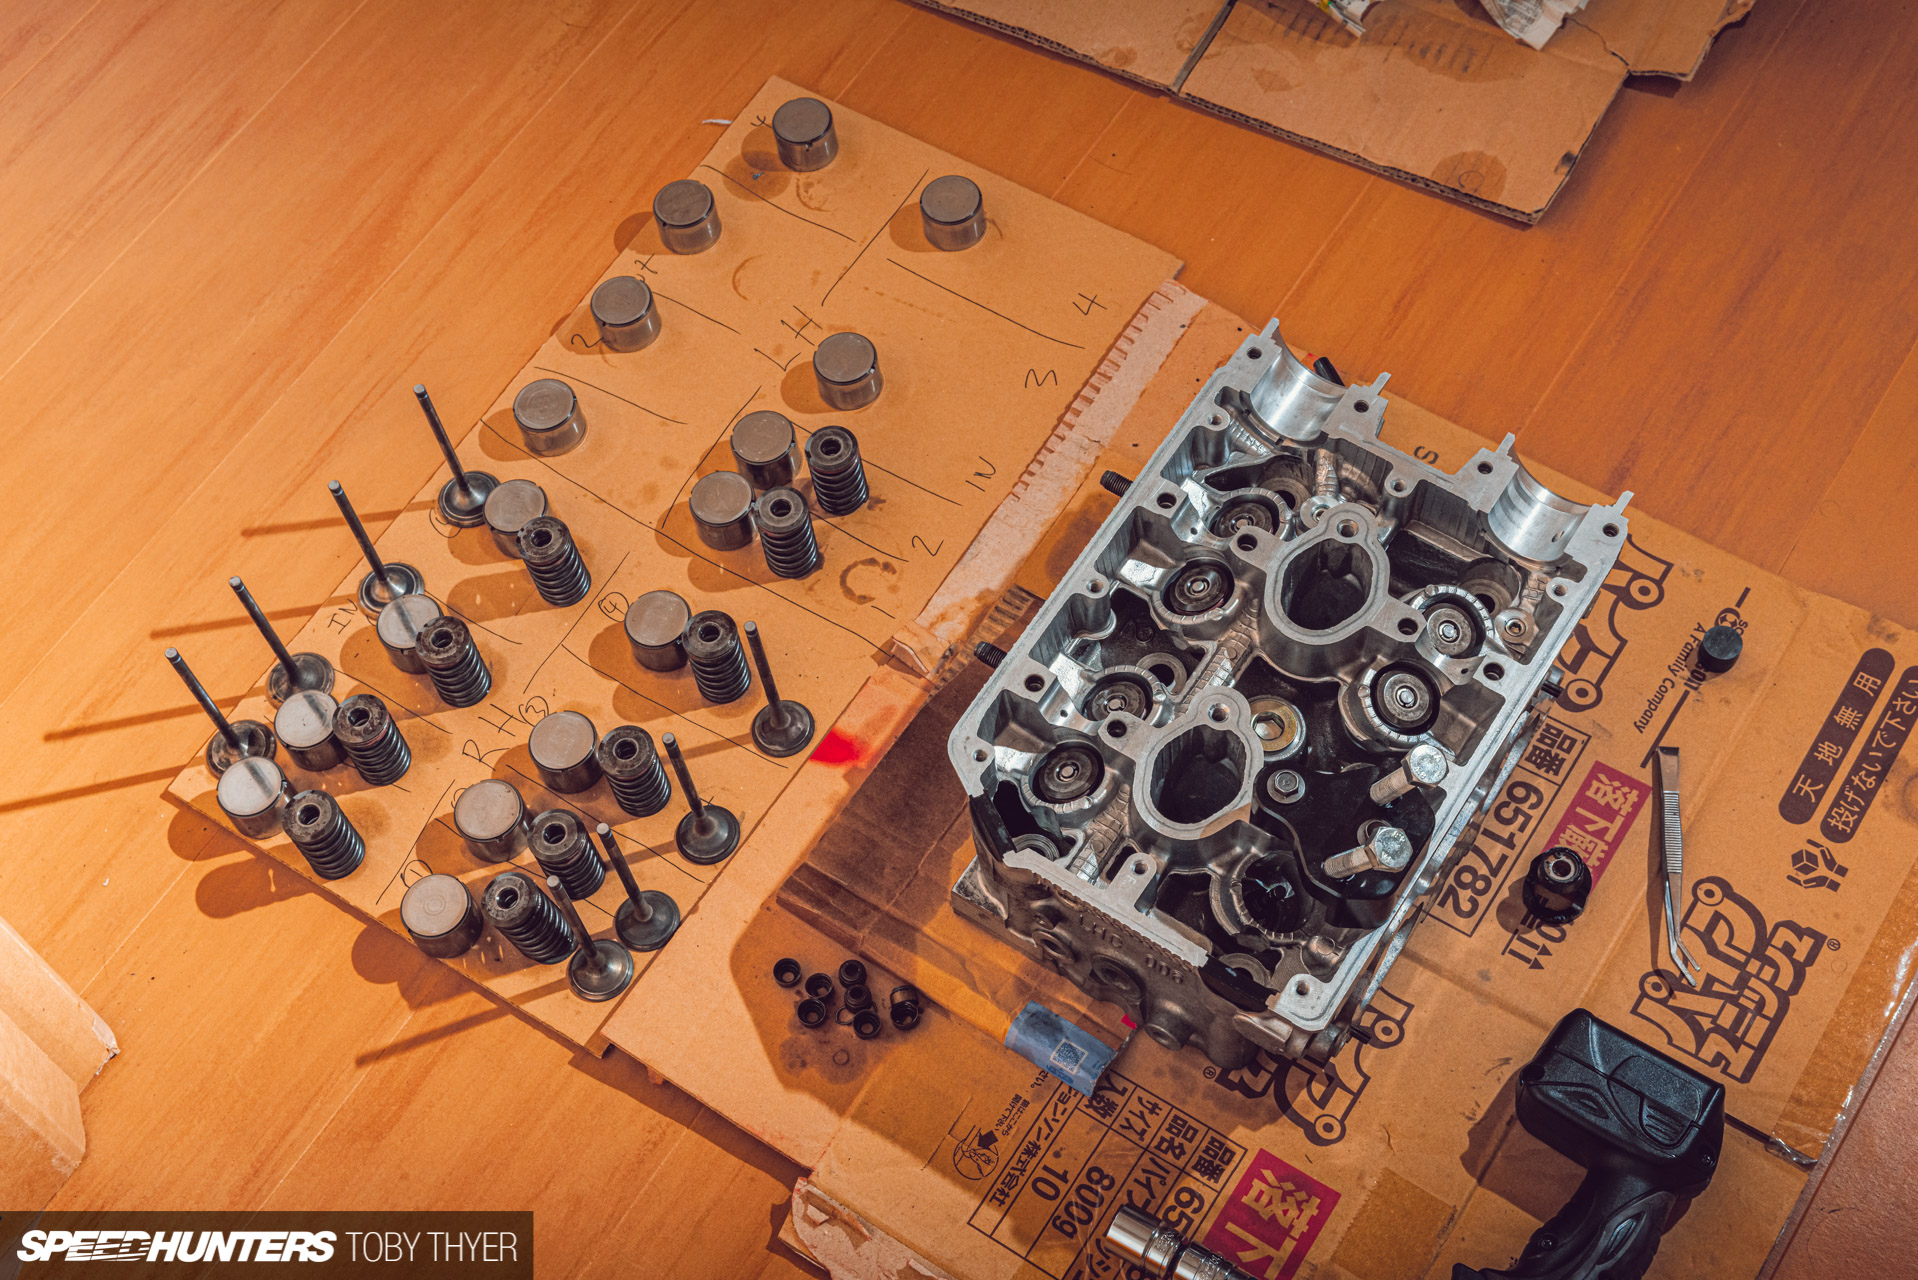
At this point I decided to put my big boy pants on and completely disassemble the heads.
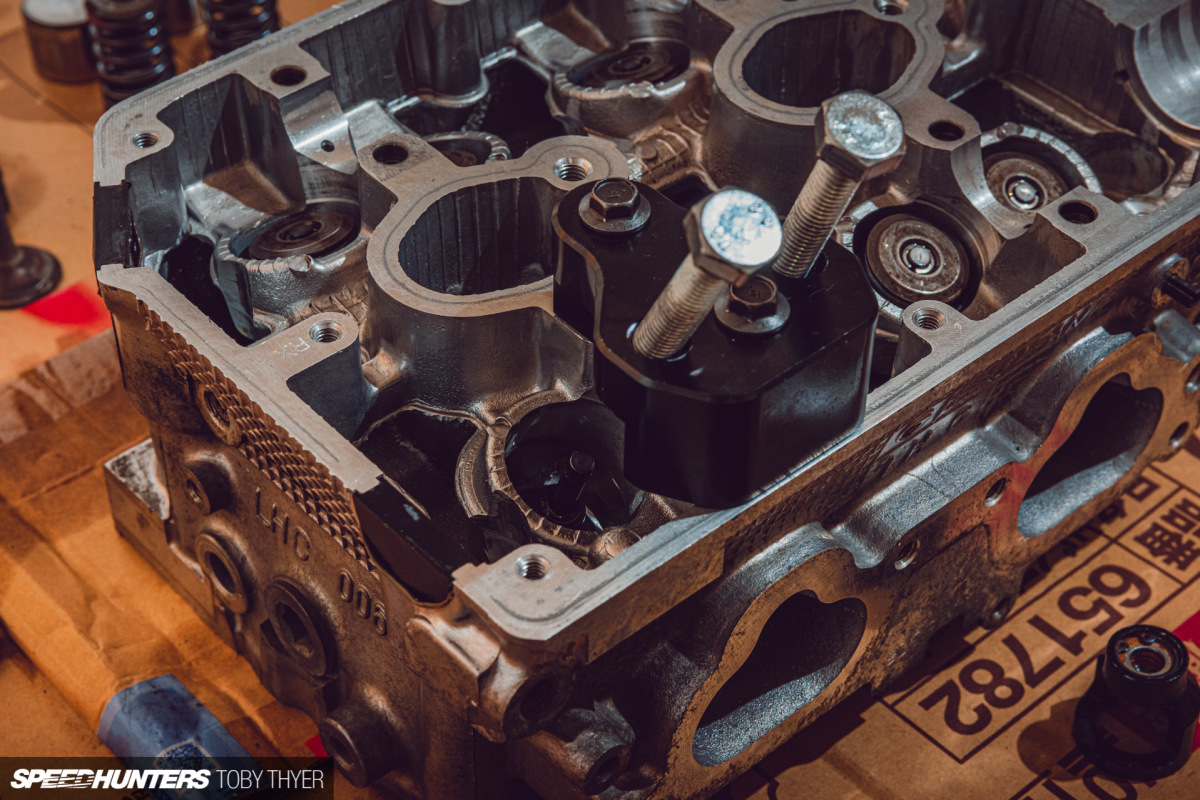


Although my efforts were by no means perfect – and pro engine builders will probably cry in despair at my attempts – the difference before and after is night and day. This will surely help with the flow of gasses in and out, creating a better compression and resulting in a few lost ponies returning home.
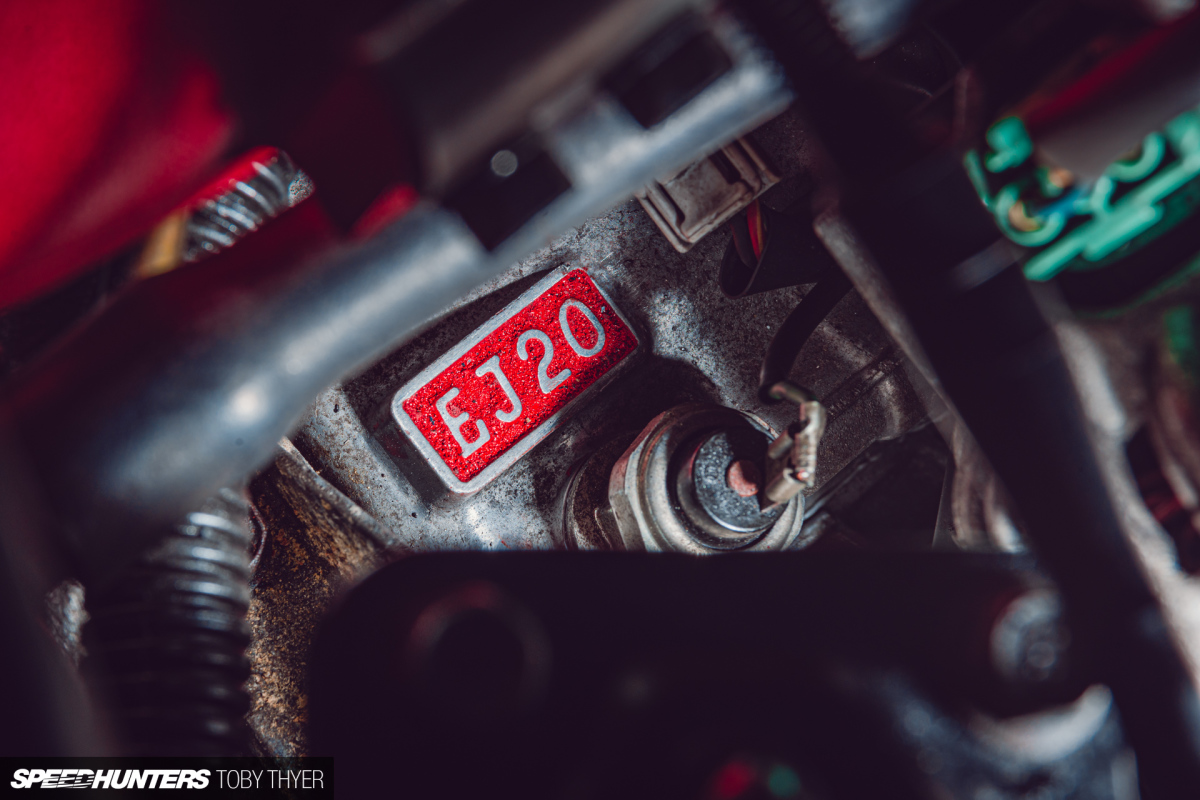
Throughout the entire build process I kept checking some engine building YouTube videos to learn different techniques and ways of doing things. Mostly I wanted to know ‘how much do I use?’ or ‘how hard do I hit it?’. A machine shop in Germany called Subi Performance had some really useful information, including some complete EJ20 builds. Sausage dogs are also included, so that’s a bonus.
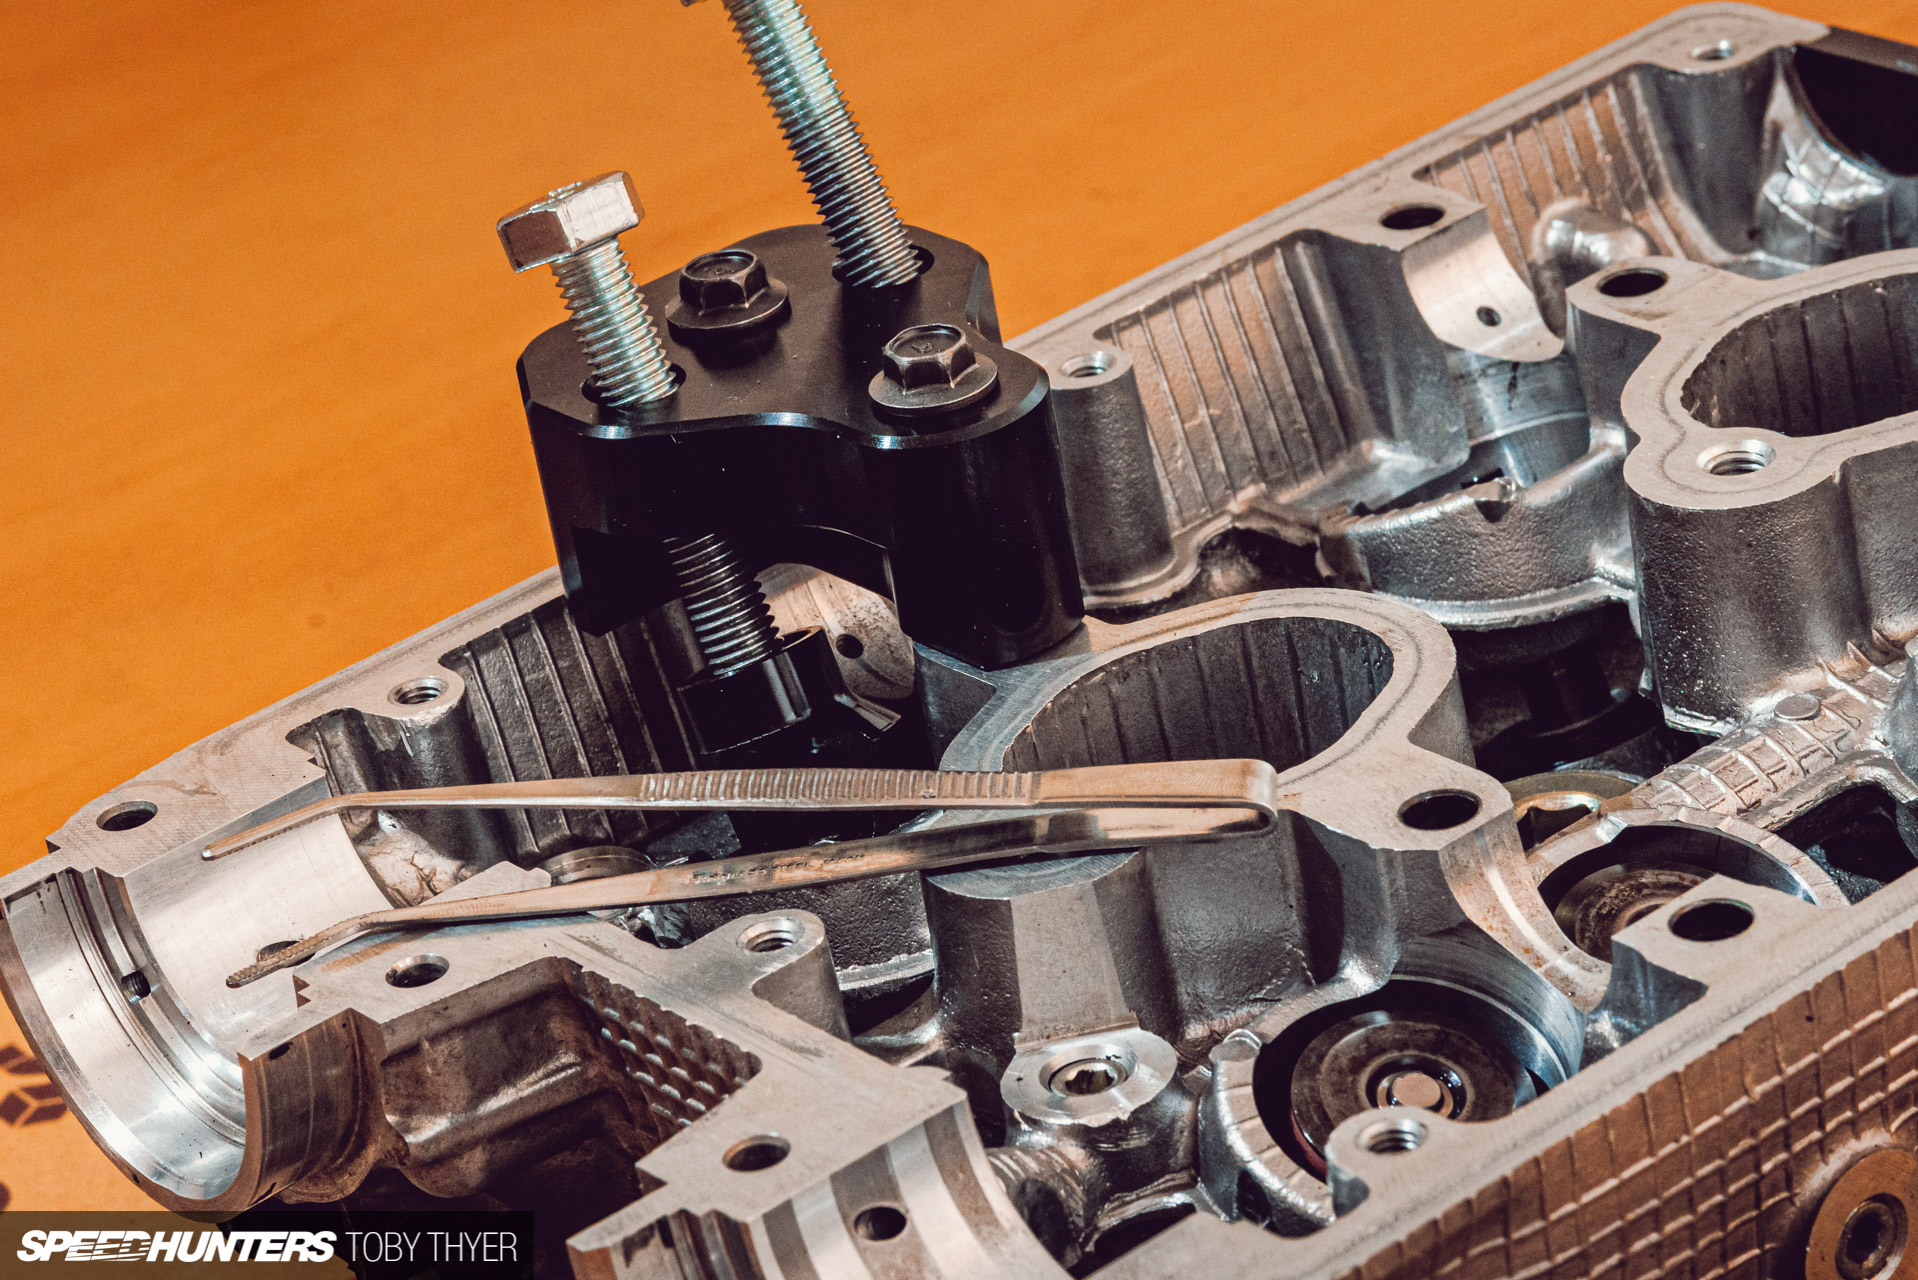
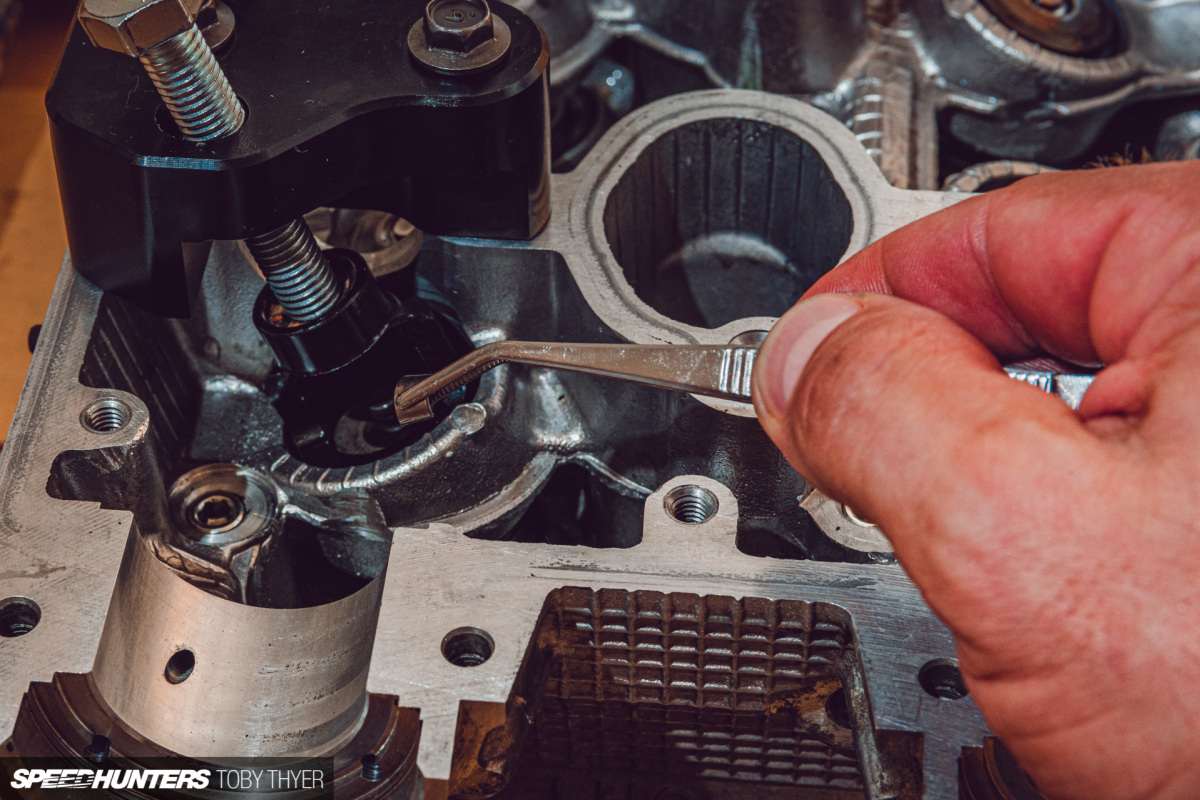
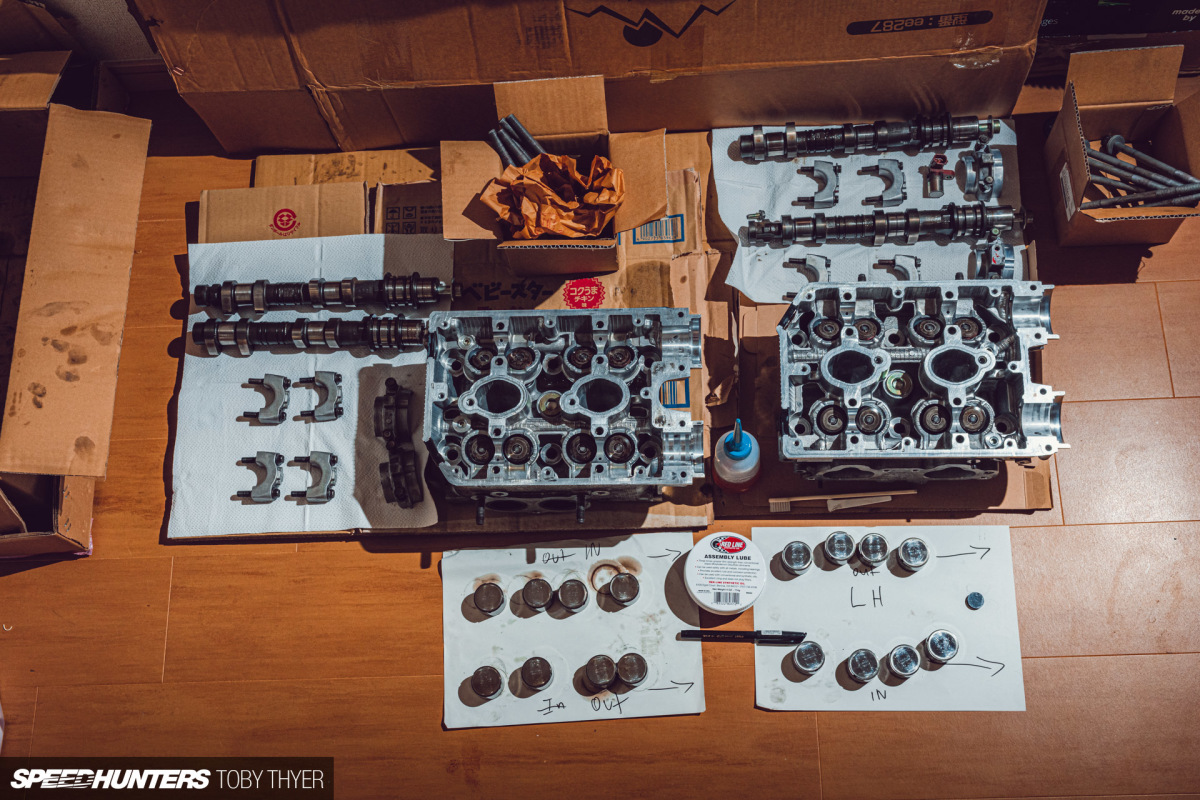
This was definitely one of the more challenging parts of the build. With the valve springs compressed, inserting the little collars around the valve stems was pure torture. I’m glad I took the plunge though; after coming this far it would have been madness to have fitted filthy heads back onto my clean block.
The next bit required a fair amount of concentration and assembly lube, so you’ll have to forgive the lack of photos. You can, however, see more on my designated EJ207 Instagram stories here if you’re interested.
In preparation for offering up my shiny new Tomei 92.5mm oversized forged pistons, I checked the supplied oil rings for gap clearances. This gap clearance is crucial, especially in a turbocharged application as the rings keep pressure in the combustion chamber and also scrape oil from the cylinder walls. The gap needs to be just right so that the rings can expand and contract during the heat cycle of the cylinder bore.
Fitting snugly into the fresh cylinder walls provided by NAPREC, the Tomei ring gaps were good from the factory. Nagoya-san had commented that the Tomei products where always spot-on in terms of clearance specs. If the ring gaps aren’t right, then the ends are ground down using a special grinding wheel until they are perfect.
Pistons are fitted last on an EJ engine, with the securing pins inserted via service holes on each side of the block. This was a bit fiddly, but once again I watched the German guys at Subi Performance to see how it’s done. It’s one thing to read instruction on how to do something, but sometimes for things which require dexterity and finesse, it’s really helpful to have someone show you.
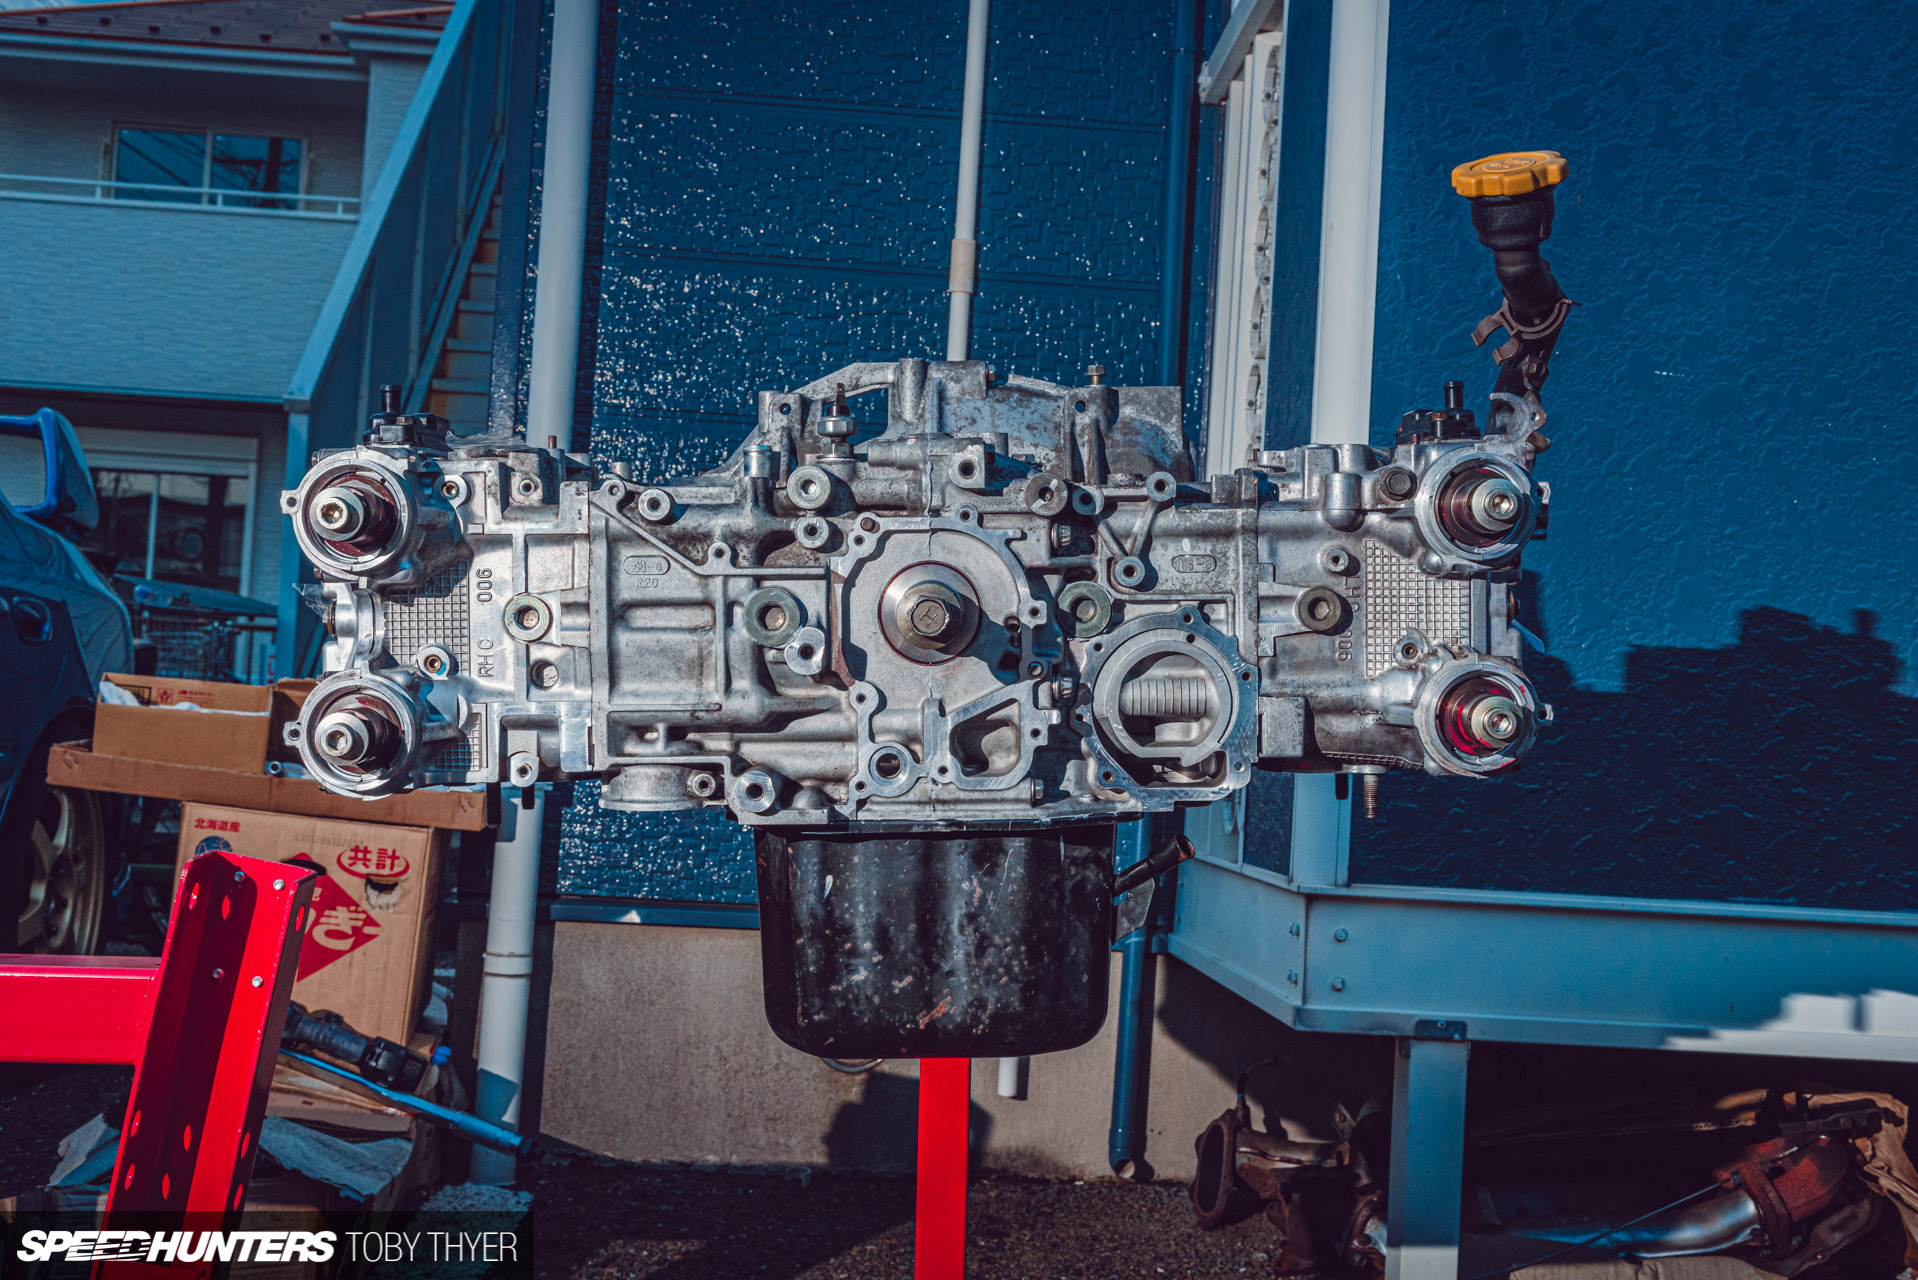
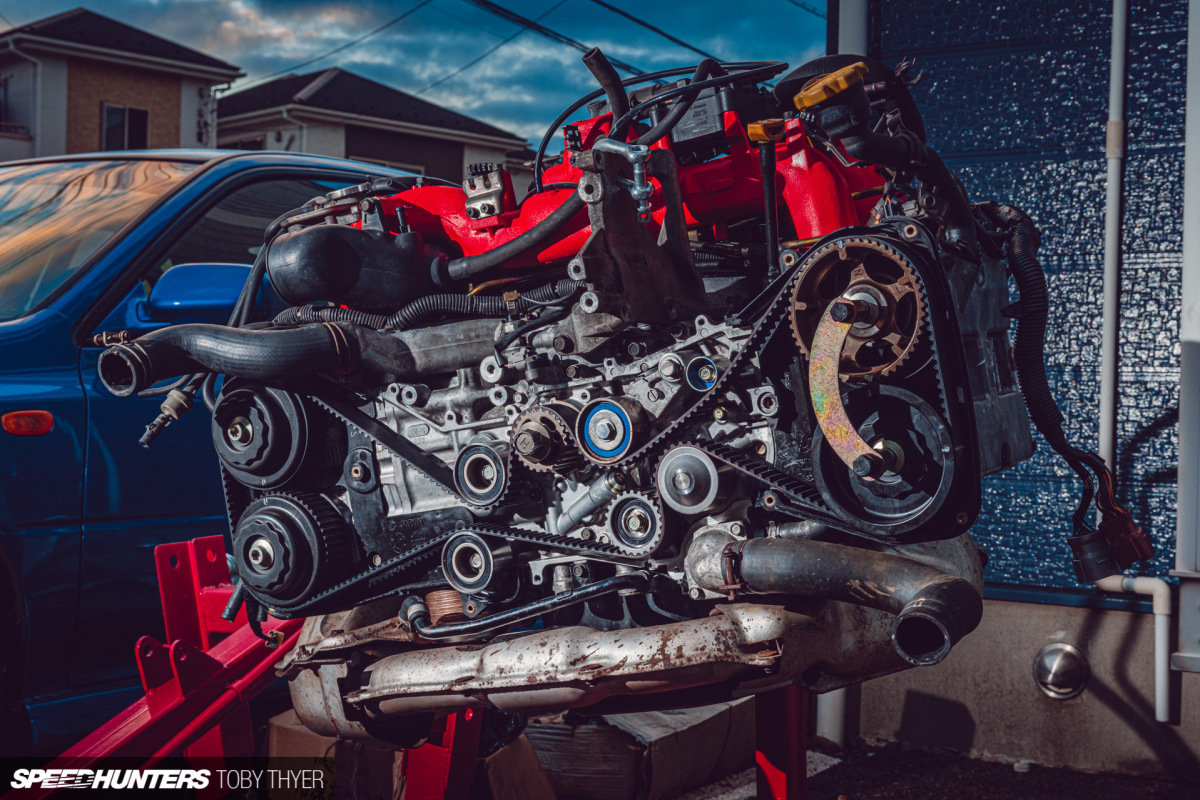
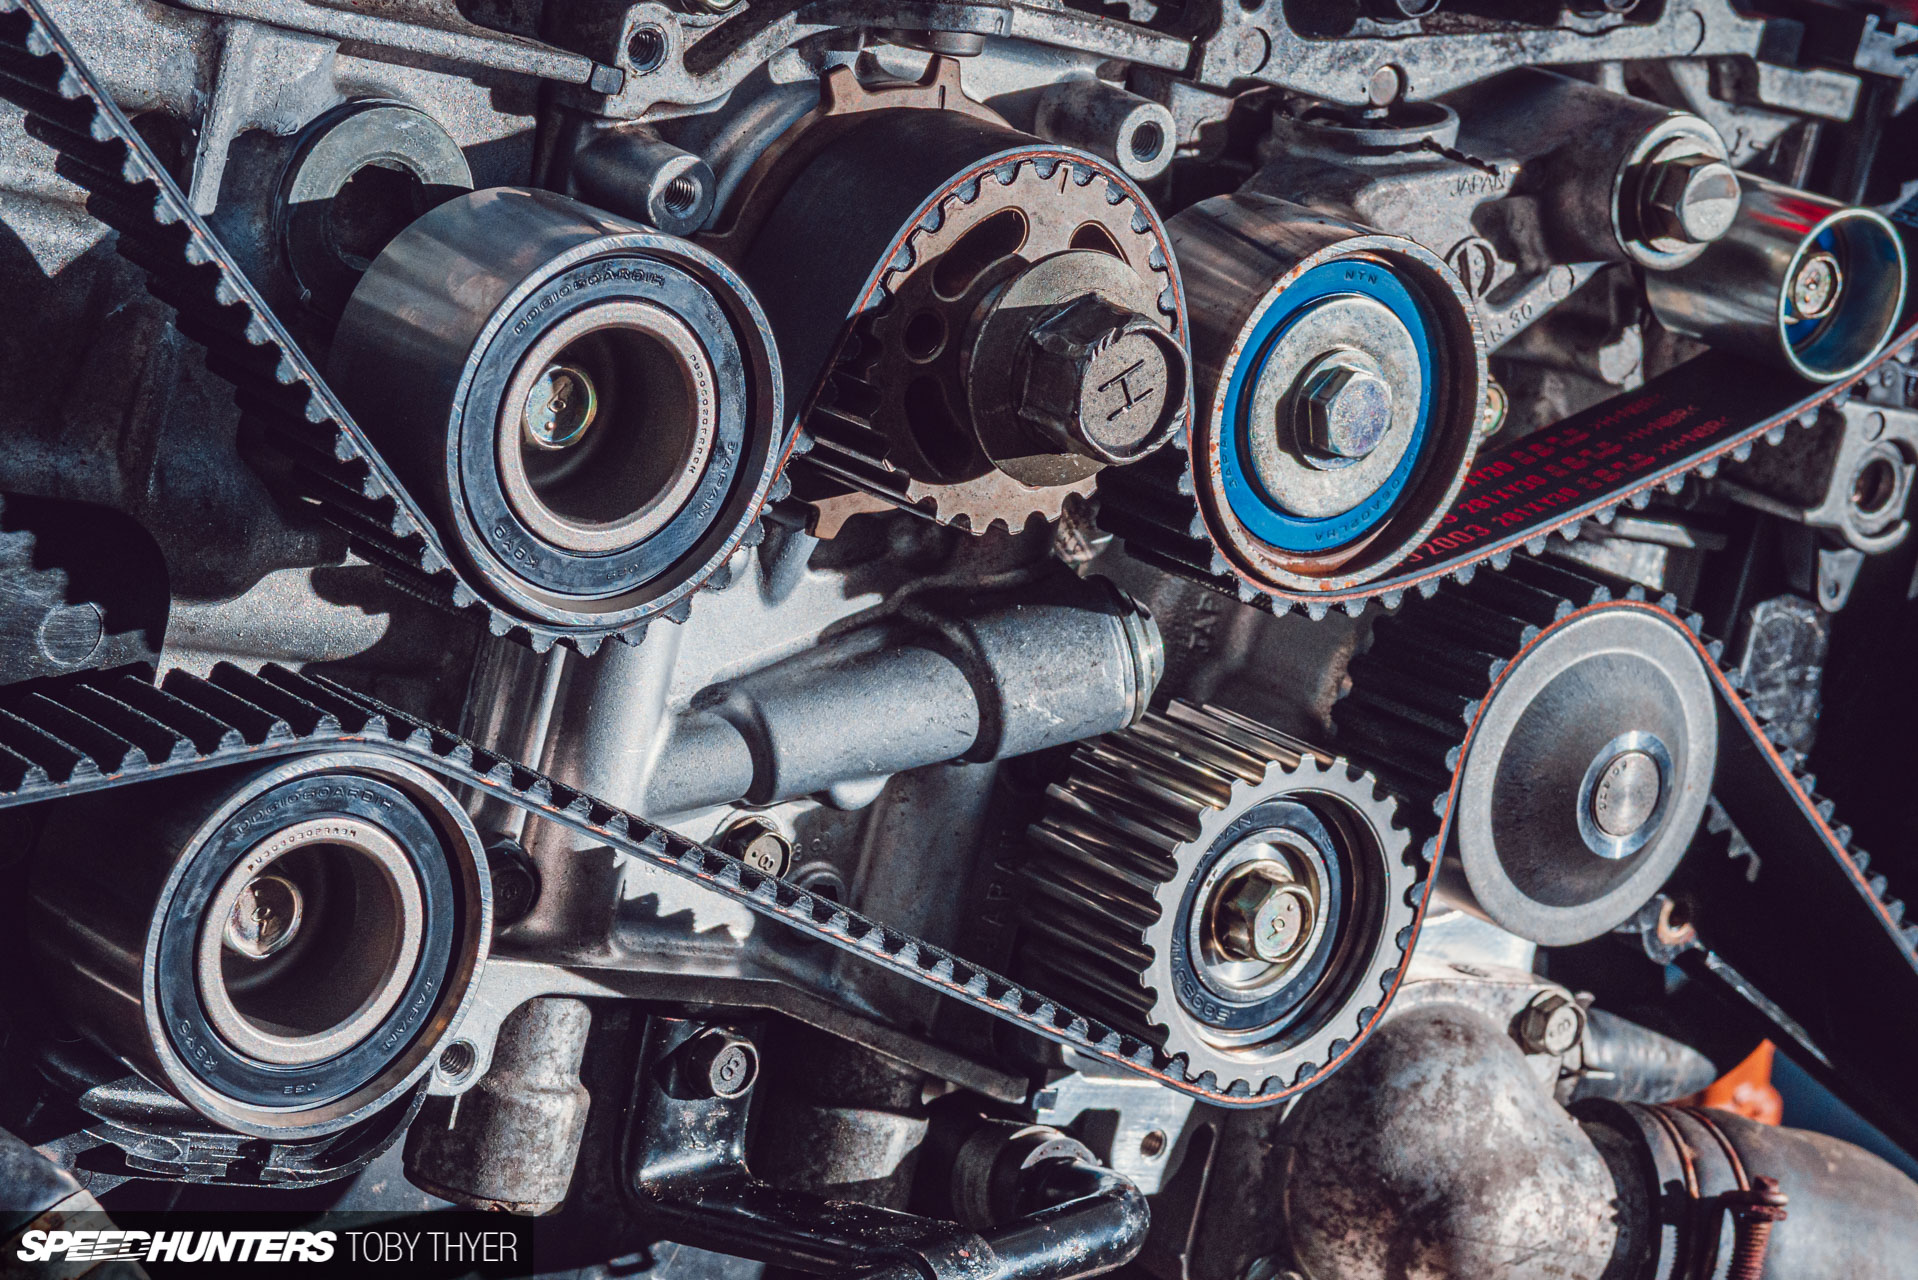
The rocker covers then went on, as did a new oil pump, water pump, oil cooler and timing belt components. It was finally starting to look like an engine again, but I wasn’t quite finished yet.
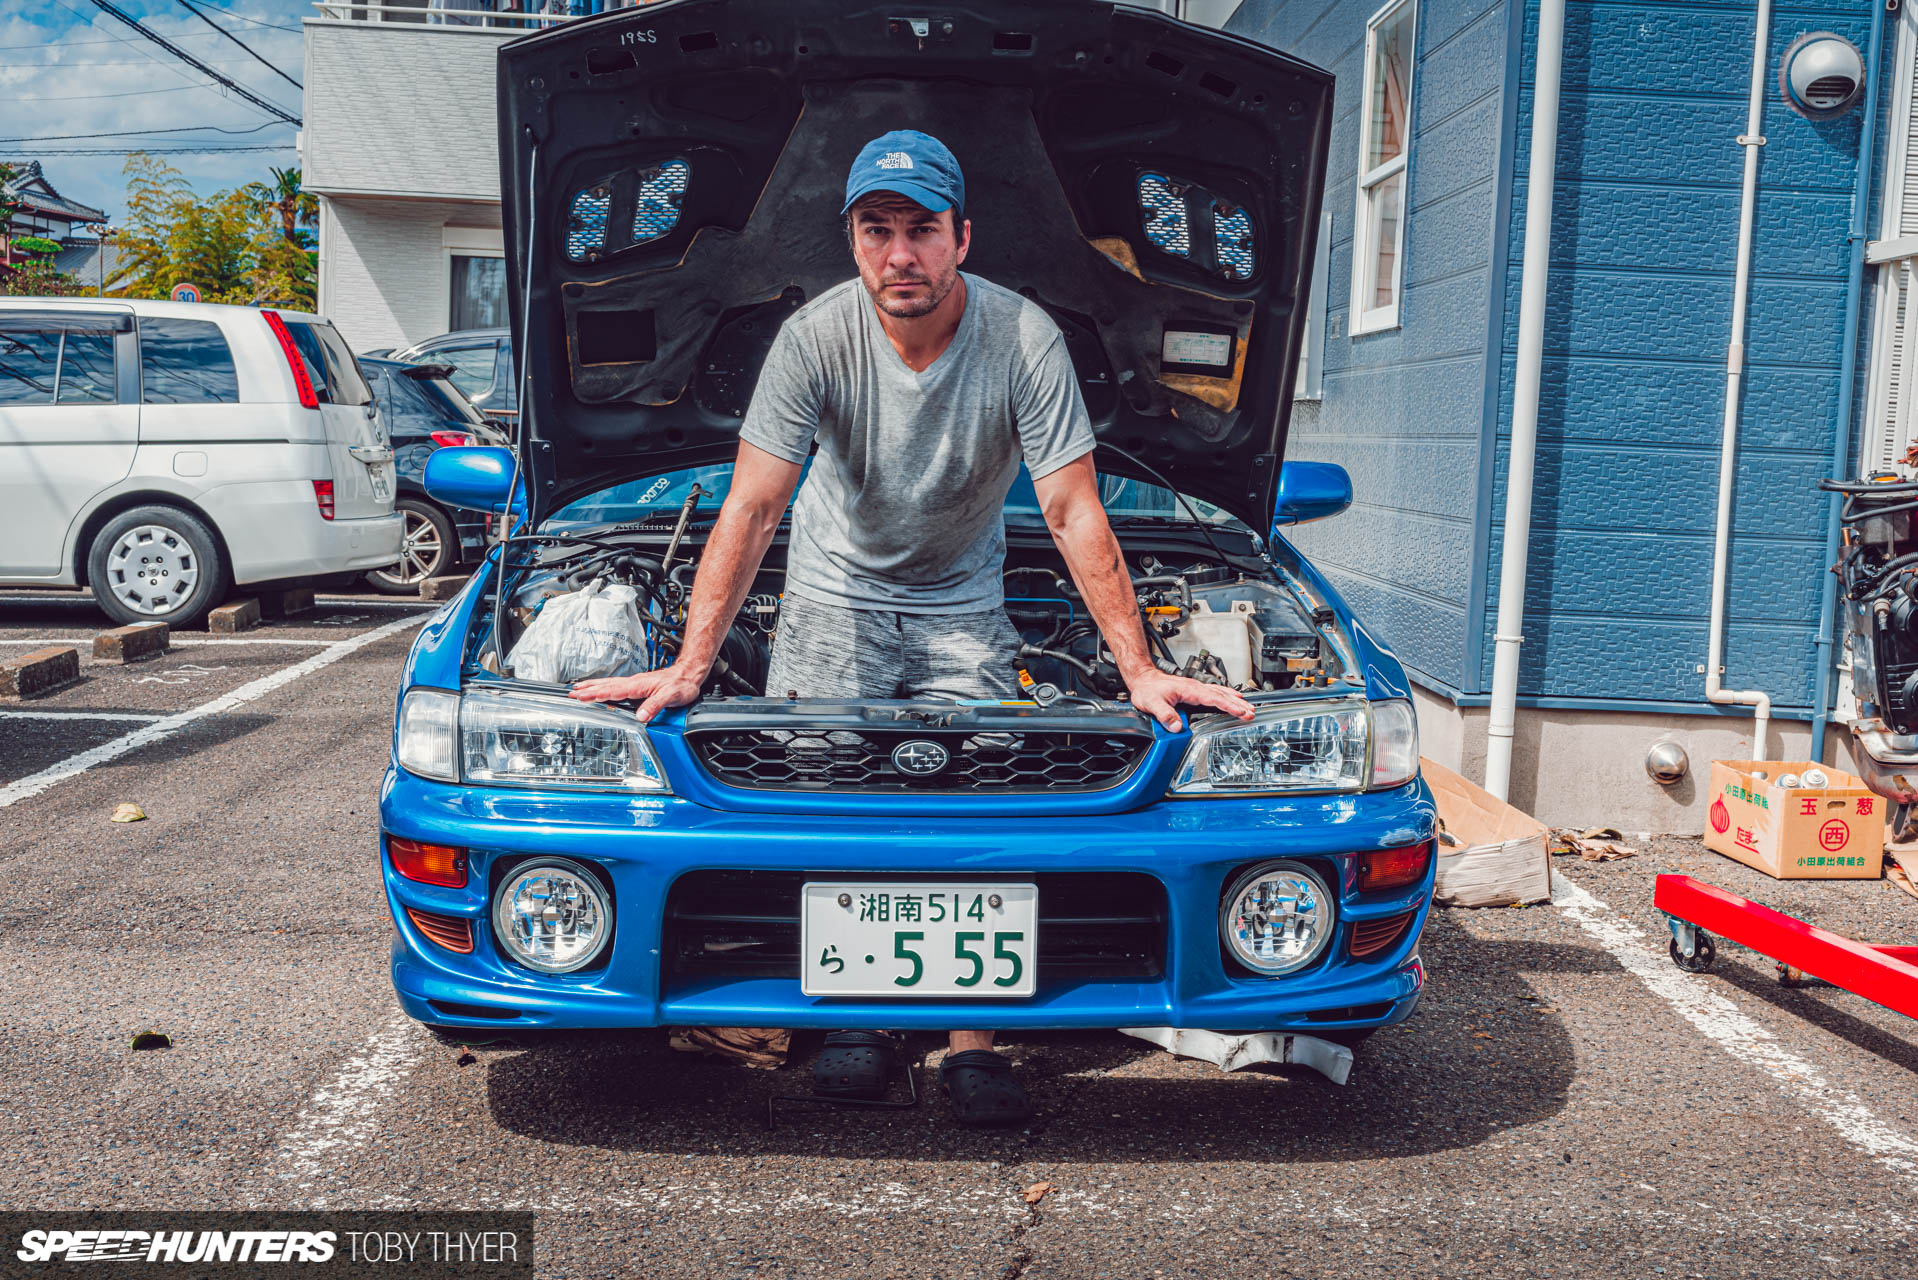

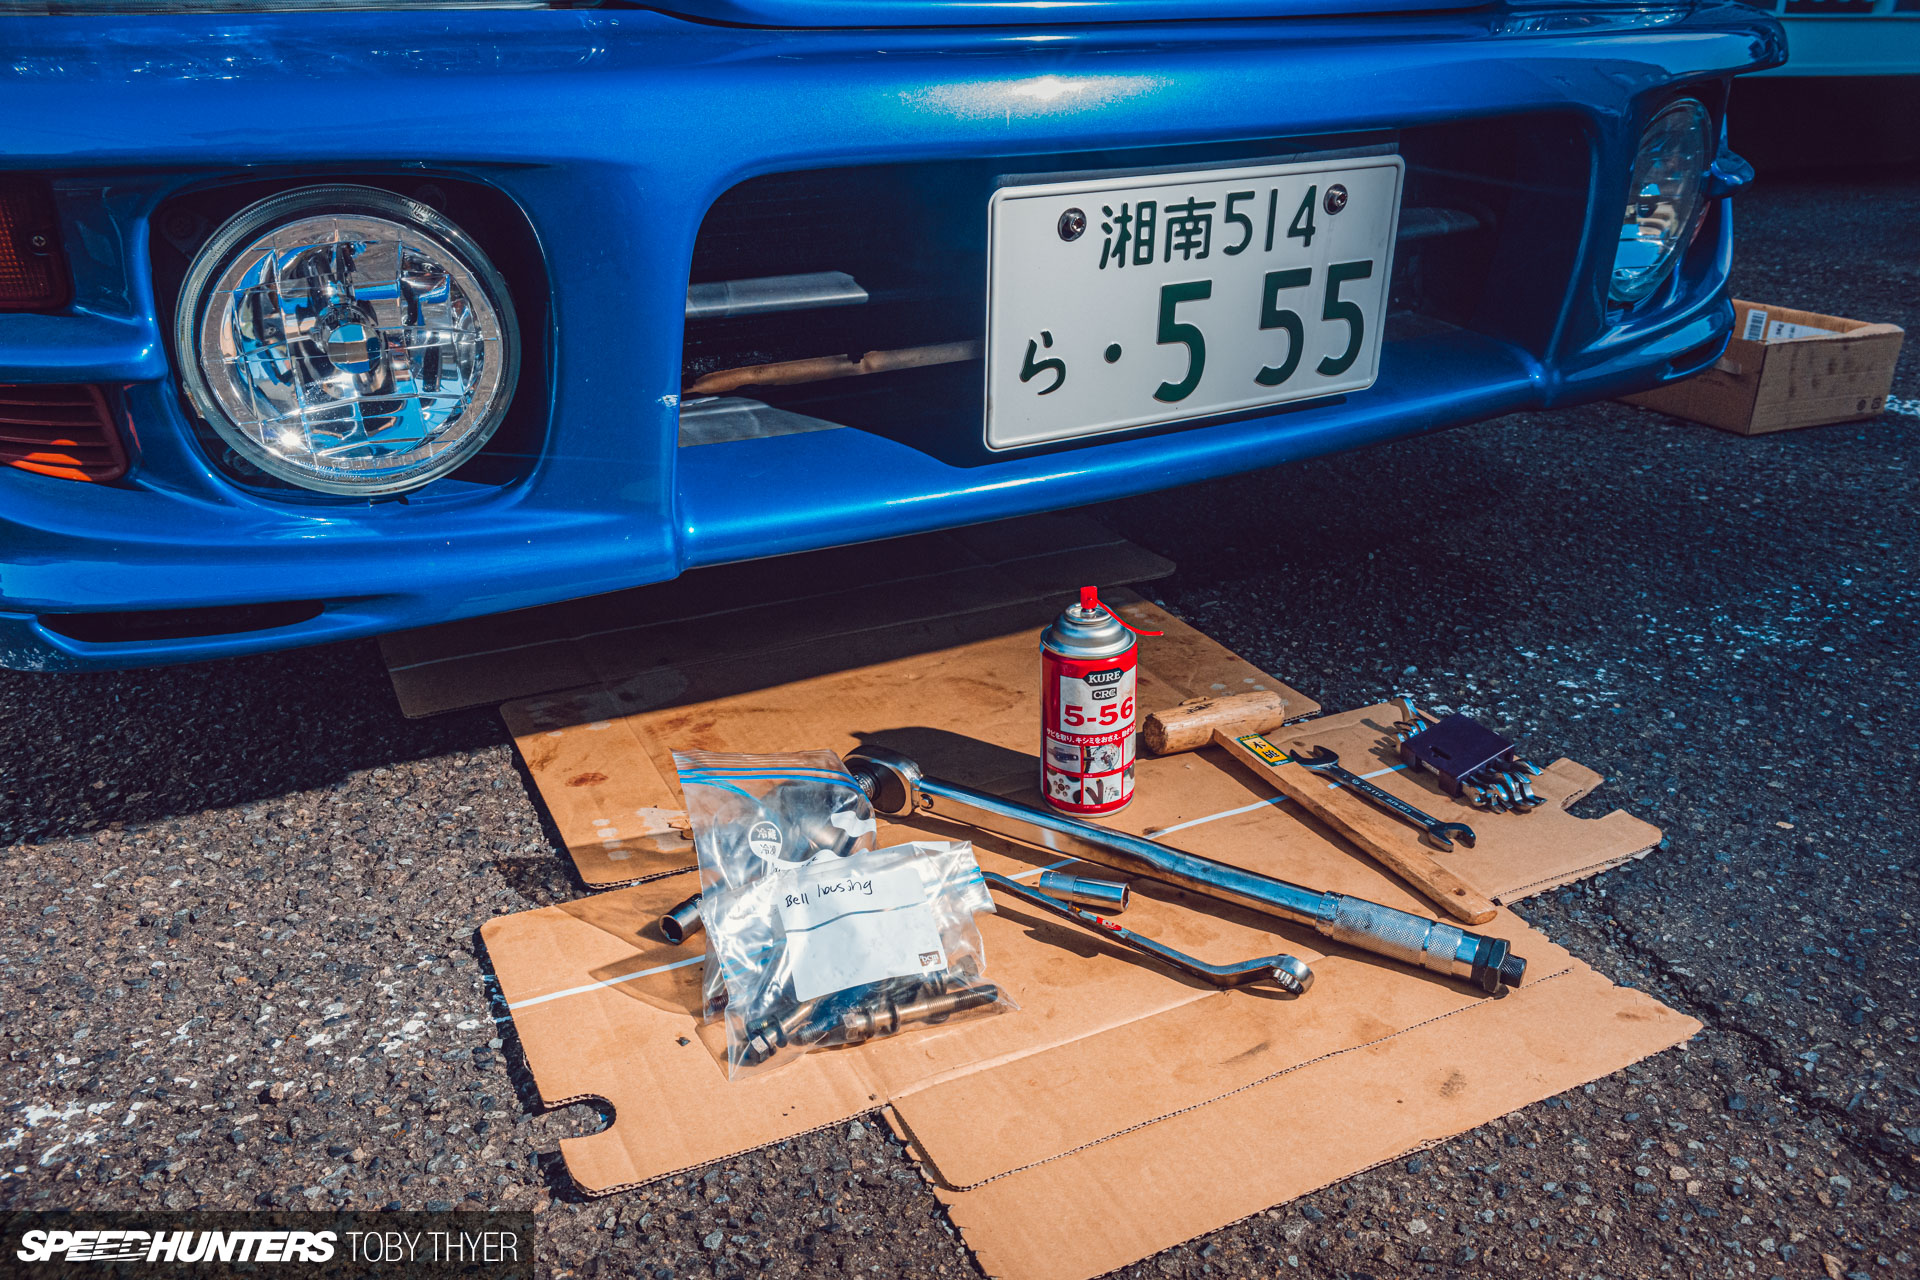
As my good friend Mike predicted, the easy part was pulling everything apart – getting it all back together was definitely more stressful. Having the transmission spline, bell housing bolts and engine mounts to all come together was a bit tricky, but I finally managed to wrestle it in.
Hooking everything up was a mixed bag, but pretty straightforward given I had taken the time to photograph most things as I pulled the engine out, and everything that came off was put into sandwich bags with corresponding labels.
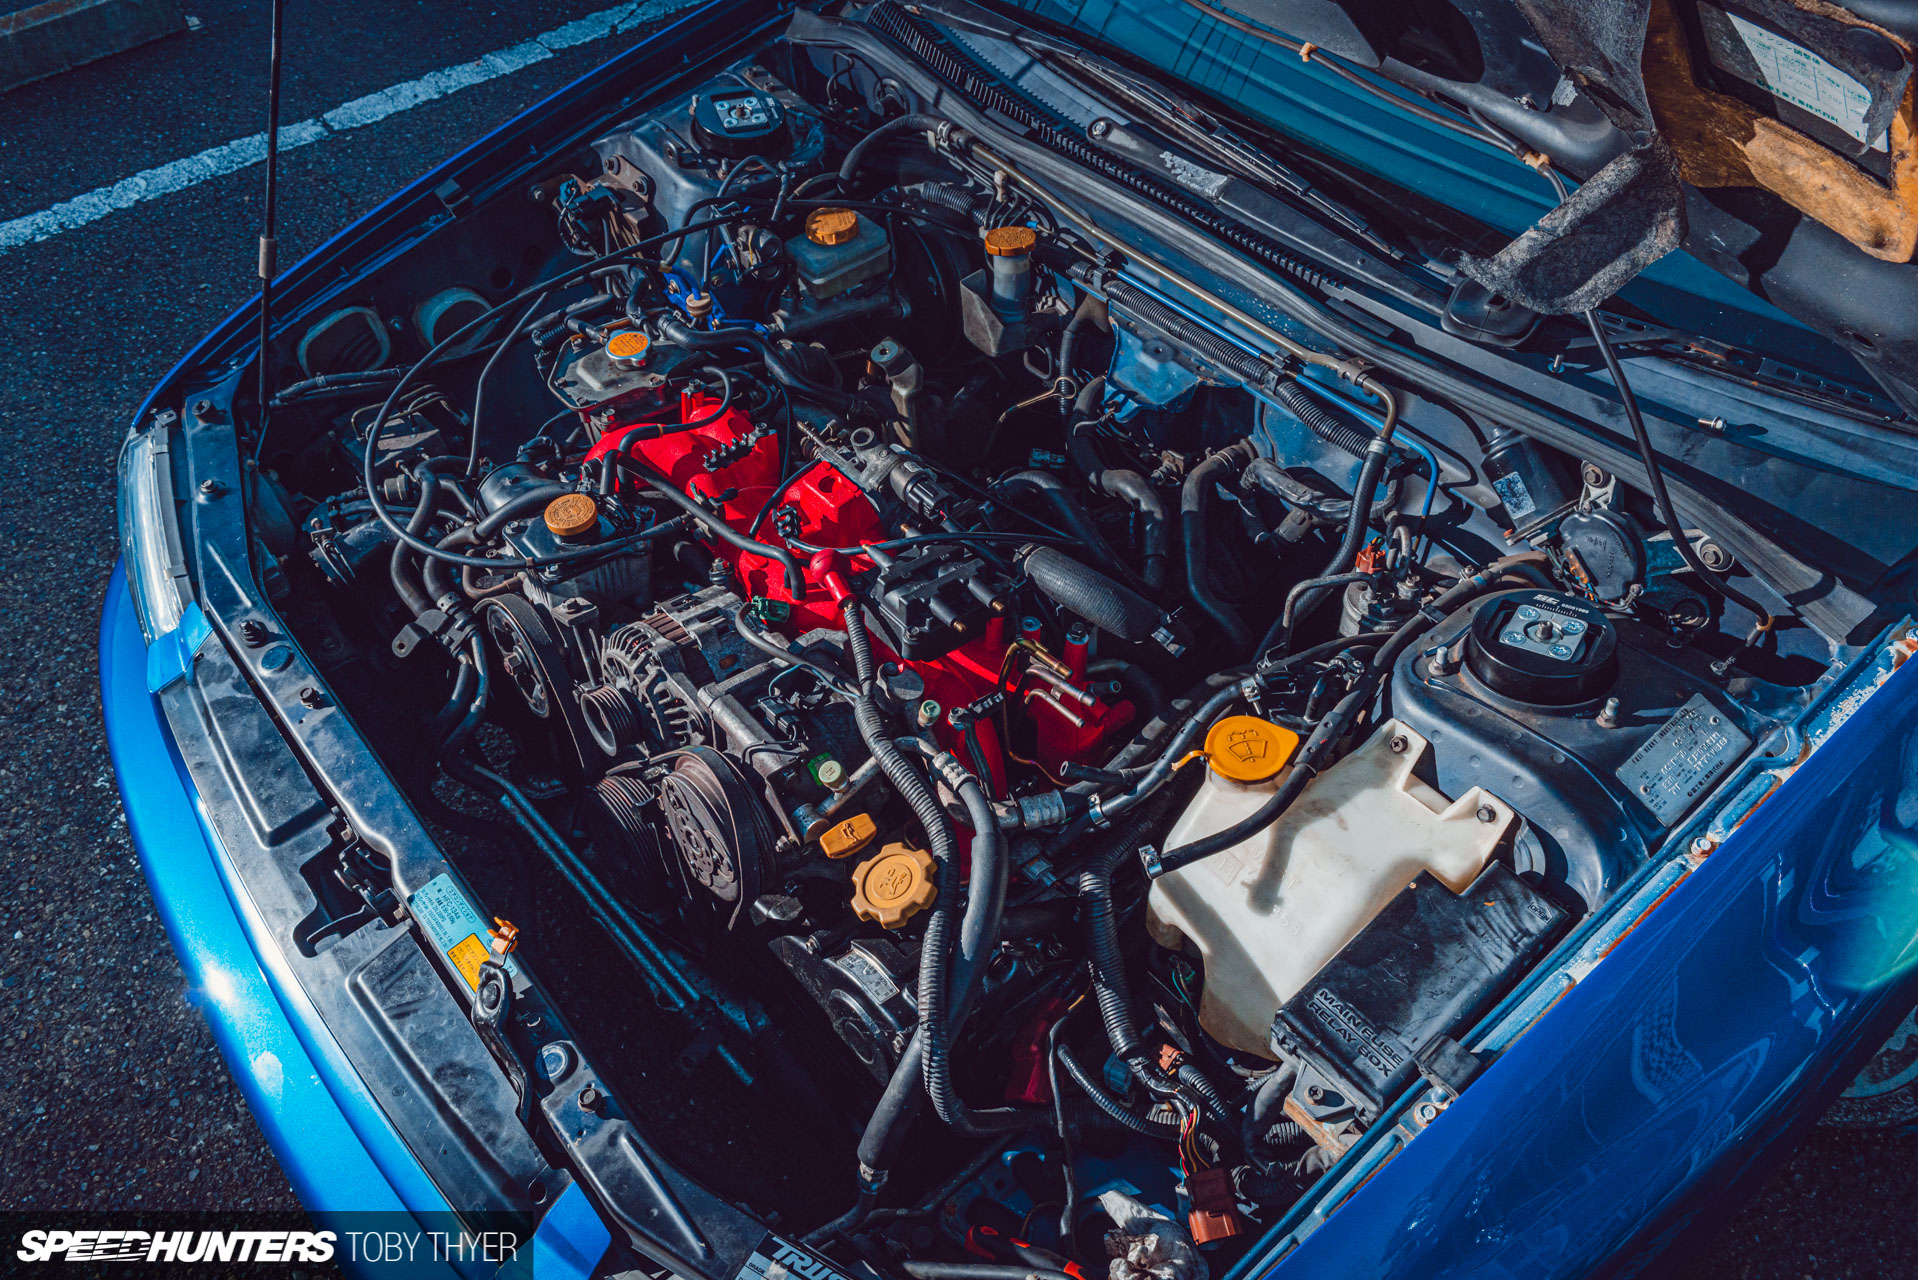
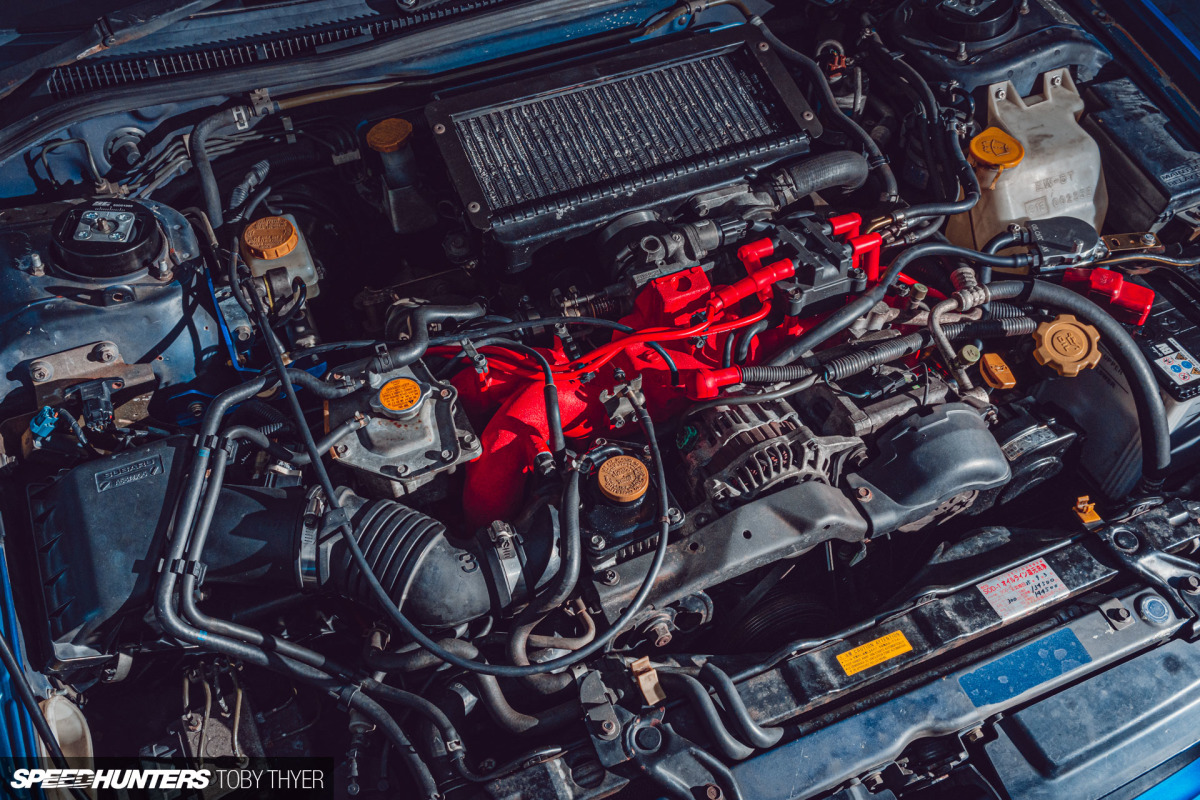
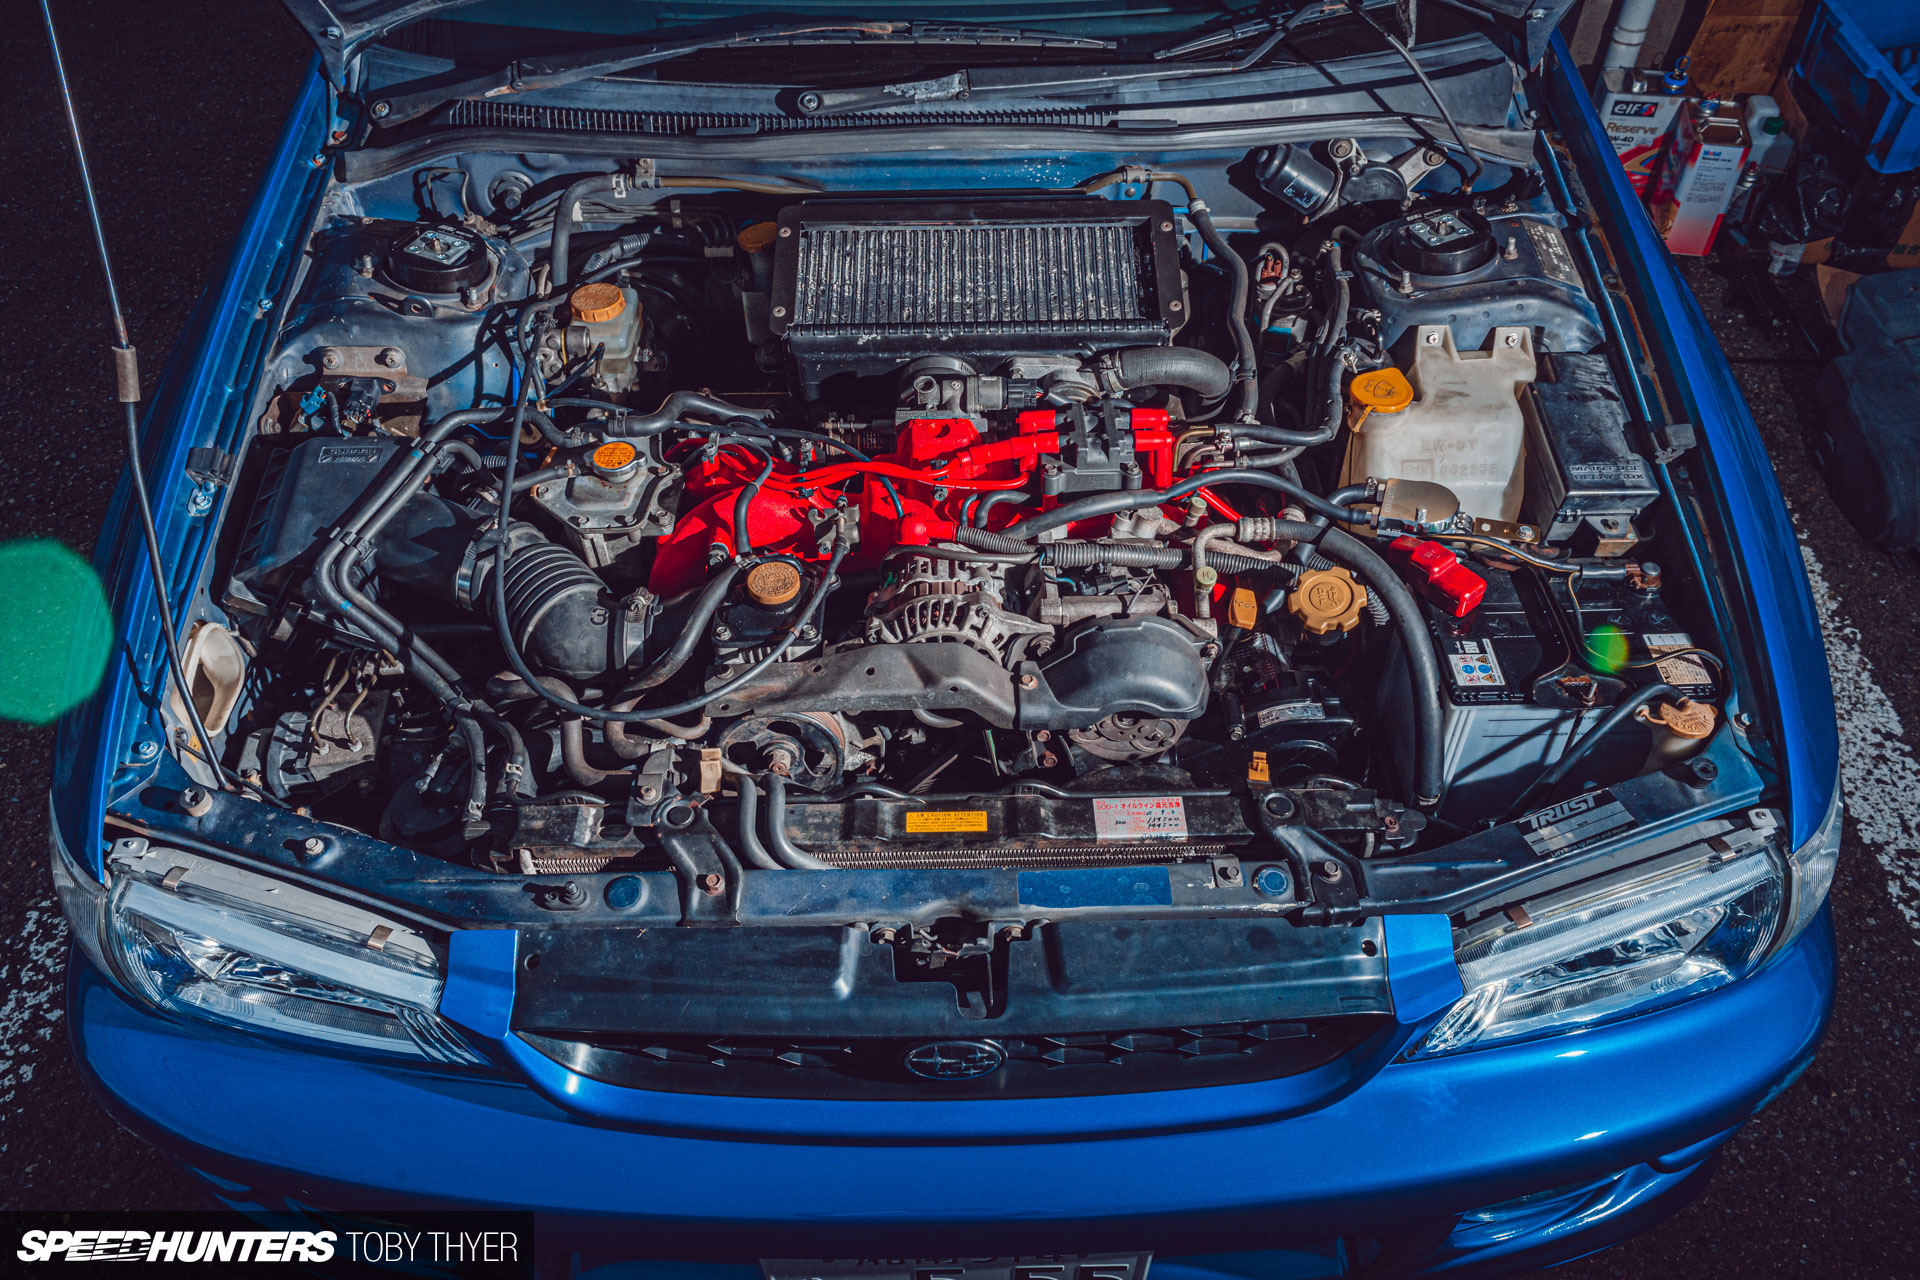
I wish there was a more impressive ‘new engine’ reveal, but let’s face it, the stock layout of Subaru engines is pretty damn ugly. An upgraded intercooler, radiator and cable tidy-up might help.
After working out the gremlins (air in the power steering pump and coolant lines, plus an exhaust leak) I dutifully broke in the new pistons and cylinders for a good 1,000km on mineral oil keeping revs under under 4,000rpm. There’s mass debate over what the correct break in period is, so I took it all into consideration and just went with what I thought would be OK.
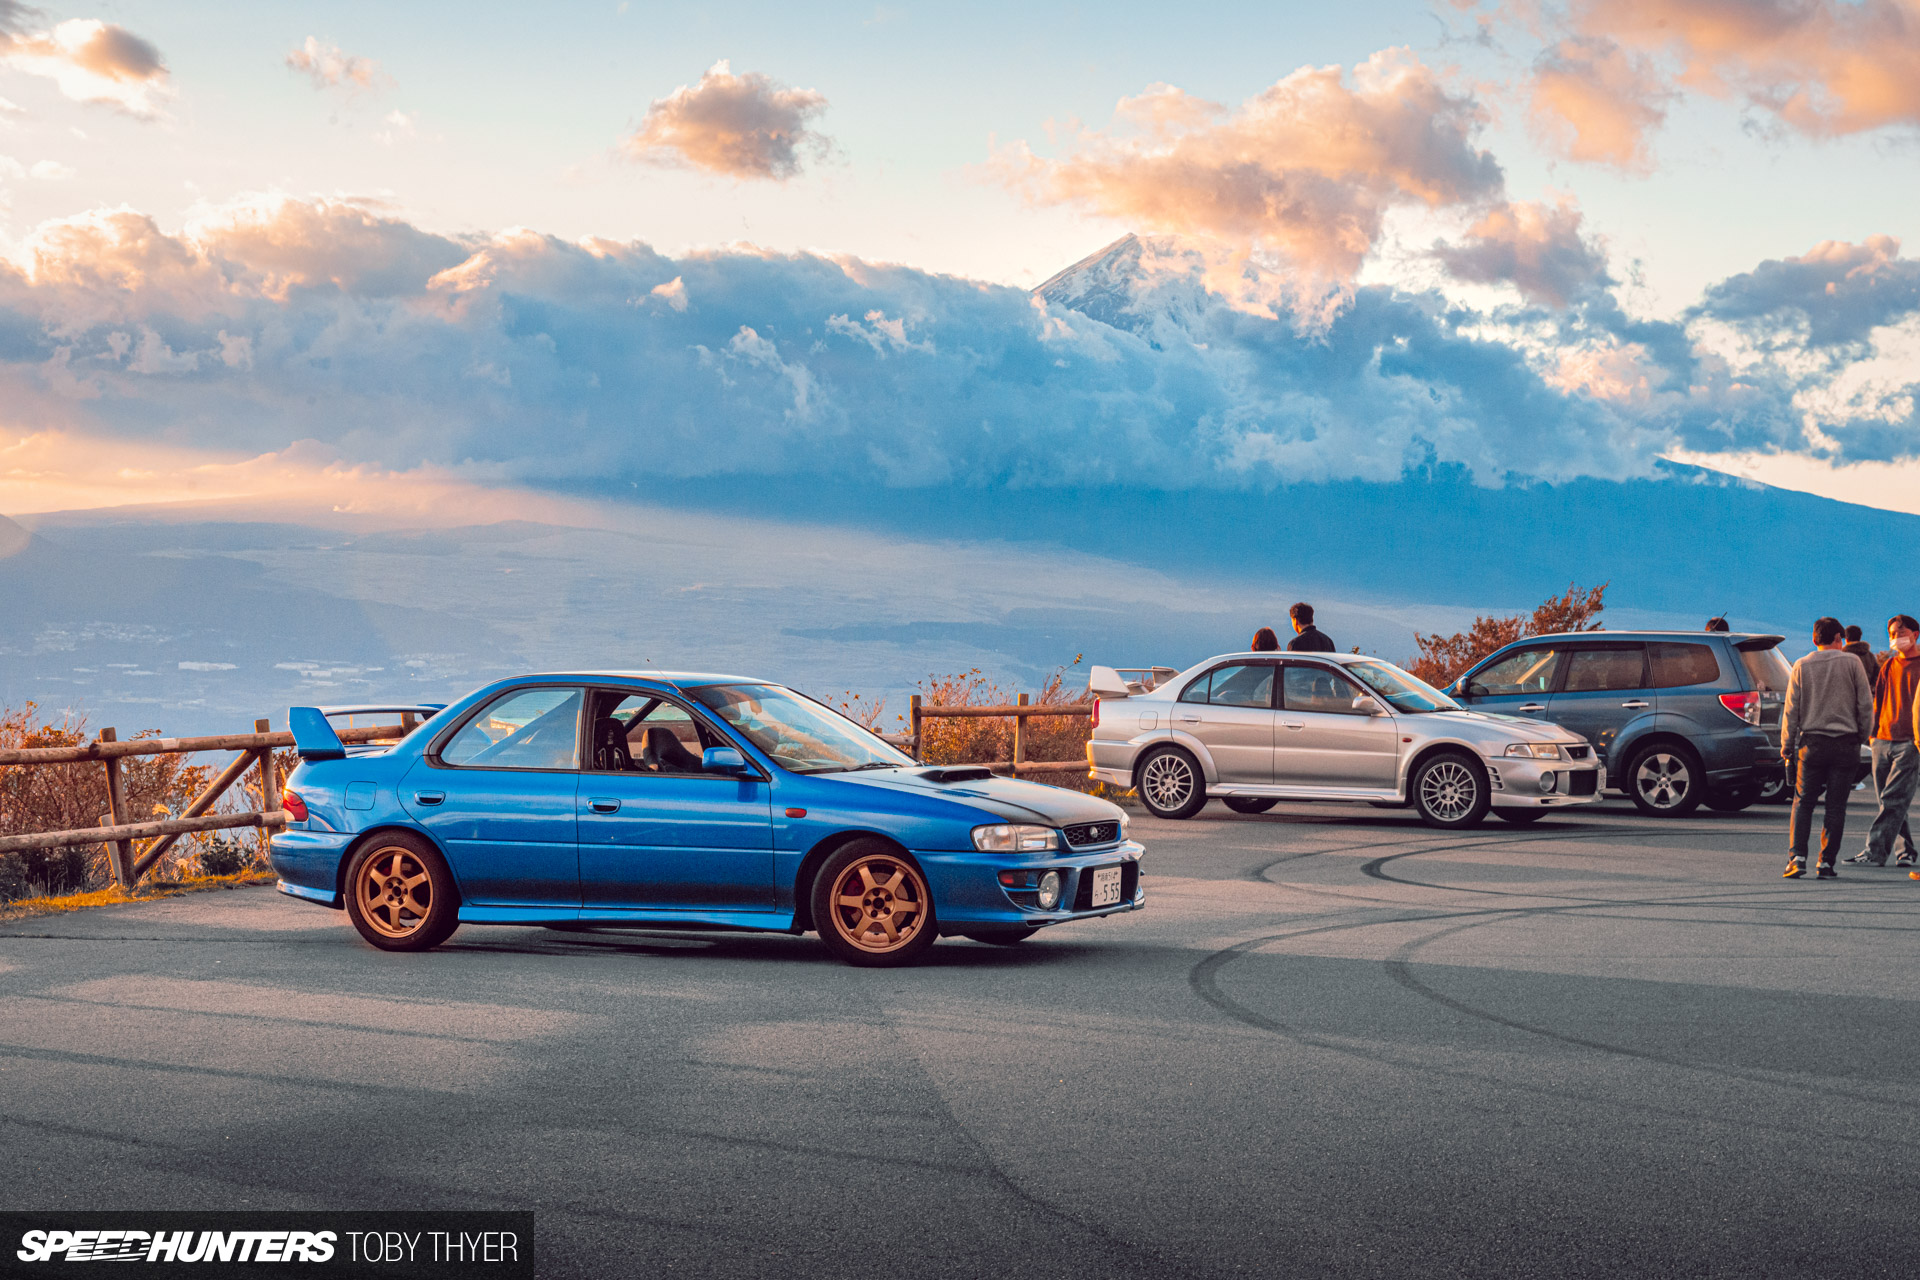
Switching to fully synthetic oil and tickling the turbo at 5,000rpm has been an absolute joy, but I’ll still be taking things easy for a little while yet. To celebrate, I went for a spin up to Hakone to catch a view of Fuji-san, although he wasn’t having any of it on this particular day.
This project has not just been about improving a broken old Subaru, but also about improving myself. Not only have I learnt how to assemble a crankshaft and insert valve guides, but I’ve also learnt how to be more patient, more organised, and more careful with the things I do. And to be fair, these are all positives that I’ve gained from living in Japan in general.
Now that the EJ207 is purring like a kitten again, I can hear all the other things that need attention. To be continued…
Toby Thyer
Instagram _tobinsta_
tobythyer.co.uk
OFFICIAL SPEEDHUNTERS SUPPLIERS


Yes! More of this type of in depth, technical content please.
What would you like to see? I think Ryan is building a few things over winter so there might be some stories there. I have a long list of things to do on Project GC8 so I’m sure there’ll be another story soon.
Preface: I think if you're driving a new[er] car, you aren't going to run into issues like scored cylinders and other hidden nasties. Additionally, any parts you fit do tend to *actually* bolt on these days.
But I'd like to see things like this article, that you're probably going to want / need to do on a twenty year old car; things take a little bit of finesse (and maybe a couple of specialist tools like a micrometer, multimeter, etc), but can definitely mostly be done at home:
Wiring (competition spec vs. road spec, troubleshooting)
Changing cam belts / cams, without getting the timing 180 degrees out and lunching the valves
Probably GC8 applicable: rebuilding a gearbox
Great article, this is the kind of stuff that I love about Speedhunters. Someone finding their way carefully through a technical process, without the shortcuts that experts would take for granted. Nice one Toby!
Great work, great write-up, and amazing photographs. Its rare to dedicate the time to this process, but grace can be found in the detailed work.
The kitchen's the only place in my house with a floor I can wash - every other room but the garage has wall-to-wall carpeting.
Here's the beginning of my Volvo 850 project.
The kitchen's the only room in my house with a floor I can wash - everywhere else has wall-to-wall carpeting.
Here's the beginning of my Volvo project.
Looks good! Keep us updated
That picture was from three months ago. This is what it looks like now.
Its nice to see a not shaved and tucked engine bay, they dont stay clean if you daily anyway so enjoy the OE look, I see the drive has pebbles Its always fun with the engine hoist on rough sufaces you can swap the wheels for larger ones it helps. Now you should find another one the exact same for a good price and do it again you will be amazed at how much easier it all goes. try watching some ralley crews work now that you are on your way to expert mechanic.
Yeah it was a bit difficult to move the crane on the bumpy tarmac!
"Full disclaimer: I am in no way a mechanical expert..." - from the photos alone, that's an understatement haha
The layout of a stock Subaru engine isn't ugly. Sure, its not a work of art in a way of a Veyron or Ferrari but it serves its purposeful and "form follows function" is beautiful in its own way.
Is Hakone busier these days or less so? Haven't been there in a bit due to pandemic =(
The first thing that caught my eye on the table was the laptop,I have a similar one.lol.
Great tech article! ) .
) .
For future reference during your GC8 project, an apartment shower stall makes a great paint booth (or so I've been told
Just dampen the walls to prevent overspray from sticking, turn on the exhaust vent fan, and spray away!
Well done! I feel all your pain, having just fired up my freshly rebuilt EJ205 over the weekend in my bugeye! Only to pull out of the driveway and feel the throwout bearing decide to disconnect from the pressure plate. Guess my fresh EJ is coming right back out.
I admire the courage going with the full case-splitting rebuilt route. I opted for a fresh OEM shortblock as I calculated that being cheaper in the end than parts and machine shop labor would cost to rebuild the bottom end.
You're not a true OG until you wash them parts in the dishwasher
Details like bolting the cylinders to a massive aluminium block to simulate it being under the same tension as when bolted to the block when boring it.... Virtual internet six pence duly duffed...
Epic effort, very well done.
Glad to see you swapped the calipers for a proper outside mic. I find a certain zen in building an engine, and it really is simple if you take your time and measure twice!
Hats off to you for tackling a rebuild yourself, in your kitchen no less! I rebuilt my first engine(a humble 4AC on my USDM SR5 AE86) a couple of years ago, regrettably selling the car not too long afterward. I wouldn't mind a new project, but hopefully the hachiroku I just bought last weekend(a 4AGE this time!) doesn't need that level of attention, haha.
Great work, and keep us updated on this project!
"Sausage dogs"
Please just go with Dackel. Or Dachshund.
That photo of the cylinder head is an absolute piece of art