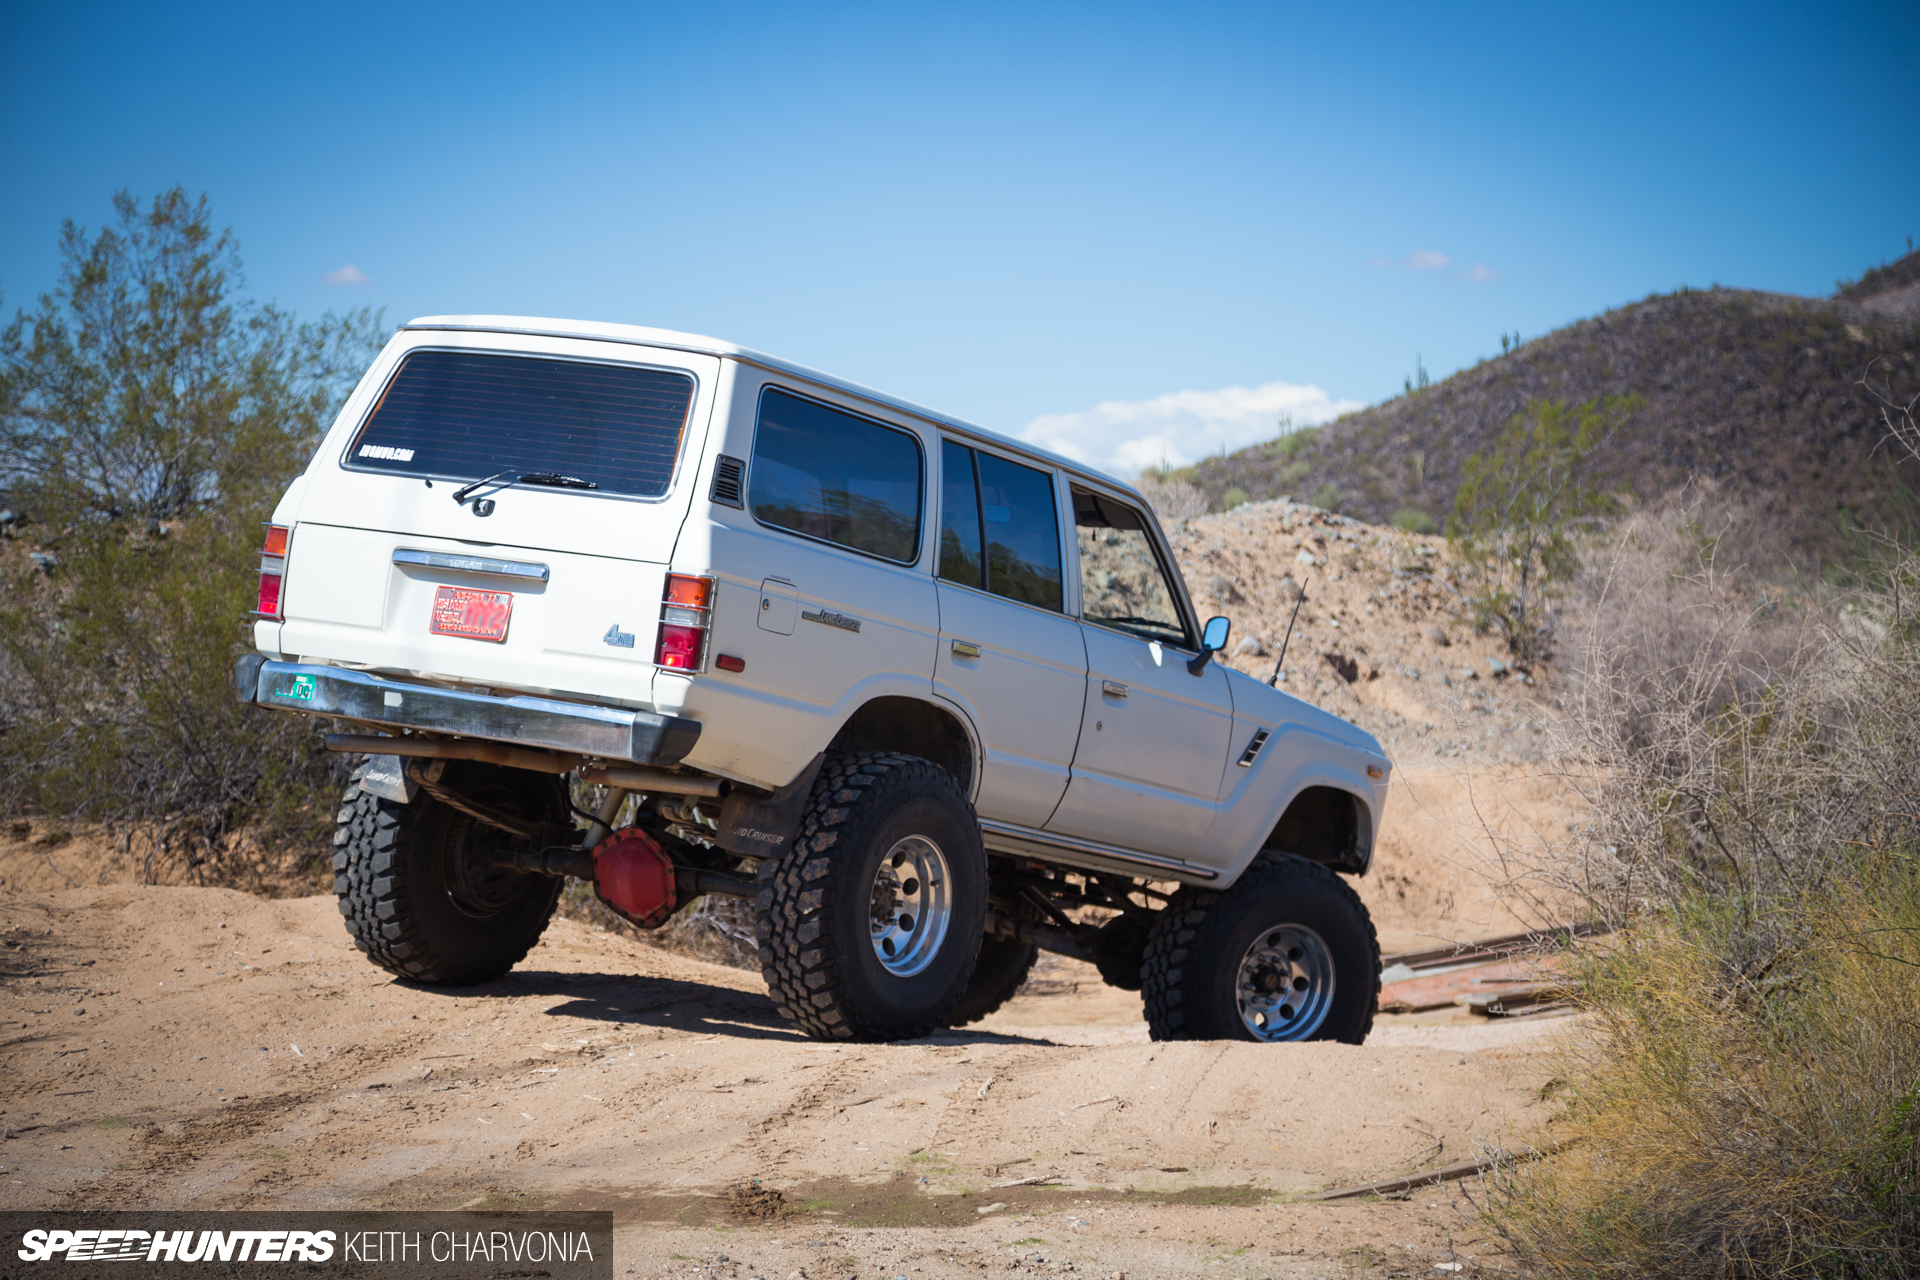


In the last installment of my Project Trailhunter FJ60 build I addressed removal of the body-lift and installed a set of Flowtech headers to make everything play nice. Since then I’ve been focused on dealing with all the little broken and worn out parts on the truck in an effort to bring it back to 100 per cent, or at least as close as I can get…
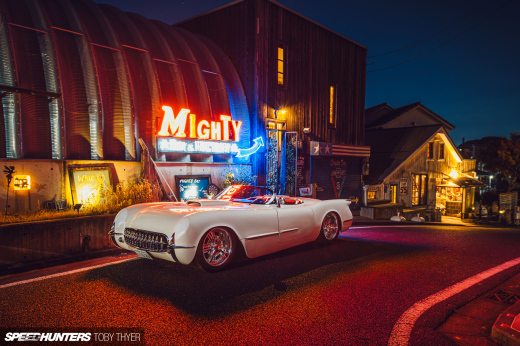
The FJ has a 1-ton Chevy drivetrain in it, including a big block and an NP205 transfer case. The previous owner thought this green skull shifter on the t-case was pretty sweet, but I had other things in mind. The rubber ‘cover’ for the shifter hole was letting in hot air, but the upside was I could easily see when I was in four-wheel drive by peeking down and watching the front driveshaft spin.
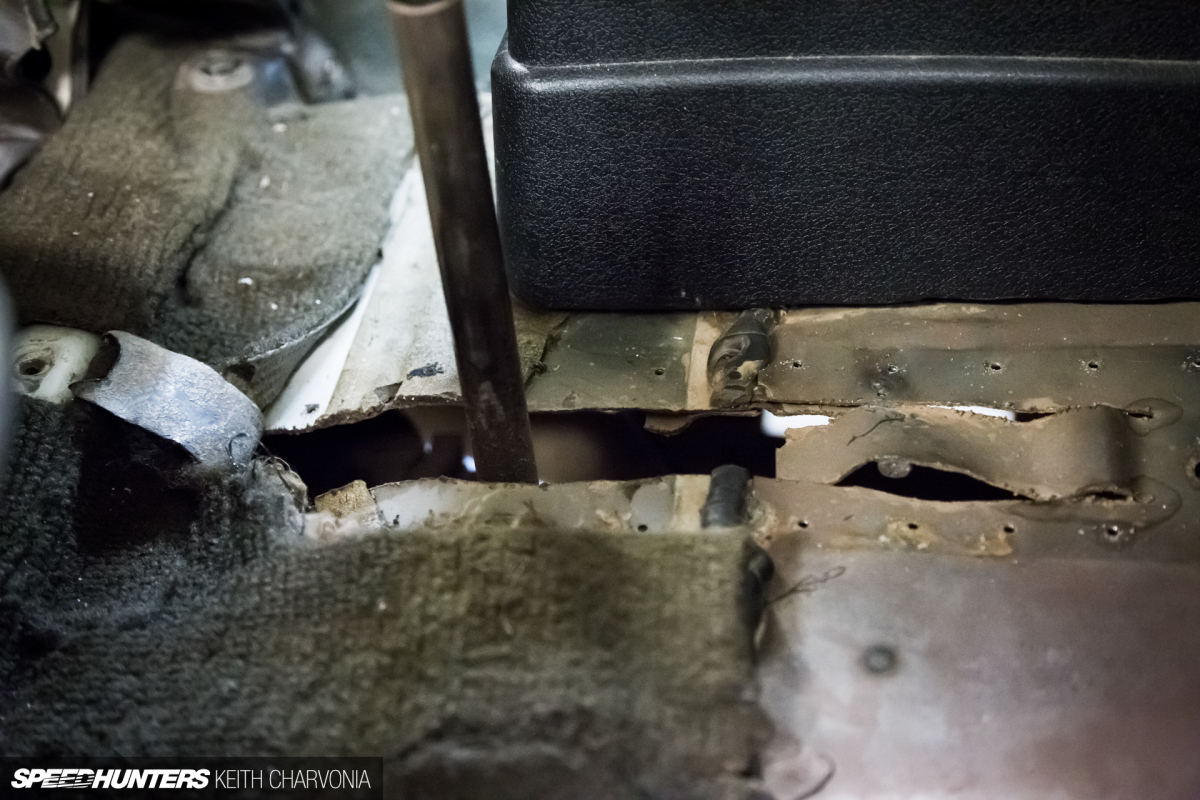
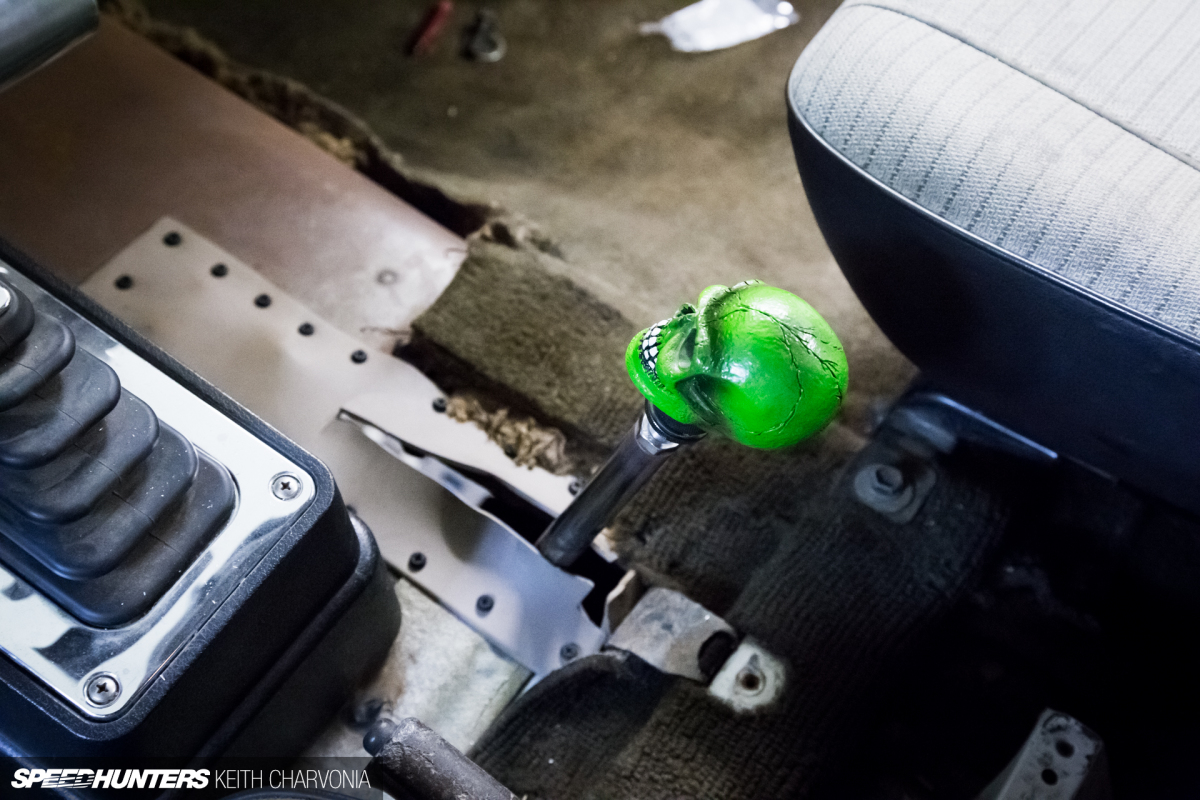
Removing the homemade cover revealed the usual hackery one would expect.
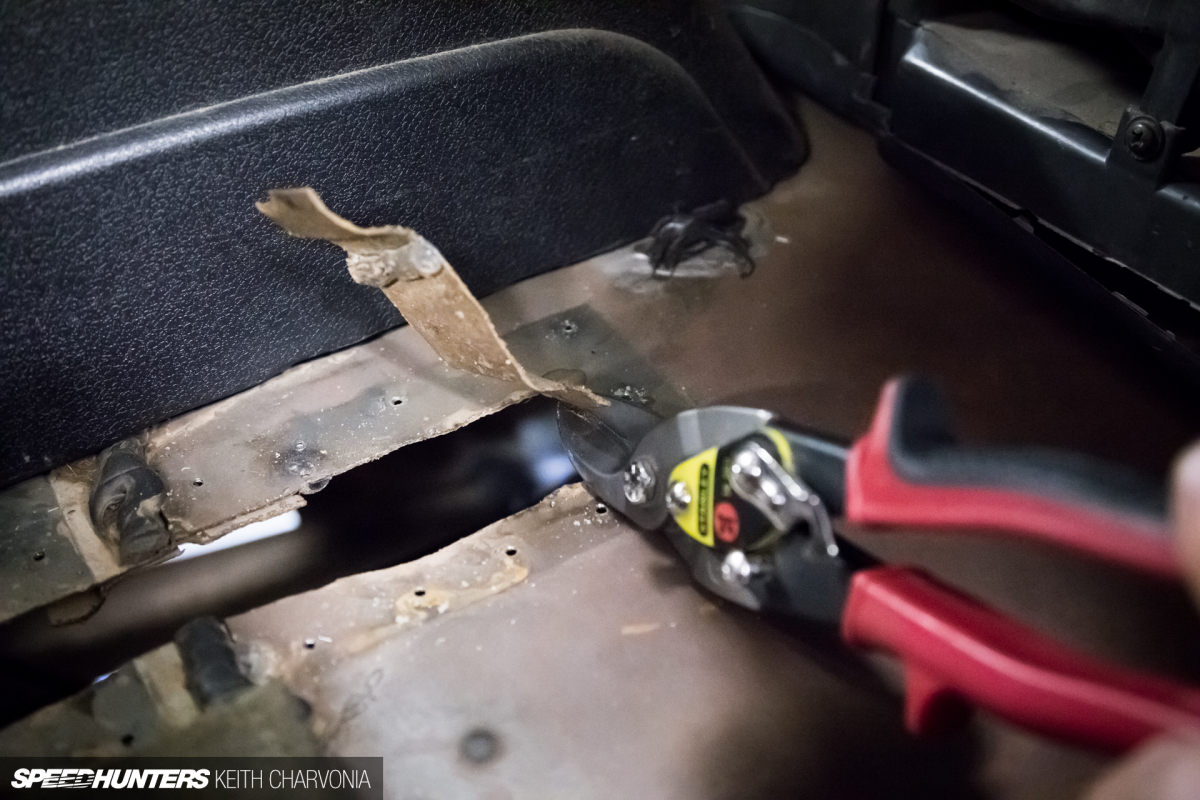
I trimmed away the mangled metal.
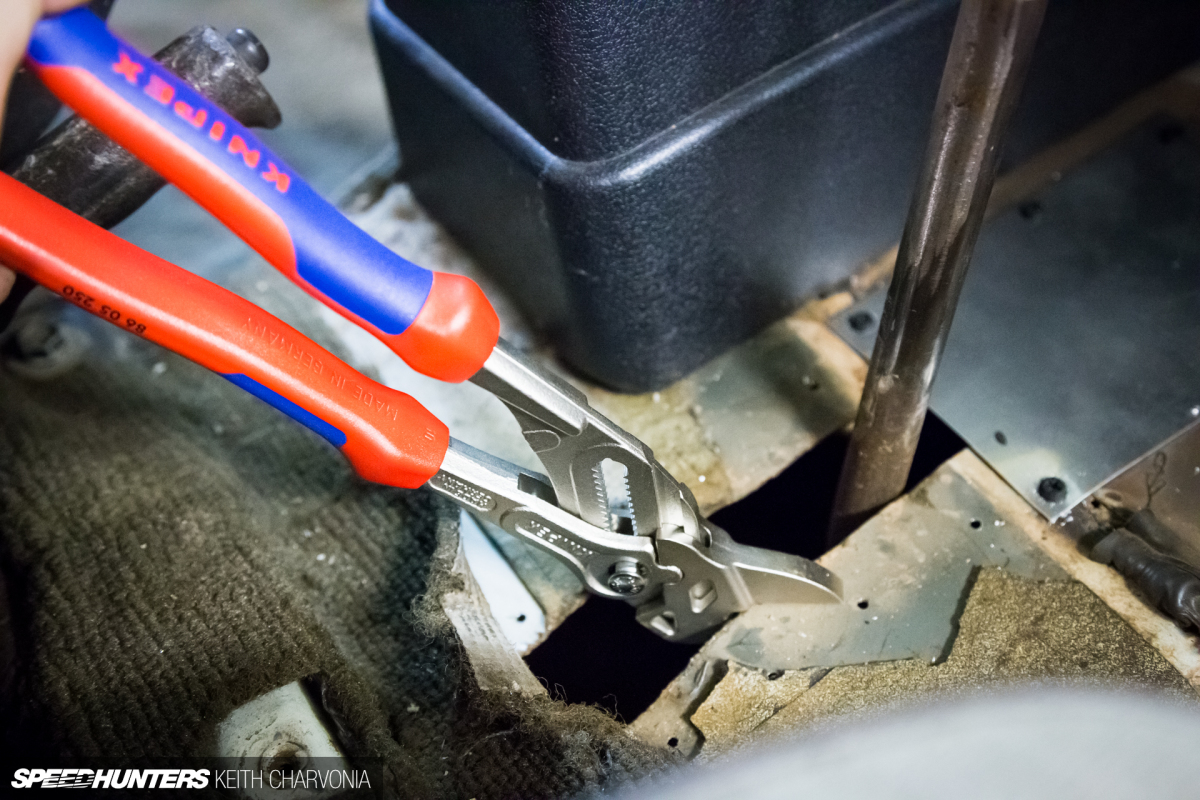
Then I straightened it with my Knipex adjustable crescent wrench plier thingies. I’ve used these to bend sheetmetal plenty, but strangely never to remove a fastener.
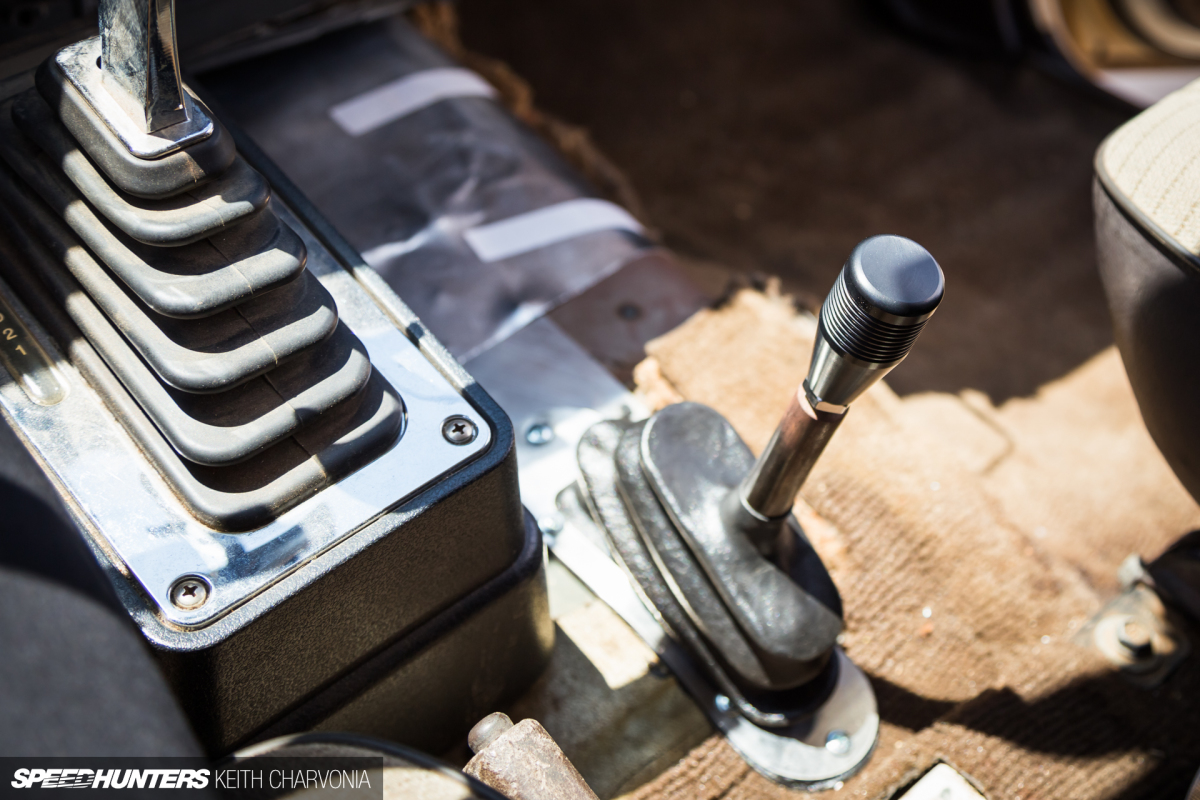
I tracked down a shifter boot and machined aluminum knob from JB Fabrication. The good news is, when I go to a twin stick I can buy a second boot and shift knob to match.
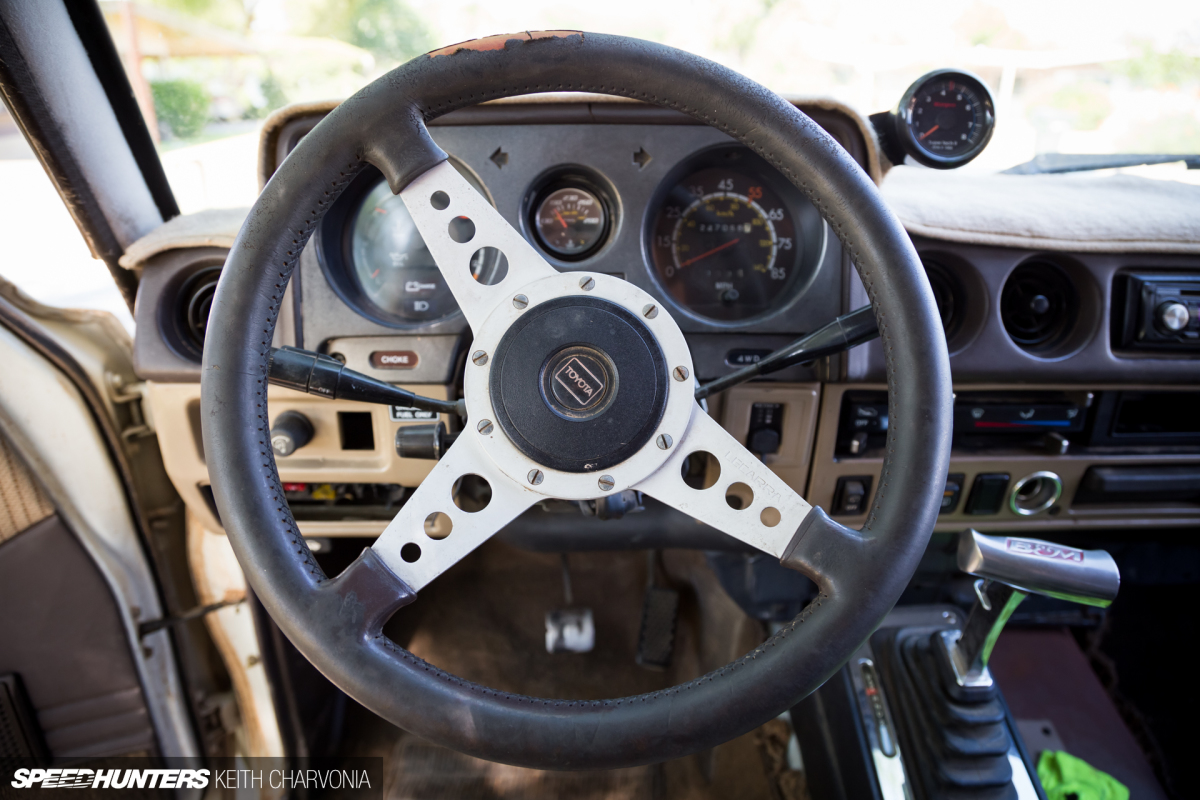
Like the shifter, this steering wheel was driving me absolutely nuts. This is how it sat while driving straight, and I couldn’t help but rip at the hole in the leather as I motored down the road. I looked for a factory steering wheel, but they were all priced too high and I didn’t feel like waiting for a deal to come along.

I did however happen across this vintage, deep-dish wheel that’s very ’60s muscle car. A perfect match for the 454, I thought.
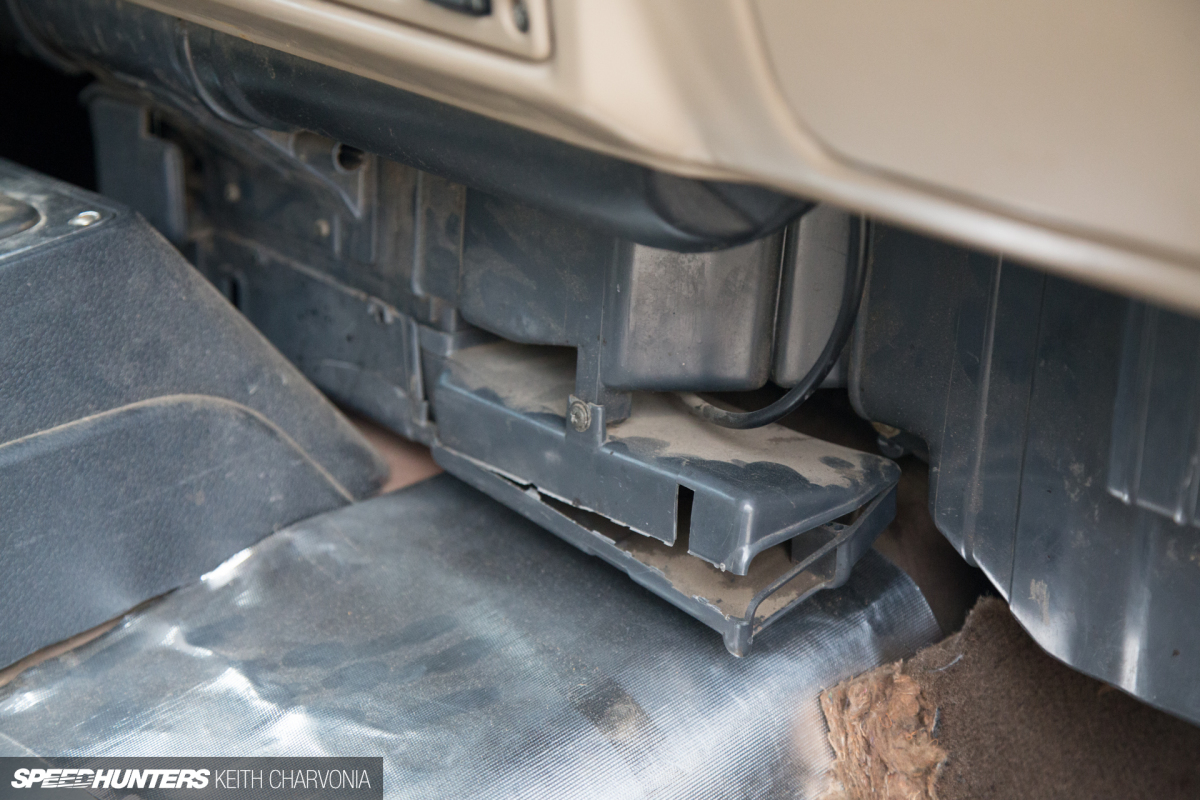
I may have mentioned this before, but searching ‘FJ60′ on eBay is now one of my favorite time-wasters. I’ve been able to find the best stuff though! Like a replacement for the broken floor vent that someone surely kicked while climbing in.
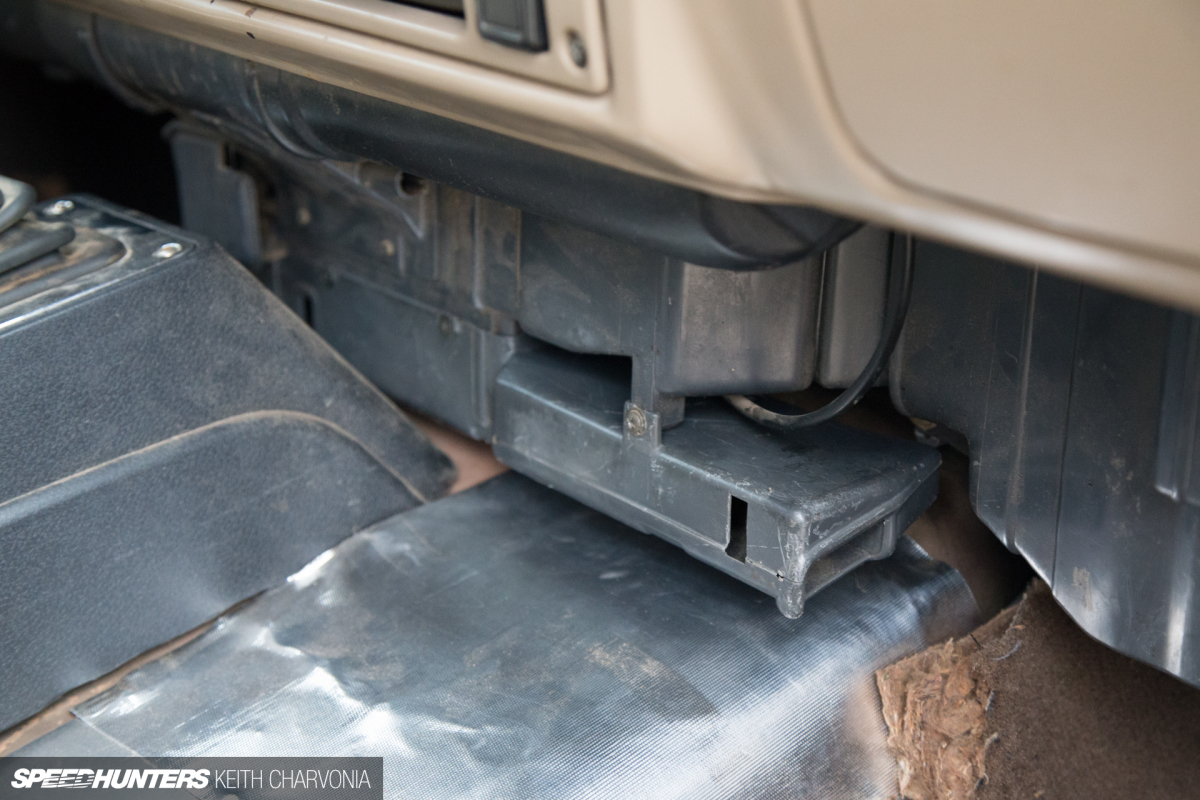
The eBay replacement is a little knicked up, but at least it’s not broken.
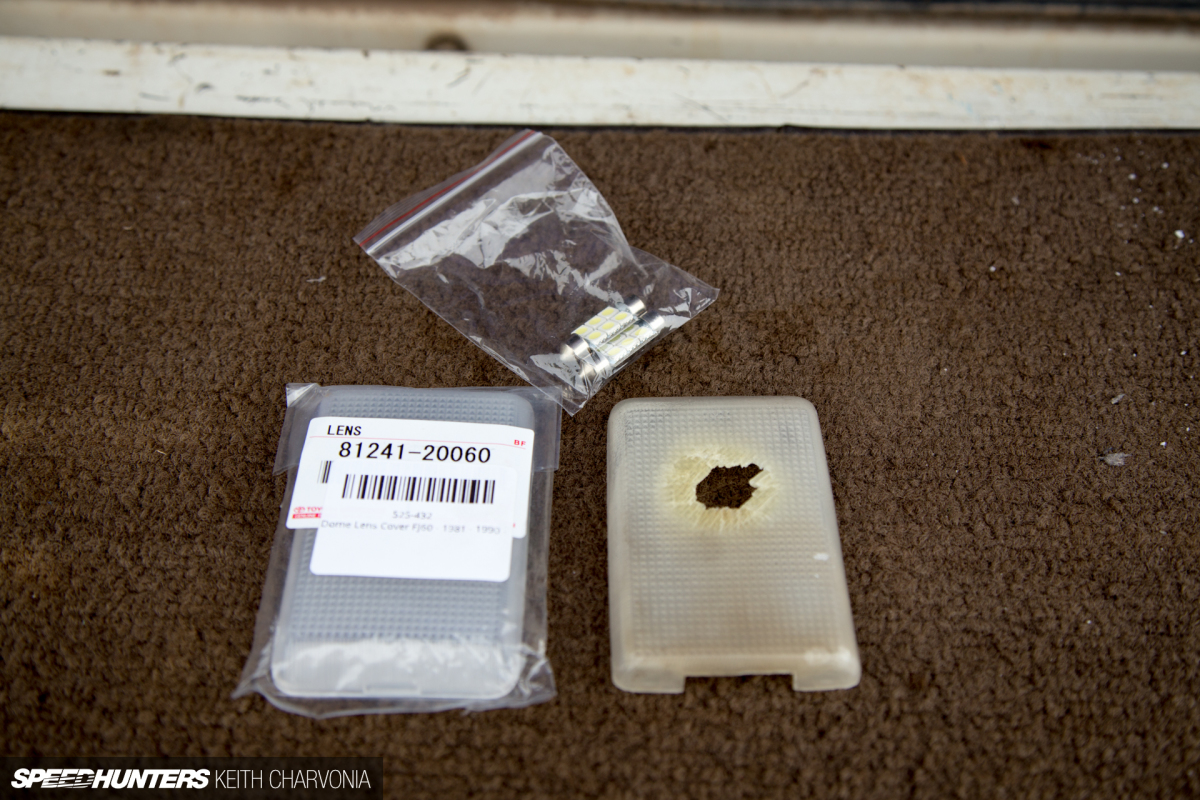
Hot bulbs wreak havoc on the plastic dome light covers in these trucks, especially when they’re accidentally left on overnight. Fortunately, a factory replacement is still available though. I installed an LED to solve the heat issue and also provide more light.
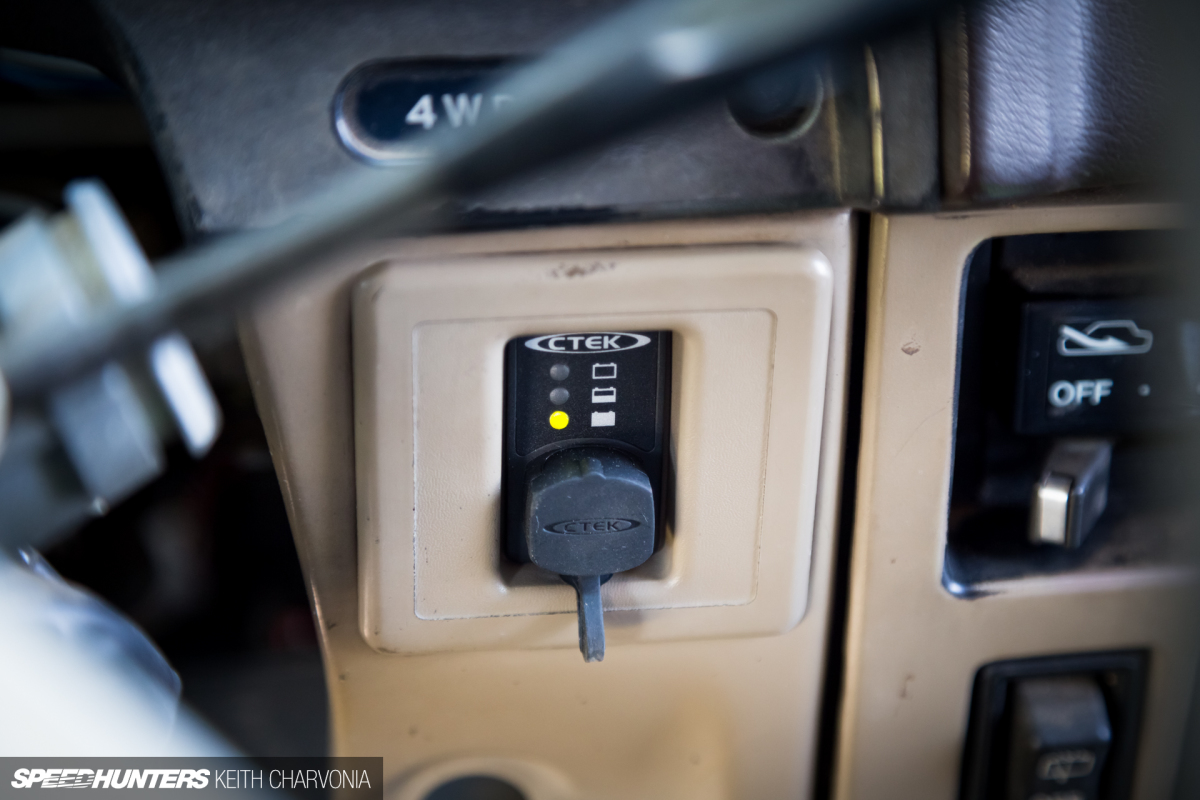
I use CTEK chargers on all my cars, and I recently picked up this charging port that fit perfectly in a blank spot on the dash. It tells me the condition of the battery with a flashing LED, and is an easy way to connect the charger to top off the battery when I don’t drive the Trailhunter for a few weeks.
CHAPTER TWO
Cool Down & Clean Up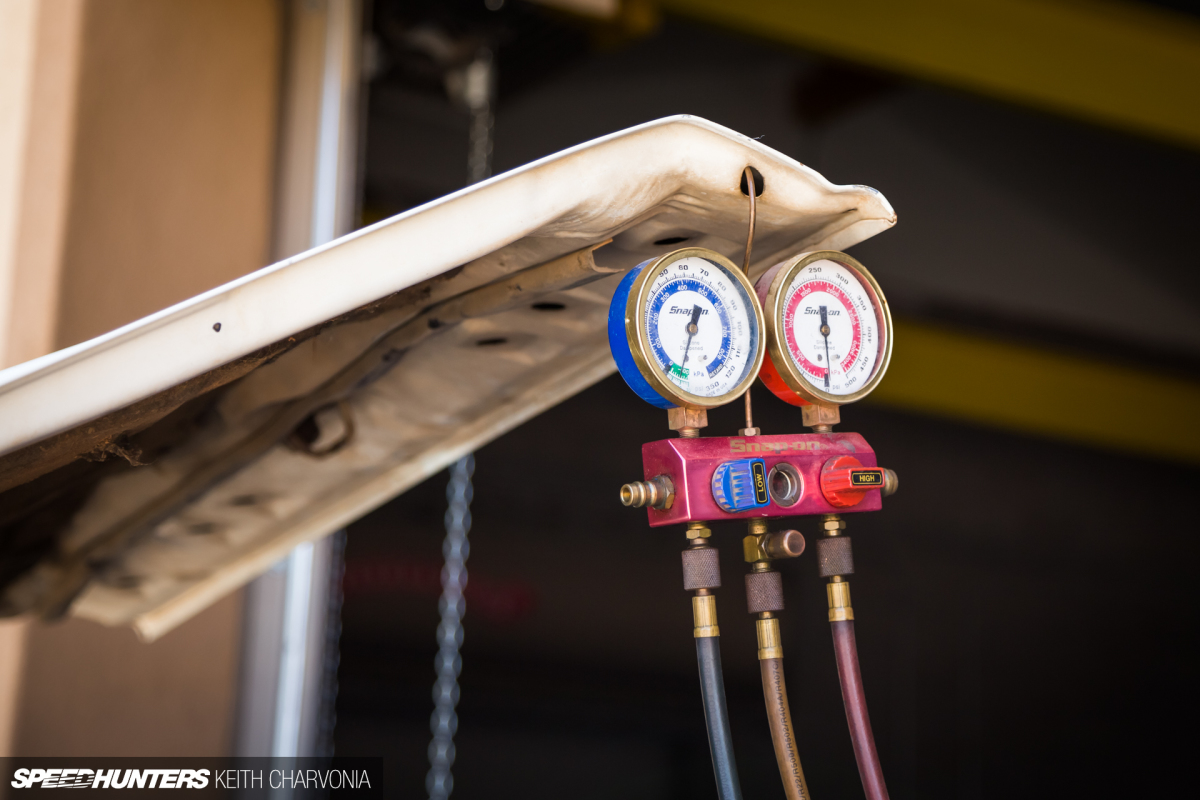
The 454 in my FJ had an AC compressor installed and everything seemed to be intact, yet the air didn’t blow cold; so I figured why not pump some Freon into it and see if it worked.
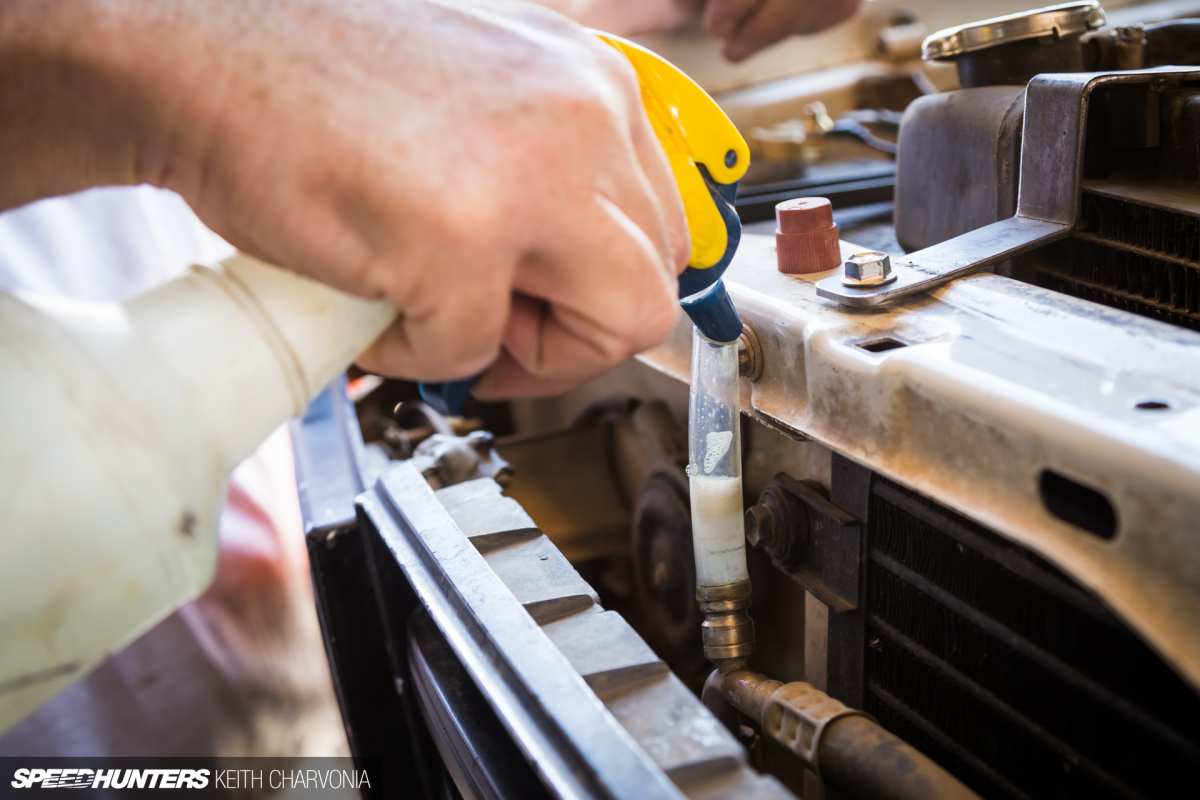
Here by buddy Phil shows his method for checking the o-rings on Schrader valves. A clear vinyl tube filled with soapy water will reveal the tiniest of bubbles.
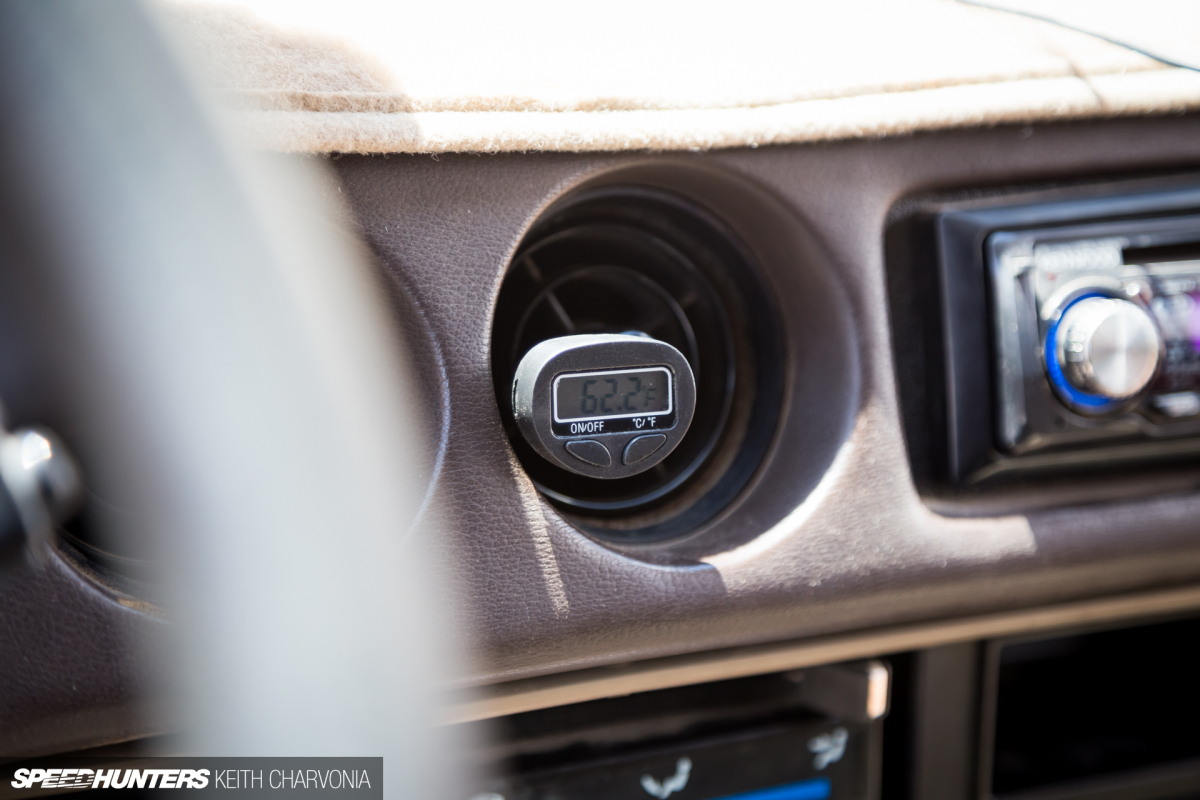
Soon we had it blowing cold again!

The previous owner had rattle-canned the grille and headlight bezels with black spray paint, but after enough miles the paint was chipping off, really making the front of the FJ look ratty.
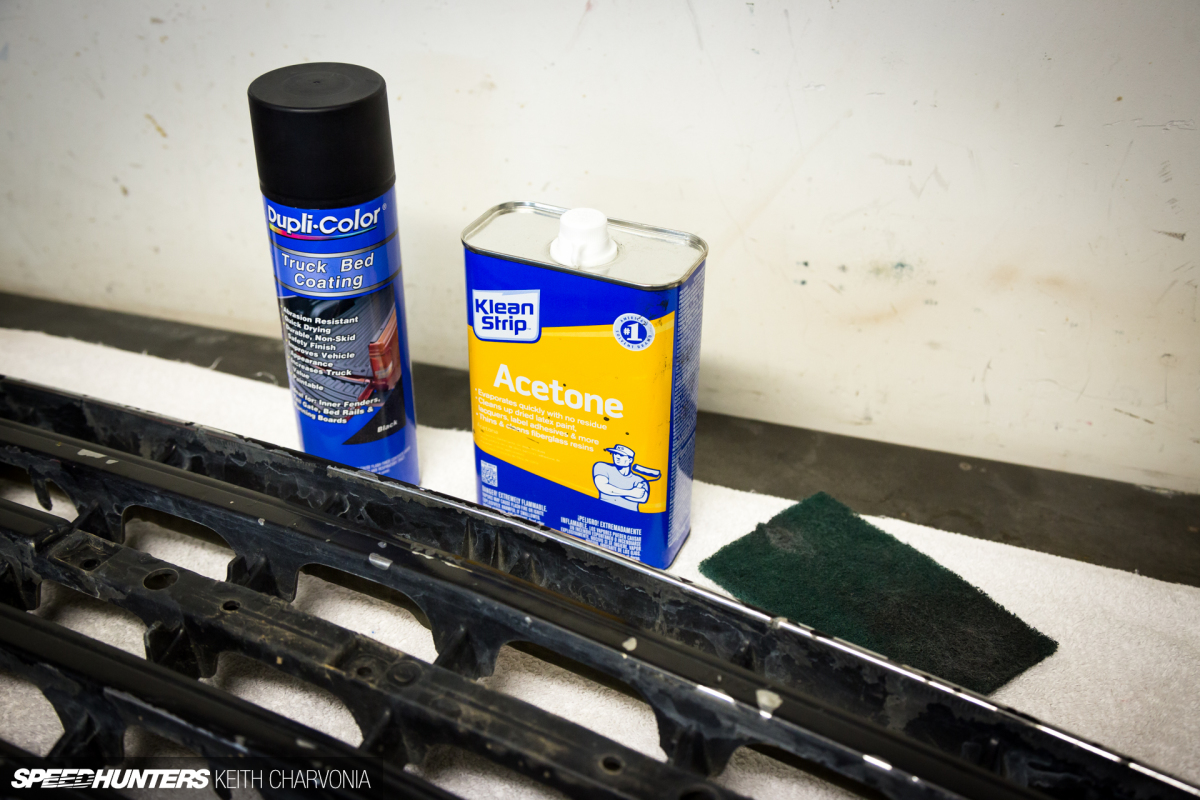
I used acetone on a Scotchbrite pad to quickly strip away the paint, while also roughing up the finish. This Dupli-Color Truck Bed Coating is one of my favorite paints; it can lay down a variety of textures depending on how you apply it, and is much tougher than spray paint. I figured it would look good on the grille.
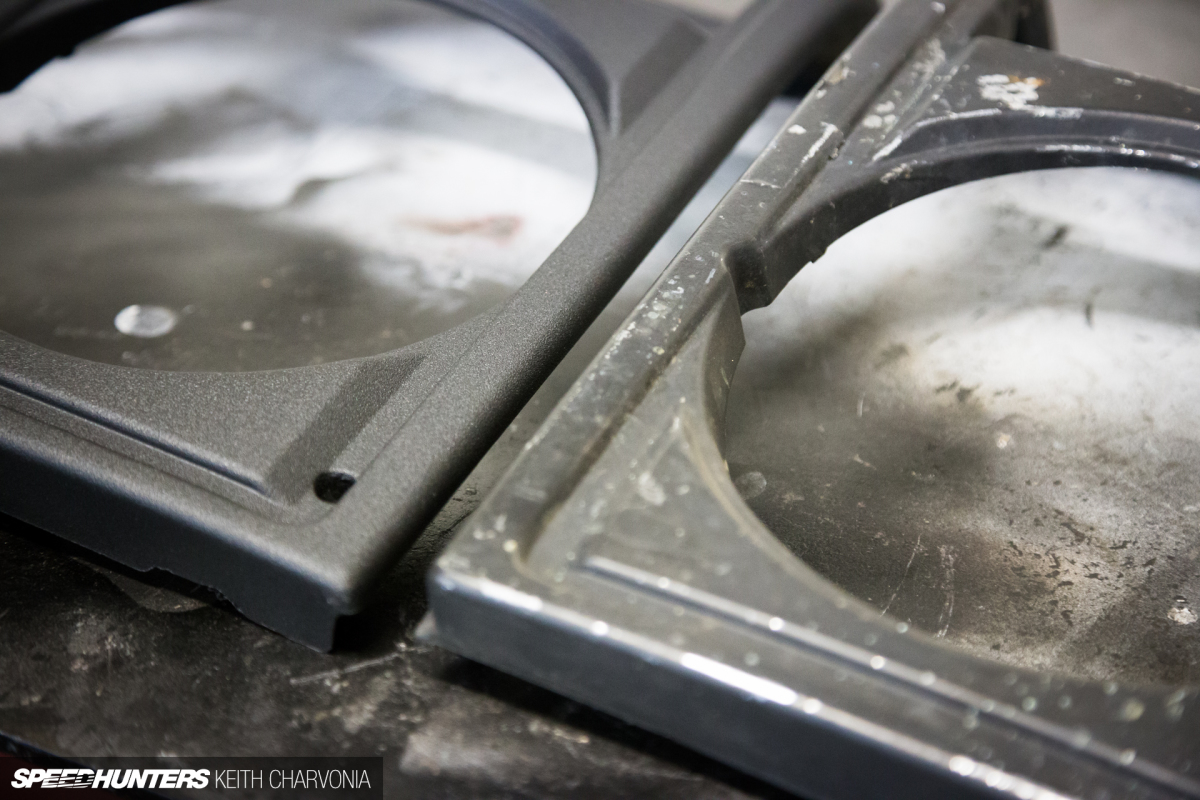
Here’s a before and after of the headlight bezels. Much better!
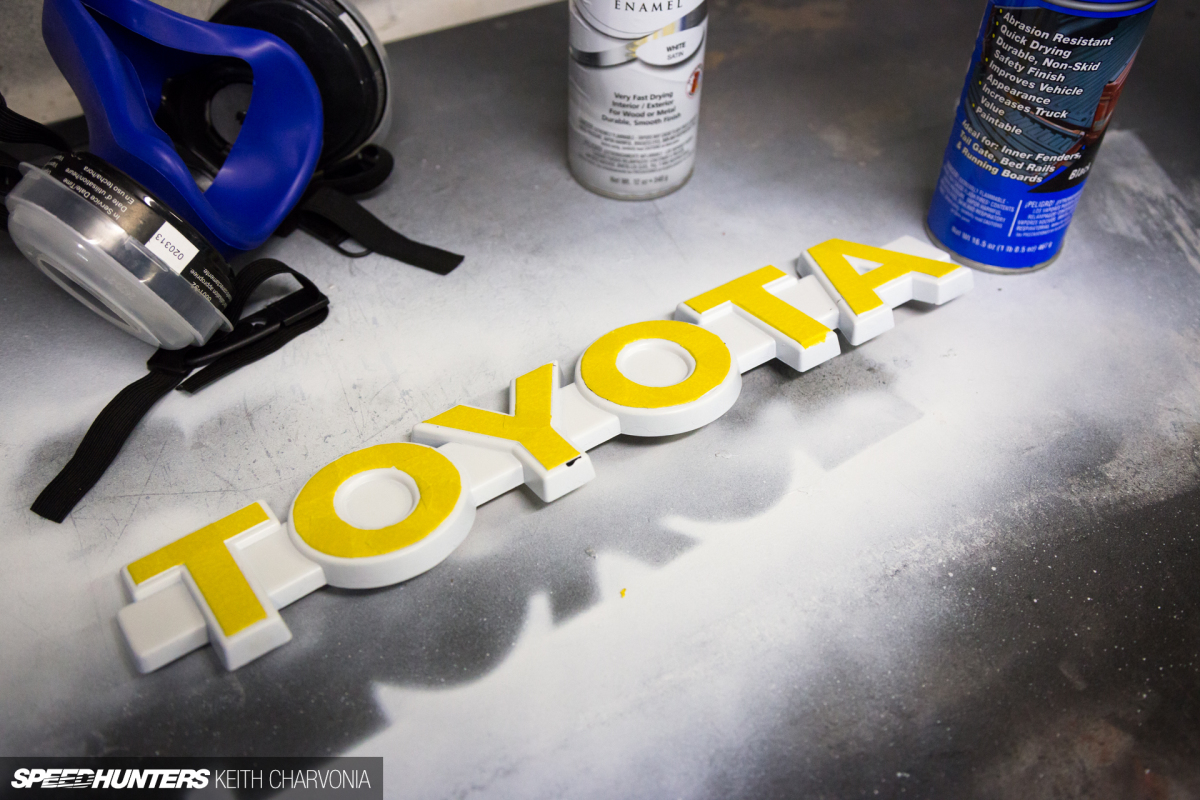
I looked for a new emblem, but found them to be exceedingly pricey as well. So instead, I opted to spray the whole thing white, then mask off the letters and paint the outside edges with matching Dupli-Color bed liner.
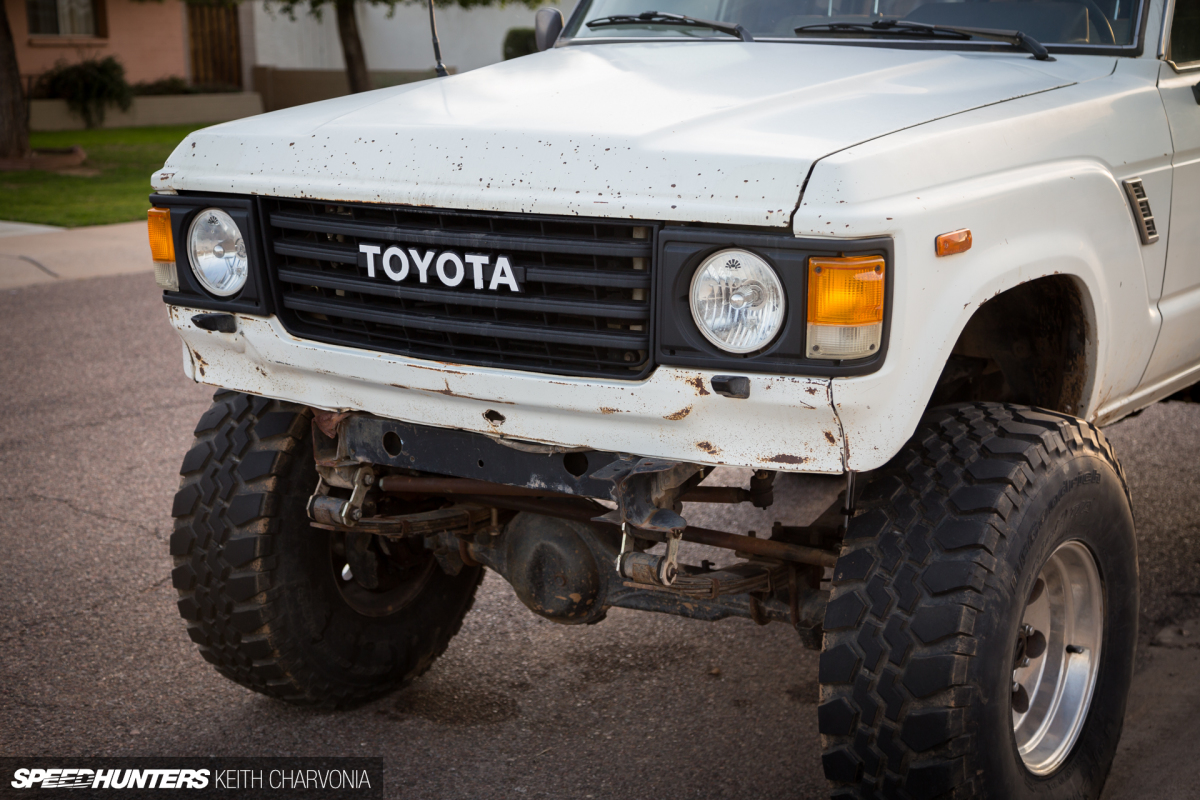
The finished product cleaned up the front end nicely.
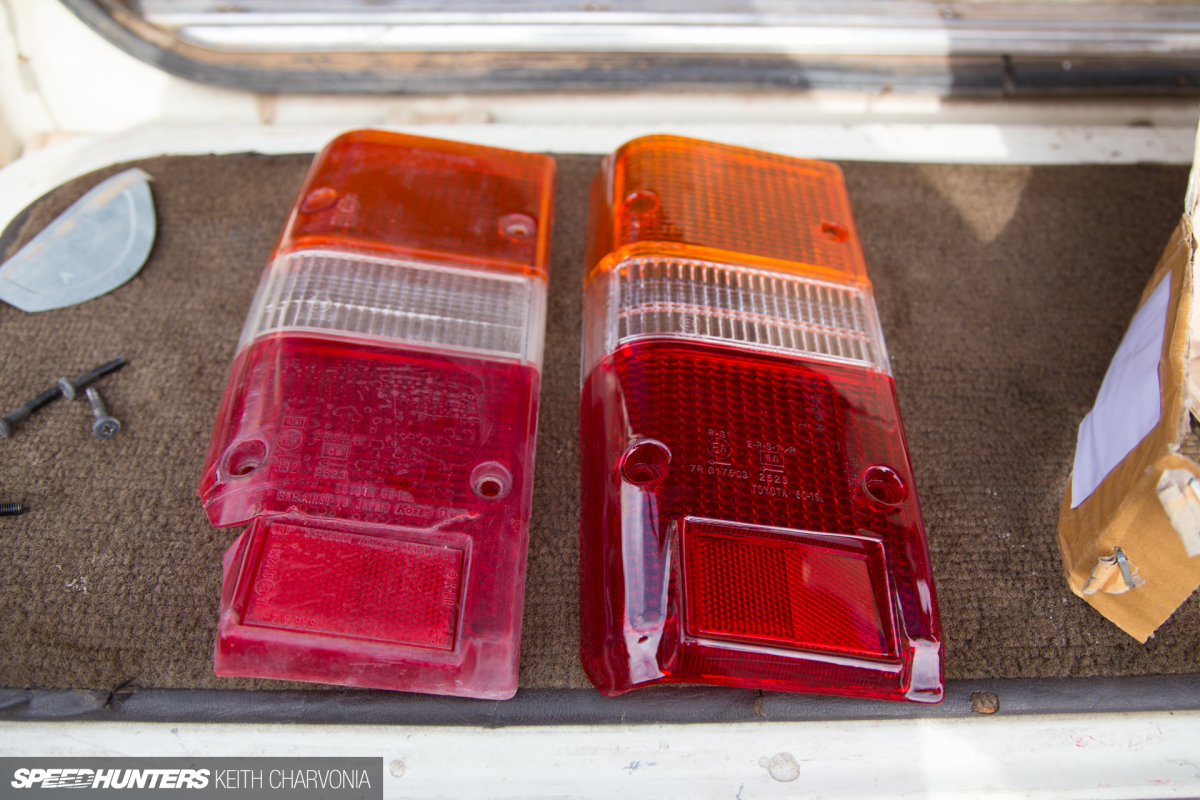
One of my eBay finds was a new set of taillight lenses. Mine were broken as you can see here.
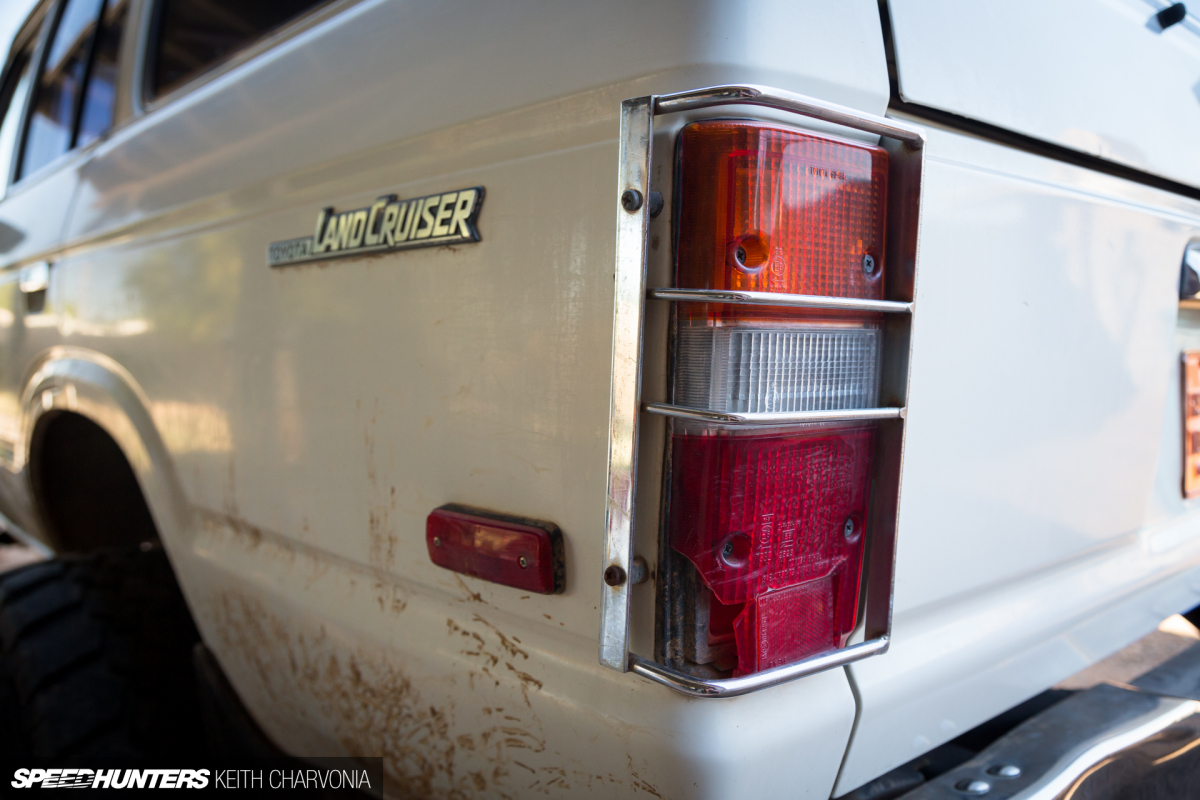
Unfortunately, someone installed these taillight guards, aka ‘damage multipliers’, at some point, which involved drilling holes into the sheetmetal to screw them in. If I decide to paint The Trailhunter I’ll weld the holes up, but if not I’ll just have them powder-coated black and reinstall them.
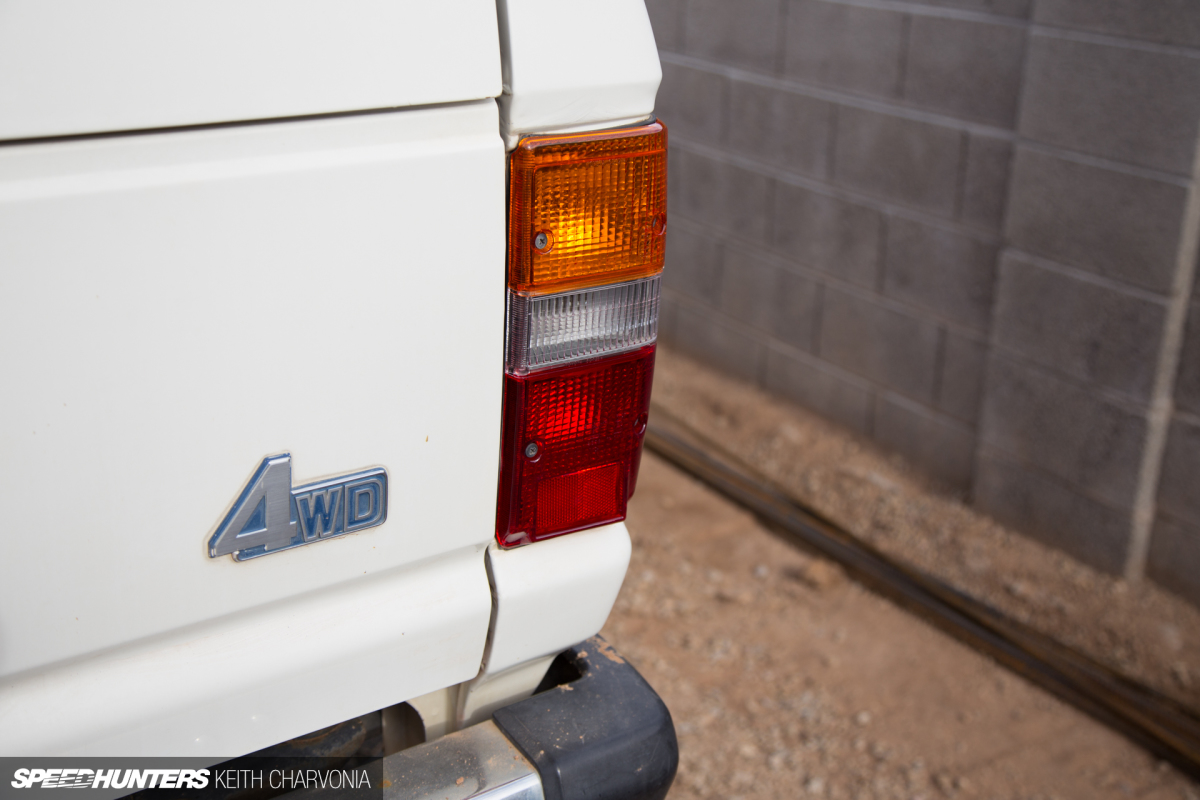
For now at least I have fresh lenses, and I’ll live with the screw holes in the body. I figure all these little things should add up, and one day I’ll look at my FJ and realize it’s in pretty good shape.
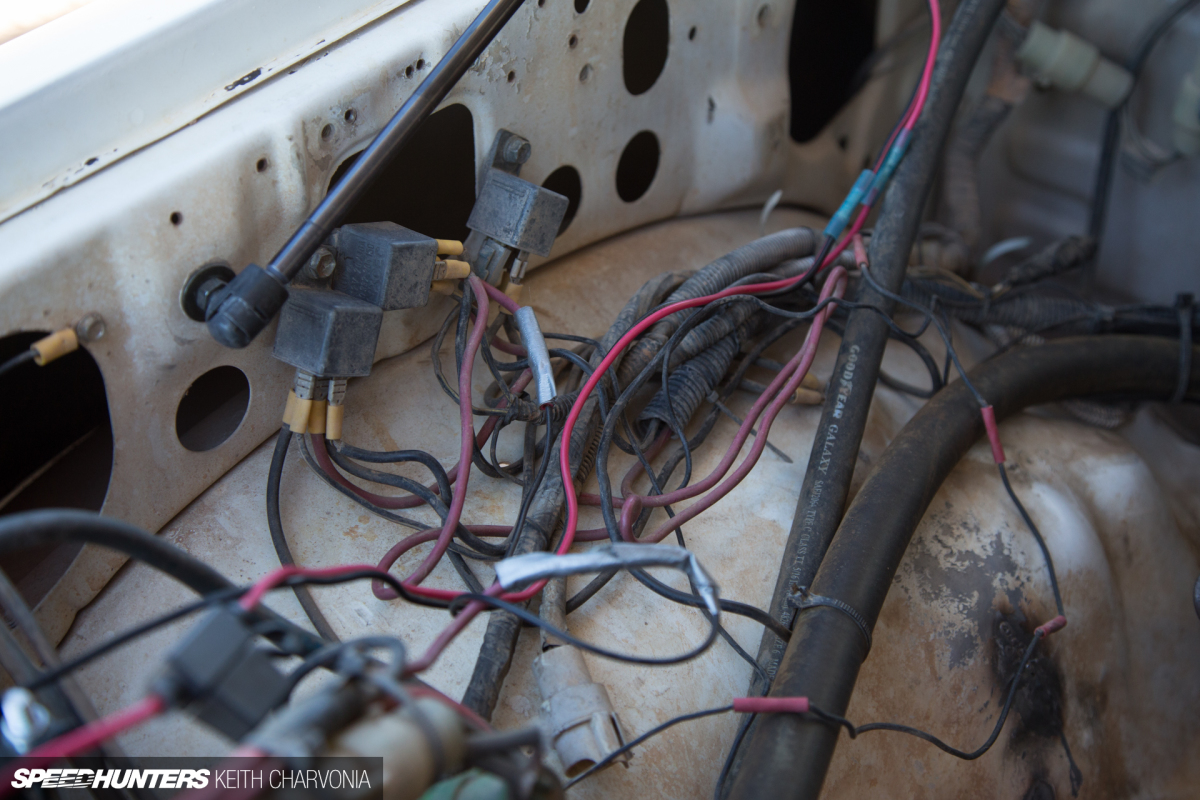
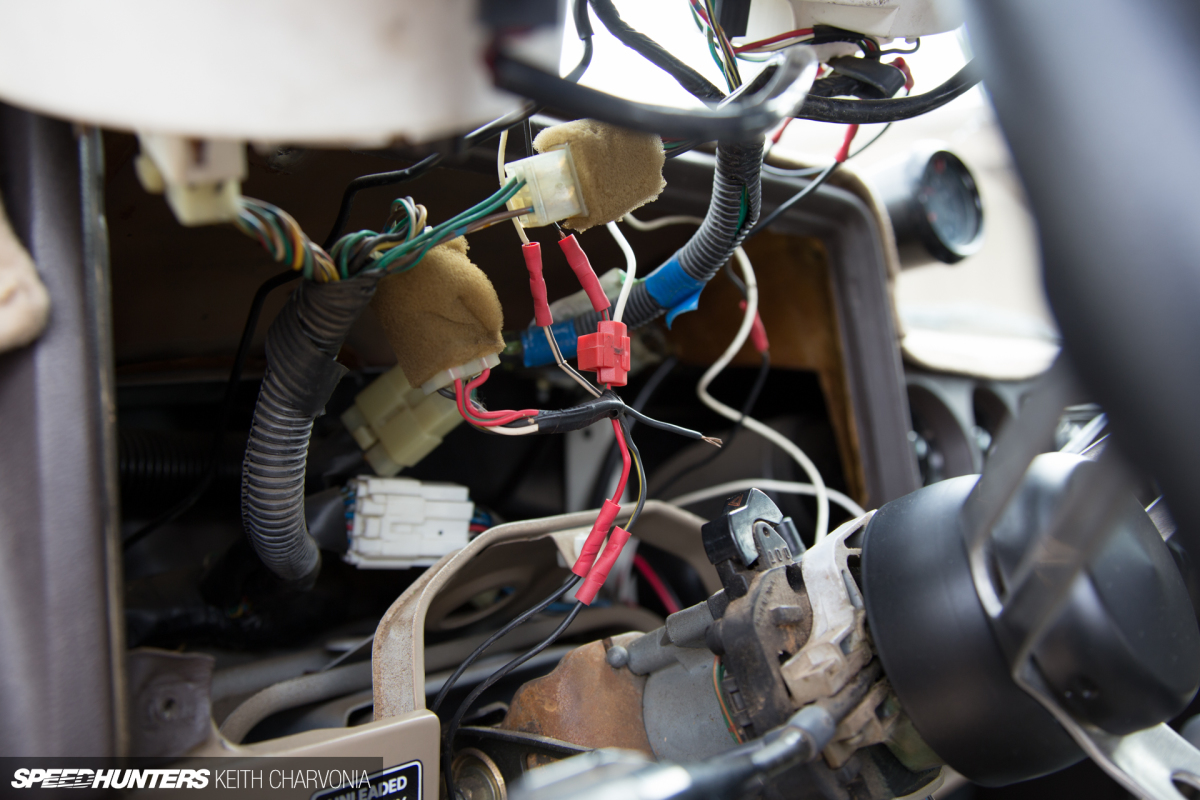
The factory looms are mostly intact and still functioning just fine, but the wiring done when the 454 was installed is, well, simply horrendous. Relays were used to power everything, even when they weren’t needed. Look closely to see the multitude of splices; it’s like someone only had 3-inch sections of wire, yet plenty of butt-connectors to spare.
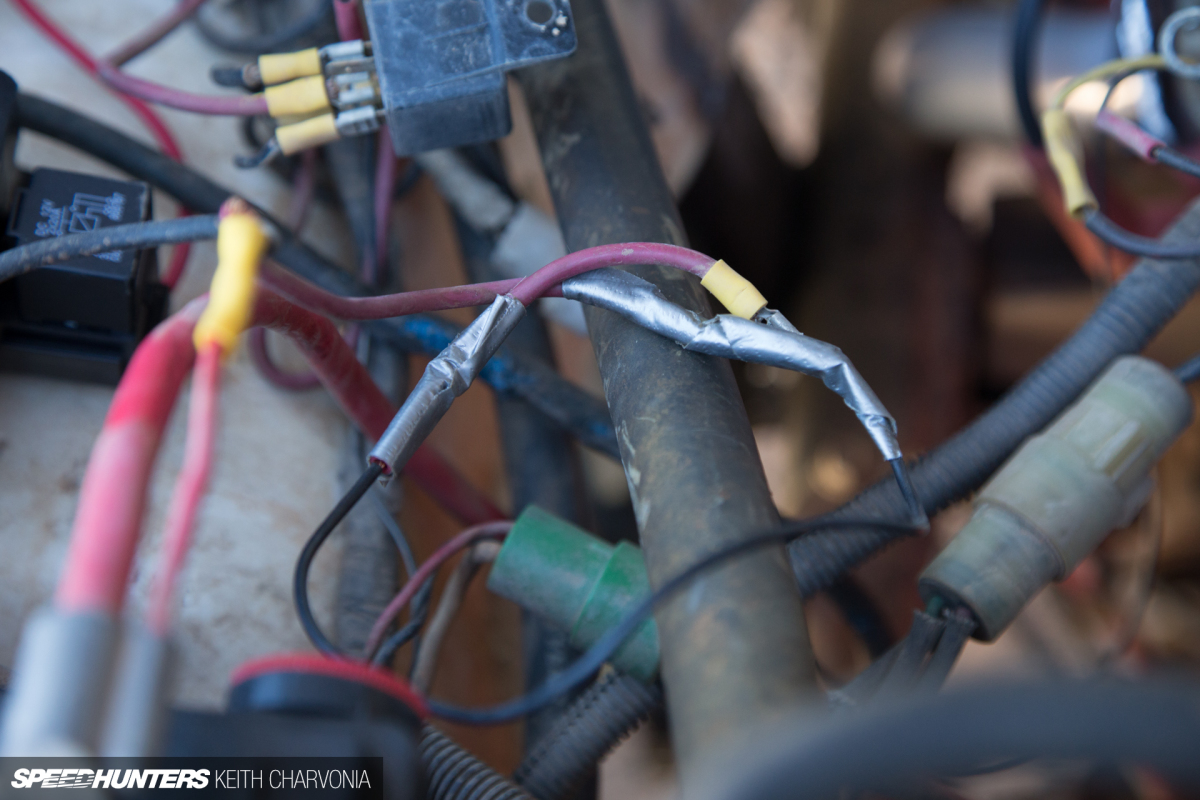
Multiple gauges of wire were twisted together, and even wrapped with duct tape in one place!
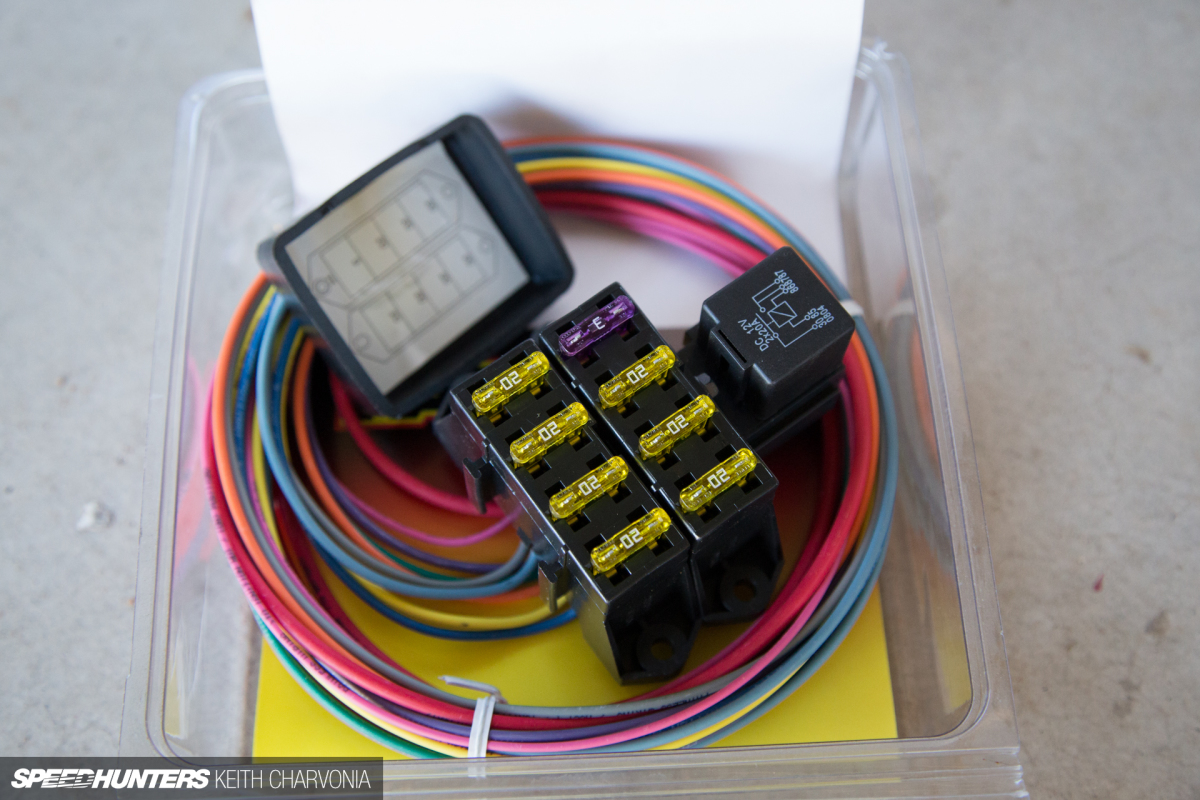
Fortunately, I had a Painless fuse block hanging around, and this was the perfect time to use it. One relay switches half of the circuits, with the other half being hot all the time.
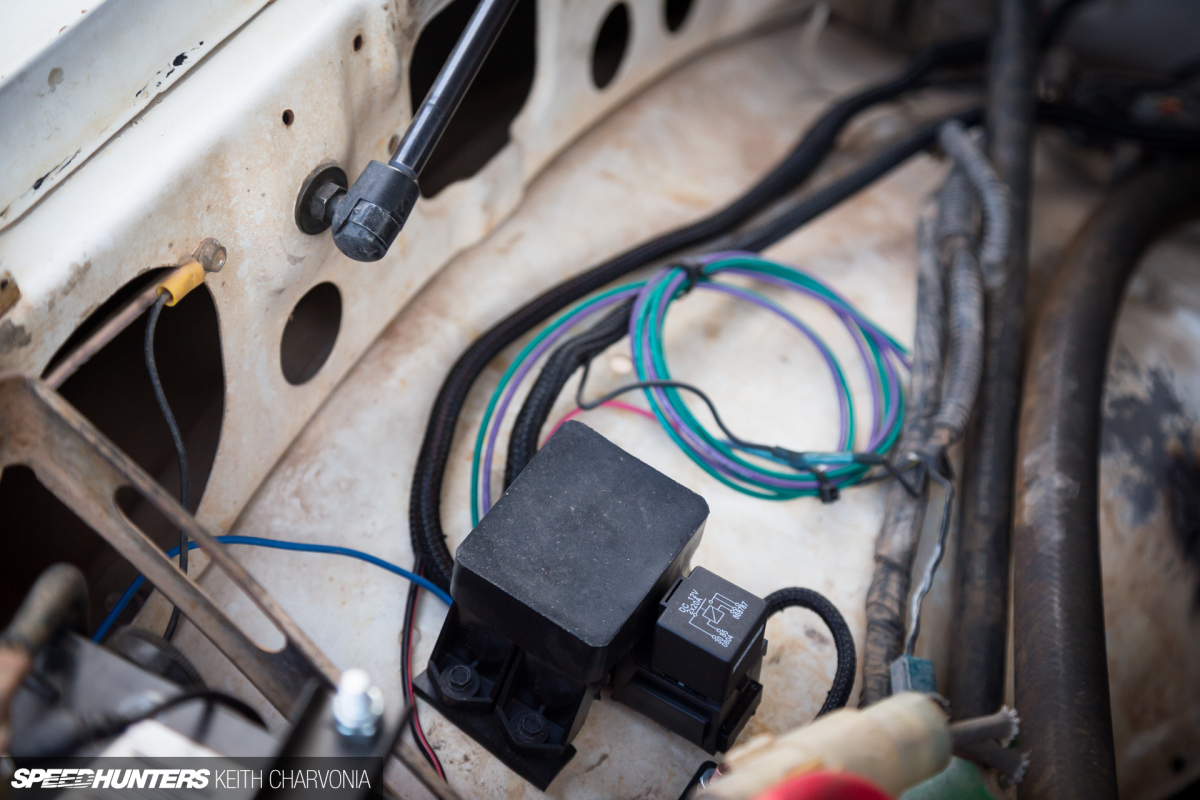
I left the unused wires zip-tied in a bundle since I’m not done cleaning up the wiring. For now, this is much improved.
FINAL CHAPTER
A New Dash & Restored Gauges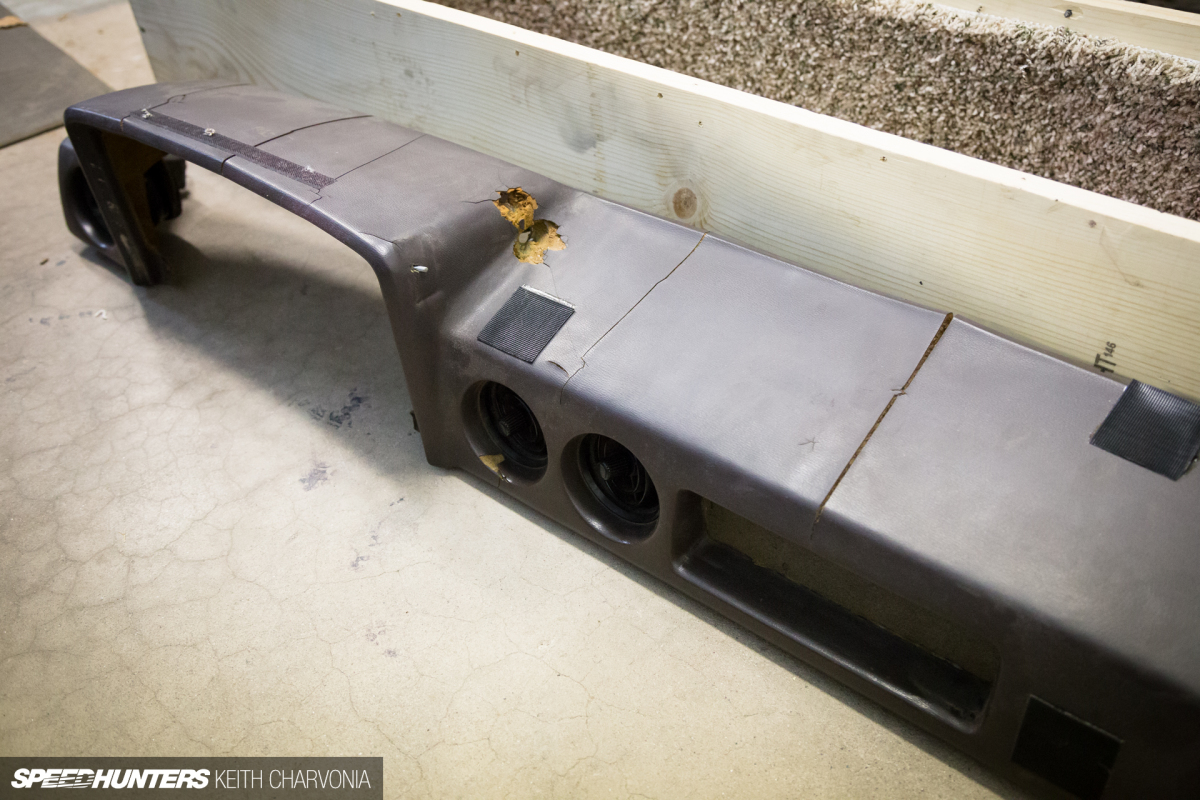
One huge benefit of buying an Arizona car is that it’s very dry here, so they don’t rust. The downside though, is that plastic and rubber get destroyed by the heat and constant sunlight. My FJ’s dashboard was a perfect example.
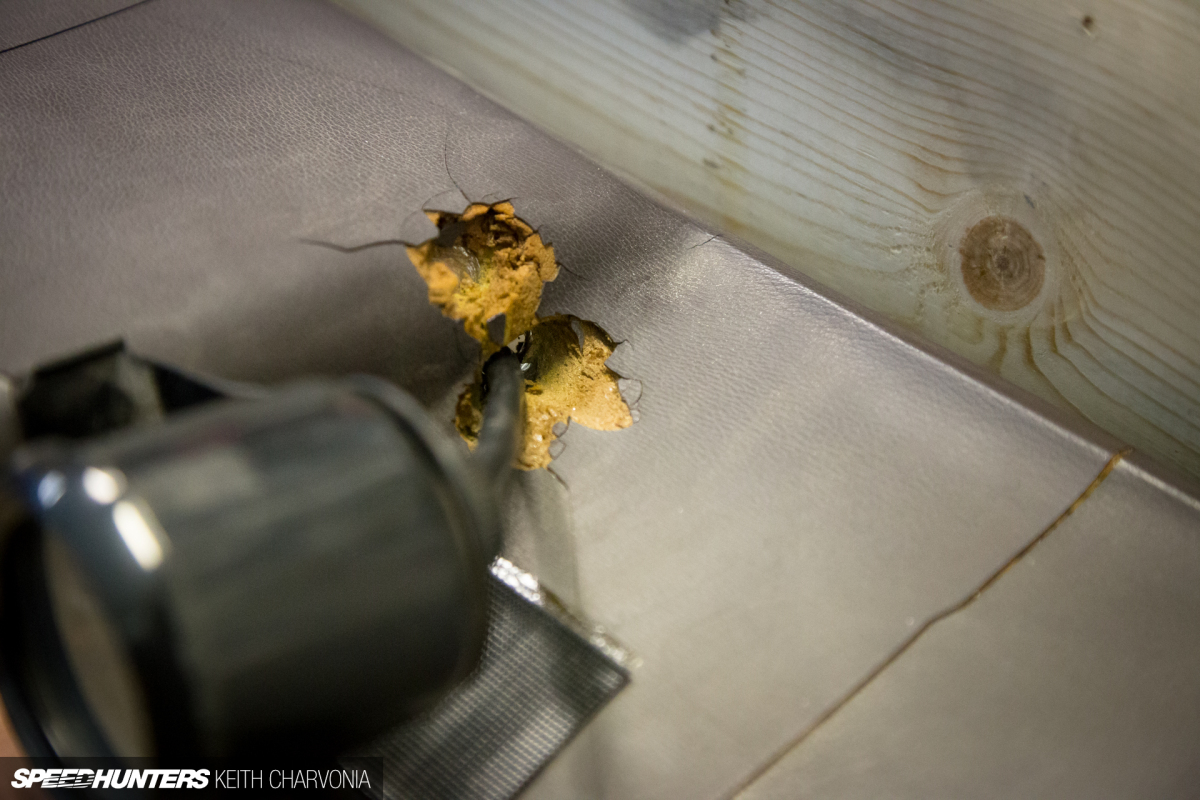
I guess since it was already cracked someone decided this was a clever way to install a tach. Luckily I found a perfect replacement on, you guessed it – eBay.
Pulling apart the dash, I discovered more hacked wiring, but thankfully it was only to install an aftermarket temperature gauge and tachometer, both of which I would be removing.
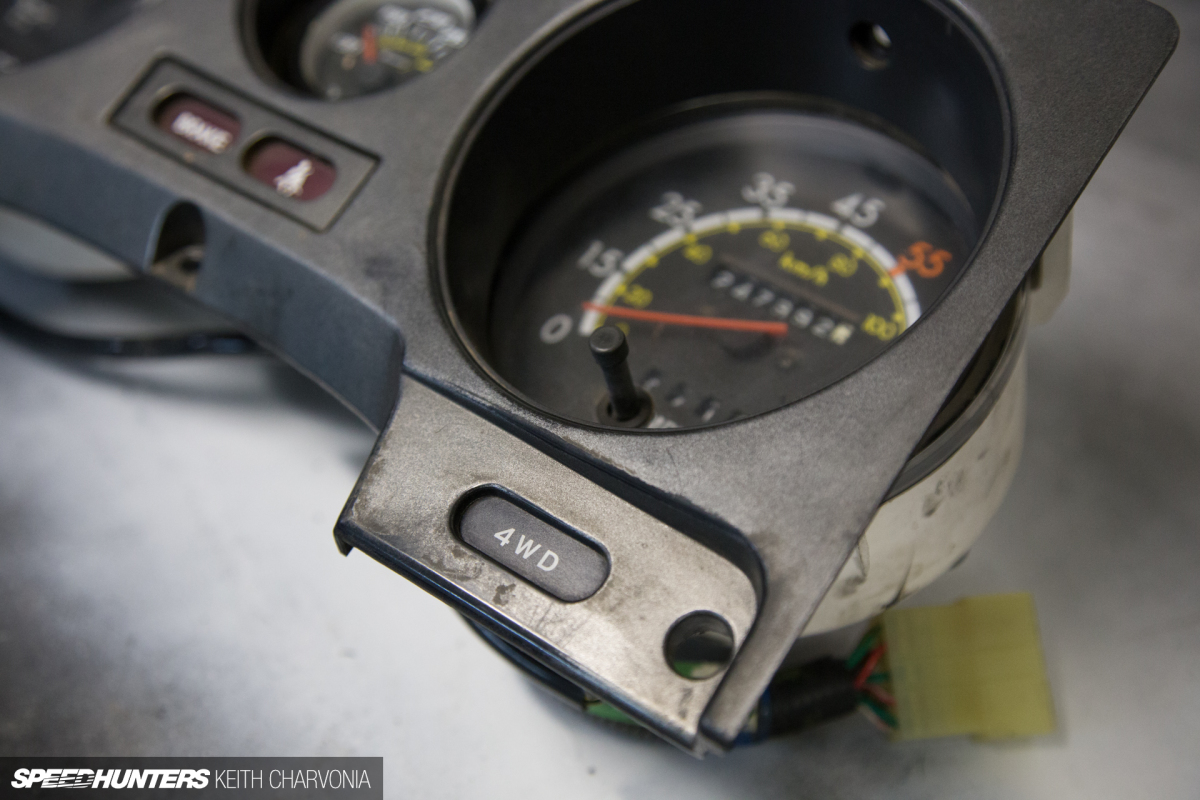
The gauge cluster was pretty grimey, so while it was out I decided to restore it.
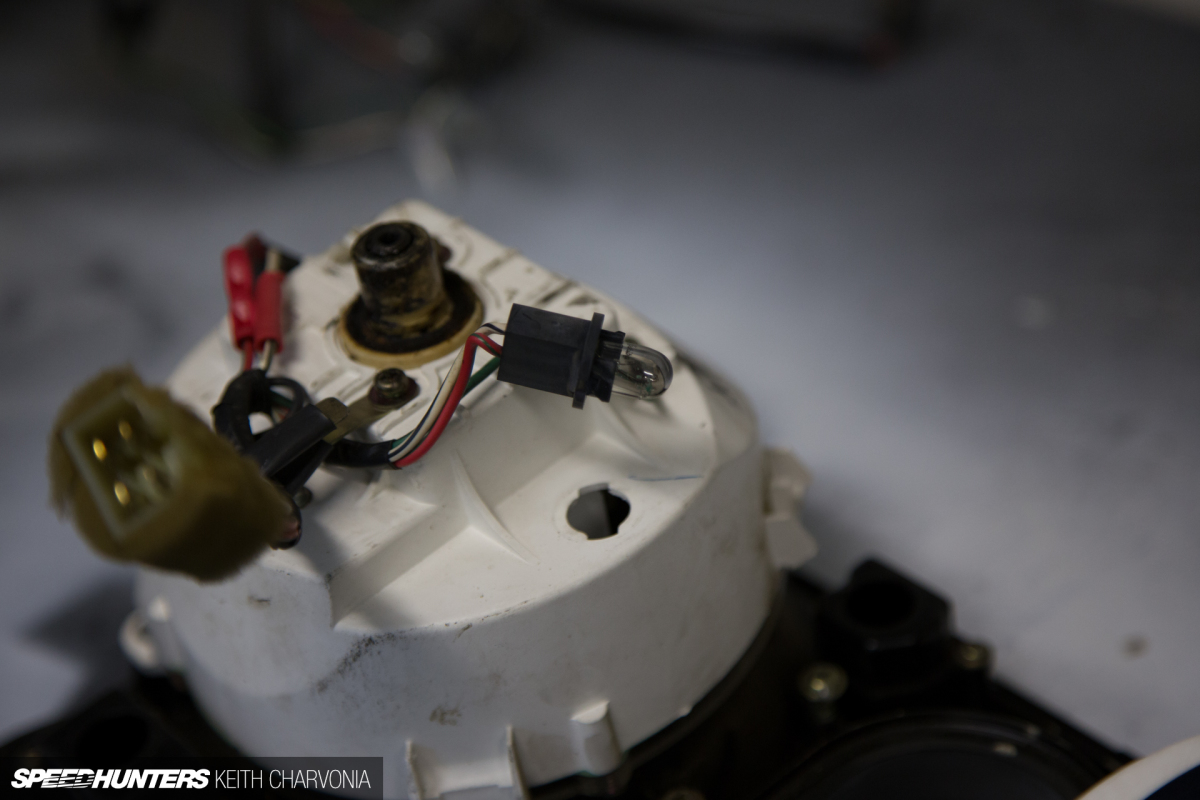
This was the perfect time to replace all the burned out bulbs too.
The clear lenses over the gauges were extremely scratched and hazy, no doubt from giving them a quick wipe of the sleeve while covered in dirt.
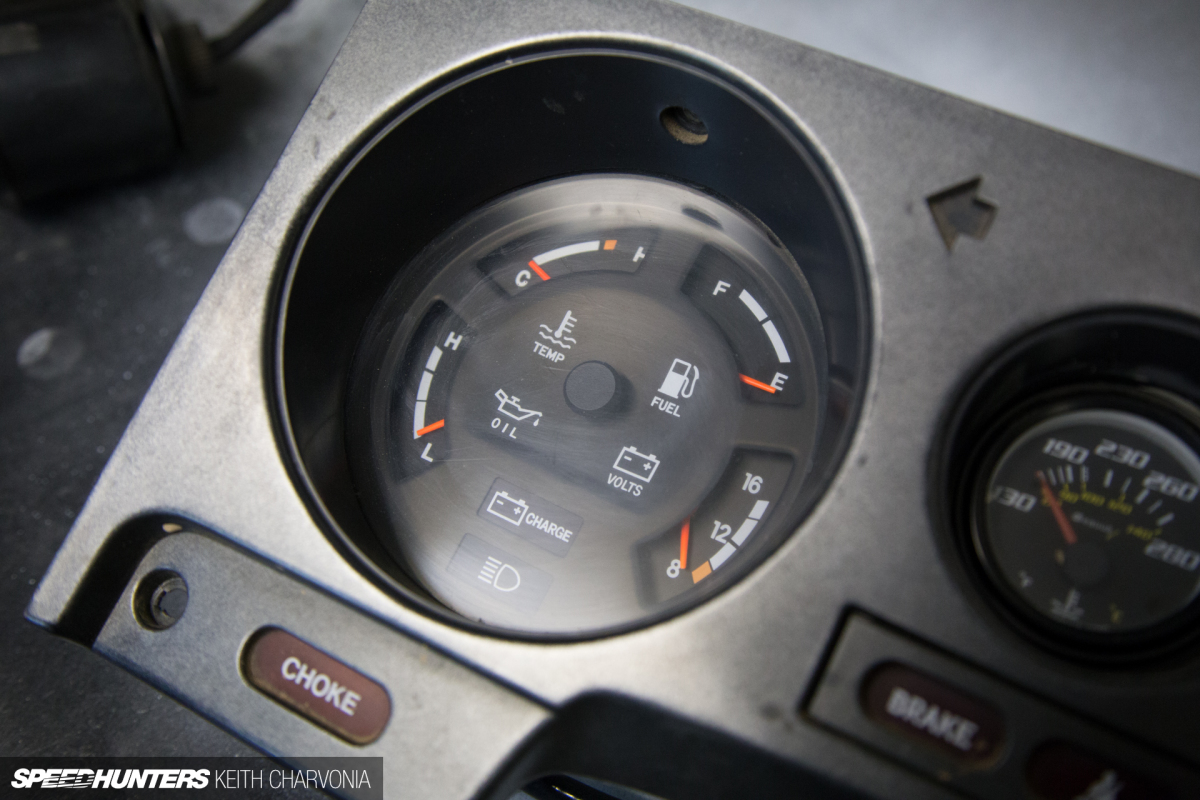
Would I be able to save them? Only one way to find out…
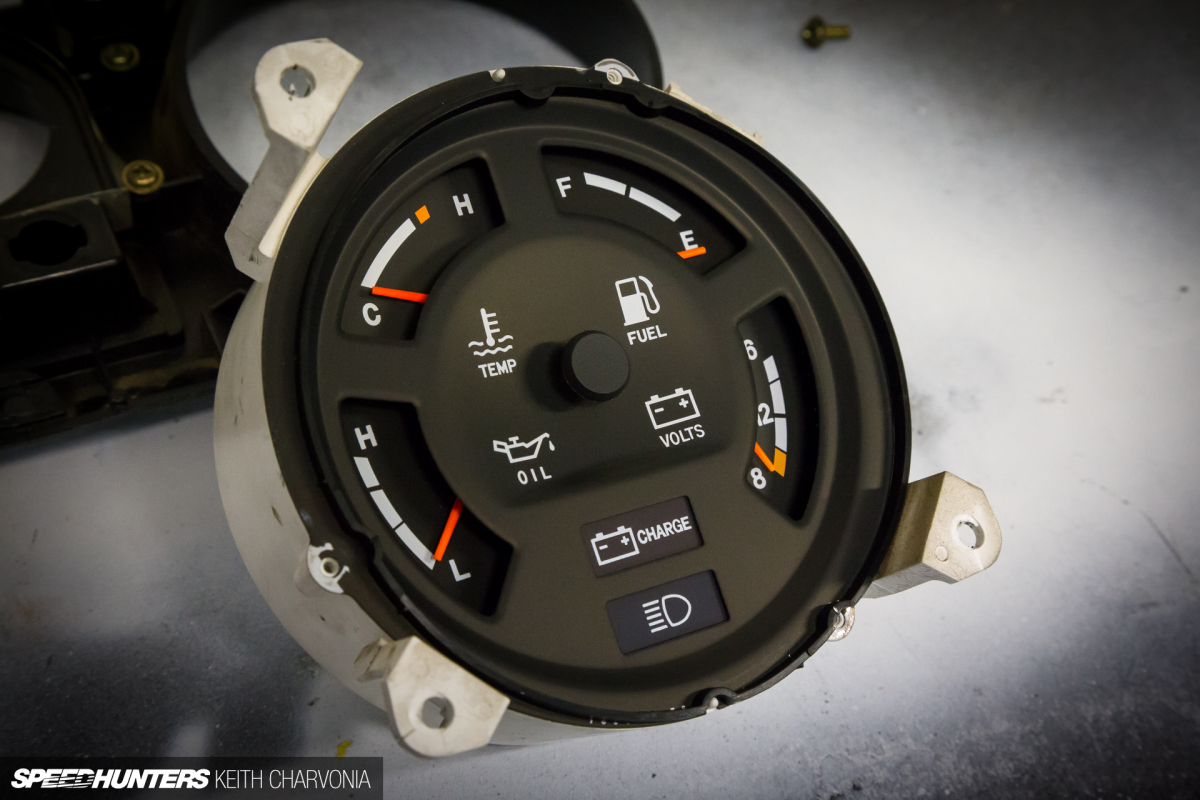
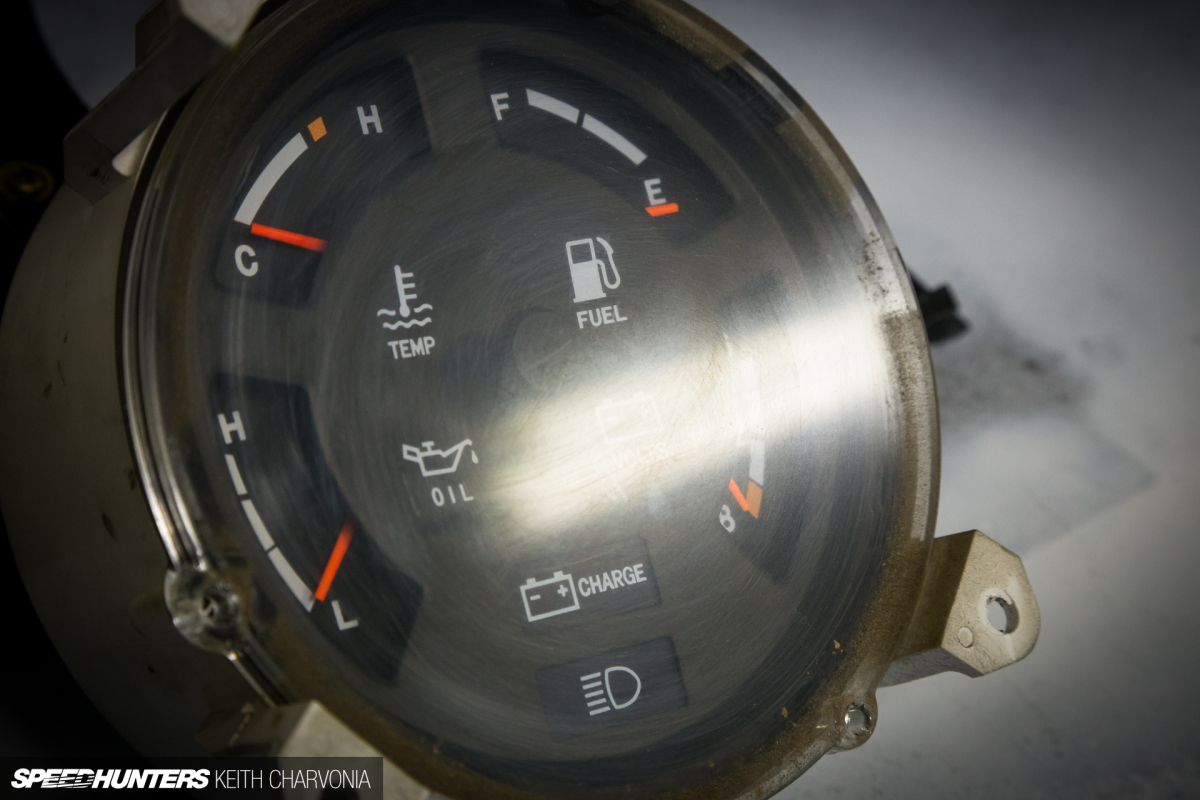
I was pleased to find that the actual gauges were in mint condition.
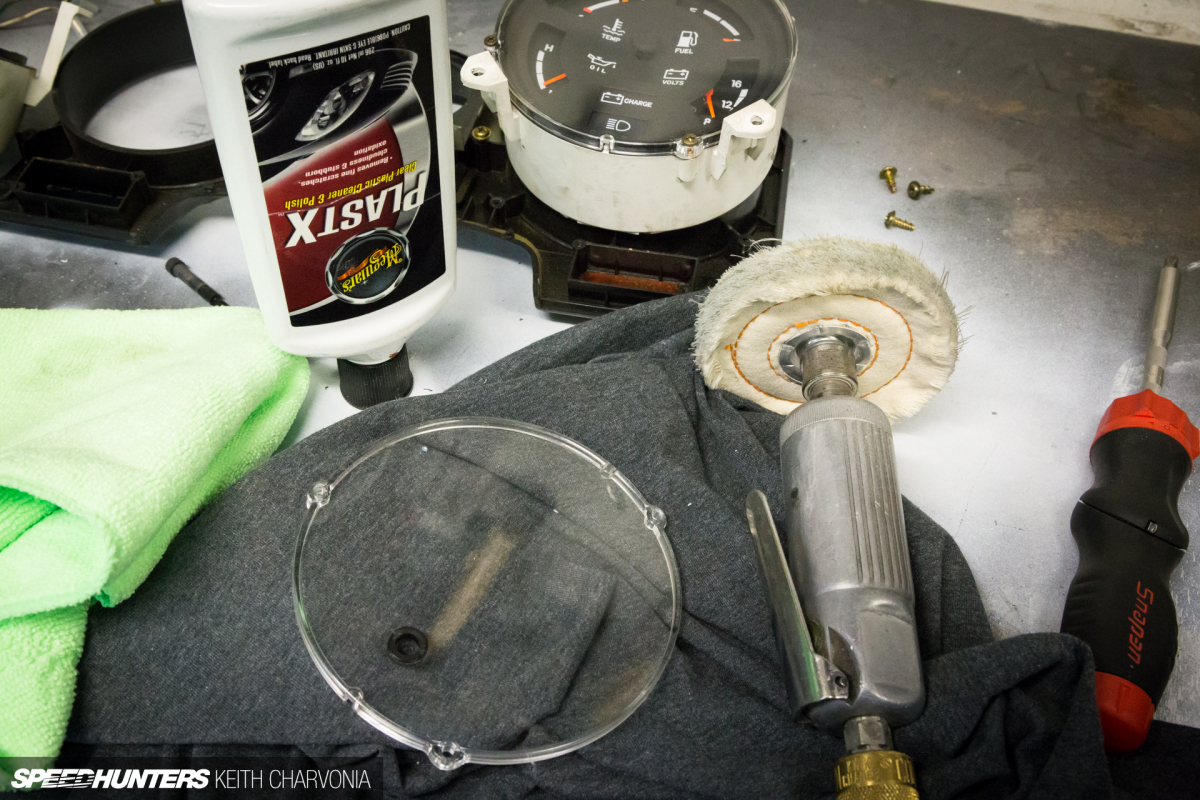
All I had to do was buff out the lenses. I like to use plastic buffing compound followed by Meguiar’s PlastX on a dedicated die grinder set up to hold a buffing wheel.
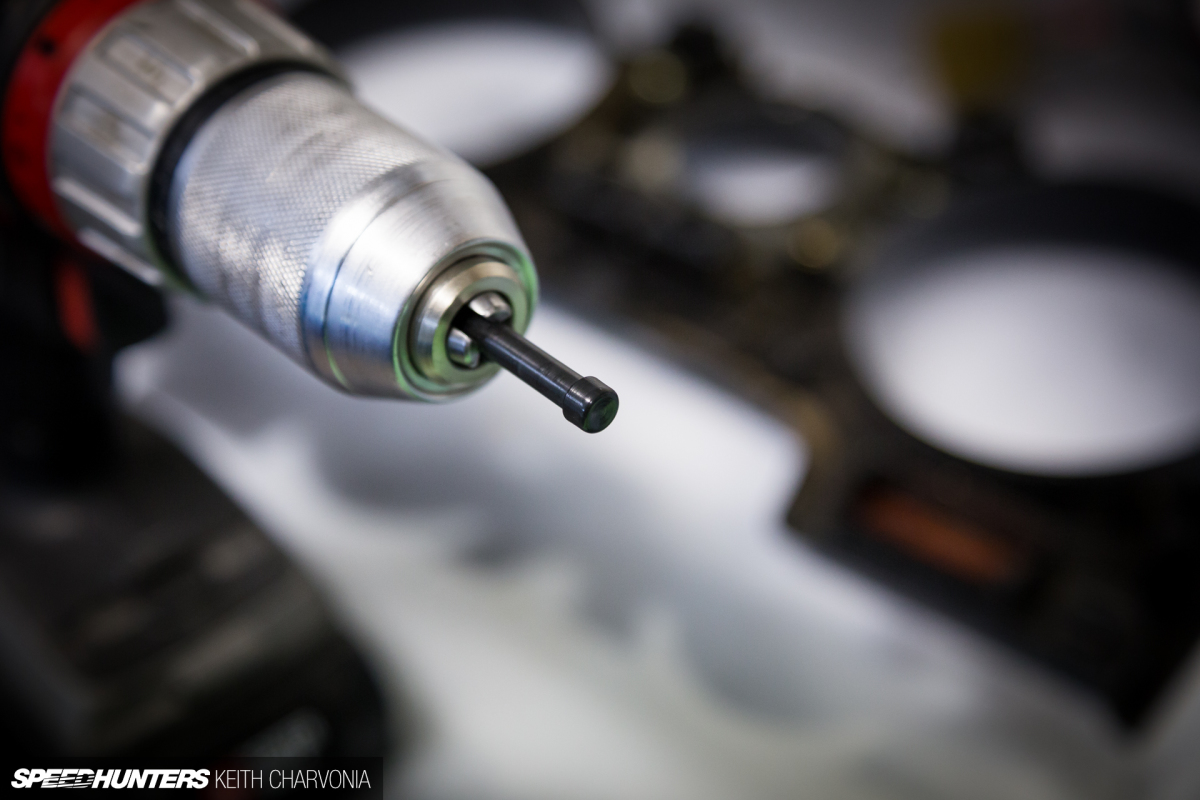
I looked at the tired trip odometer needle and figured it needed a shine too, so I chucked it up in a drill and hit it with the polishing compound.
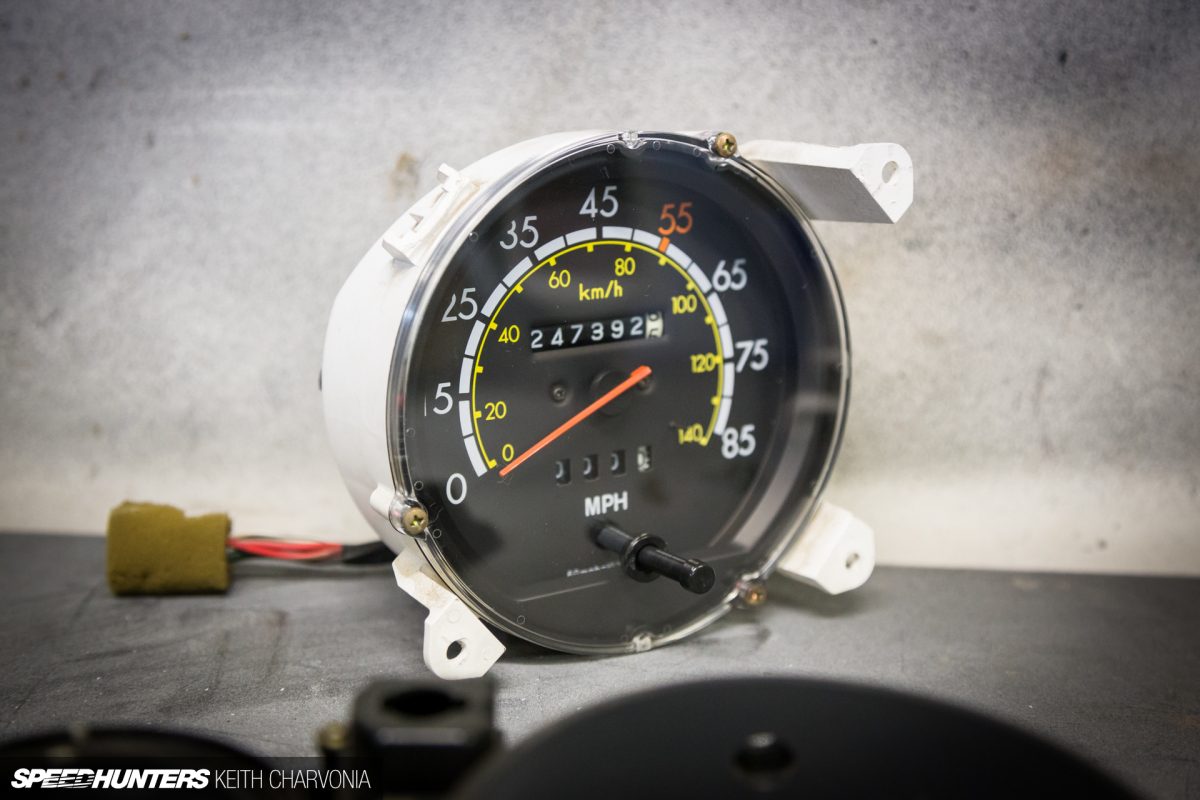
Nearly a quarter million miles and the gauges look brand new again.
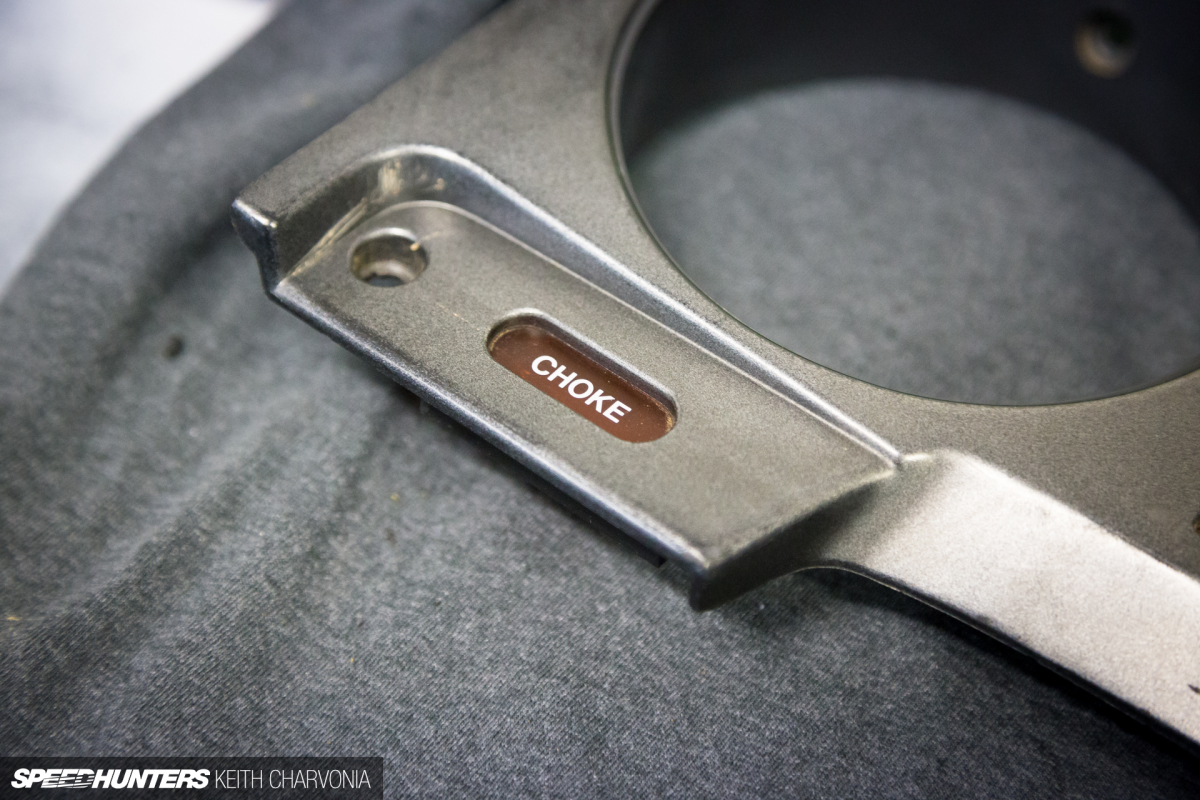
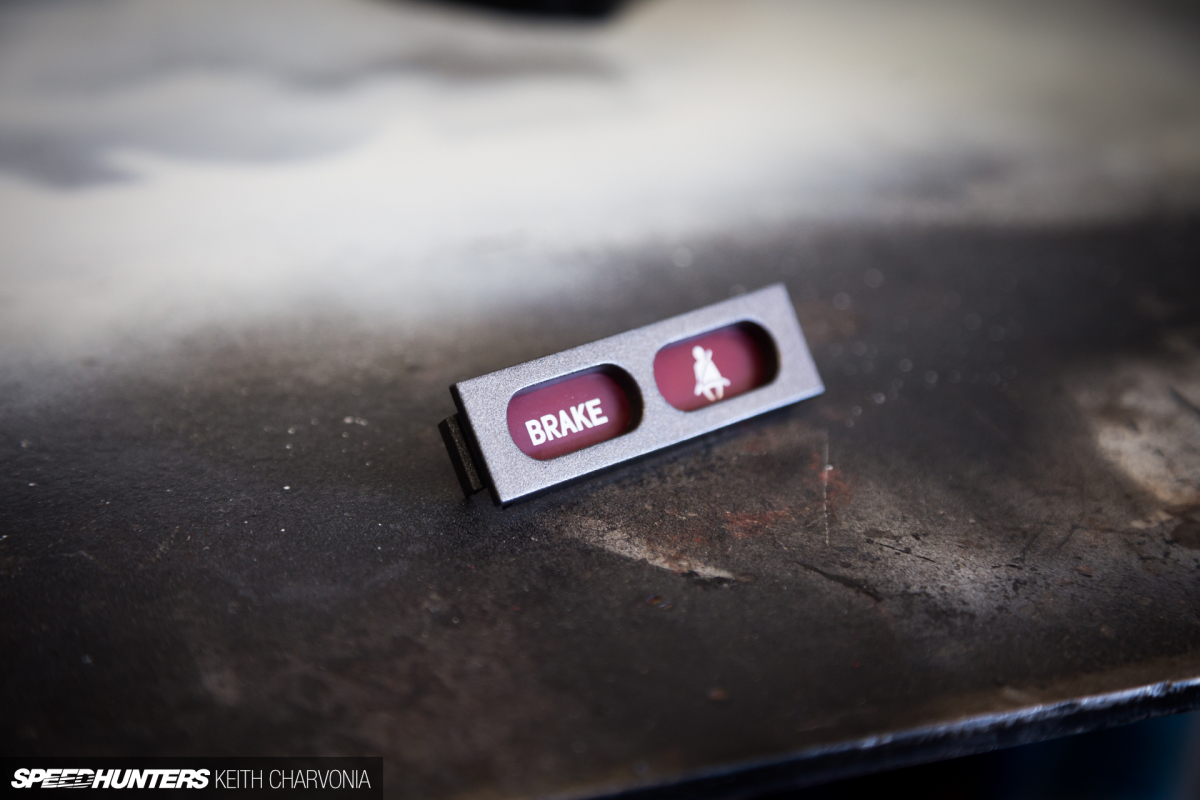
I planned to use some gunmetal spray paint to restore the bezel, but immediately hit a snag. Masking off the warning light lenses would never turn out looking good.
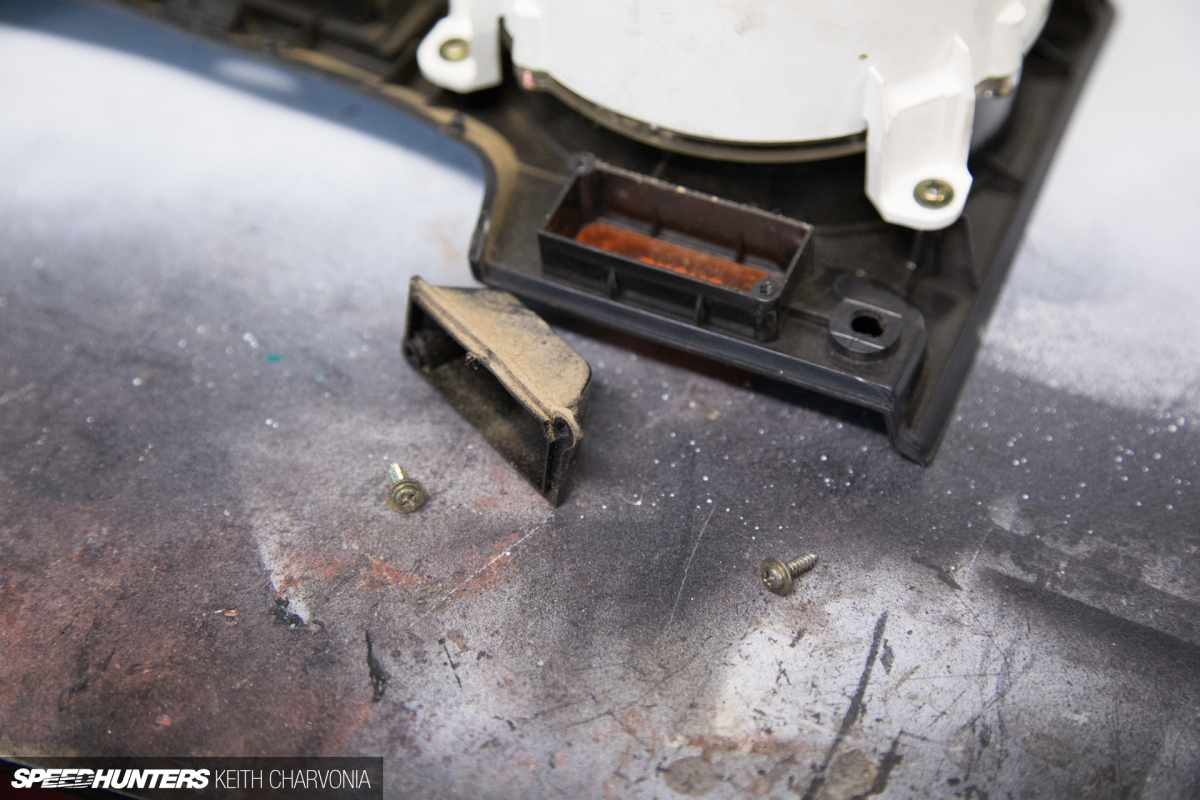
I dug deeper to see how they were held in.
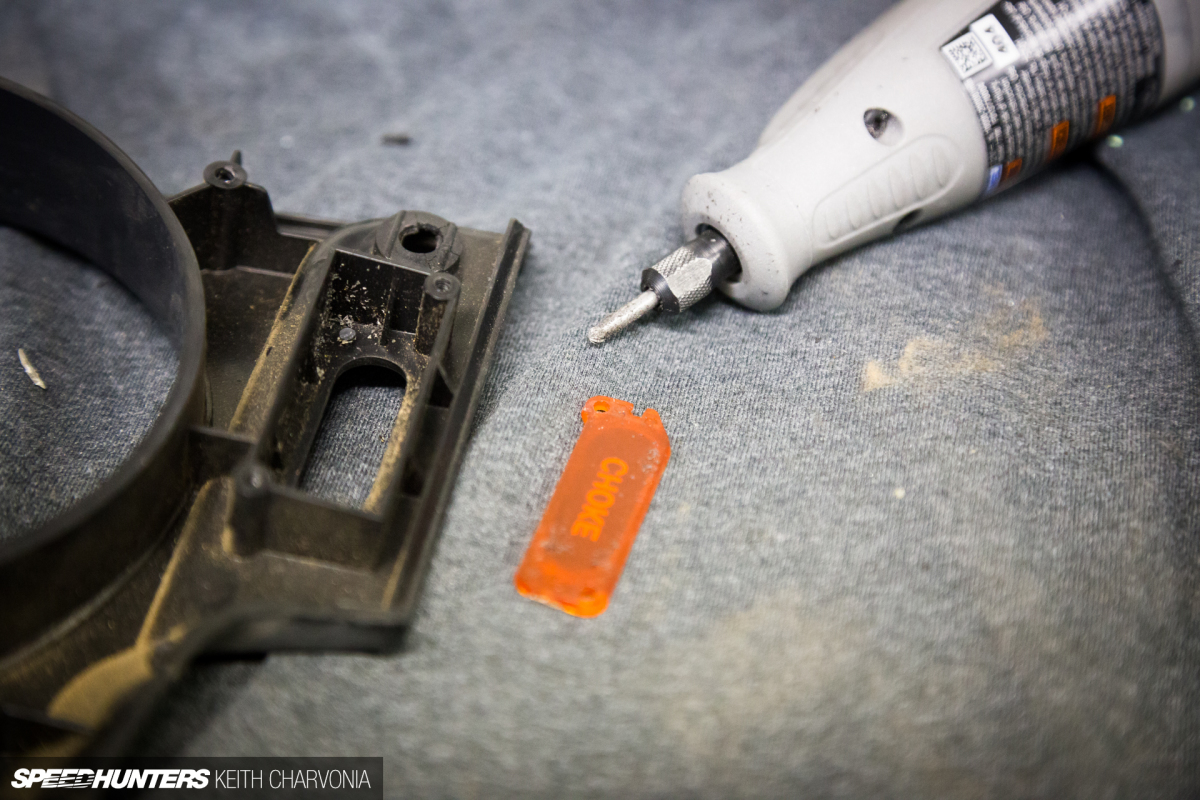
Turns out they sat on plastic posts that were heated and mushroomed to retain the lens. I use my Dremel to grind away the domed plastic until the lens could be removed. I did this sparingly, so as to leave enough material to melt the lens back into place later using a soldering iron.
This small panel was removable, so it was my test run.
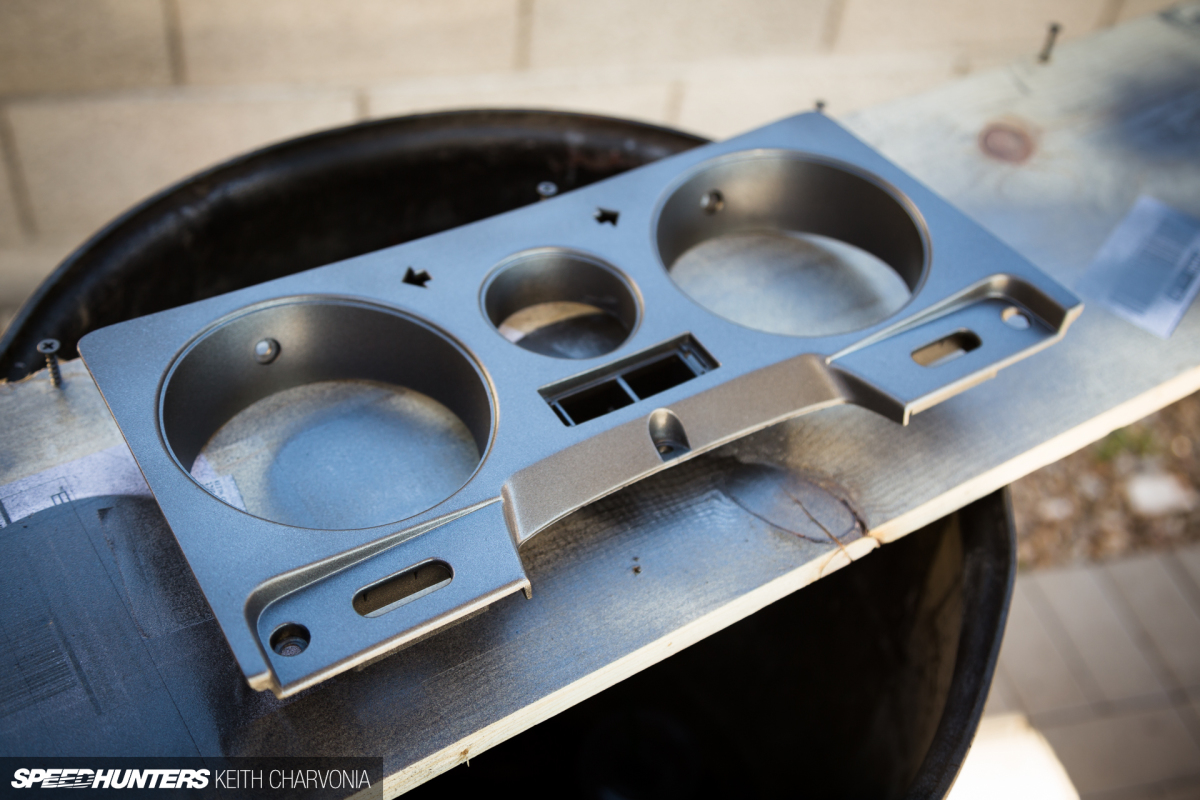
I sanded the bezel with 220 and applied a couple coats of paint.
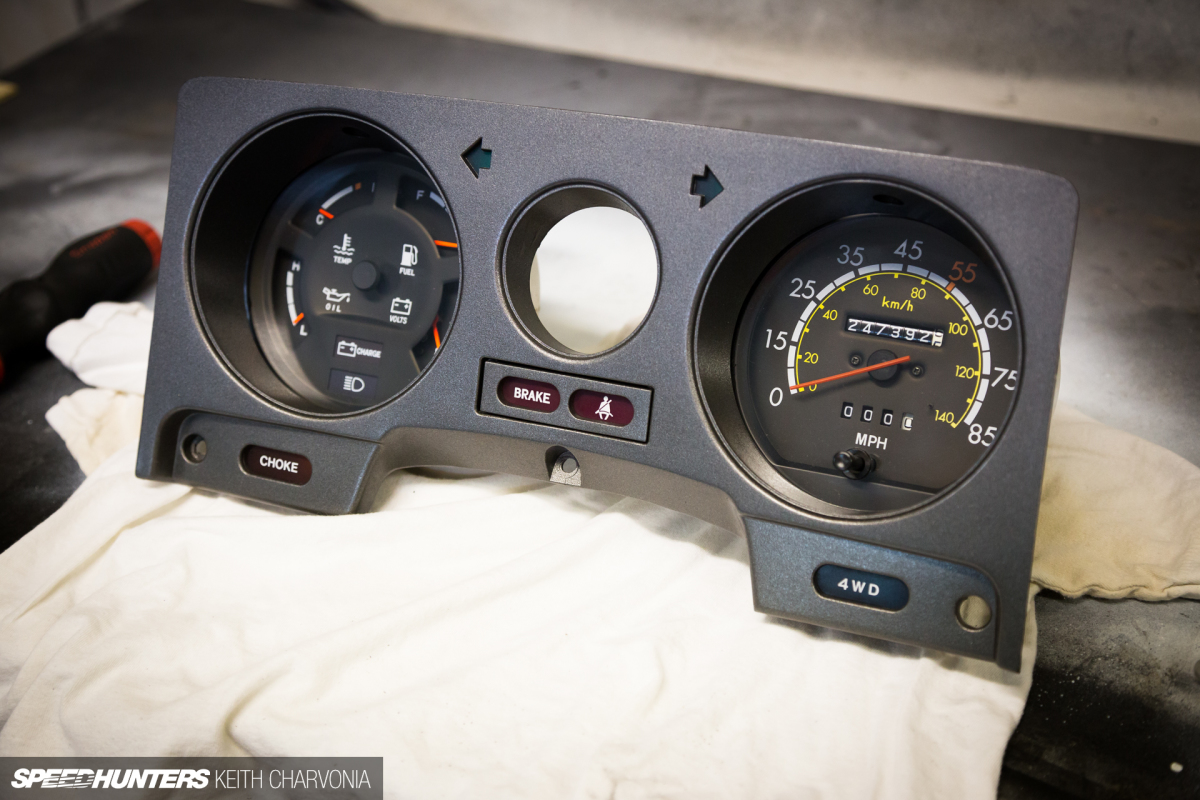
Soon I had my gauge cluster completely restored, and for just a couple hours of work. I removed the aftermarket temp gauge that sat in the tachometer hole, and now I’m on the hunt for an OEM tachometer.
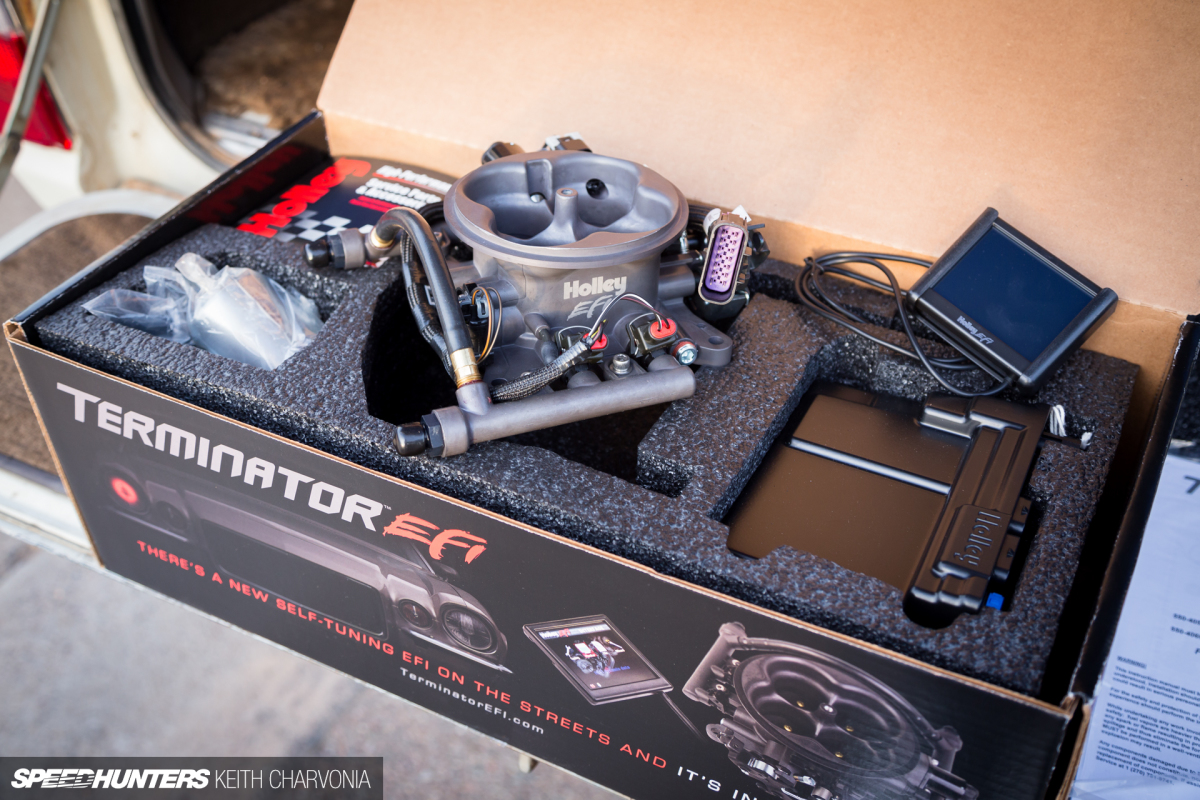
I’m planning to monitor coolant temp using the LCD display on my new Holley Terminator EFI setup that I’ll be installing soon, and I’ll try to get the factory gauge working too.

The new dash is in much better shape, and combined with the gauge resto it gives the FJ60 a much nicer feel.
The goodies are piling up, and I have lots more in store for my FJ! Hopefully I can get it out in the desert and wheel it soon too, but for me it’s just as much fun to work on it.
Keith Charvonia
Instagram: SpeedhuntersKeith
keith@speedhunters.com


THIS is how you do a project car, not chucking on some new wheels then complaining that the rest of the car is still shit and then buying a new project car bc the last one was "too much work". I like seeing someone having a real go for once.
You're an inspiration, man. I don't know how you motivate yourself to do all this work.
It looks good!
Loving the attention to detail here. Making the little things really count!
My favorite type of story!
You should drive this across the trans american trail.
That restored dash is soothing to look at.
Paizuri_4g63 I was just about to say the same thing.
Paizuri_4g63 It definitely makes a big difference in the feel of the truck.
n49o7 Thanks! My favorite to write too.
Tinj The little things will add up.
@moons A couple thoughts, because I have thought a lot about this. Finishing my Kaiser took eight years and there were times that motivation was VERY hard to come by. First, I have always wanted an FJ60 so I'm excited to work on it. Second, starting with a running and driving vehicle keeps the motivation up much higher versus having a full resto with no end in sight. Last, remember the old saying - How do you eat an elephant? One bite at a time.
Take the FJ to King of the Hammers!
Thing is so boss.
Some DIY, love it!!! It shows that it's not always the bigger, expensive fixes that make the vehicle look better just some attention to the obvious fixes.
The wheel is bizarre. Was it mounted like that because of some sort of weird spline/mounting bolt patter misconfiguration?
Another great post Keith
caudaux Nope. We went through a solid month of fixing problems on that car - a third of our entire time in Japan. Keep in mind we were in a foreign country with no tools or garage for a total of three months. The plan was never to "build" a car, but to write stories about the journey of buying the car, making it driftable and then using it to learn to drift before selling again. When you've only got a very limited time frame and are hemorrhaging money trying to fix the car whilst going nowhere, sometimes you've got to make the tough call and cut your losses if you ever want to do any driving - the whole reason we were there. If you'd like to see a real project that we built back home in New Zealand with access to our garage and equipment, please check out: http://www.speedhunters.com/tag/project-z/
Two BBC powered landcruisers in a day this makes me happy
I love your work Keith! I'm blown away with every update on this, it's pretty cool to see someone restore a pretty common car (well in australia anyway) with such attention to detail! Keep up the good work!
caudaux Very different circumstances, this build is done in the comfort of my own garage and at my own pace as time and funds allow. Remember that the costs of the project car(s) in Japan were coming straight out of Pedey and Taryn's pockets while visiting a foreign country. I really felt for them when that was going on but they did live a dream that many never will.
LouisYio One day! It has a long way to go before then.
DaveT Ah Dave I wish there was a better explanation, but in this case it was pure apathy.
GregFentonHNHS I was looking at the home page marveling at this myself. Pure coincidence too.
Lachys114 Thanks! They're far less common here.
so whens the body coming off the Frame Keith? hahahaha Youre as OCD as I am...
@chris chabre LOL probably when I decide to paint it. I better hurry up and smash this thing up on the trail so I don't ever paint it.
KeithCharvonia youve seen whats become of my 78 Ford....haha oh btw, Ill be sending pics in a few minutes...
KeithCharvonia Definitely agree being able to drive it now and then is a big motivator. What I've found is research tons so you know what to expect and then have all parts and tools ready - all of them. It's the small things that are big pain.
I love this, so simple, but so clean. This is true simplicity with car/truck, not lowering it and putting rims on it,but
restoring it one piece at a time.
kev025 not some, but all!
KeithCharvonia i guess the last one is to have all the tools you need! Haha, keep up the amazing job Keith! Really looking forward for further updates on your build.
Mr http://www.speedhunters.com/author/keithcharvonia/, your build posts always make me feel good and bad at the same time.
Good because it's good to know that such knowledge & craftsmanship exist out there… bad because I know I'll never get there myself.
DRiFTaddict
You realize it's been raised with rims and the entire drivetrain changed right?
Not exactly simple and restored...
Very cool Keith! Looks great and I dig the detailed how-to info!
I love your build posts Keith keep them coming no matter what you're working on
Awesome. I've got a hj60 I'm planning on restoring after I finish my house. This is great inspiration.
great build. this nit picky stuff is why i love working on cars. doing a great job.
Great build Keith. I bet that's a fun machine..
I've got a totally original round headlight FJ62 in immaculate condition. They are very cool wagons.
My fav online DIY build currently, loving it...my fingers find themselves searching FJ60. Dammit.
Keith Charvonia : IAMTHEeBAYHUNTER
Haha, but for real, this was a really fun read. I love the DIY approach with the restorations that just turn out so great, the dash, transfercase shifter, grill, and everything else. This is the kind of article that gets me really excited for the snows to recede and get to those annoyances I've been staring at (and feeling) during the long winter months. The FJ60 is looking great!
This is too cool. Your FJ is coming along very nicely with tasteful modifications. Its posts like this that make me very anxious to own a 4x4 that I can call my own.
tenpennyjimmy Never? Come on man! Get to work and you'll get better every time you turn a wrench or solve a problem.
_PEITRUS_ Thanks! The best part about a 4x4 project is you get to really use it off road and test its limits. I haven't had this experience with street builds, although a track build would do the same.
IRONWOLF RD Haha exactly! Thanks for your feedback.
dr_obson Appreciate it
Leroy P Me too, it's all in the details.
I love your attention to detail! I'm on the hunt for my very own cruiser soon too
Brilliant, Keith!
very nice. keep posting
What a noticeable difference KeithCharvonia ! I love tackling the little details like that,and the wiring, but you took it to the next level! Clapping hands.
Another great post from Keith! As I get more and more into the world of off-roading articles like this really intrigue me!
Thanks! Do you have a vehicle to take off-road at the moment?
Thanks Brian! Nice to hear from you.
Cheers Ben. Hope you're well!
Thanks! I'm a bit compulsive I'll admit.
Better get one before the prices go up!
Where are you located? We didn't get the HJ here in the US but I've seen them imported. I love restoring Toyota's in particular. The build quality is so solid that's it's very rewarding to clean, refinish and lubricate something and get it back to working at 100%.
Thanks man. Good to hear from you.
Dude things look awesome and I can't wait to see what more you have to come.
Good job restoring all of that stuff. Gave me a few ideas
Man this thing is looking pretty. These posts are inspiring me to look at an old 4-runner instead of an XJ!
todd_d I've owned both, and I vote T4R.
reno808 Thanks! I have a bunch of interior parts to put in next. They're in much better condition than what's in the truck.
As a recent owner of my 1st 4WD, a Toyota also and a lover american muscle and restorations I'm absolutely loving this Keith. Can't wait to see how it goes goes with fuel injection.
The project looks so great Keith! Just bought an FJ62 and needs some interior work.
Curious, what brand gunmetal spray paint did you use on the gear cluster? And how did you get the lower part of the dash looking so clean? Thanks!