


I remember the moment well. The pressure was creeping in as I stared at the bone stock FR-S that had just been delivered to my house. How was I going to build a Scion Tuner Challenge car when I knew I wasn’t a ‘tuner’ at all? What business did I have trying to compete in the import world anyways?
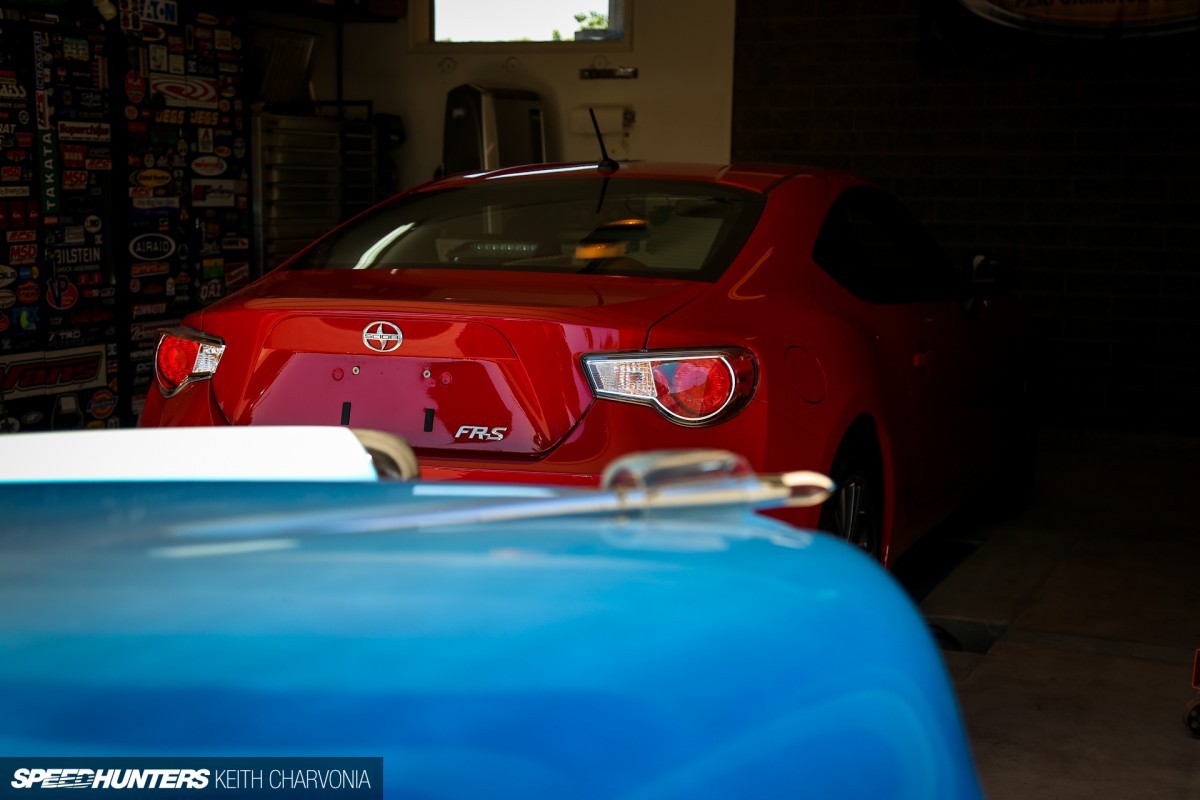
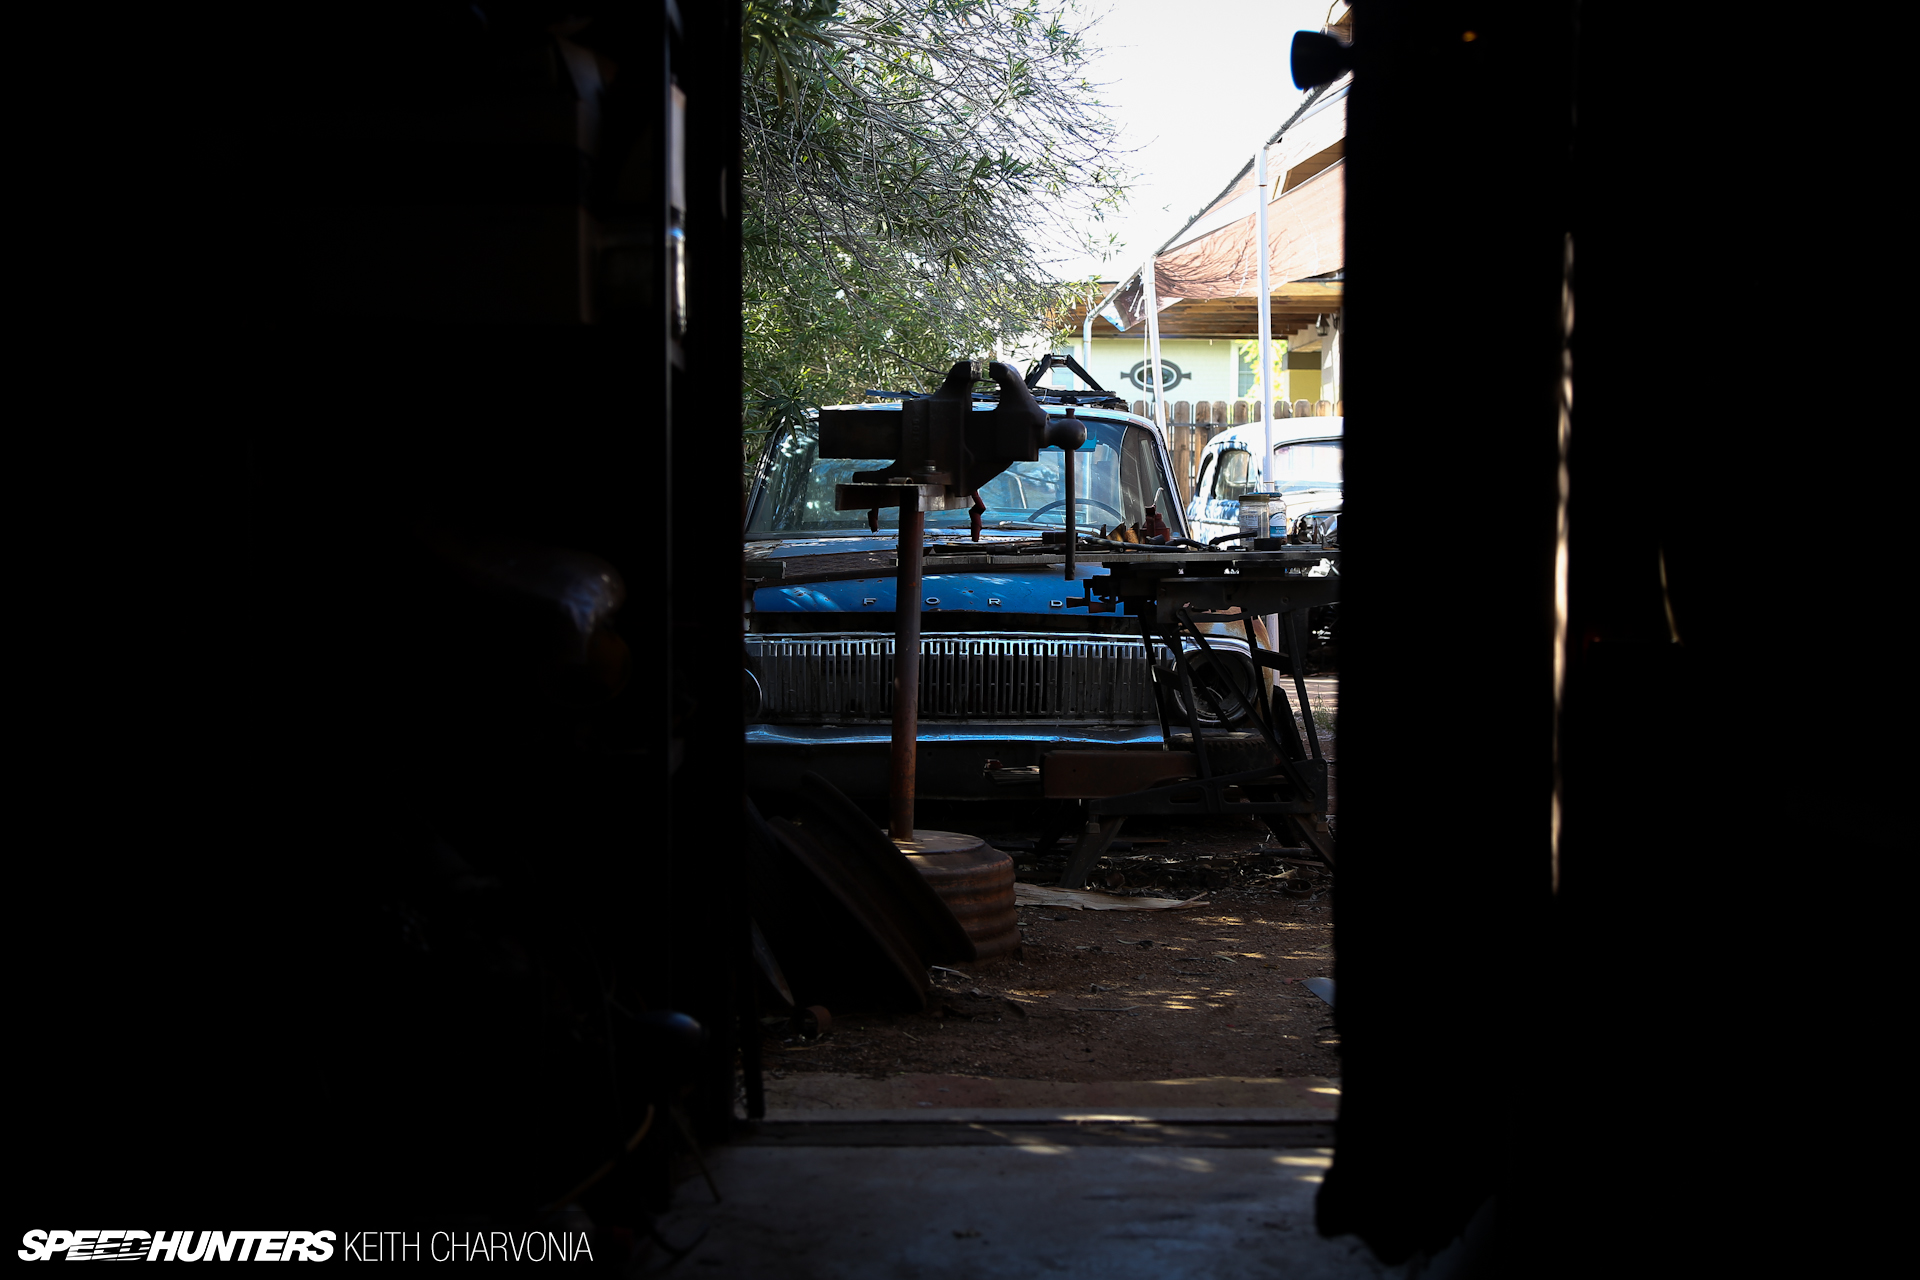
As I looked for a fresh angle to take this photo I started shooting with my Kaiser in foreground, and right then I had a sense of relief. I could do this, and it would be the only way I knew how: fabricate my way through it.
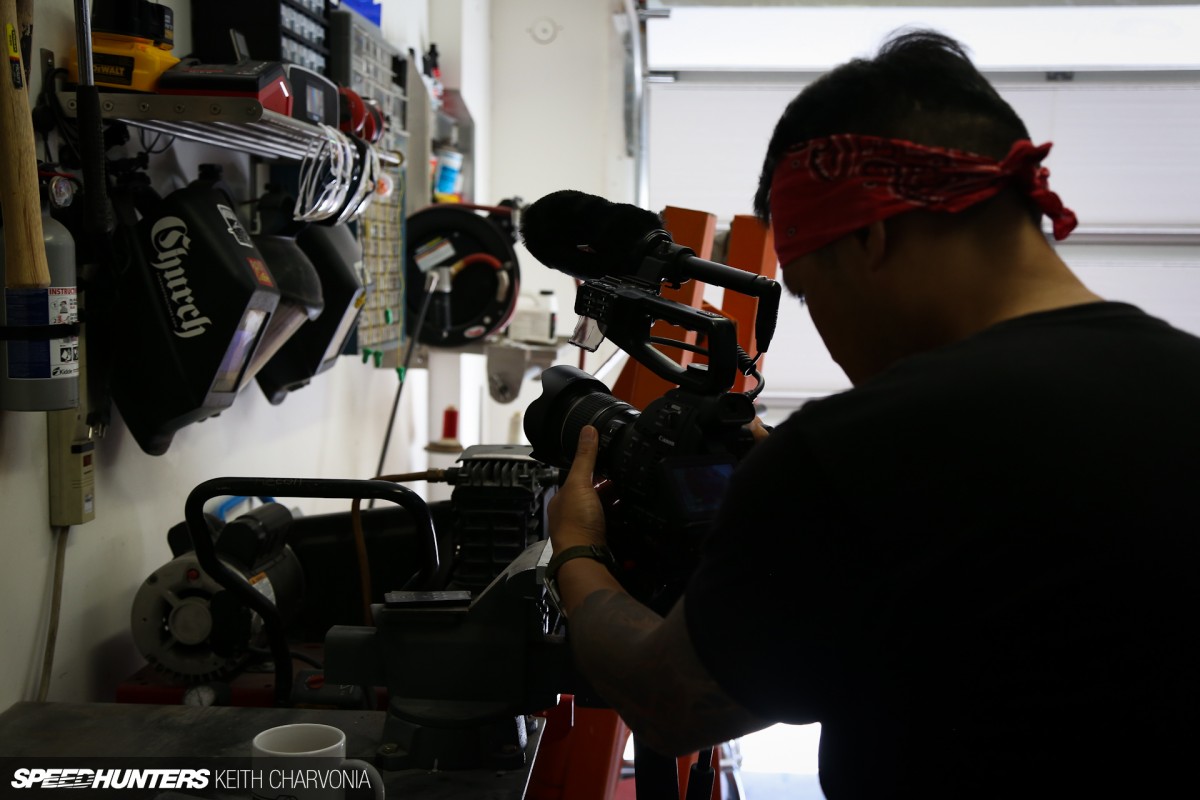
Scion’s video crew immediately took a liking to my little garage fab shop. I’m so used to having welders and a lift at home that I take it for granted, so their reactions were a nice reminder.
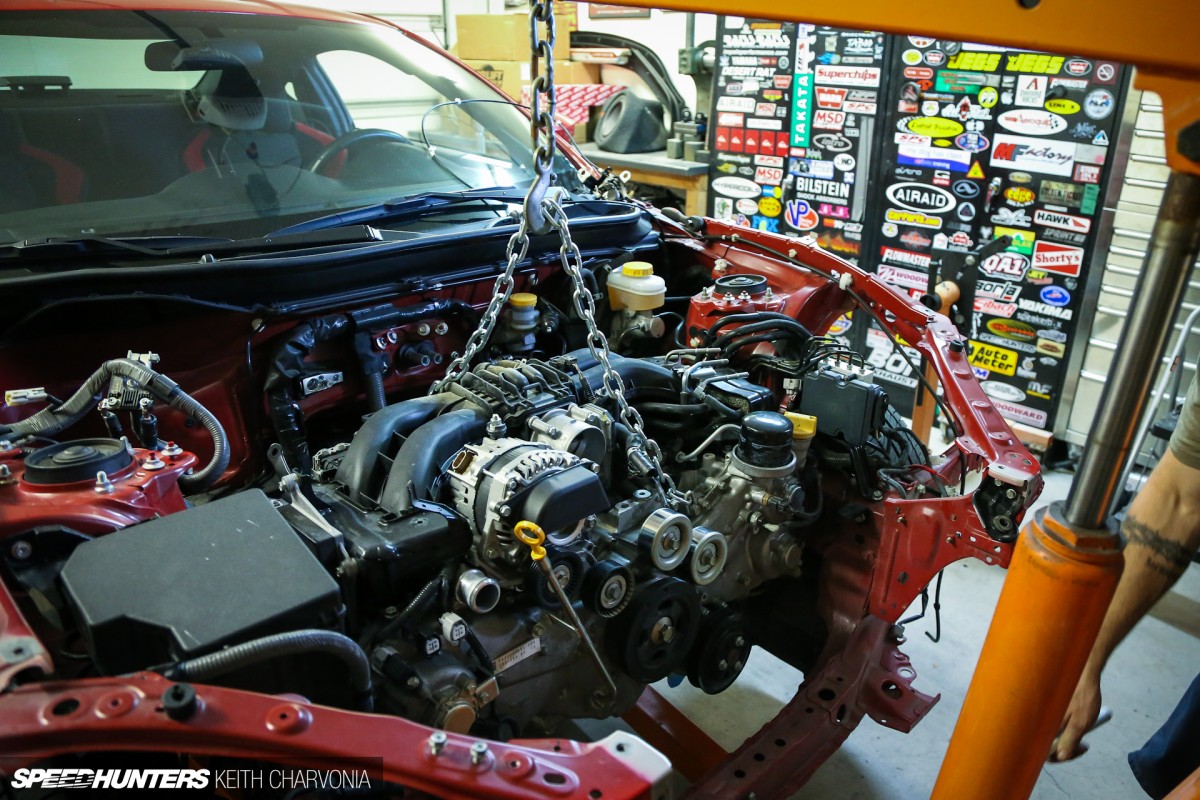
As I touched upon in a recent story, we immediately jumped to action and yanked the motor.
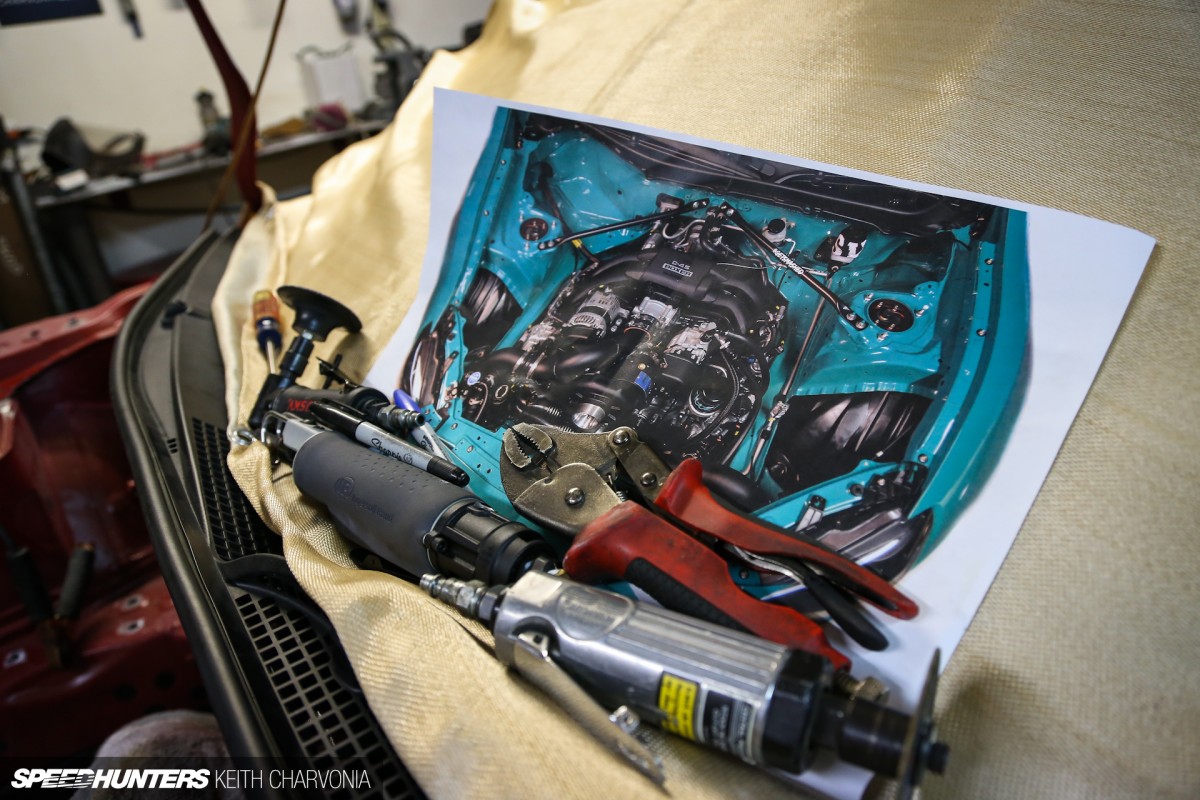
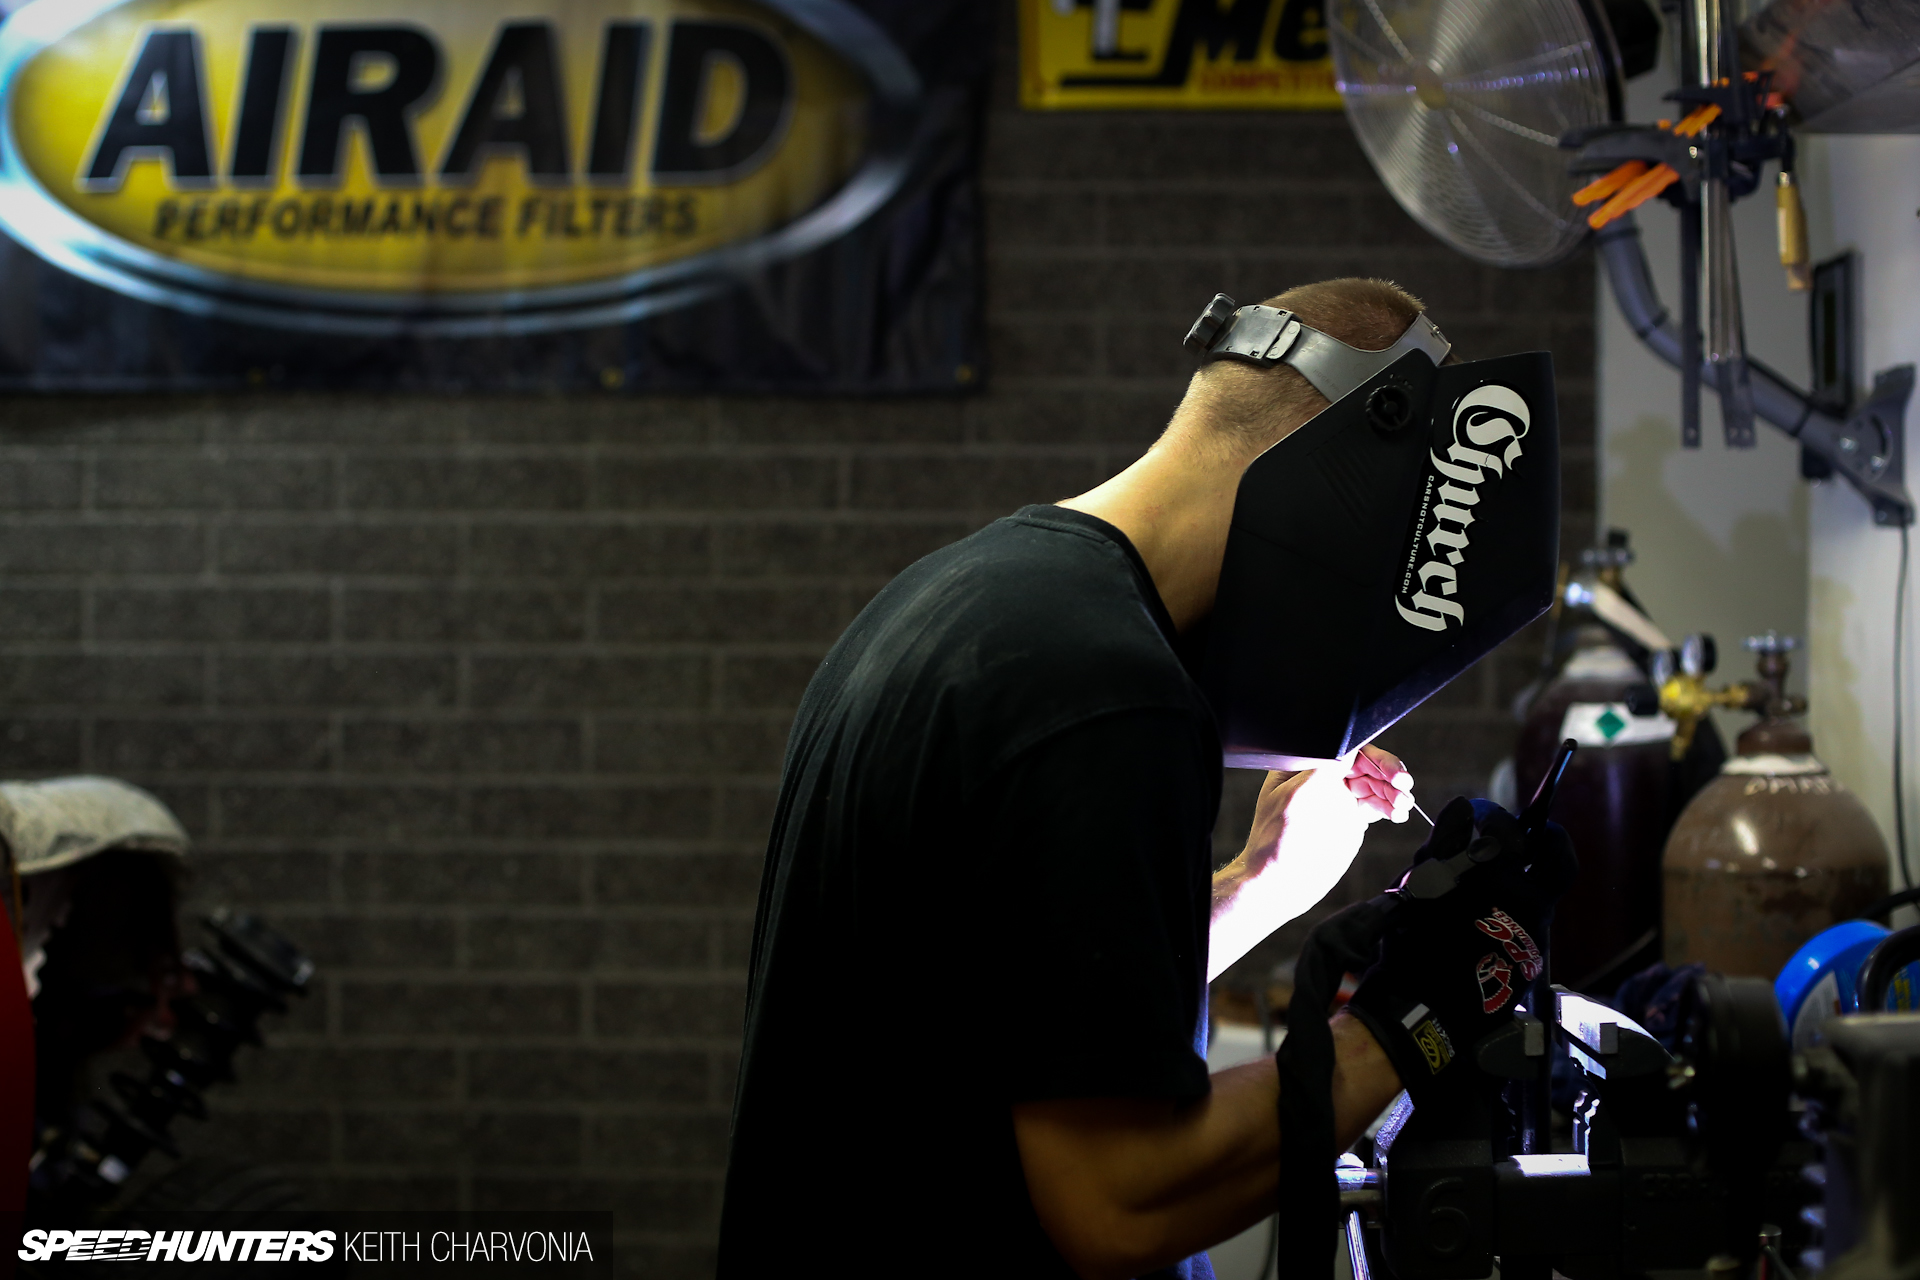
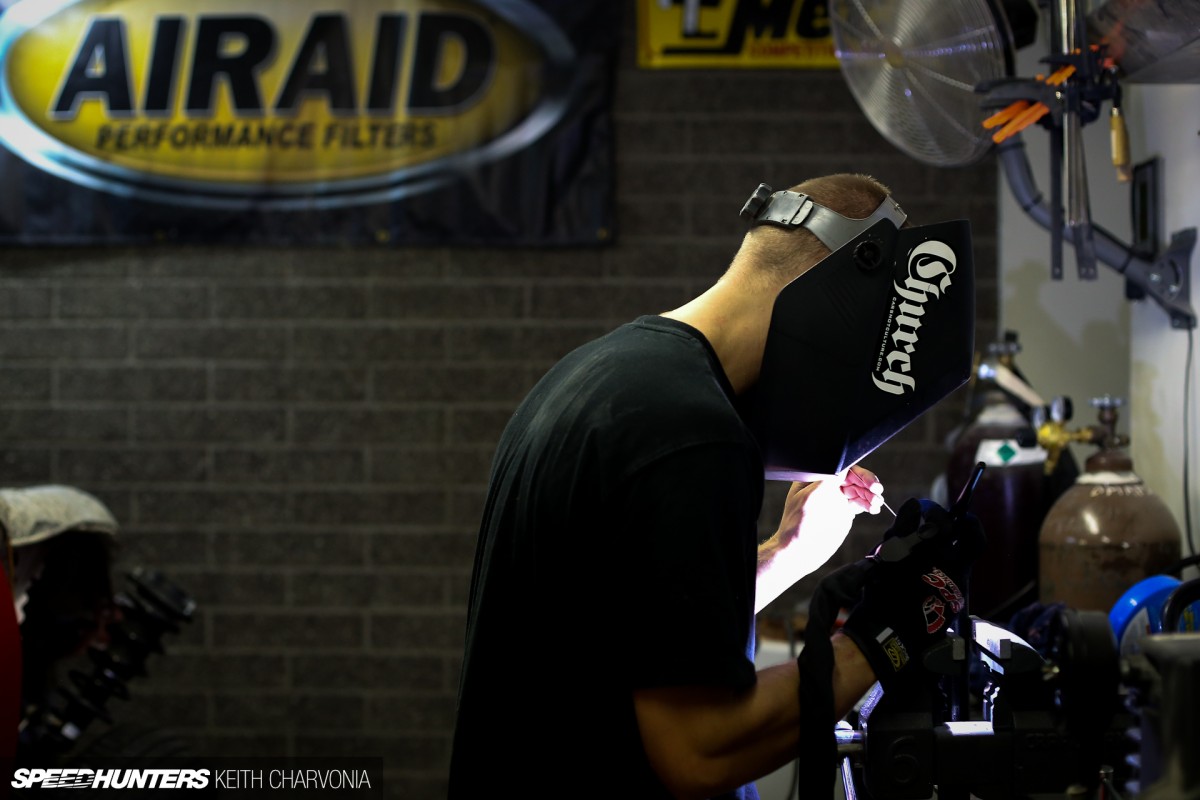
Armed with a picture of the Chasebays FR-S, I set out to weld up every last hole that didn’t serve a purpose. To protect the windshield we used a fiberglass welding blanket. Things were about to get messy…

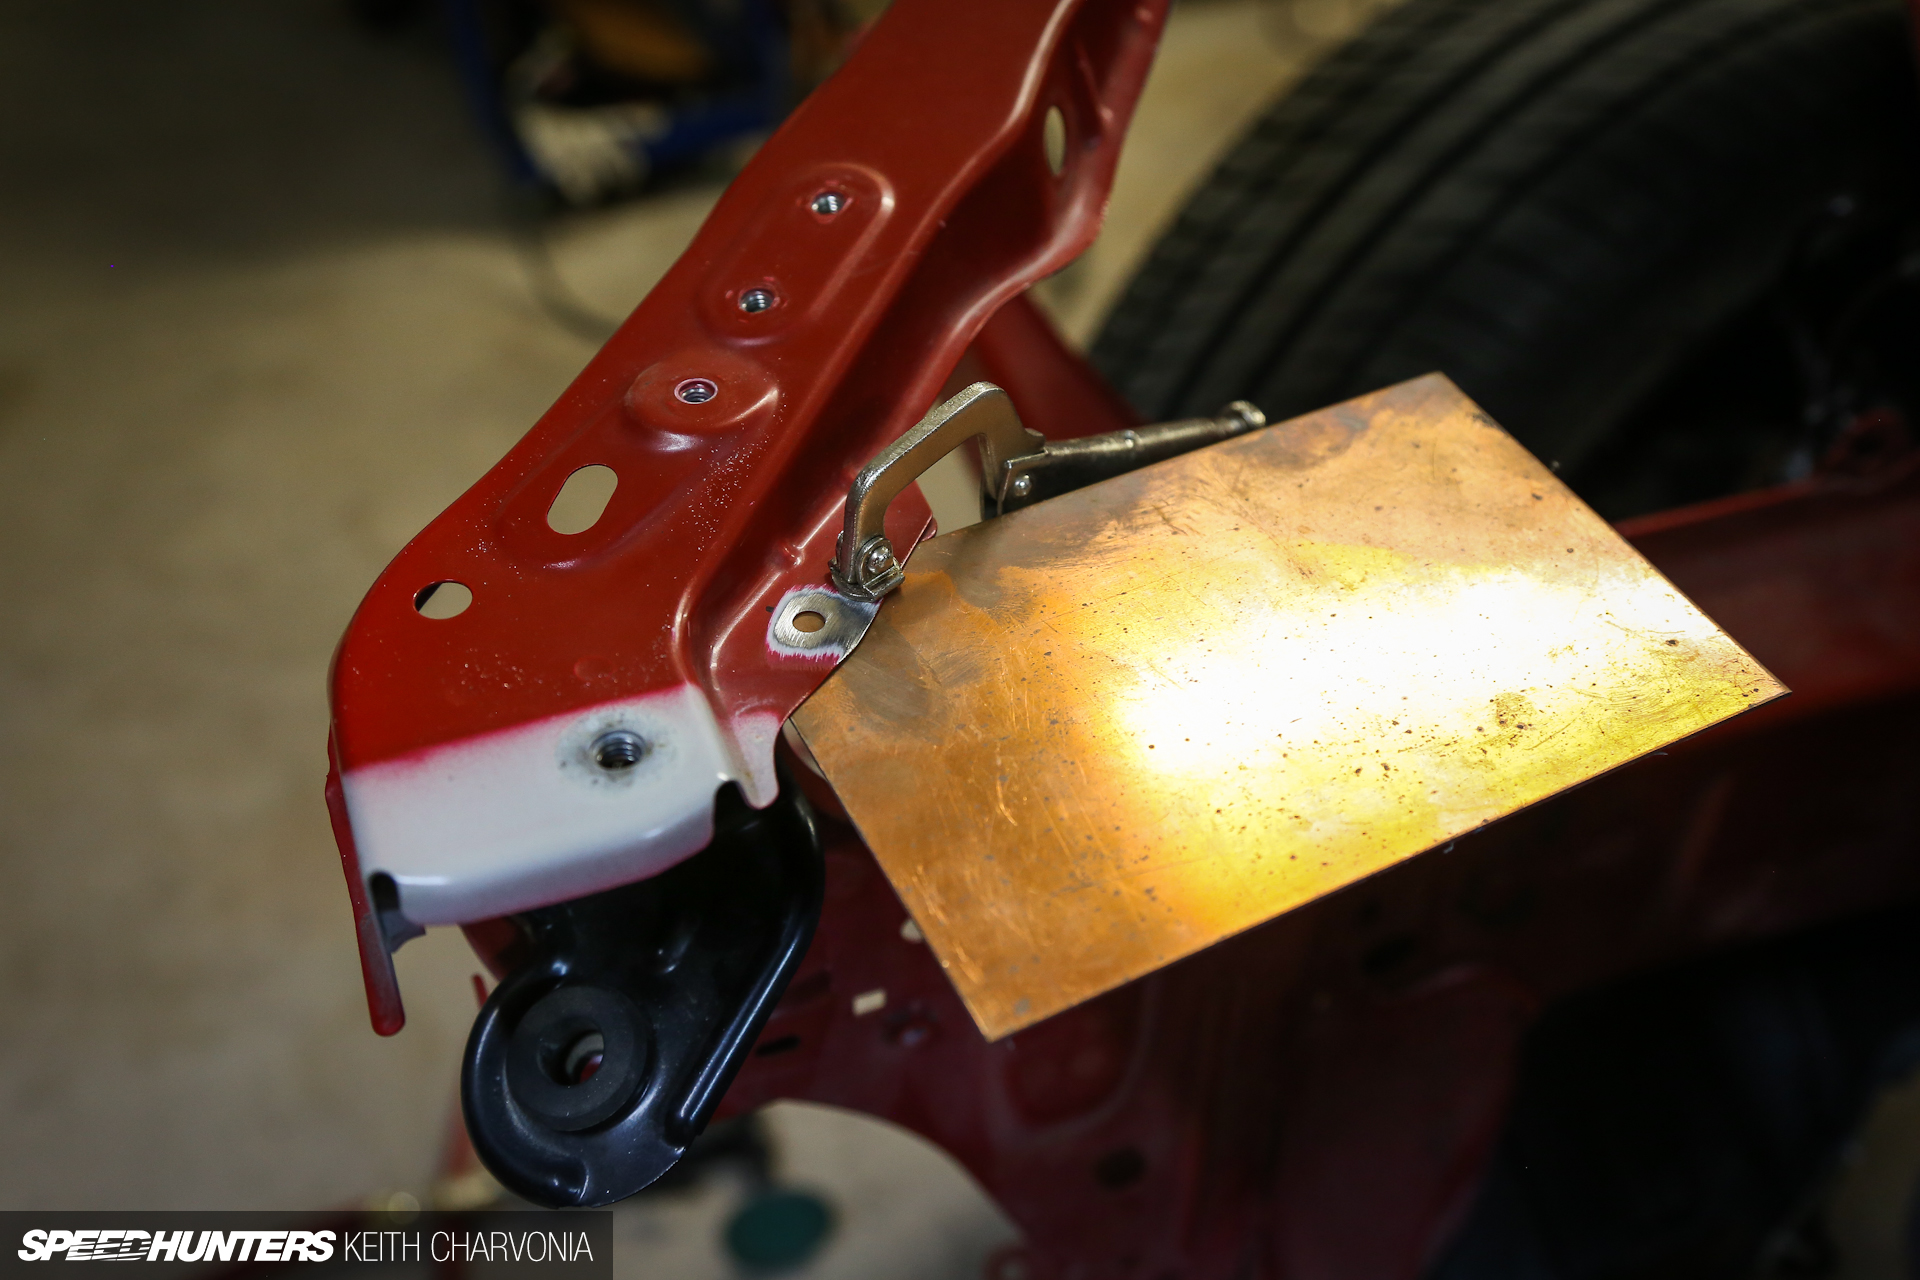
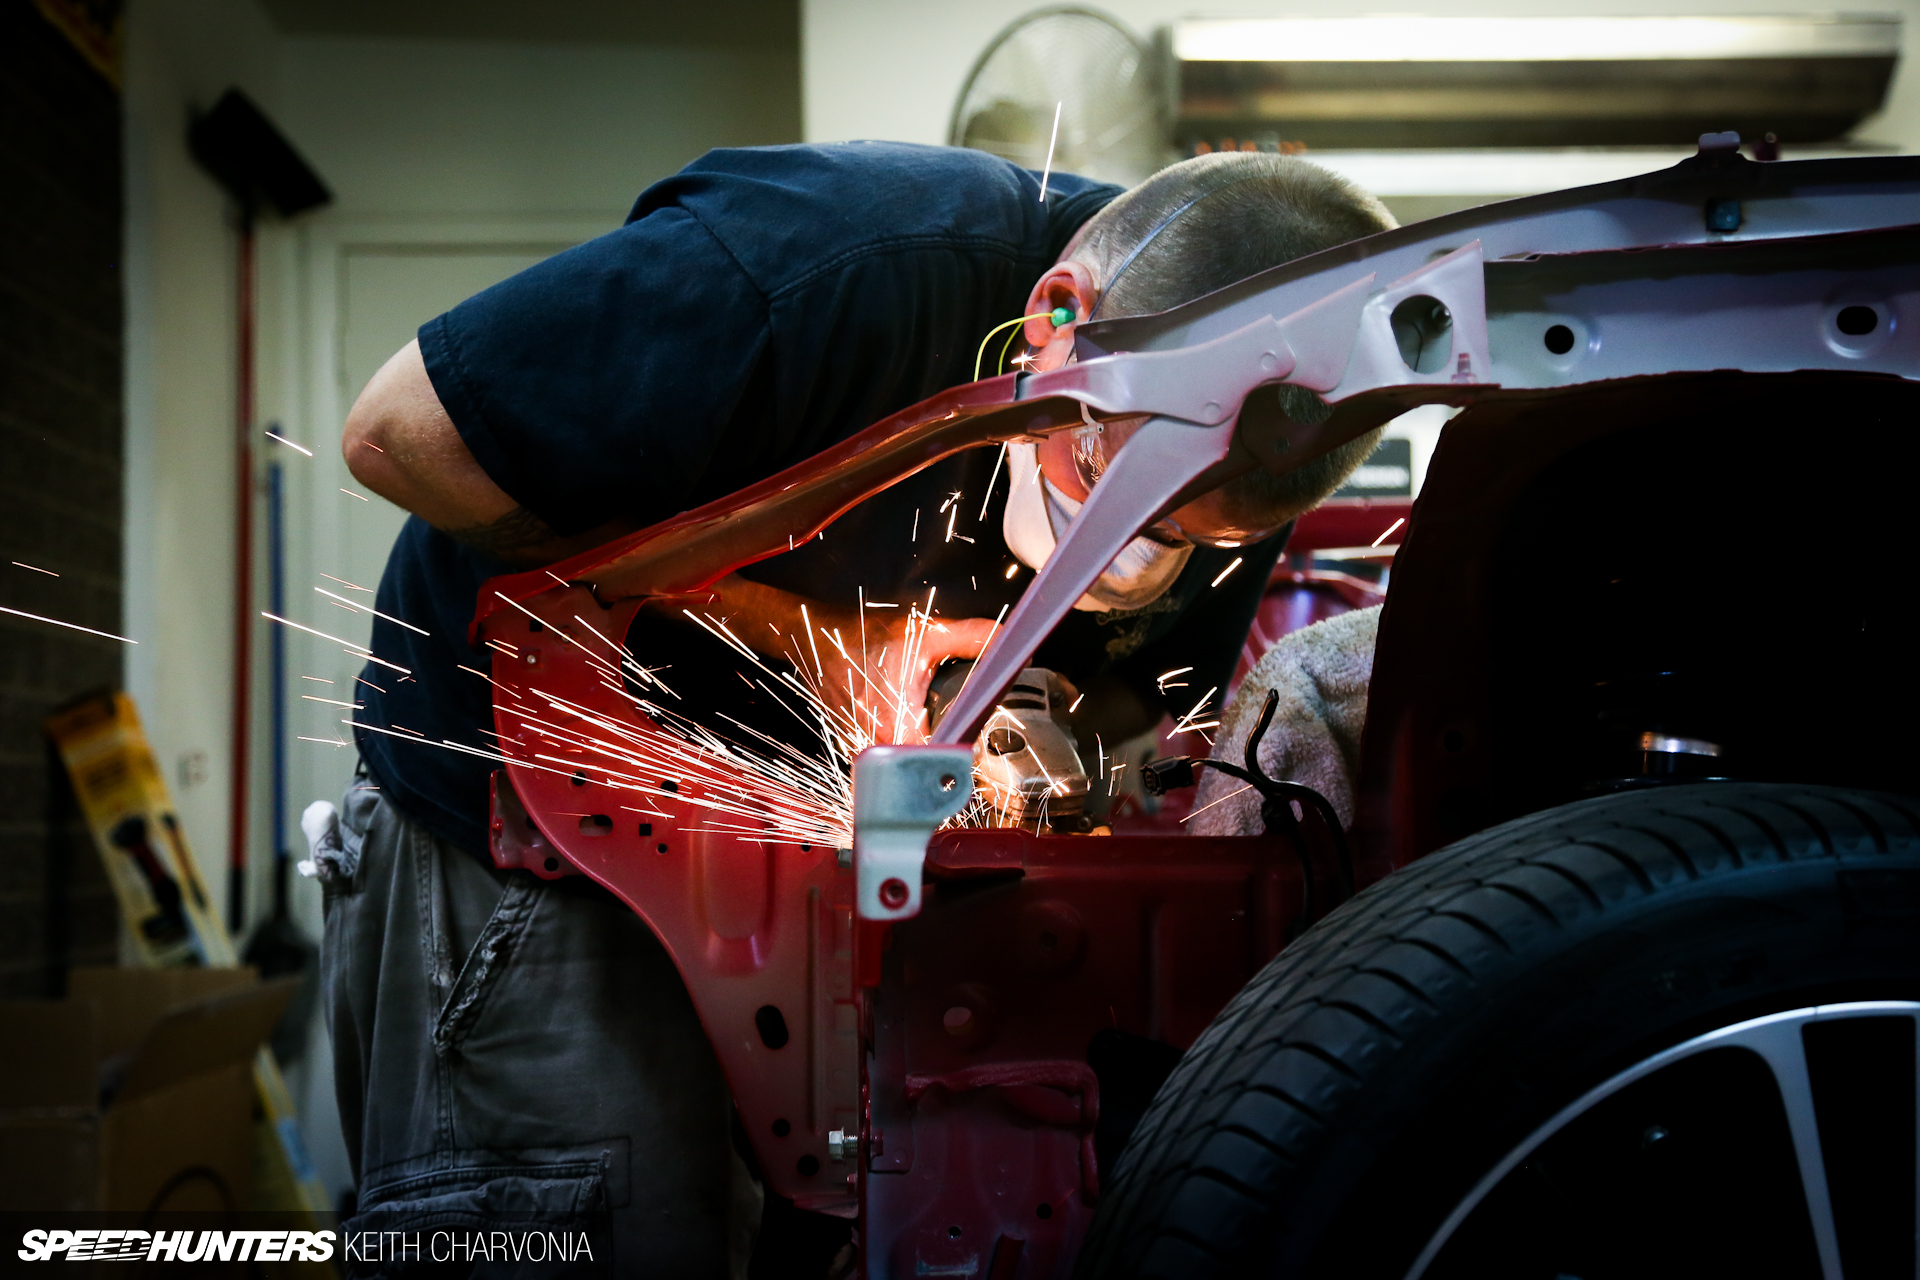
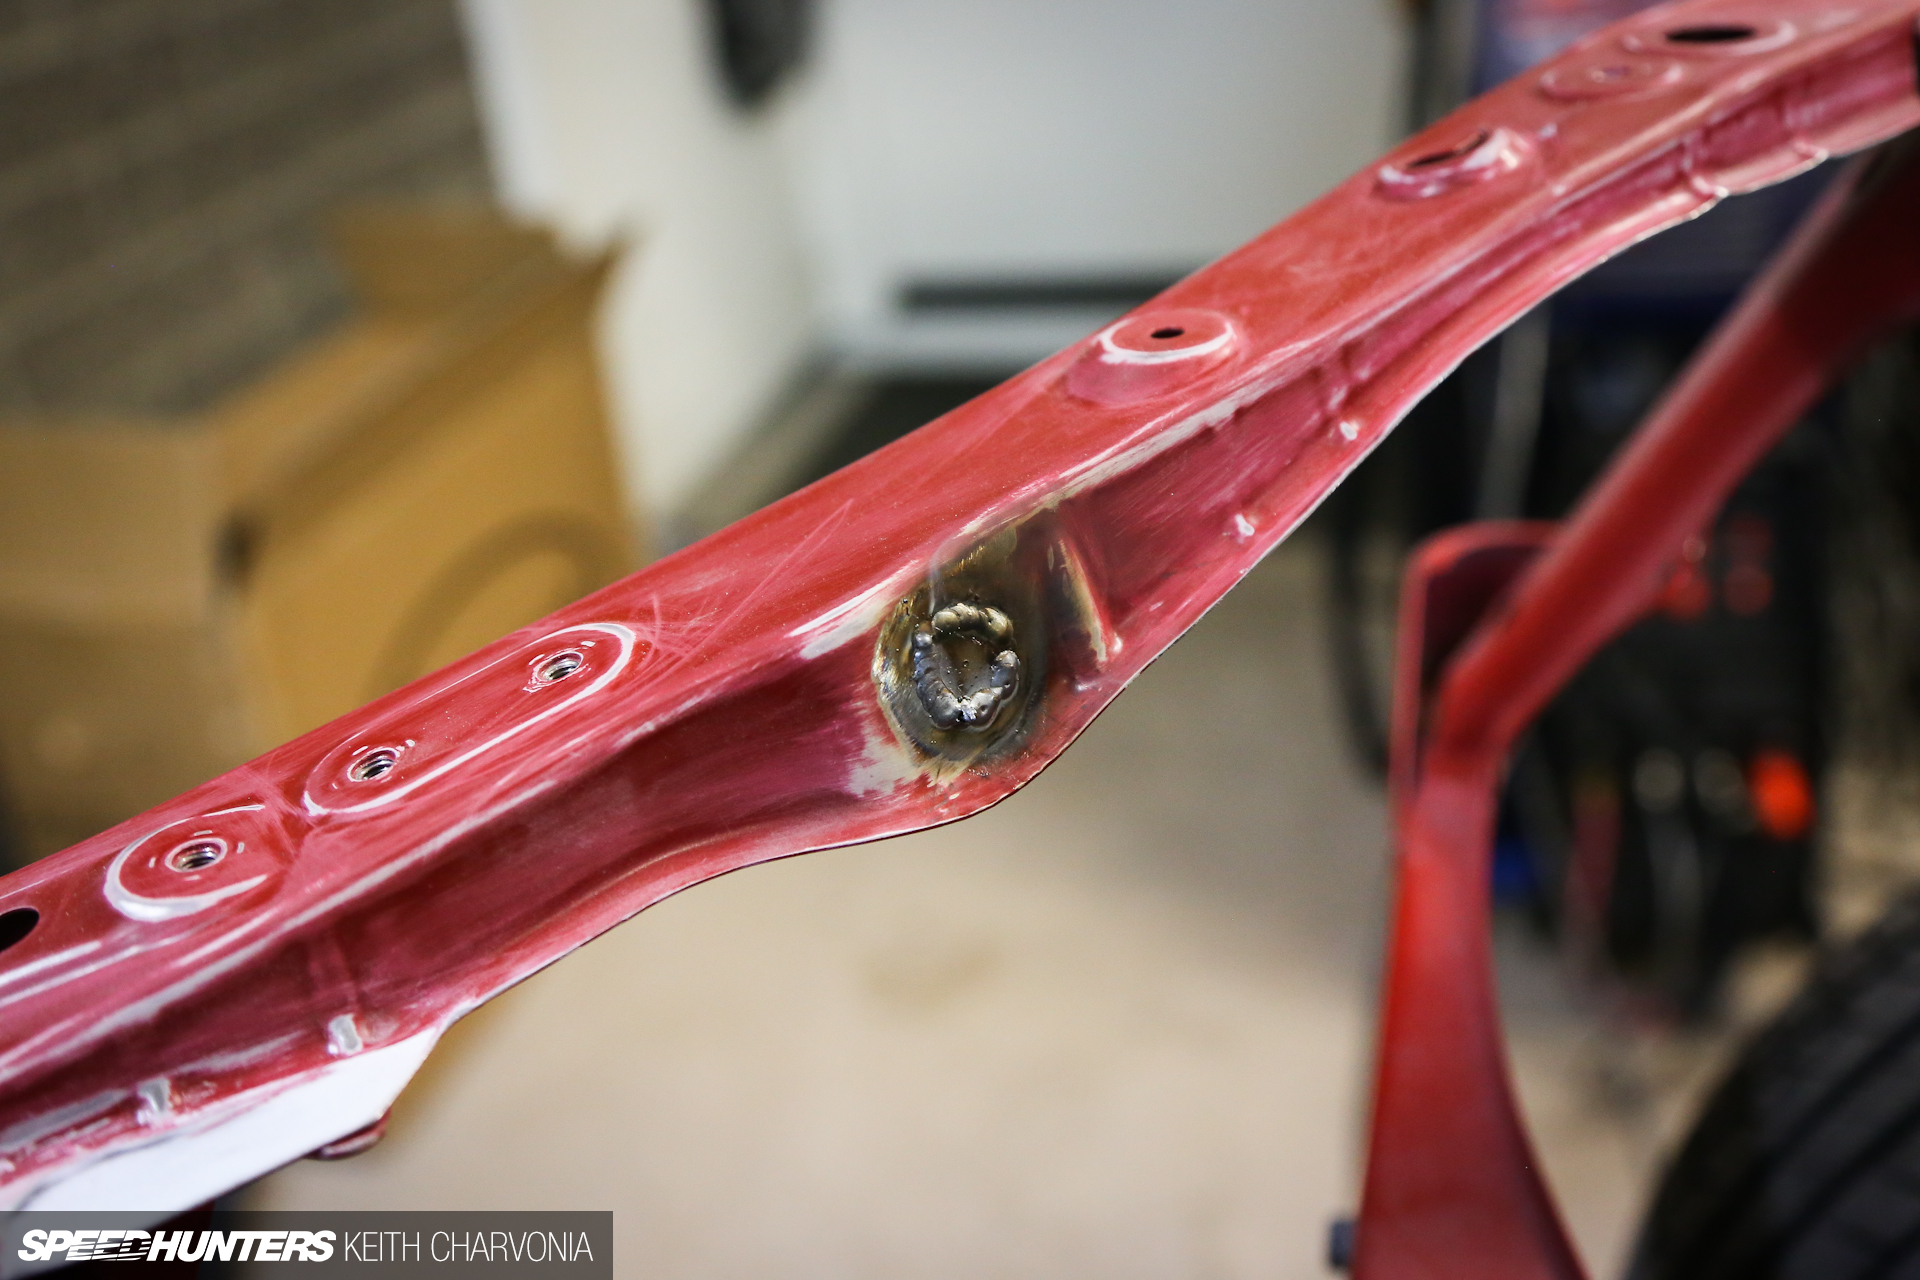
Most of the holes just needed to be filled with the MIG. Whenever possible, we backed up the weld with a thick piece of copper. This makes it much easier to fill holes without the puddle falling through.

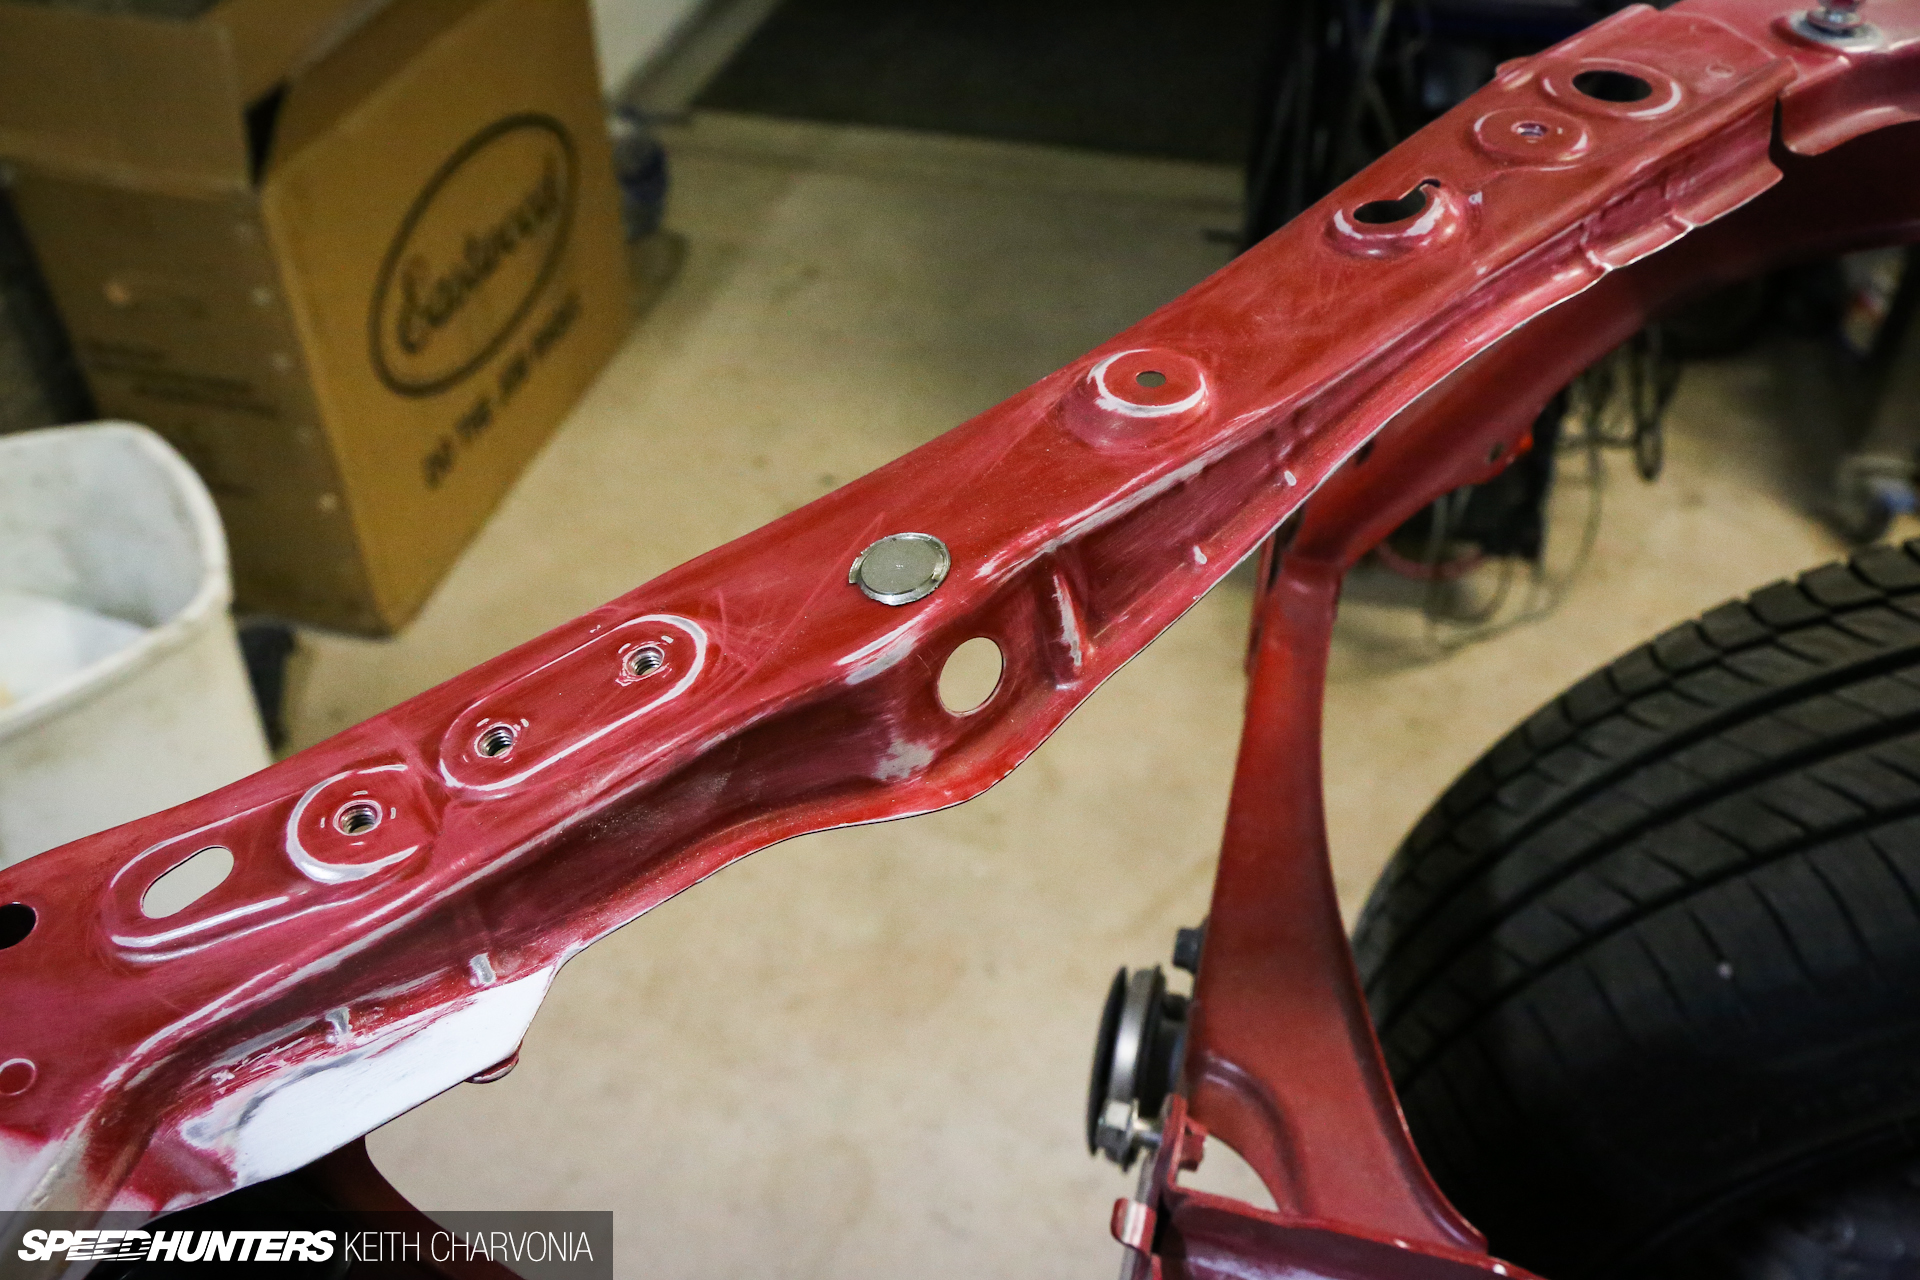
After welding a few hundred holes we ground them all down in preparation for bodywork and paint.
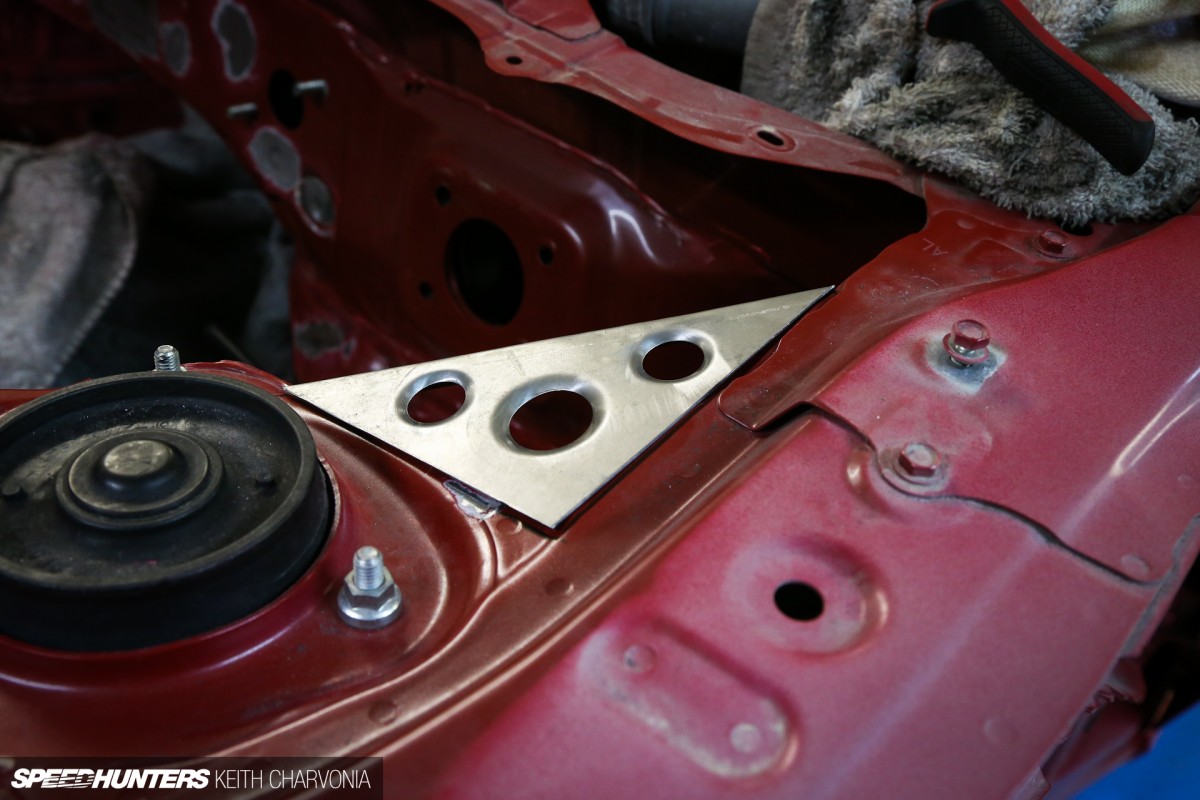
I wanted to do something special in the engine bay so I fabbed these strut tower gussets using my Light Racing dimple dies.

For the now redundant hood prop hole I found a scrap from a small hole saw that fit perfectly.

A few tacks with the MIG and the hole disappeared. Truth be told, I wanted to TIG areas like this, but I was still waiting on my latest toy to show up.
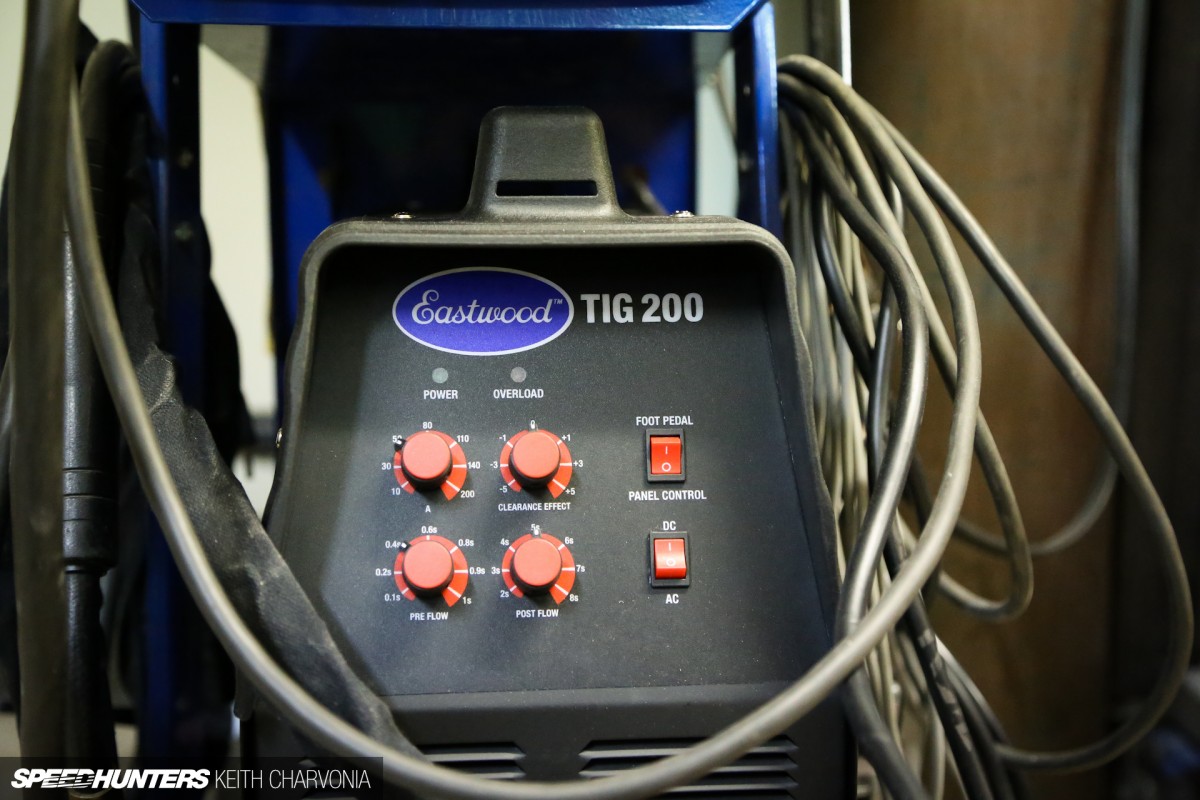
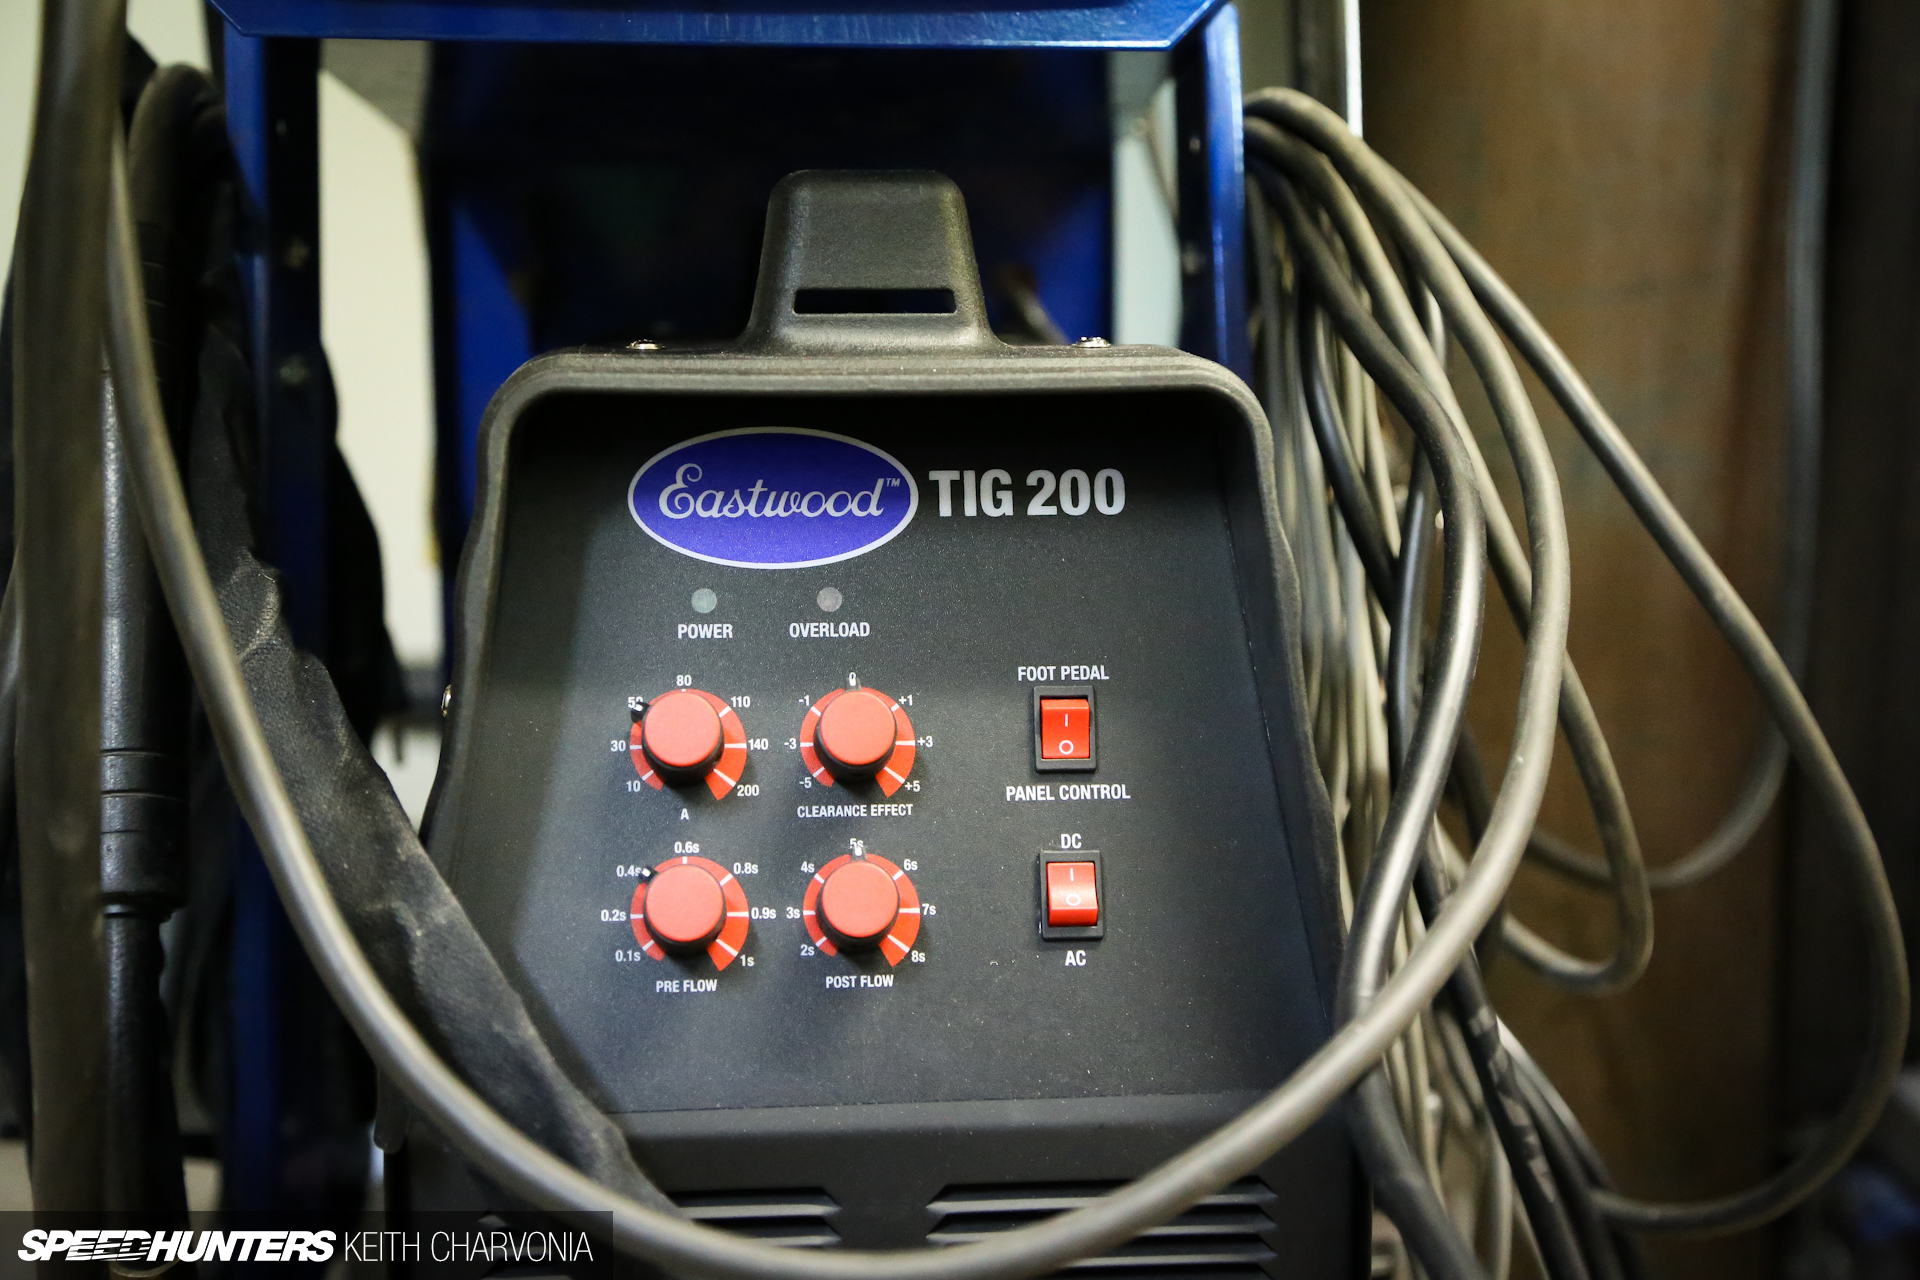
Of course, as soon as the engine bay was totally welded up my new Eastwood 200 amp TIG arrived. Figures, right? I went with this model because I currently only have 110v power in my garage. But this unit can run off of 110v or 220v so it will fit my needs in the future too.
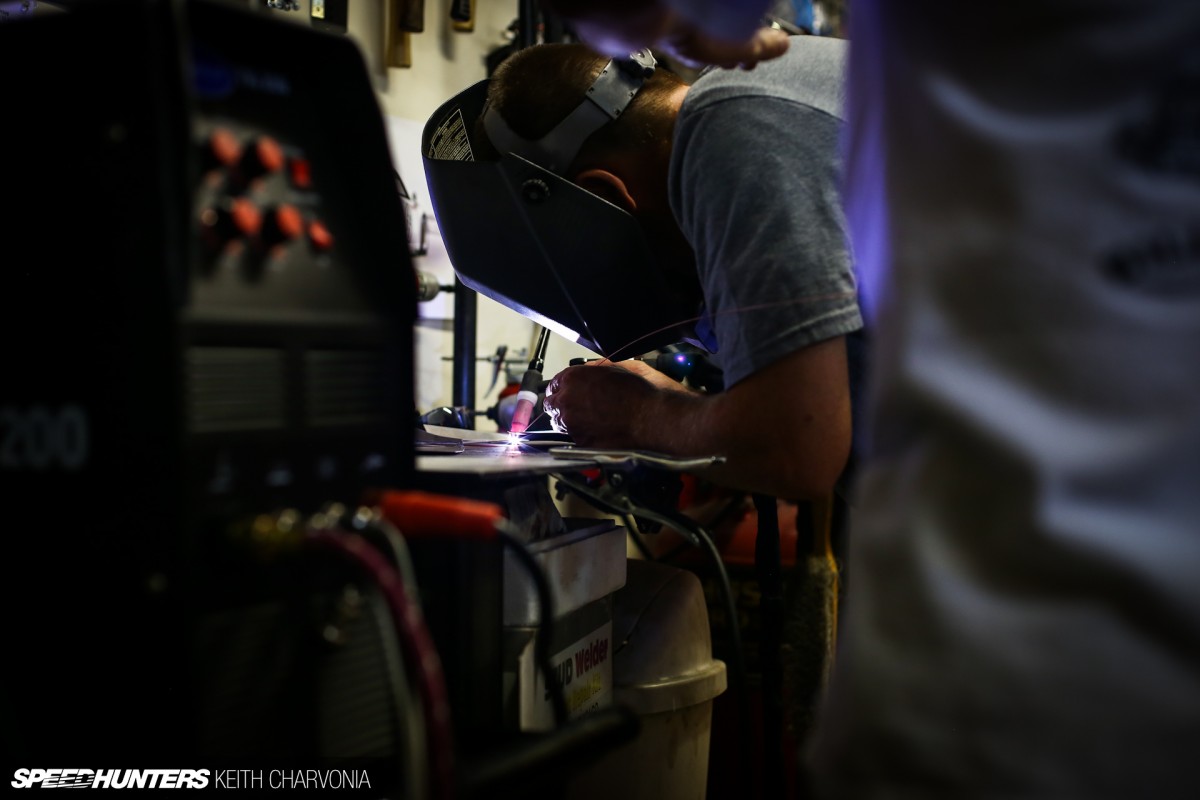
I have a good friend who runs a local race car fab shop and he came down to give us a refresher course on the TIG.
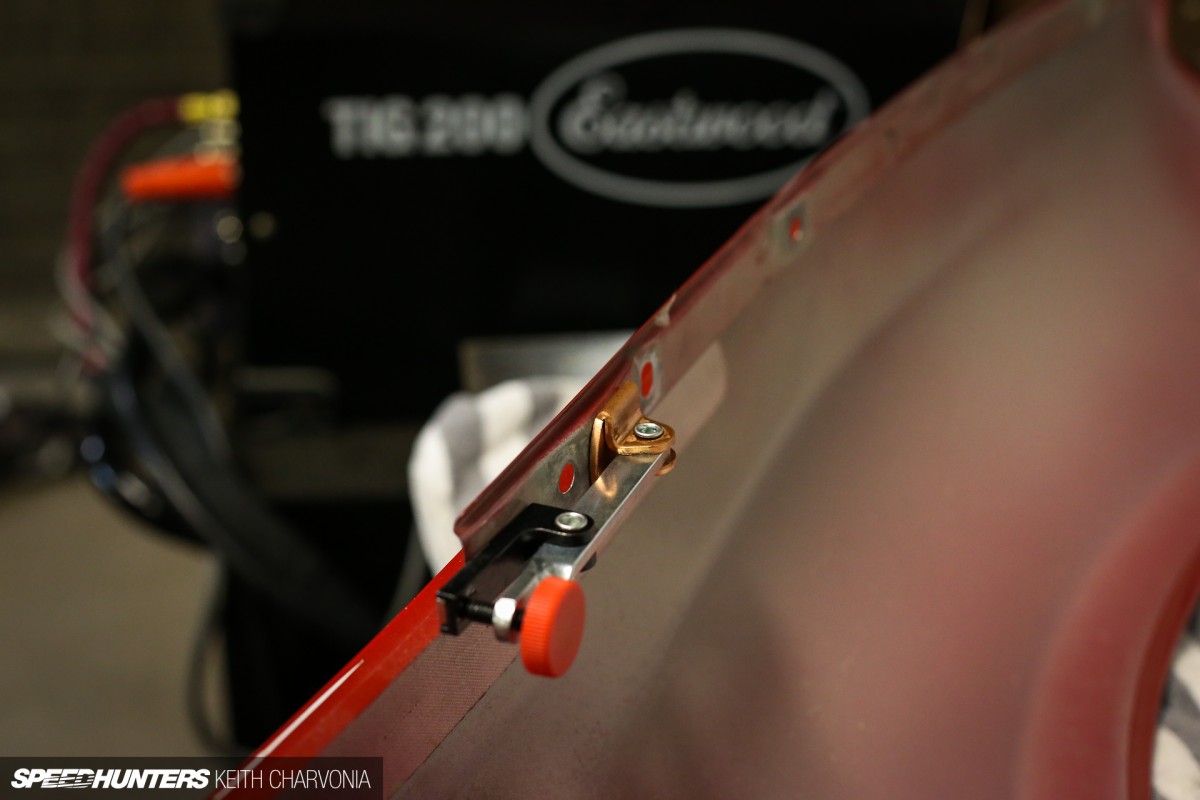
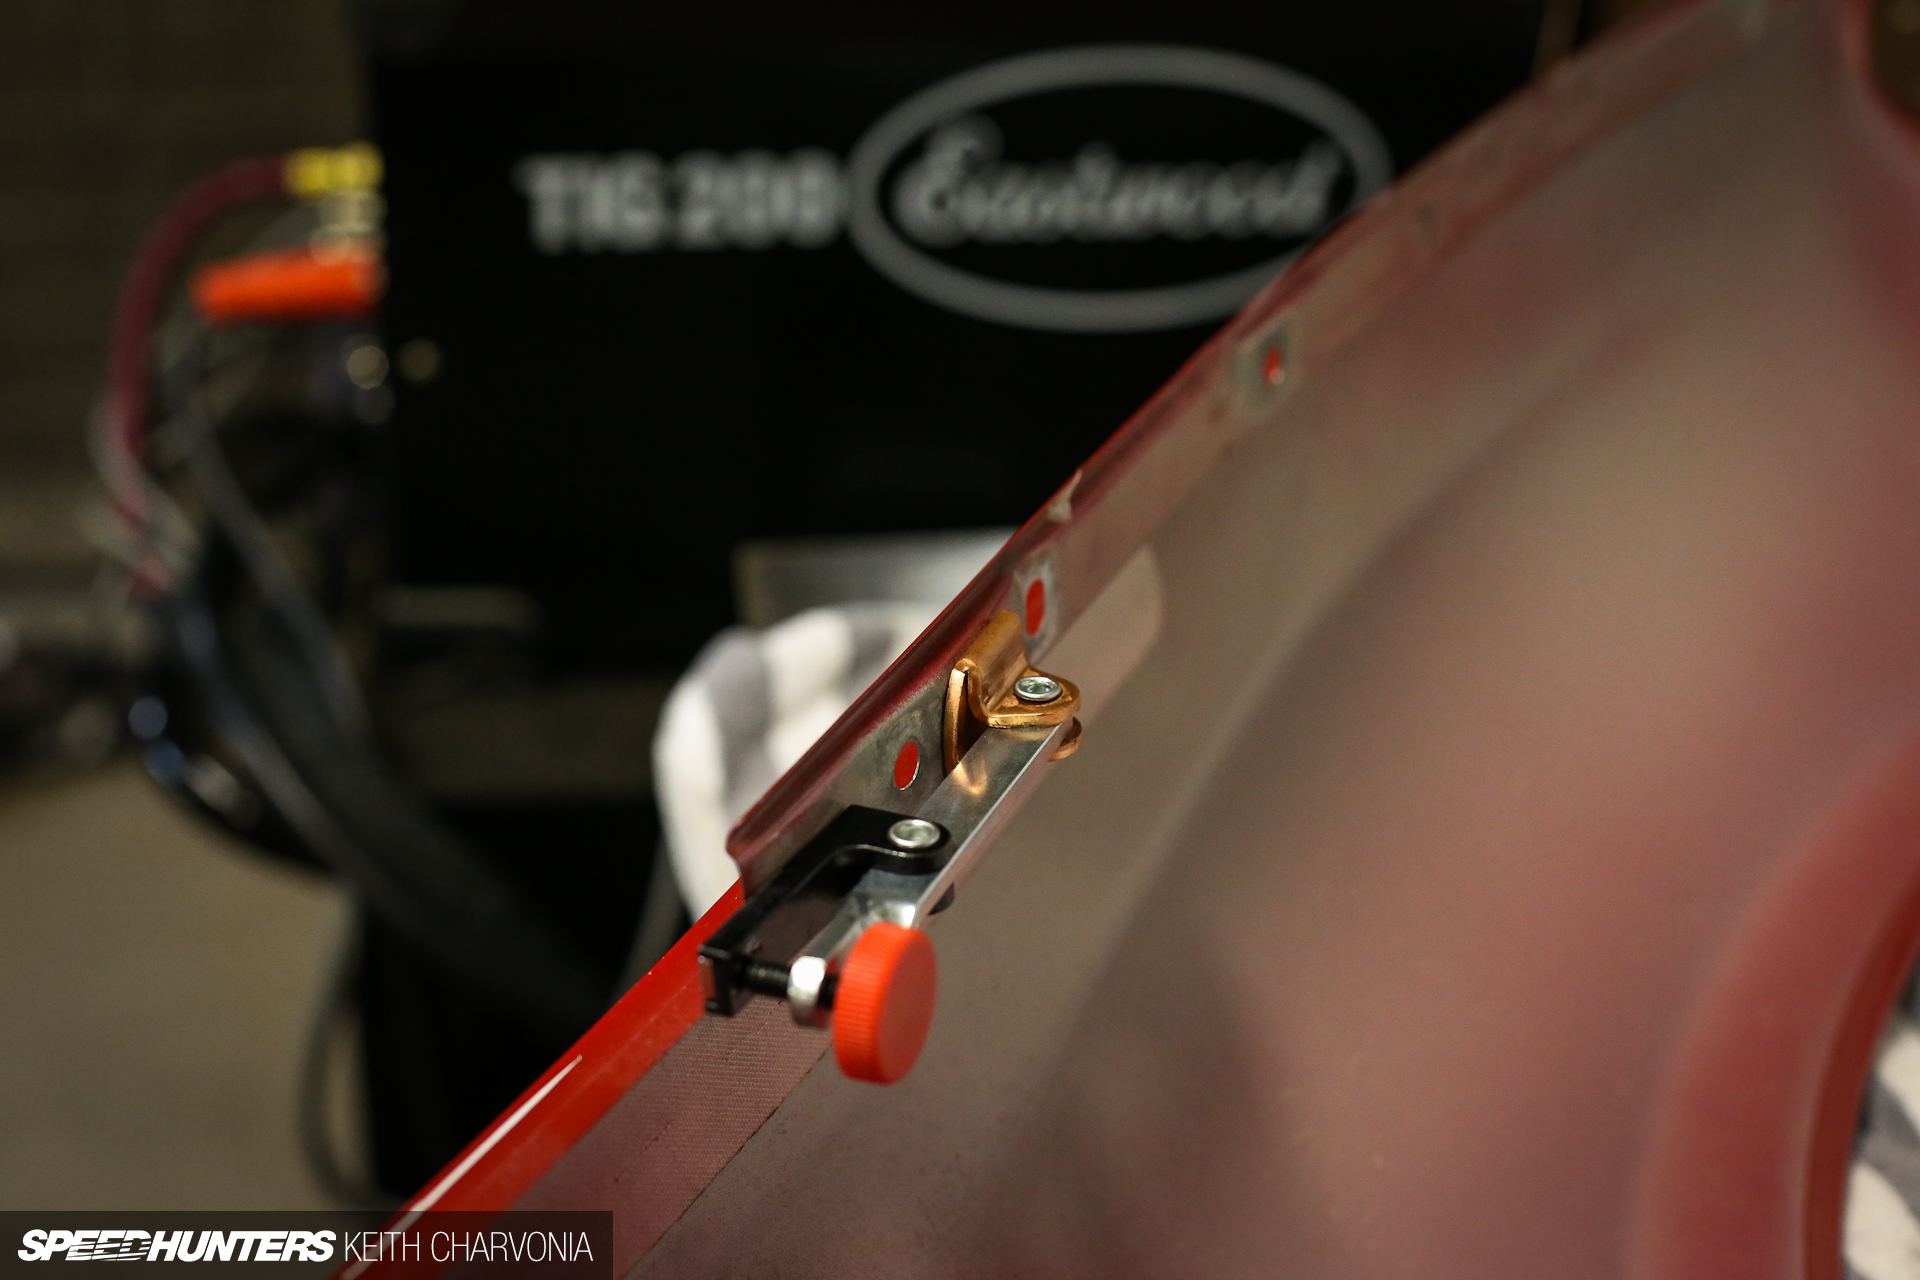
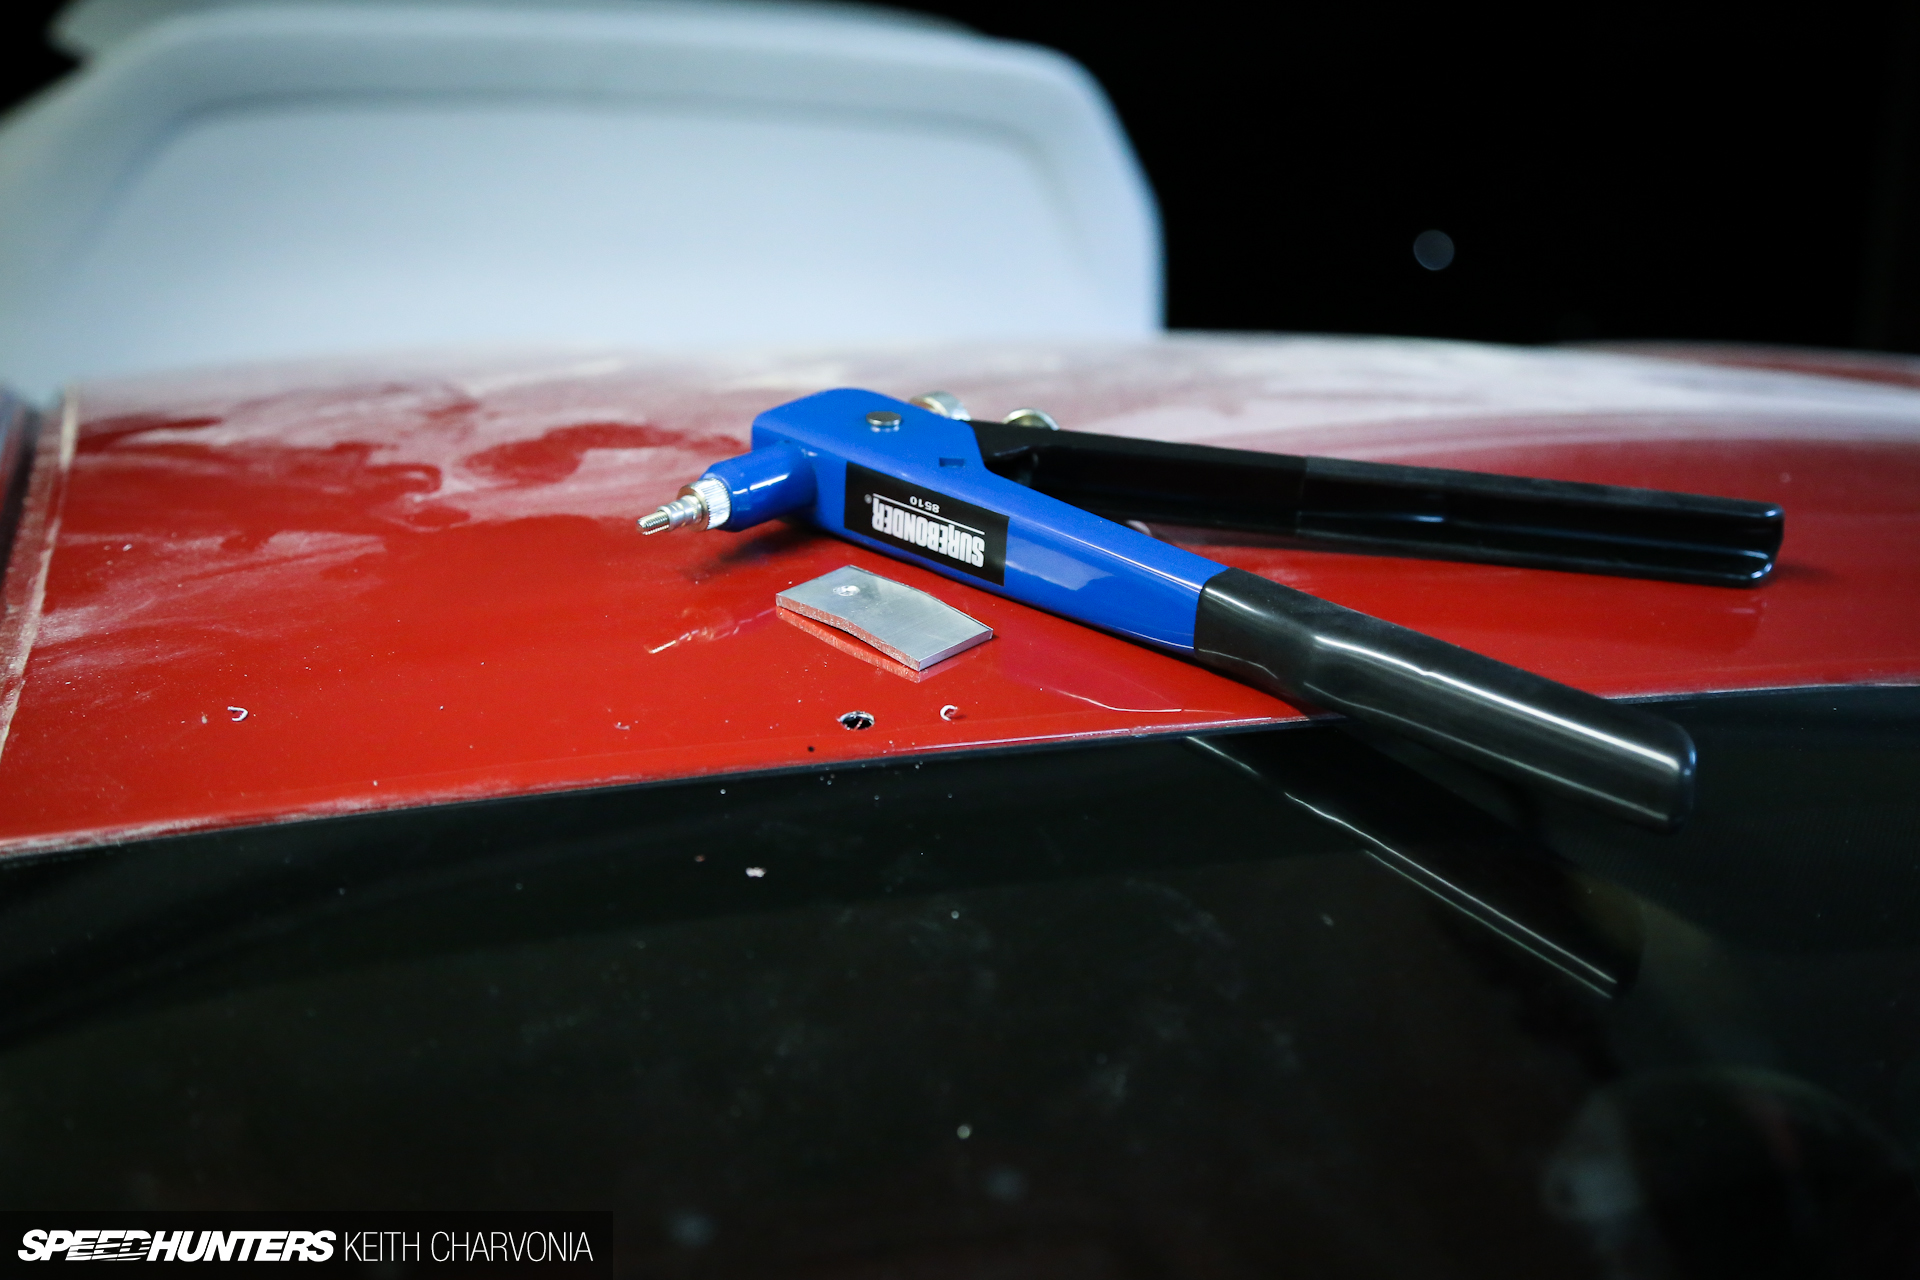
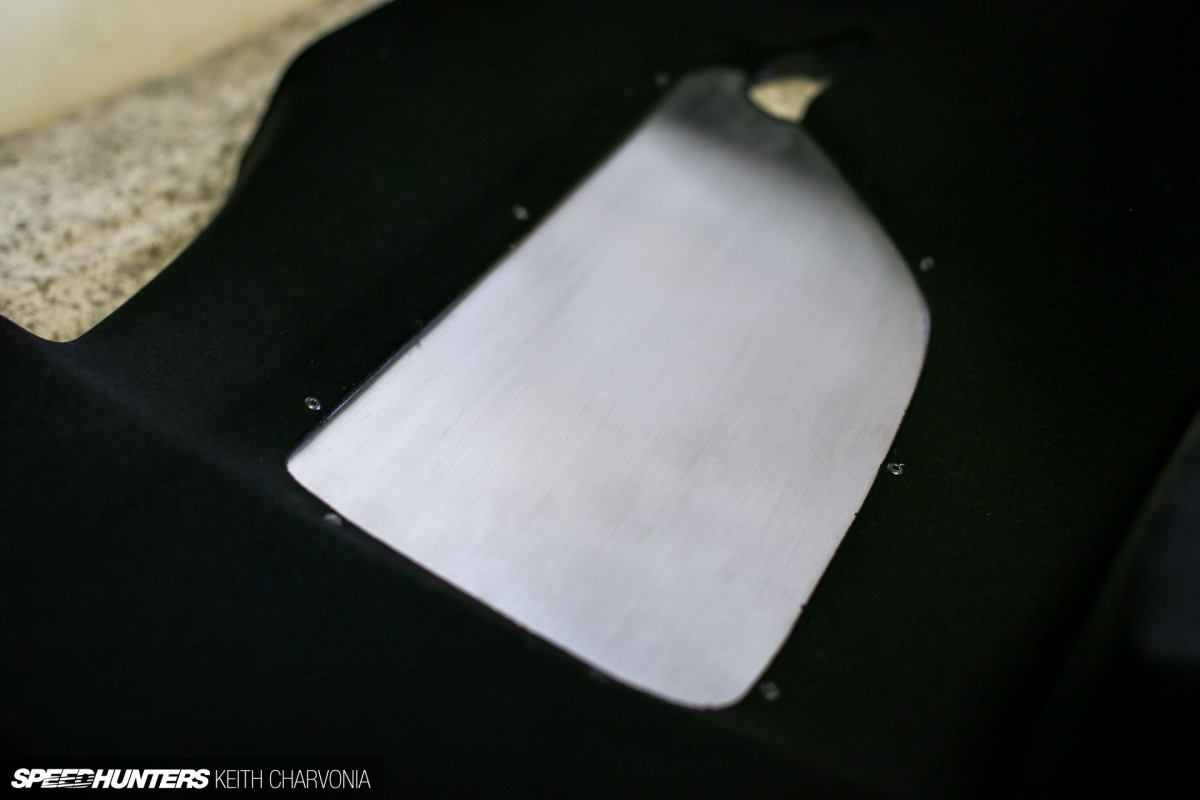
I also got this killer little magnetic welding tool that positions a small copper plate behind a hole that needs to be welded. I used it to painlessly fill the unused holes on the fenders.
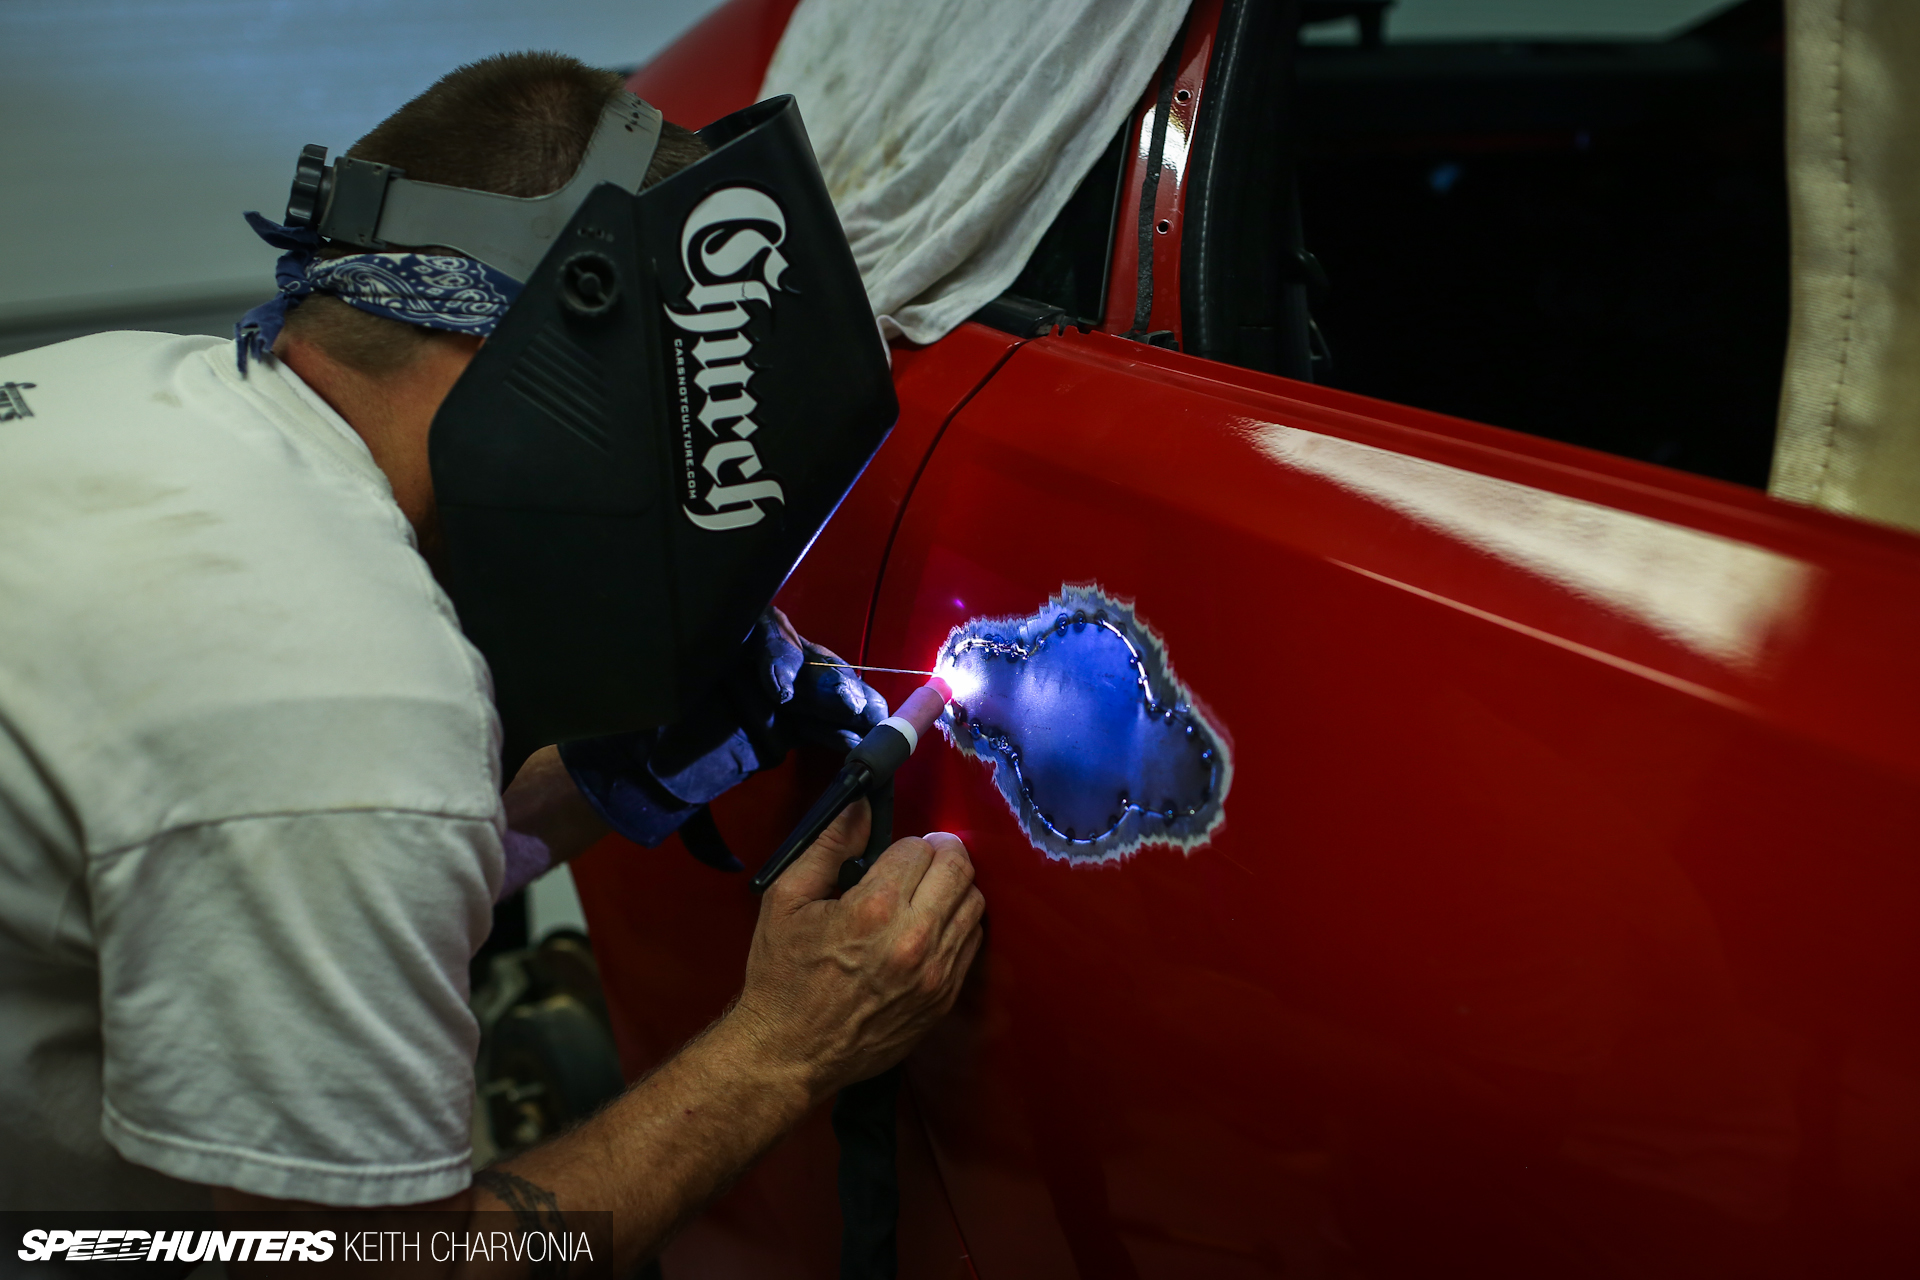
With the engine bay shaved we turned our attention to the bigger body mods. First we removed the door handles and ground away the paint.

We decided to do a little experiment: TIG one door and MIG the other. A more skilled TIG weldor might have been able to weld the door with less heat, but in this case the MIG-welded door ended up with less warping. Either way they both got straightened out, and we learned a little something too.
CHAPTER TWO
It’s Not All MIG & TIG
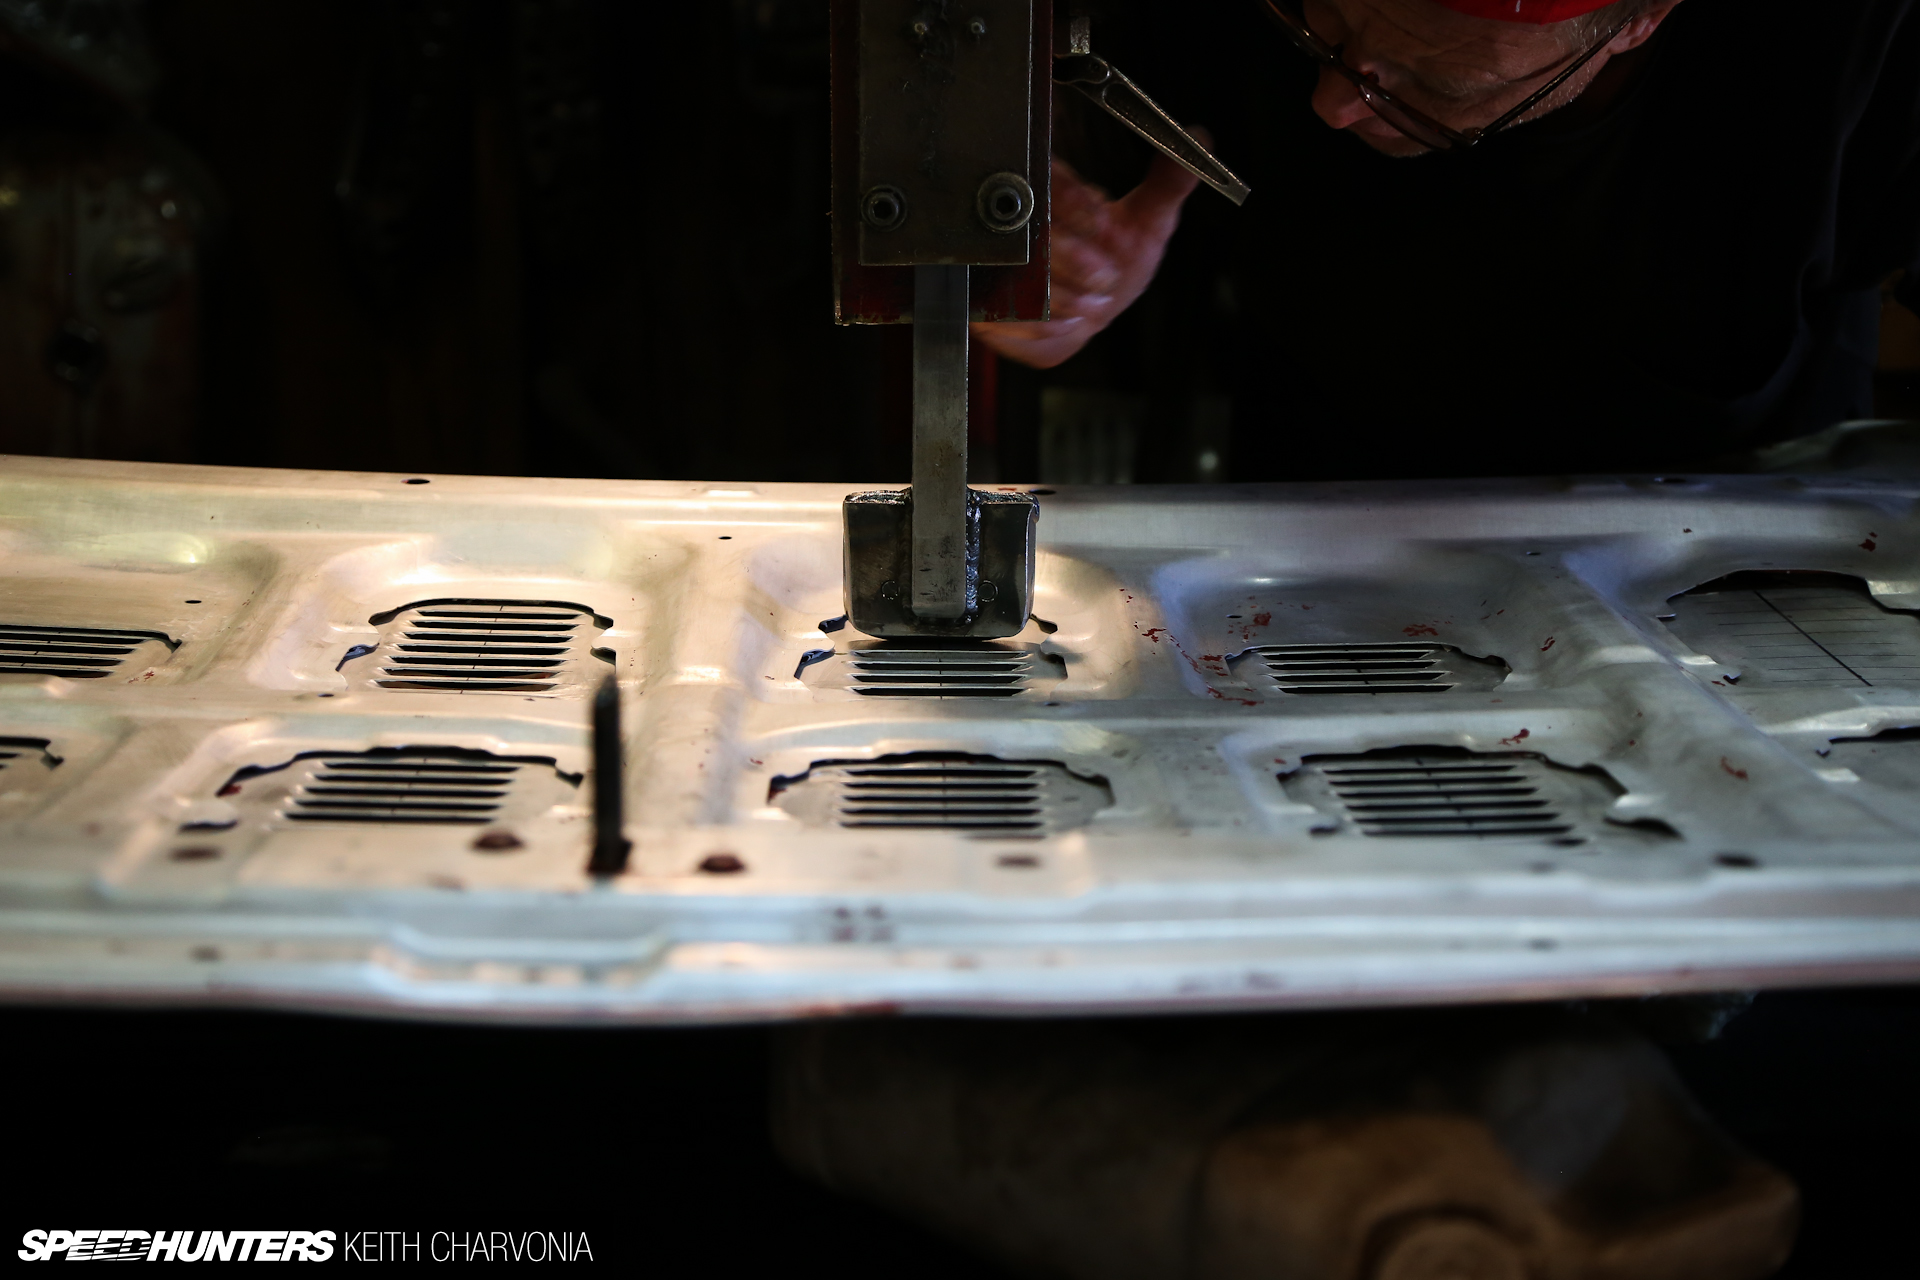
Fabrication usually calls to mind bent tube, sheetmetal and stacked-dime welds – but there’s more to it than that. As I stepped foot in Chip Quinn’s backyard workshop I was about to learn about a whole new way to reshape metal.
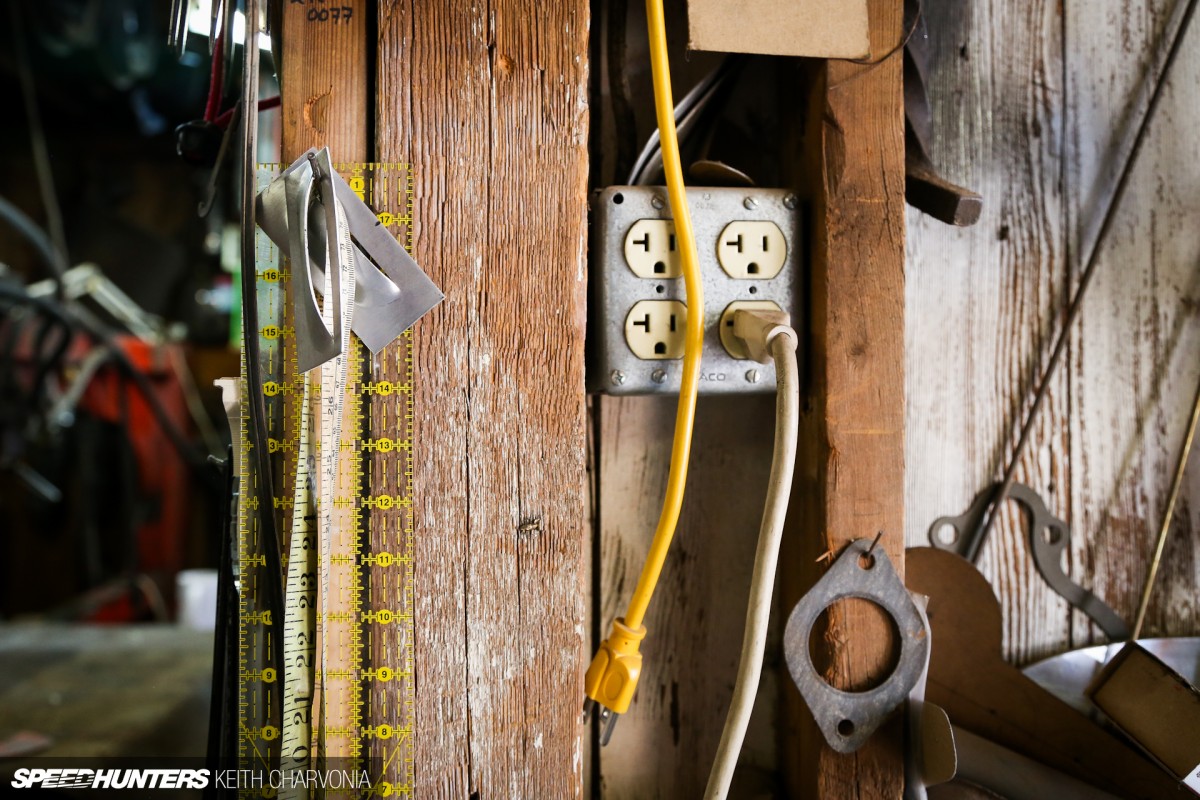
Chip runs a shop called Hot Rod Central where the main attraction is a Jurassic louver press.
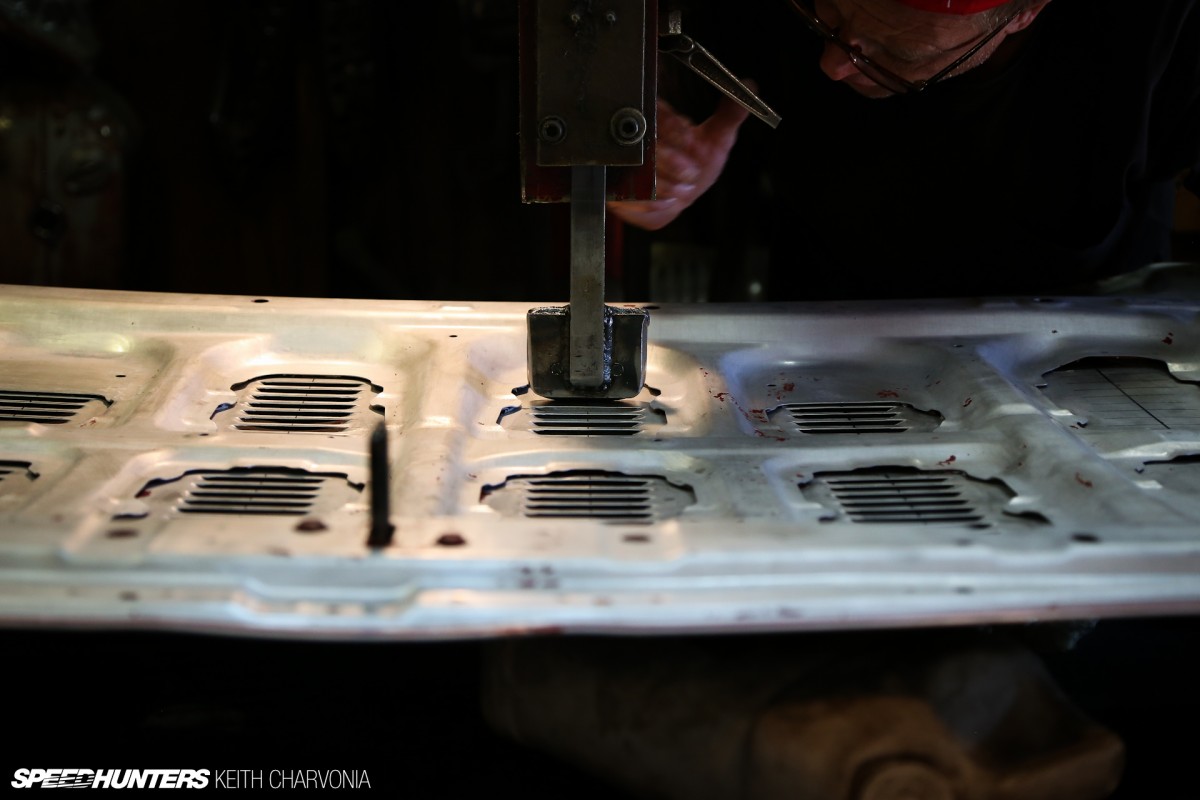
On this muggy summer morning I had brought him a hood to louver that was a bit out of the ordinary for a hot rod guy. This wasn’t the first import he’d worked on though.
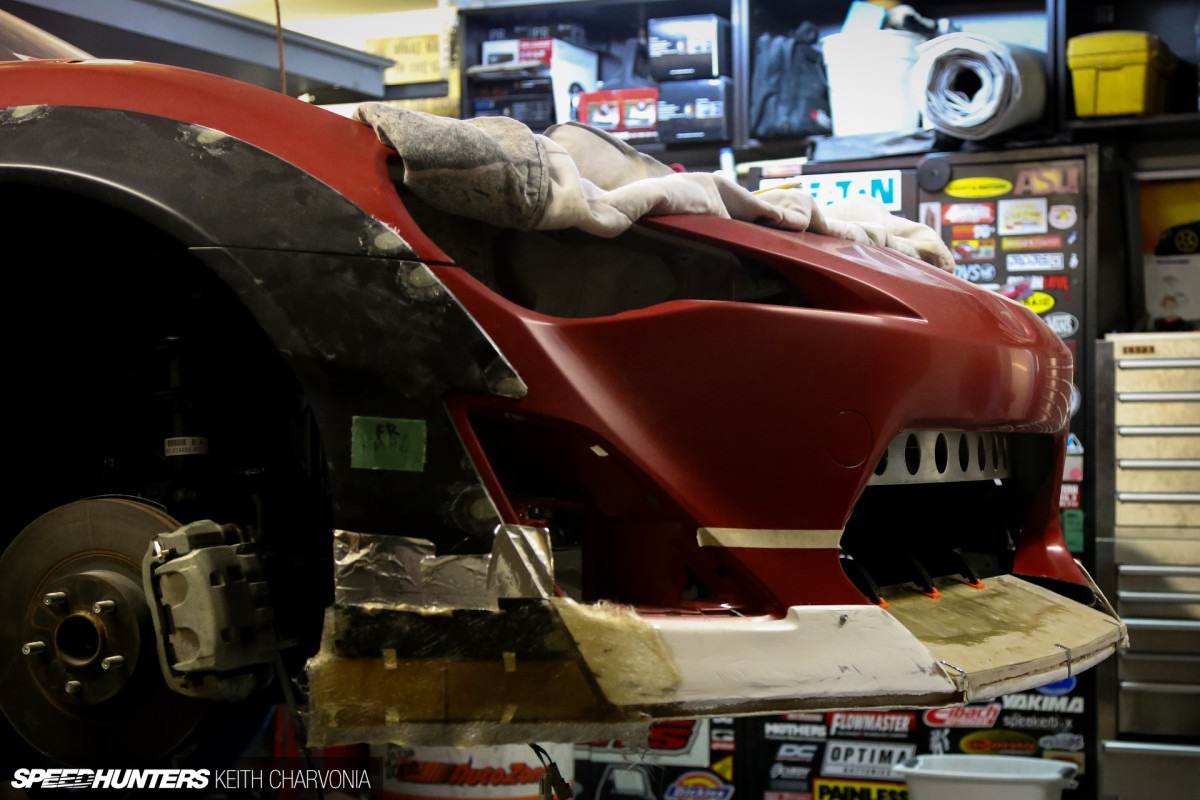
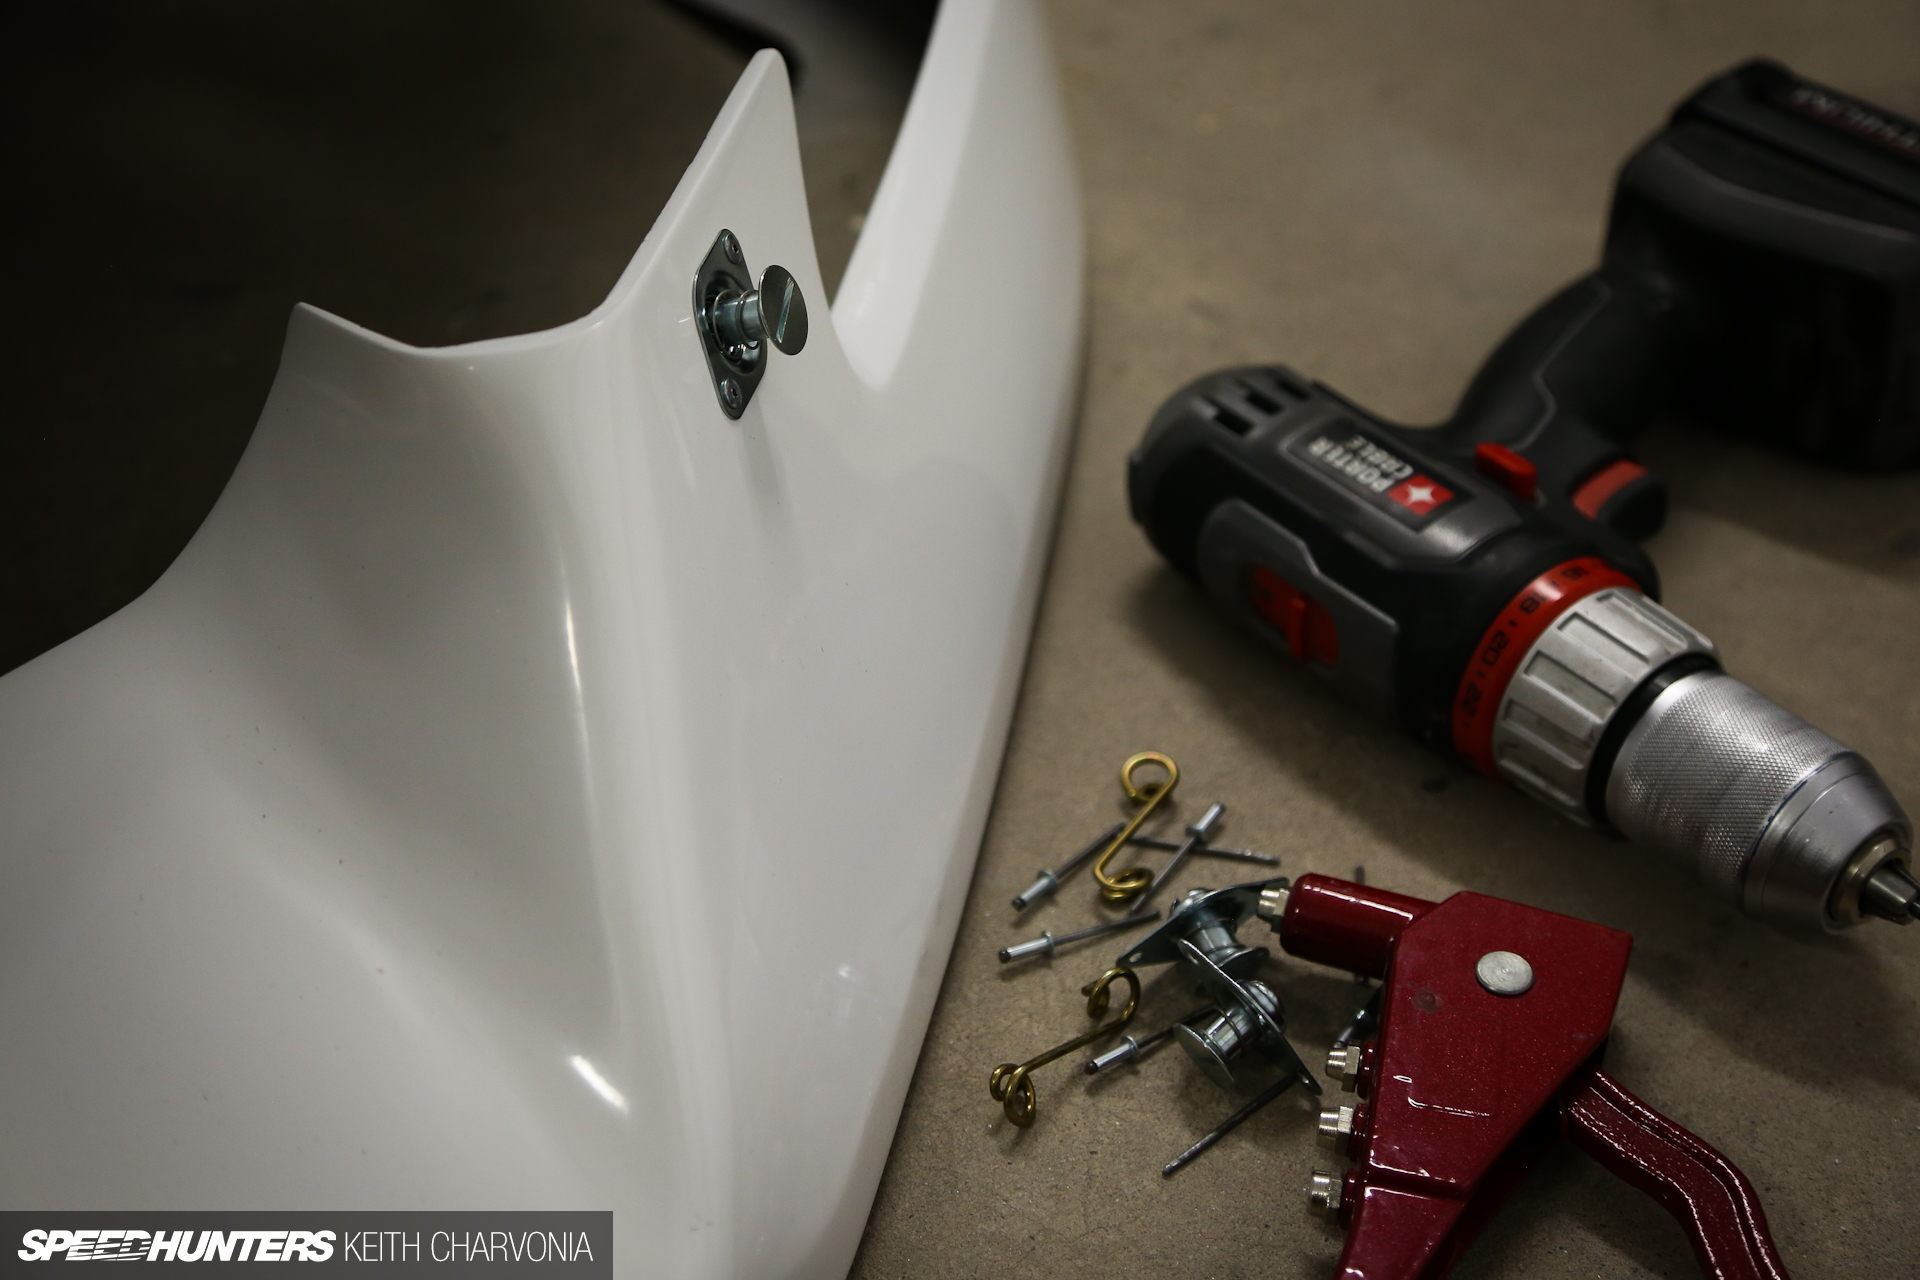
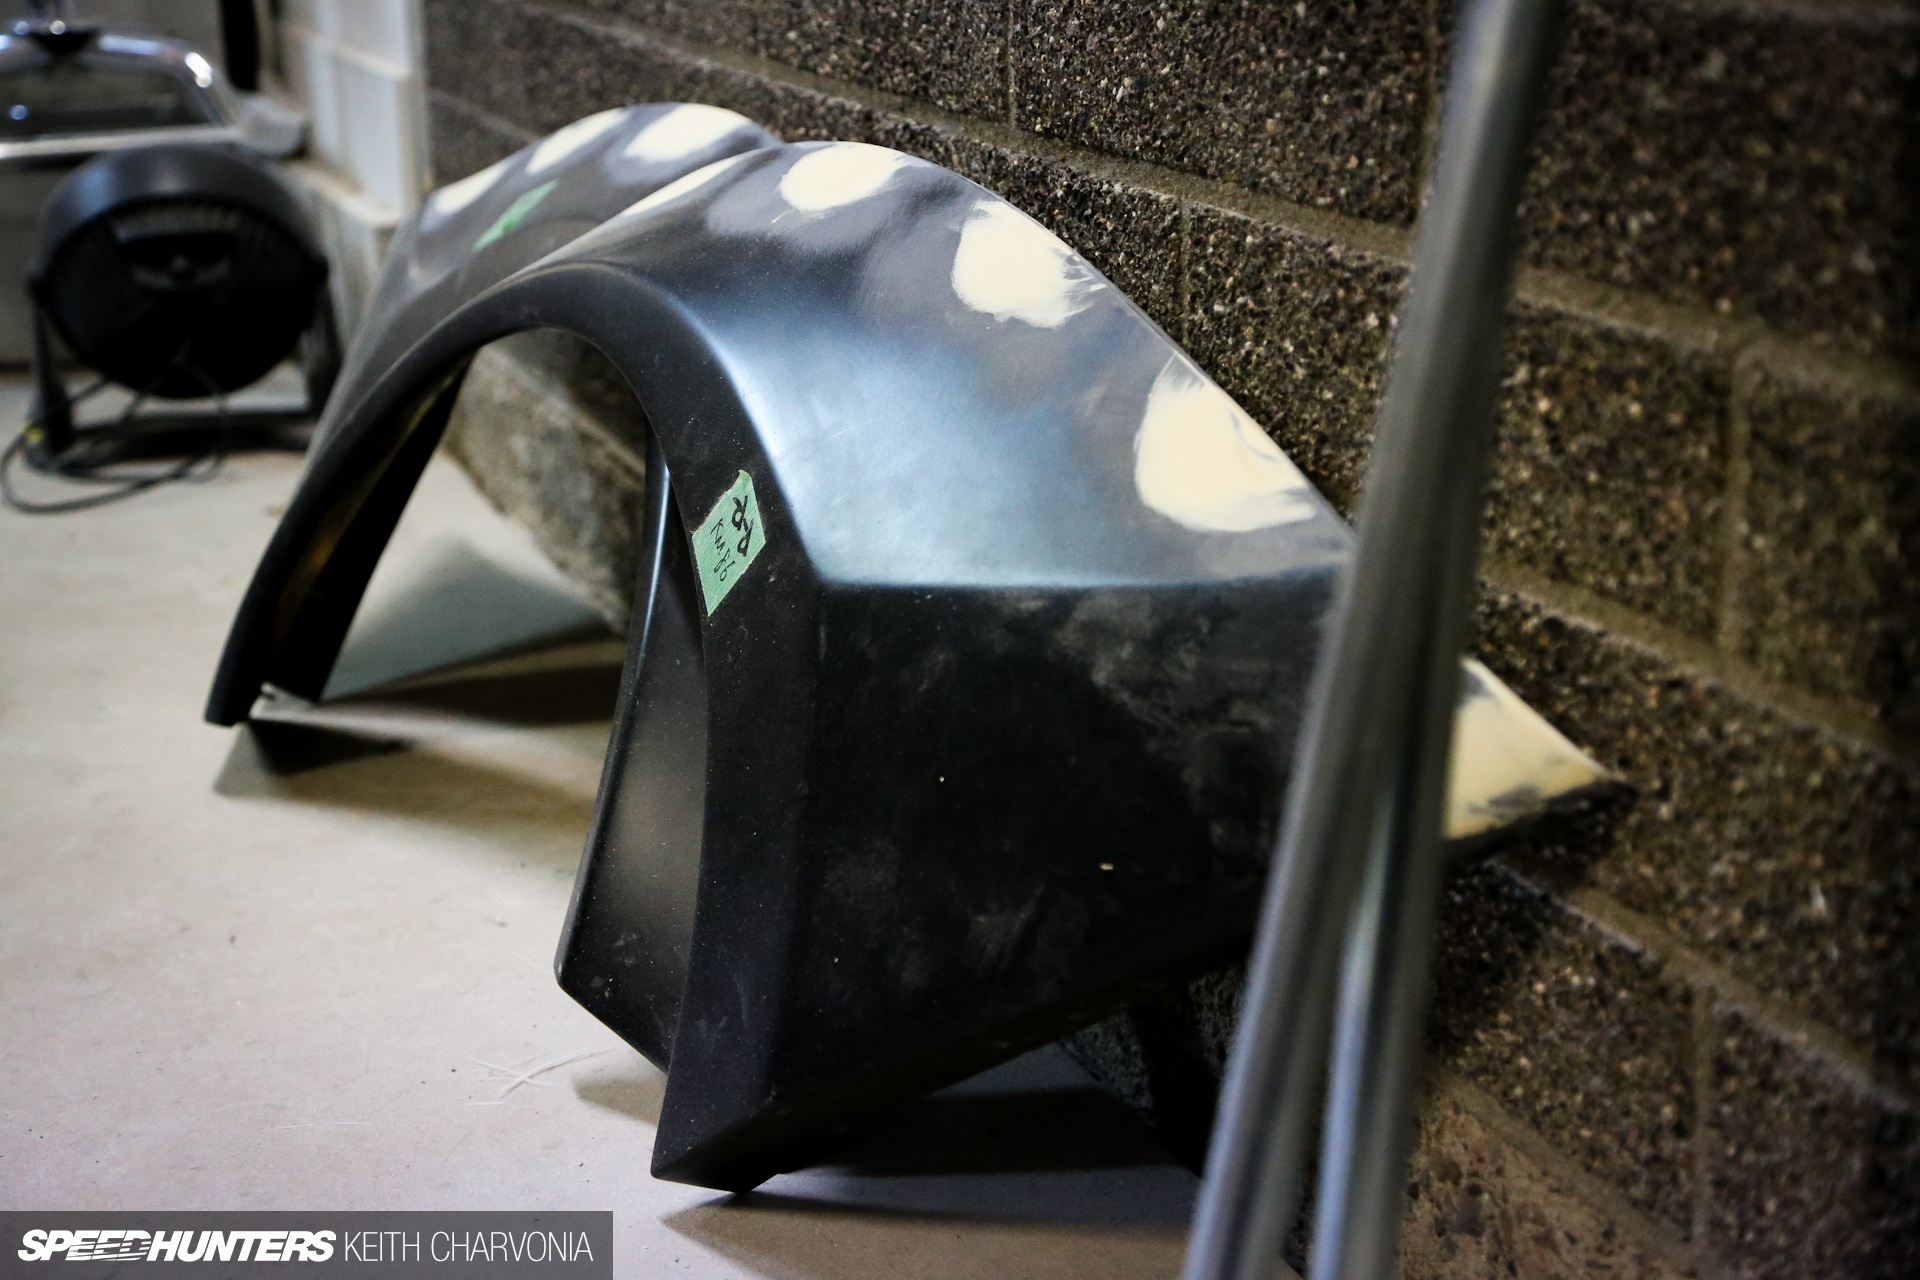
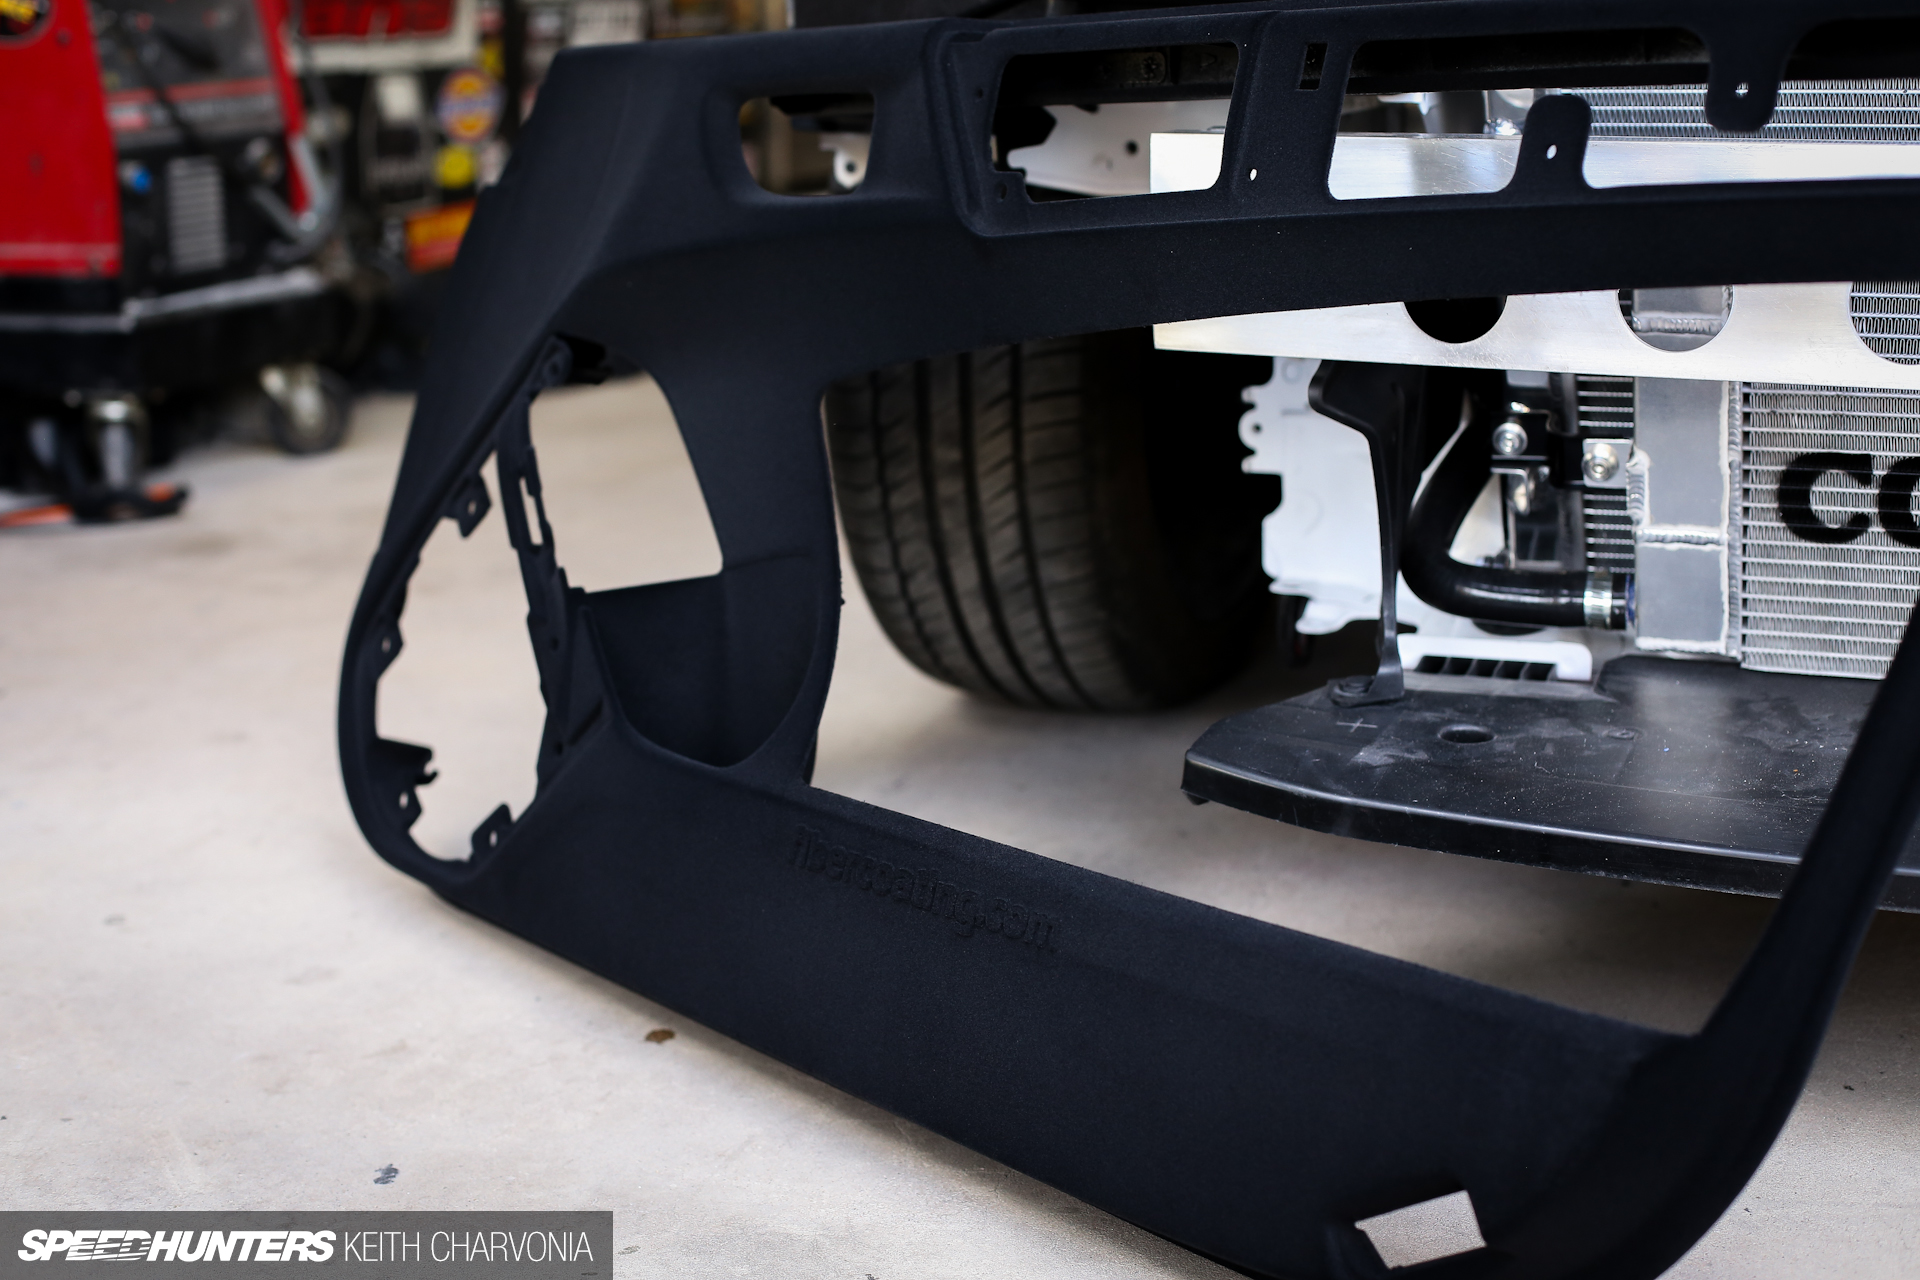
Of course, you can fabricate using materials other than metal. How about making a custom splitter from fiberglass? We used an Aerojacket part as a donor and cut the bottoms off the KM4SH flares and bonded them in. The main inlet used a flat piece that was laid up on a sheet of glass before being trimmed to size. It was a hack job, but we pulled it off!

With the front end sitting so low it was important to make the front splitter easily removable. I installed four DZUS fasteners and threw a flathead in the pocket of the door panel. It takes about a minute to install or remove the splitter, and it sucks up tight to the bumper too.

While I was riveting stuff I put Rivnuts in the roof to hold the aluminum glass tabs in. Sure, I could have just sunk a screw into the roof’s sheetmetal, but then I wouldn’t be able to sleep at night.

While we were doing fiberglass work we shaved all the screw pockets on the KM4SH kit. This was accomplished by gluing in the bolts using a special fiberglass-friendly epoxy, then glassing over them and finally smoothing it all with body filler. Will the clean look be the next trend?

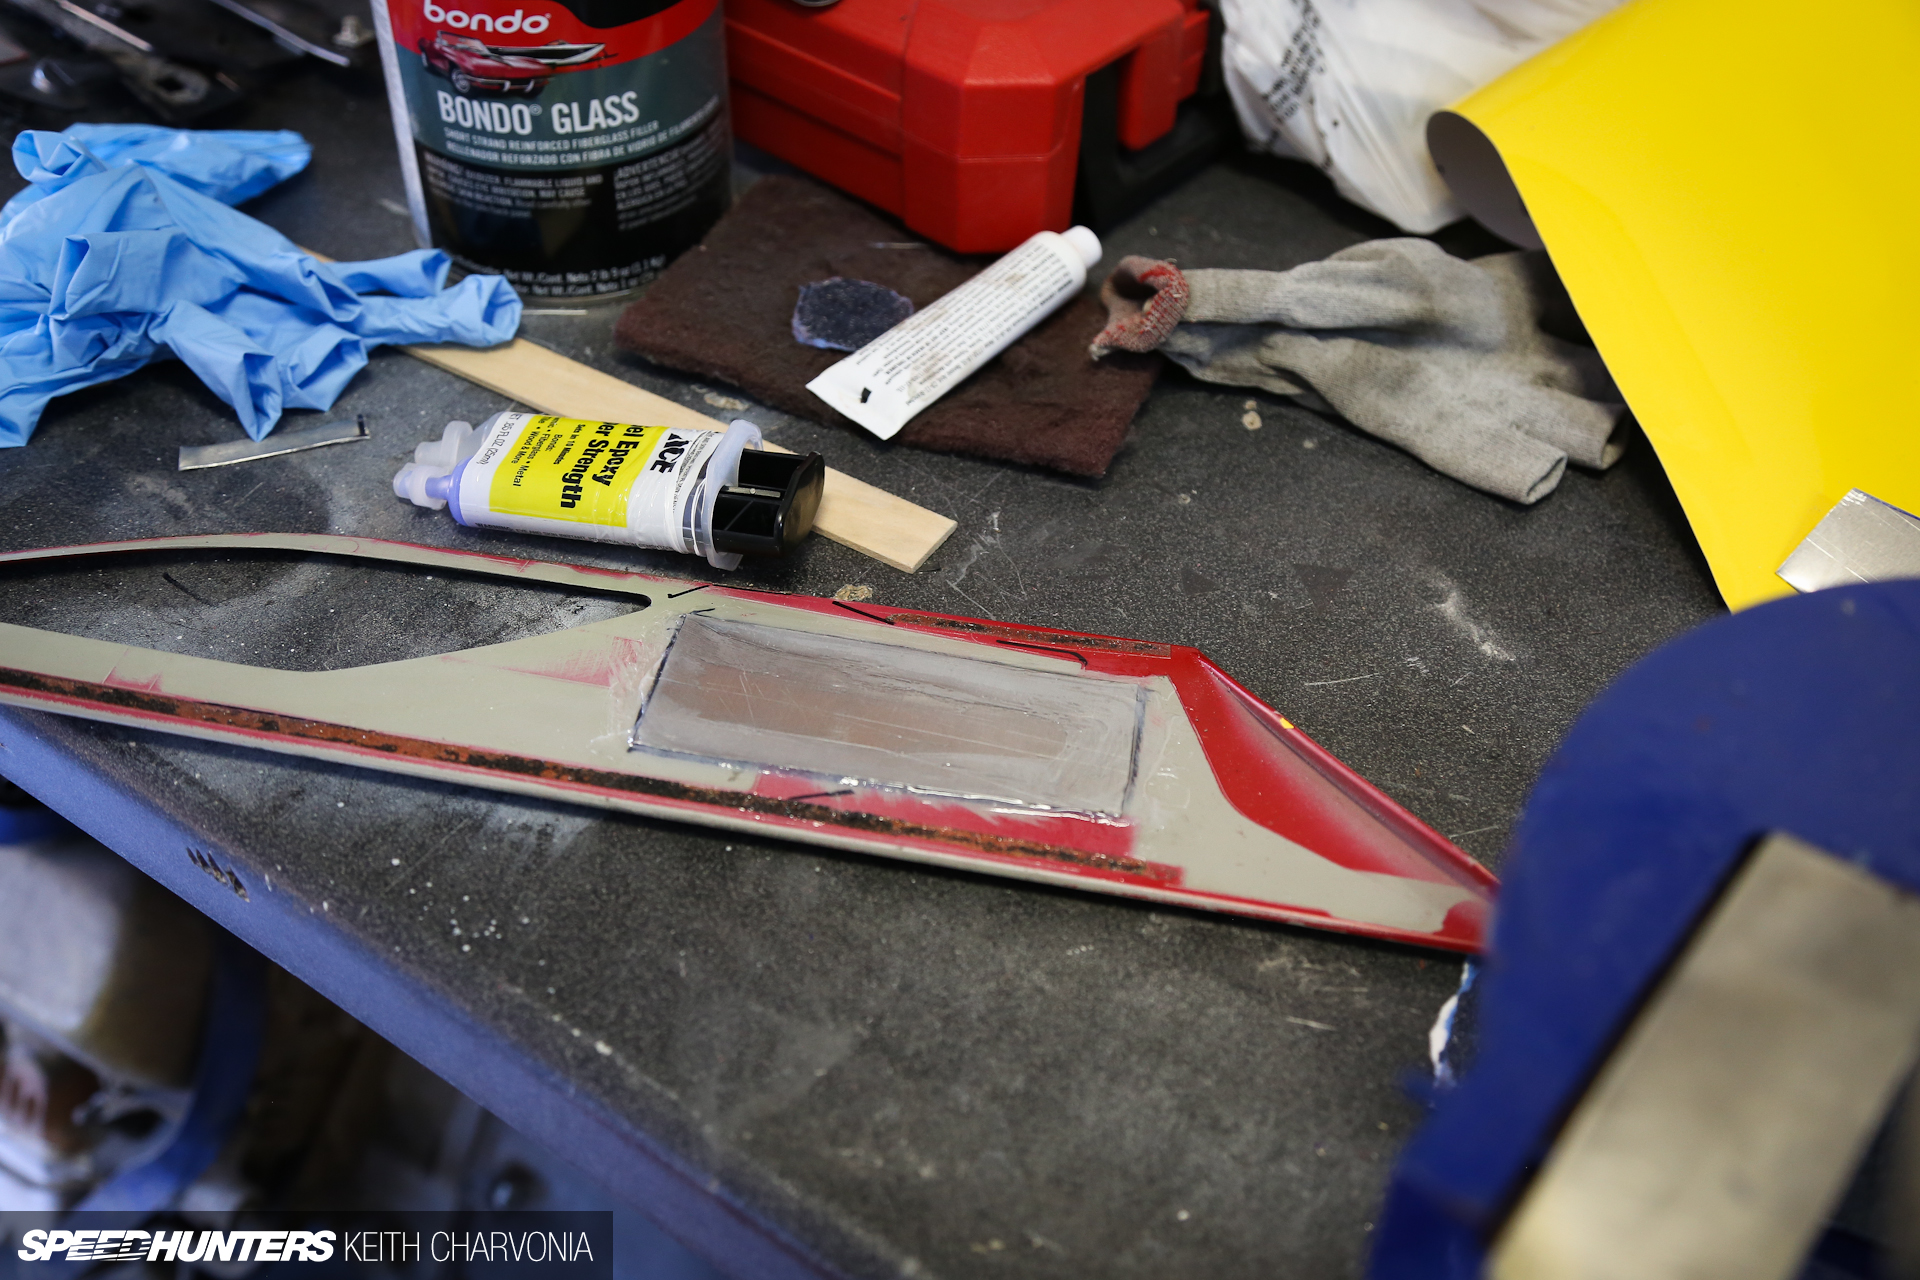
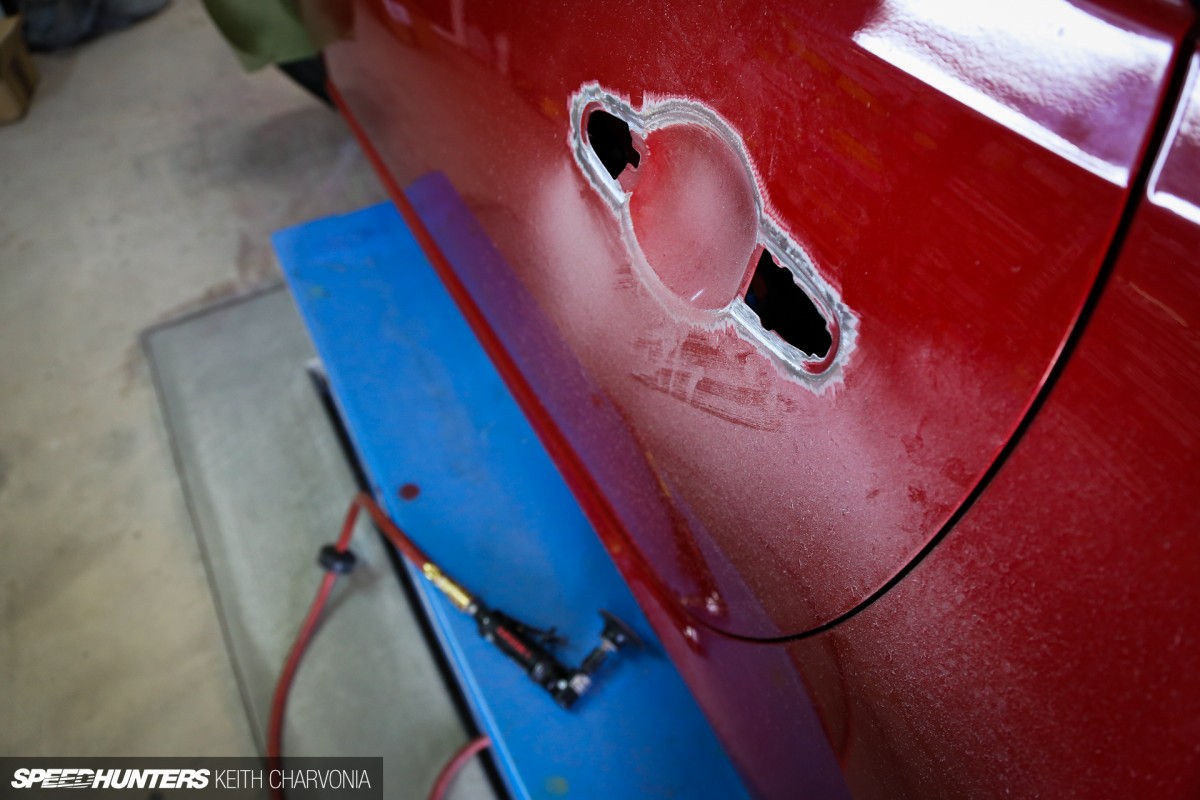
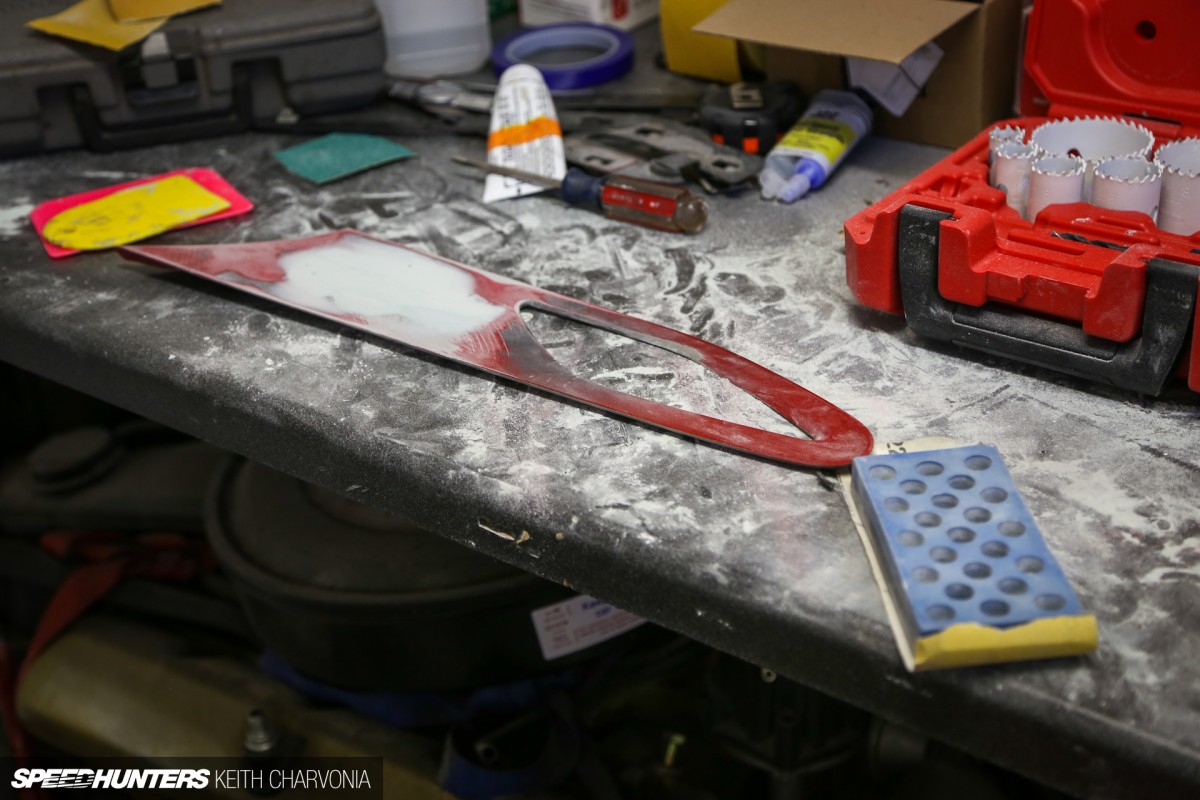
One of the trickier problems to solve was what to do with the fender vents, so they were left to the last minute. After having some trouble wrapping them in vinyl we decided to shave the emblem. The only problem was the vinyl wrap guy needed to leave in just a couple hours. An aluminum patch was cut and glued in with quick-set epoxy.

Here you can see how much we roughed up the aluminum patch using a 40-grit disc on an air sander. The epoxy needs something to grab, so the rougher the better. Once the epoxy cured I cut out the emblem and sanded down the front.
A quick coat of body filler and they were smoothed out.
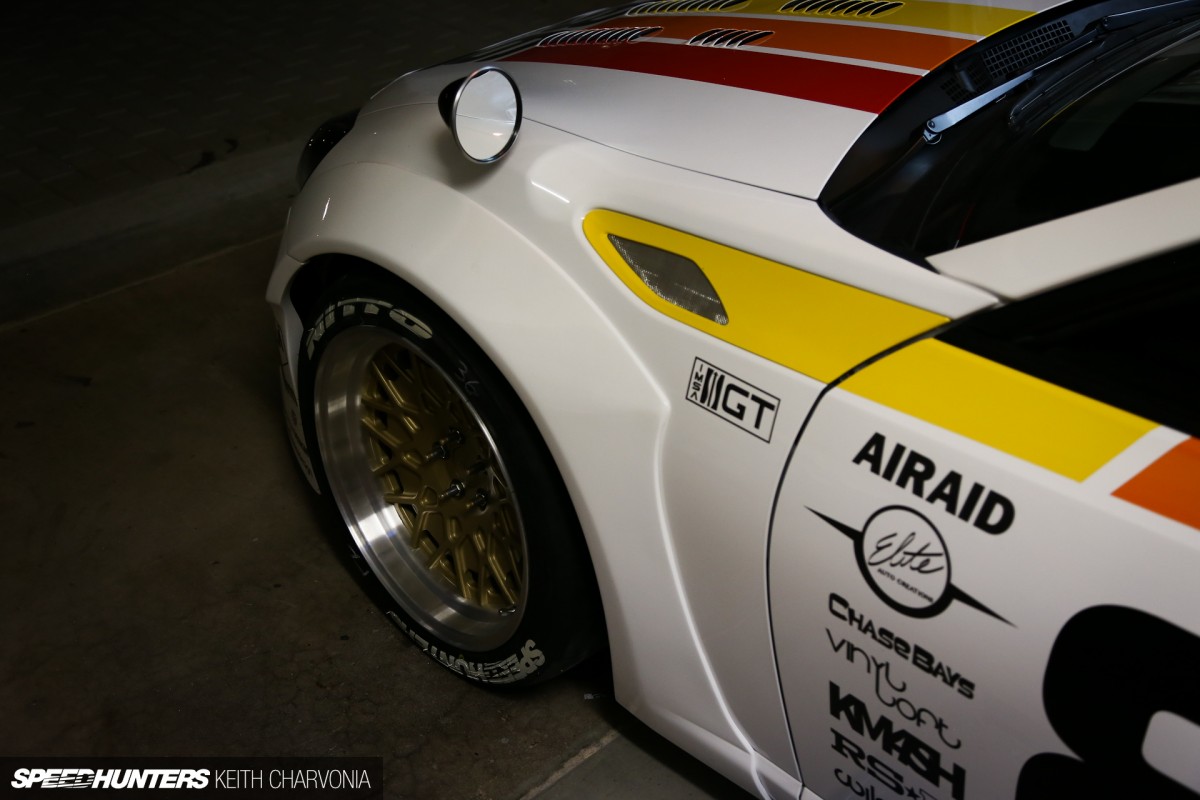
Within a couple of hours the finished parts were on the car, and they even had functional mesh vents!
CHAPTER THREE
Customize Everything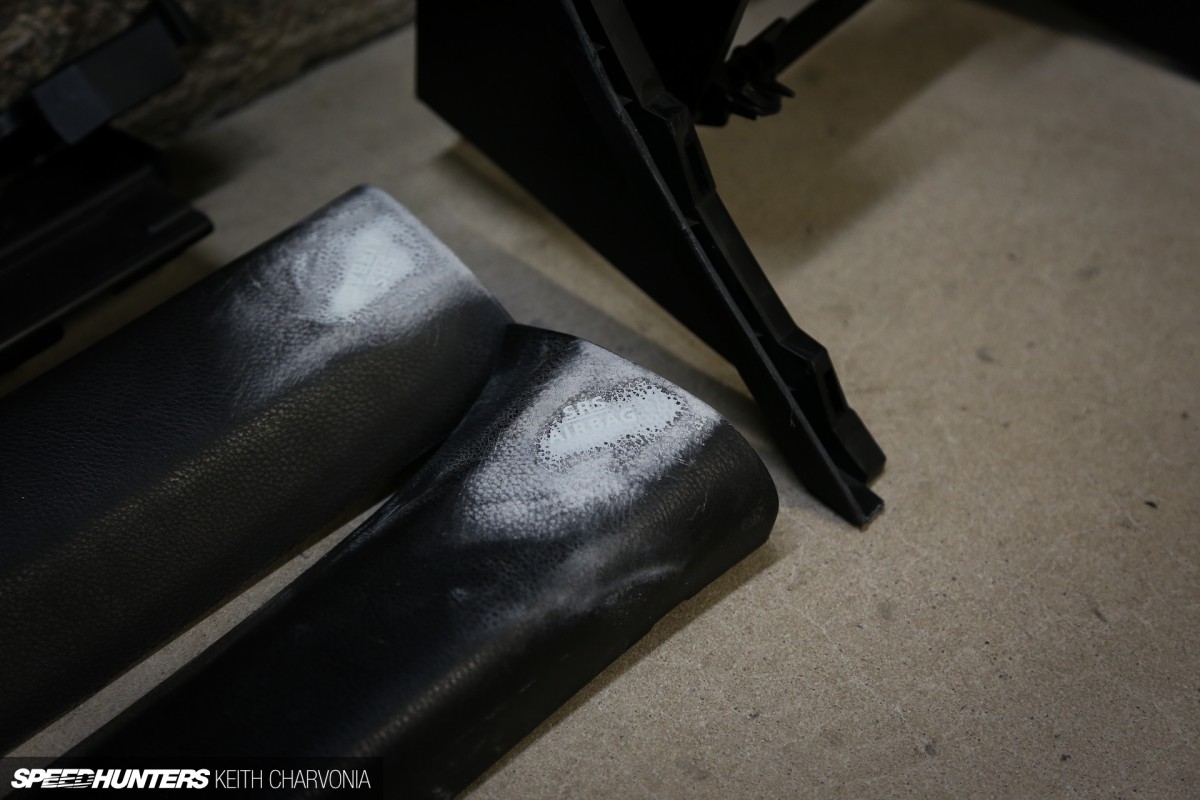
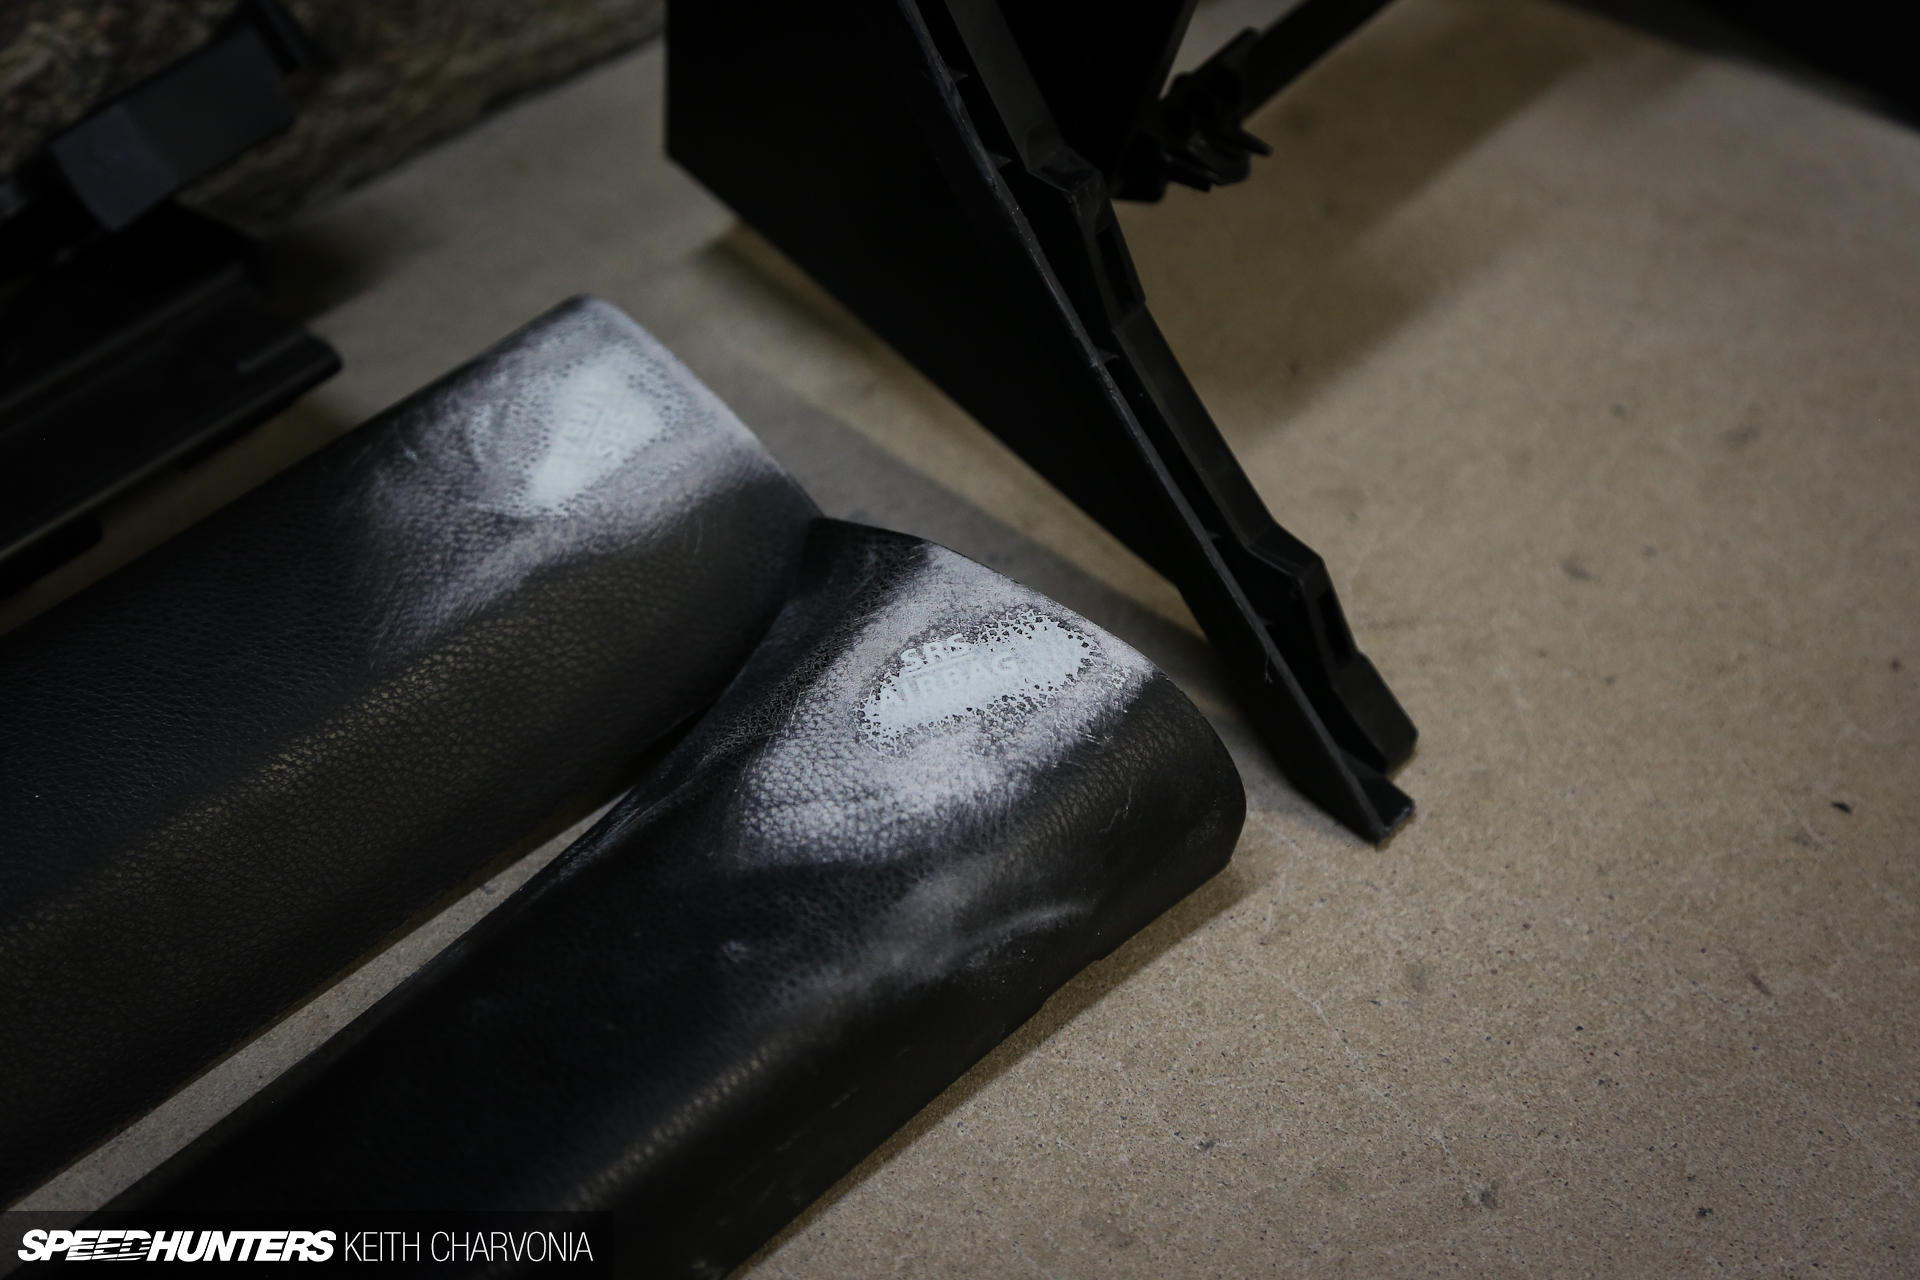
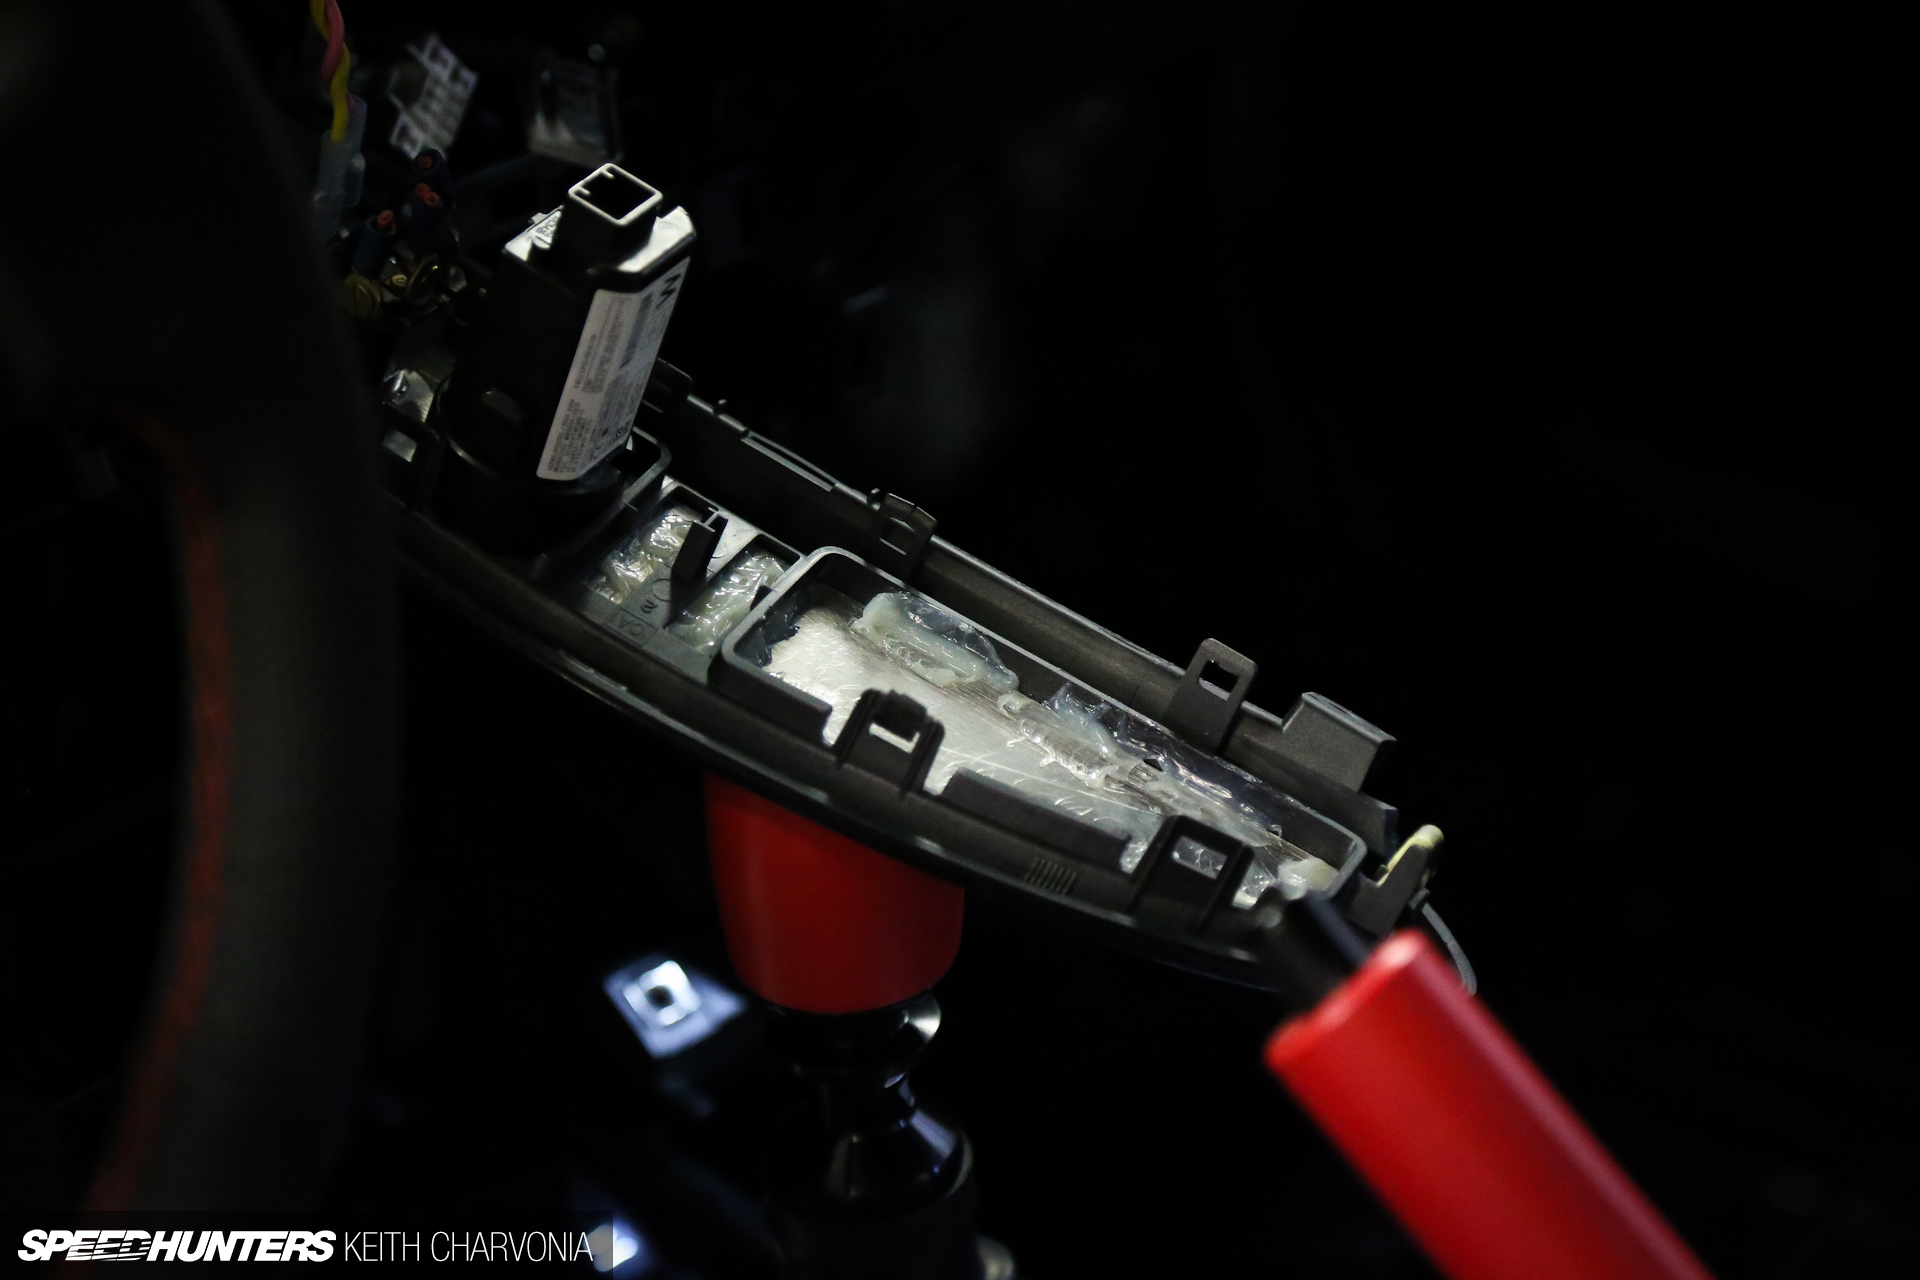
As I turned my attention to the interior I started noticing all the decidedly modern details. Airbag markings have no place on a vintage-themed race car, so we filled every last one of them.
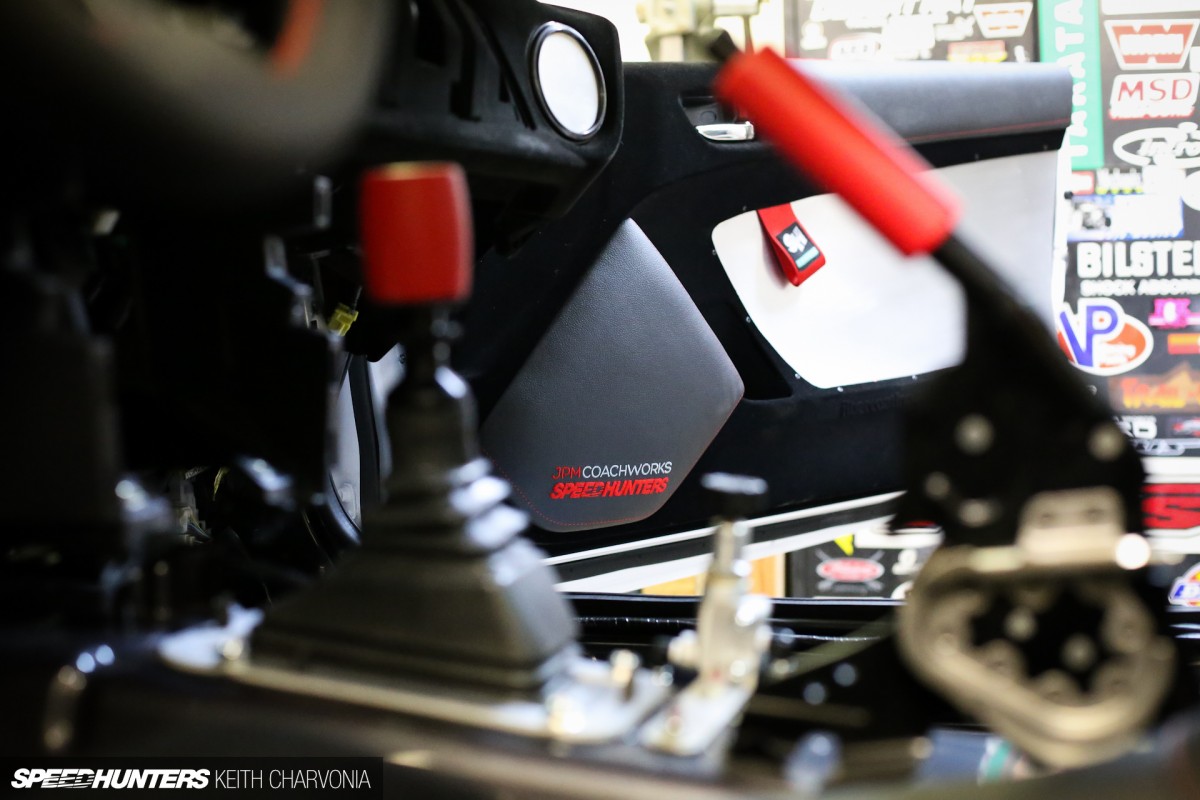
Andy Blackmore and I decided to delete the side glass early on too, and staring at the car late one night I had a wild idea. Why should the door panels still have a slot for glass that’s no longer there? It took some doing, but we were able to bend and shape plastic to extend the door panels over the glass openings. But how to finish them off?
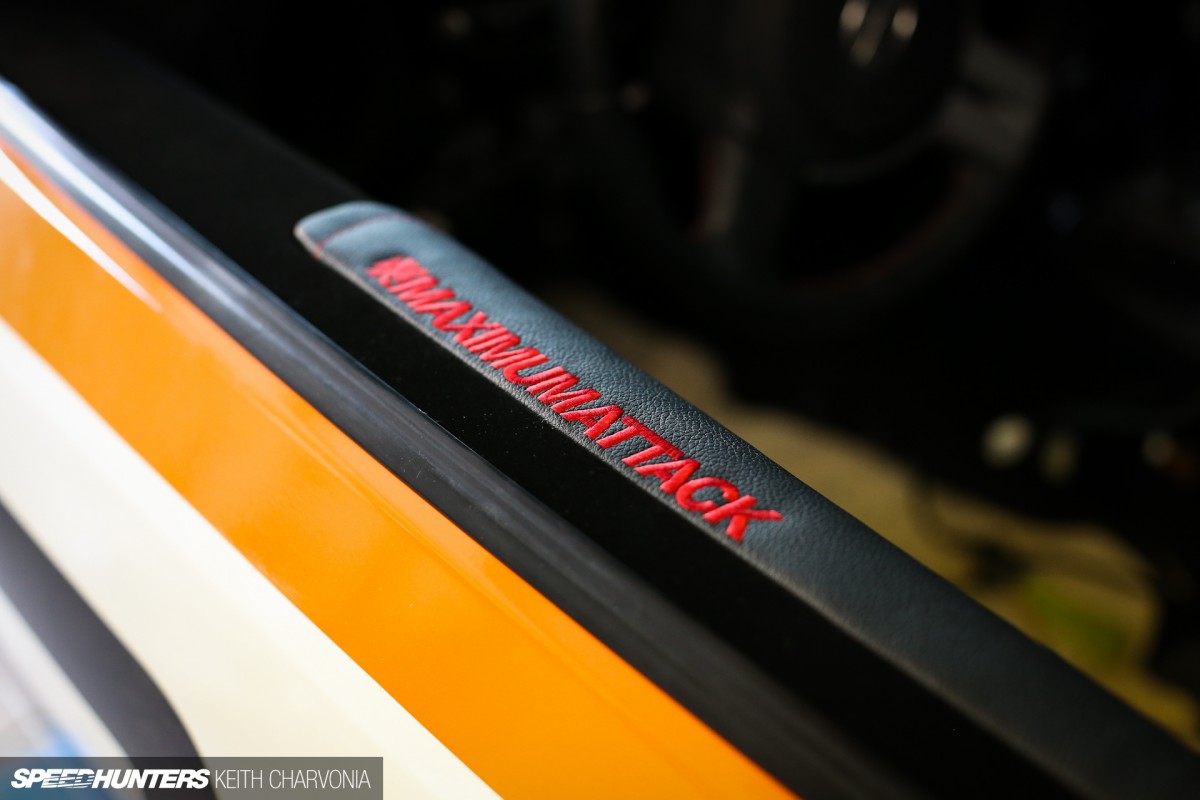
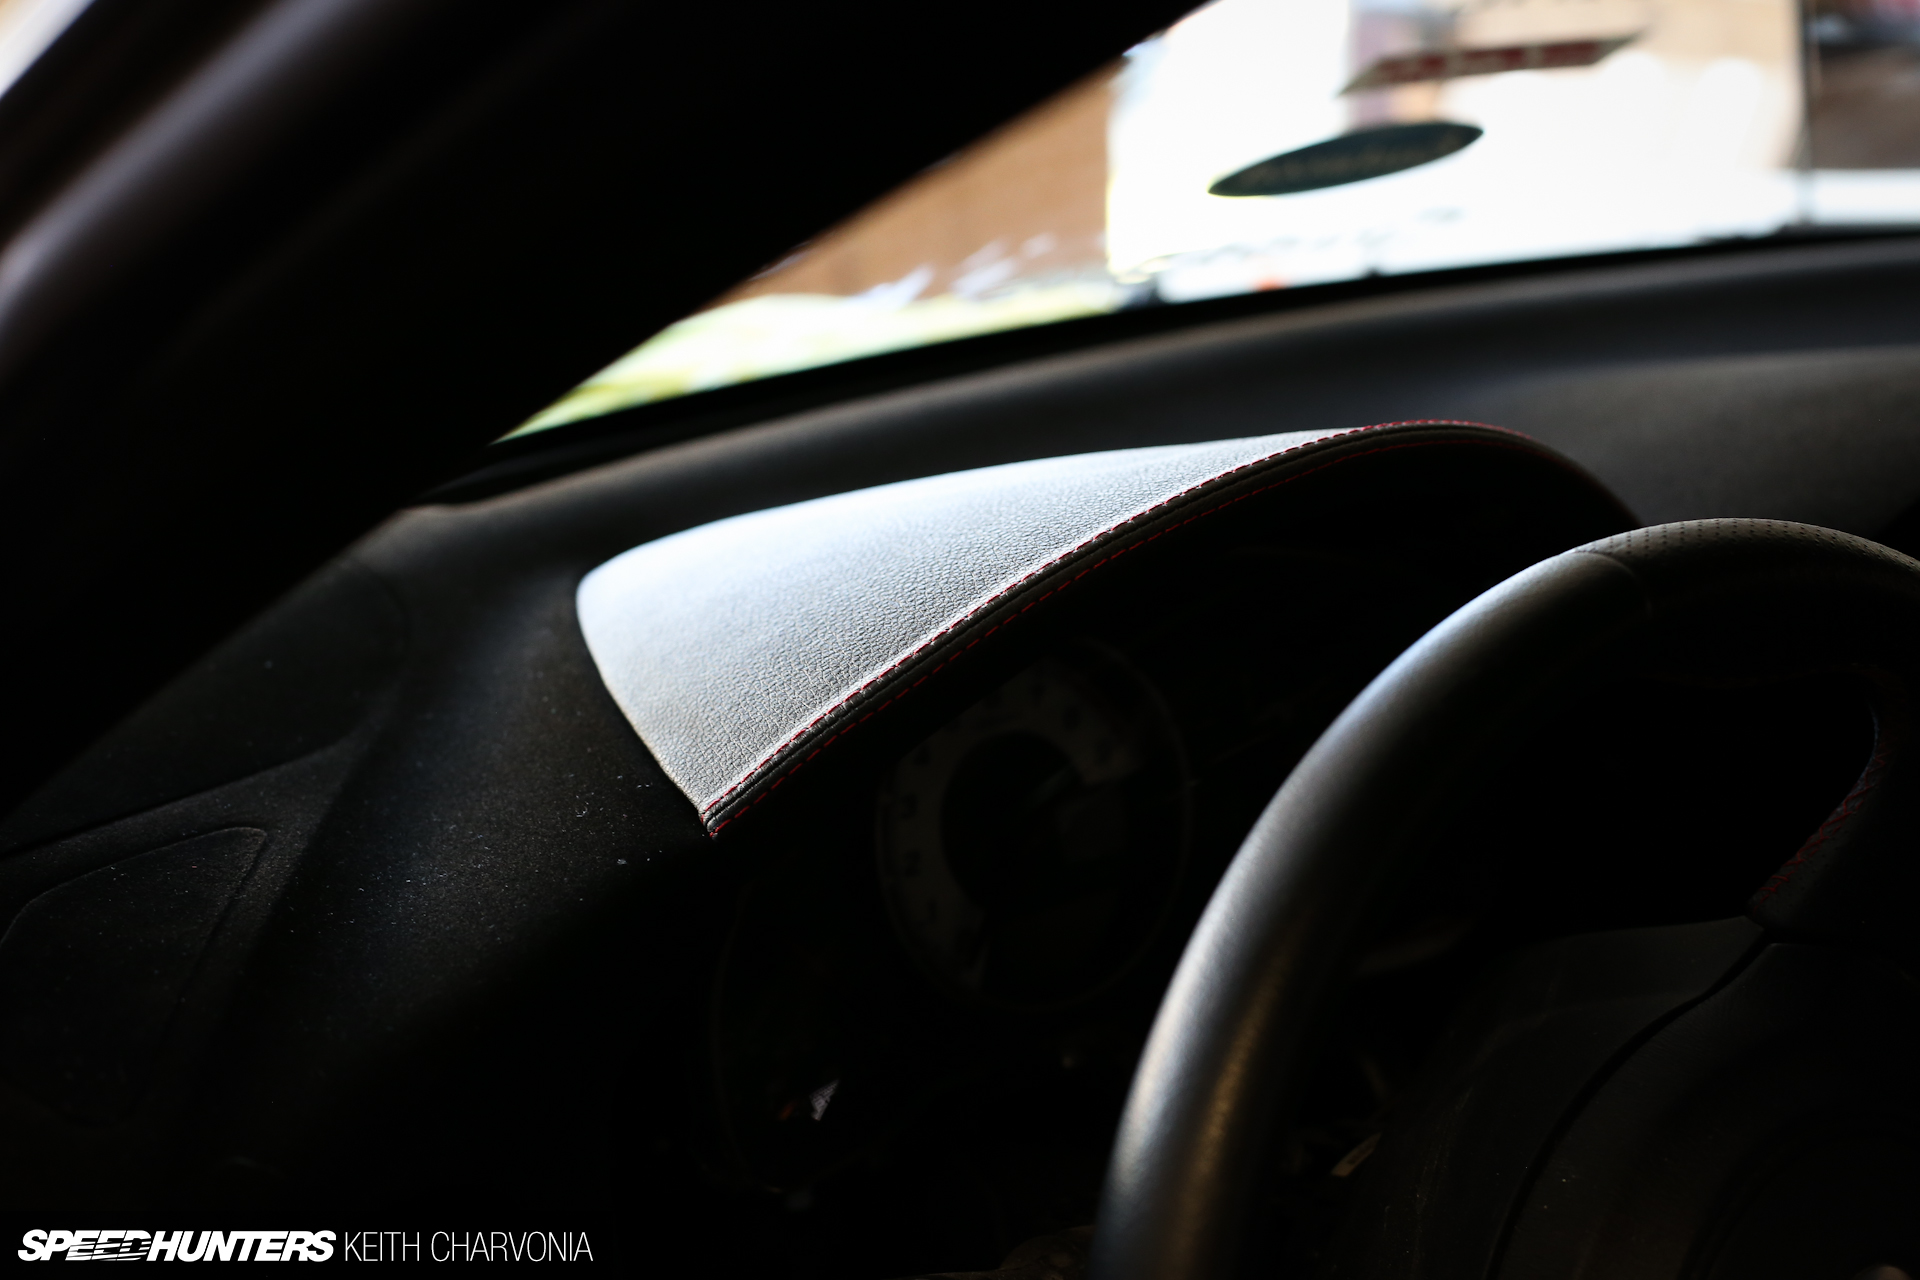
We could have wrapped the interior plastics in suede or leather, but we had a better idea. Lots of race cars use flocking to cut glare on the dash board and other parts, but I had never really seen it used a design element in a show car. It seemed like the perfect race cue that would also have a cool look in the interior.

After some research I came across EIS Fibercoating in Indiana. I was confident they could do the work, but they were on the other side of the country. The solution? Build a big wooden crate and ship most of the interior away for a few weeks. The results were well worth it though!

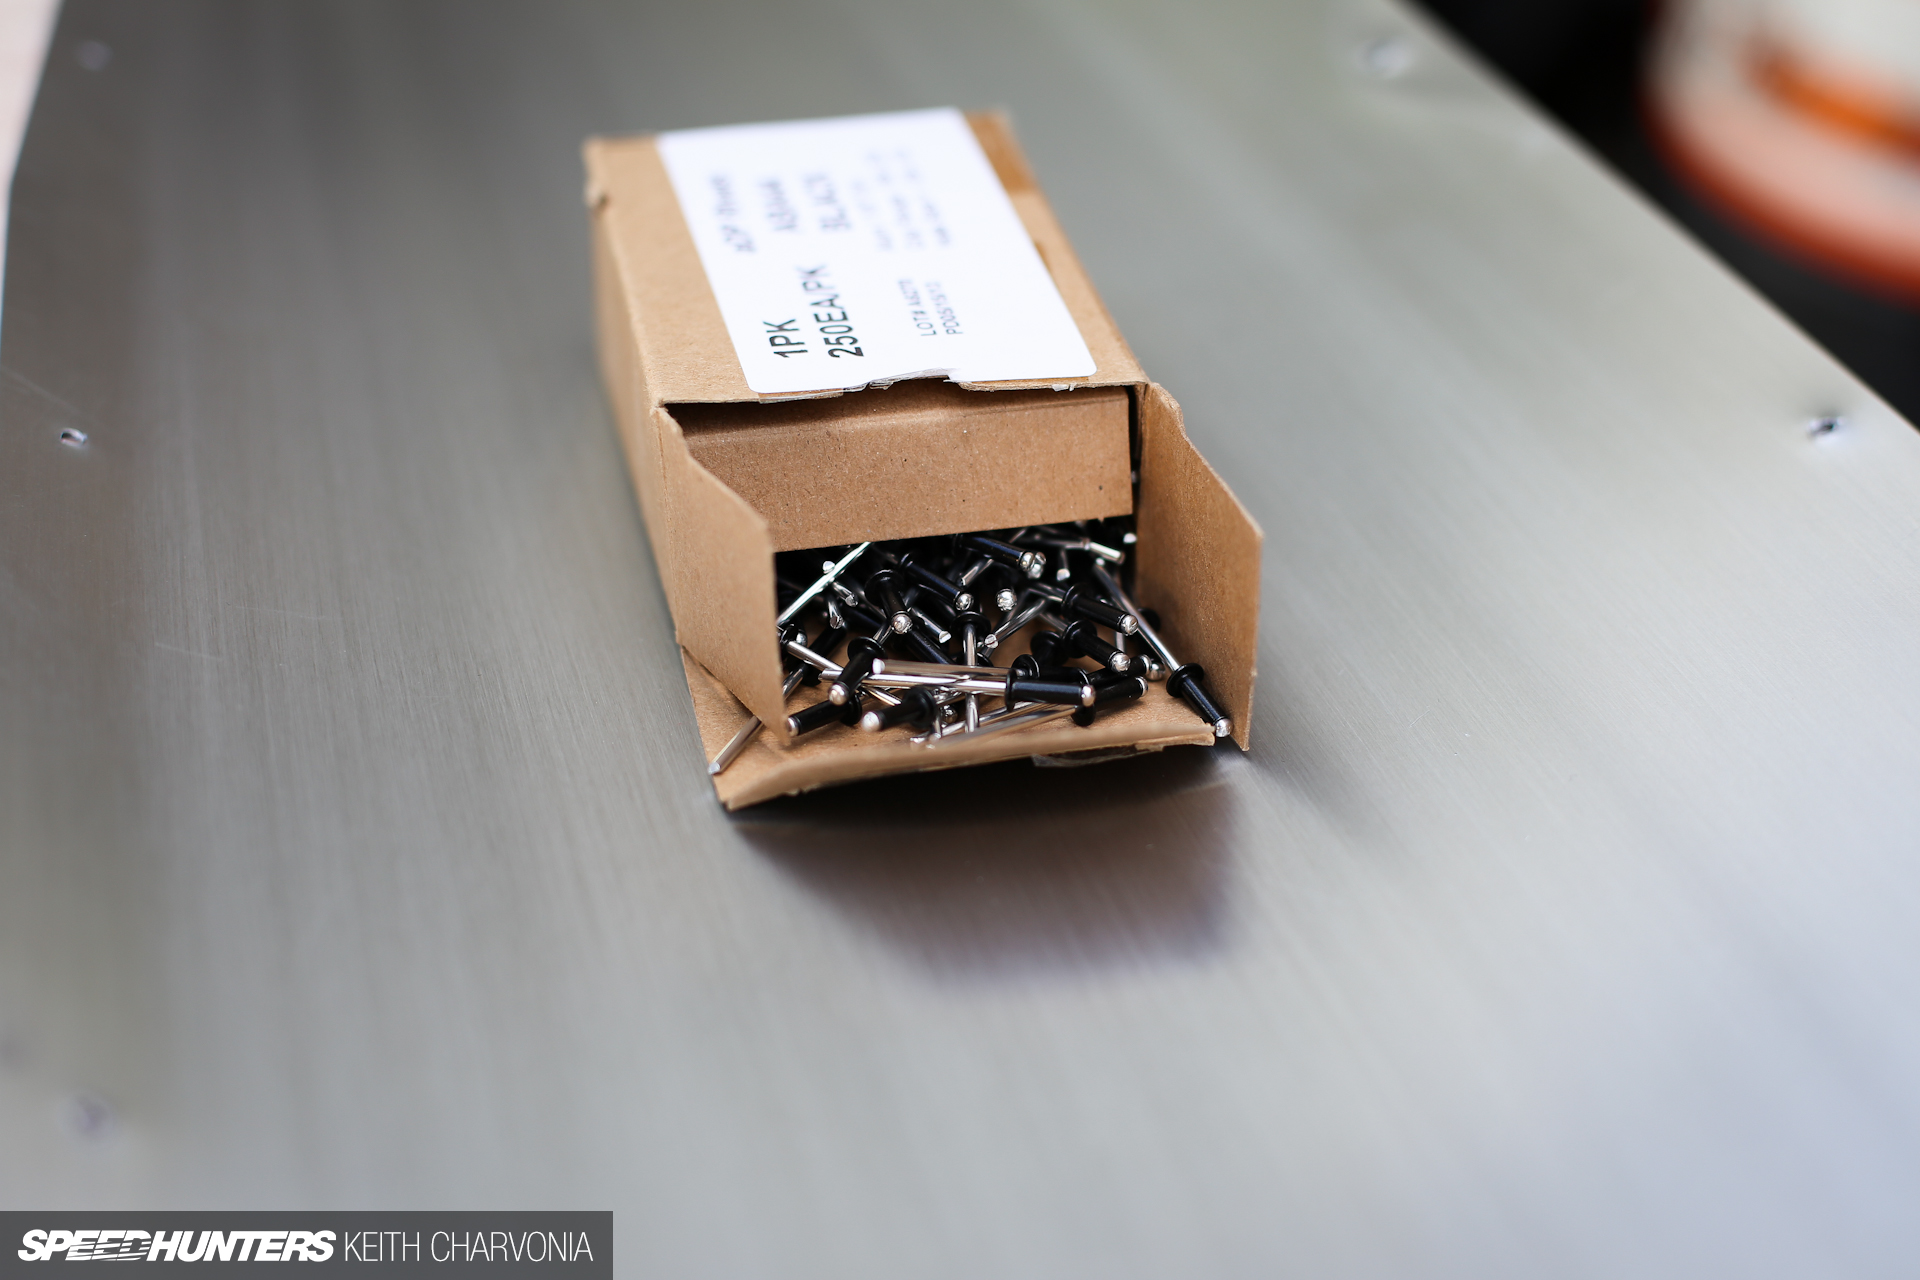
Flocking has a very deep, dark look to it, and I knew if we used black flocking on the entire interior it just wouldn’t have any form or shape to it. After talking it through with Andy we decided to fab some aluminum inserts for the door panels. I ordered special black rivets so they wouldn’t have too much of an industrial feel.
I wanted the rivets to show, but not become a design elements. The aluminum brought some brightness back into the interior too.
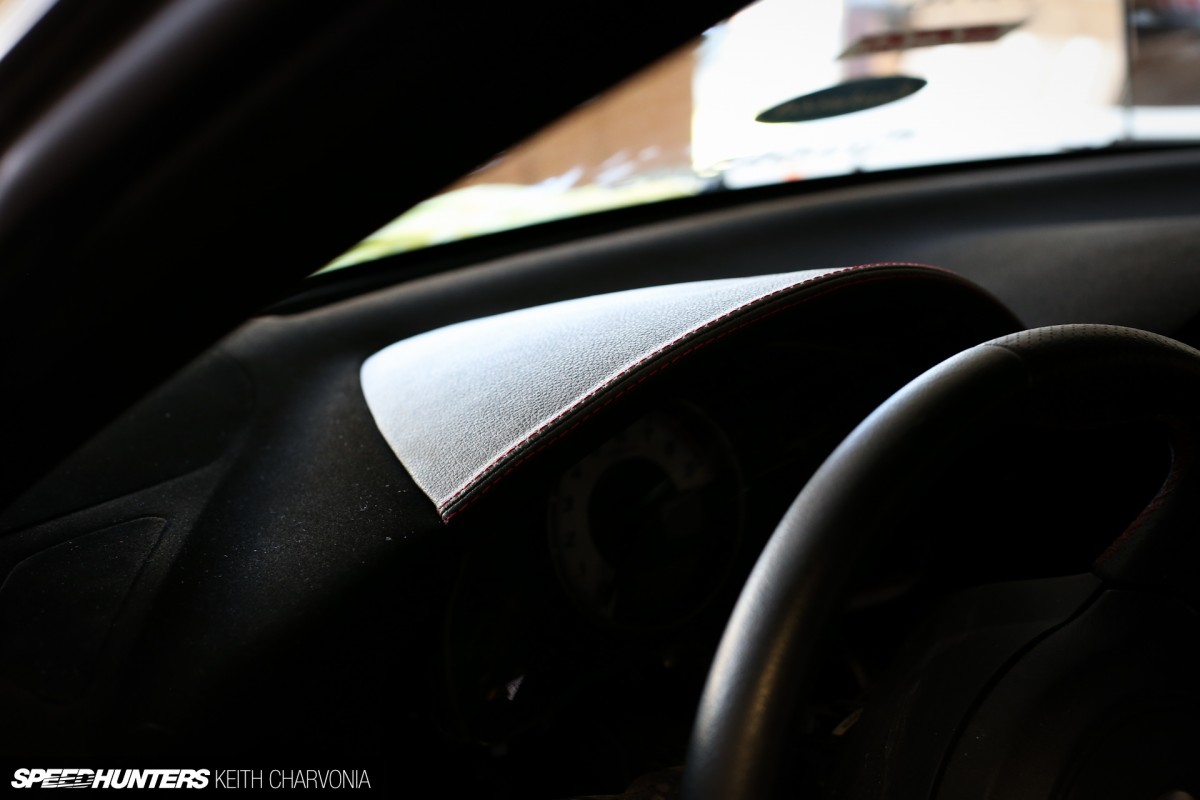
If you look closely you can see that we also shaved the dash vents and speakers before having them flocked. To avoid the dash looking too plain, JPM Coachworks provided a leather-wrapped instrument cluster hood.
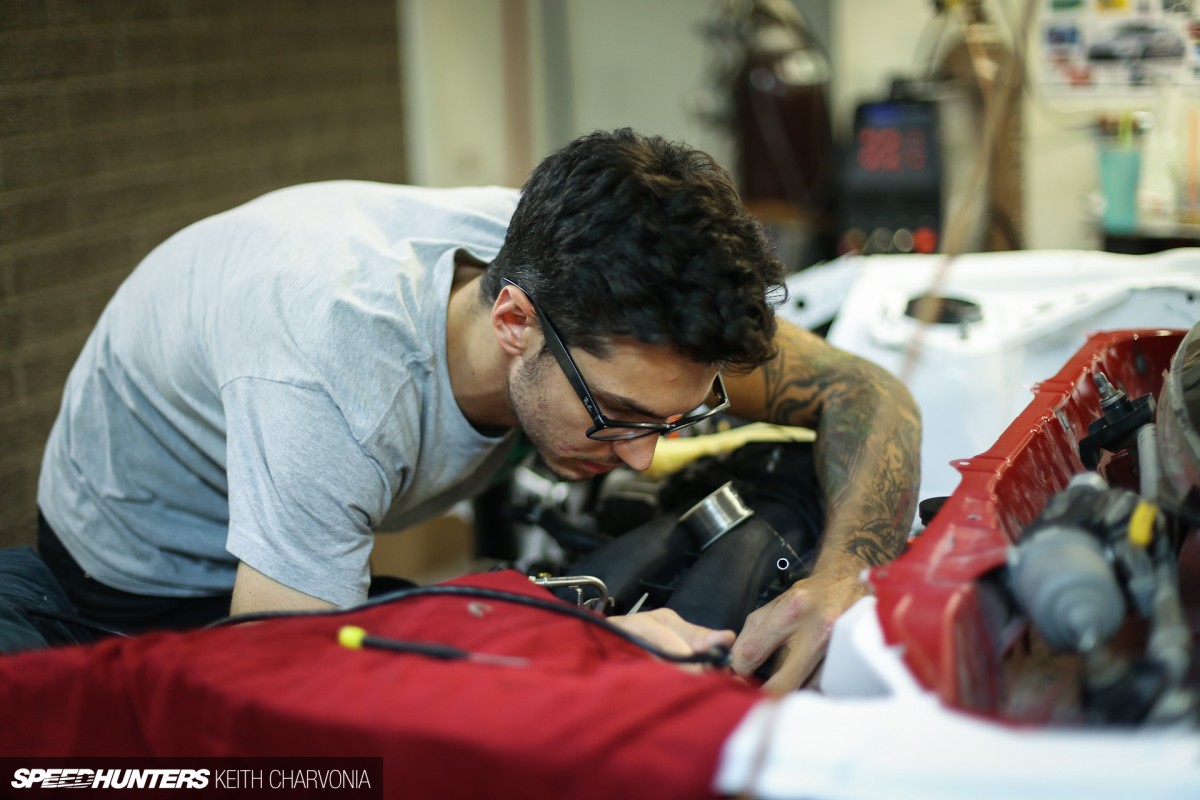
Early on I knew I wanted to work with Chase McMaster from Chasebays – he had done something unique with his own FR-S and we’re both hot rod guys at heart. Fortunately he was willing to fly out and help me work on the car for a few days.
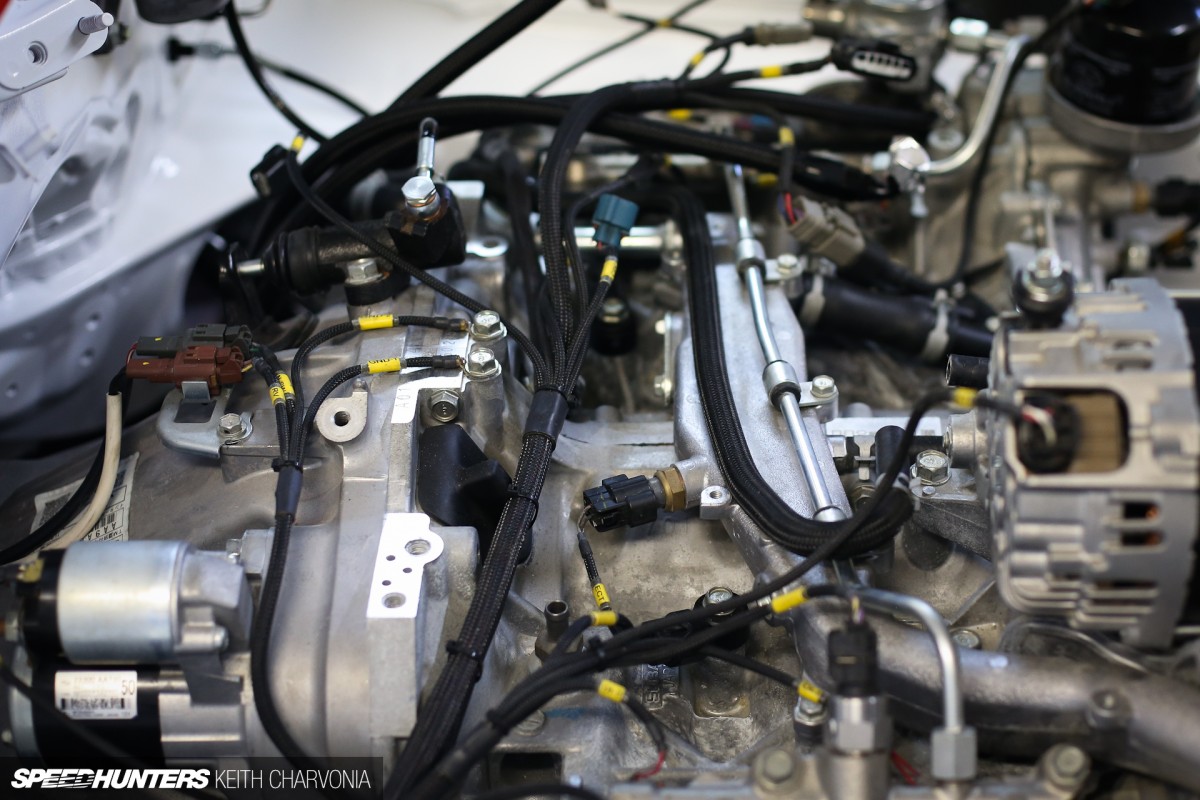
I would argue that Chase is a fabricator in his own right, and his medium is wire, terminal and loom.

He had other ideas too, like sanding the lettering off the clutch reservoir cap and painting it black. Yep, he’s a creator all right.
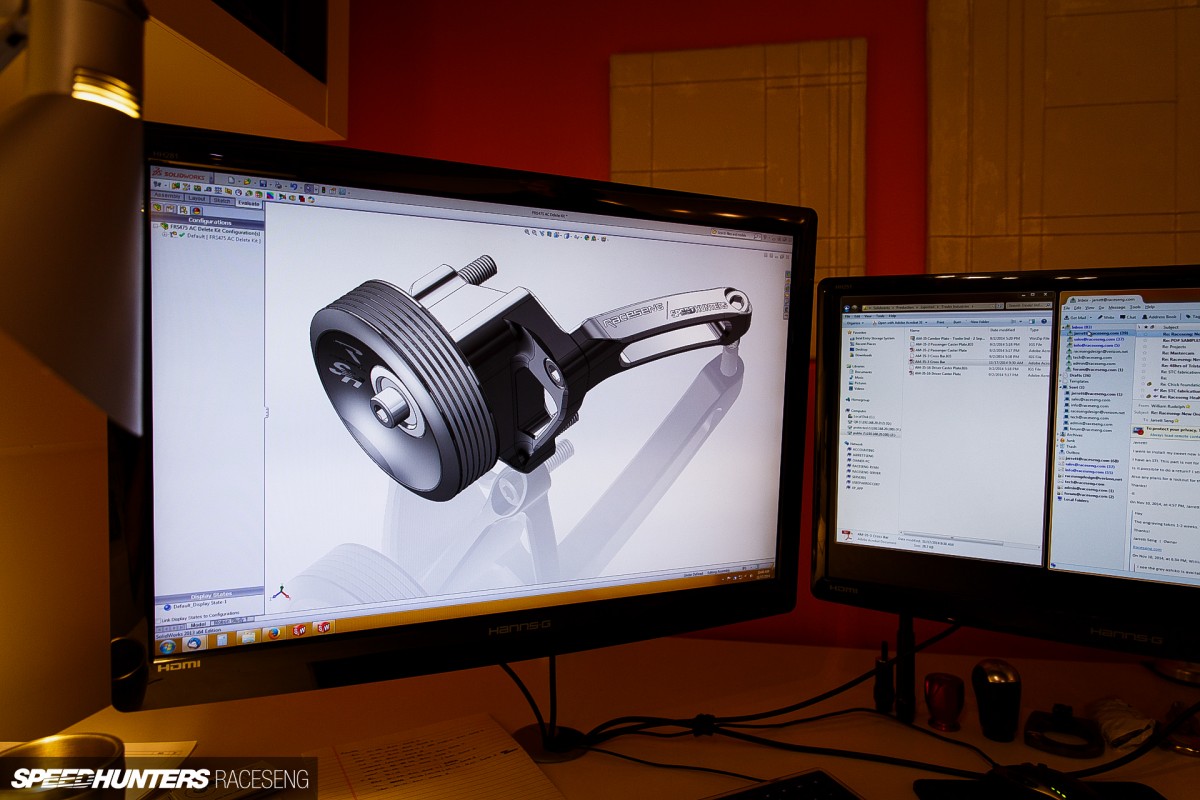
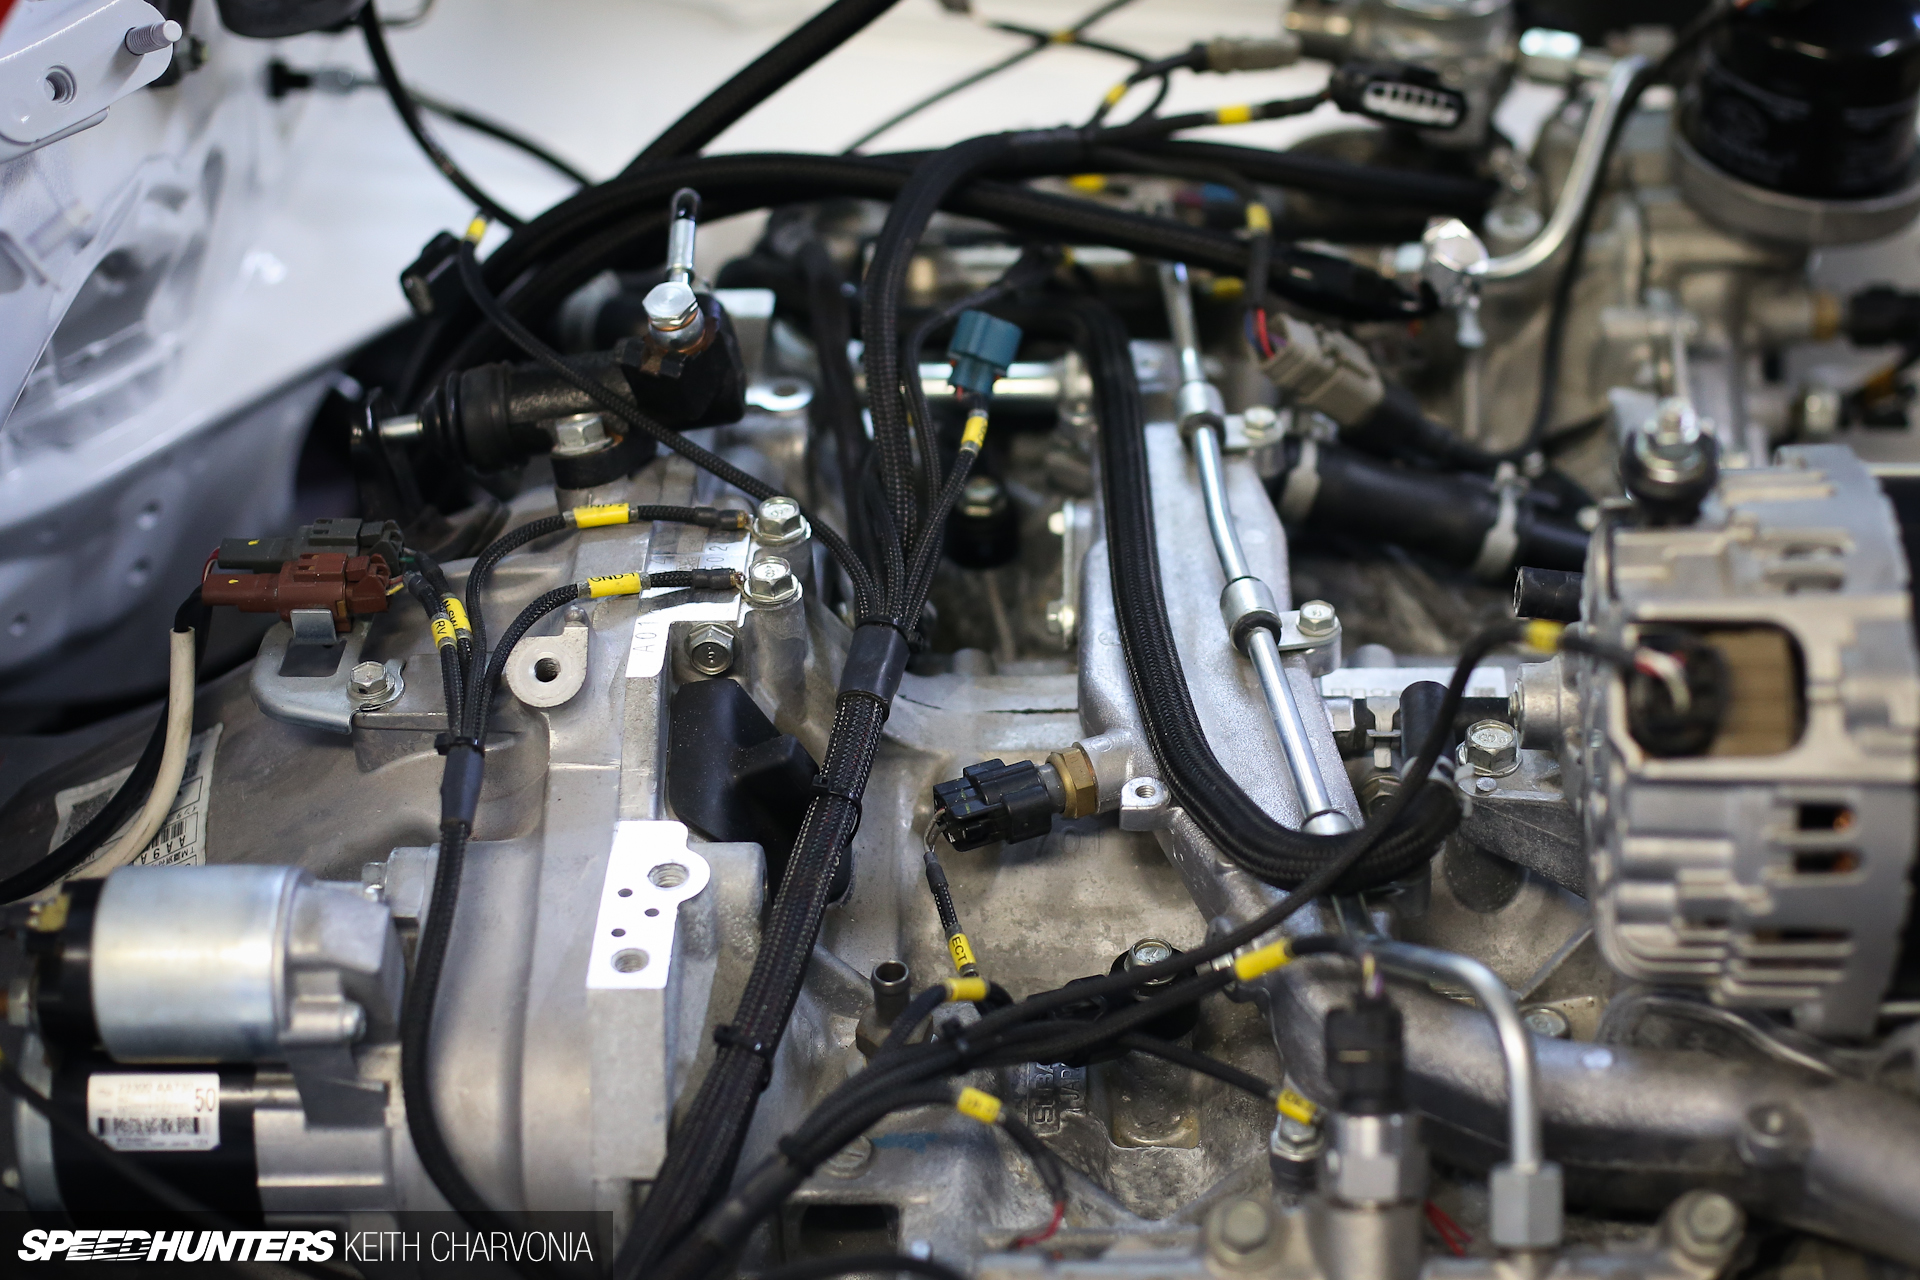
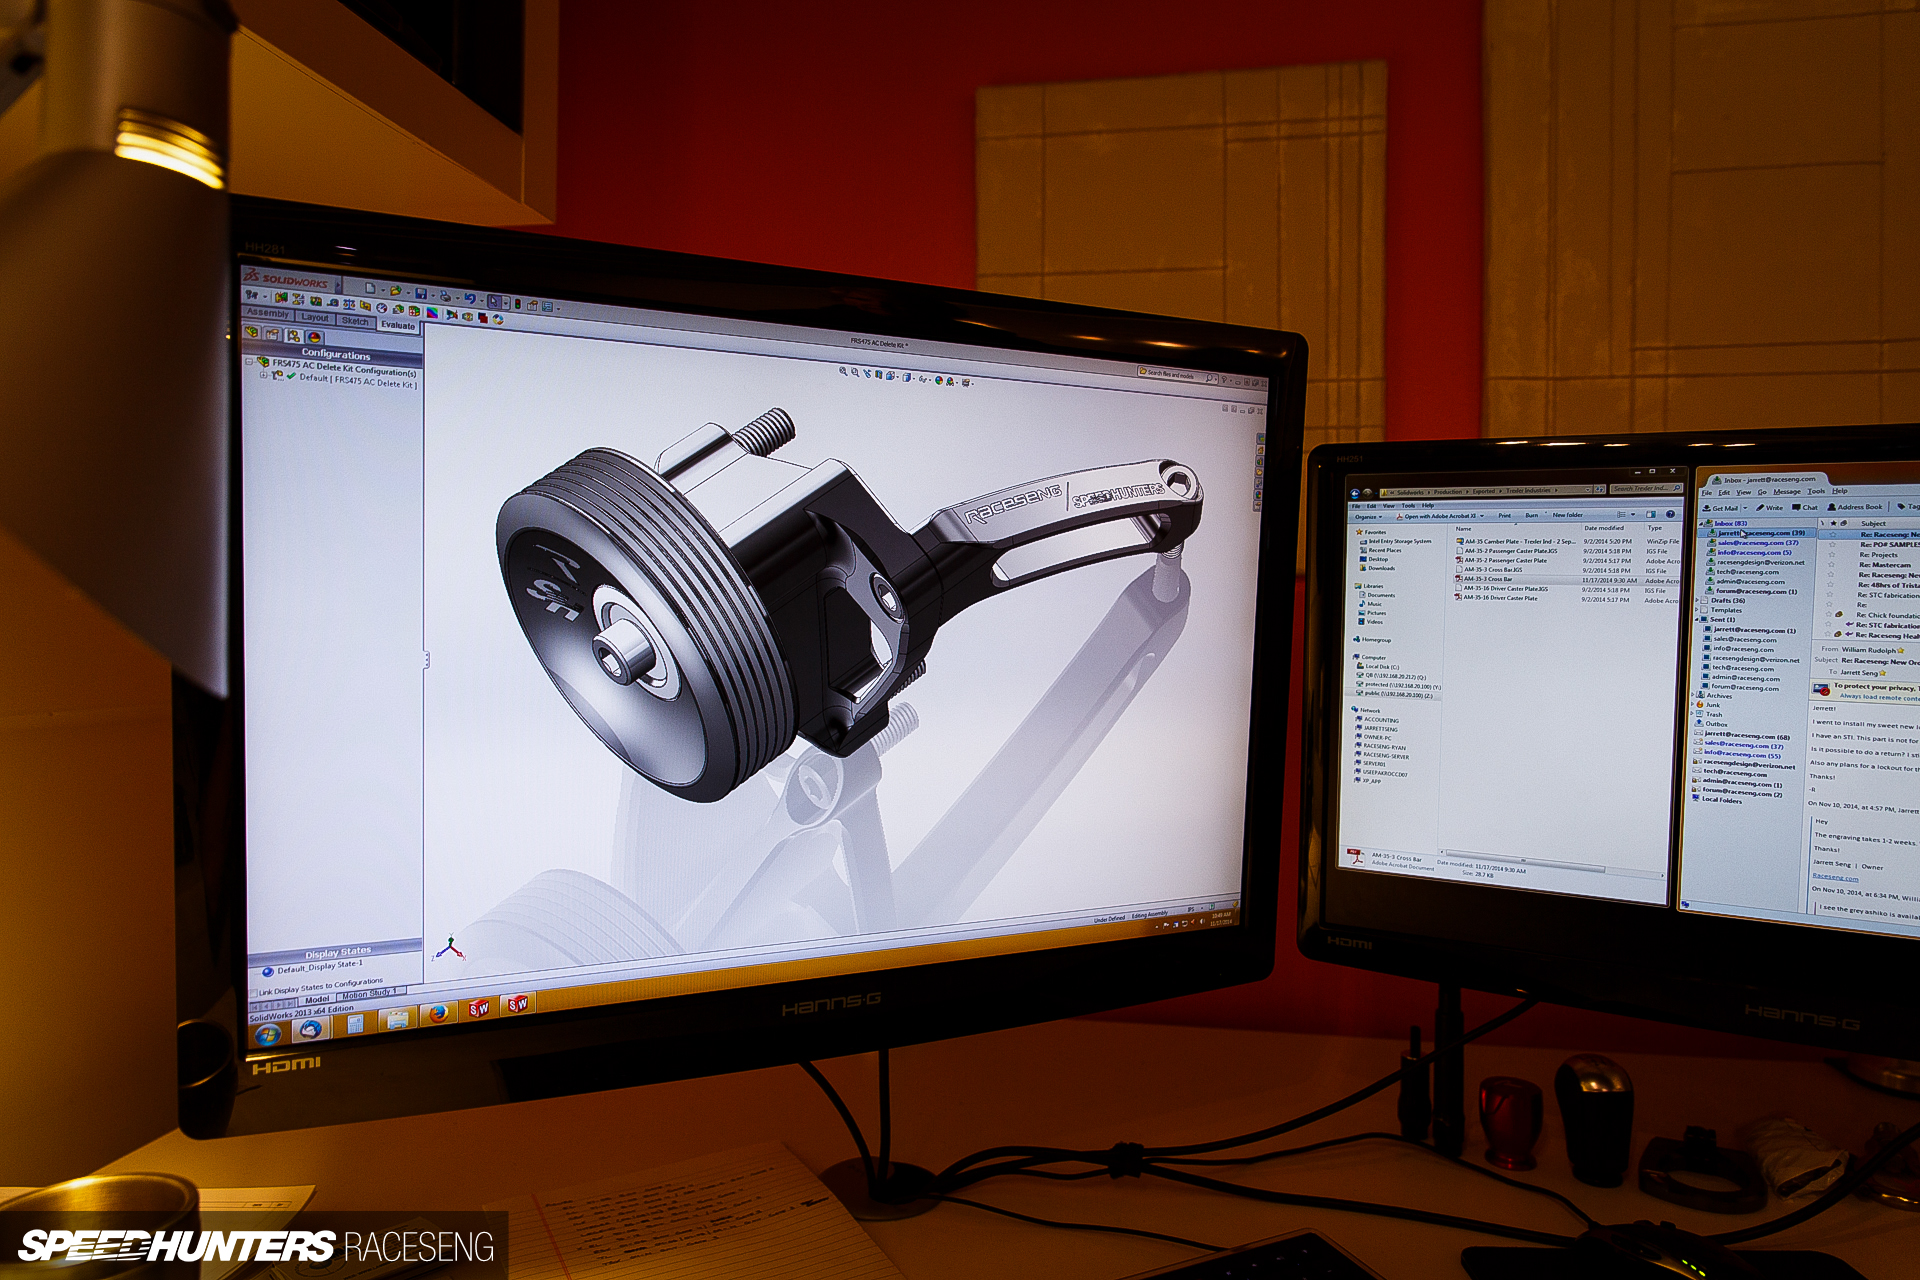
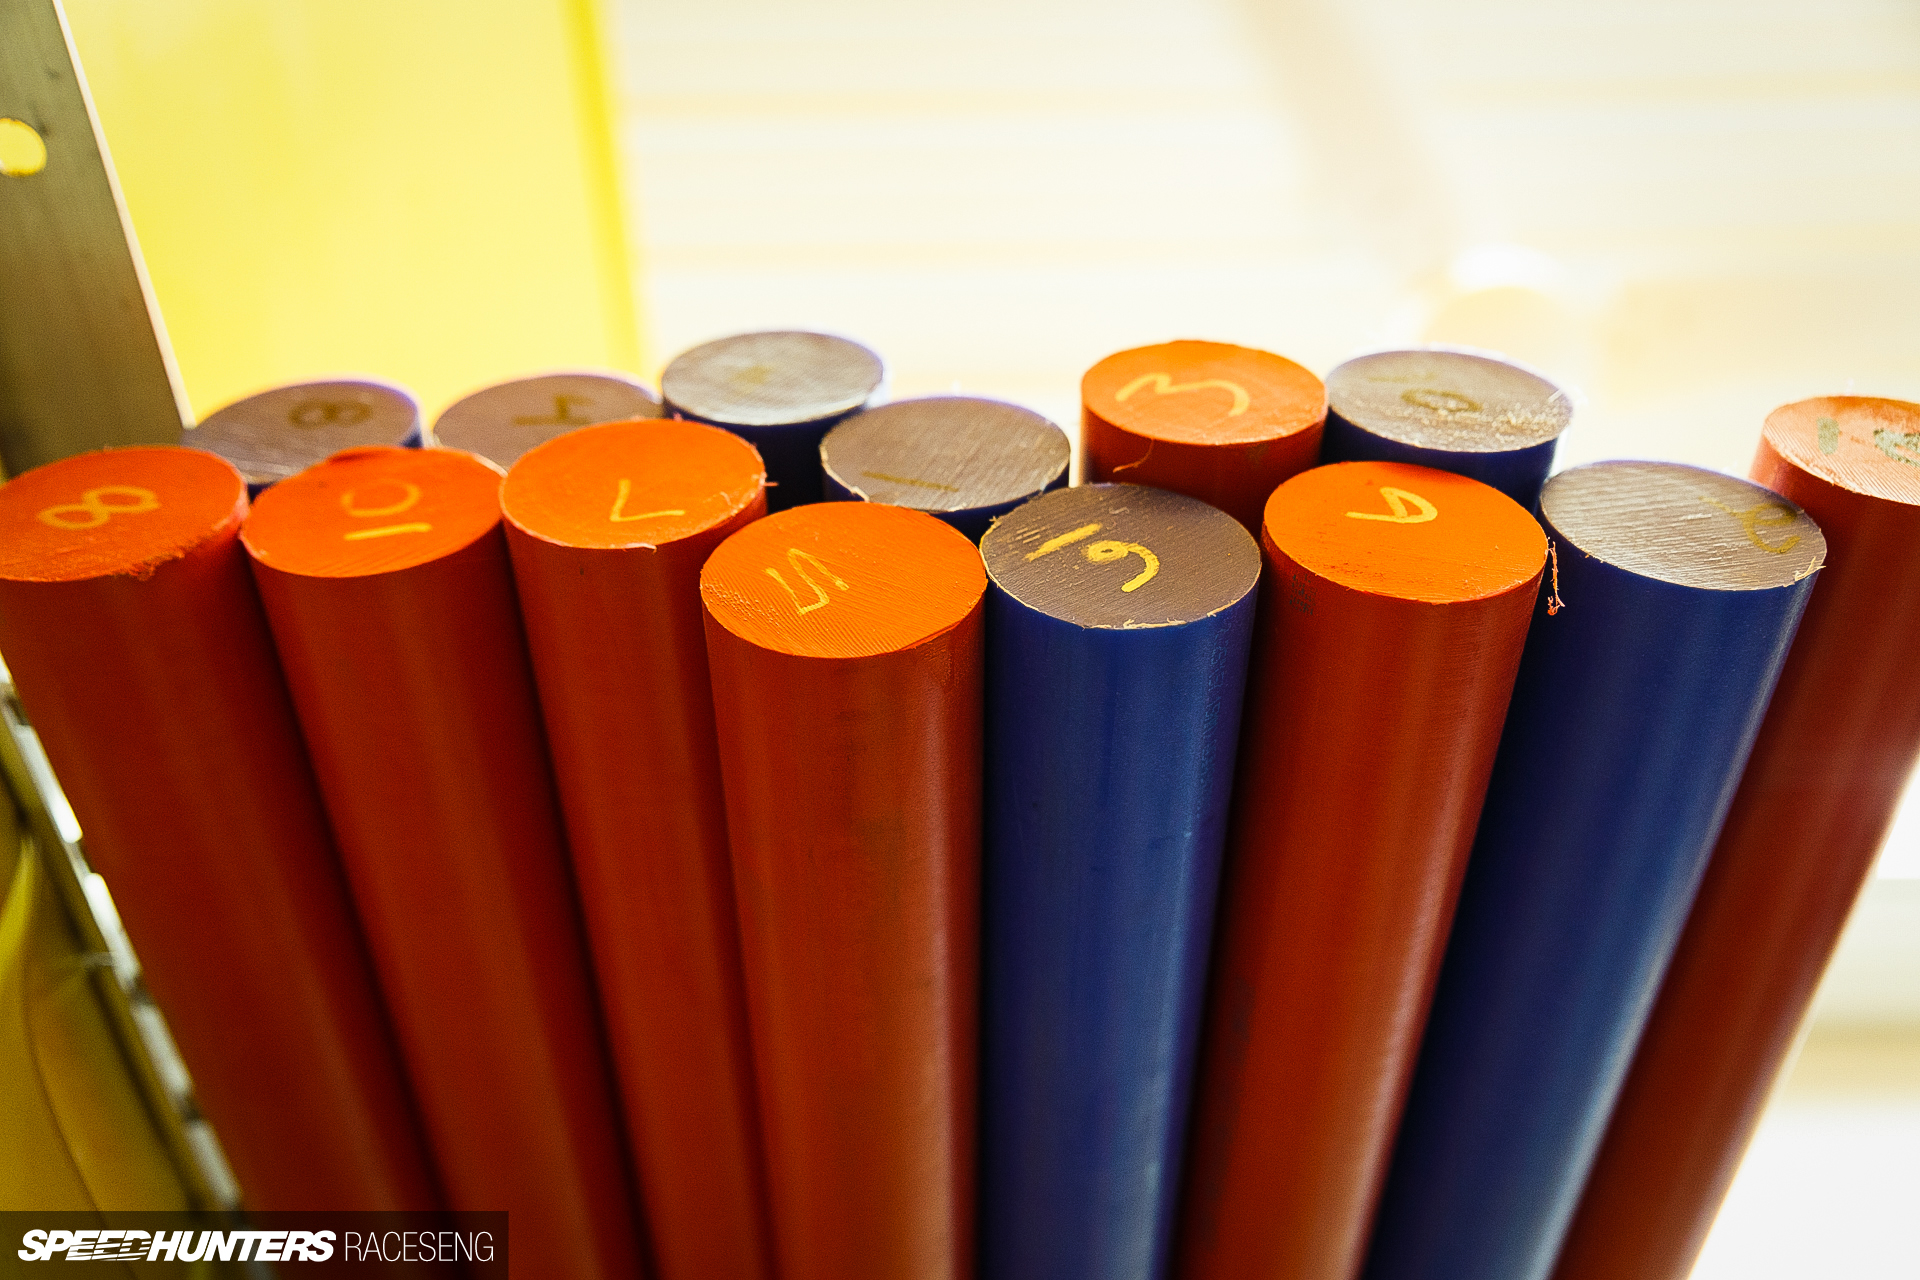
Another guy who really jumped into creating special parts for the build was Jarrett Seng, owner of Raceseng. He could have simply sent off-the-shelf products for the build, but he wanted to use his expertise to make sure his parts were a perfect fit on the FR-S. This little project started with a text one night: “Hey dude, have you ever though about making an AC delete pulley?”

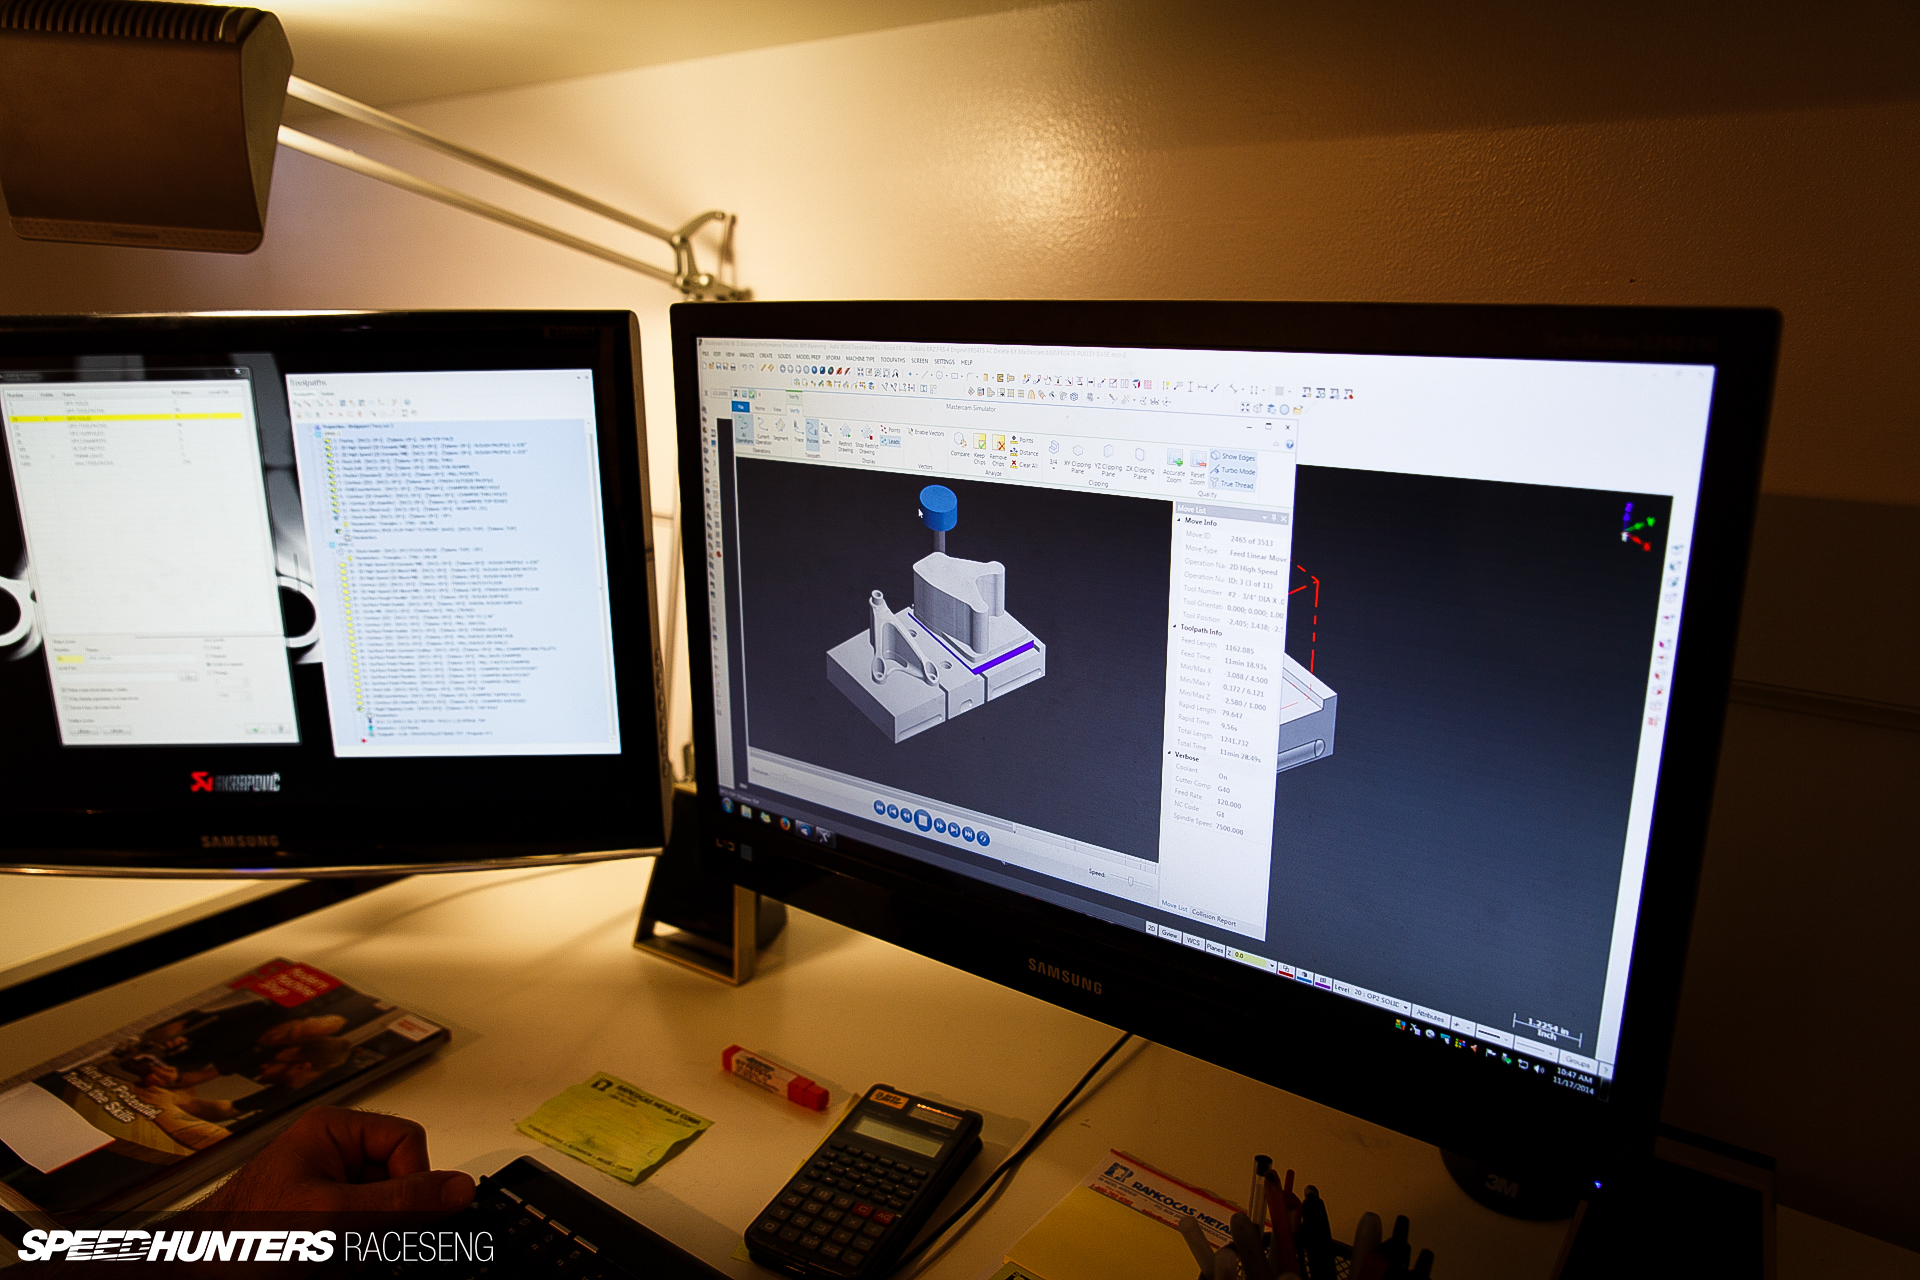
It turns out several customers had already requested such a thing, and this was just the catalyst he needed to make it a project. After designing the parts he went straight to CAM software to program the machining. That’s what I love about Raceseng, they design and machine their own stuff, so nothing is lost in translation. It’s a perfect example of knowing all aspects of the part you’re trying to create, and it affords the ability to push the envelope as a result.

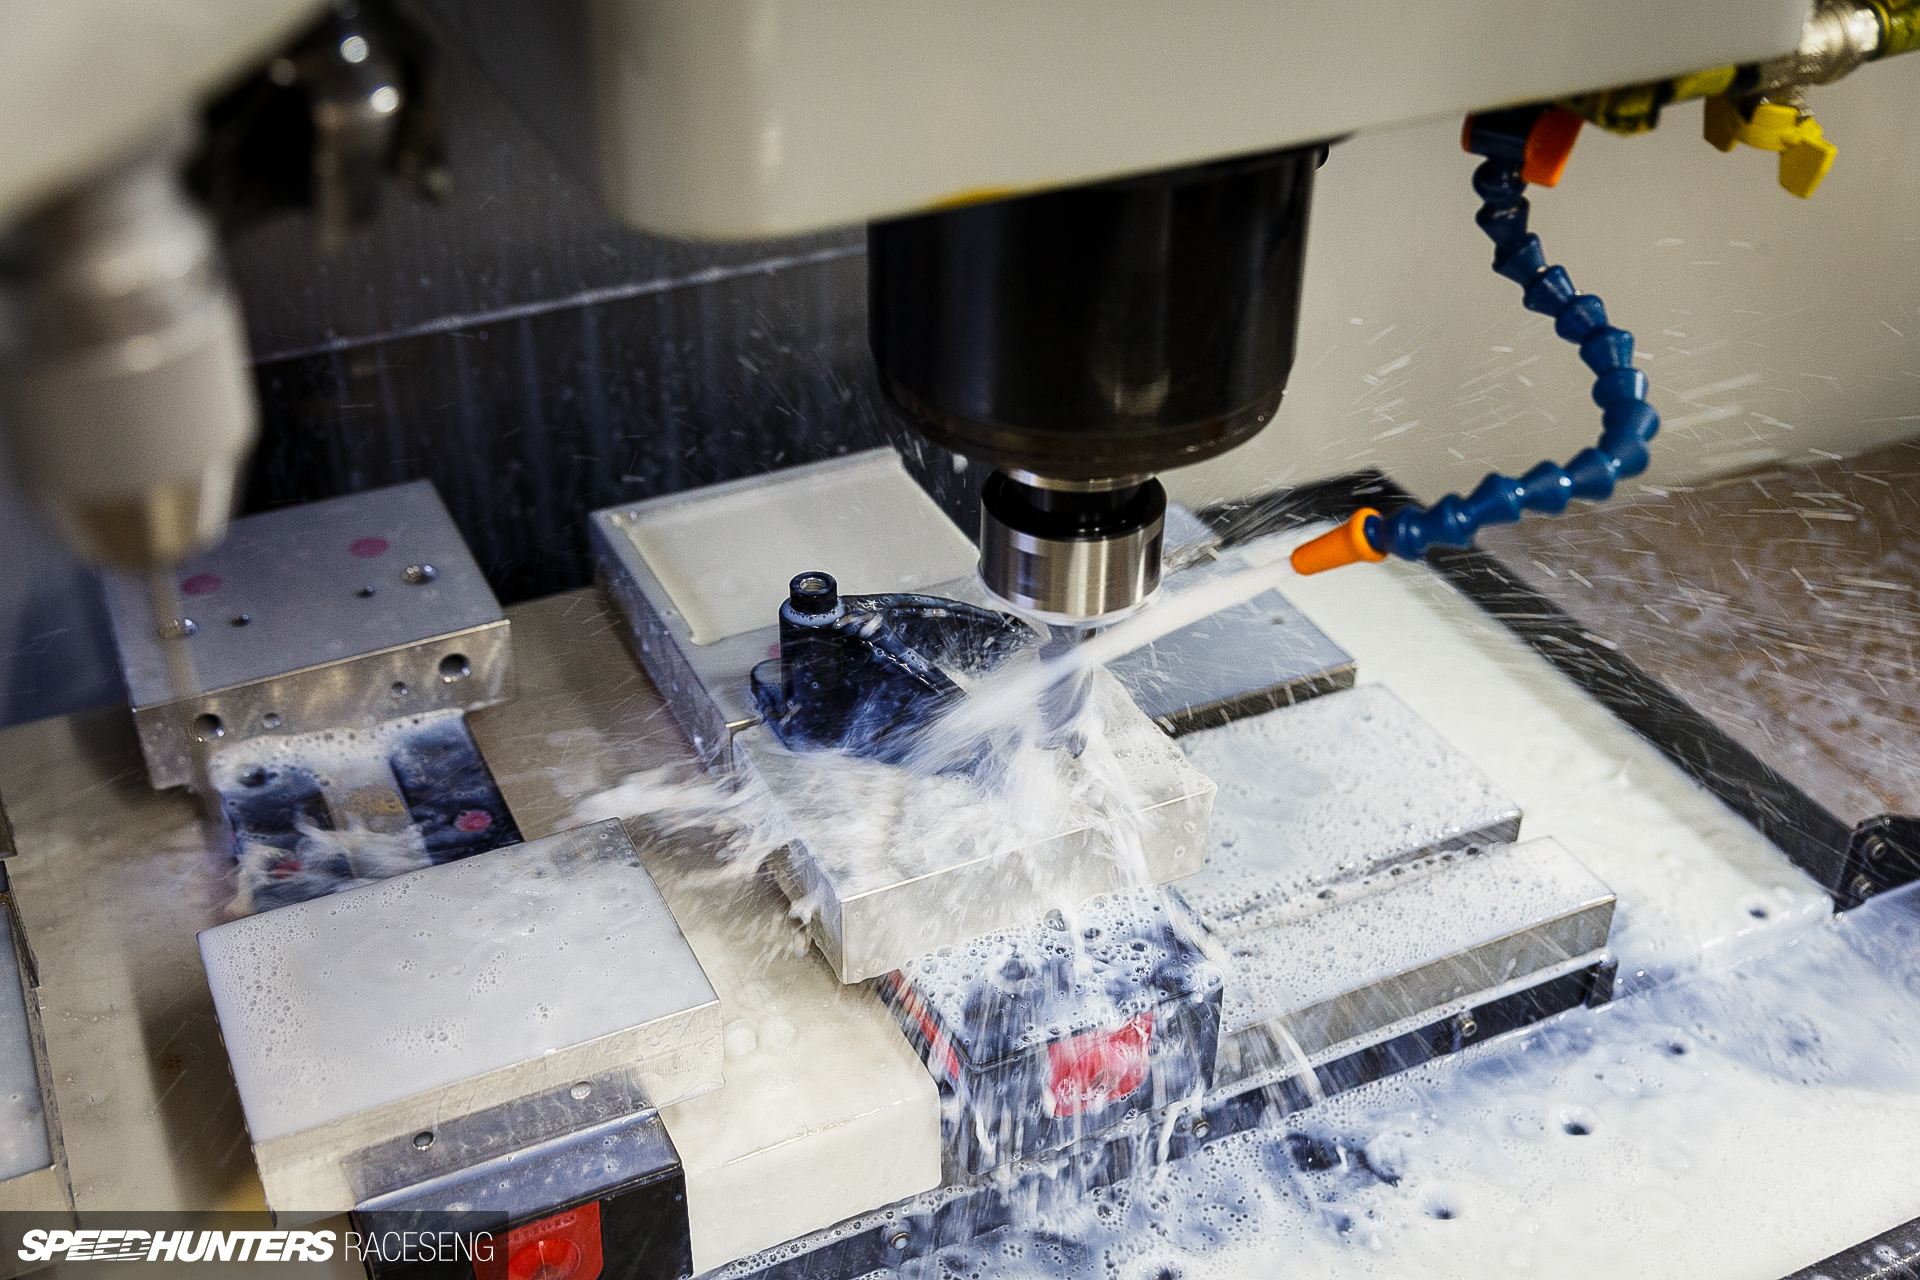
Since he has his own Haas machines, all Jarrett had to do was walk out of his office and start machining. I make it sound simple, but really he also had to design all the fixtures to make the parts, and make those first!
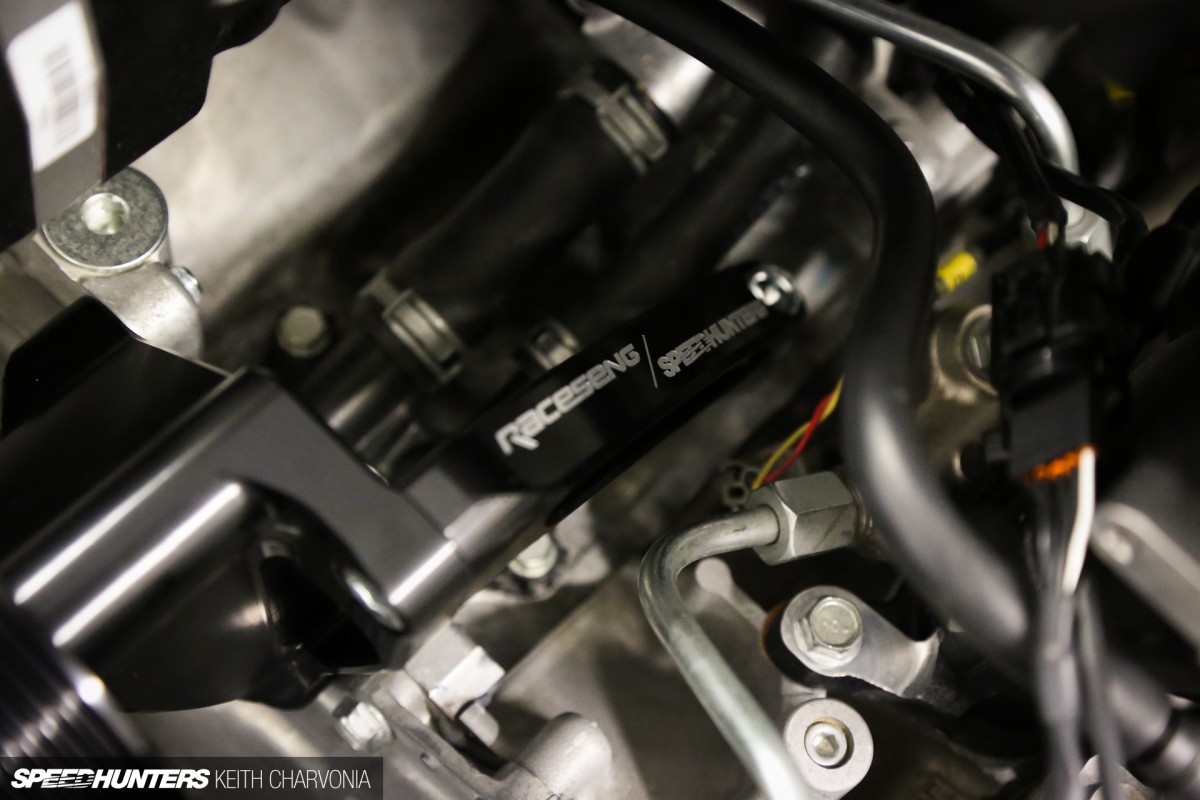
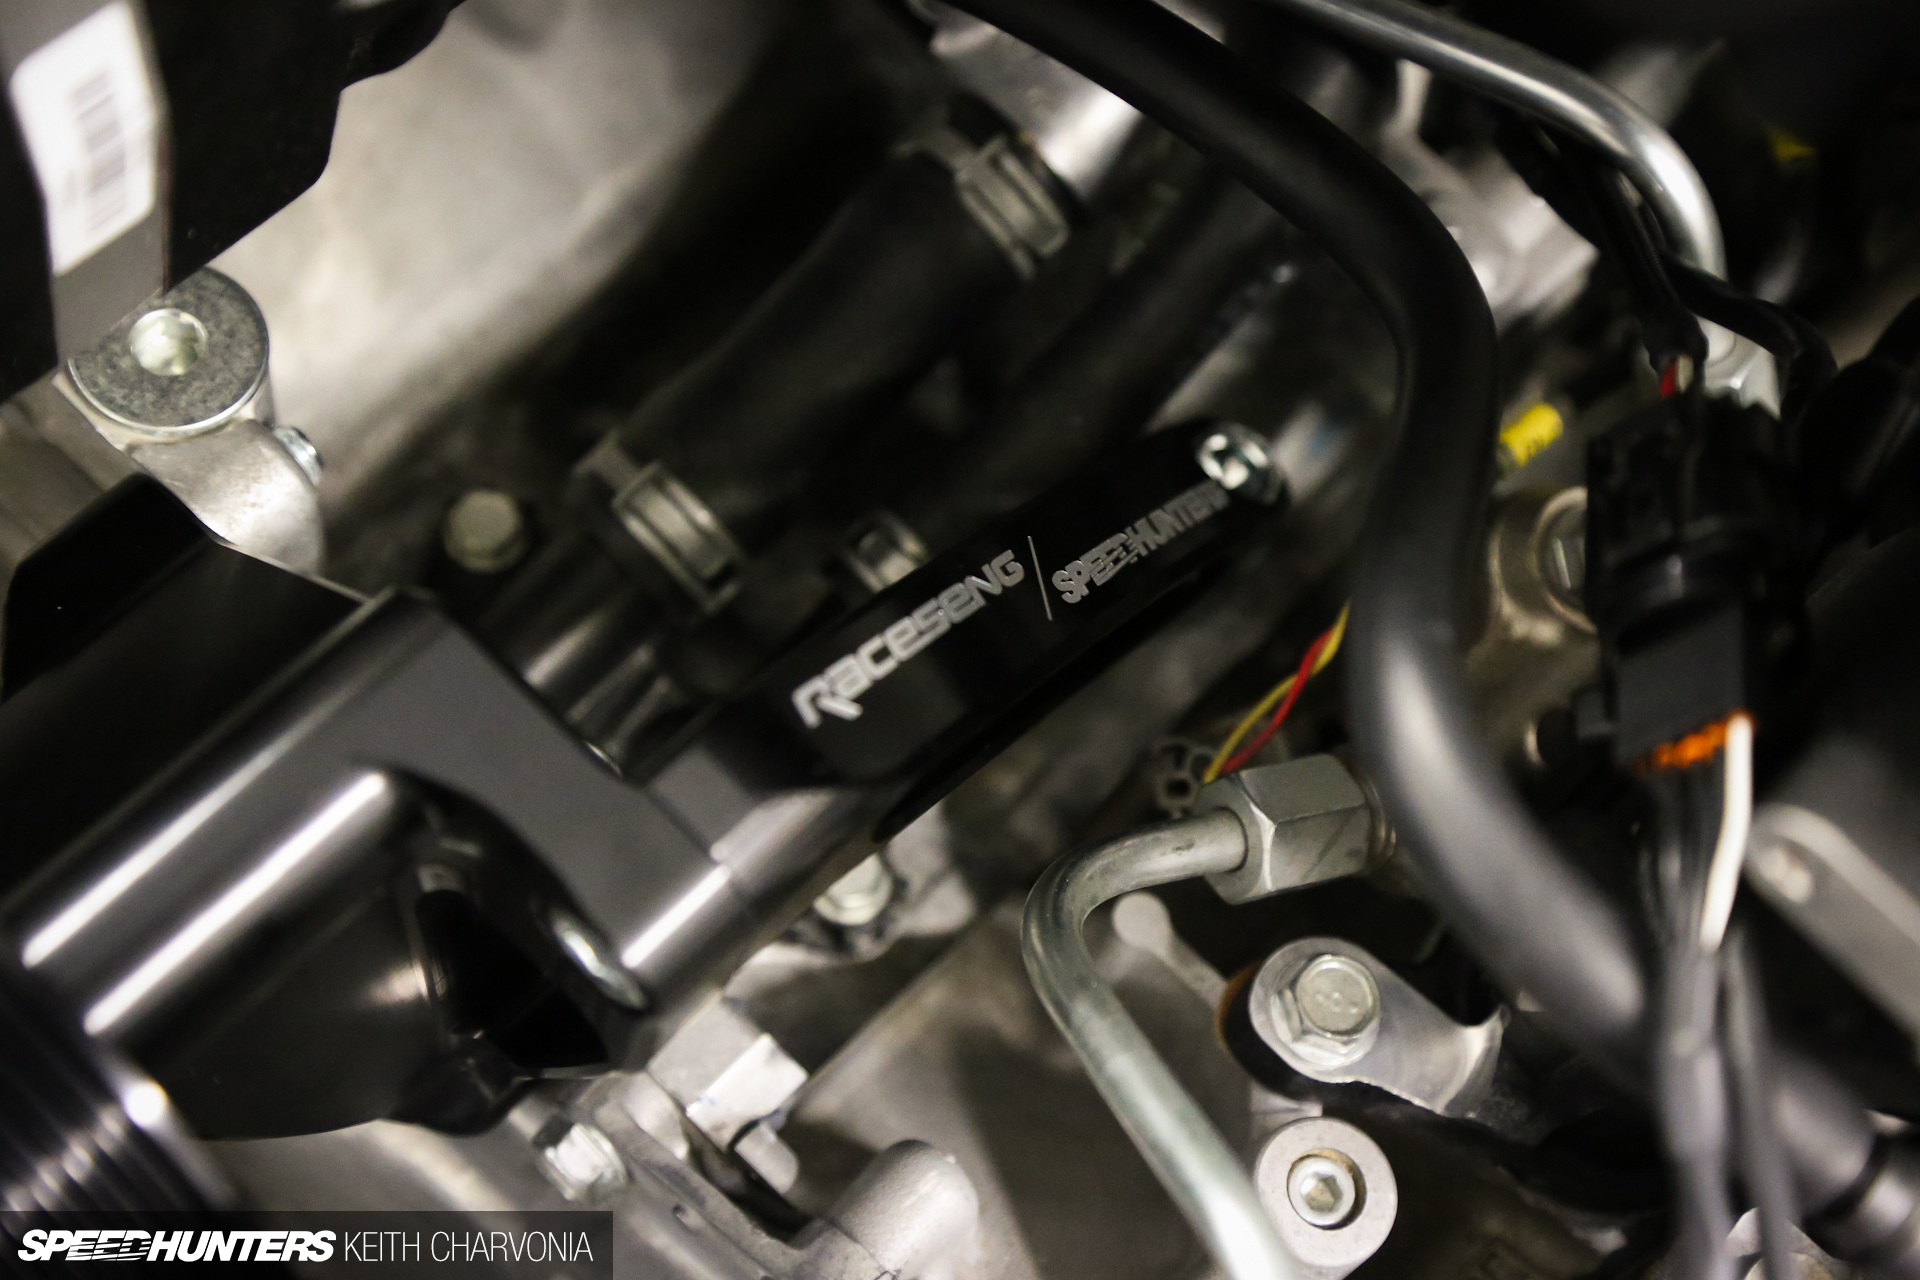
Raceseng didn’t just make a pulley with a bracket, they made a beautifully designed sculpted part, then even added both of our logos!

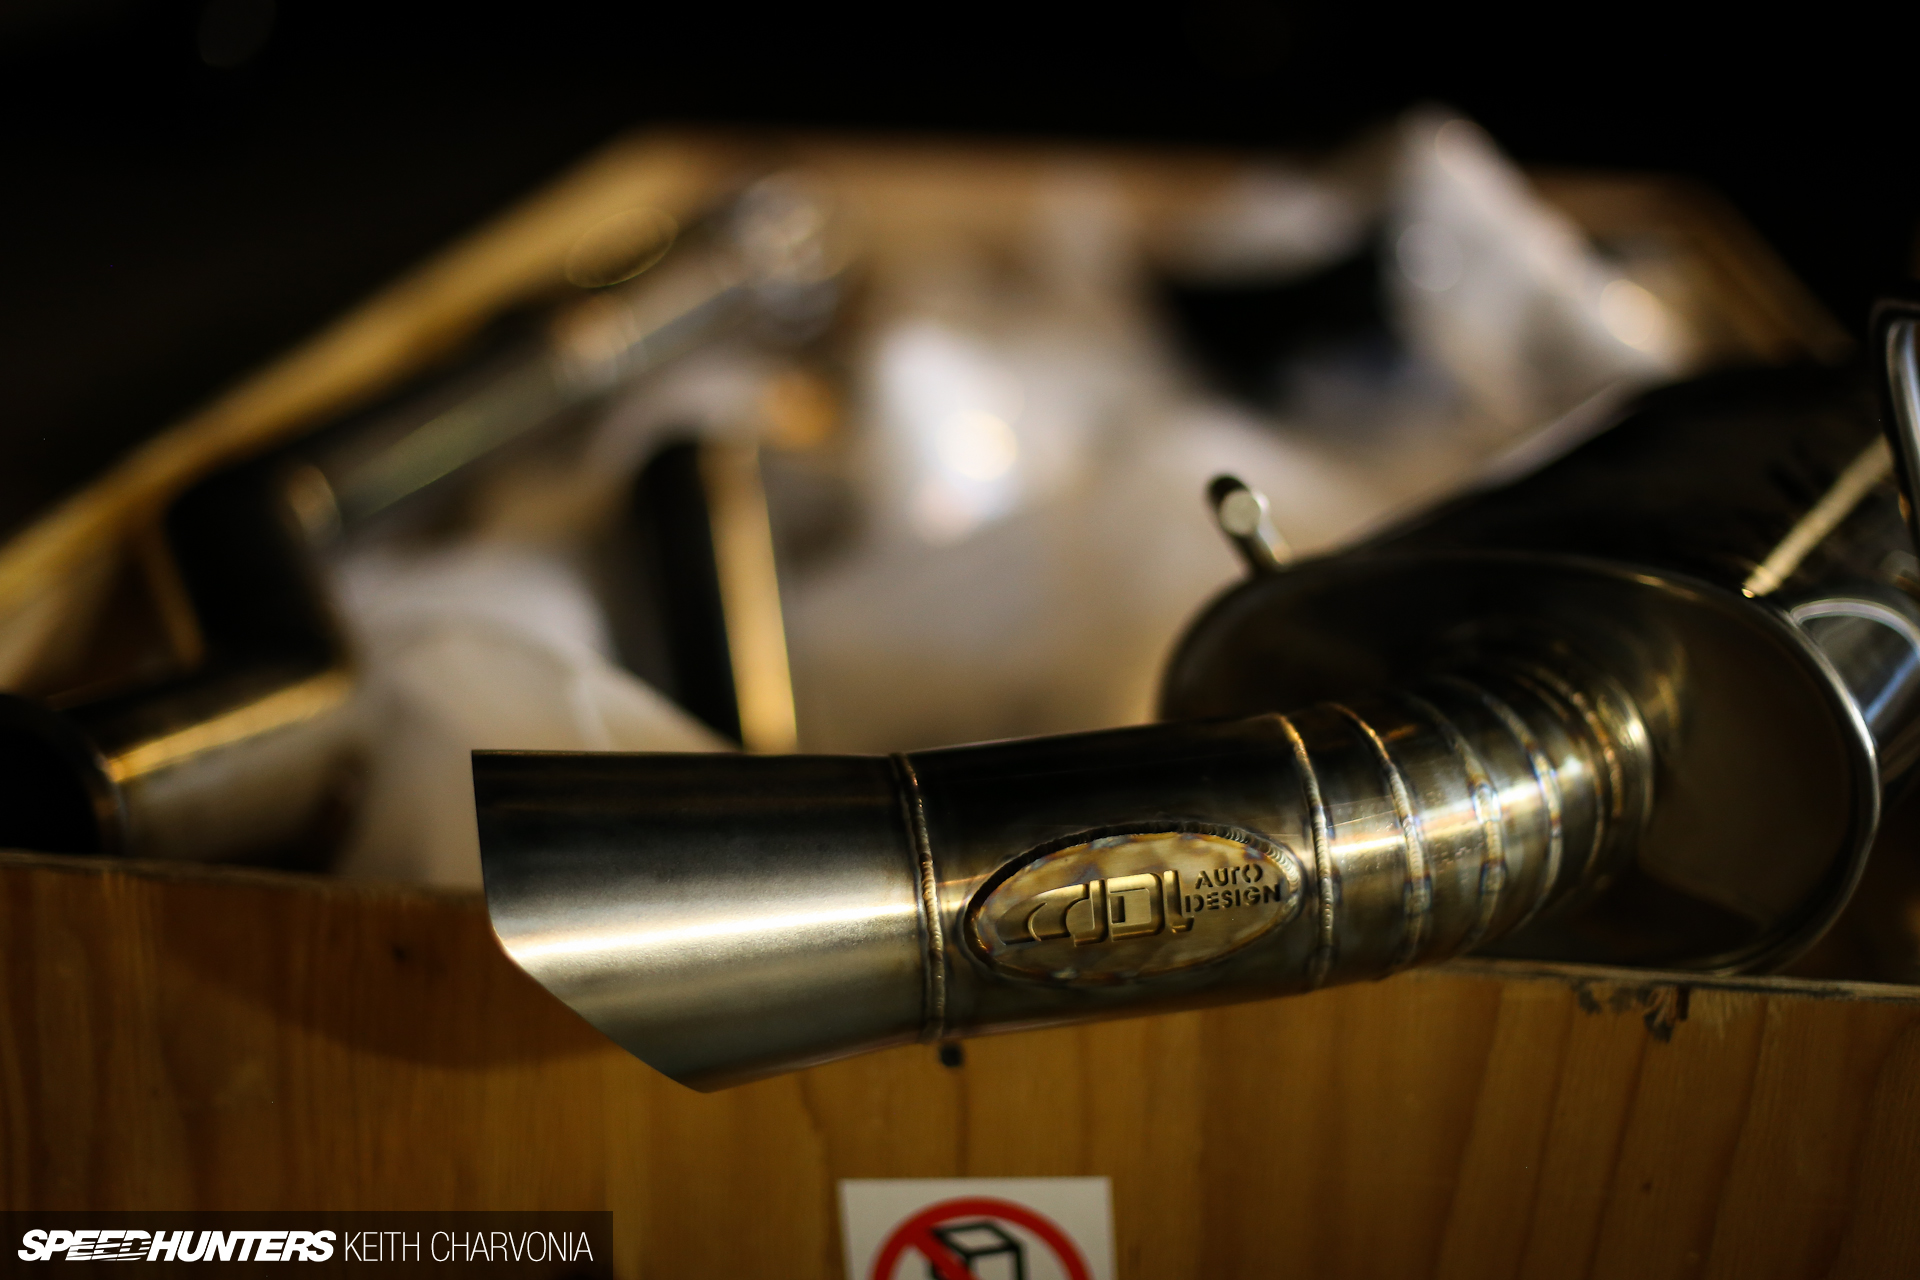
I can’t write a story about the fabrication of the Tuner Challenge FR-S without showing the TIG-welded exhaust from JDL Auto Design.
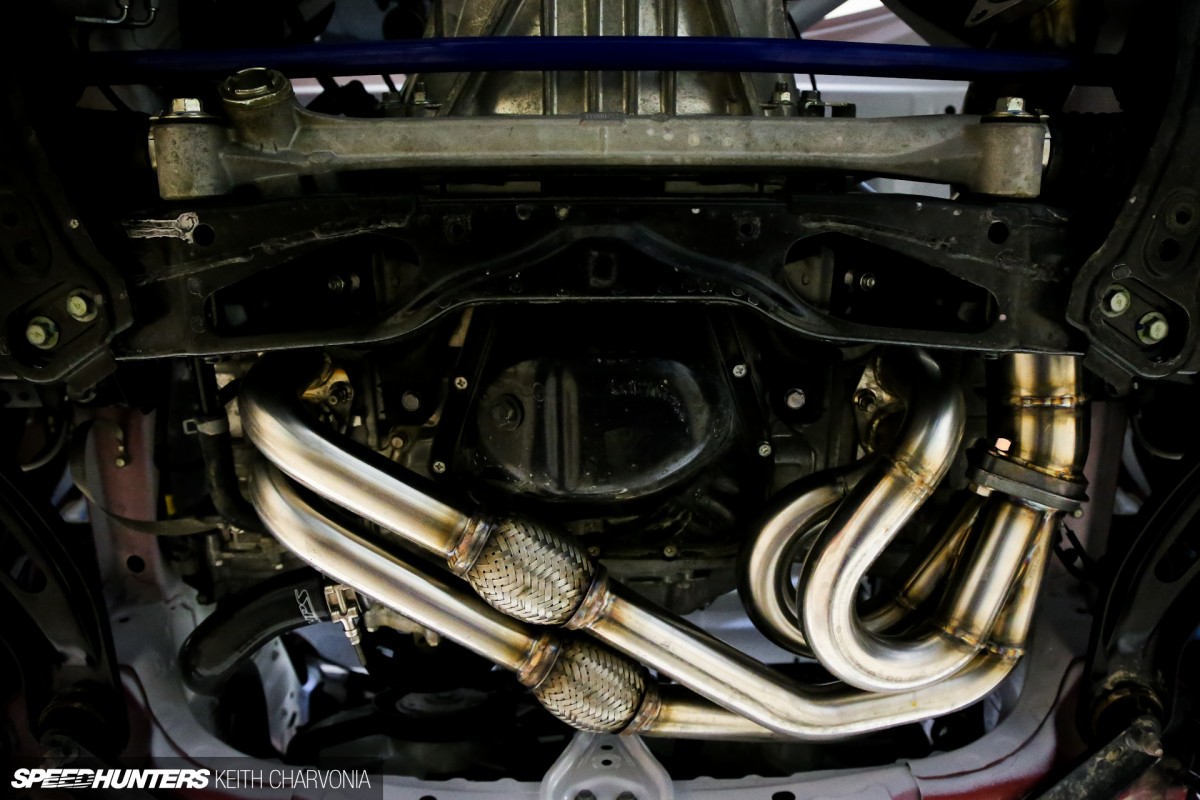
I also bolted up one of their unequal-length headers. It wasn’t just pretty welds, it was also well built and fit like a glove.
FINAL CHAPTER
The Final Details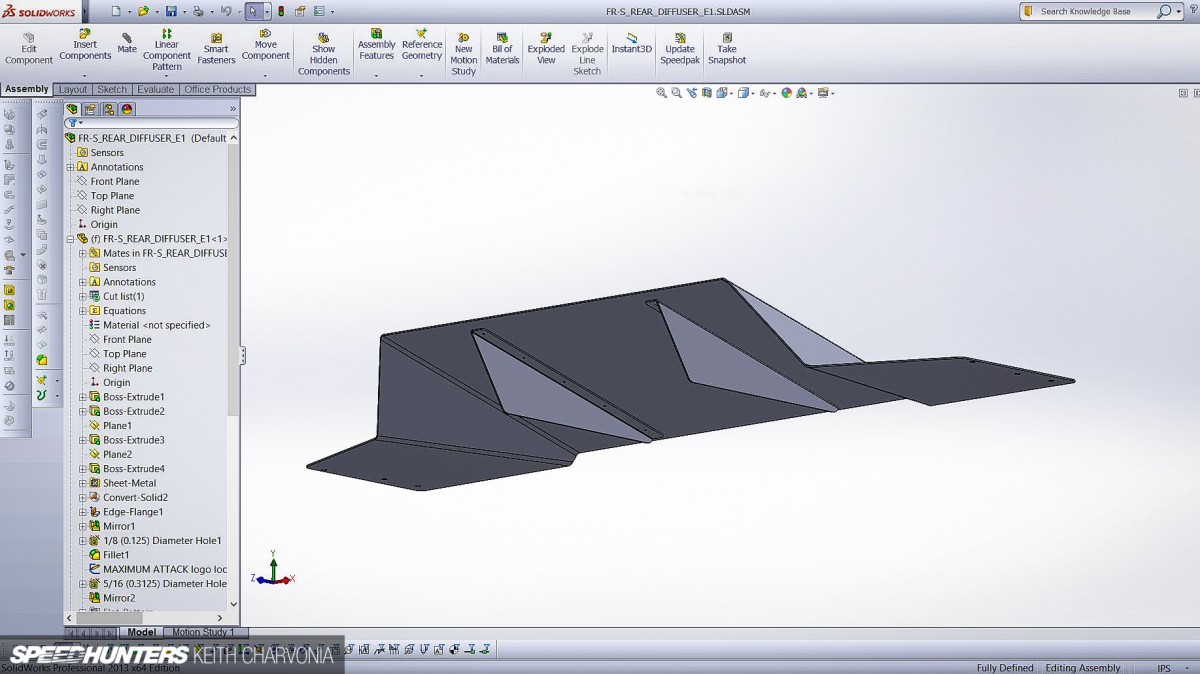
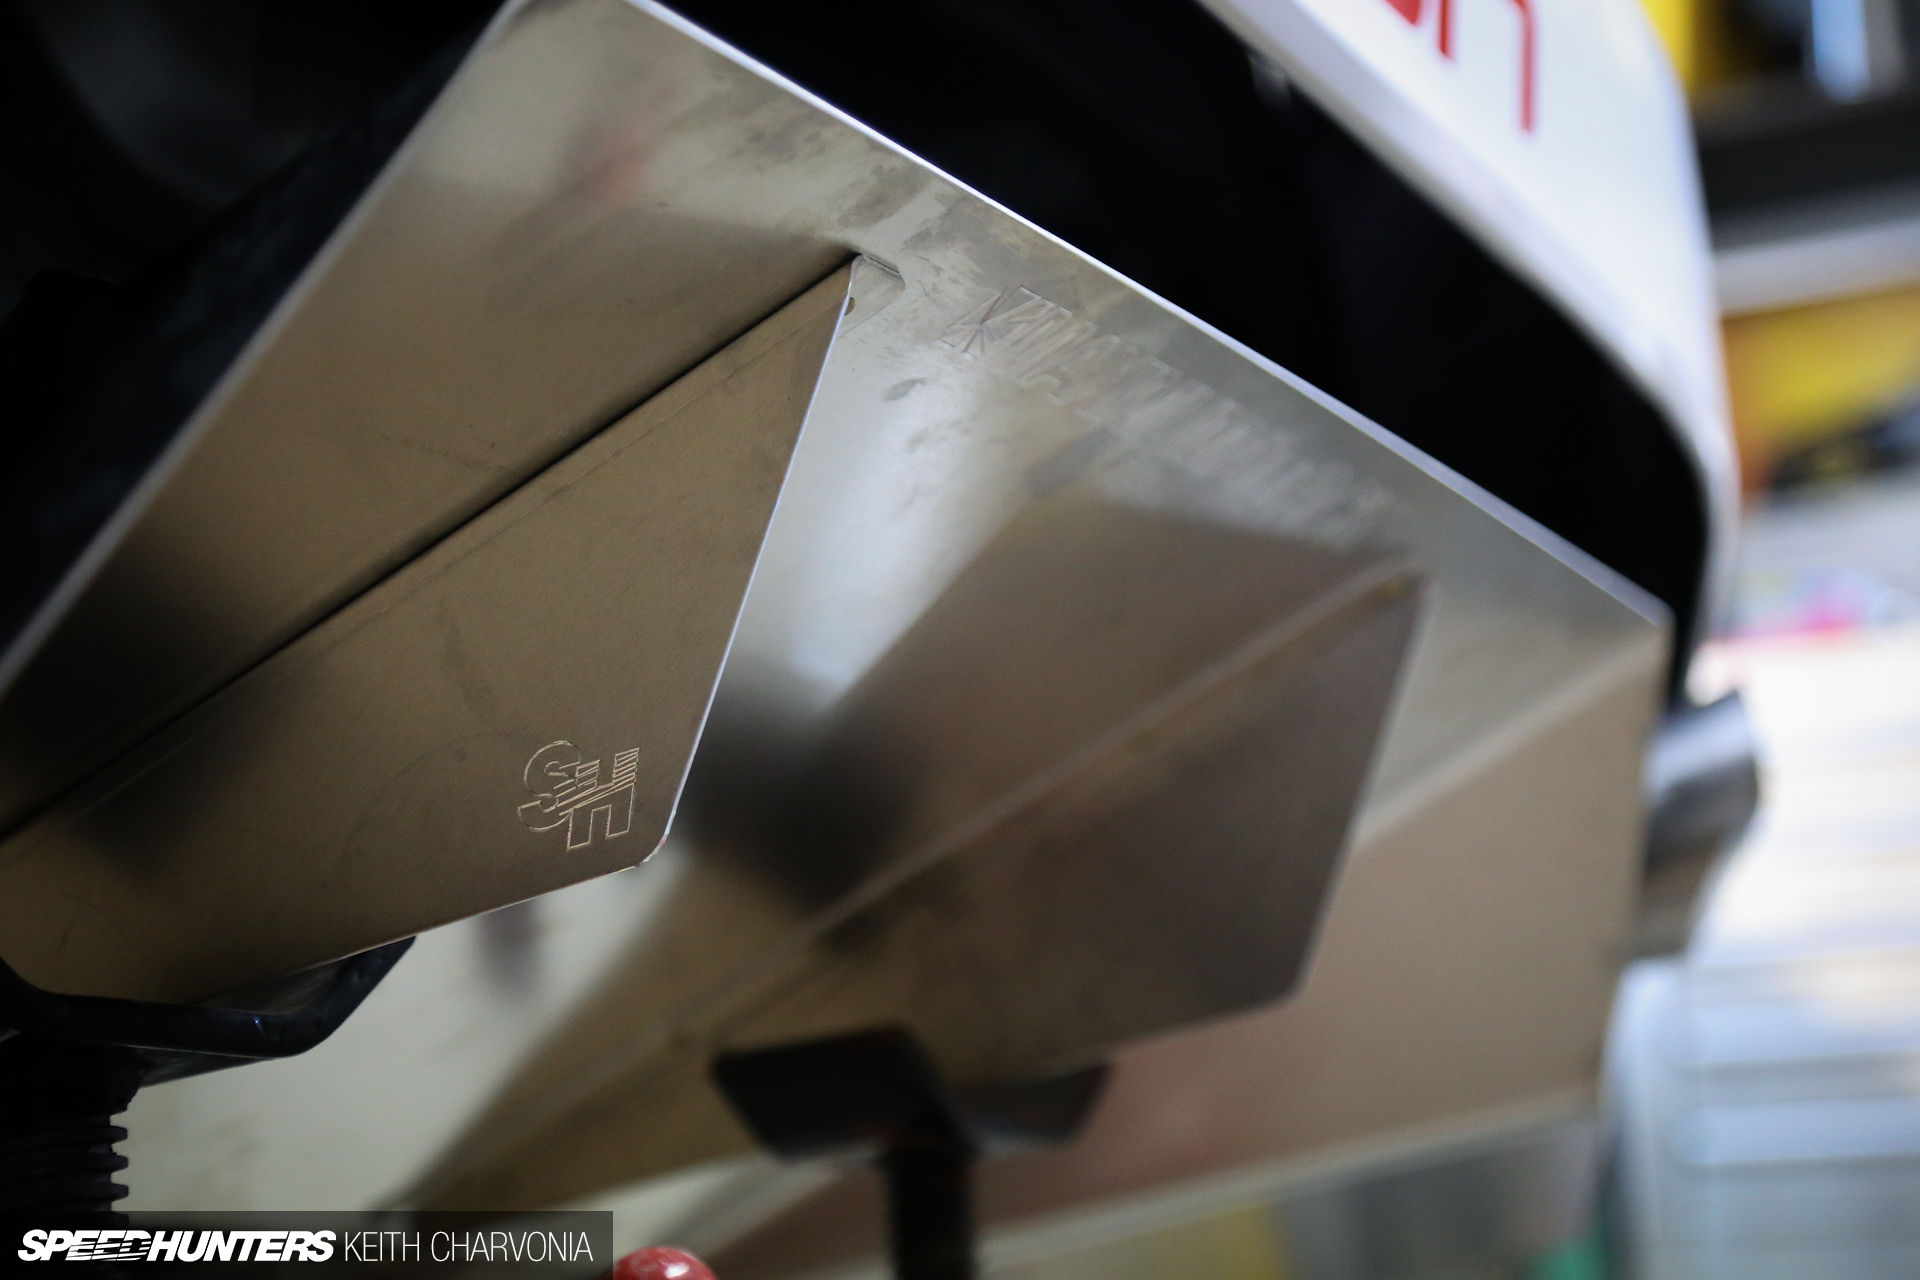
While the partners were all busy fabbing custom parts for the build, I had a few projects to tackle myself, including a trick diffuser for the rear of the car that Andy had sketched up. I first made a cardboard mock-up, then used those measurements to create a model in Solidworks.
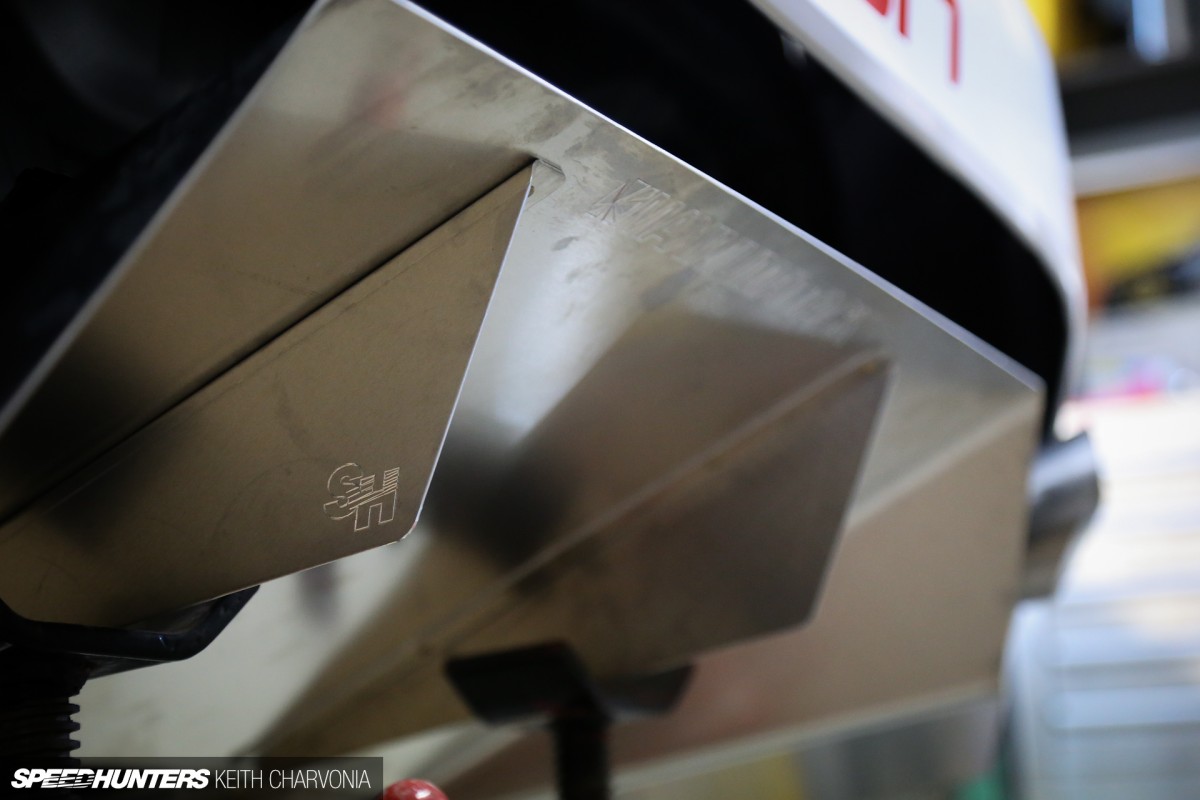
I sent the model to my favorite sheetmetal shop, MacDermid Design, and in a few days I had the real part in hand!
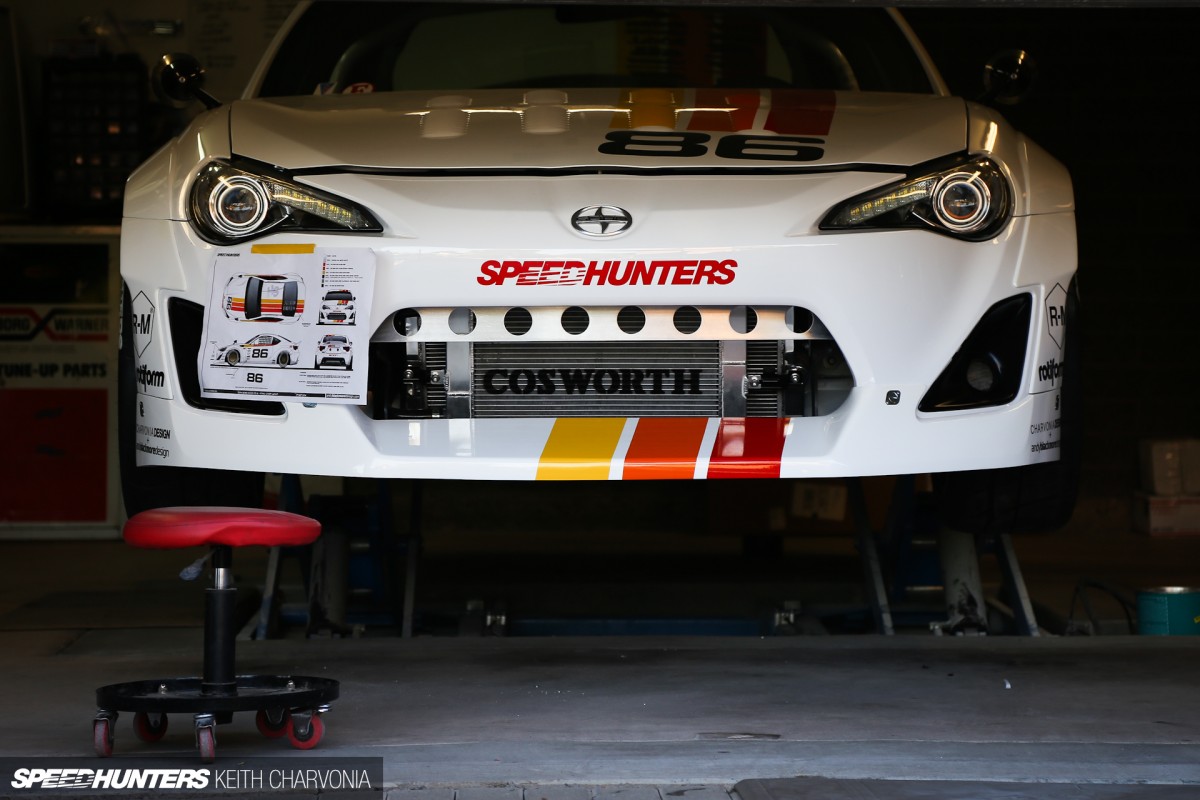
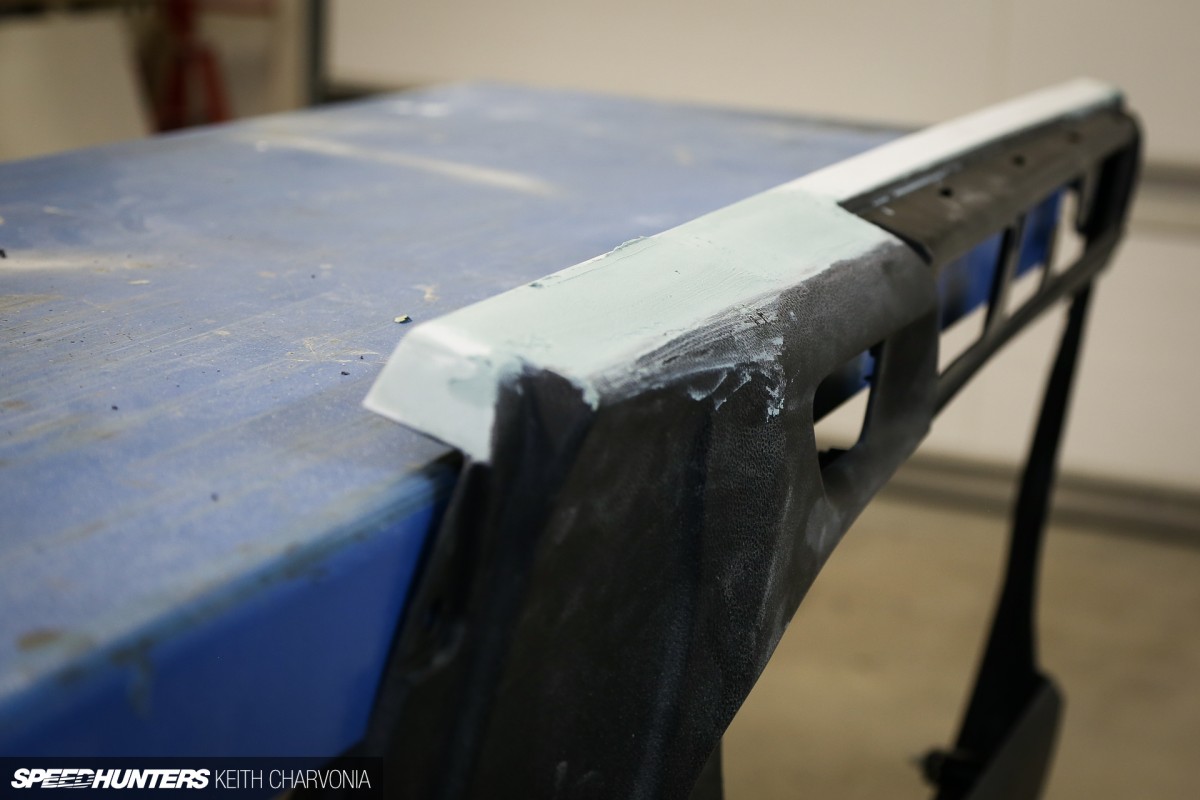
Sitting inside the front bumper is another new part I came up with – a lightweight bumper beam for the track. I’ve noticed some FR-S owners removing the factory grille, but underneath is an ugly (and heavy) steel crash beam. This one uses an aluminum c-channel that’s been rolled into a curve to match the shape of the bumper.

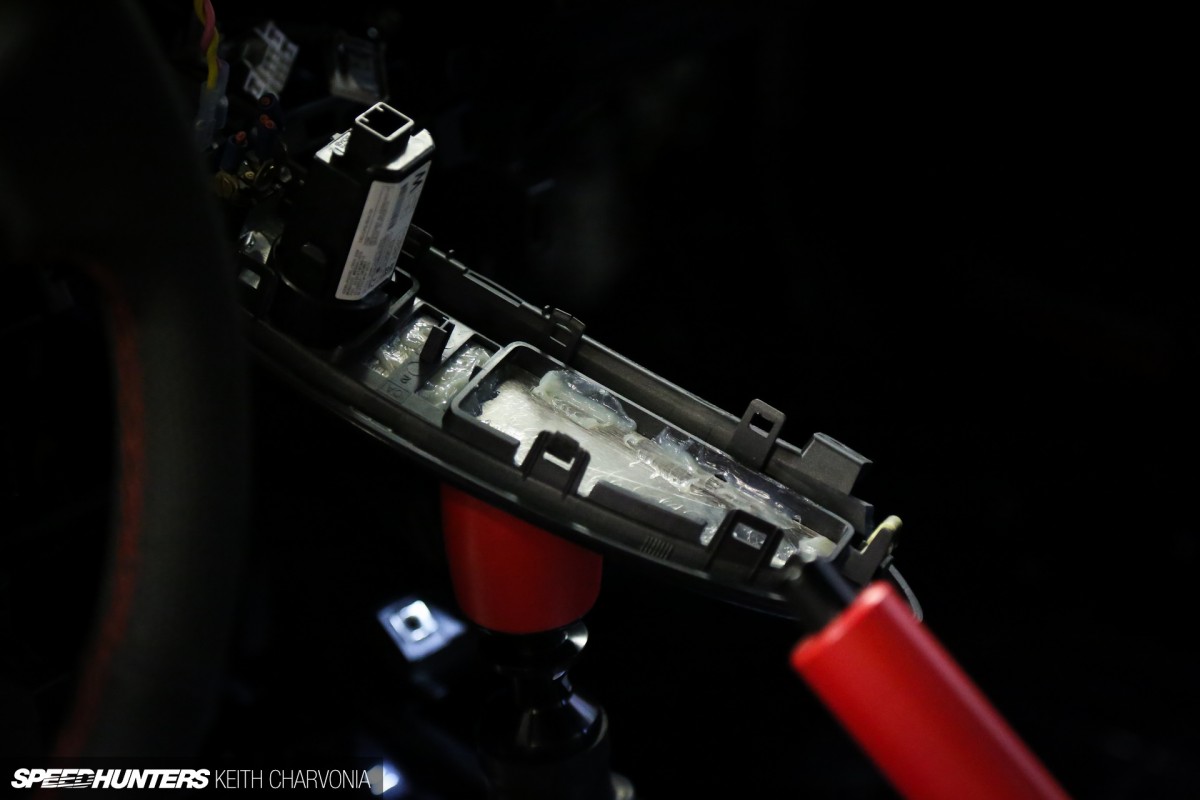
While I was busy making my own parts, little did I know that Raceseng had a small surprise in the mill.

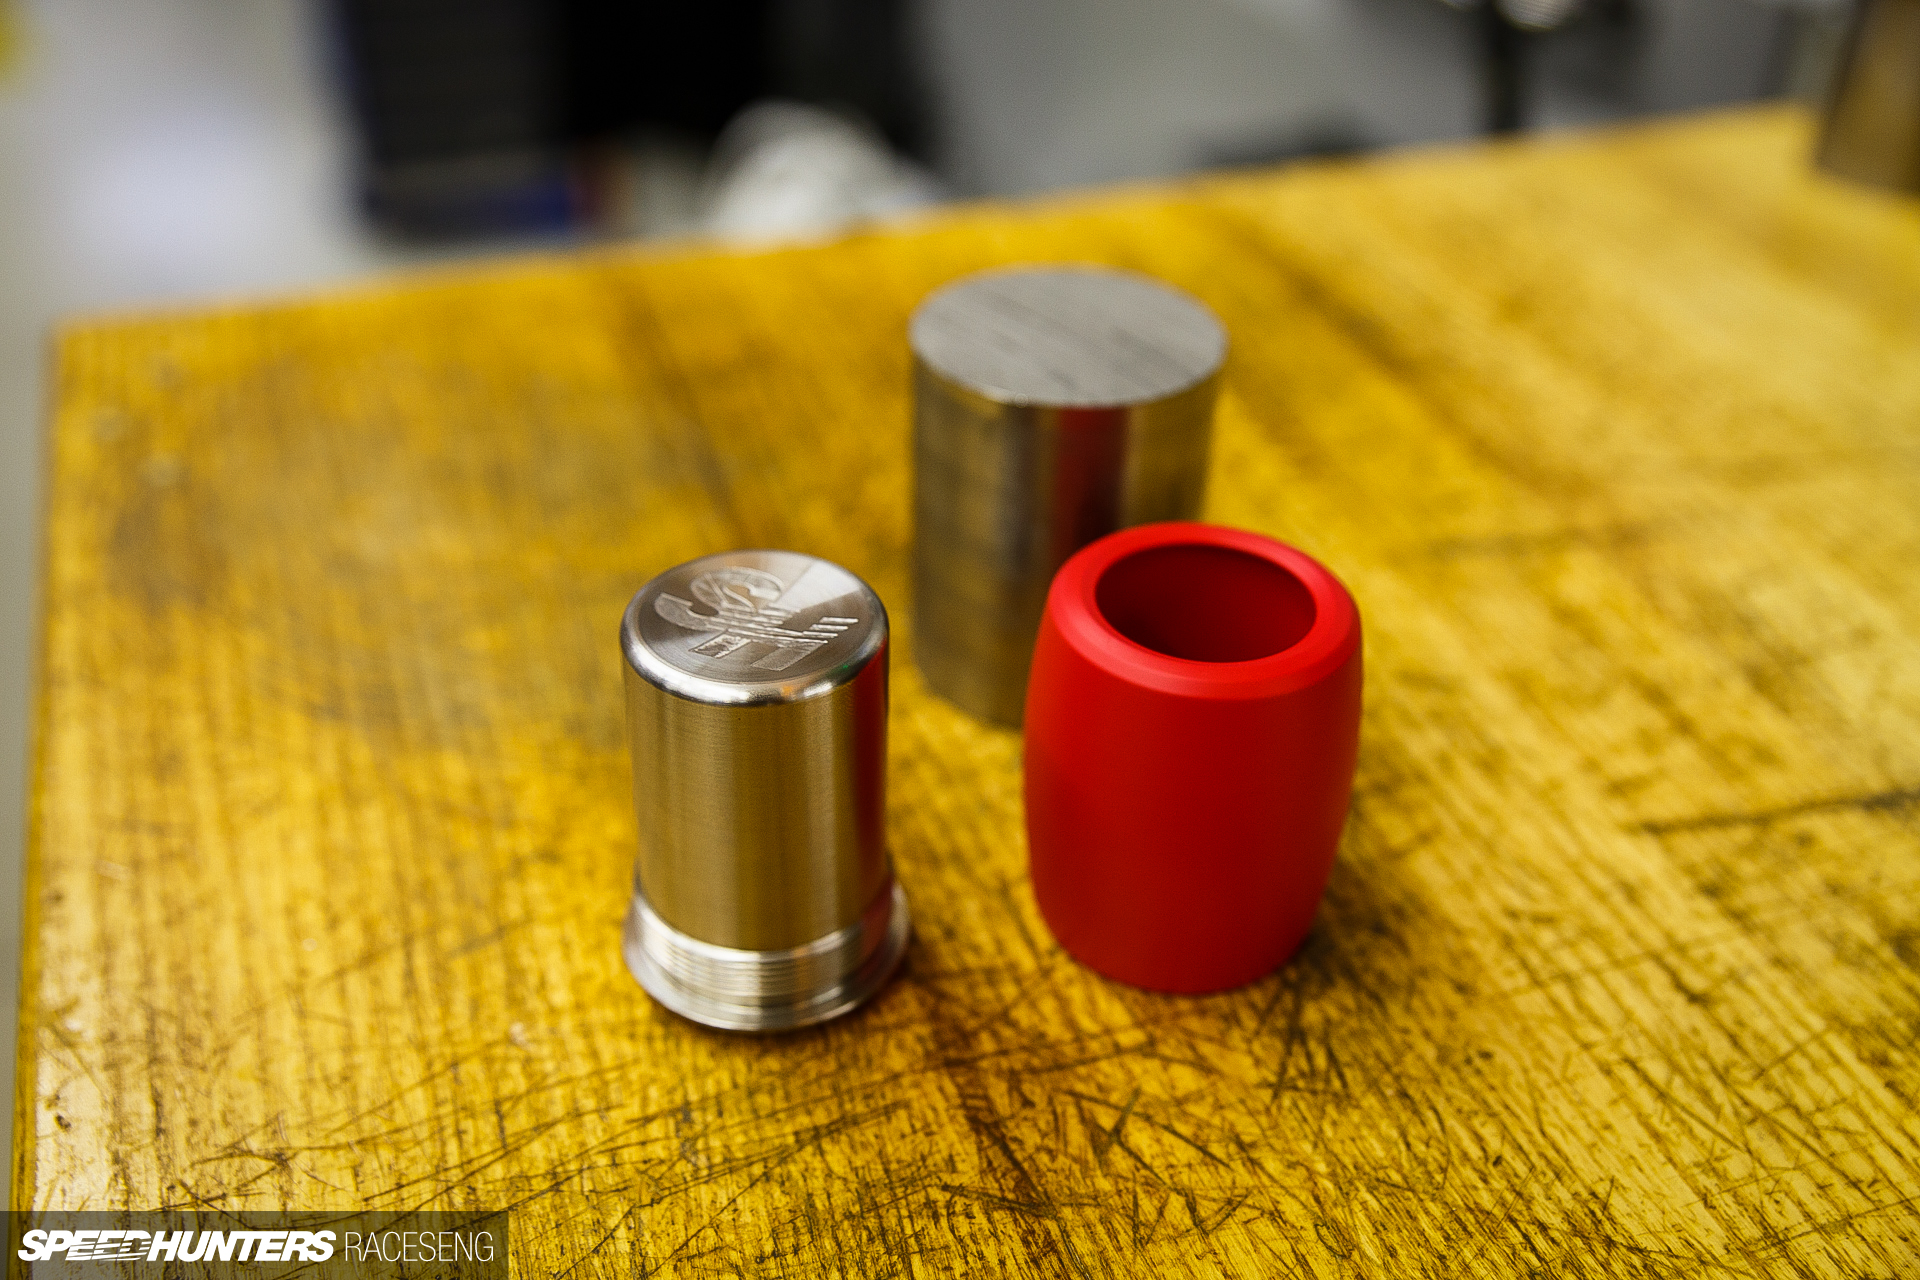
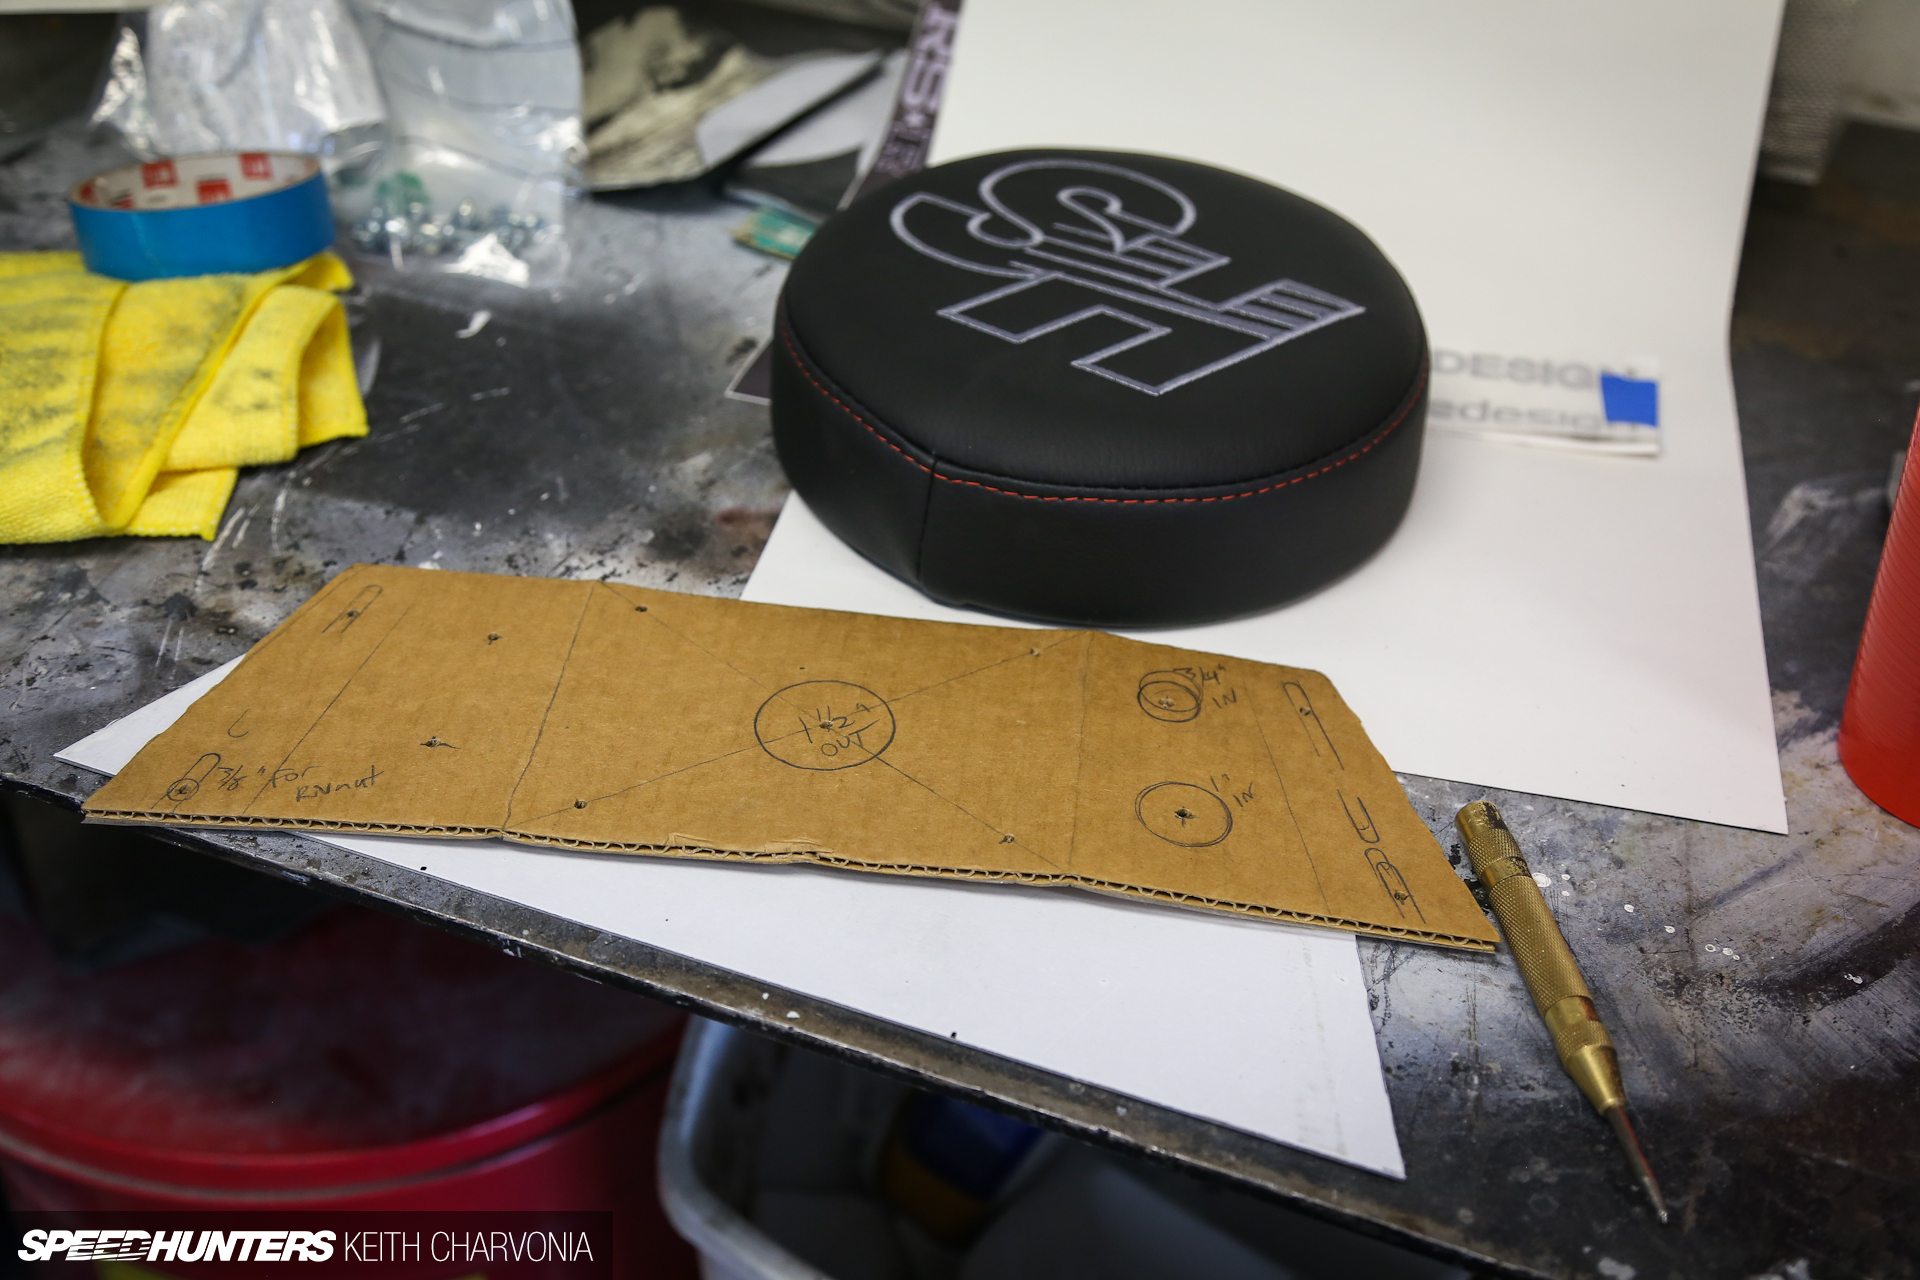
Jarrett took his Signatur shift knob and customized it with an SH logo right on top. Now I want one for my car!

The outer sleeve is made from Delrin, and he went with red so it would tie in with the interior.
As we neared completion there were just a few things left to do, like blank out all the vents in the dash. My friend cut these parts on a waterjet and we once again bonded them in with epoxy. We tested several adhesives on the interior plastic, and epoxy worked every time.
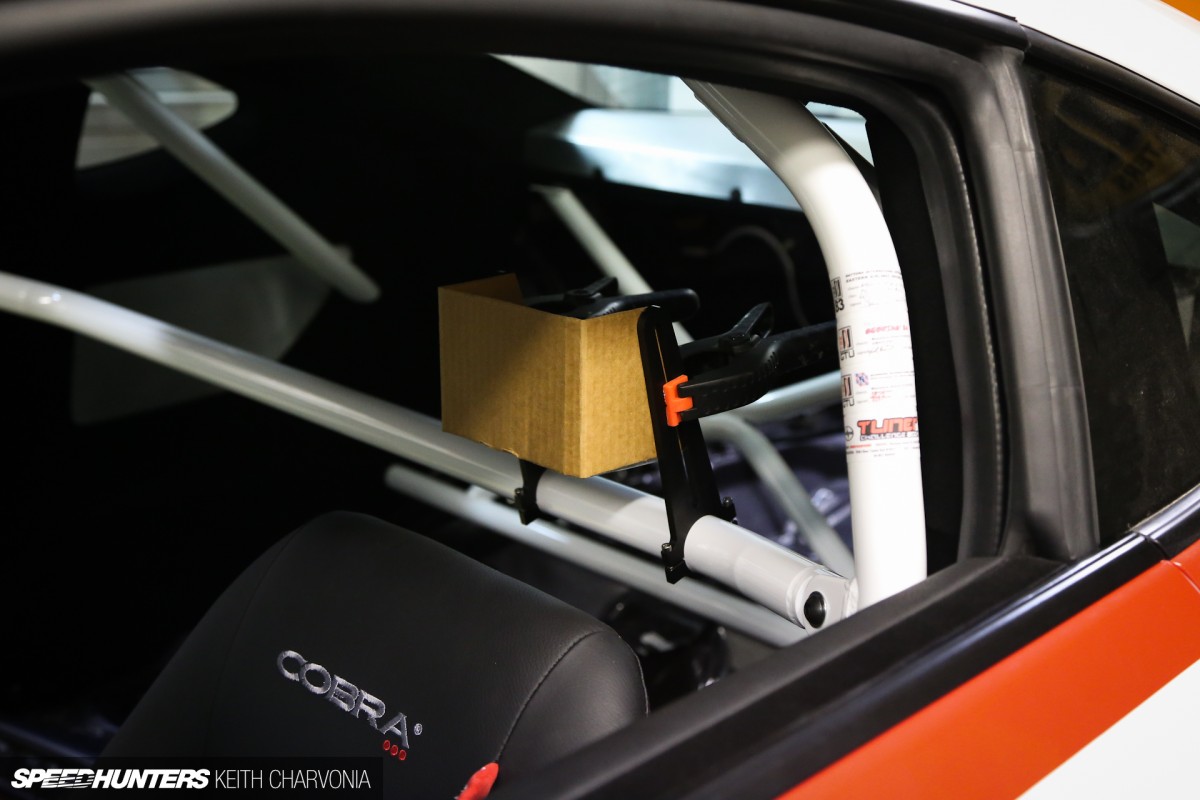
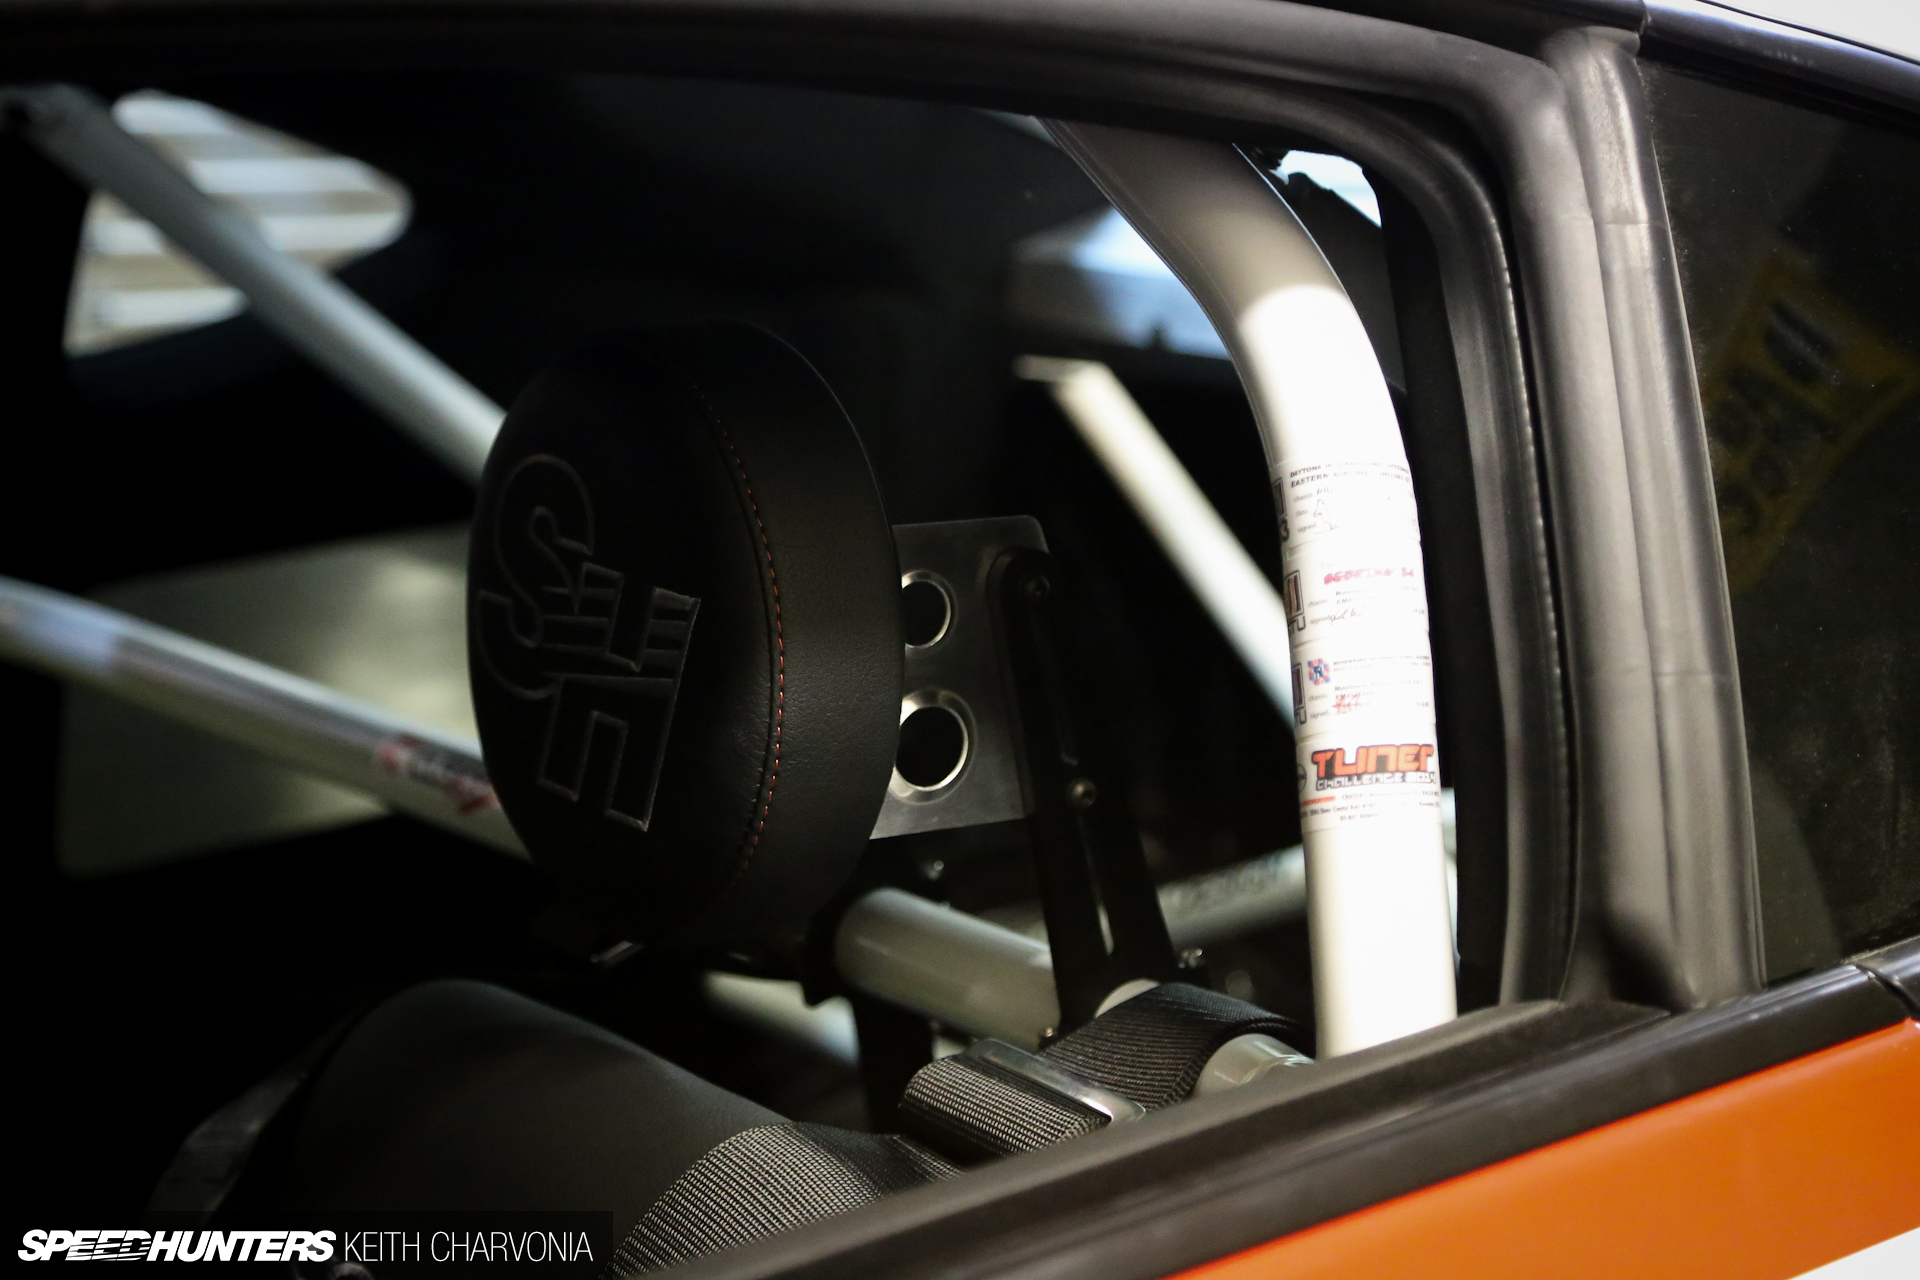
One of the last projects was to fabricate a headrest mount. Andy and I decided early on that the car would have a low-back Cobra Classic RS bucket seat with a floating round headrest, reminiscent of the old Trans-Am cars. Sure, it’s not up to today’s safety standards, but that’s the point.
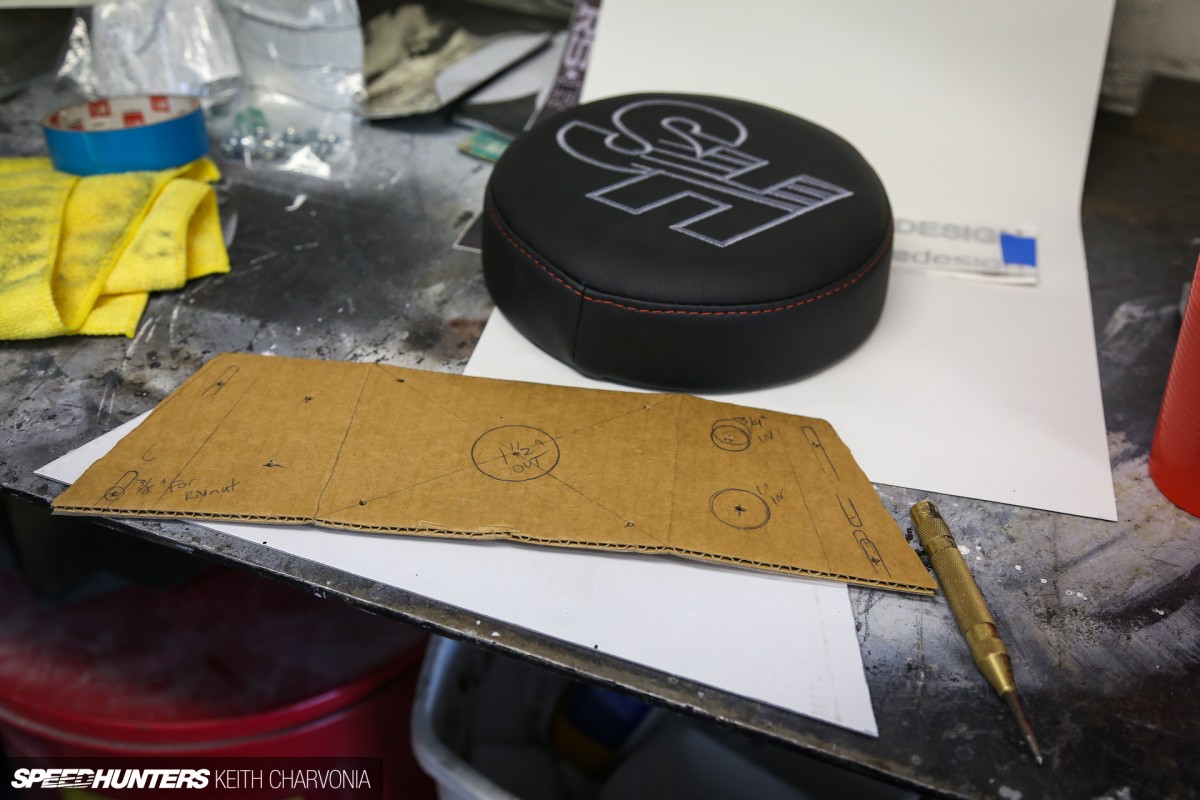
With the seat and roll bar finally installed, I made a template out of cardboard and laid out a hole pattern.
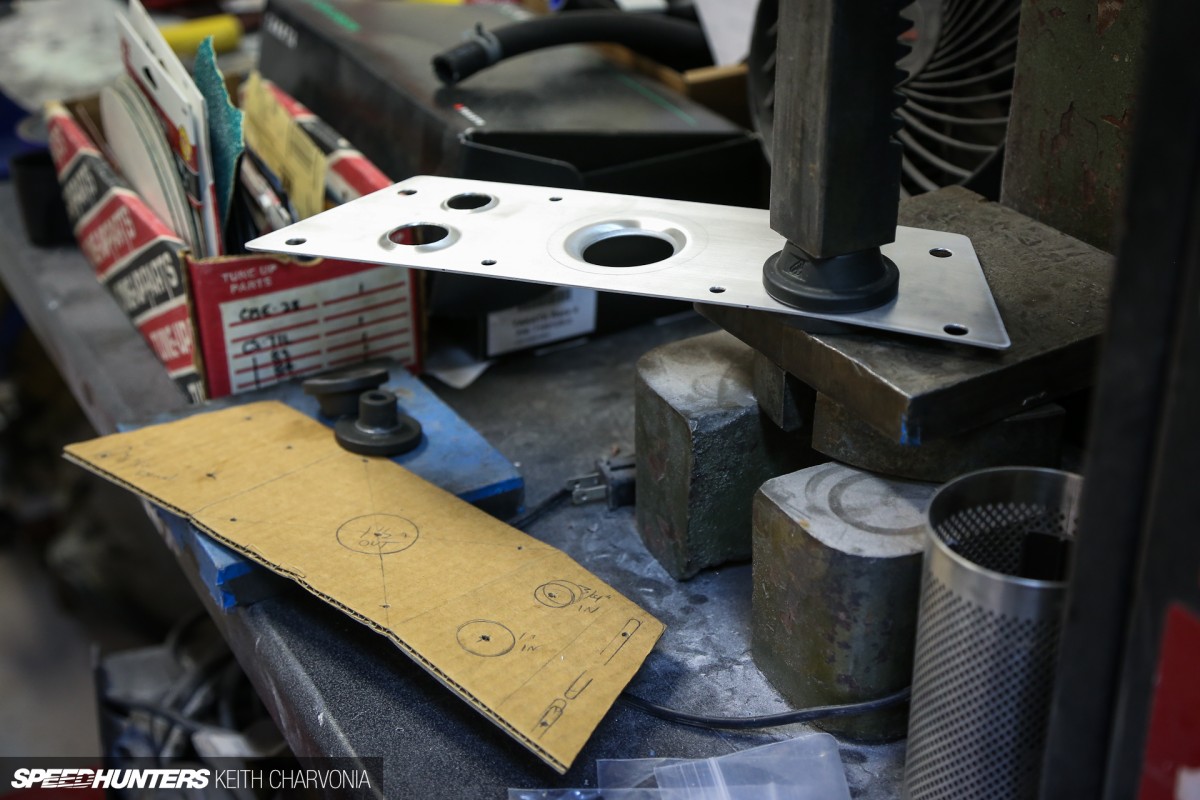
After a little time on the shear and drill press I got to my favorite part, the dimple dies.

Two bends in the bracket and the headrest was mounted.
We used a multitude of different fabrication techniques in the MAXIMUM ATTACK FR-S build, and I personally believe that’s one of the reasons we got the win (watch the SEMA Show announce ceremony here). We never set out to do a bolt-on build and it shows through in the end result, right?
Did you pick up any new ideas for your own project? Tell us in the comments…
Keith Charvonia
Instagram: SpeedhuntersKeith
keith@speedhunters.com


Keith you are a mad man!! SO many great details and ideas I will take my own spin on. Between the RingBorthers Recoil and this I have more than enough inspiration for my s13. This is what gets me up in the morning, the pursuit of having a truly finished car. Respect to you Keith, you are THE man.
I want that #MAXIMUMATTACK part, on the upper interior door, please start to sell them!
It would be epic in my GT86 TRD!
Awesome write up, thanks Keith!
Such a weird feeling having seen this car and missed so many of the small details (some how managed to almost completely overlook the dash).
Now I just have further appreciation for it.
Should try silicon bronze filler rod with the TIG. Least amount of heat input and it grinds easier than a hard MIG weld. If done right, it results in very little panel distortion. It also flows into those holes much faster.
Said it before and ill say it again... Keith you are such an amazing craftsman
Wow, excellent article. Thanks for sharing all of the in depth details to those of us who didn't have the pleasure of seeing the car in person! So much talented design, fabrication, and execution in one project. Loved all the little SH accents like the A/C delete and shifter, looks so clean! Amazing work Keith and all those involved!
That's it. If I knew this at the time I was voting, I would definitely vote for Speedhunters. Amazing build and small details!
Never would have seen many of the details if it wasn't for this article. Thank you for sharing.
Well deserved first place guys!!
The attention to detail is second to none here. Everywhere I looked on this car there was an unique little detail giving you a cheeky little wink.
I love the clutch reservoir cap shaving, the magnetic copper clamp to weld the little holes and don't get me started on dimple dies, I can't get enough of those.
I can't wait to get stuck into my next build now and I'll definitely be incorporating some of the neat little tricks I've seen here into my own car. Fantastically inspirational. Good job!
TKimmell definitely want to try and do the aluminum insert in the door panel for my 74 mustang
Epoxy on plastics... not a great choice. Of all of the common structural adhesive families, that's the last one I'd choose. Next time try a methacrylate/acrylic or urethane (two part adhesives). Epoxy is far too sensitive to surface preparation and doesn't work well for flexible substrates; the peel and shear strengths become horrible. If it worked for what you're doing, that's good, but I'm going to lump it into the "very lucky" category if it survives long-term use.
Cool build though, lots of nice touches.
Love it, thanks for sharing this.
Love it, thanks for sharing this.
Love it, thanks for sharing this.
@Fabrik8 Hooray materials engineers!
I Love it. What happens to it now? Will we see it out at Buttonwillow one day doing hot laps?
Great article, Keith. The photos really brought all the attention to detail to life. It's great to hear all the hard work you and the crew did was rewarded with W. You certainly earned it !
Keith, Can you please tell me what version of Solidworks that is? Blew my mind when I saw that pic, now I totally want to design some stuff! Awesome job on the 86, clear winner in my book, now get out there and get that thing dirty!
love all the details.
question though - why use copper as the backing for filling the welds? heat dissipation purposes?
congrats on the win team SH! kinda knew who was going to win...!
any chance of sending that CAD file for the diffuser? im doing my final year project at uni, based around diffusers on production cars, CFD simulations, aero efficiency, exhuast gases etc. and would be super helpful!
And of course team SH would be acknowledged in my work!
nu gundam 93
The weld doesn't stick to the copper, so you can easily weld up a hole and then remove the copper from the back
I find the interior highly inspiring as I've been struggeling to come up with a style to go for in my car. Also, awesome craftmanship Keith!
I can't even imagine what would happen without the time constraints of the Tuner Challenge. I don't know how you managed to go to your day job, eat, sleep and get all this shit done yourself. Really well done dude.
Using a distinct affair to seem to is an excellent starting place when you will
decide to shed pounds, nevertheless it defintely won't be adequate http://www.trxaustraliax.com that may help you keep the
excess weight down next time has expired.
Prior to starting in your weight
loss endeavor, develop a way to self motivate to prevent http://www.protrxau.com/ the body weight burning
proceeding. You can't get a improved commitment for weight reduction rather than
get fit along with think empowered.
Find a activity or maybe activity you
can love to finding people relocating. There's no need to expend a lot of time
in a gymnasium, except if http://www.australiatrx.com/ is precisely what you choose to do, another choice is always to
commit a bit make the most home gym machines.
A rise in the exact amount and
also power of exercising through as low as 20 min on a daily basis are able to
do wonders to assist you http://www.aucheaptrx.com/trx-force-kit.html achieve
weight reduction ambitions. Experts recommend getting rid of a maximum of 2
pounds 7.
sean klingelhoefer Well, it wasn't easy, but with a deadline in sight it was possible. Honestly I don't think I would have enjoyed building the car as much without a deadline. The motivation to get things done efficiently was very important. We got really good at pulling things off the FIRST time because there wasn't time to do things over. But yeah, I'm glad it's over so I can rest a bit now!
westhave Thanks! Glad y
ou liked the interior. I've found I really enjoy working on them.
Nikhil_P Send me an email please.