
I certainly hope you guys have been enjoying Keith’s detailed story behind the build of his amazing Kaiser Kustom project as much as I have.
Here’s Keith now with another more post to continue this inspiring tale.
-Mike
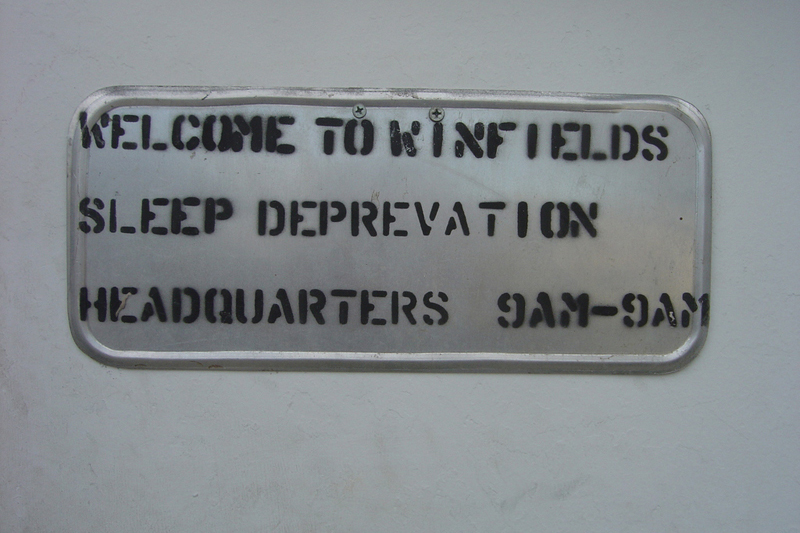
When we last left off I mentioned that the car was going to a special paint shop.
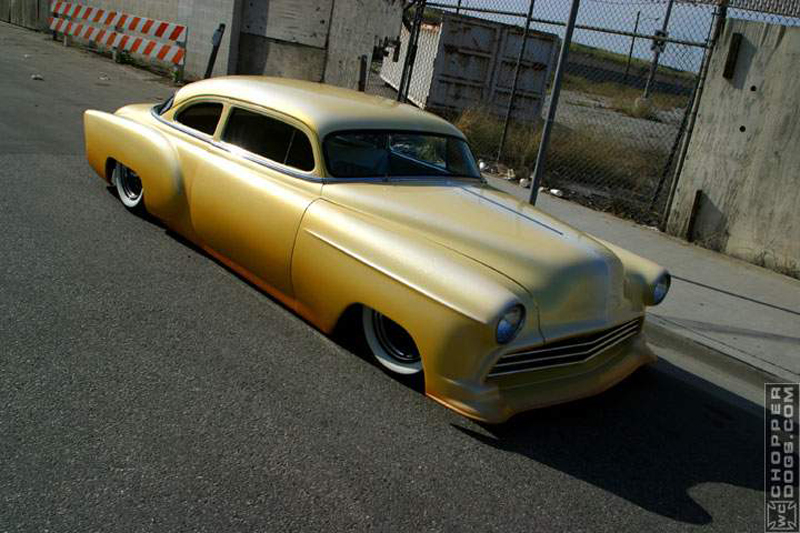
Remember how I was explaining that my moment of inspiration was seeing the ’54 Chevy on Monster Garage? Well the long and short of it is that I was able to get the same painter, Gene Winfield, to paint my car. In a strange and completely unintentional way my build had come full circle by having Gene paint the car.
I decided to drag the car from Phoenix, AZ to Mojave, CA because I knew a Winfield paint job would put the car over the top. The cool thing about Gene is that everyone he meets turns into a friend. He welcomed my friends and me into his shop and started teaching us right away.
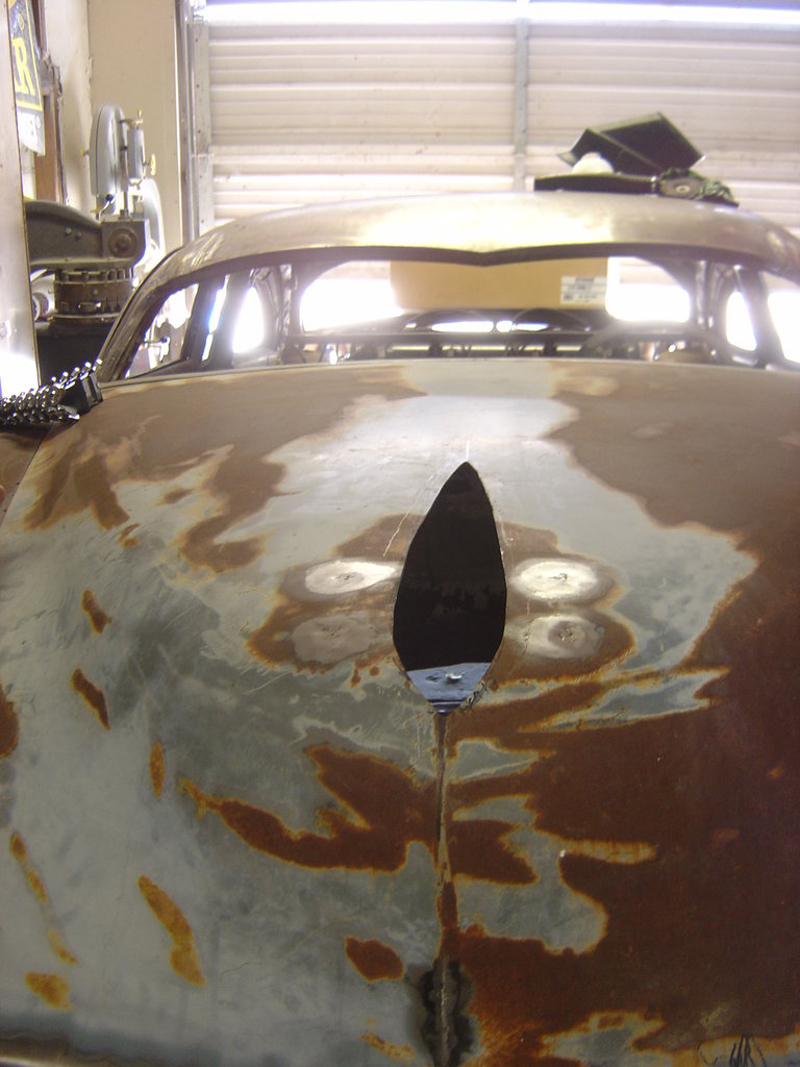
Right away he started ribbing me with “When are we shaving the door handles and hood ornament?”. I had planned on keeping them, so we had a friendly debate about shaving versus keeping the parts. Well, Gene really showed me when I got to the shop the next morning. Apparently he had stayed late the night before and drawn a cutout around the hood ornament. When my friends arrived at the shop a few minutes before me he just handed them a Sawzall and told them to cut it out!
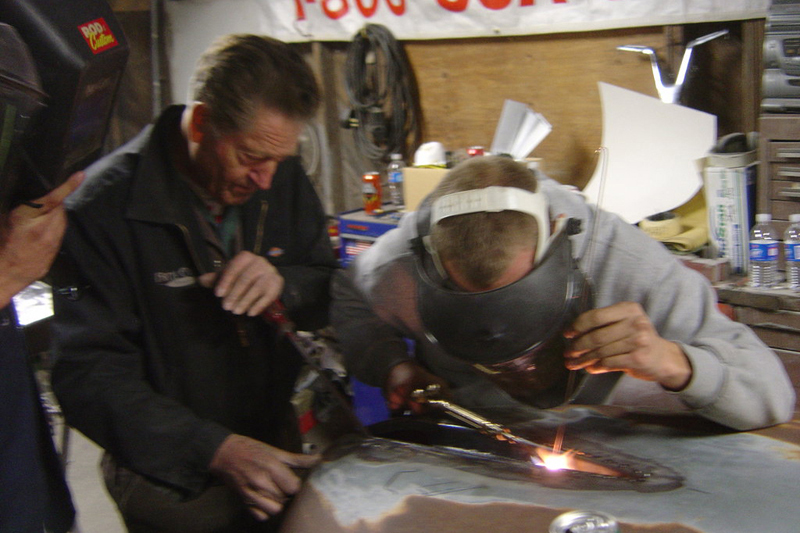
Gene was right, the hood ornament does look better recessed. It was a good compromise for both of us. The best part about it was that he taught me how to gas weld the sheetmetal recess.
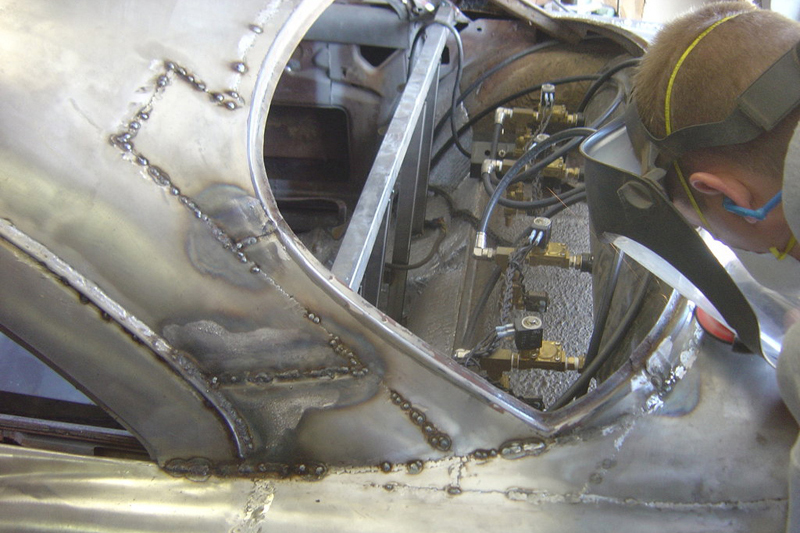
I thought I had the car fully welded when I brought it to Winfield’s, but he explained to me that any tiny pinhole could allow moisture to seep in from the back side of the panel and cause rust. He showed us how to properly finish the welds and we set to welding almost every seam on the car all over again. It was a lot of work, but we were learning the right way to do things.
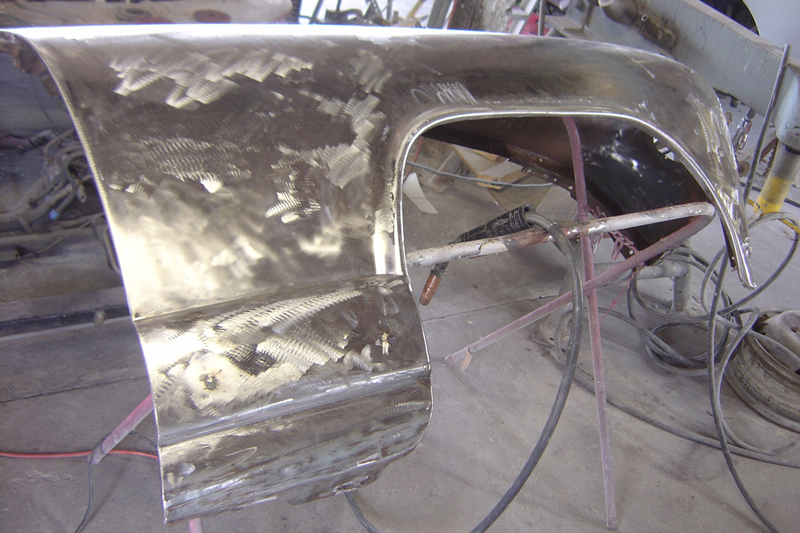
We finally ground all that deep surface rust off the front fenders. This took a ton of 36 grit sanding disks. I also learned how to hammer the dents out of the fenders using Gene’s dolly.
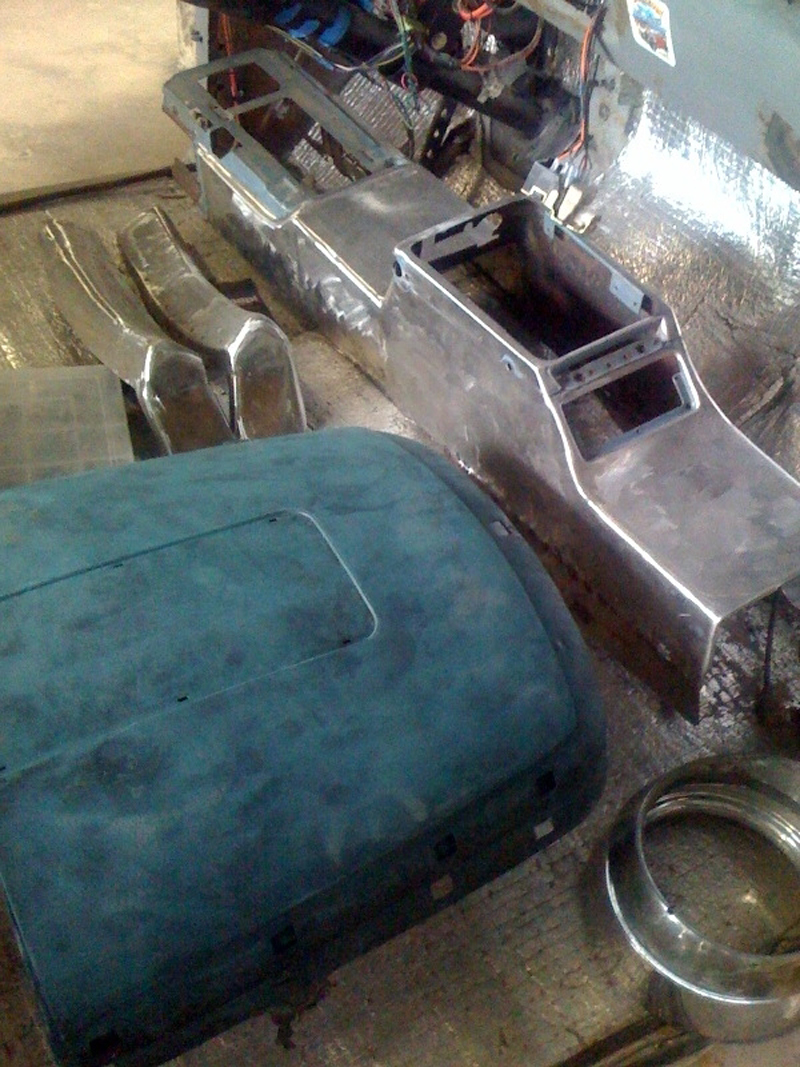
My friends were able to take some of the loose interior parts and get them prepped for primer too.
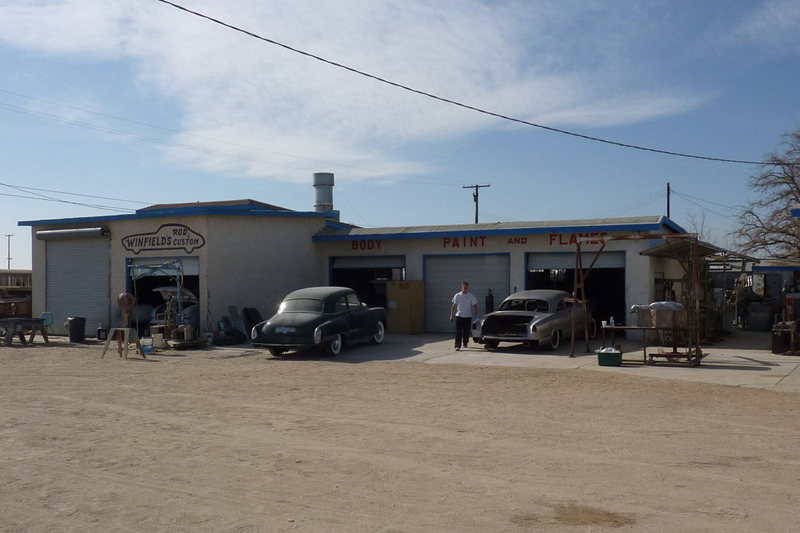
I reluctantly left the car at Gene’s shop since I had to get back to work in Phoenix. It was hard not having the car tucked away safely in my garage.
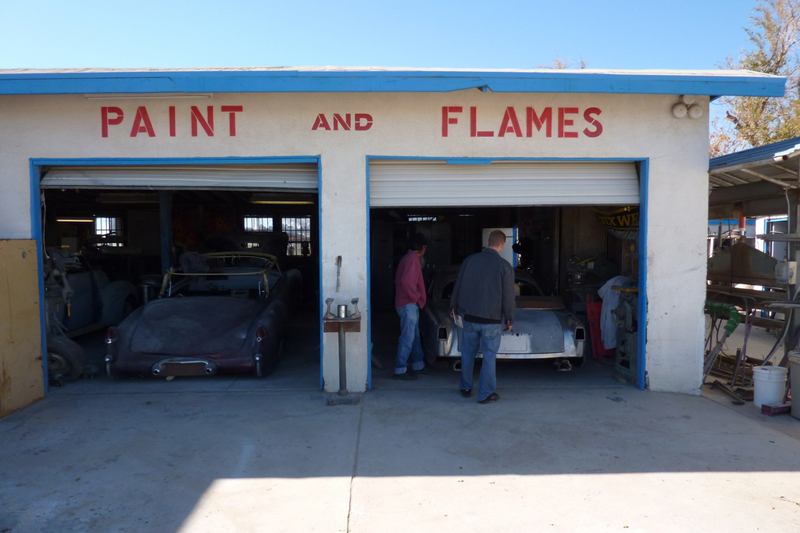
But at least the Kaiser had its own dedicated bay.
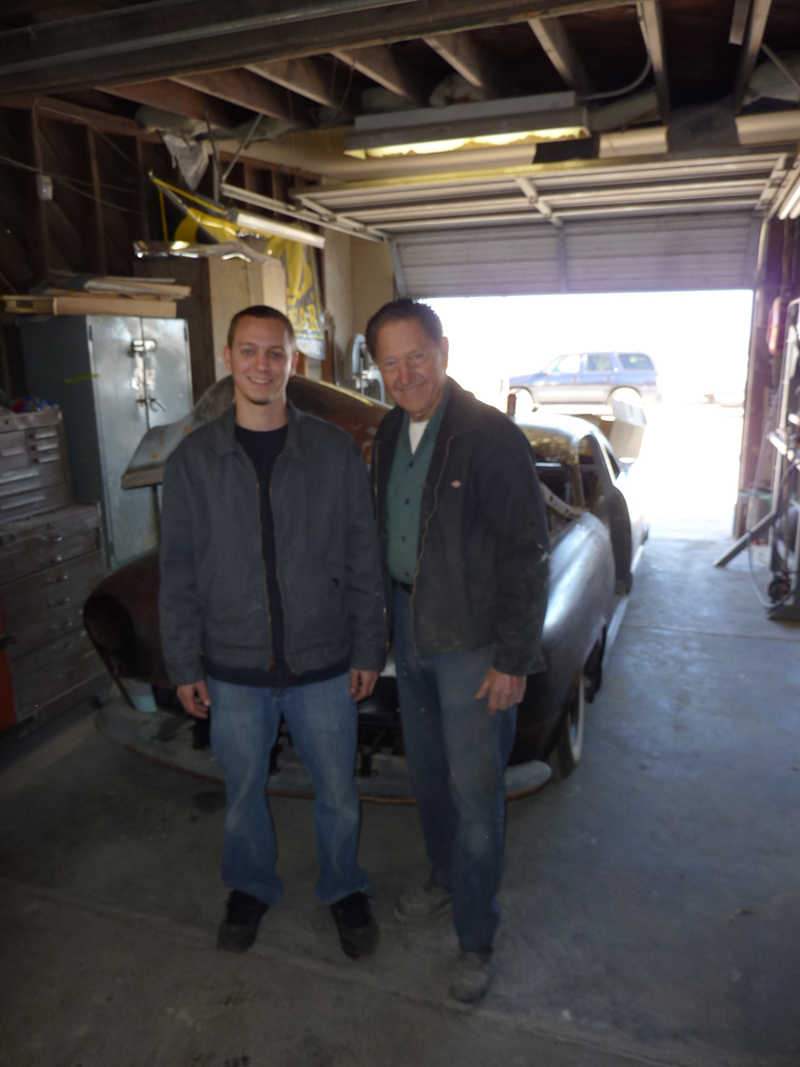
I took a picture with the master himself, Gene Winfield, before heading back home to the real world.
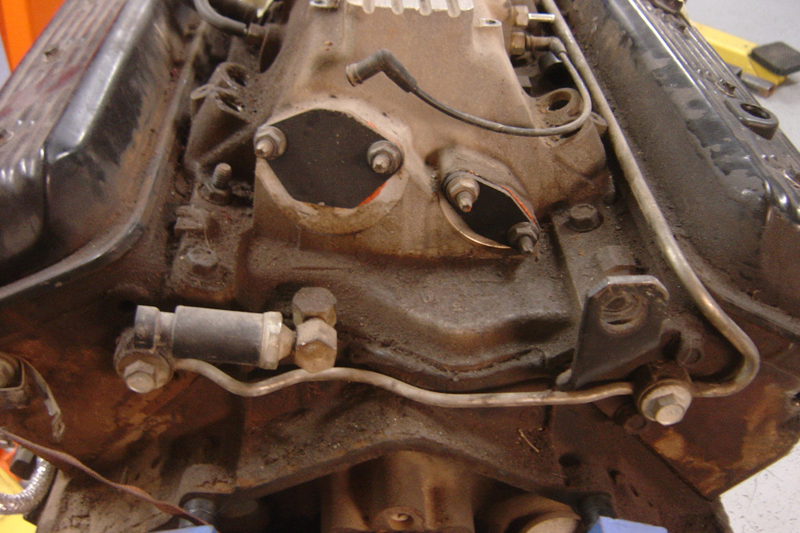
Besides, I still had this crusty old cop car engine to tear down.
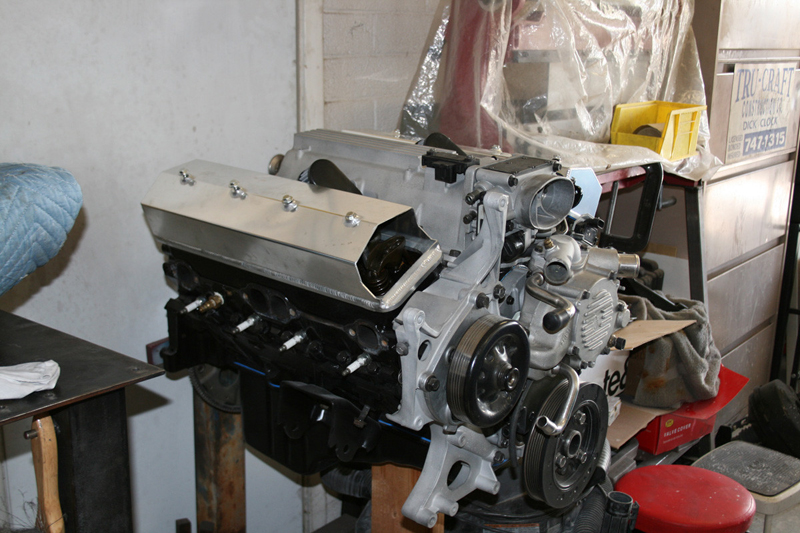
I painted the block with POR15 Engine Paint and beadblasted all the aluminum parts before replacing every single gasket. The cylinder walls still had a nice cross hatch and the engine ran fine when I pulled it other than being a leaky mess.
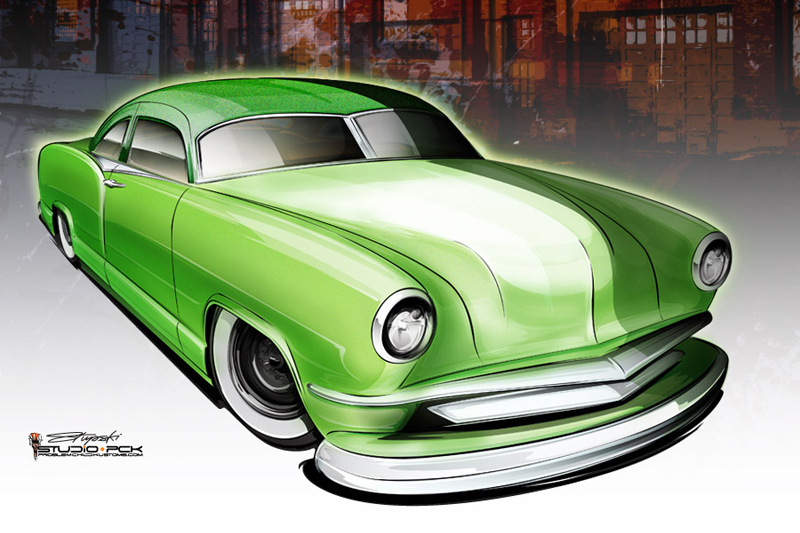
I was also working with my friend Brian Stupski of Problem Child Kustoms on the paint color. He is an amazing car designer and artist, and I was really lucky to have his help with this.
Over the next seven months I would return to Winfield’s monthly with an envelope of cash towards the paint job and a bag of tools. I ended up staying at Gene’s house and working an ungodly amount of hours in the shop with him. It was pretty typical to work until 3:00 am, go to bed filthy, and get up in the morning and walk right back into the shop. This was probably the hardest labor I have ever done, but it didn’t phase me because I was working on MY car in Gene’s shop.
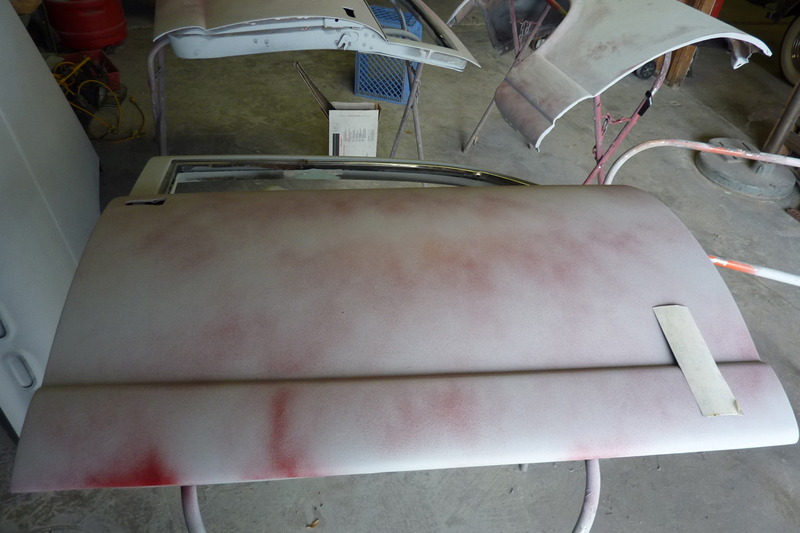
Each time I came back the car was a little further along. Here are the body panels in primer.
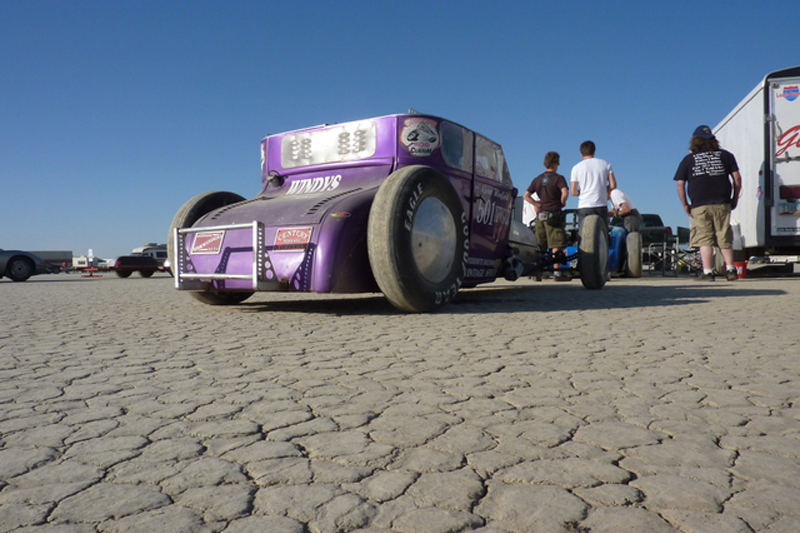
One time I came to the shop with a couple of friends and Gene came out and said “You guys are welcome to work tomorrow, but I’m going racing. It would be fun if you guys came with.” We had come to get some work done on the car, but who can resist the chance to go land speed racing with Gene?
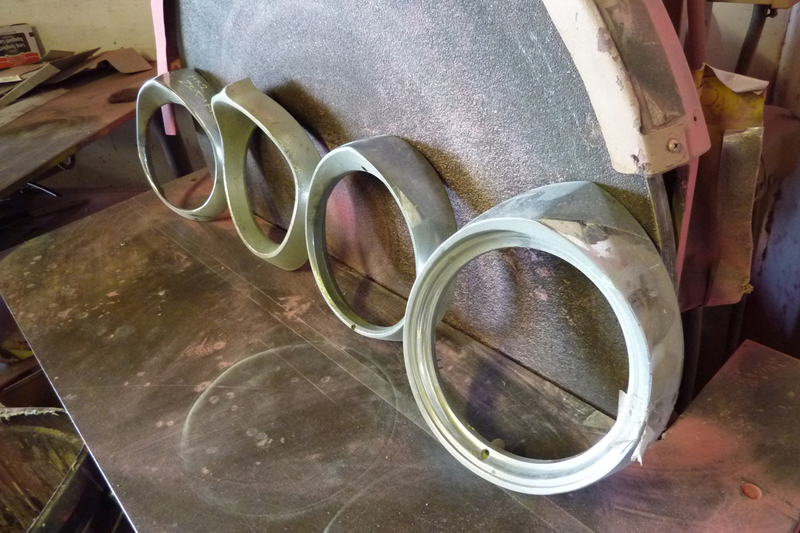
I remember being the only one in the shop and having to make the decision on my own. I really didn’t want to do something that made the front of the car look goofy, but Gene insisted that it needed a headlight ring with a peak to match the grille. After much deliberation I made my choice and got to work. Luckily by now I knew my way around the shop and I had learned how to make compound sheetmetal parts on the English Wheel.
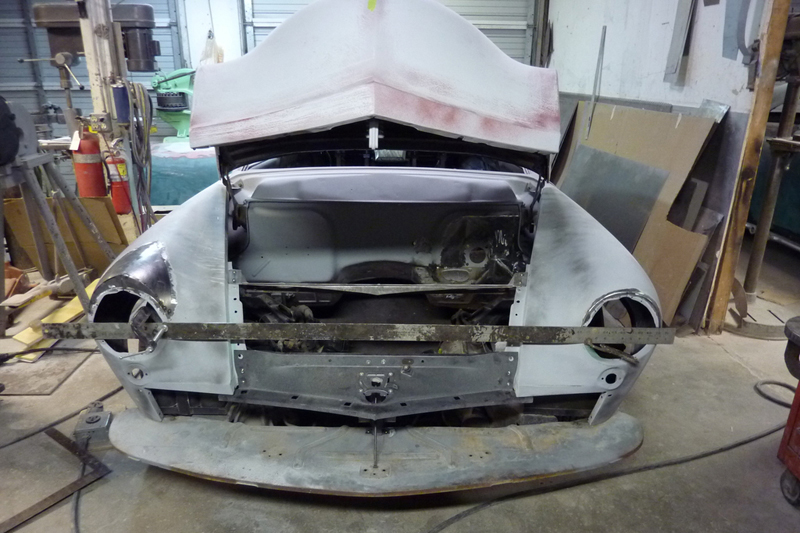
This shows a good before and after of how I modified the fender to fit the headlight rings.
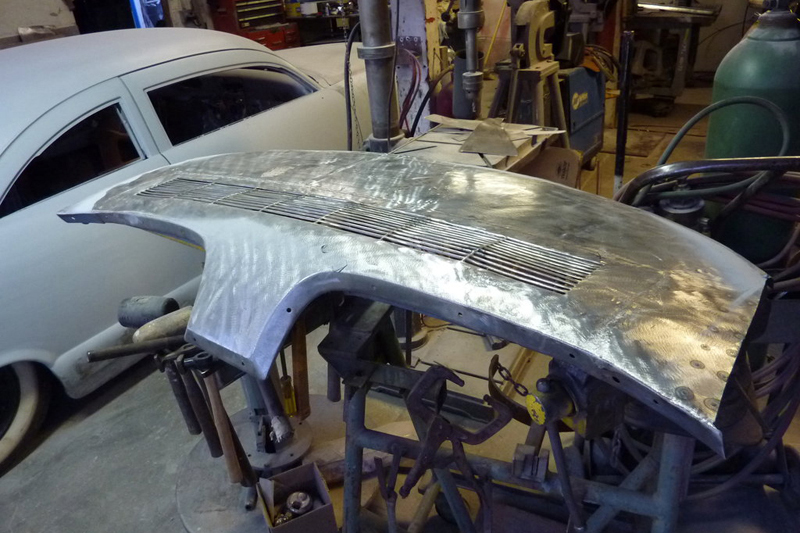
Gene and I each took an end of the sheetmetal that would soon replace the warped package tray and rolled it out on the English Wheel late into the night.
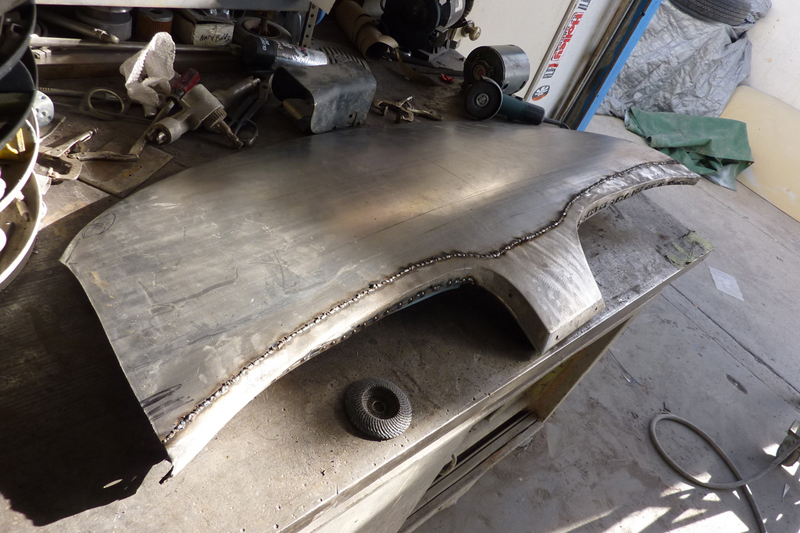
I woke up early the next morning and finished the welding before jumping on a plane back home.
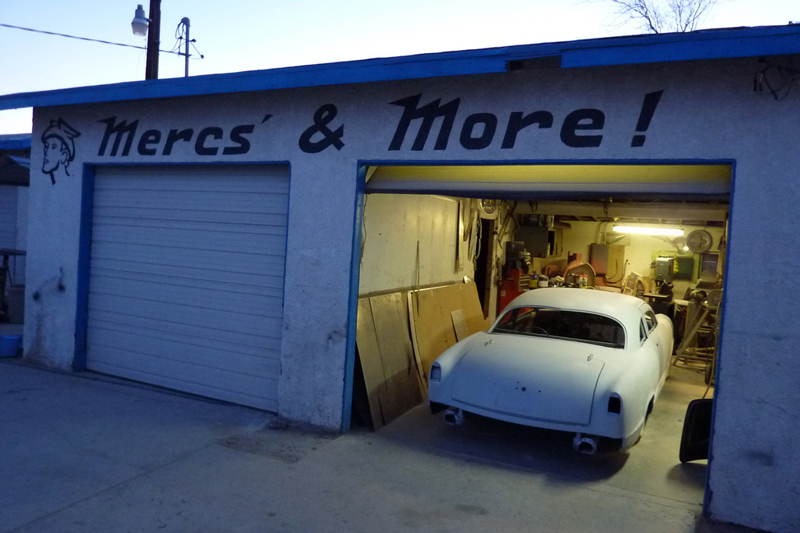
Once again I left the Kaiser in its temporary home. How fitting that it was parked in the bay marked ‘More!’ since it’s not a Merc.
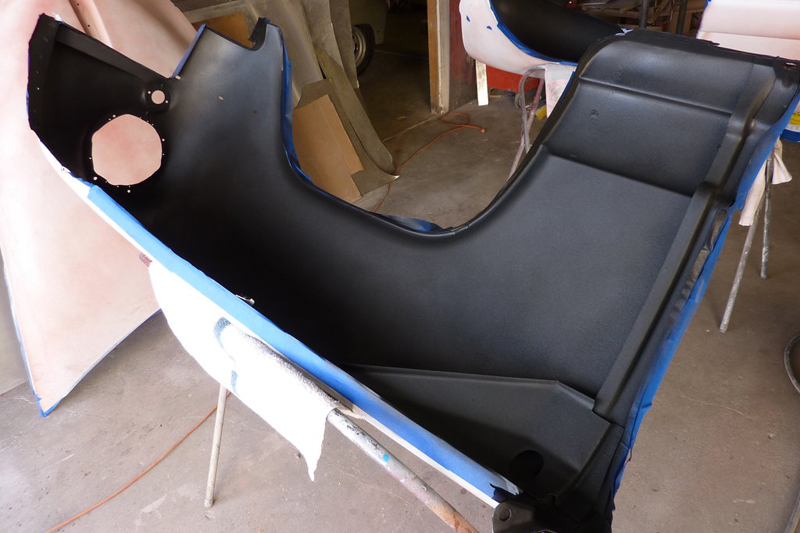
A few last minute items included painting the back of all the panels with textured bedliner and test fitting the chrome.
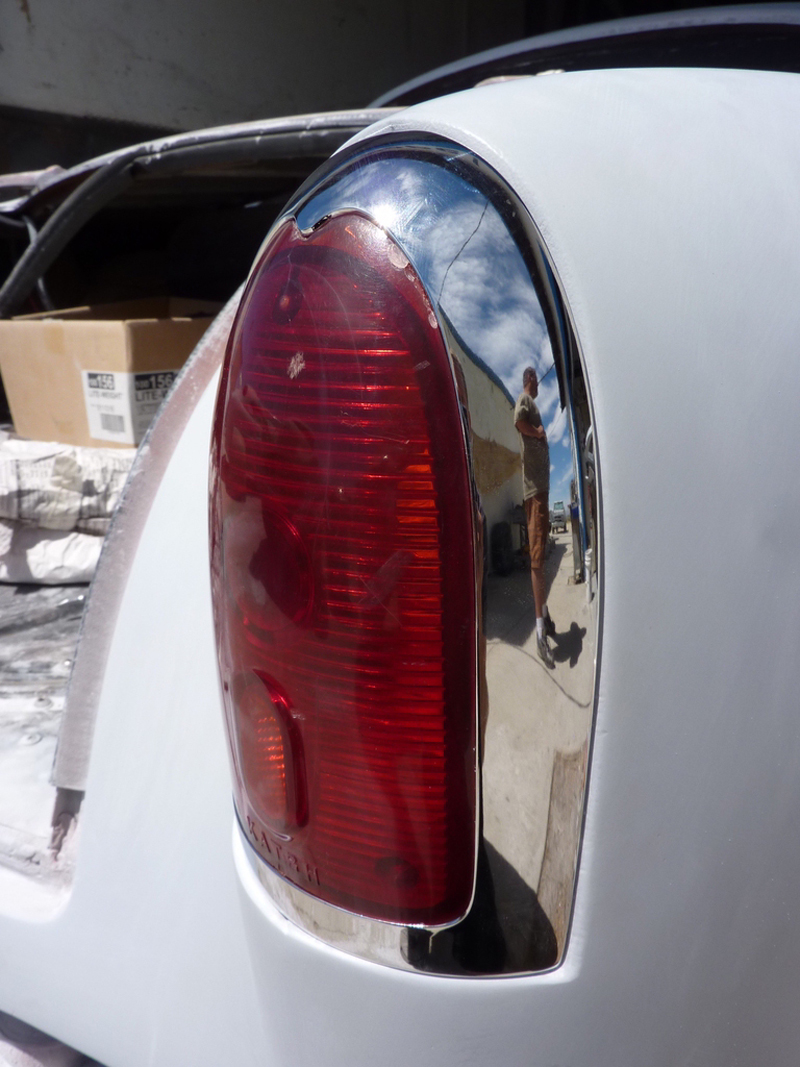
All of the chrome was done by my friend Josh at ChromePlatingIn.com . I built a crate and sent him all my parts while the car was in the paint shop, so it was pretty exciting to get these mint parts back to test fit on the car.
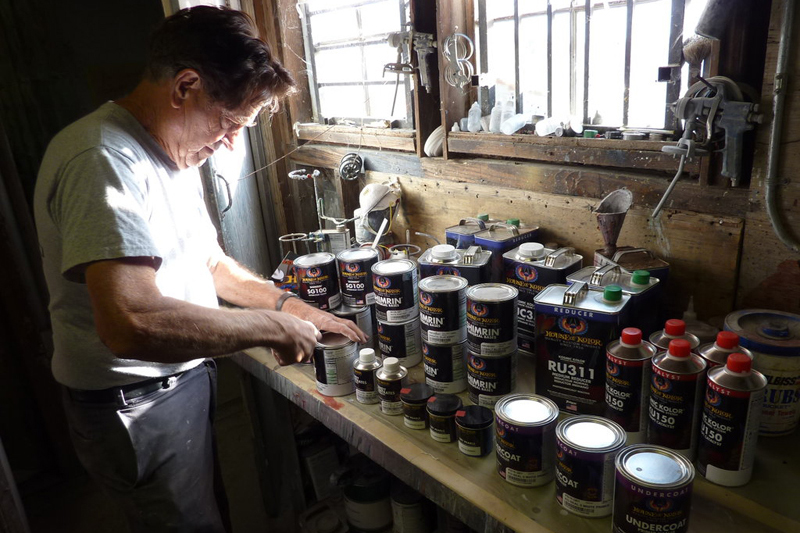
Finally, on July 4th we painted the car. House of Kolor sponsored all the paint materials, and Gene wanted to get a nice photo for them. He lined up all the paint cans and told me exactly where to stand and how to frame the shot. I told him there was too much light coming through the window and that it wouldn’t turn out, but once again the master schooled me. I still don’t know if he just got lucky or if he really knew it would turn out.
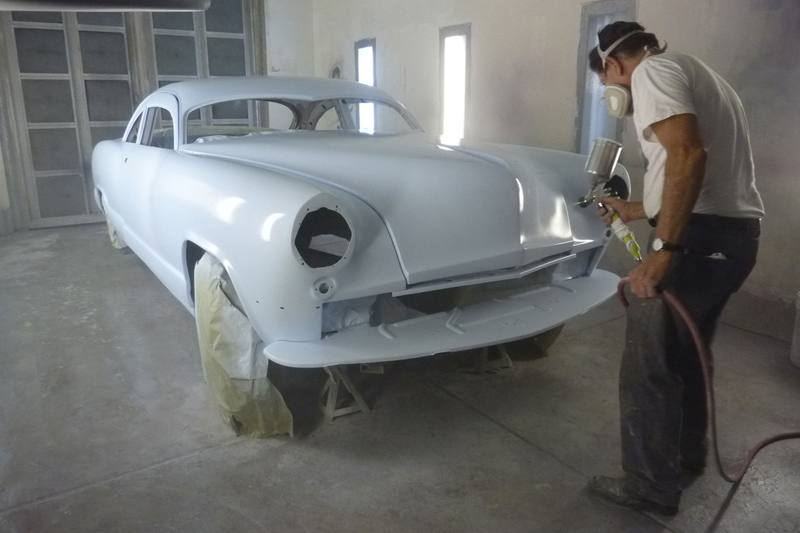
First Gene sprayed the car with a white sealer.
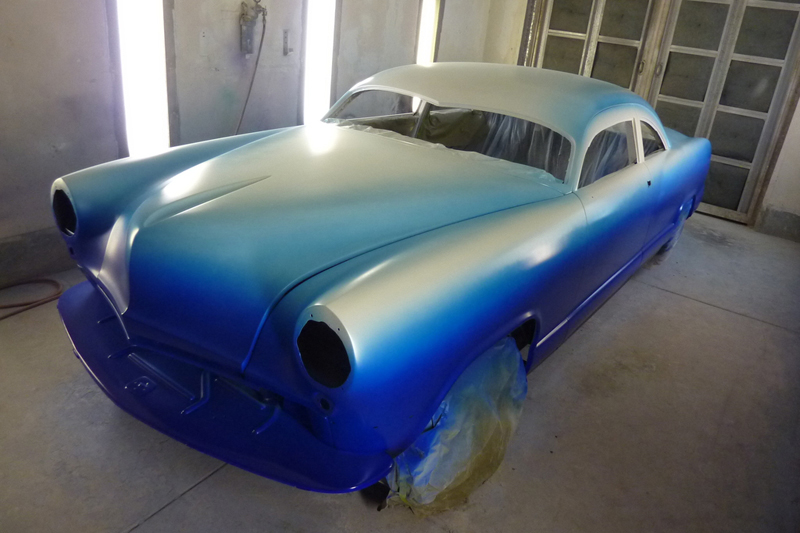
There are so many steps that I am going to skip, but suffice it to say that we were in the booth for 22 hours to do the paint job. This was near the beginning of spraying color.
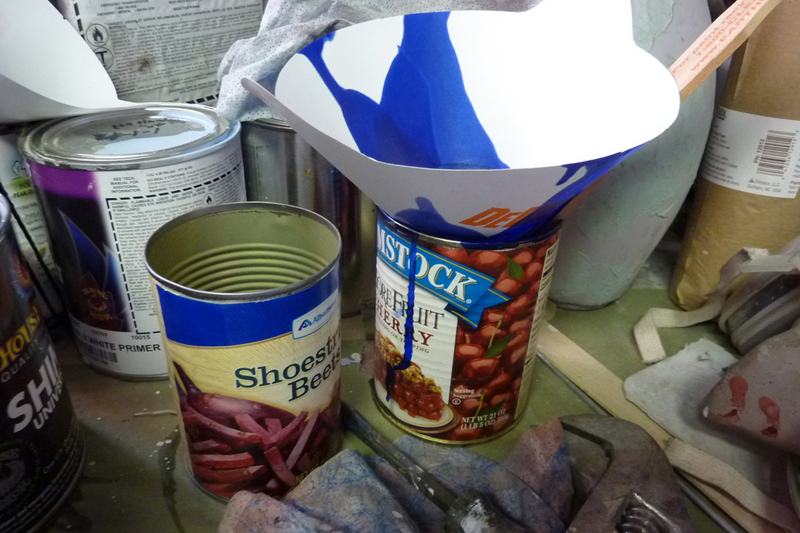
Gene mixes colors on the fly; base, candy, pearl, clear – it doesn’t matter. I thought I would take notes of the different stages. Gene just laughed.
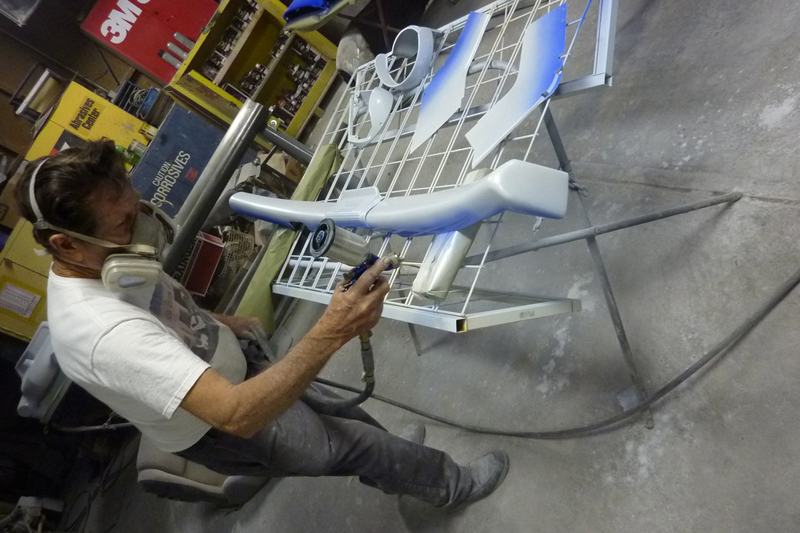
We could only fit the car in the paint booth, so we laid all the loose parts out in the next room and he sprayed them as he painted the car.
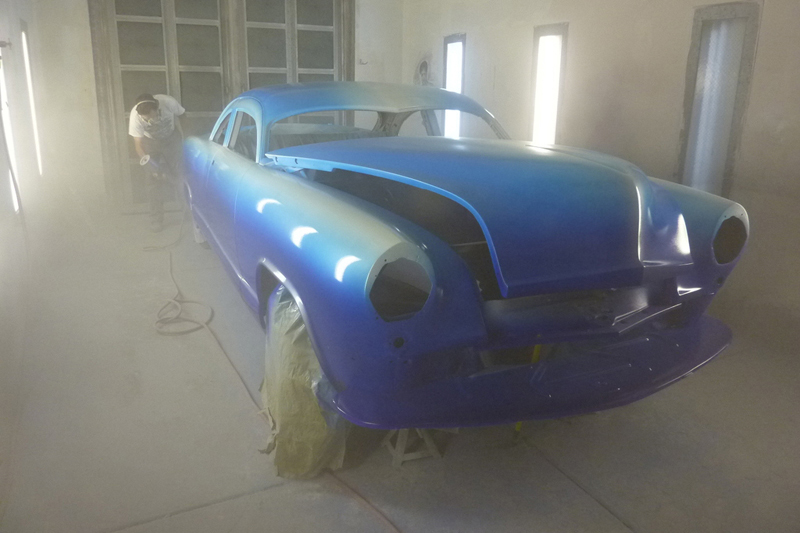
Getting closer…
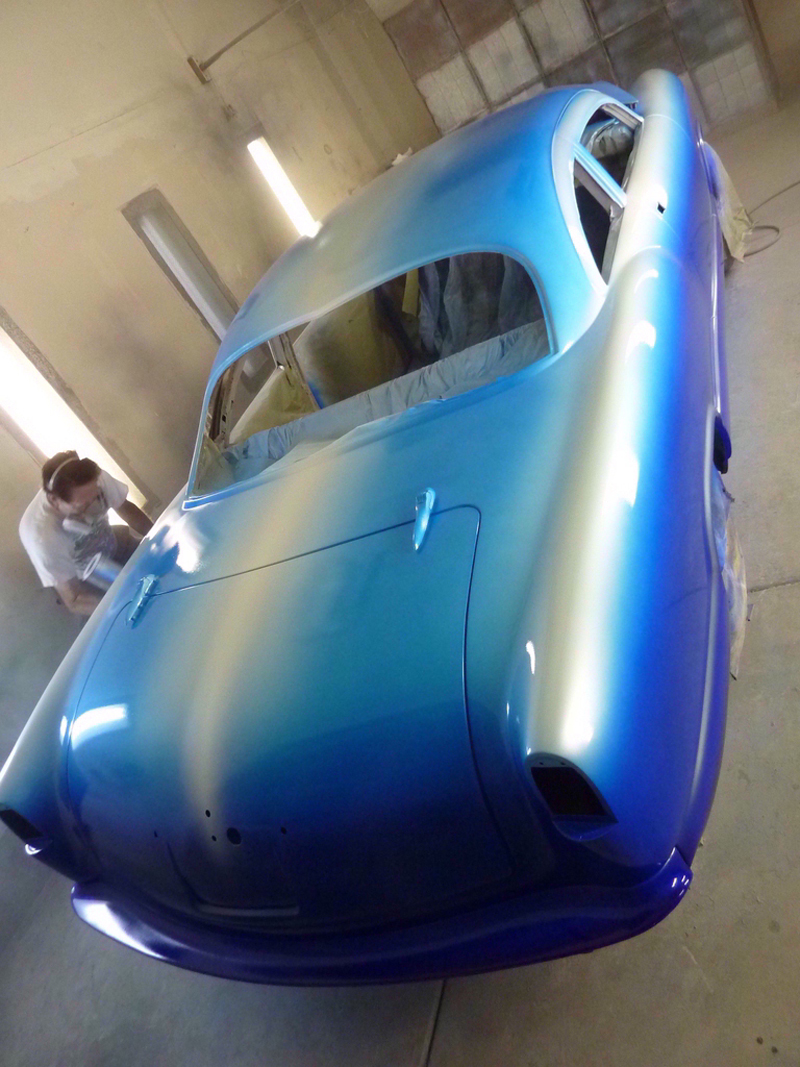
Some final highlights with the detail gun make it pop.
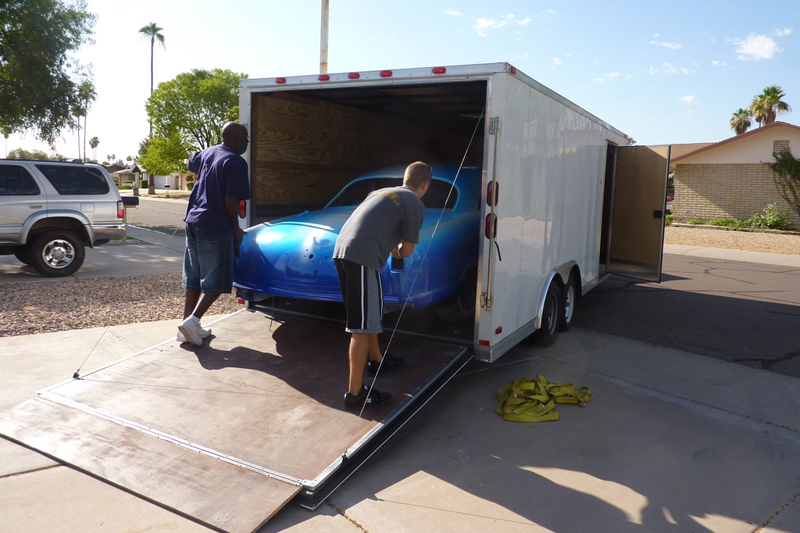
I was so thrilled to see my Winfield paintjob come to life right before my eyes. I had dreamt and commiserated over this day for seven months. I did a lot of research on cars Gene has painted and was very specific about what I liked and disliked in his previous paintjobs. I think he nailed it. Unfortunately I had to get back to work before the car was dry enough to load in a trailer. I hired a guy to tow the car back a few days later, and it actually showed up on my birthday. That was a pretty good birthday present!
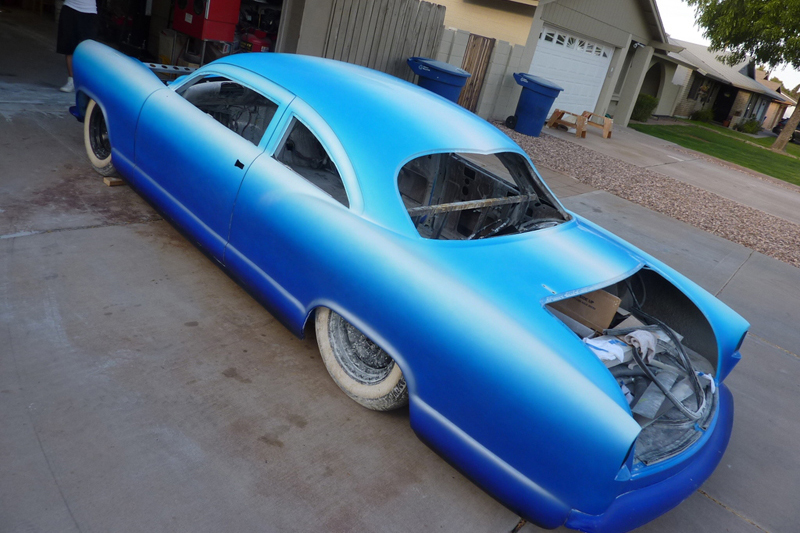
Winfield’s had a light workload, so I hired a couple of his guys to come help me color sand and buff the car. Once again, we busted ass pulling long workdays to get it done over a weekend. Look at the paint glowing after color sanding.
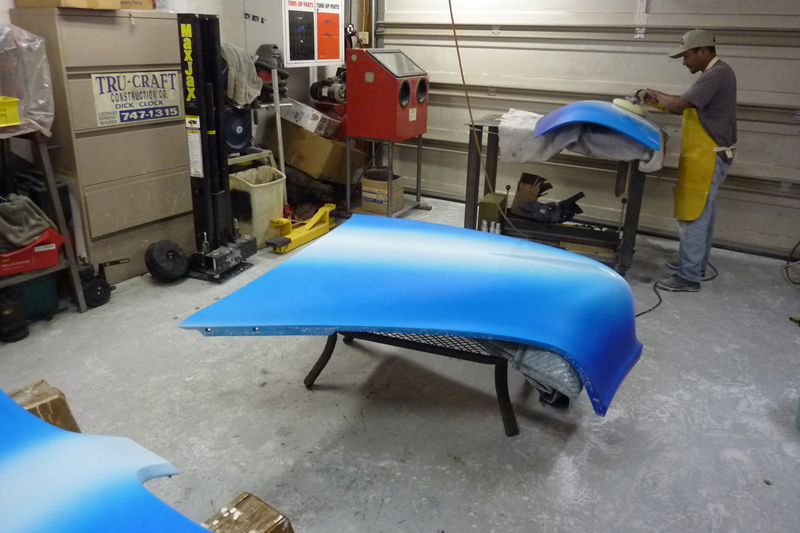
My buddy Alfredo running the buffer.
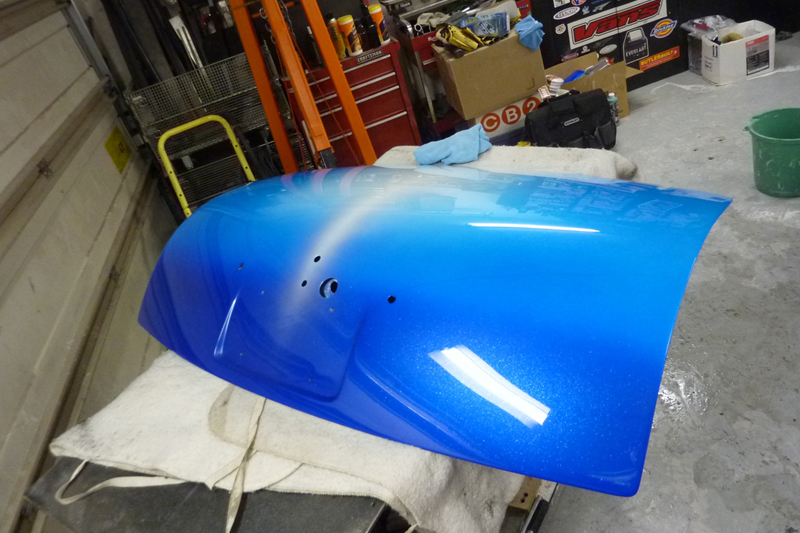
And a deep, shiny gloss is the result. It takes a lot of skill and some nuts to take a high speed buffer to a custom paint job. Alfredo’s the man.
I think this is a good place to stop for now. It might seem like the car is done, but it will still take another year to finish it!
Thanks for following my build.
-Keith


That perfect Winfield fade was what led me to the car on the HAMB! It really puts your car above the rest! Ive followed your wwhole build & i'm very jealous that you got to work with such a legend! But this is very inspiring for me since I've been dreamin of building a true Kustom in my garage as you have & that same episode of Monster Garage turned me on to the whole Kustom scene when I was a kid!
@SPEEDHUNTERS Beautiful! I'll share the link with our members, they'll love this.
@SPEEDHUNTERS Beautiful! I'll share the link with our members, they'll love this.
@SPEEDHUNTERS Beautiful! I'll share the link with our members, they'll love this.
@SPEEDHUNTERS Beautiful! I'll share the link with our members, they'll love this.
been following this since the first post a will follow it till its finished, its a awesome build!
been following this since the first post a will follow it till its finished, its a awesome build!
been following this since the first post a will follow it till its finished, its a awesome build!
been following this since the first post a will follow it till its finished, its a awesome build!
This is a truly EPIC build !!
Blurry pictures on Speedhunters that aren't from motion blur? WWAAHHHH???!!!!!
MY EYES!!!! THEY'RE BLEEDING
That paint job is seriously a work of art though. +1
that paint!!! oh gosh it's nice!!
love that paint!
love that paint!
I love following this thread, the phases of the car are awesome and its so cool to see the changes!
Working on your own car with Gene Winfield, Epic!
Working on your own car with Gene Winfield, Epic!
I am not sure with the color but, the lines of the body are amazing. Such a beautiful thing from a car that isn°t really cool.
Crazy amount of work & time put into this. Great job!
@VivaPotenza Thanks Viva. Let us know what they think
@LouisYio Thanks Louis. I didn't know these pics would be seen by the world when I took them. Also my photography has gotten better since I started the project. Unfortunately some of these are the only shots I got, but still worth sharing.
@Dusty Monkey Thanks! The HAMB thread has tons of detail and went on for about four years. You can also see more of my work here: http://keithcharvonia.carbonmade.com/
@Nikhil_P Wait until you see the bright chrome against the paint! It really makes it pop.
@SPEEDHUNTERS http://t.co/UPGZ1BI2 We;d love to hear some of your tips if you have time.
Awesome build mate