
We are proud now to share the second part of Keith Charvonia’s very inspiring Kaiser Lead Sled build. Here’s Keith to take us through the next stages of the project. Enjoy!
-Mike
We left off with the car in running condition, but nowhere near complete. I drove it around this way and had some fun with it.
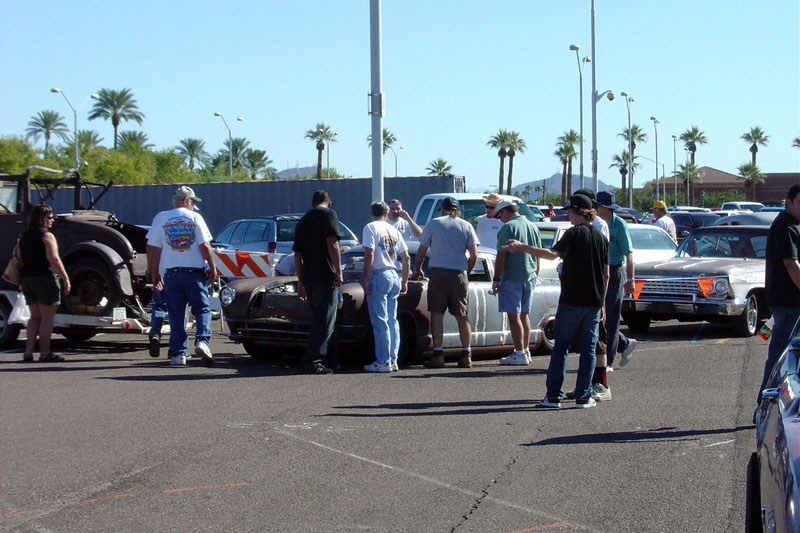
This picture was taken at a local swap meet. I parked it, walked twenty feet away and turned around to see this crowd around my beater of a kustom! While flipping through HOT ROD magazine I saw a full page ad to enter their “Homebuilt Heros” contest. Skimming the ad I saw that they had a couple of categories my car fit into, so I decided to give it a shot. I took a couple weeks off work and started on the details that I had skipped over to get the car on the road in the first place.
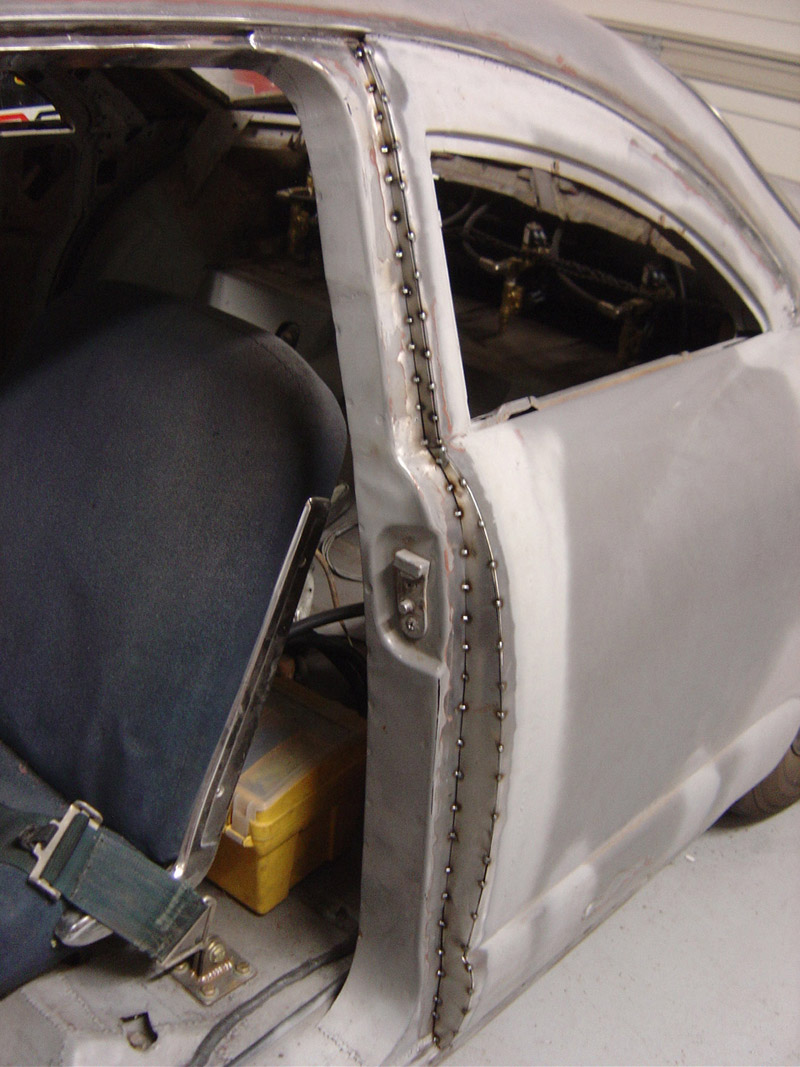
I had welded the back doors shut to create a two door, but you could still see the ugly hinges and tell it was originally a four door, so I boxed it in. This was also a good opportunity to make the door gaps fit correctly.
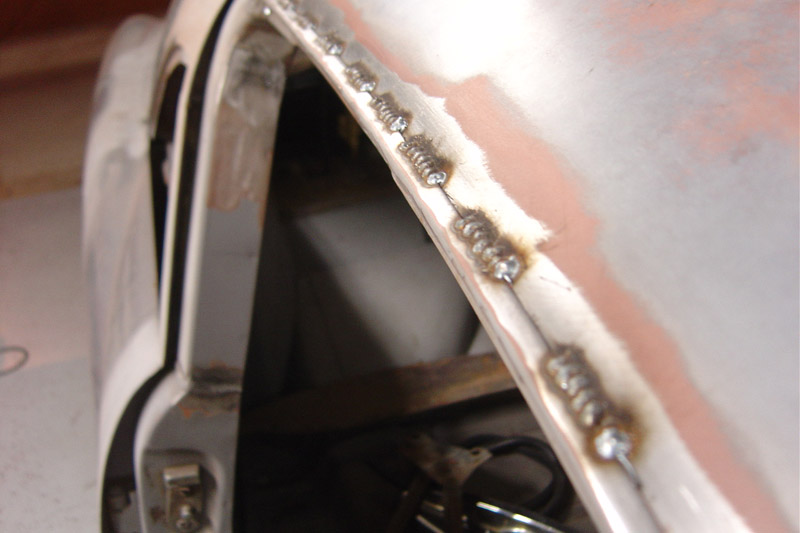
Next I took some pliers and bent the factory drip rail back so I could get my grinder in there and remove all the rust. The drip rail was also missing on the A-pillar from the chop, so I made this section by hand and welded it in. I tapped the freshly ground drip rail down flush against the roof and proceeded to lay down fifteen feet worth of tack welds. You can get away with this on old, thick American steel without warping.
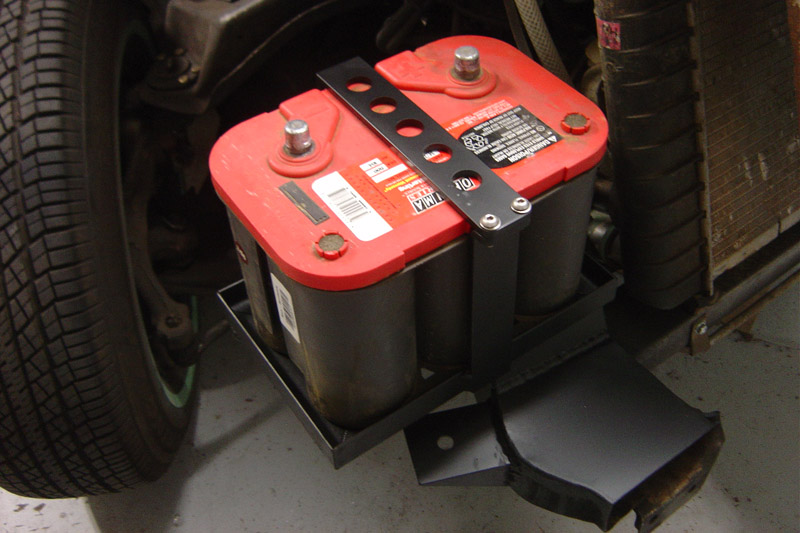
I liberated my ratchet strap from battery tie-down duty and built a proper tray and mount.
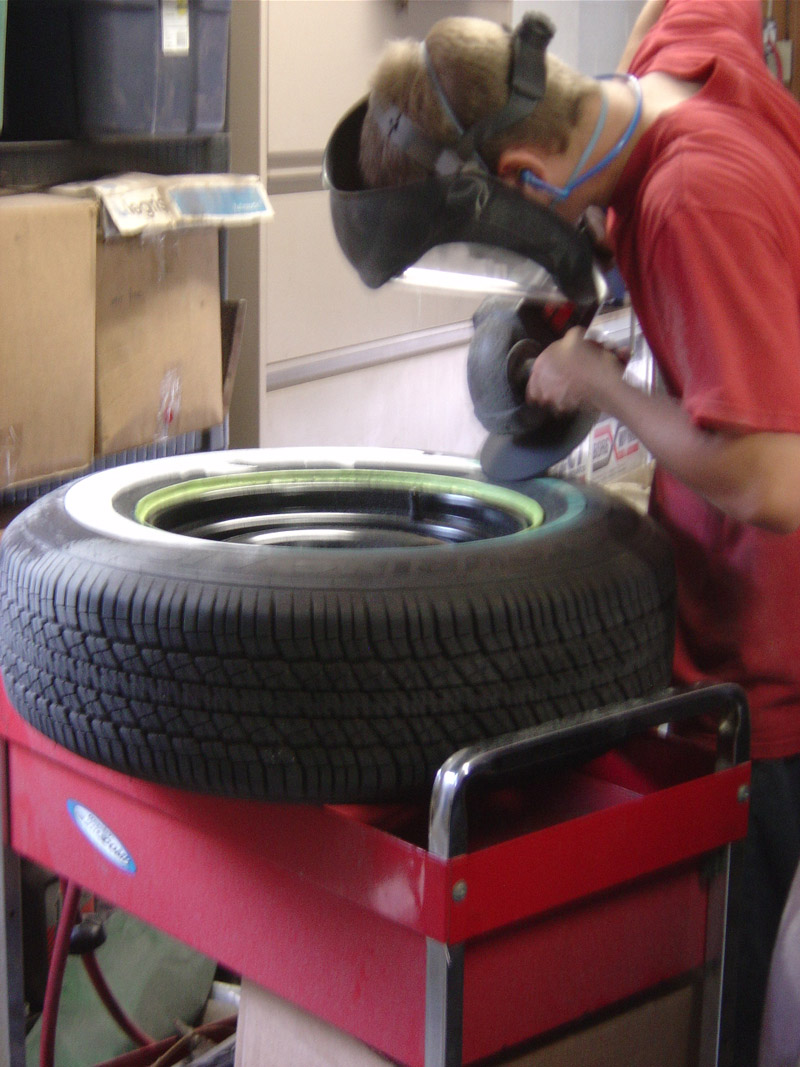
Someone posted on the HAMB showing how they turned their white letter tires into wide whites. It seemed like a cheap way to get new whitewalls on the Kaiser, so I went for it. These were the cheapest Kumho tires I could find.
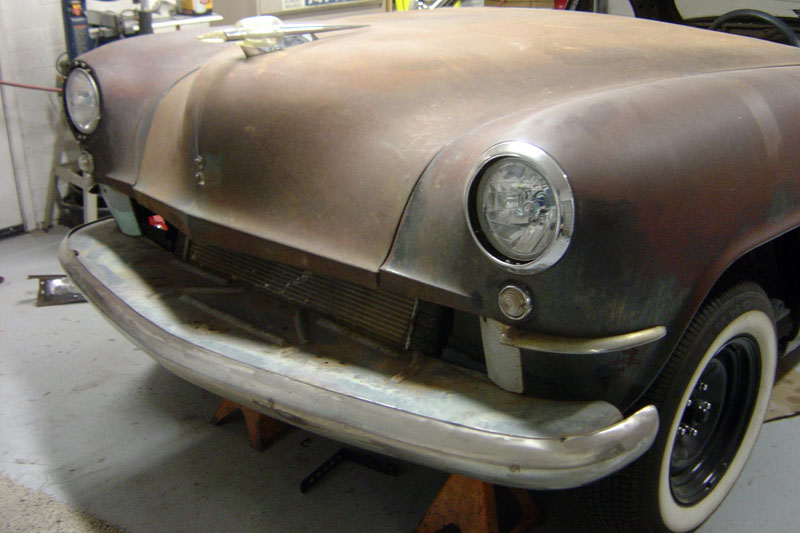
I got out the BFH and pounded all the dents out of the stock ’51 bumper before filling all the mounting holes and welding a structure behind it to attach to the frame. I also chose to flip the bumper over because I liked the look better. If you look at early ’50s Chevys and Fords you will see that this is how the bumpers are oriented from the factory and most guys flip them the other way to customize them!
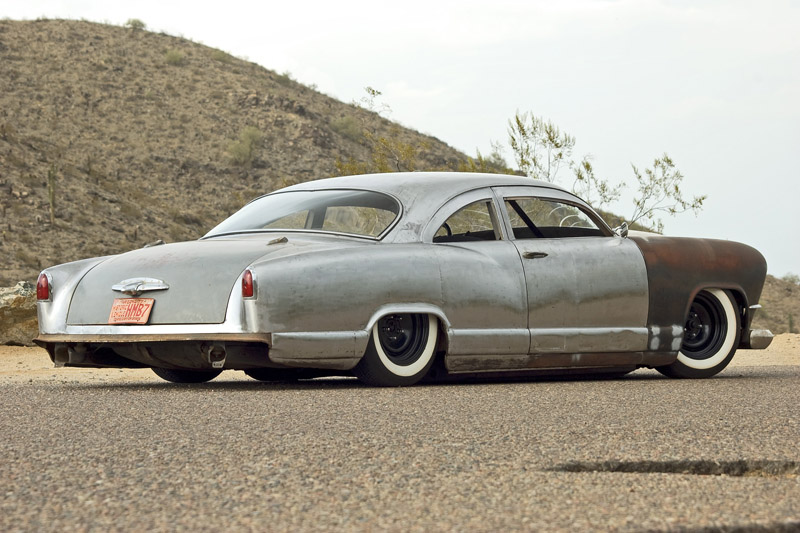
My main goal was to make the car presentable for the HOT ROD contest. Paint was out of the question, so I spent some quality time with the grinder and removed all the funny smelling, 60 year old paint. The next step was to lightly scuff the entire car with Scotchbrite wheels to give it a consistent finish, and then protect the bare metal with Gibbs oil. I didn’t even attempt to get the rust off the front fenders.
My friend Tommy took some really nice shots for the contest. It was sprinkling when he took these and I remember hauling ass to make it to our photoshoot locations before it started raining. I was in a bare metal car with no windshield wipers!
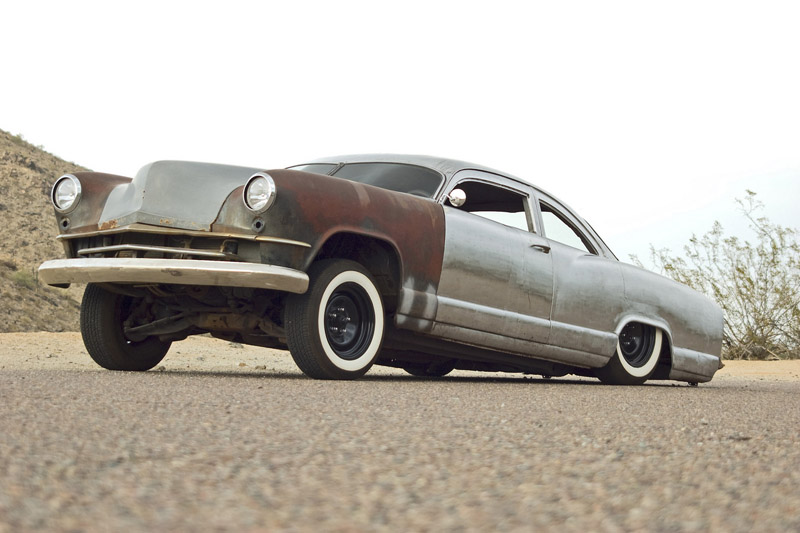
I love this shot. The frame ends are touching the ground and the front is lifted about 12”.
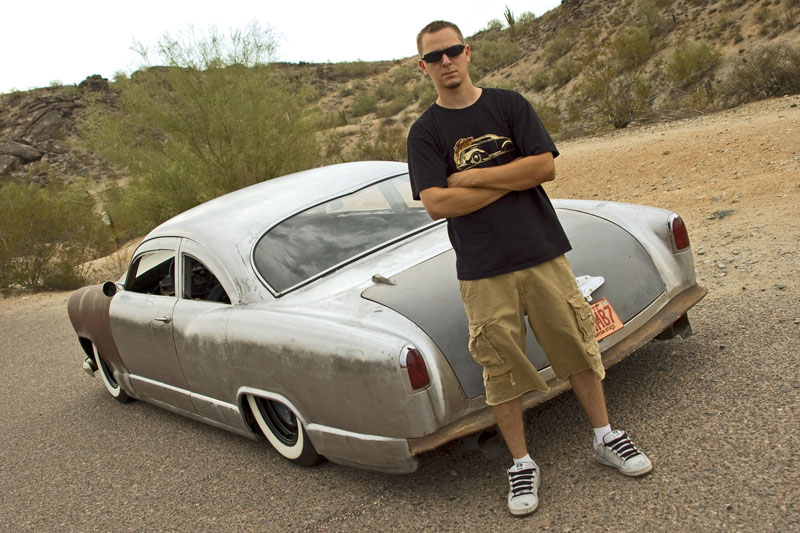
Here’s my best serious face, just so you can get a sense for how low the car sits. Pretty low, right?
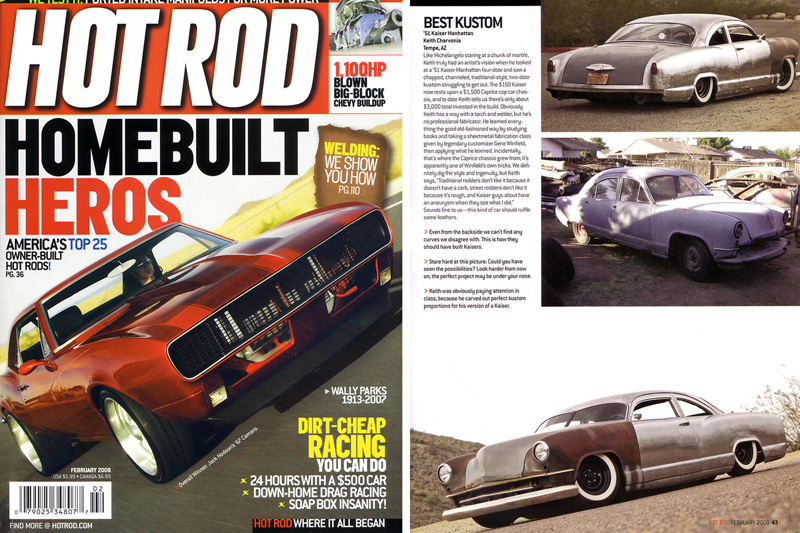
Several months went by and one day I got a letter in the mail from some marketing company. I opened it to read some very exciting news: My car had been chosen as one of the Homebuilt Heros winners! This was so exciting, what a satisfying feeling! After several more months of waiting, the magazine finally came out and I was very pleased with the kind words they wrote about my build.
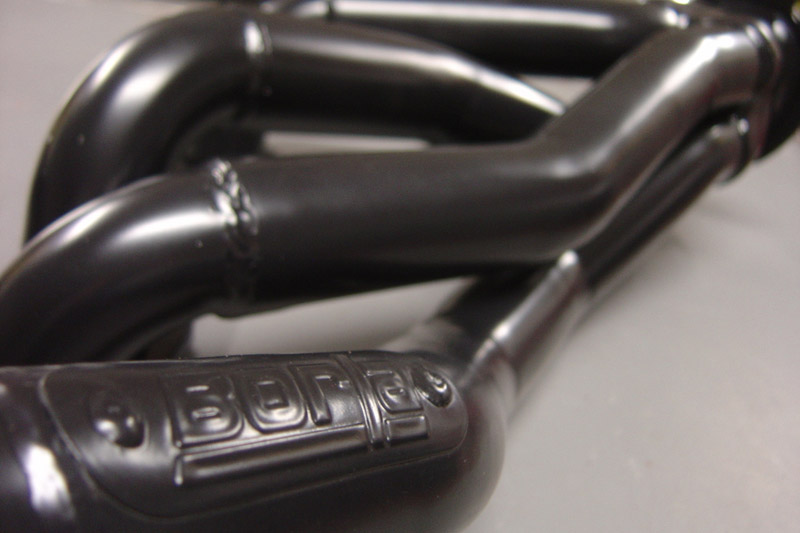
After the magazine I felt some responsibility to complete the car to a respectable level, something I had not originally planned on. With the encouragement of some friends and the HOT ROD article as leverage, I started applying for sponsorships. The first one to stick was Borla, who sent headers and exhaust. Once I had one reputable sponsor, the others came more easily.
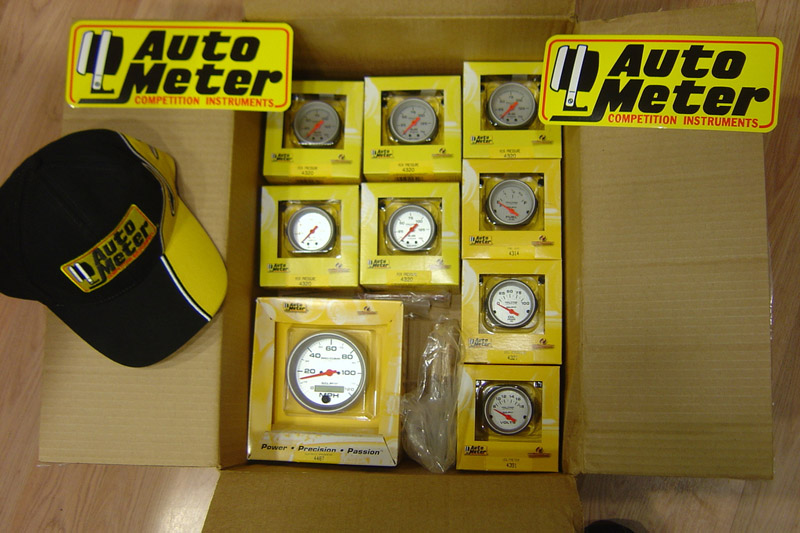
Holy crap, people are sending me free parts! This is a gearhead’s dream. Autometer and House of Kolor jumped on board next. I spent a month retrofitting the Autometer gauges into the Kaiser cluster.
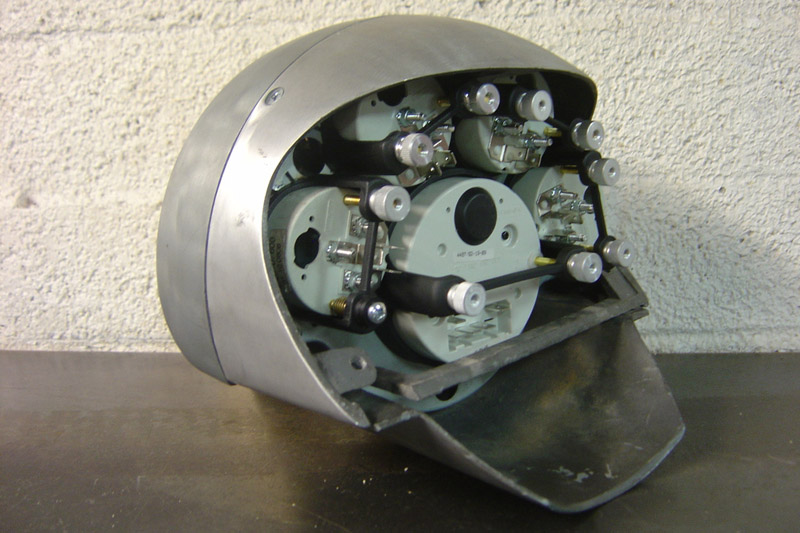
It’s a detail that is easy to overlook, but I love it. Autometer was awesome about working with me and allowing me to hack up their product to make it fit the car. I later learned that my relentless questions led to their Custom Shop line of gauges.
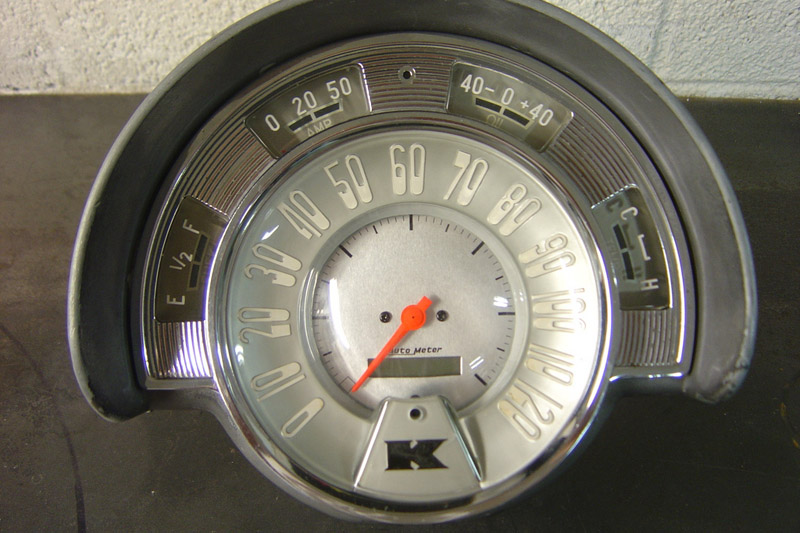
Here’s a how-to on the gauges, it’s worth a look to appreciate the amount of work that went into them.
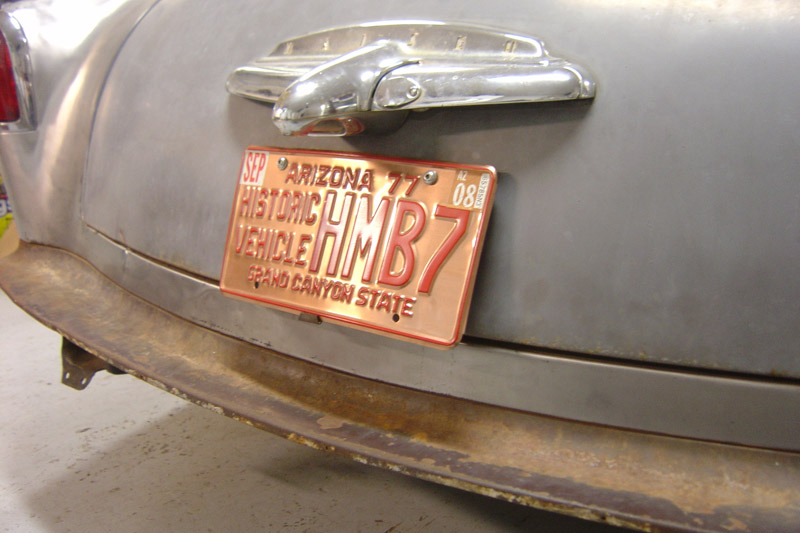
I bought a shrinker/stretcher tool and frenched in the rear license plate.
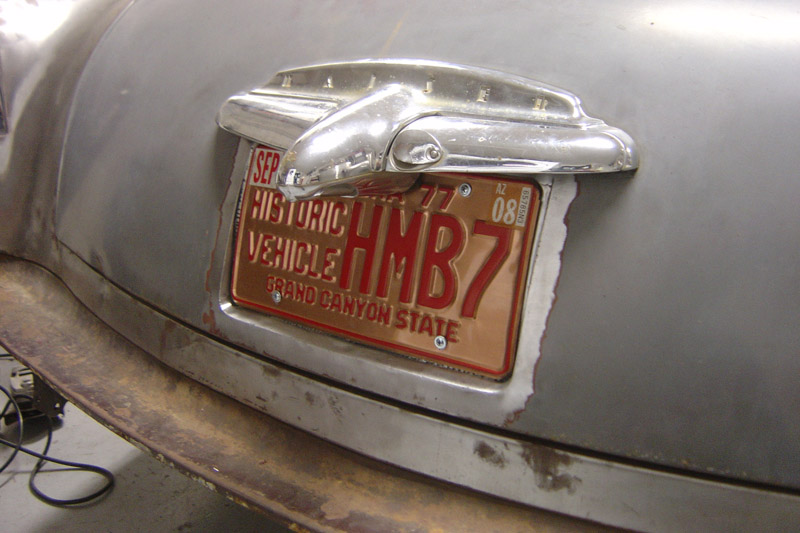
I wanted to keep the trunk handle so I came up with a way to make the license plate flow with it.
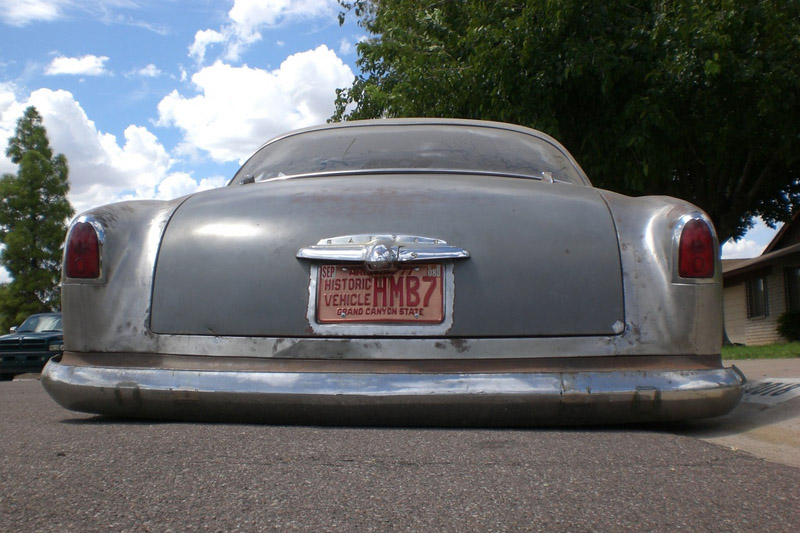
The rear bumper got the same treatment as the front, plus I shortened the ends so it didn’t run so far up the rear quarter panel.
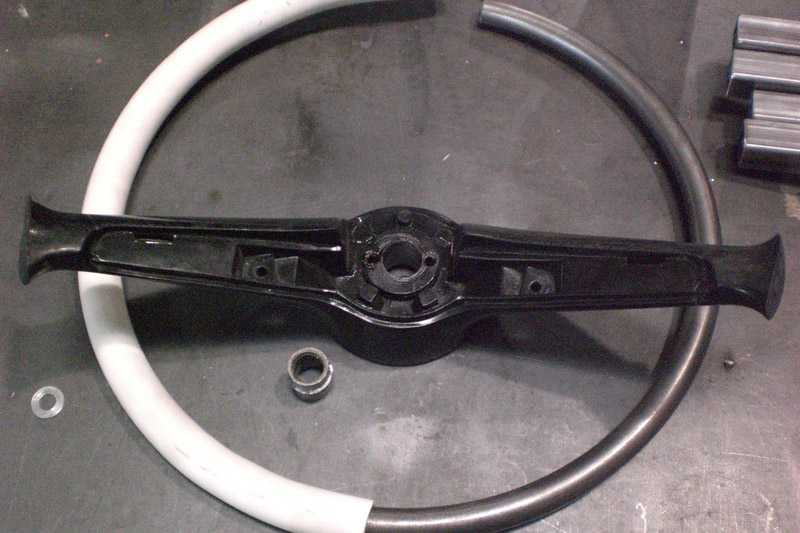
The steering wheel was too big and thin, so I made my own.
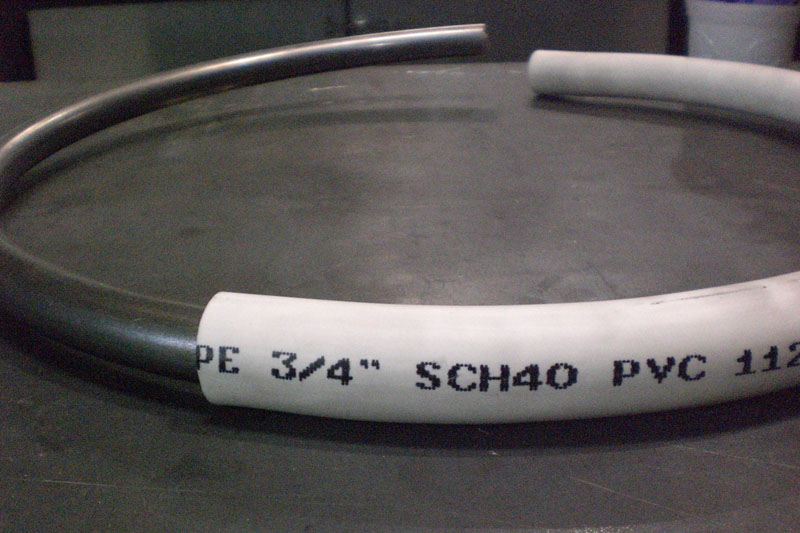
The hoop is .750” steel, with PVC heated and slid over it to insulate and blend in with the center bar.
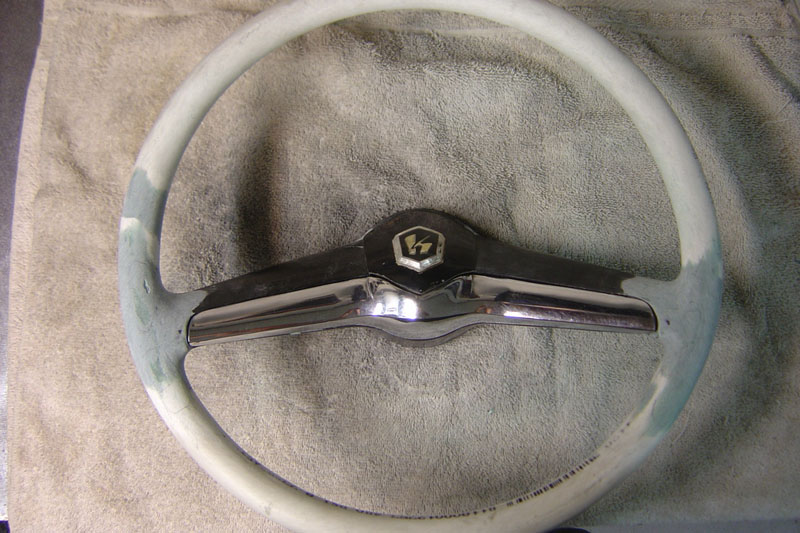
Here’s a how-to on the steering wheel build.
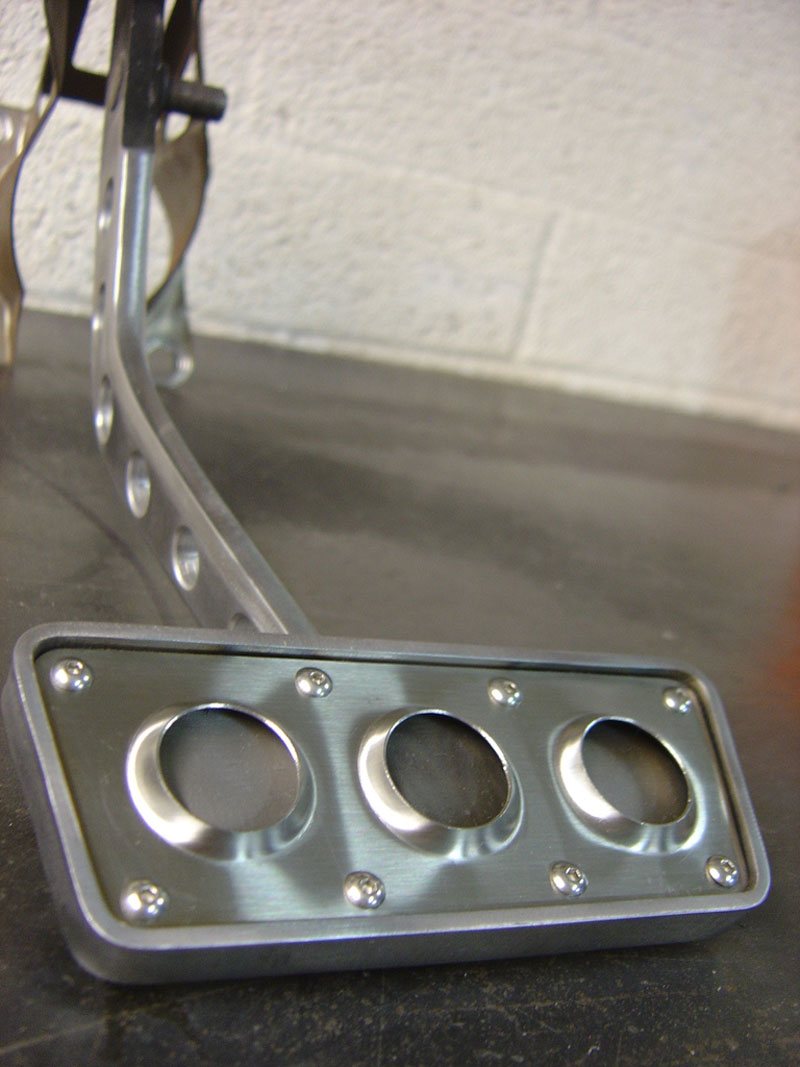
Custom pedals were a must, so I used some stainless from an old coffee maker and made a dimple die I could use in my vise.
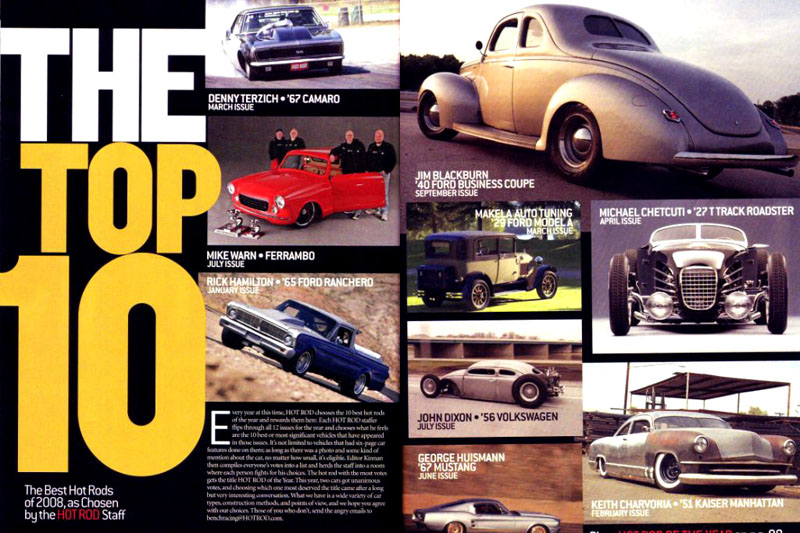
One day I got an email from the HOT ROD editor saying that I would probably really like the December 2008 issue. I didn’t know what that meant until it showed up in my mailbox. Are you kidding me!?
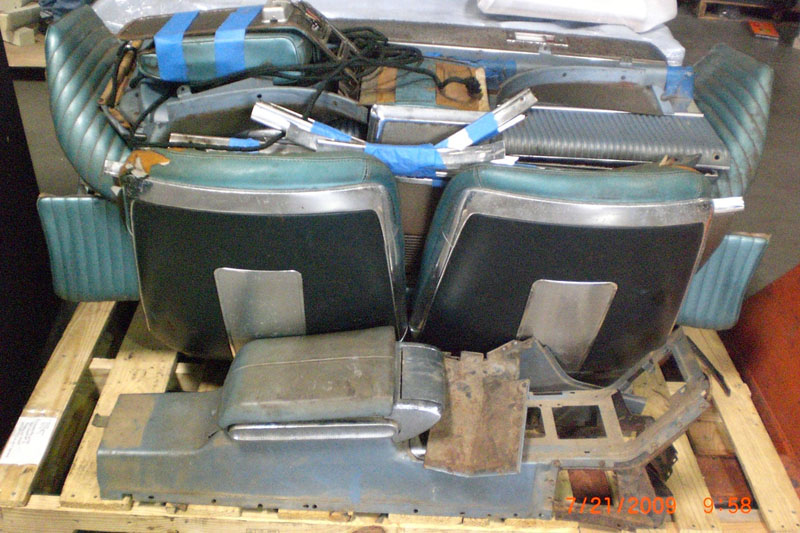
I was nearing the end of the infinite list of things to do on the car. I found a complete 1965 Thunderbird interior and had it shipped on a pallet from Georgia.
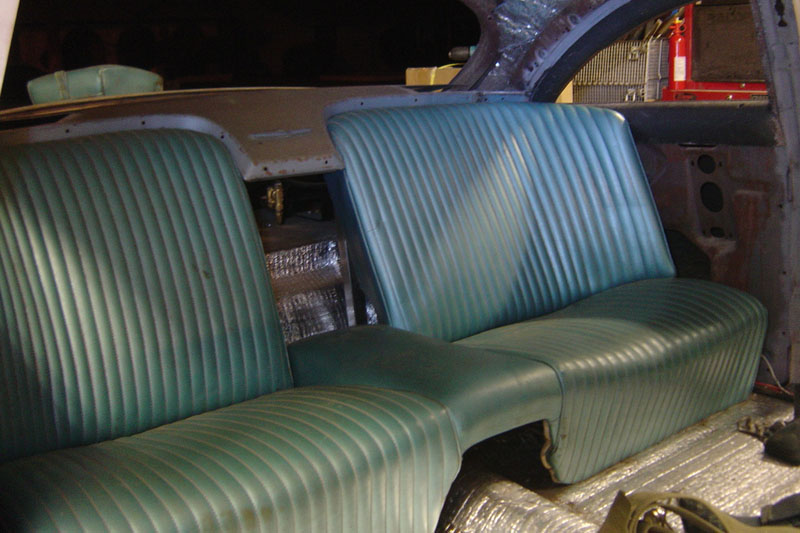
It took some doing, but the Thunderbird interior eventually fit into the Kaiser. One area I put a lot of focus on was integrating the rear parcel tray into the car so it looks like it’s supposed to be there. More on this later.
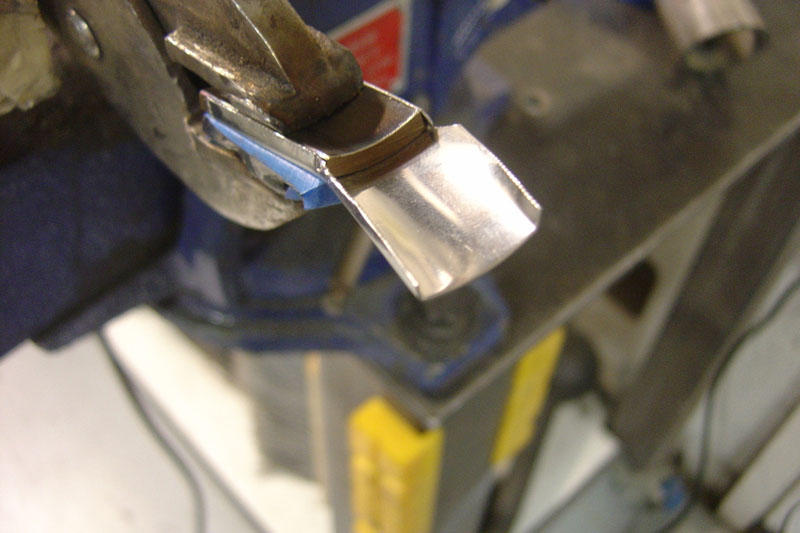
To make the original stainless body trim fit the now-custom body I had to make some custom tools. I found that I could make parts that can’t be bought and fit the car exactly.
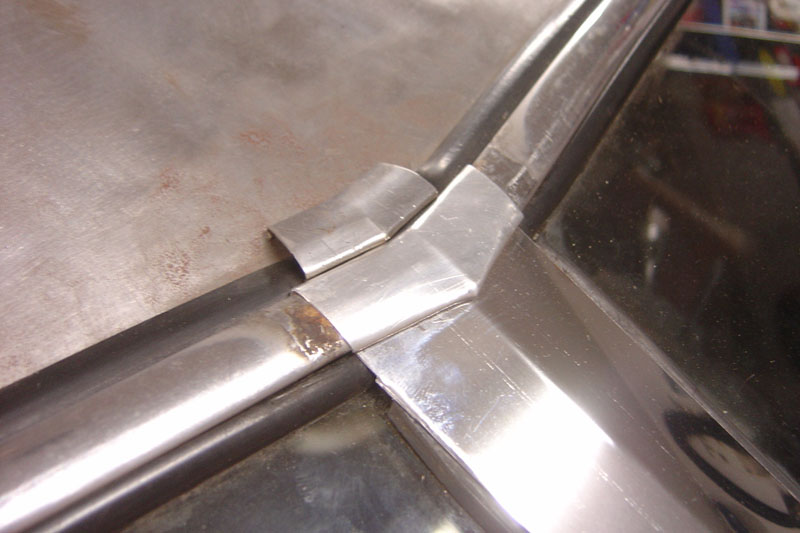
My first attempt was on the splice for the windshield. The chop made the glass spread apart so the original piece was not long enough.
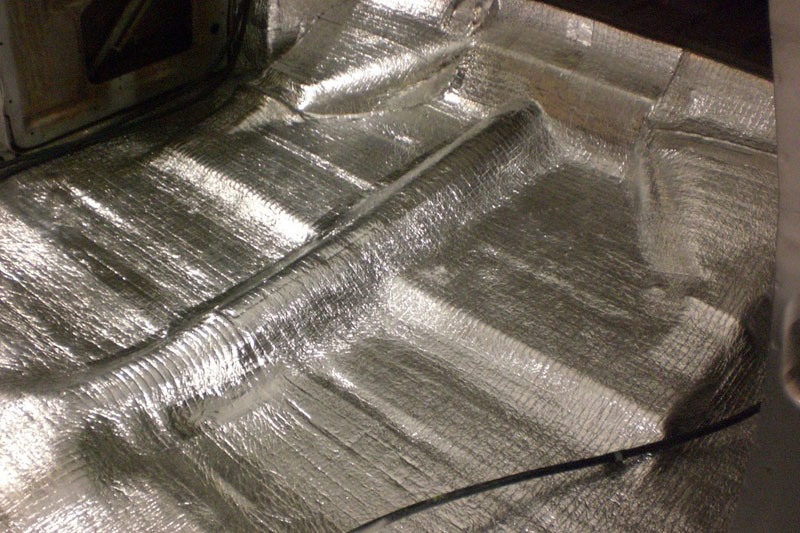
I went ahead and insulated the interior with insulation from lobucrod.com . In hindsight it was not the right time to do this because the insulation got trashed at the body shop. I ended up putting another layer over it at the end of the build.
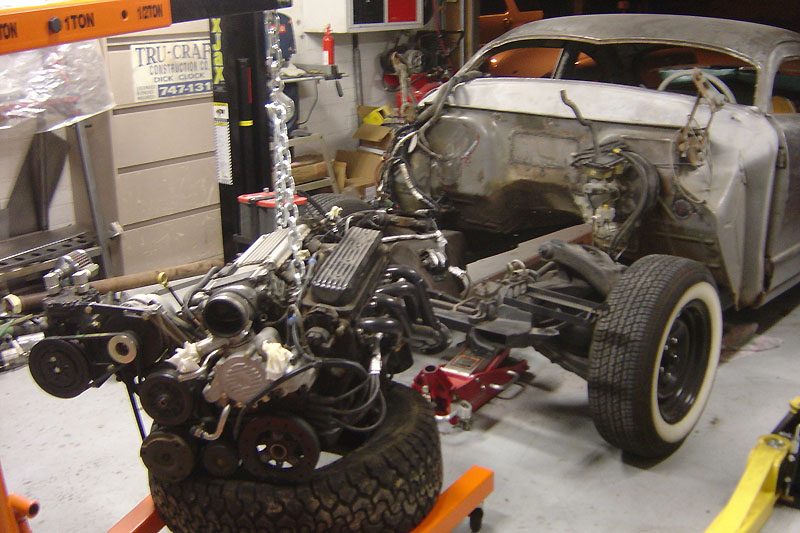
Finally, with most of the fab work done, I blew the car apart to go to a very special paint shop.
We will go into detail about the paint next time, but for now I leave you with this one hint.
To be continued!
-Keith


Awesome! Can't wait to read more =)
This is awesome!!
Just amazing! Looking forward to seeing the rest Keep up the great work!
Holy s*** dude. The hours, the work...mind is blown all over the wall!
Amazing build, amazing skills !!
Great write-up! You make it seem so simple but there's an enormous amount of work put into this.
In part one I couldn't tell if this was a write up of the kaiser I saw in hot rod years ago or another just like it. Glad to see its the same one. I always wanted to see the build of this car!
More of this please guys!
Please dont make us wait two more weeks for the next installment... I have been waiting patiently..
Please dont make us wait two more weeks for the next installment... I have been waiting patiently..
This is cool as hell!!
Awesome stuff!
love this build.
@MattAtDoyle Thanks for recognizing that. There are so many hours in each picture shown, and it does look too easy when you present it like this.
@racer193 I'll try!
@Y0SH There aren't too many kustom Kaisers out there. Rocky Robertson built a pro-street version, and JF Launier built a Street Rod version. There is a more traditional chopped one that is in light green primer too, but that's about it.
@KeithCharvonia Love the car it looks so good can't wait for the next part.
This car just keeps getting better and better!
Love it! Great work. Really well done.
Fuggin AWESOME!
Fantastic! Looks like you have been doing this for years rather than your first Kustom build. Can't wait to see it finished but also like it as it is.
Really nice work so far. I wanna do a custom classic like this one day...
Loving this build! So much love has gone into every aspect, so wicked to see.