Speedhunters, I want you to meet my friend Joe. We happen to be neighbors but we’re also kindred spirits, both owning customized classic American vehicles.
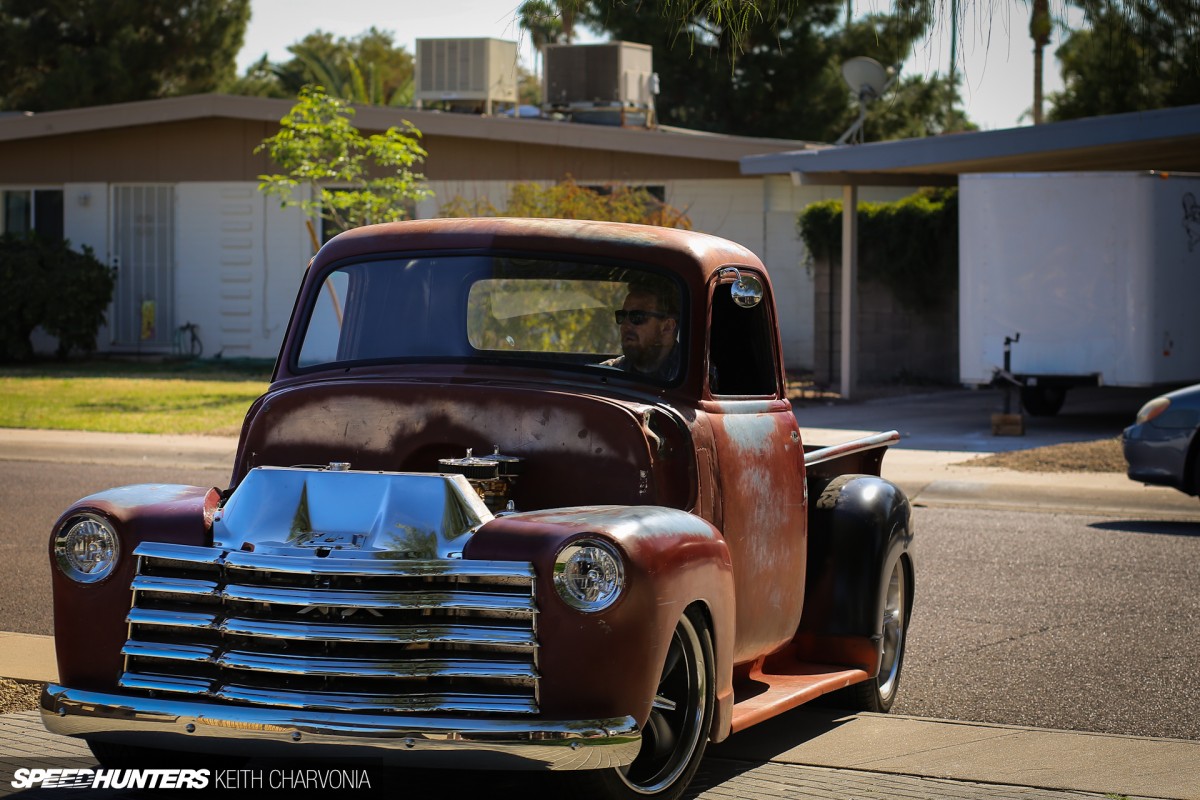
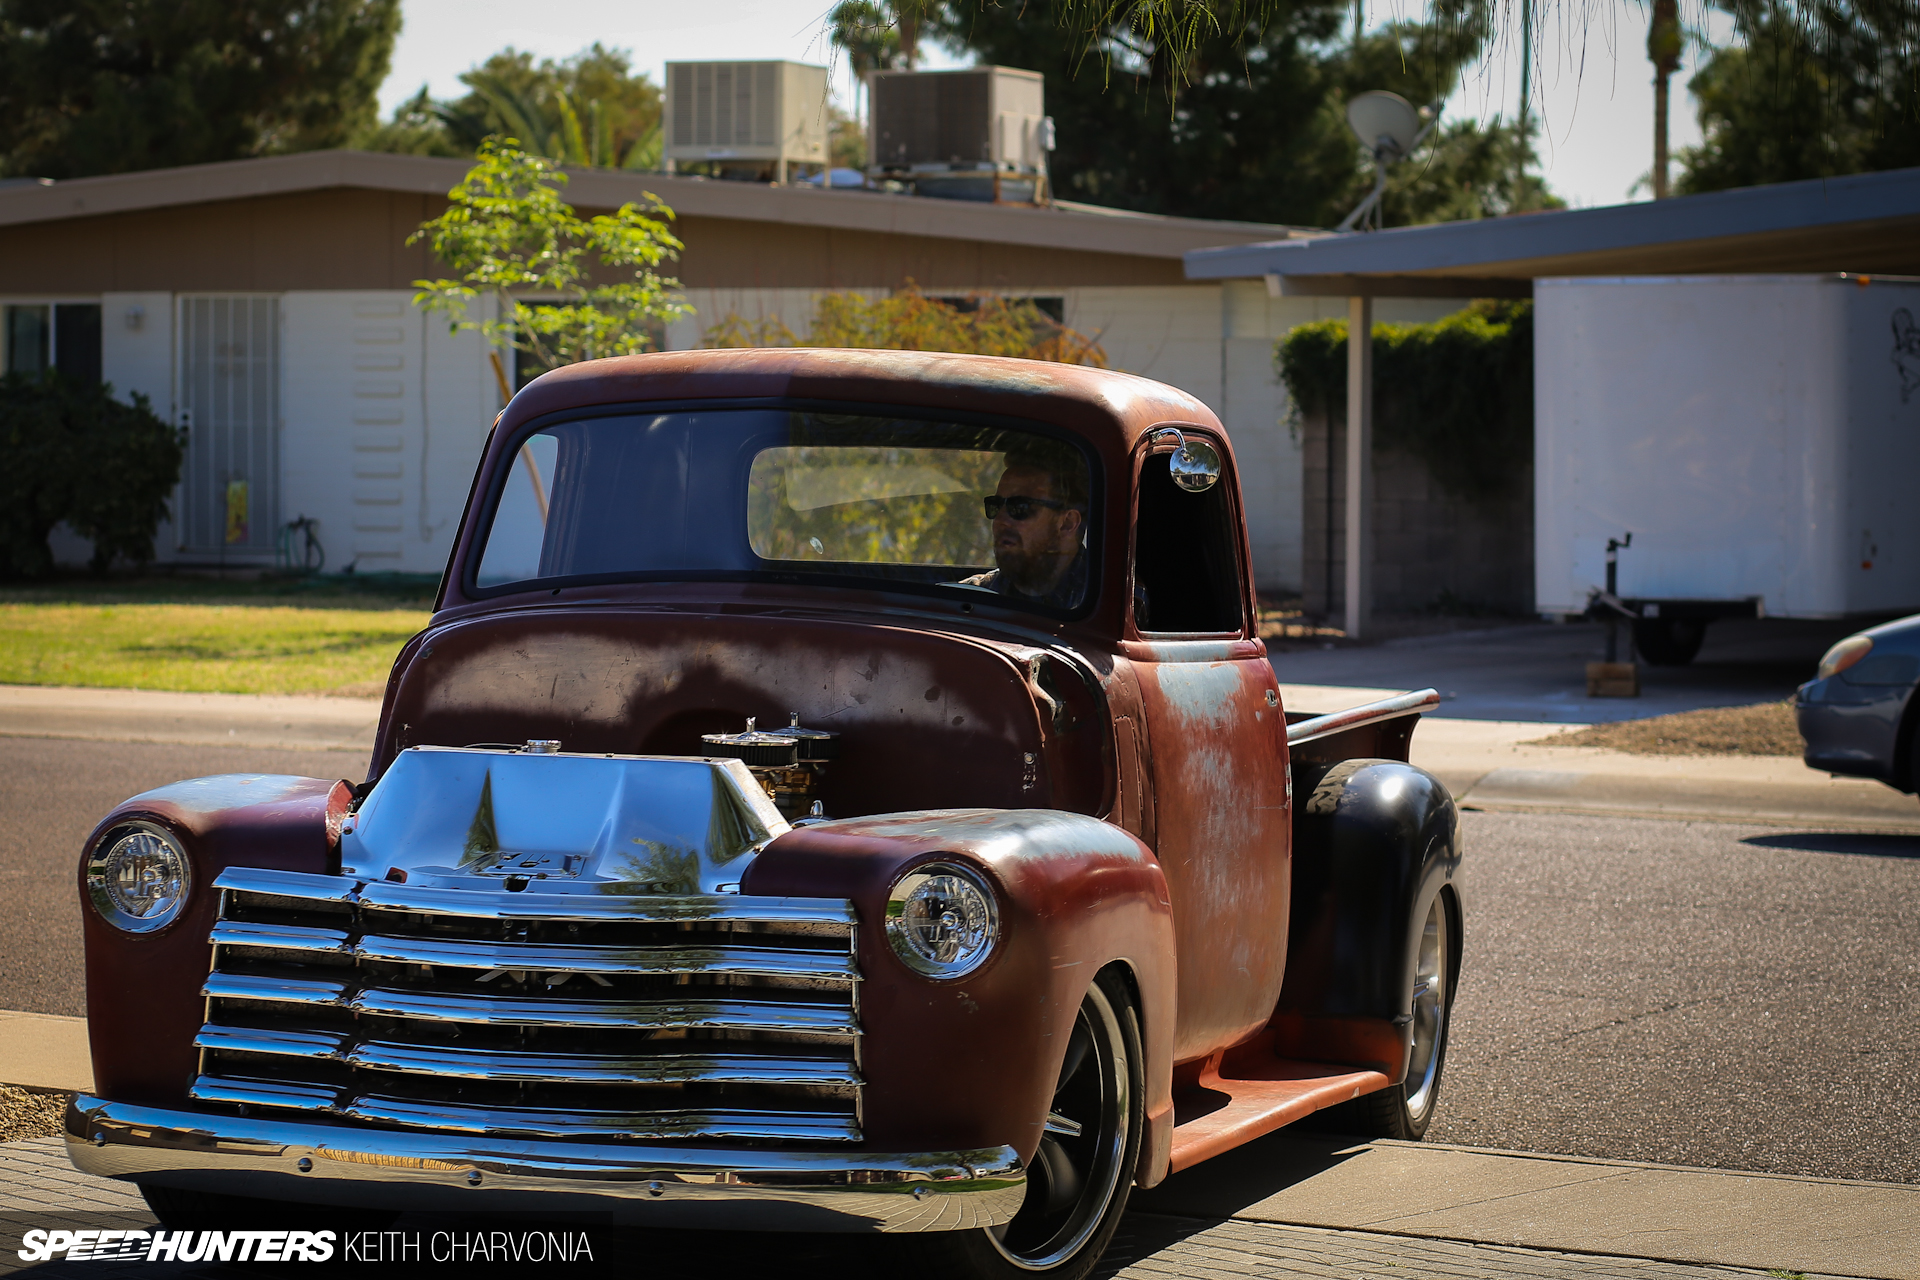
He’s into hot rods and bikes, and this is his ’49 Chevy truck. Joe’s truck is about halfway done according to my calculations, and he’s gotten this far with just his checkbook, to be brutally honest.
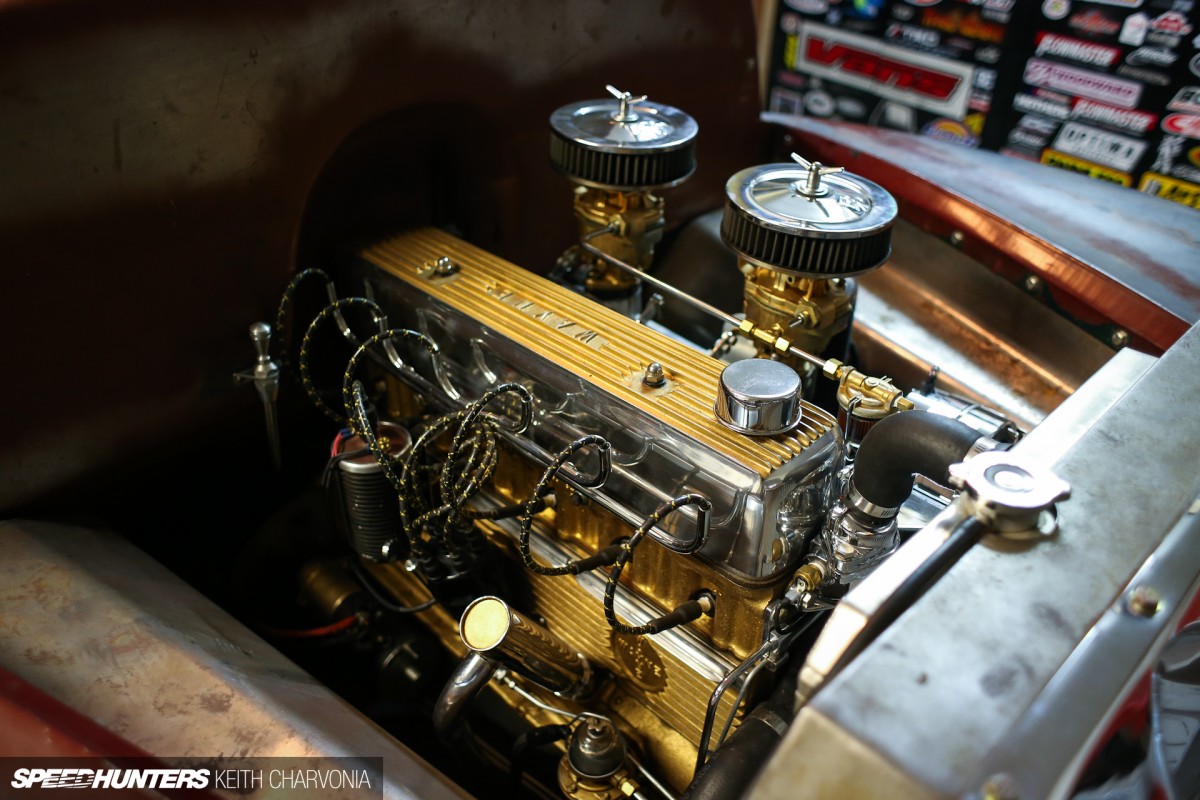
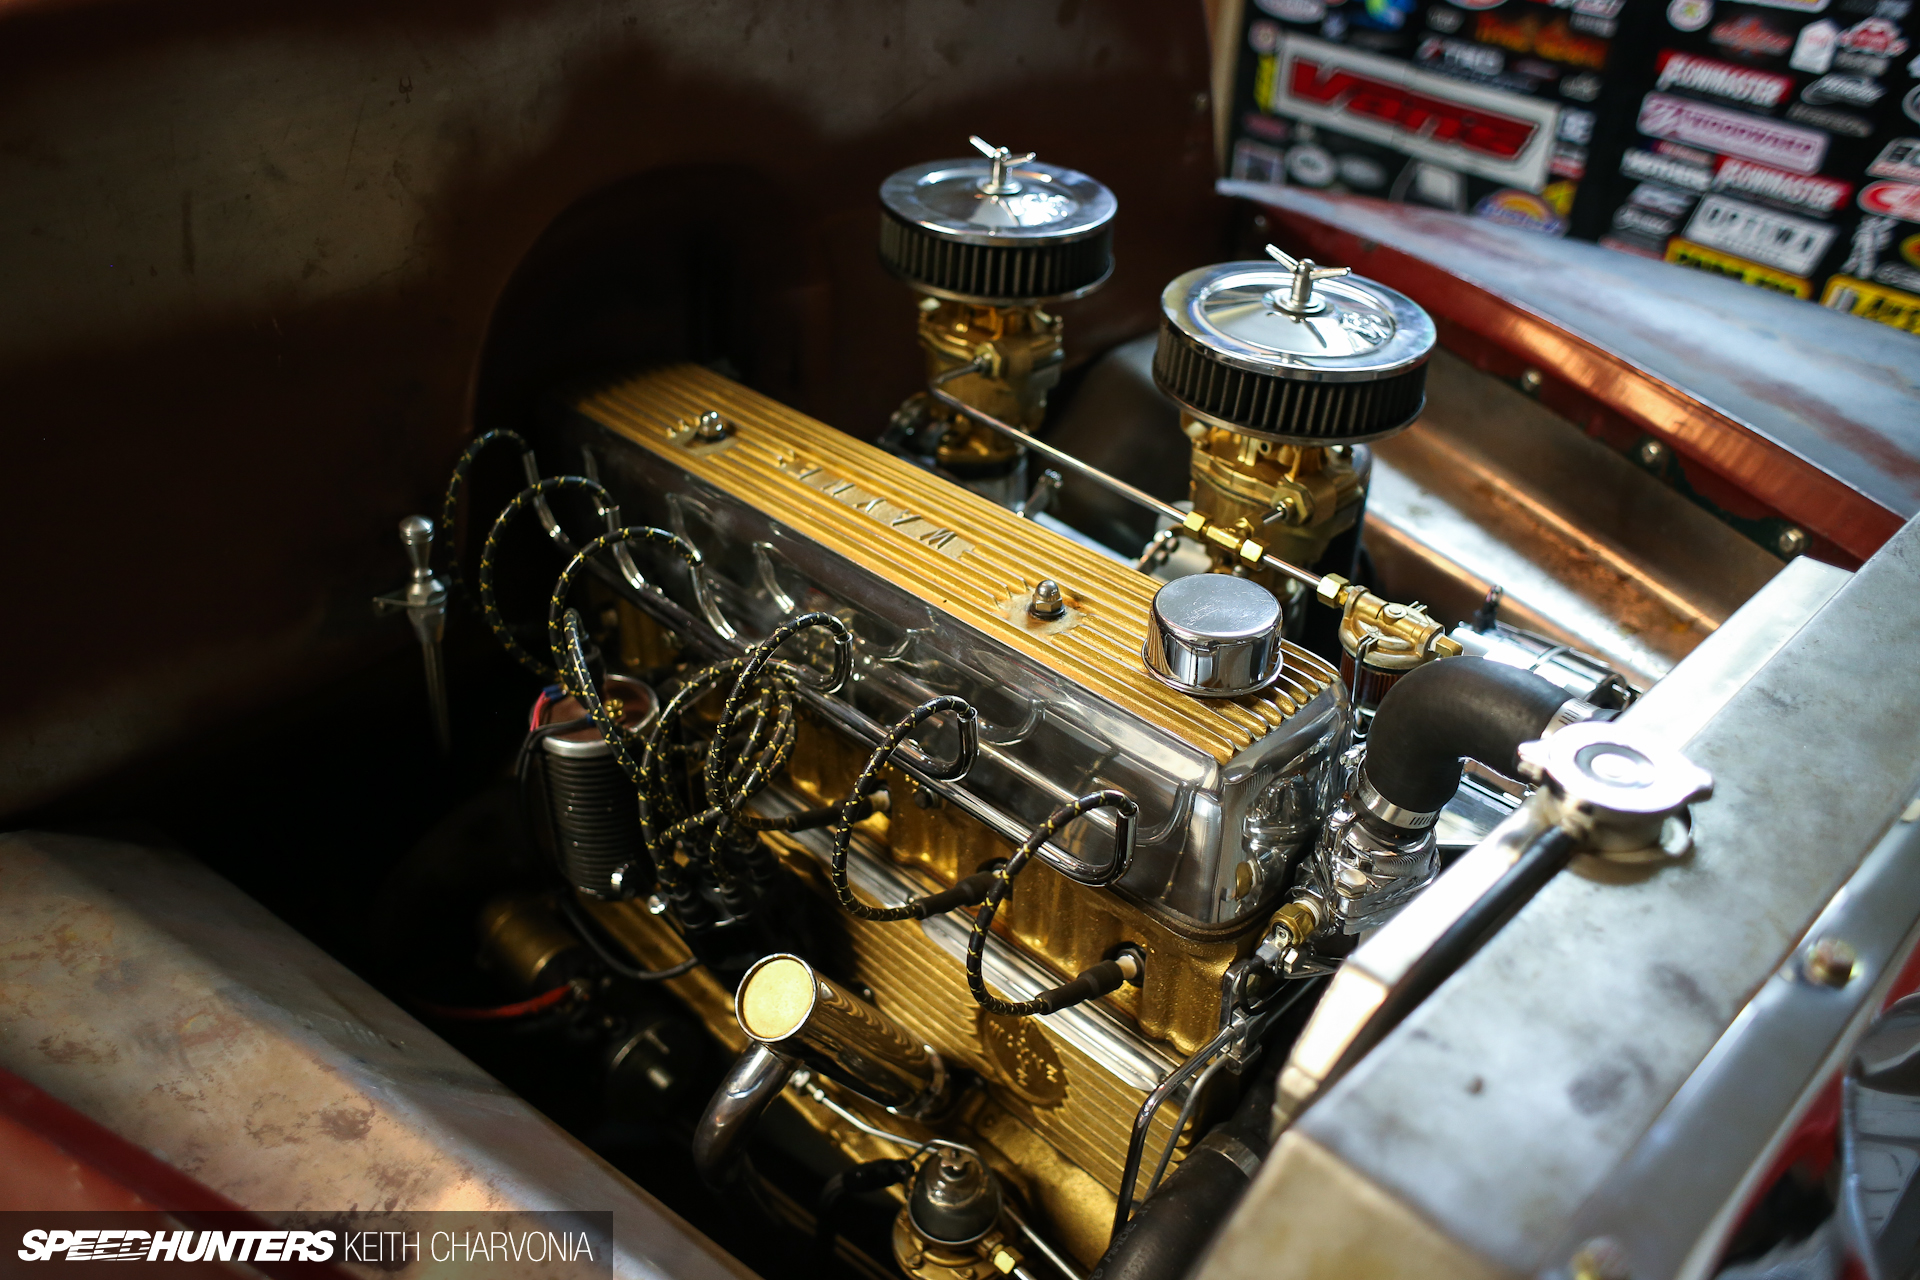
He’s put together a pretty nice truck so far, with a killer 235ci straight six sitting in a completely custom-built chassis from Total Cost Involved. He’s at the point where he needs to learn to do things himself if he’s going to finish this thing without going broke though.
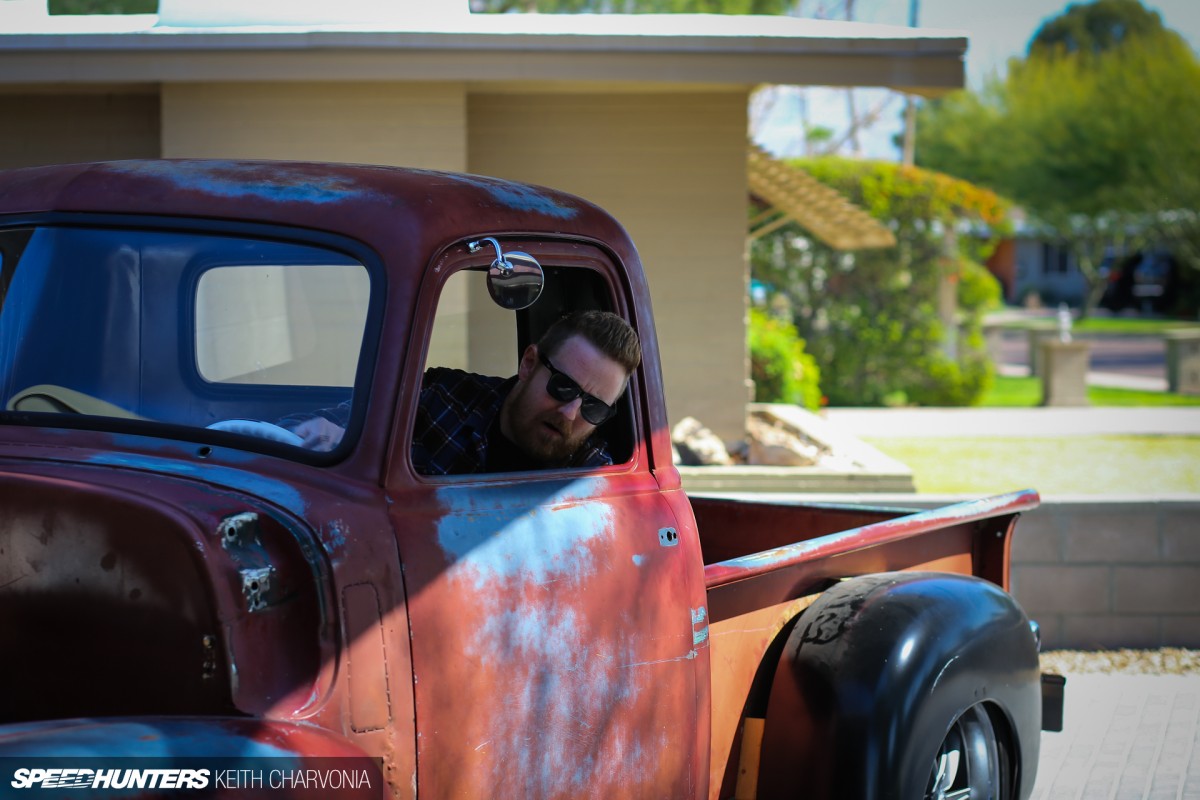
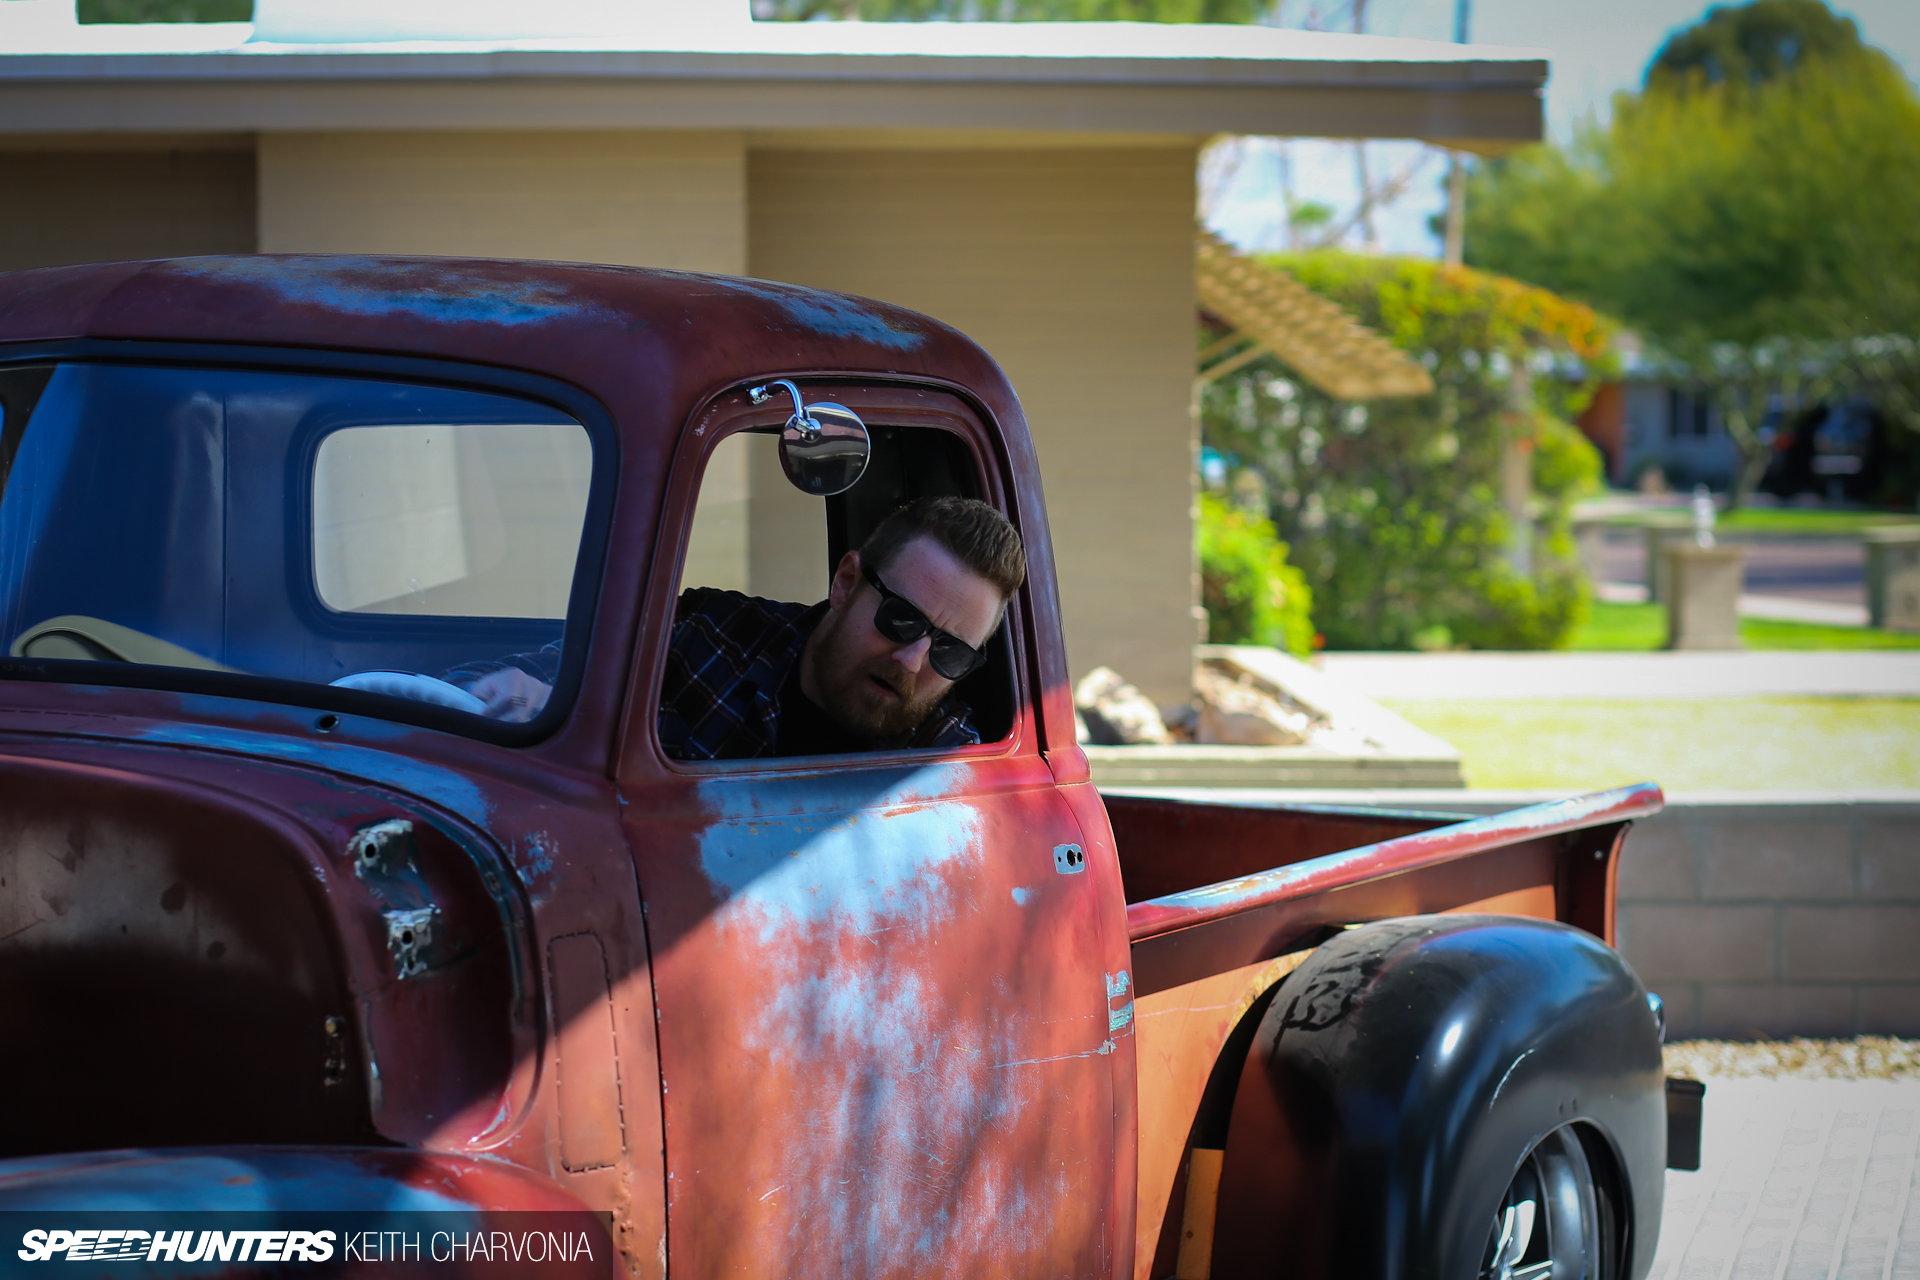
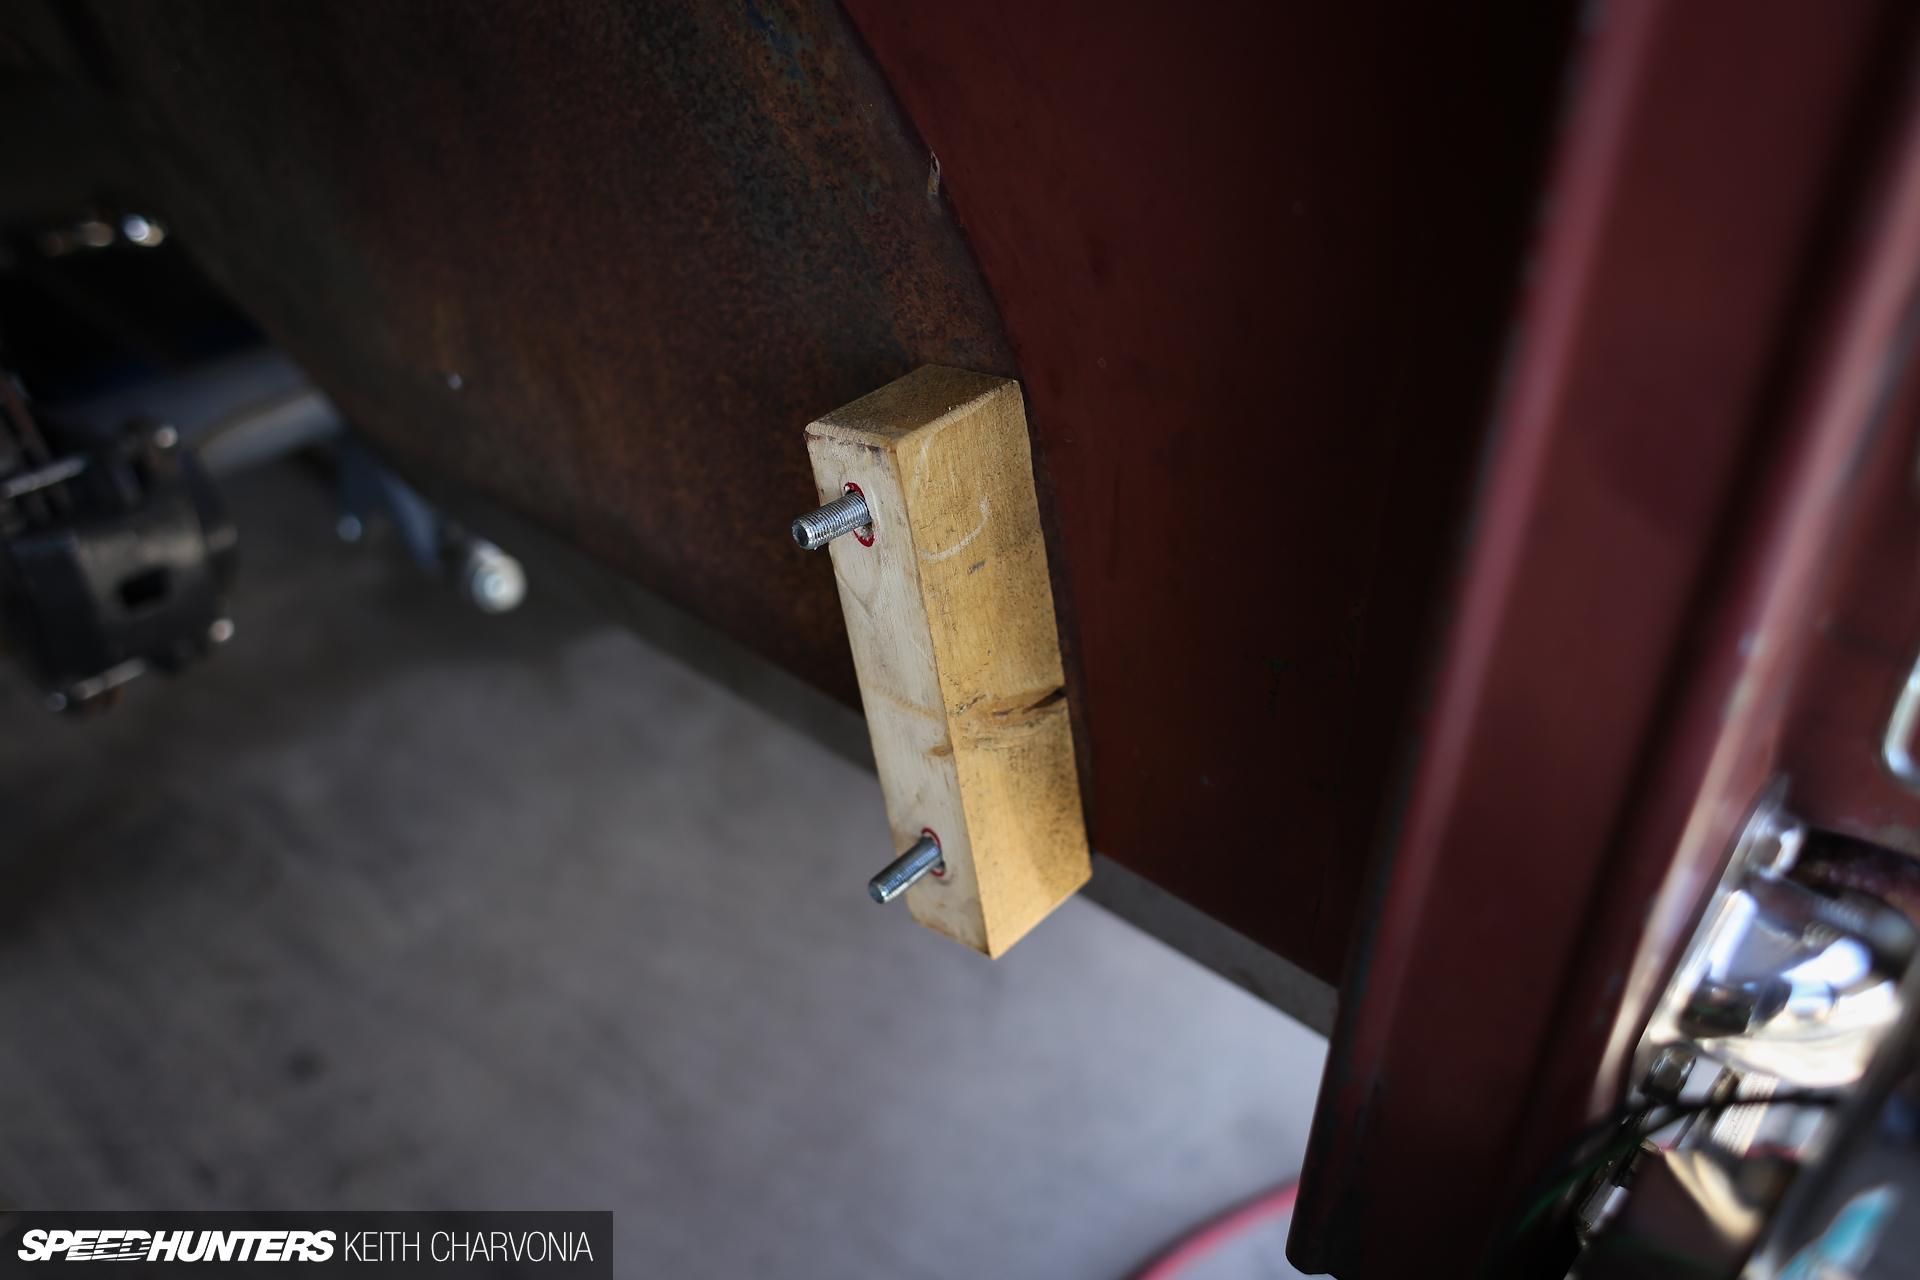
The first time I met Joe, I noticed something funny about the rear fenders on his pickup. Since he can’t weld, he spaced them out with chunks of wood until he could find someone to widen them for him. I think it’s time we fix that.

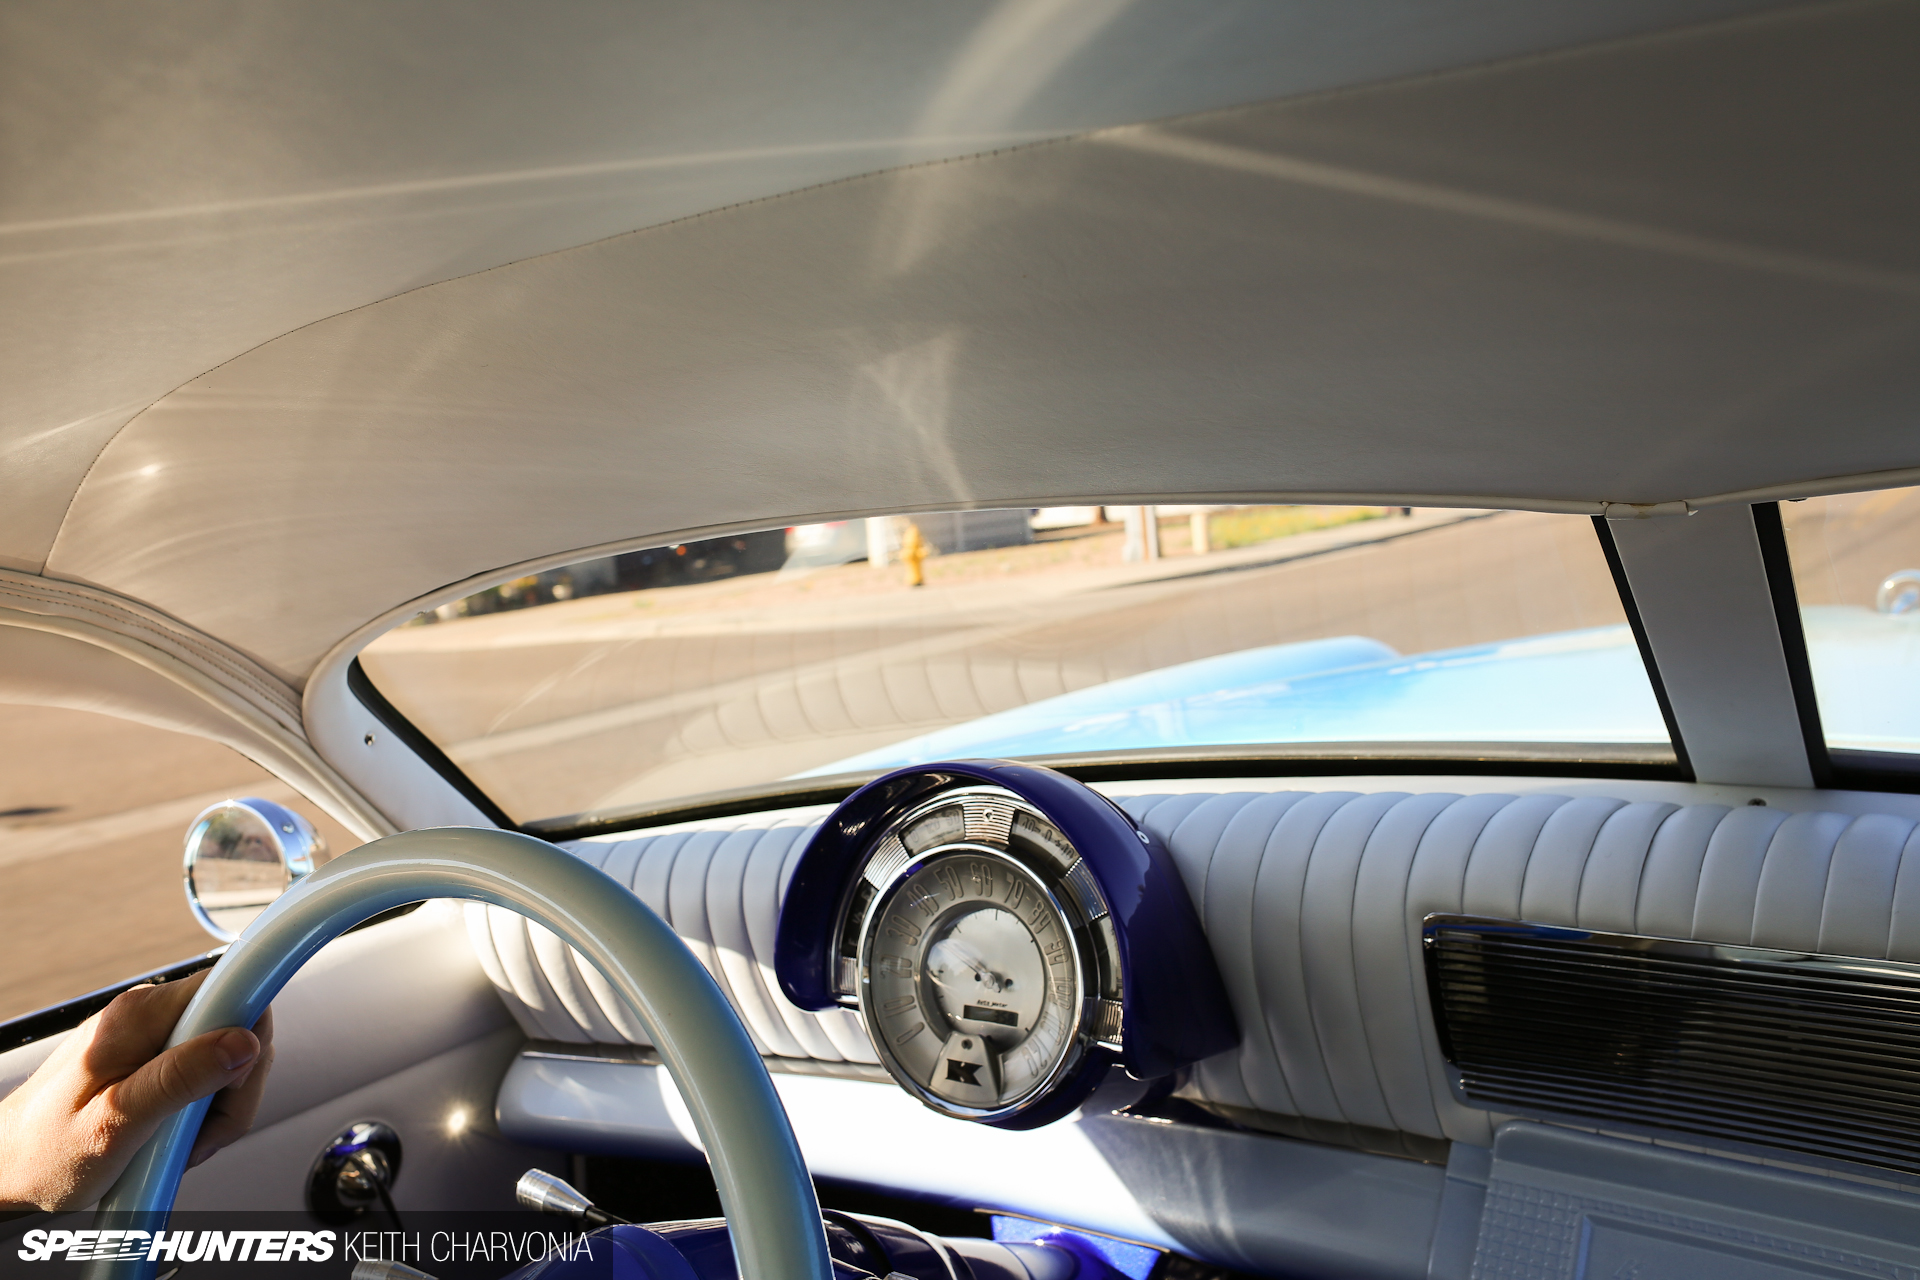
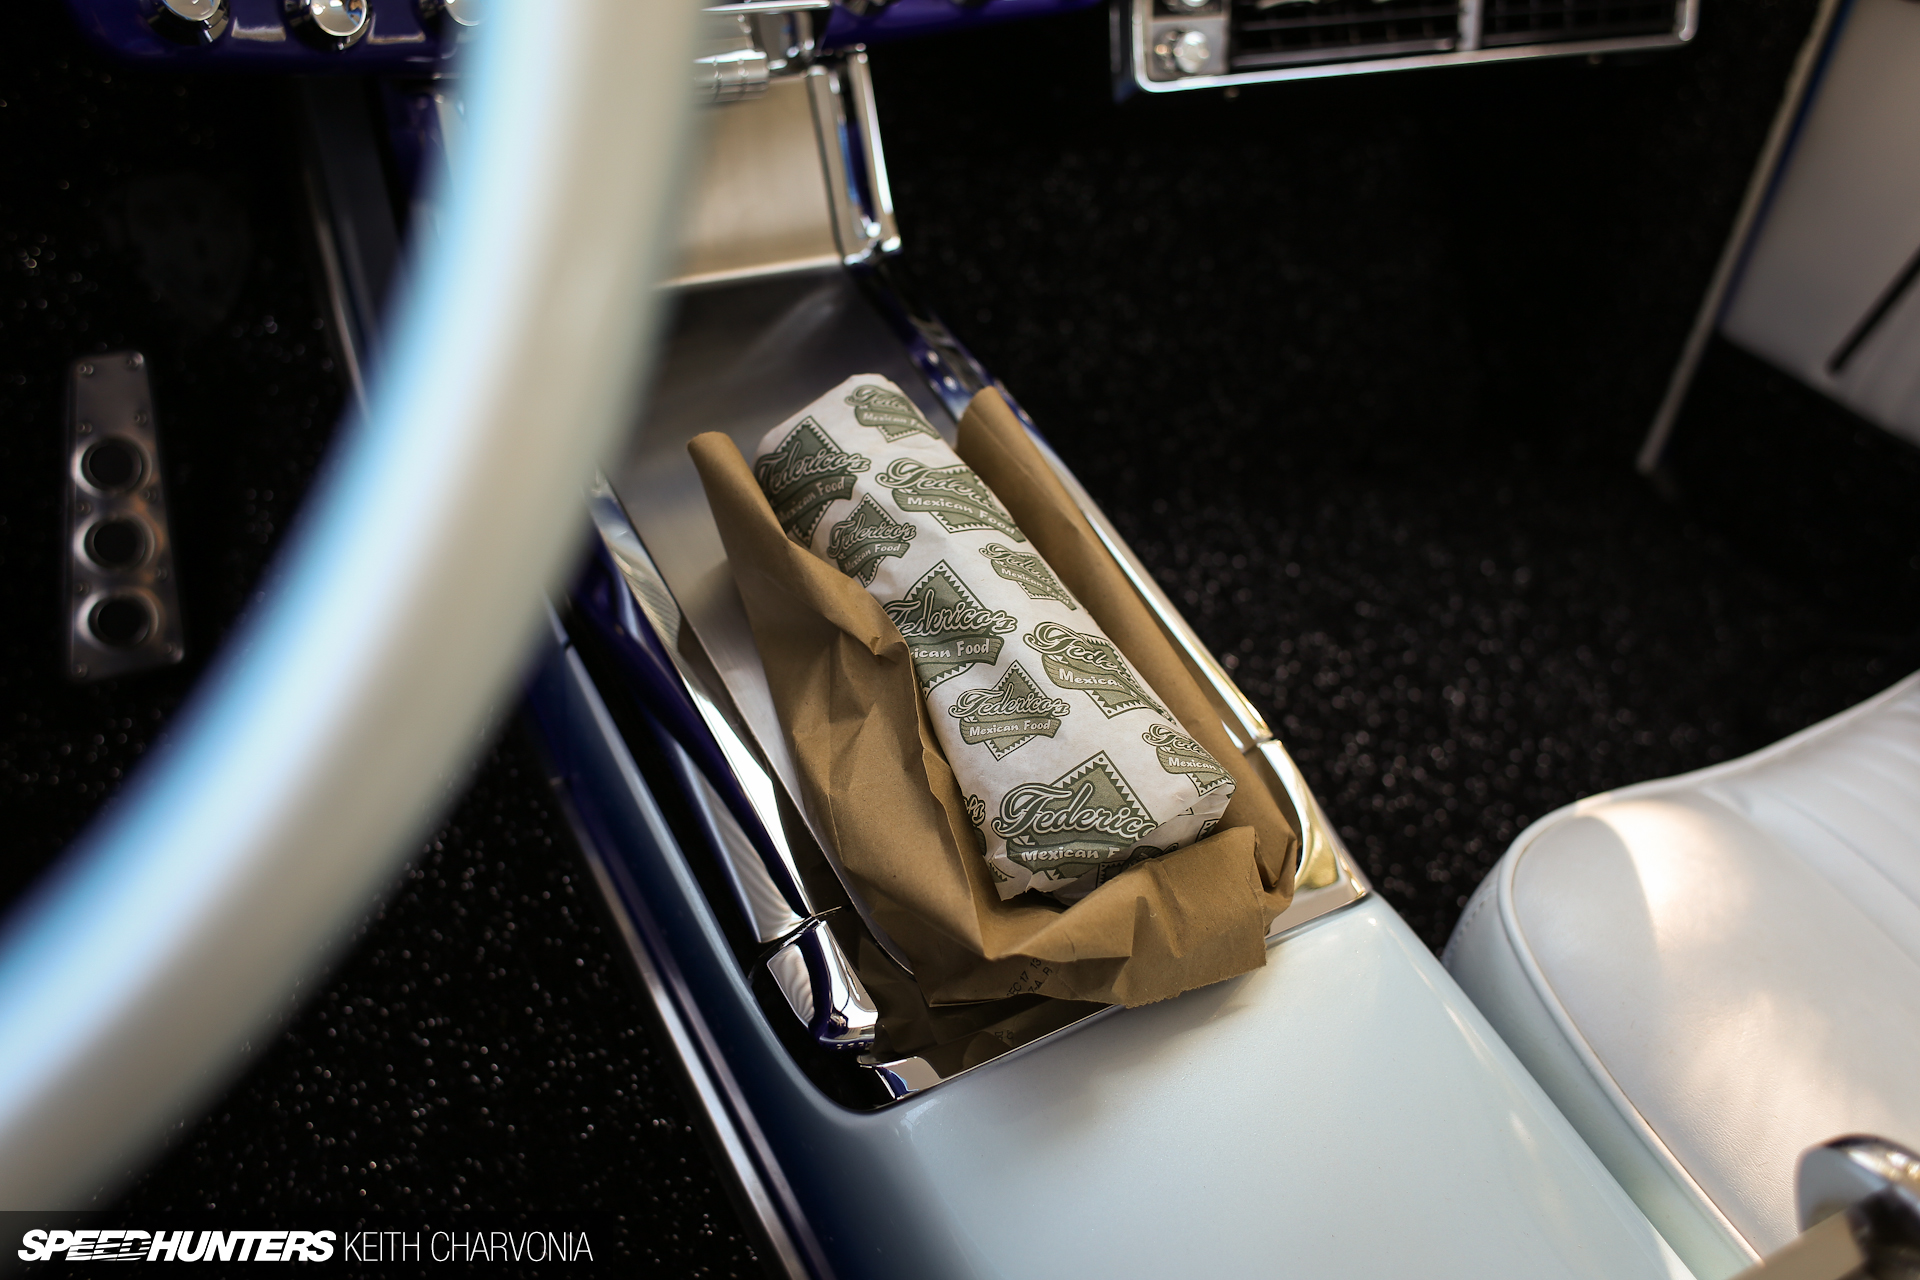
Last Saturday started out like this. Since I had to move the Kaiser out of the garage anyway, I figured why not take it on a breakfast burrito run?
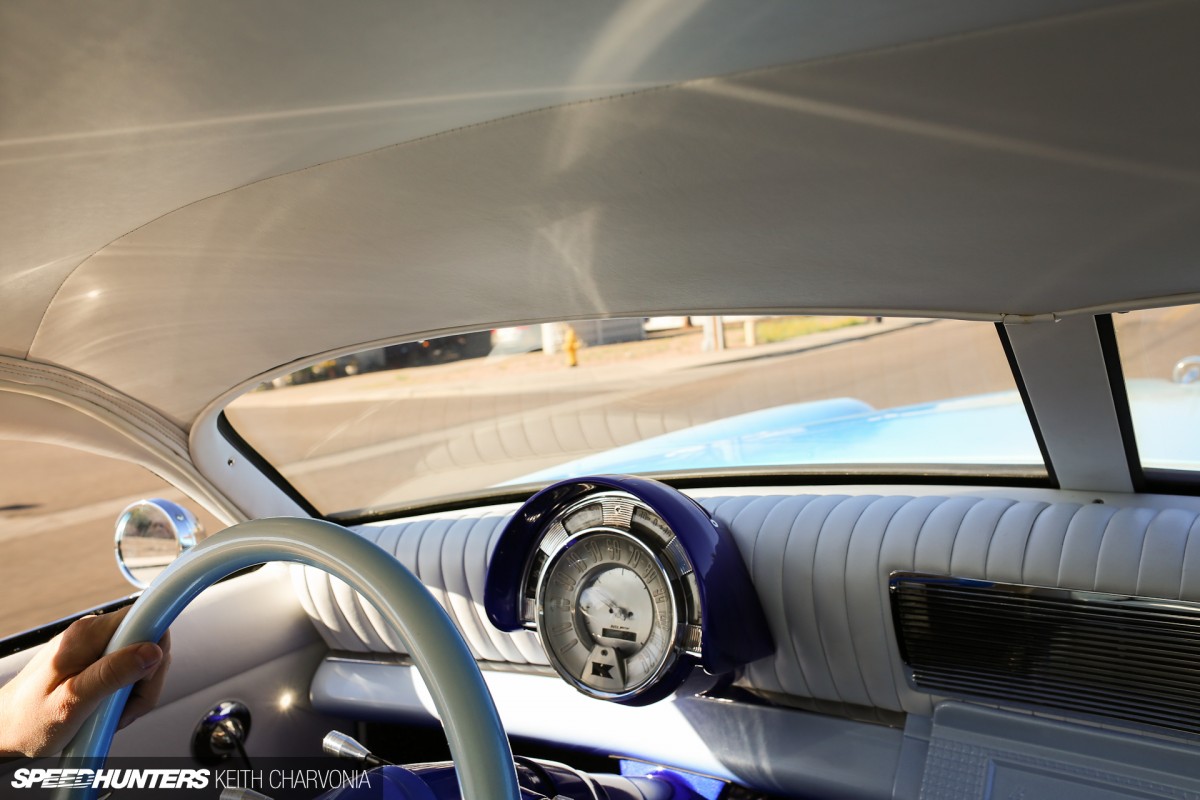
It’s nice to blow the cobwebs out of the tailpipe, plus it’s good for the soul.
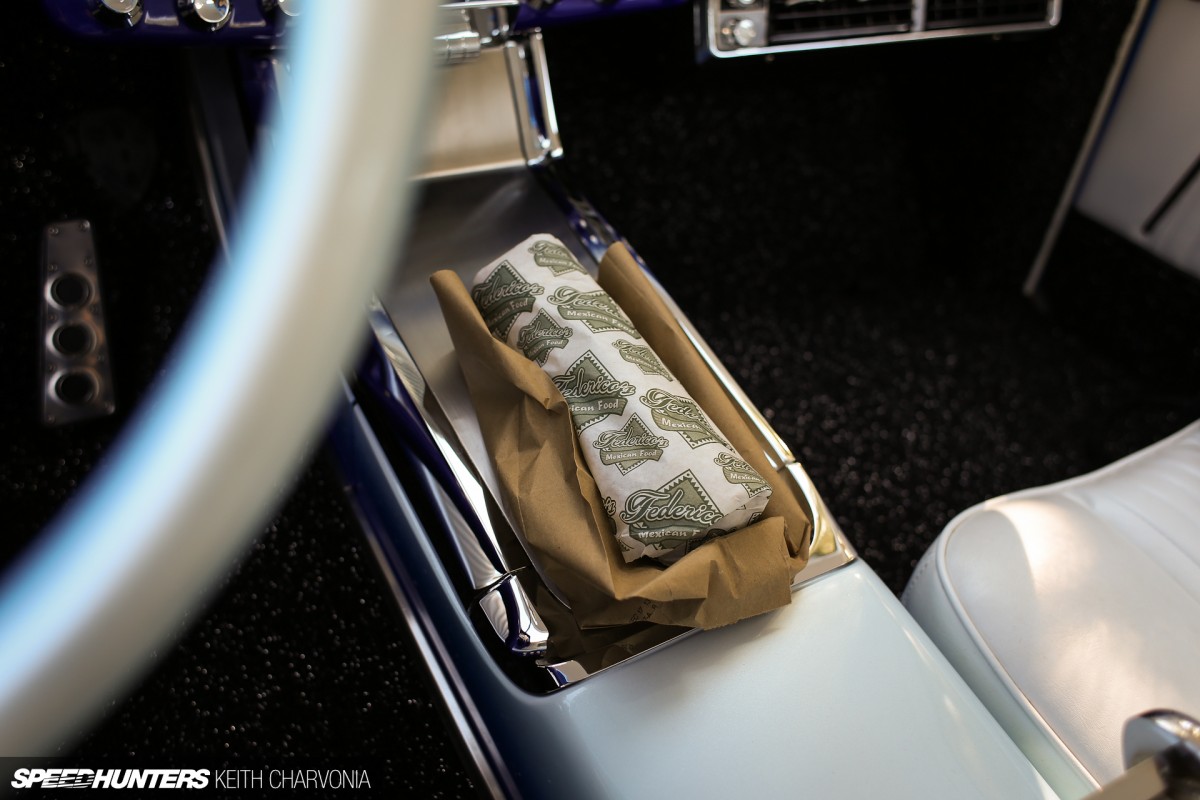
With that sorted, it was time for a full day’s work.

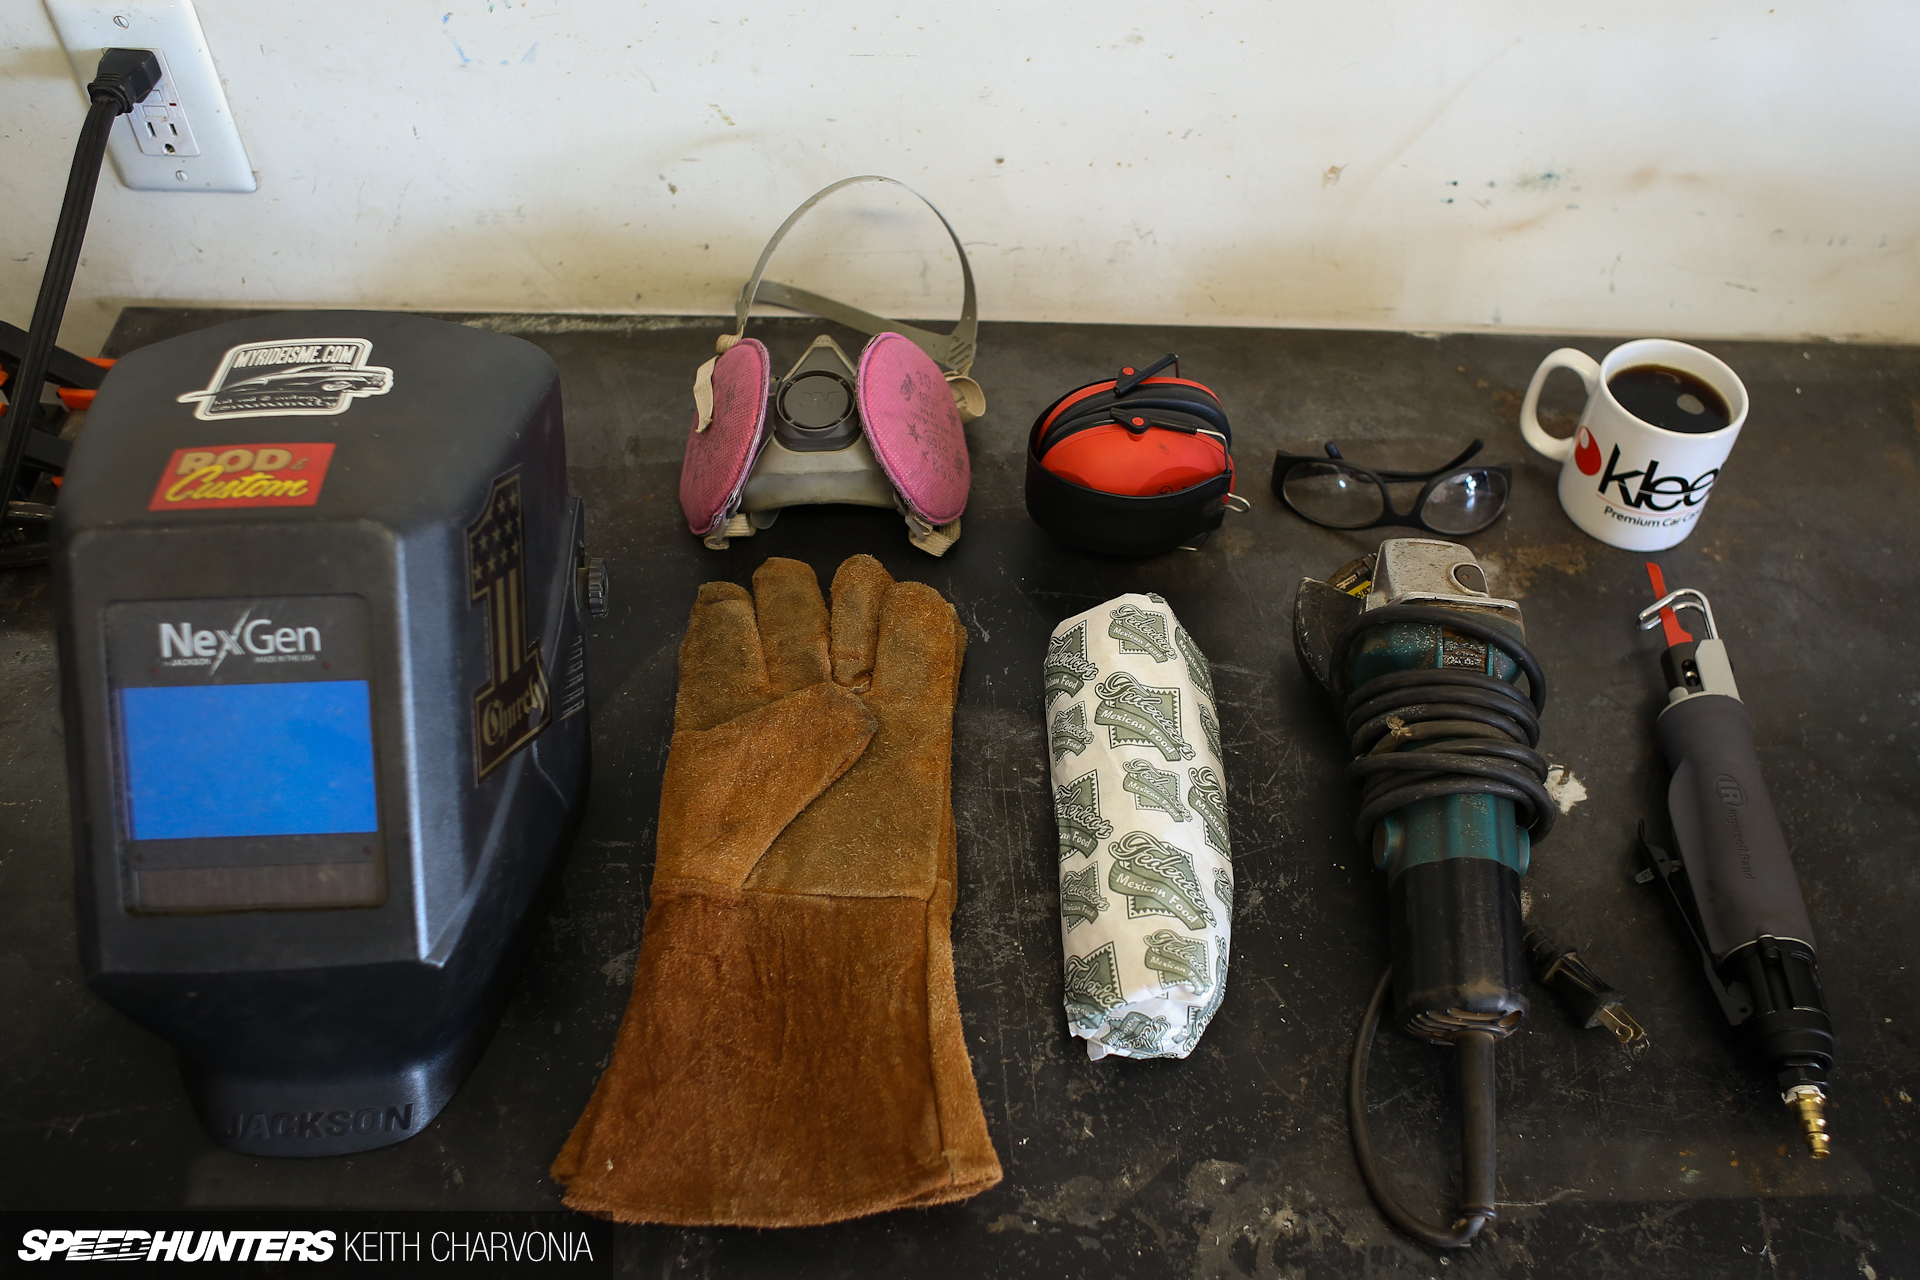
First I gathered the supplies. Besides the food and drink, we’ll be needing a welding mask, leather gloves, eye and ear protection, a grinder, and a body saw for splitting the fenders in two. The respirator is a specific model for welding fumes, good for avoiding the worst hangover of your life. Trust me.
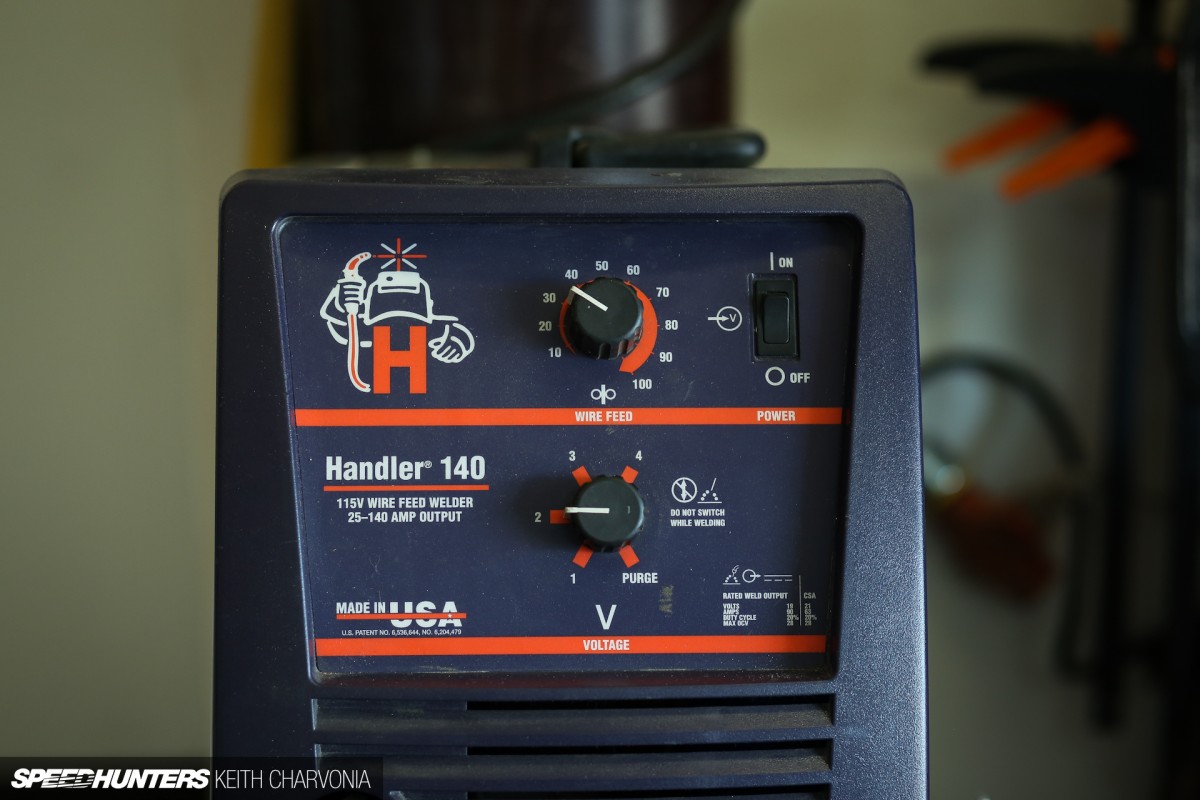
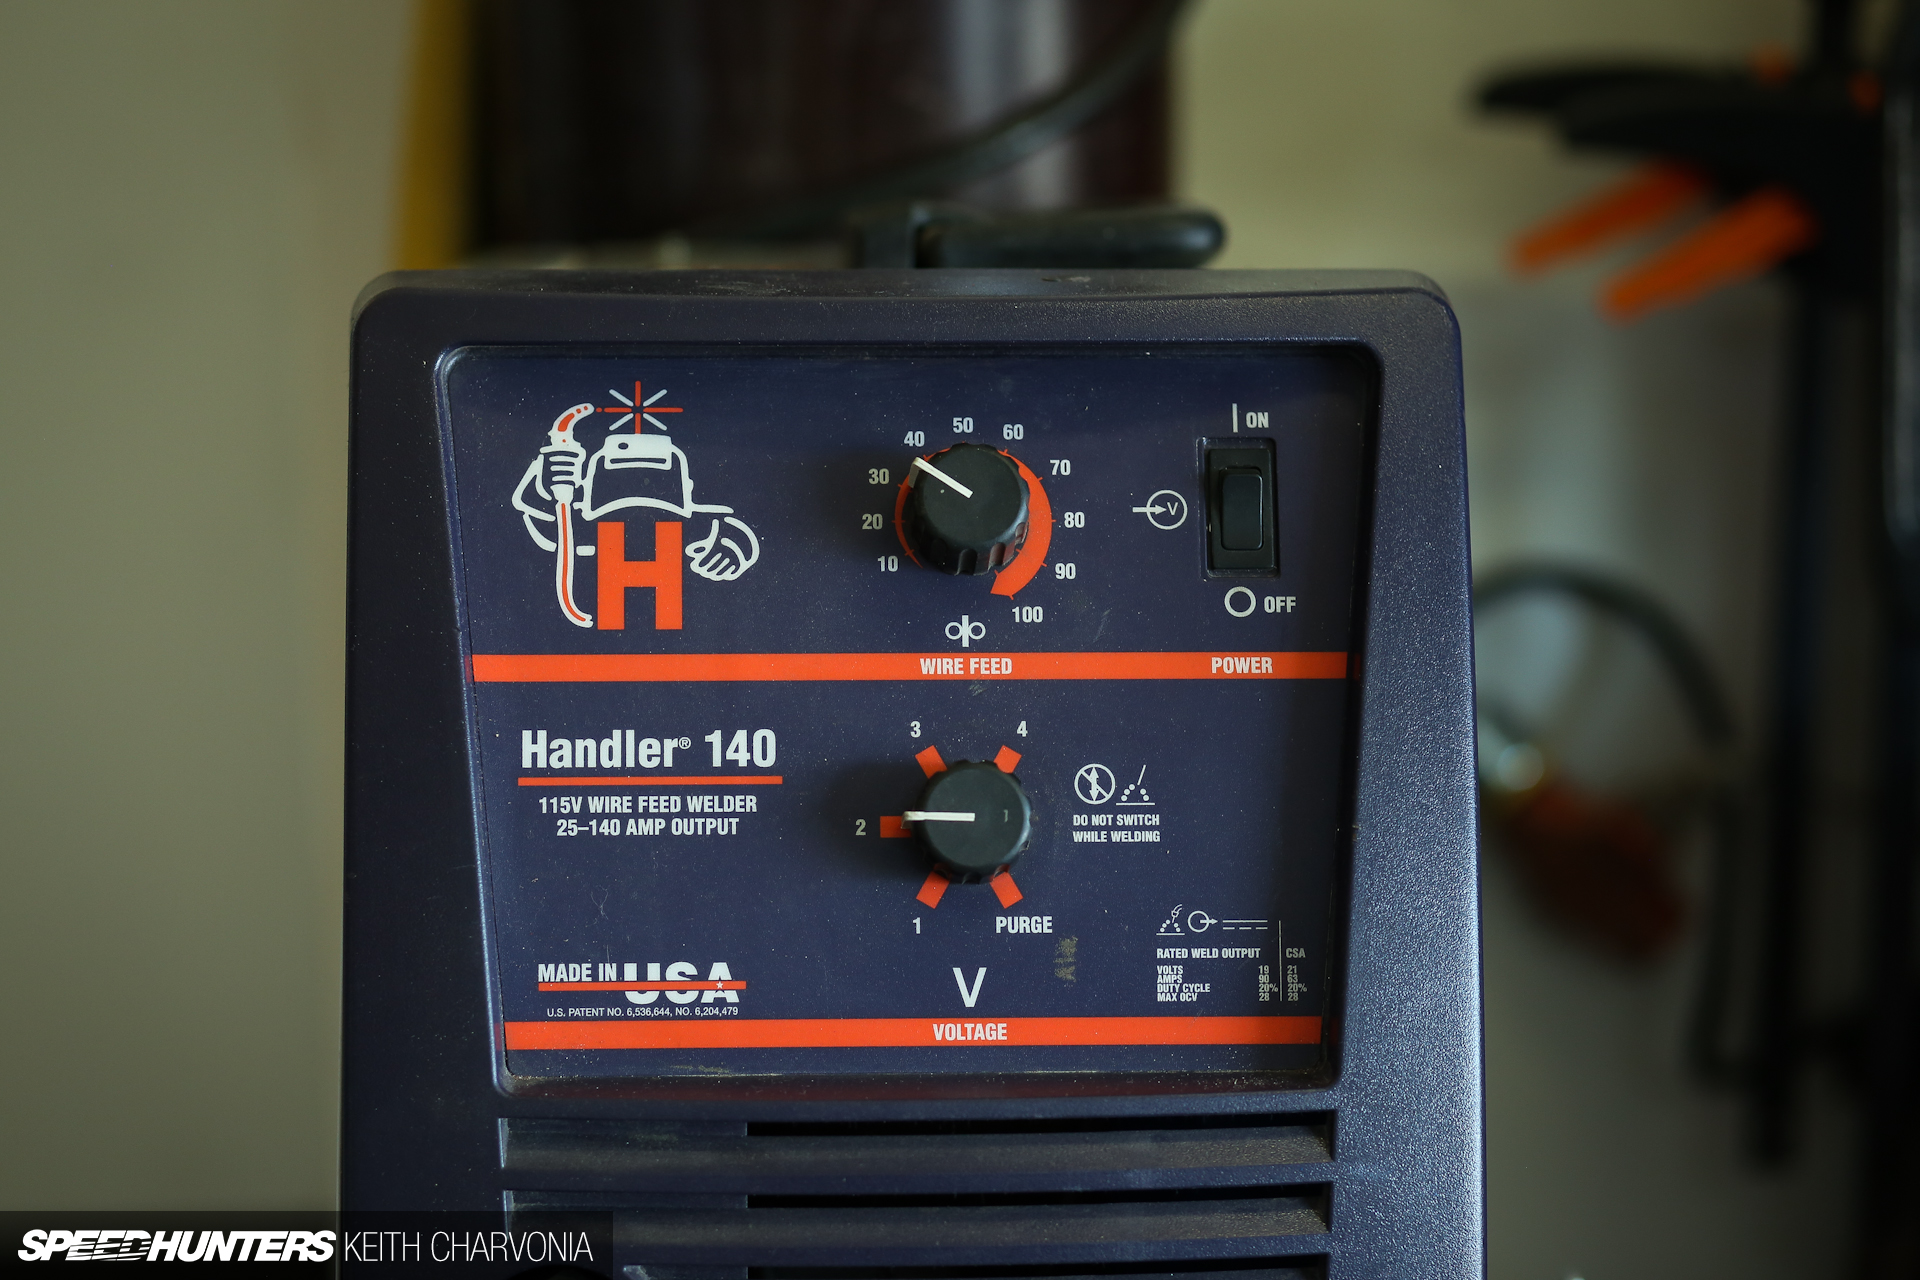
The star of the show would be my little Hobart welder. It’s the budget version of a Miller, but it has performed flawlessly for the better part of a decade. This is the welder that built the Kaiser and countless other smaller projects along the way. The voltage dial on the bottom adjusts the amount of power, or heat, in your weld, while the wire feed dial adjusts how fast the wire comes out of the gun. Pretty simple, right? The settings you see here are what work best on sheetmetal for this welder.
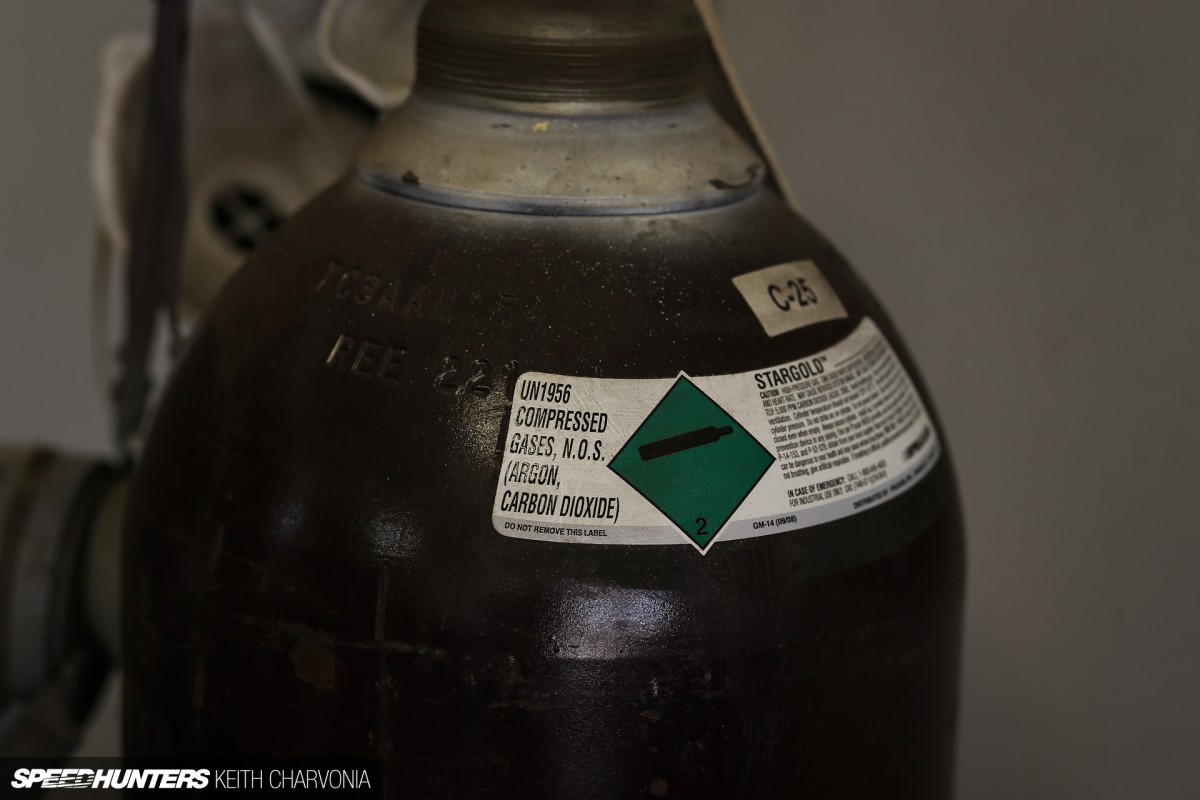
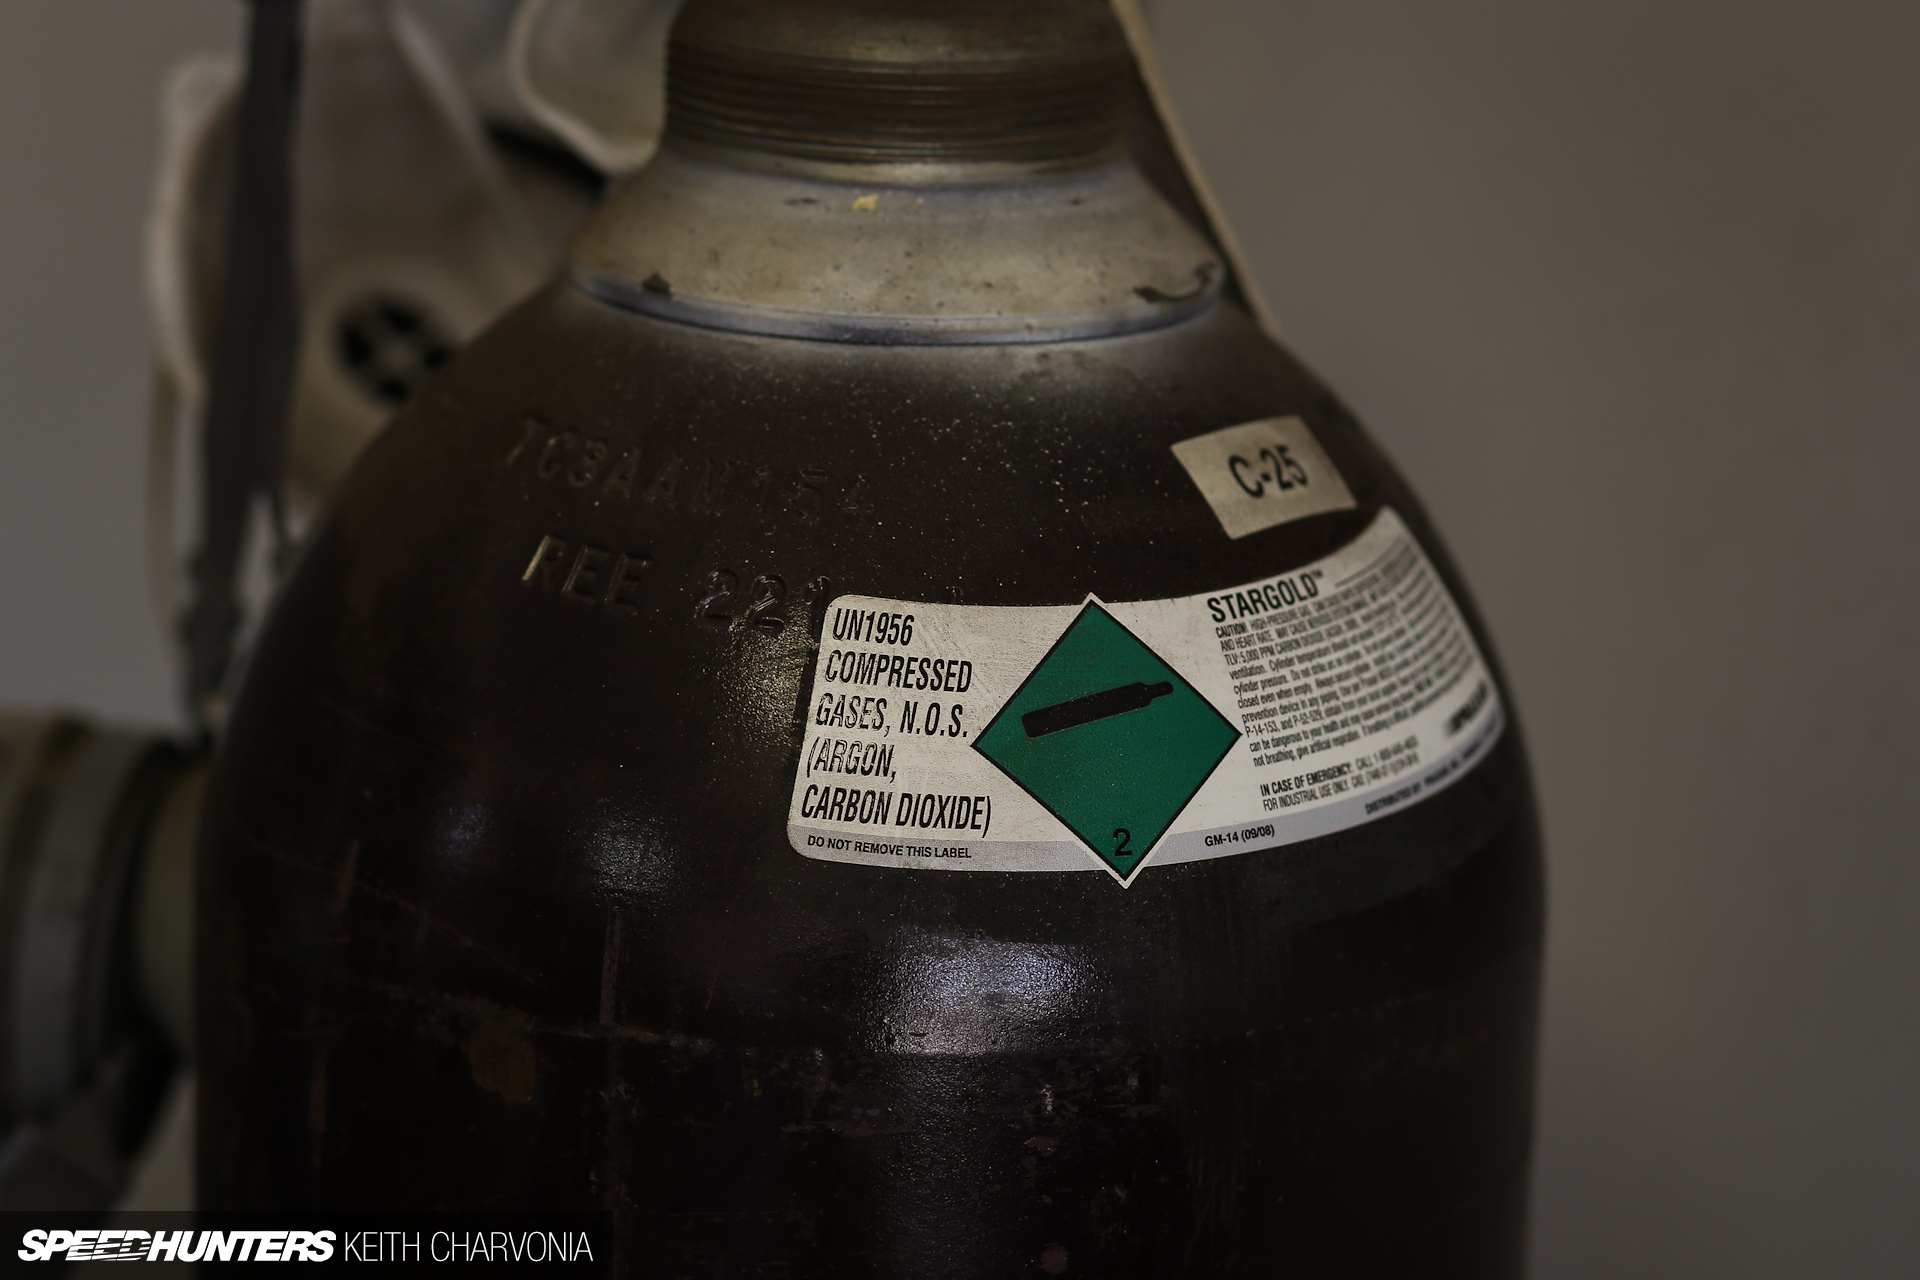
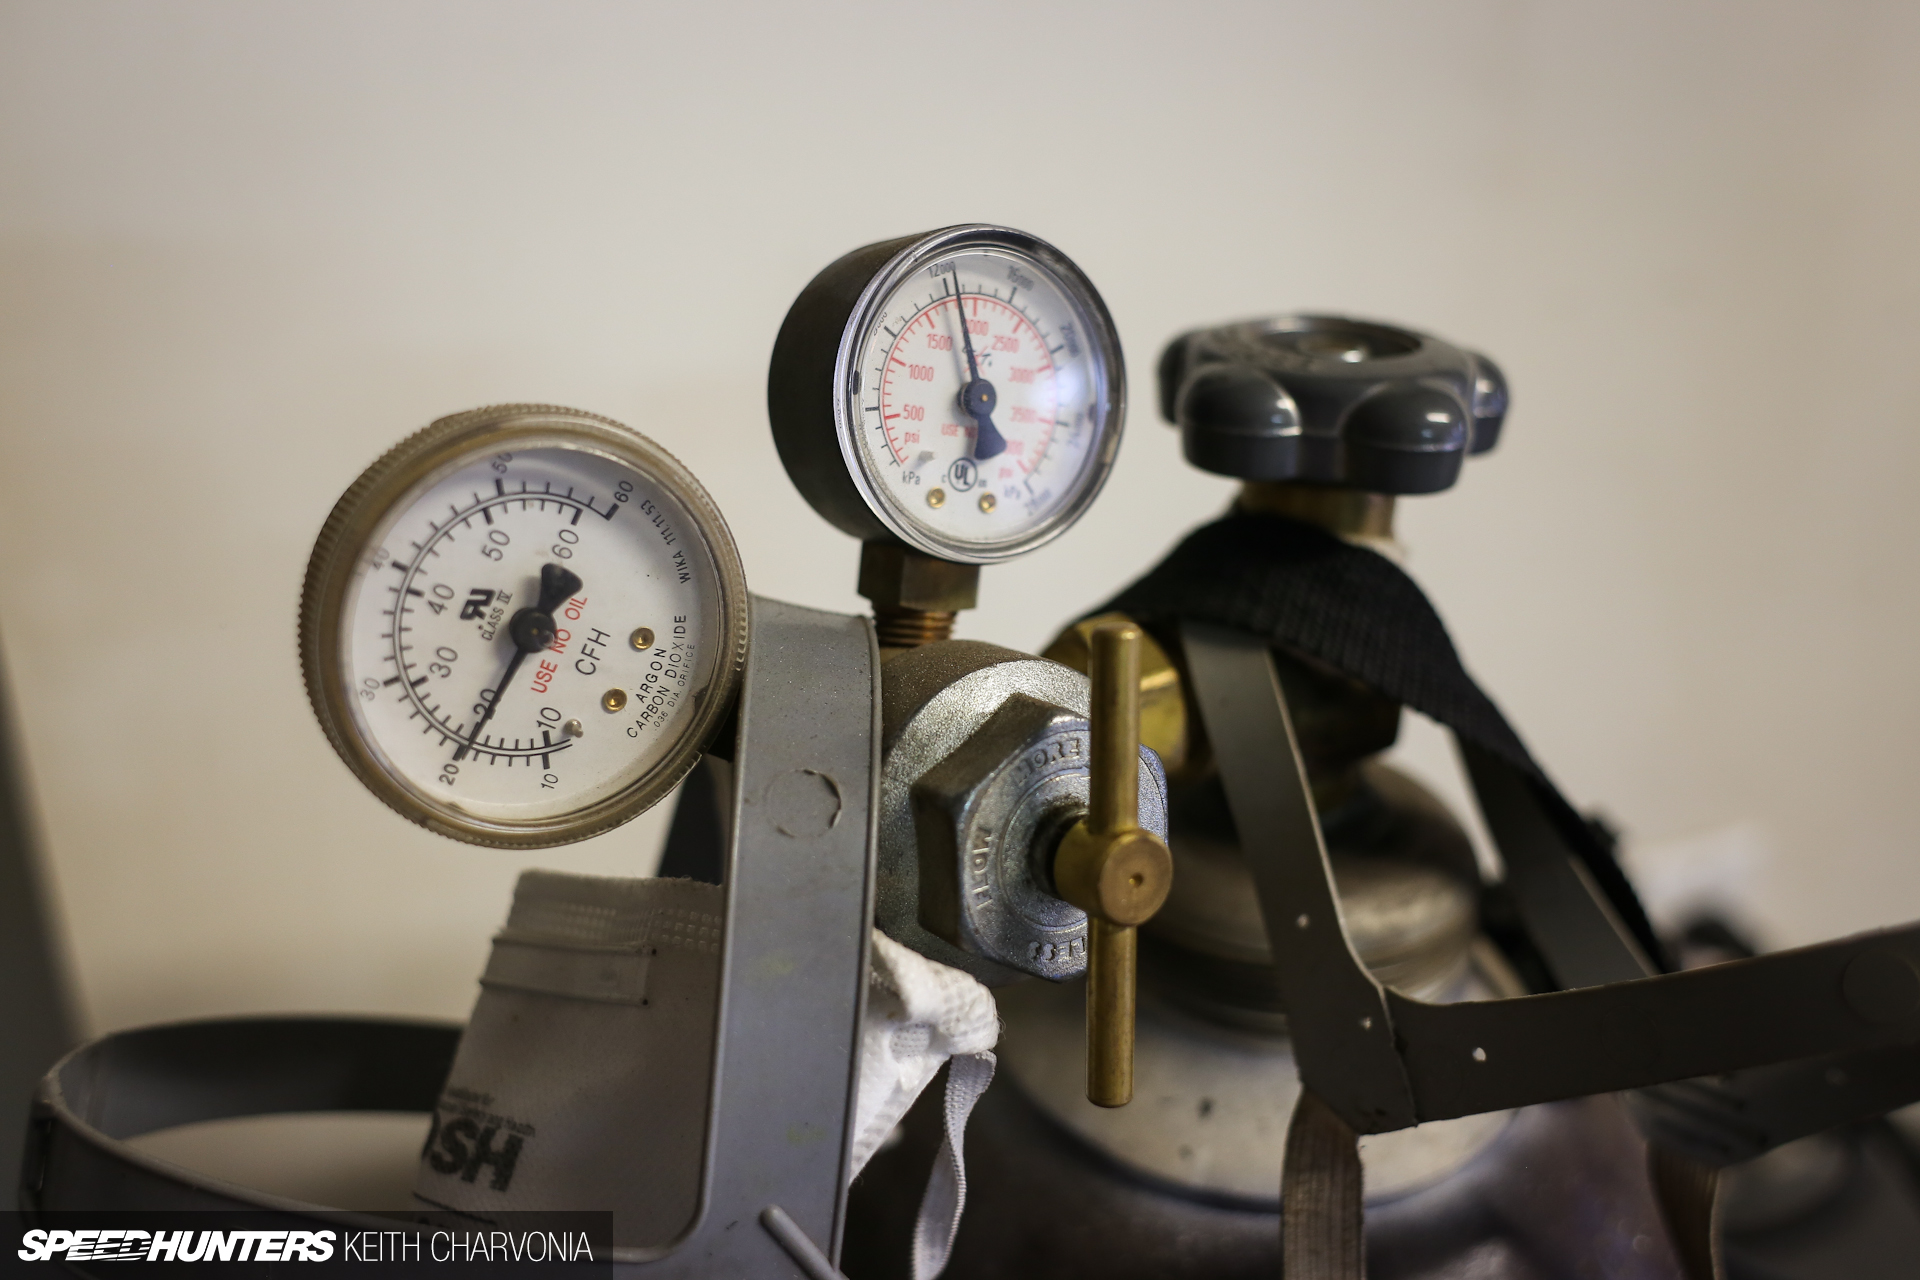
This is MIG welding, MIG standing for Metal Inert Gas. The gas is used to shield the molten puddle from the atmosphere and provide a clean environment for your weld. CO2 is the cheaper way to go, but I learned long ago that C25, which is 25% Argon and 75% Carbon Dioxide, produces a cleaner weld. I also recommend getting the biggest bottle you can, because the refills don’t cost much more but last up to five times longer than the little bottles.
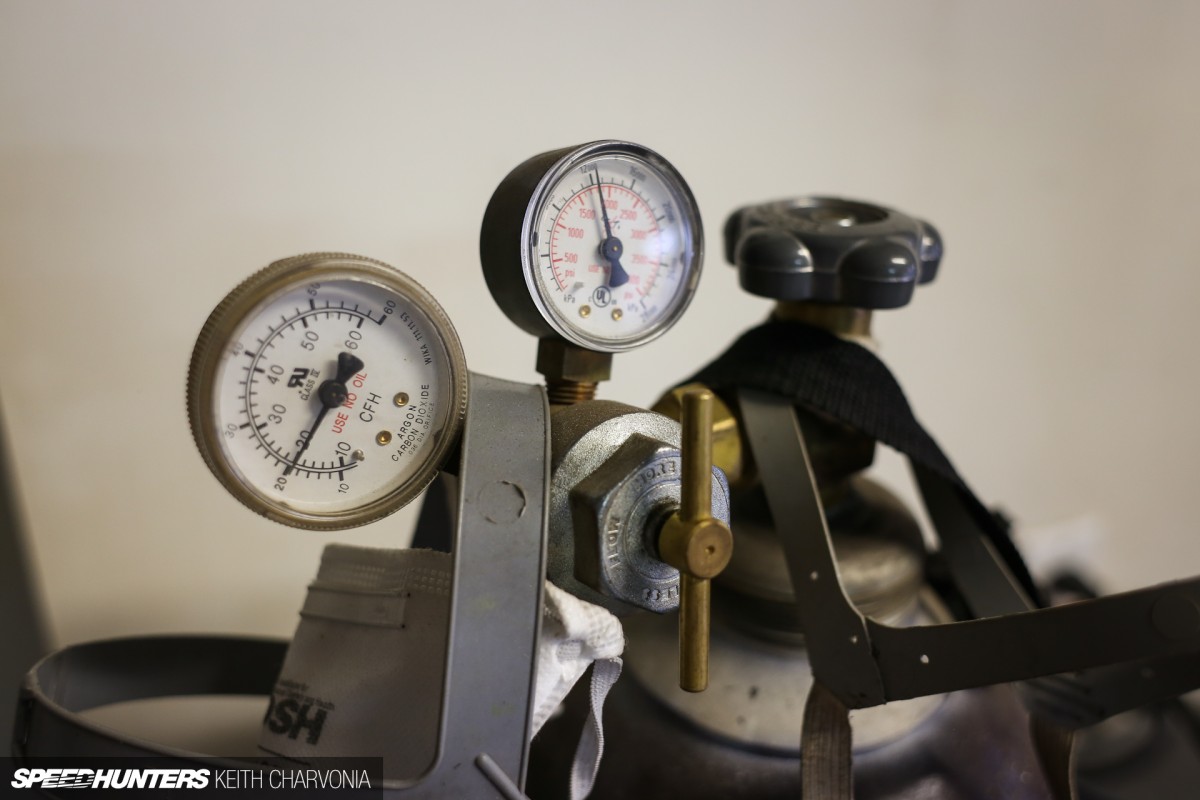
Up top you’ll find a regulator. The gauge on the right is the tank pressure and the one on the left is the regulated flow in cubic feet per hour. I just leave it around 20 and it does fine in the shelter of a garage. If there’s a breeze you’ll have to increase the flow to ensure a clean weld, for example if you’re welding out in the driveway.
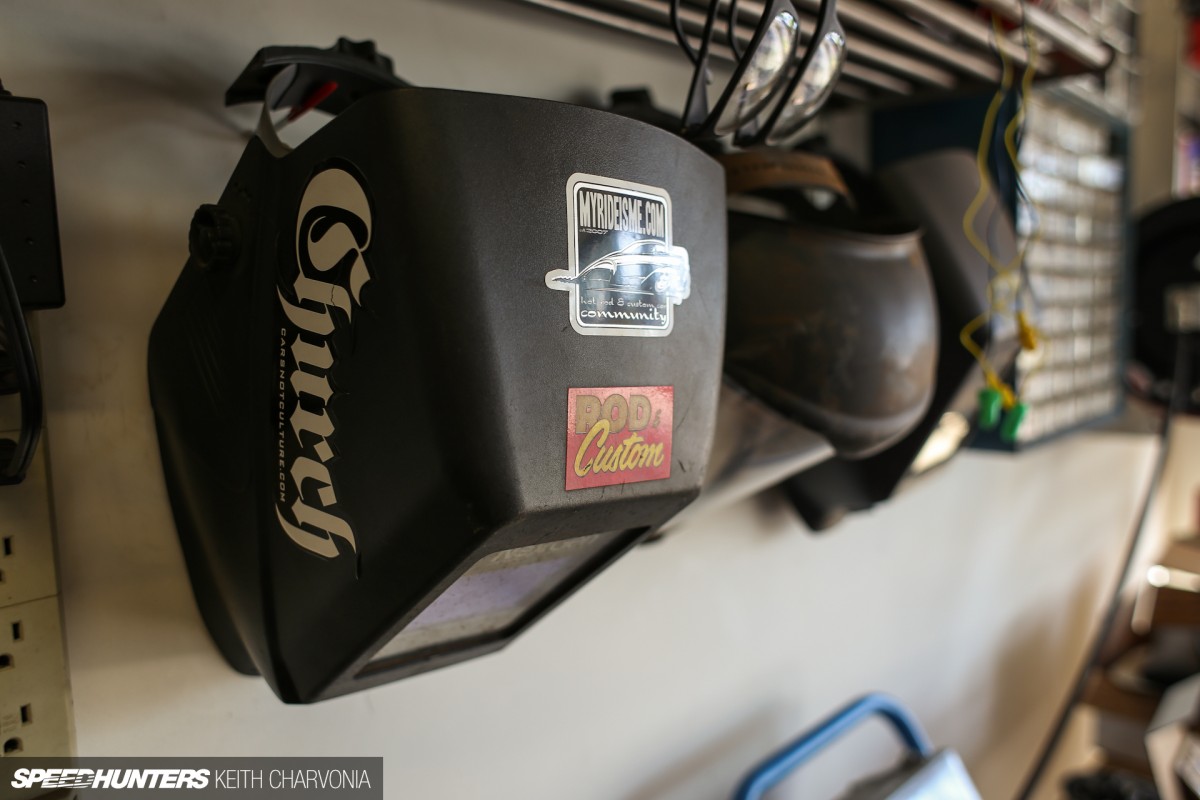
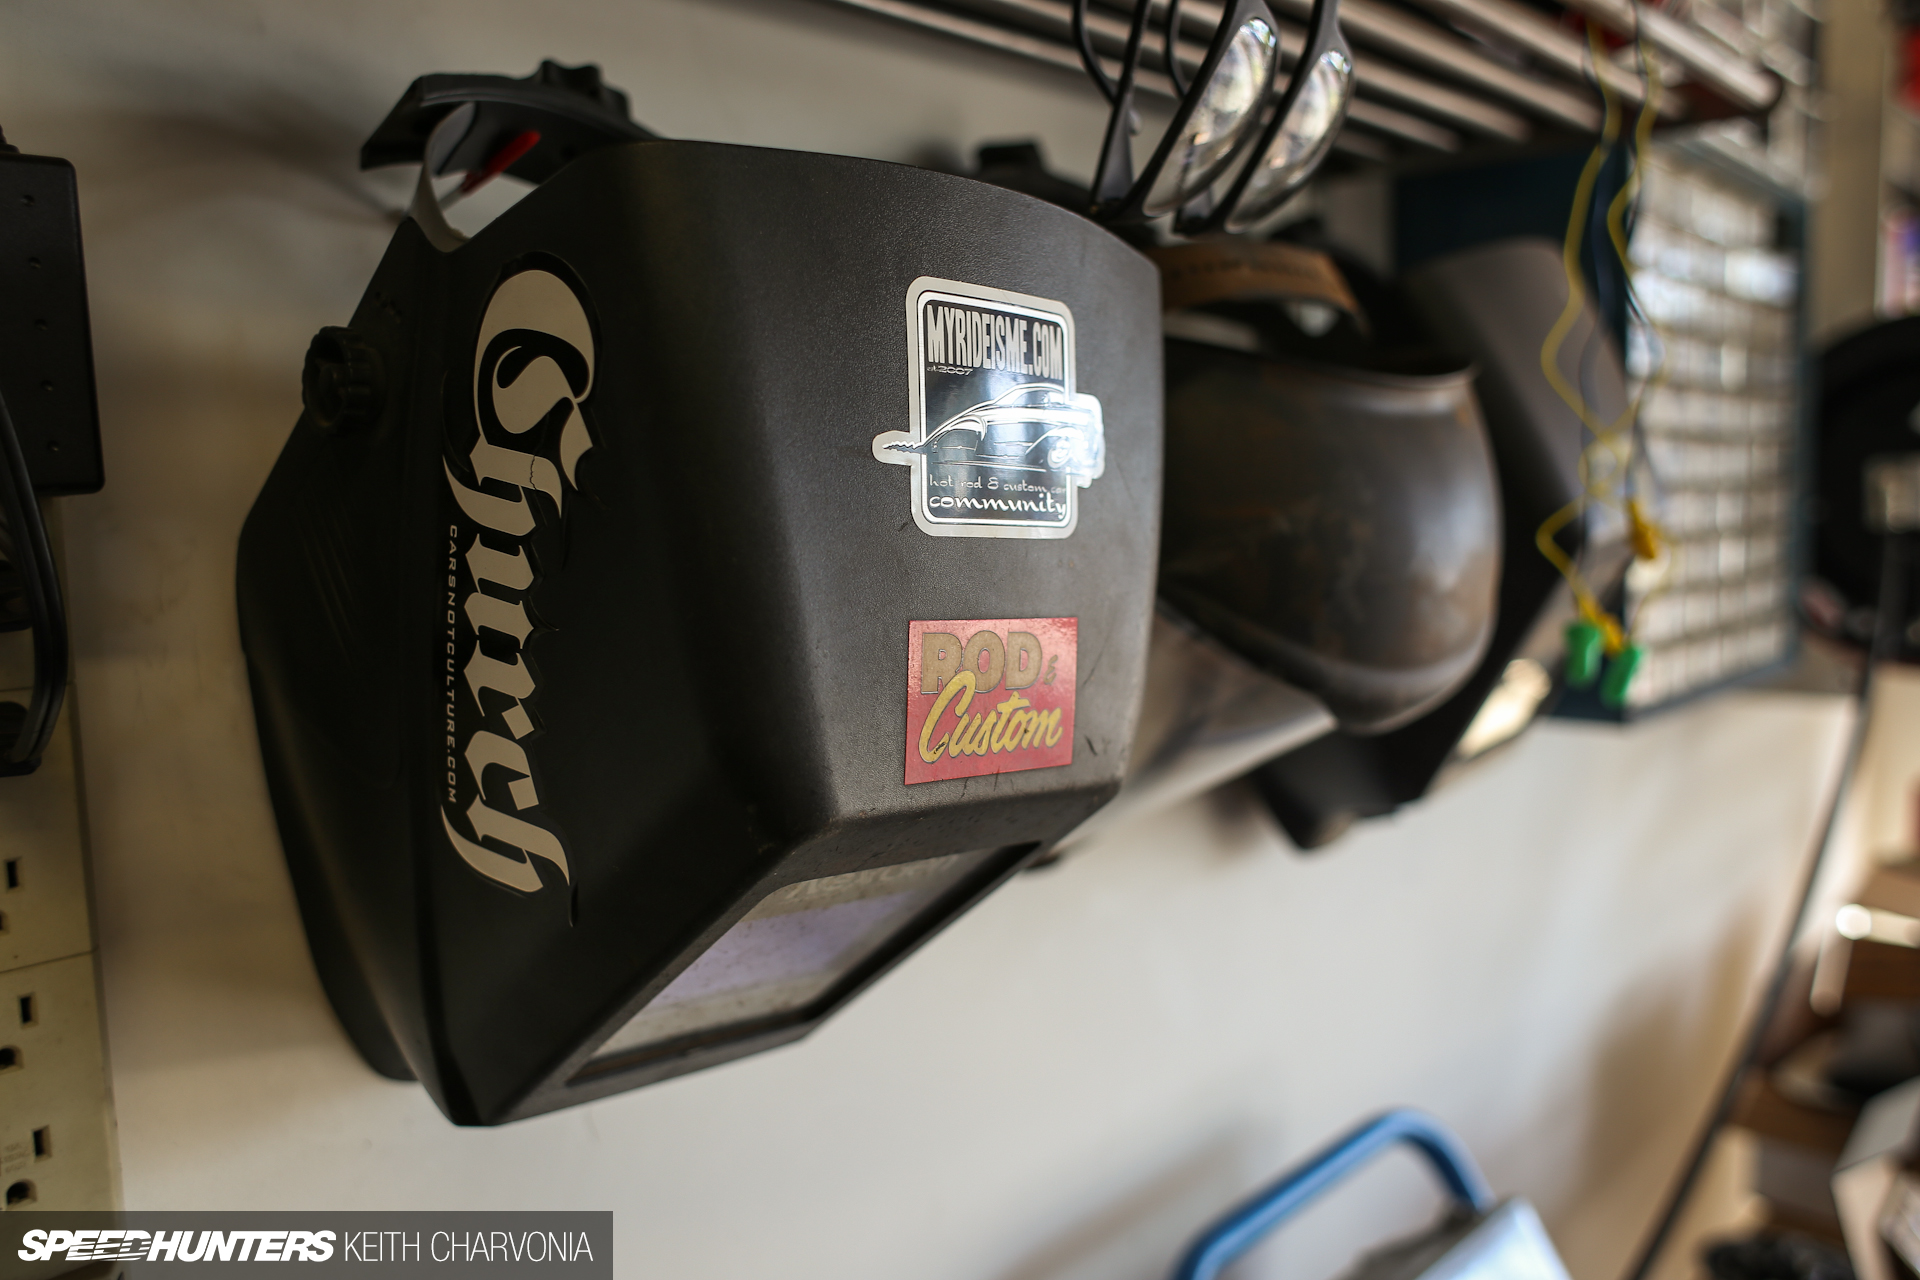
Besides the welder itself, the mask is the most important piece of equipment. I used cheap masks for years, but now I’m glad I splurged on this nice auto-darkening unit, especially when it comes to laying thousands of tack welds on the sheetmetal of a car.
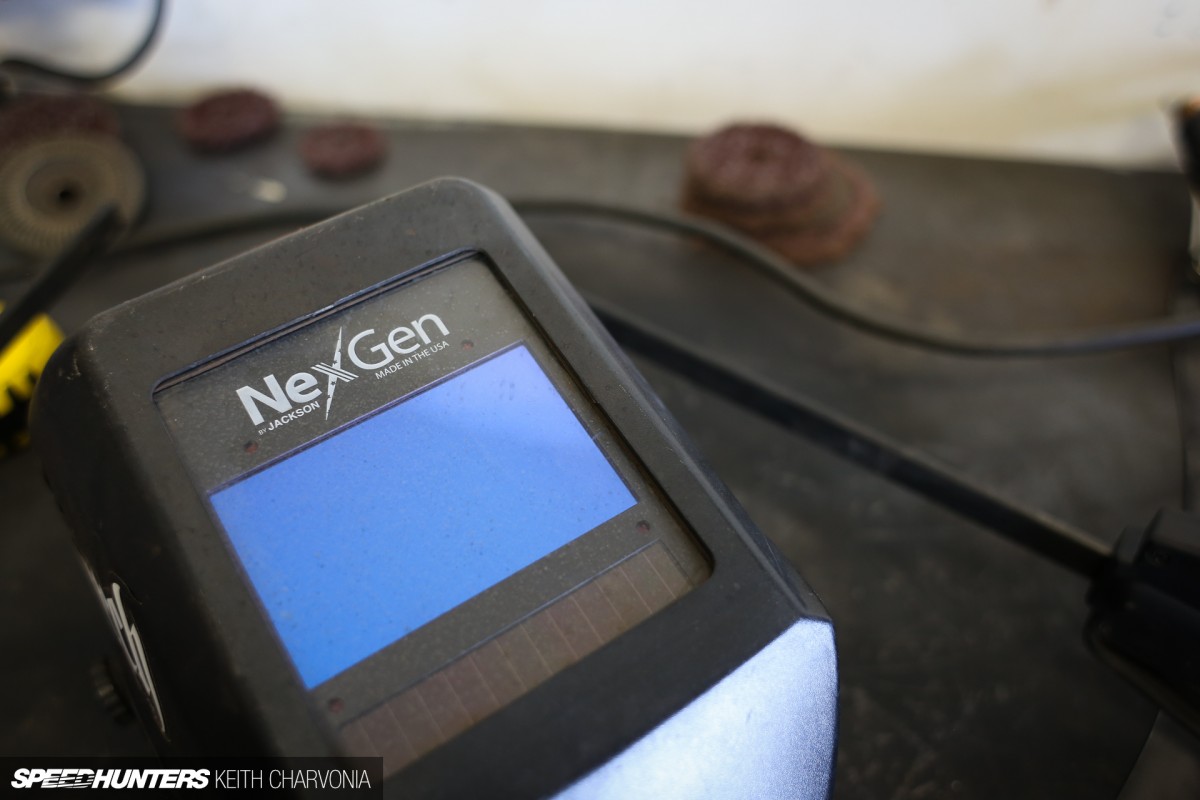
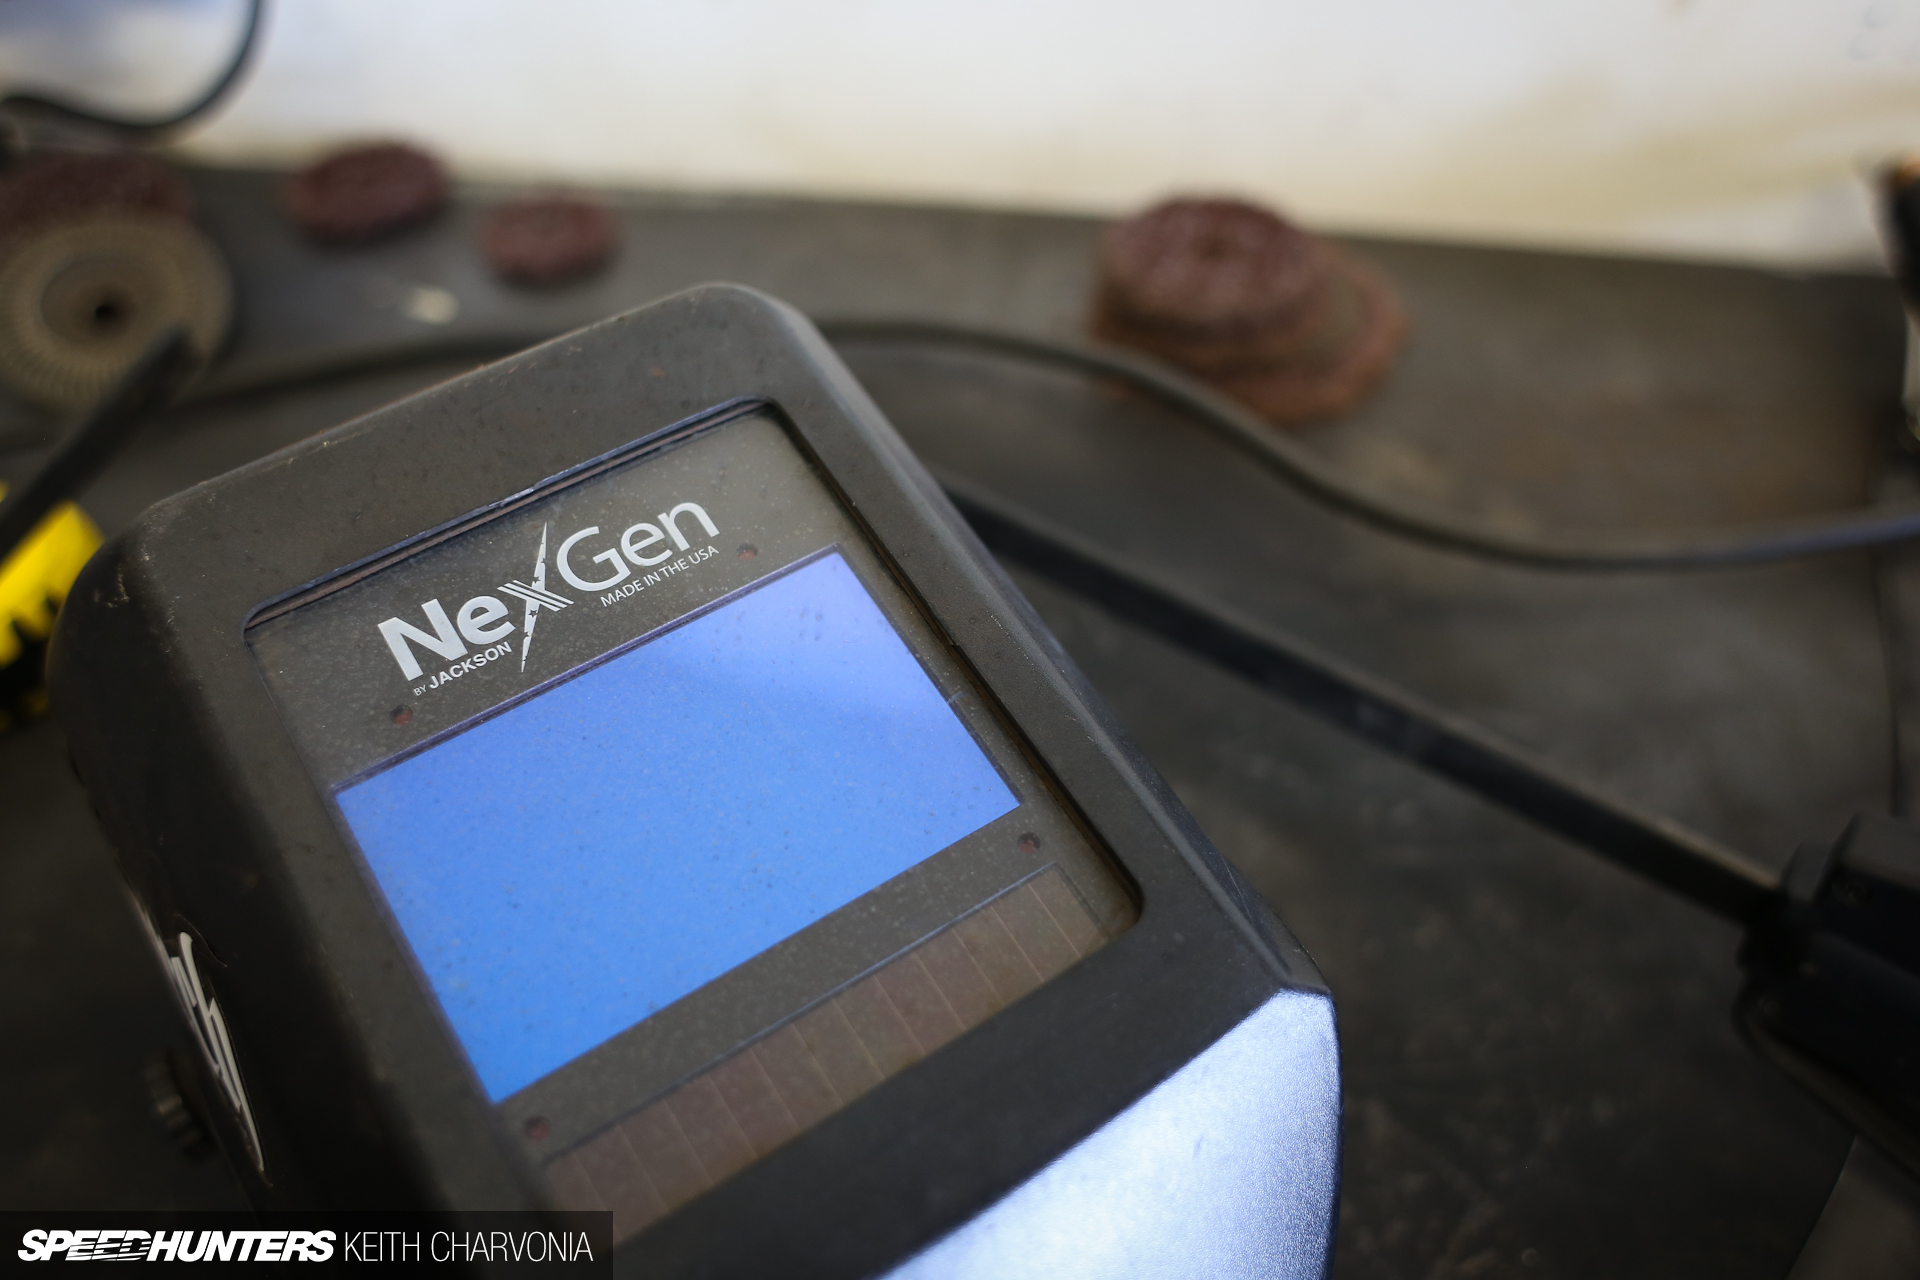
Auto darkening masks have a solar panel that helps keep the batteries charged when exposed to the flash of a weld. Those four LED looking things are the light sensors, which darken the glass when exposed to bright light, like when welding.

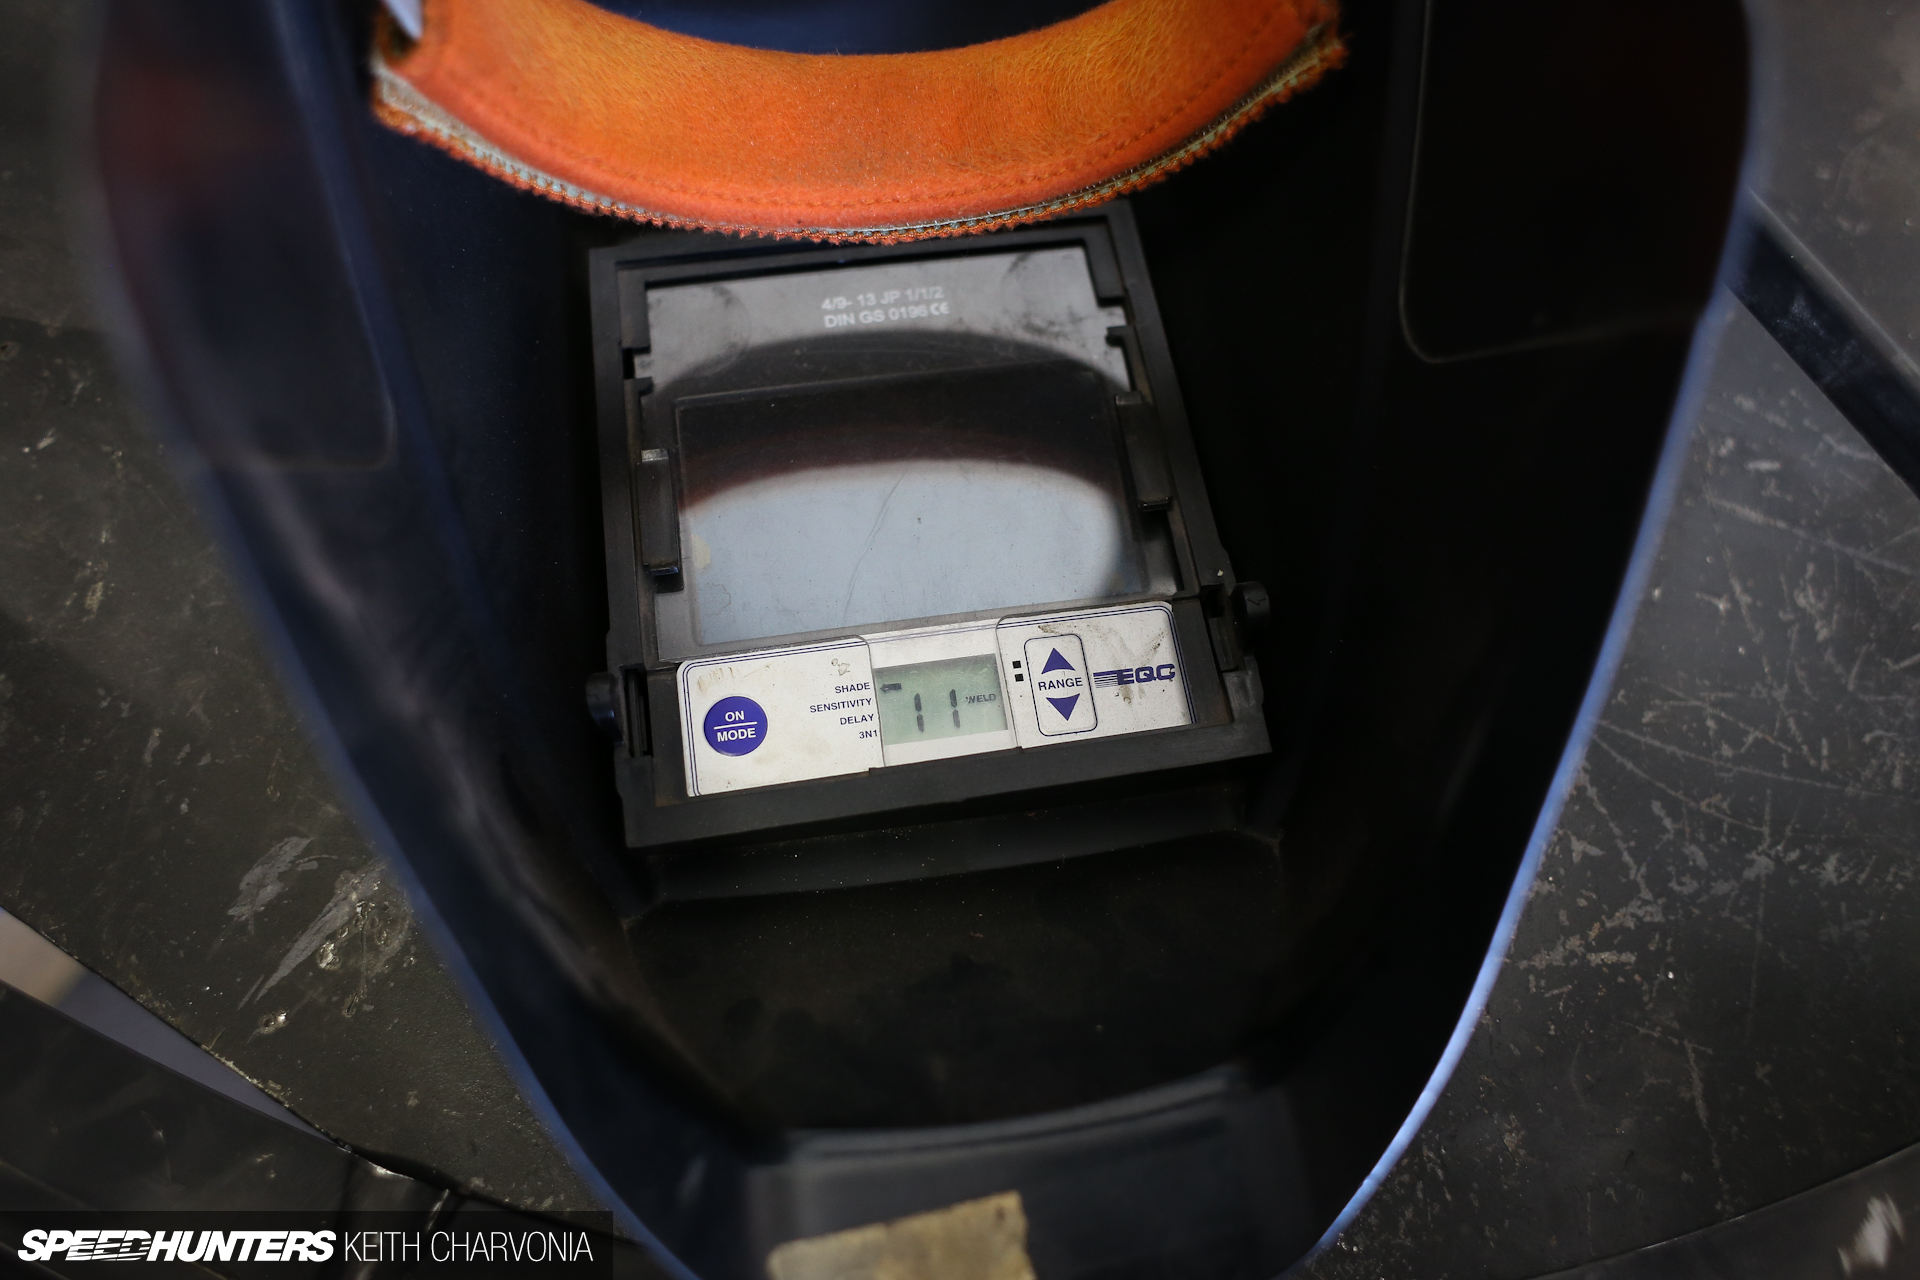
You can adjust how quickly this transition takes place and set the delay when it goes back to clear. You can also adjust the darkness of the glass: 10 is standard tint, but I’ve found running it at 11 keeps the spots out of my eyes.
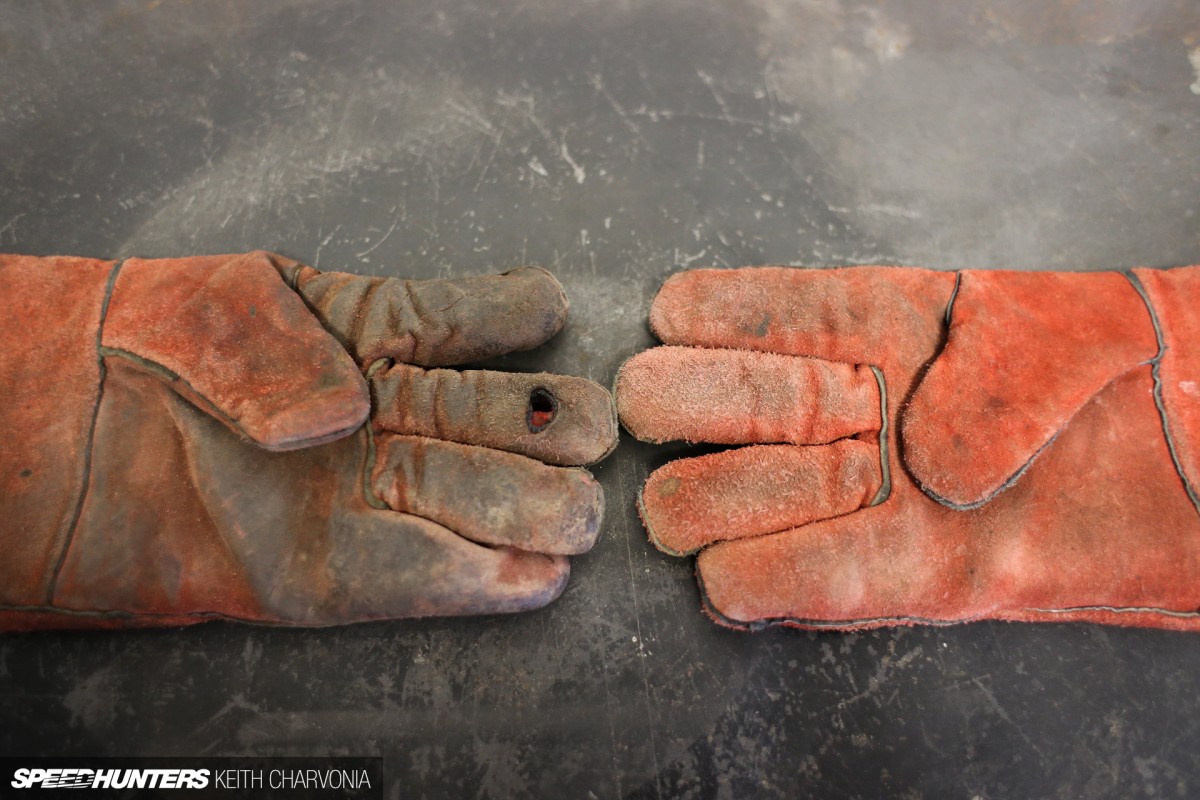
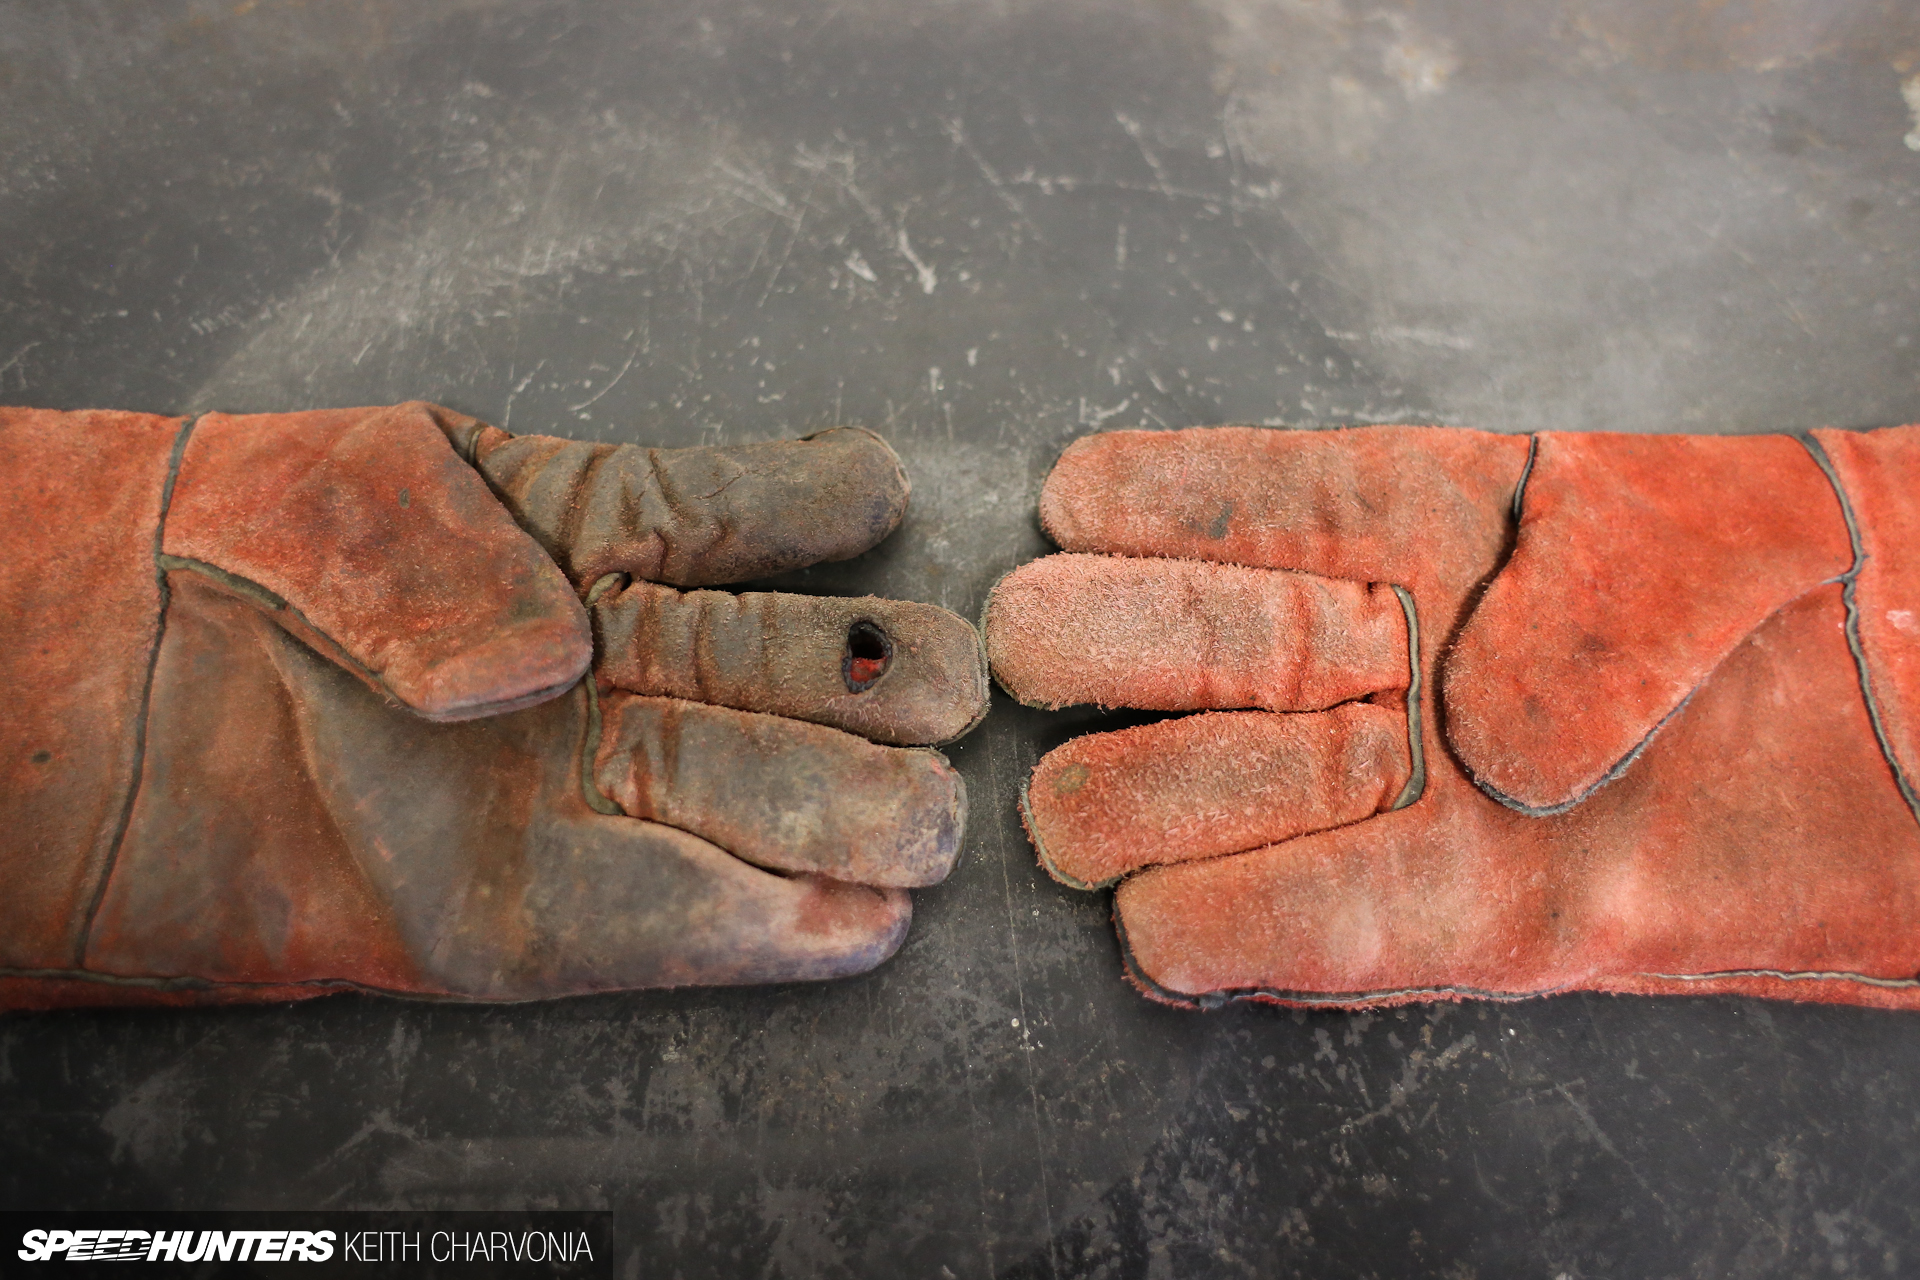
The final critical item is a leather glove to protect your hand. I say hand and not the plural because the one that’s holding the torch doesn’t really get hot, especially with the relatively low heat and short intervals when welding sheetmetal. For this reason the left glove is all burned up, while the right glove is practically new. I finally started throwing away all the new right-hand gloves that were piling up.
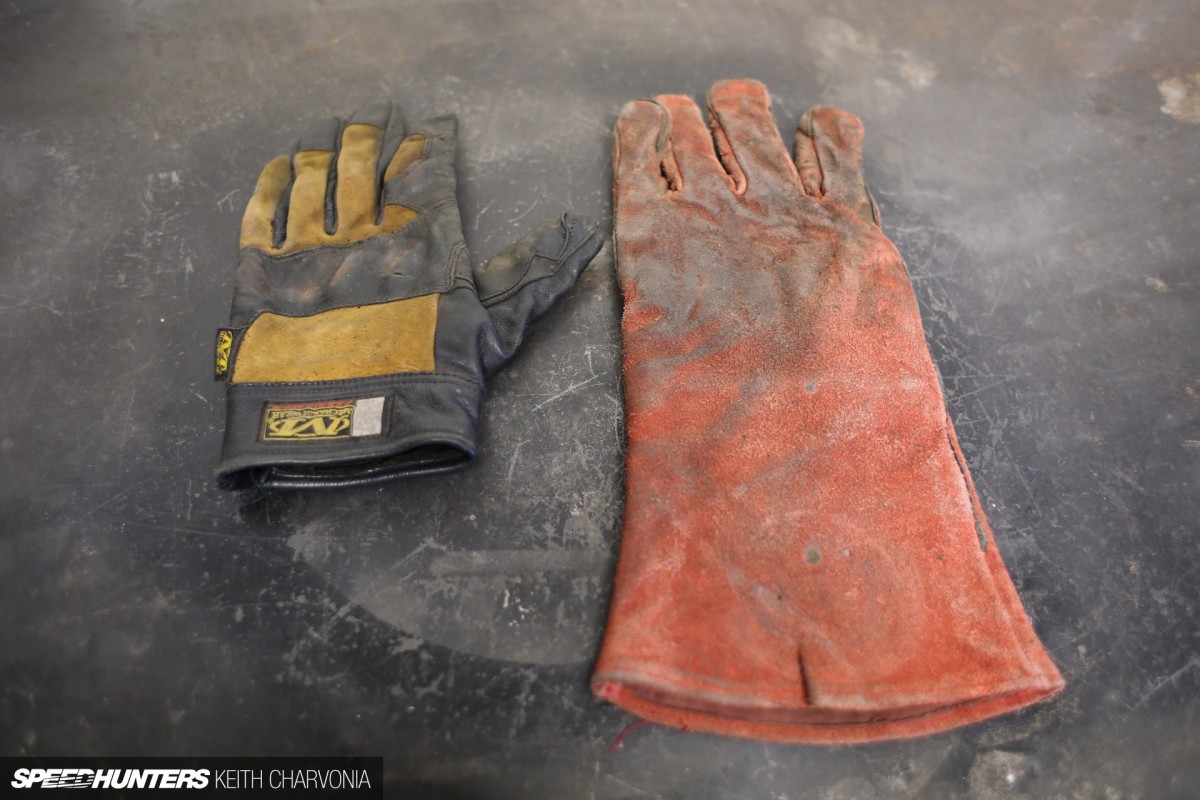
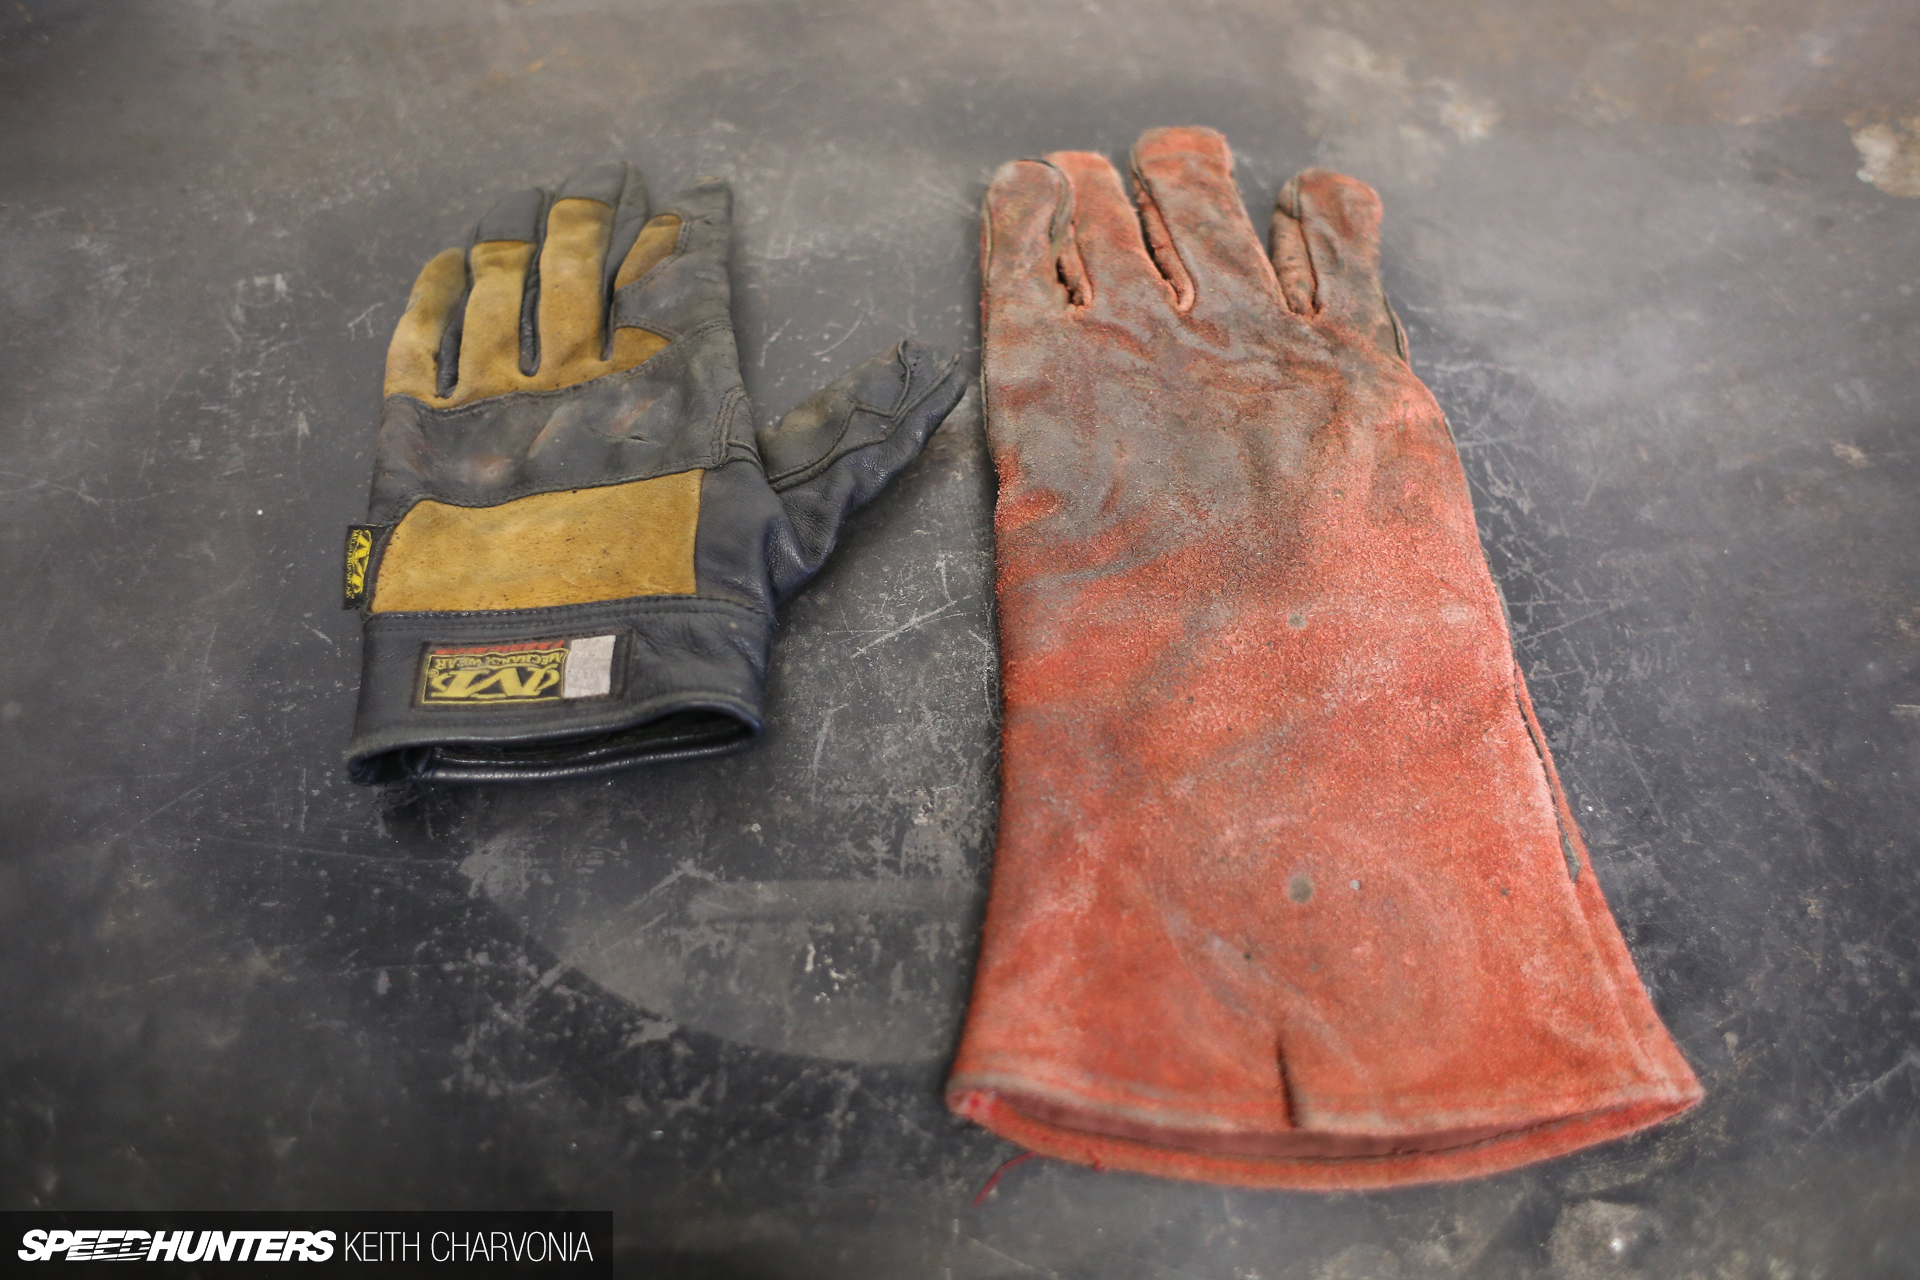
When Mechanix came out with their Fabricator gloves, I was the first in line to get them. These smaller, thinner gloves are awesome for working with sheetmetal, because as you’re about to see, you need to shape the metal and feel what you’re doing as you weld.
CHAPTER TWO
First, a lesson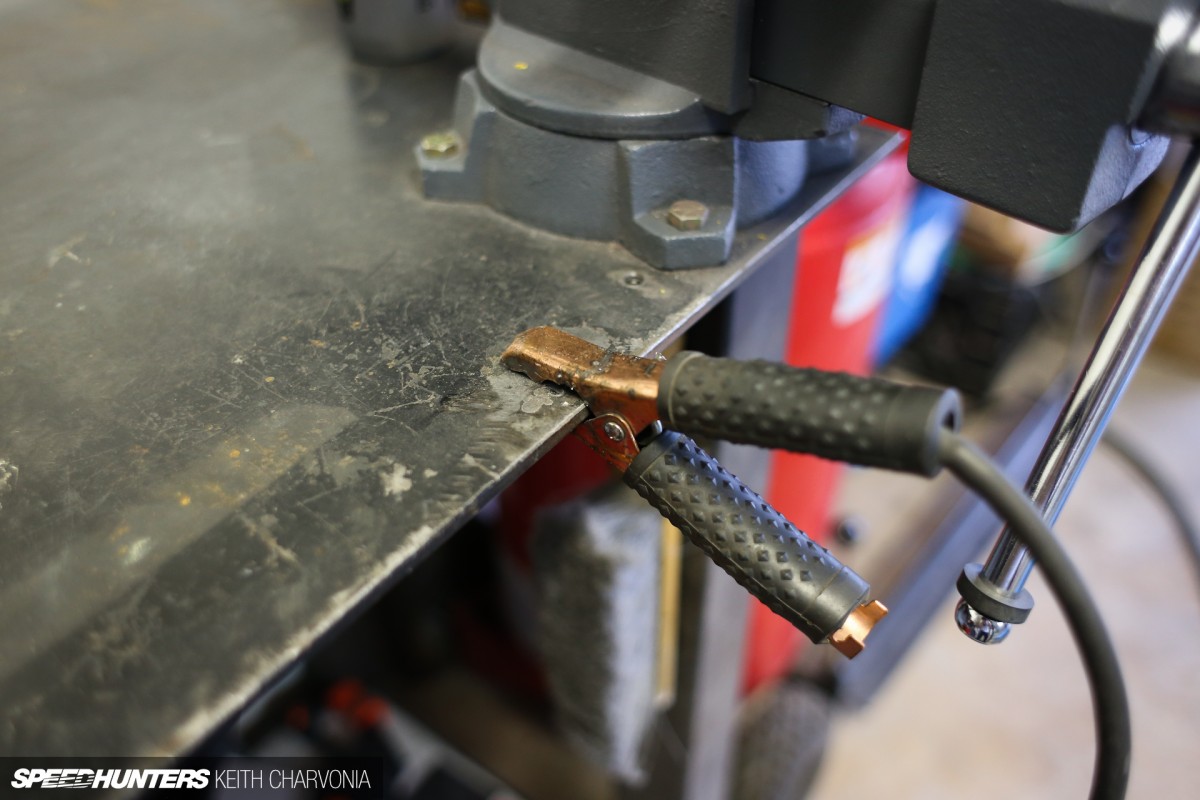
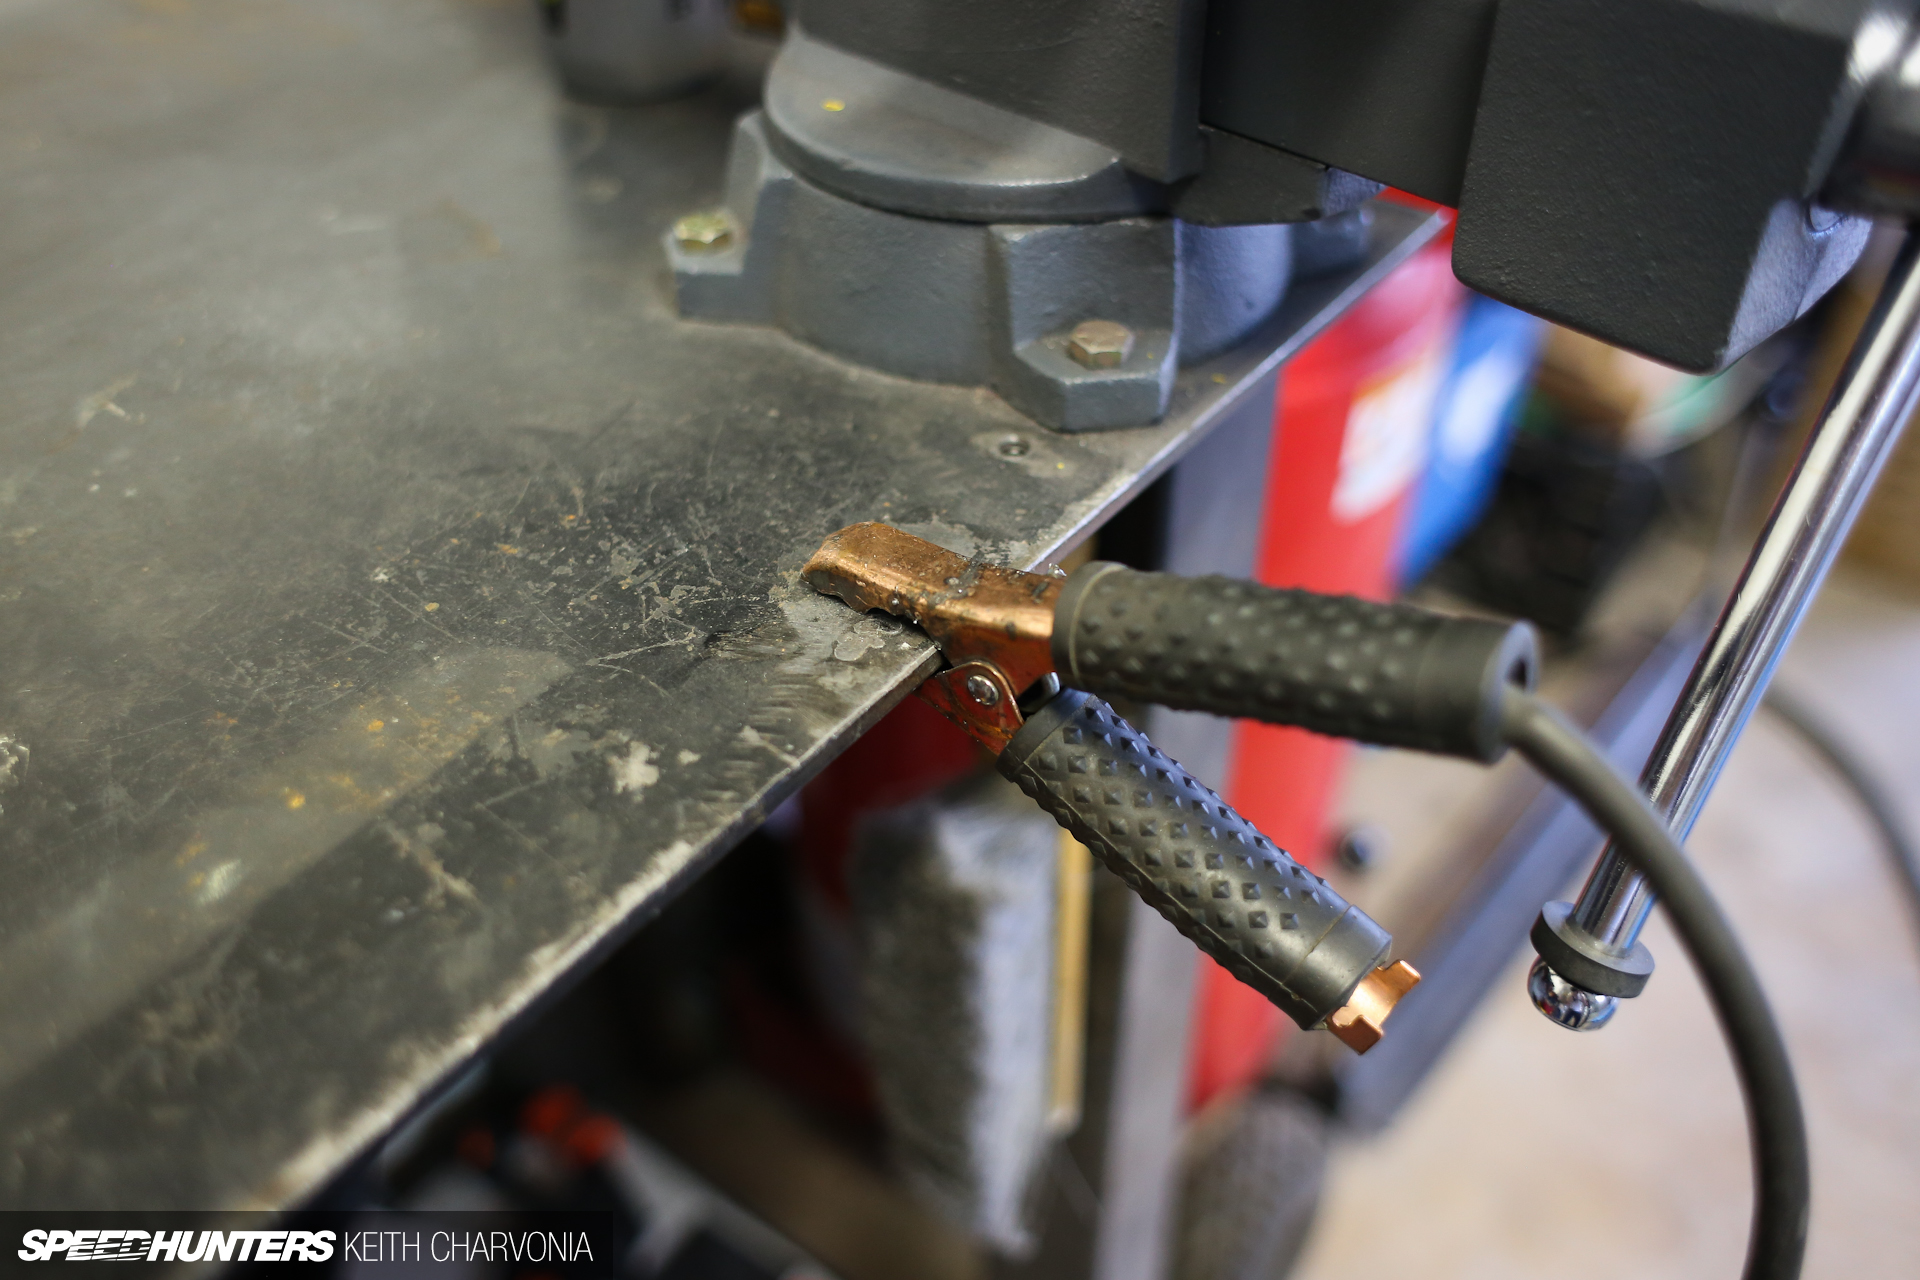
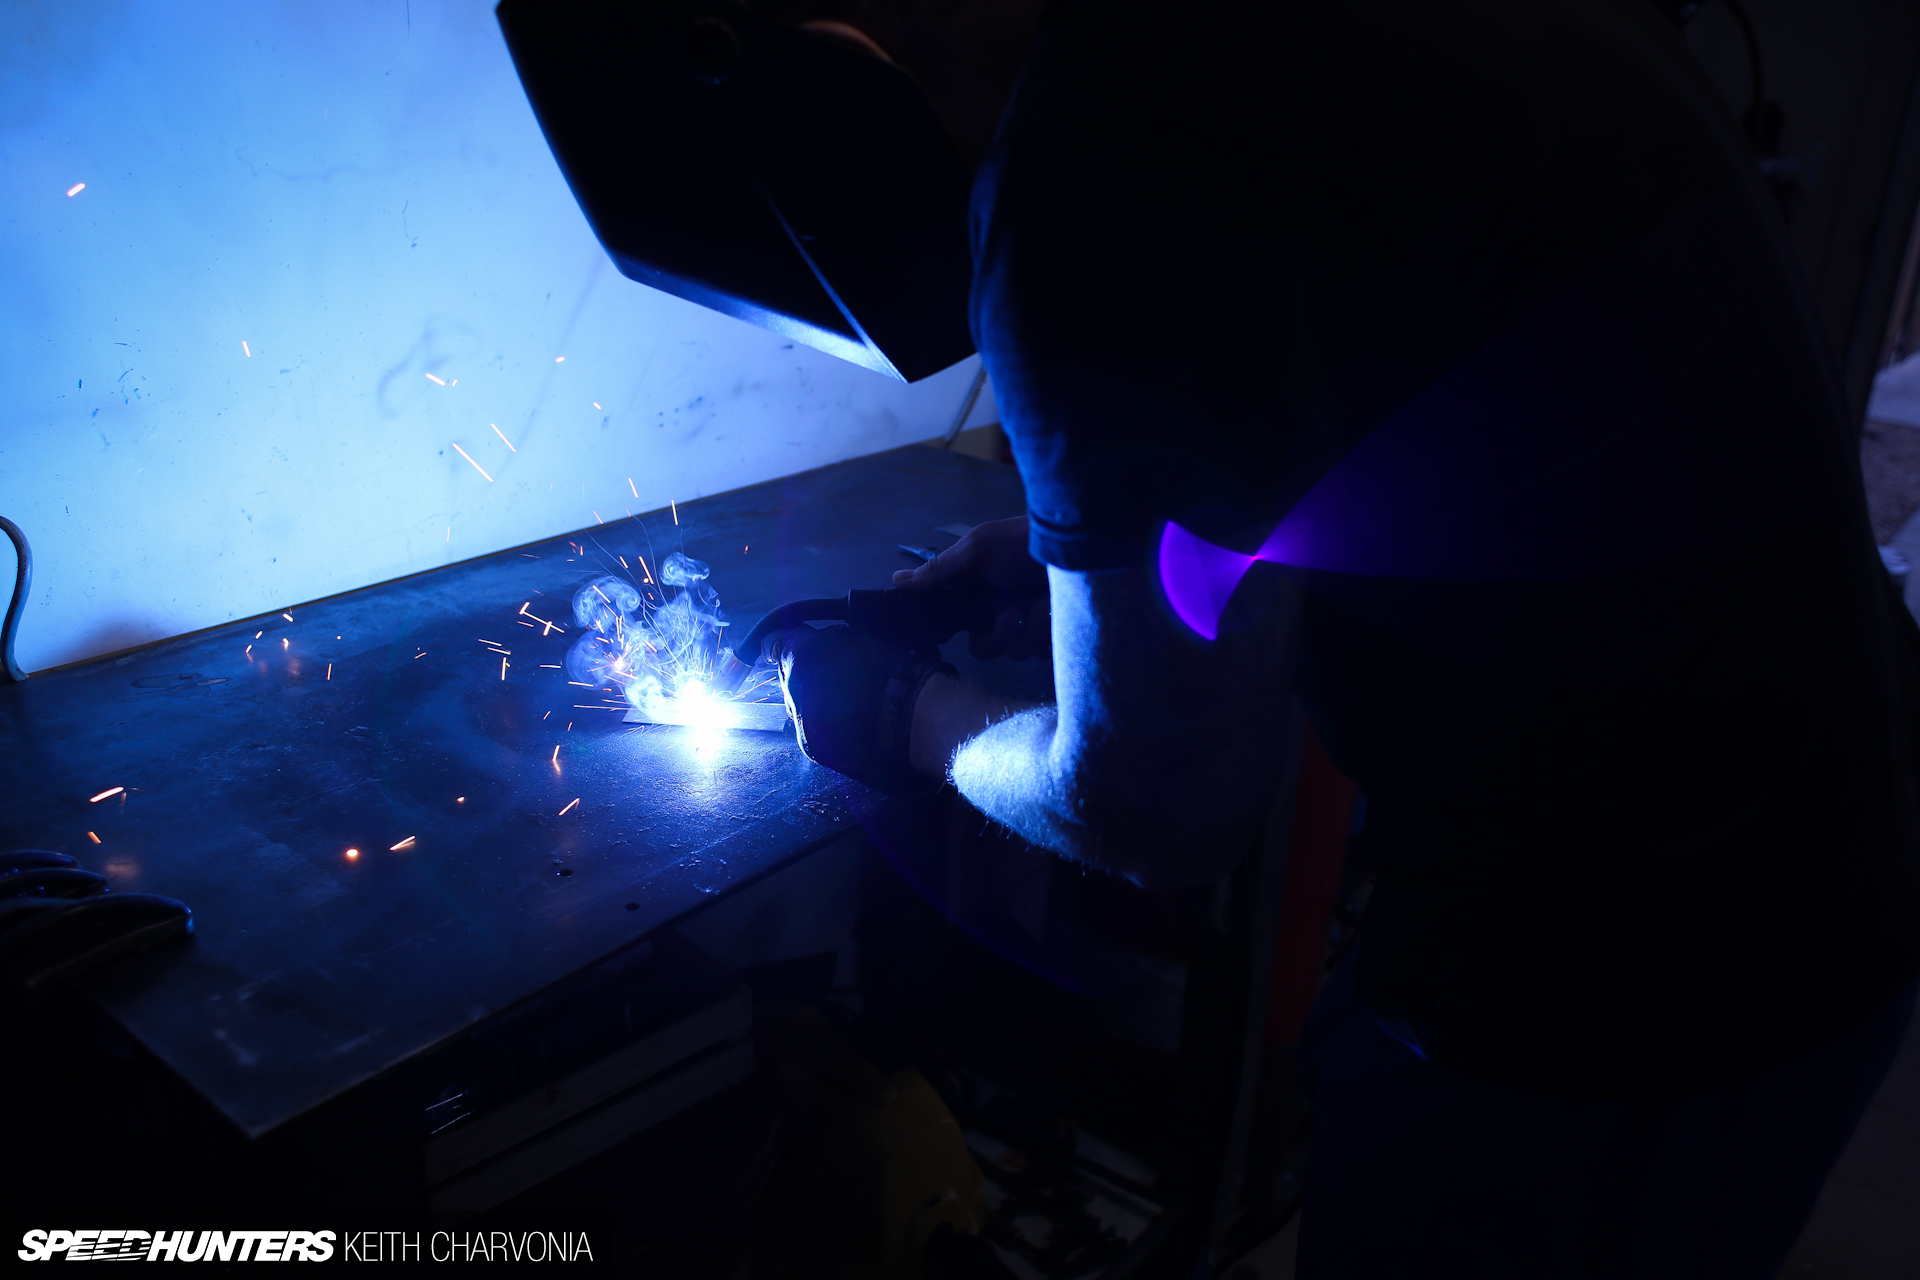
MIG welding uses electricity through a ground clamp and the welding wire to complete a circuit and generate heat. The wire melts into the base metal, providing the heat and some filler material as the wire melts.
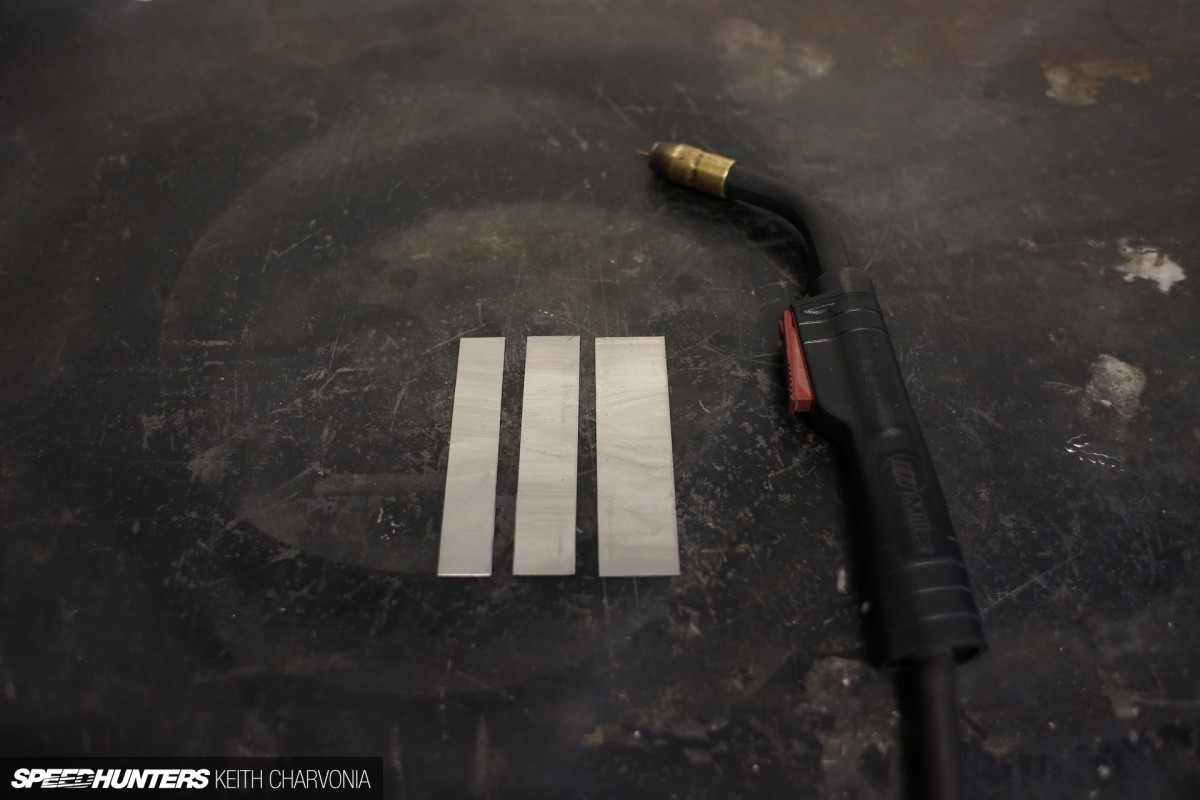
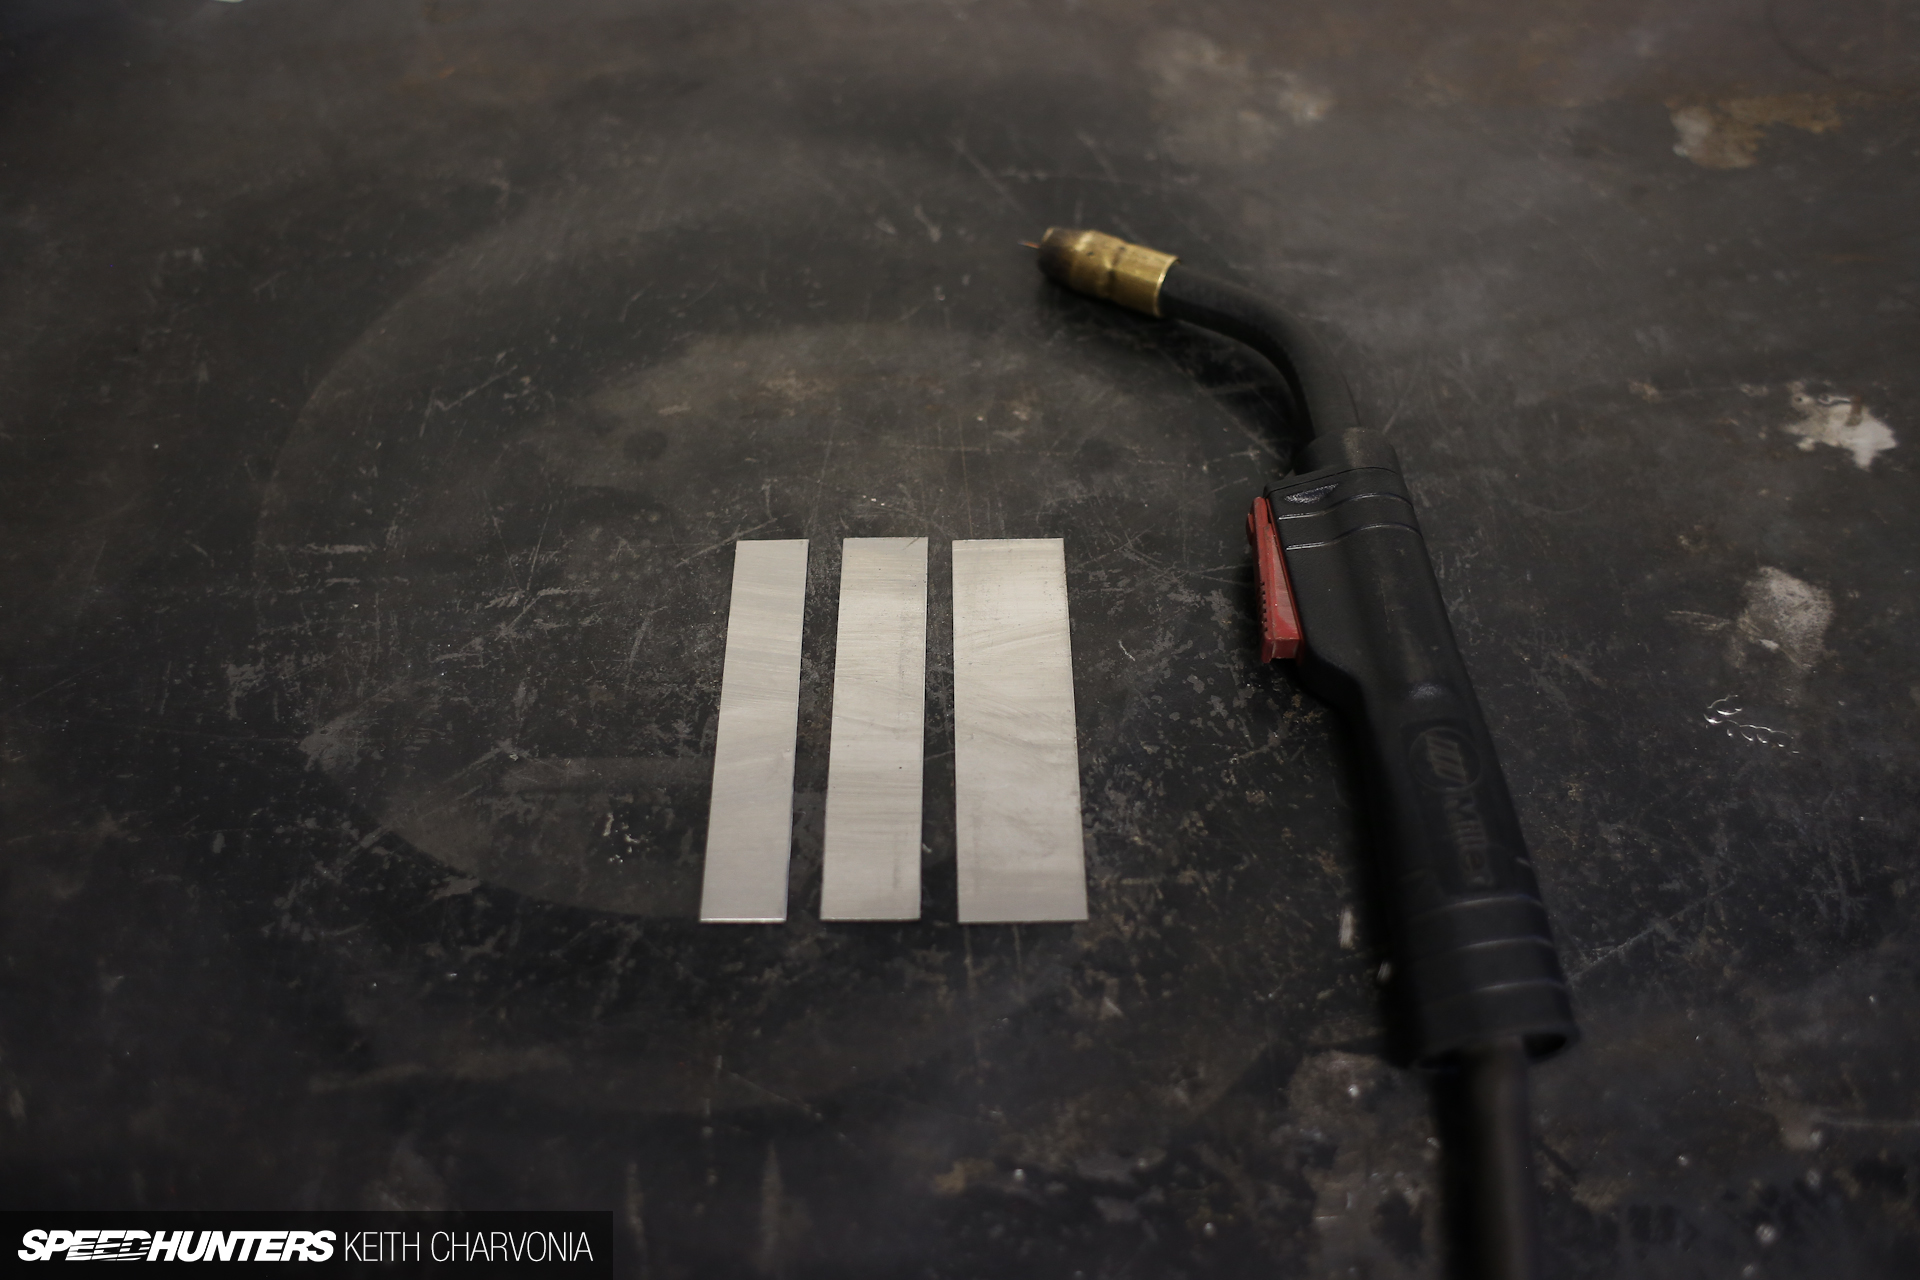
To show Joe the ropes, I first cut some small pieces of sheetmetal, called coupons in the welding world. It’s always a good idea to set your welder using the same material you’ll be working with, unless you’ve done a ton of welding on the exact same type of metal and already know which setting to use.
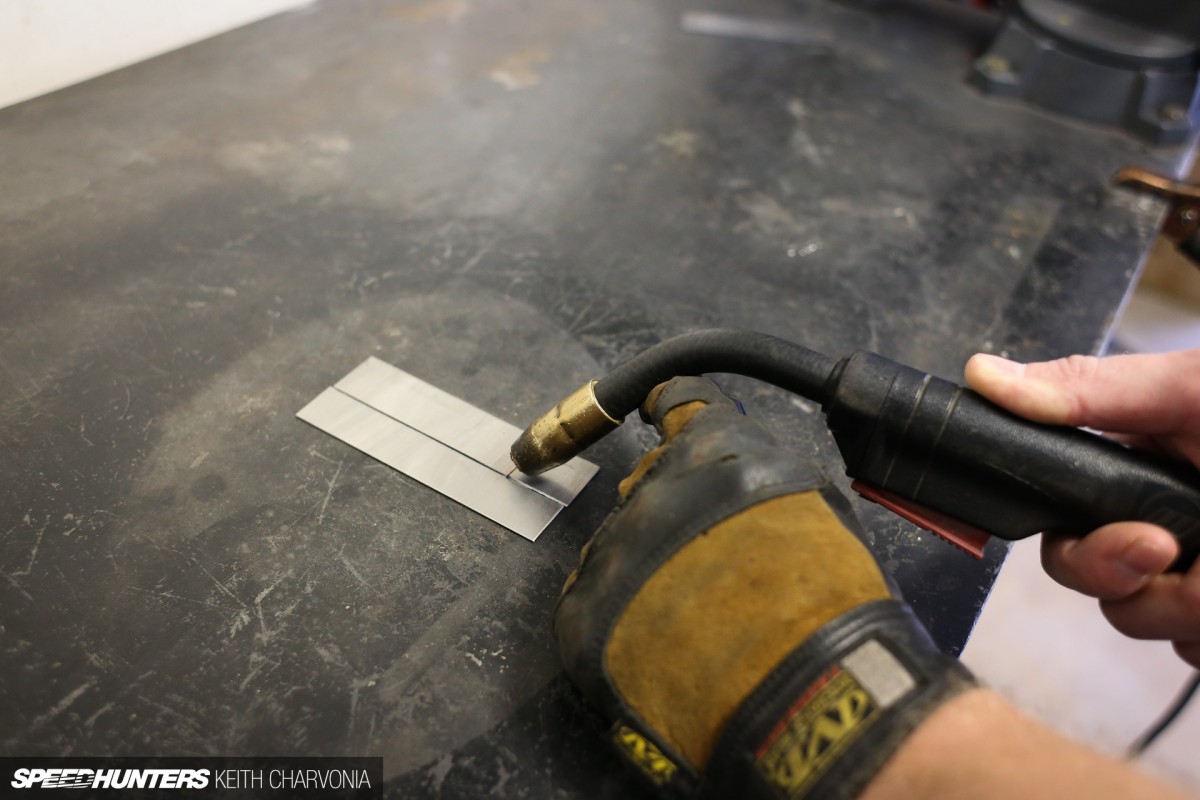
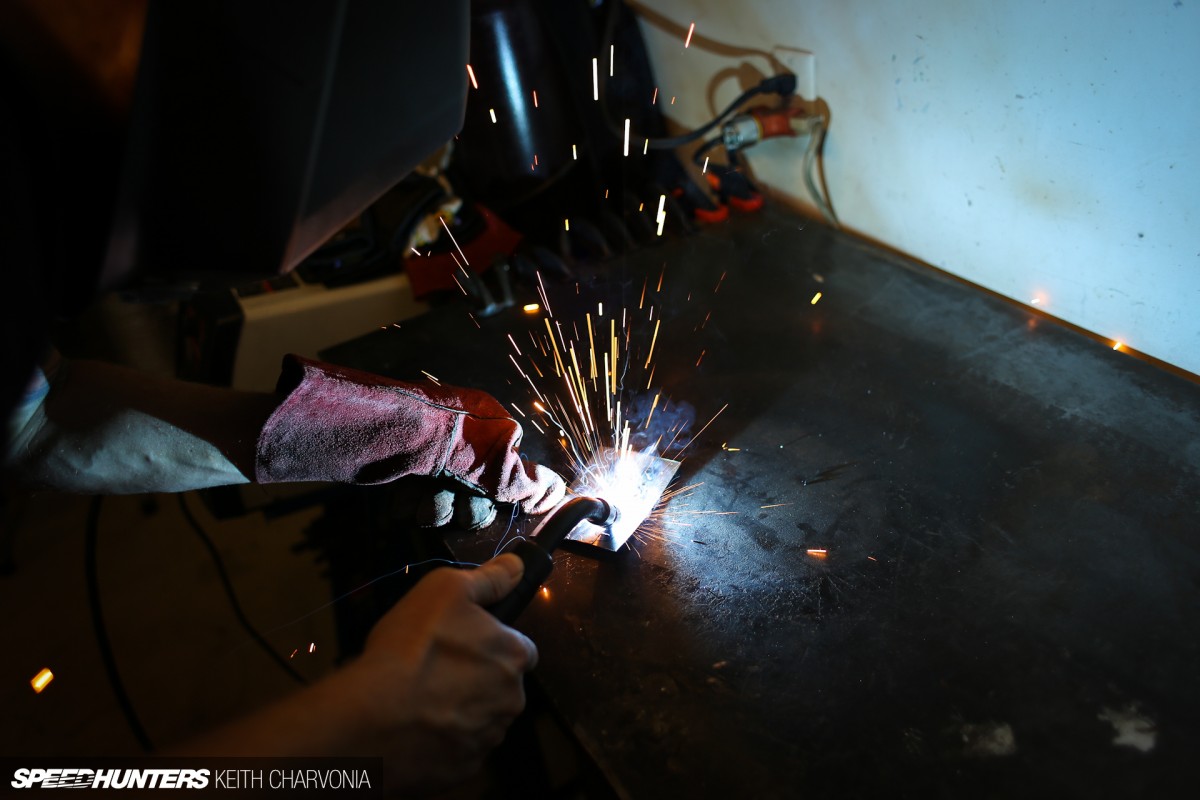
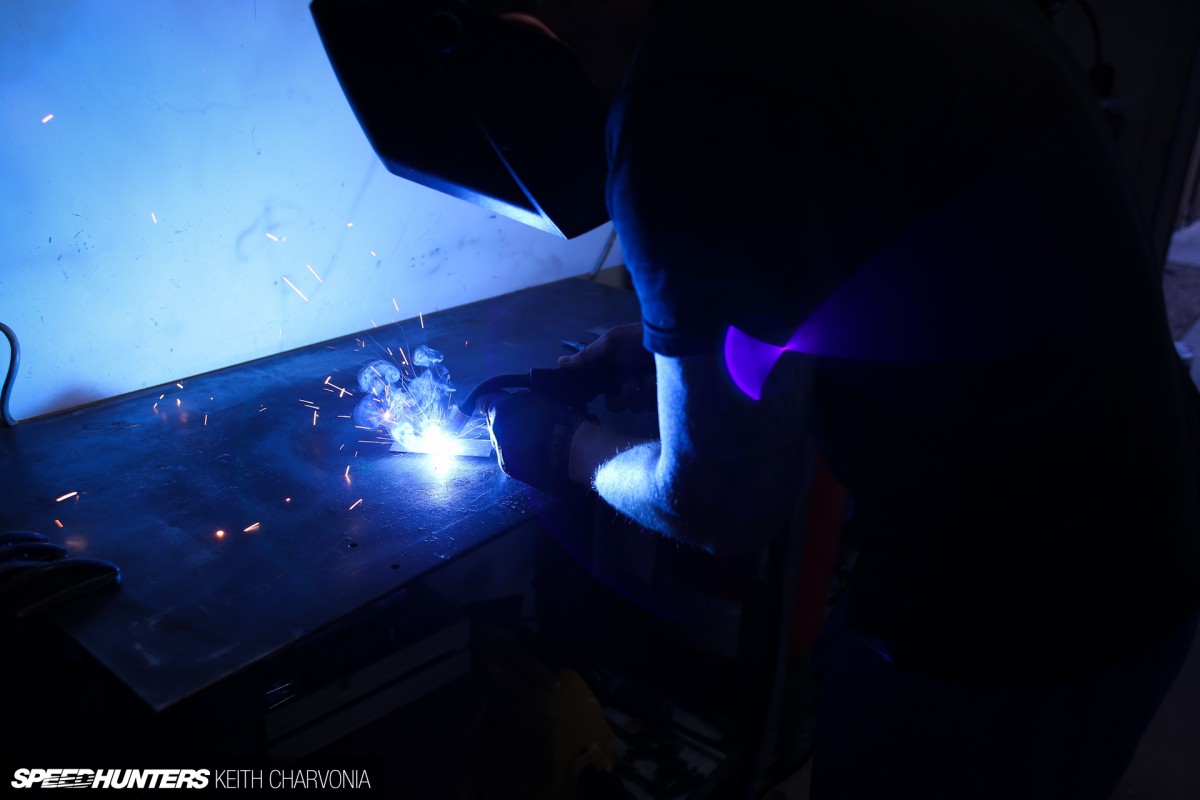
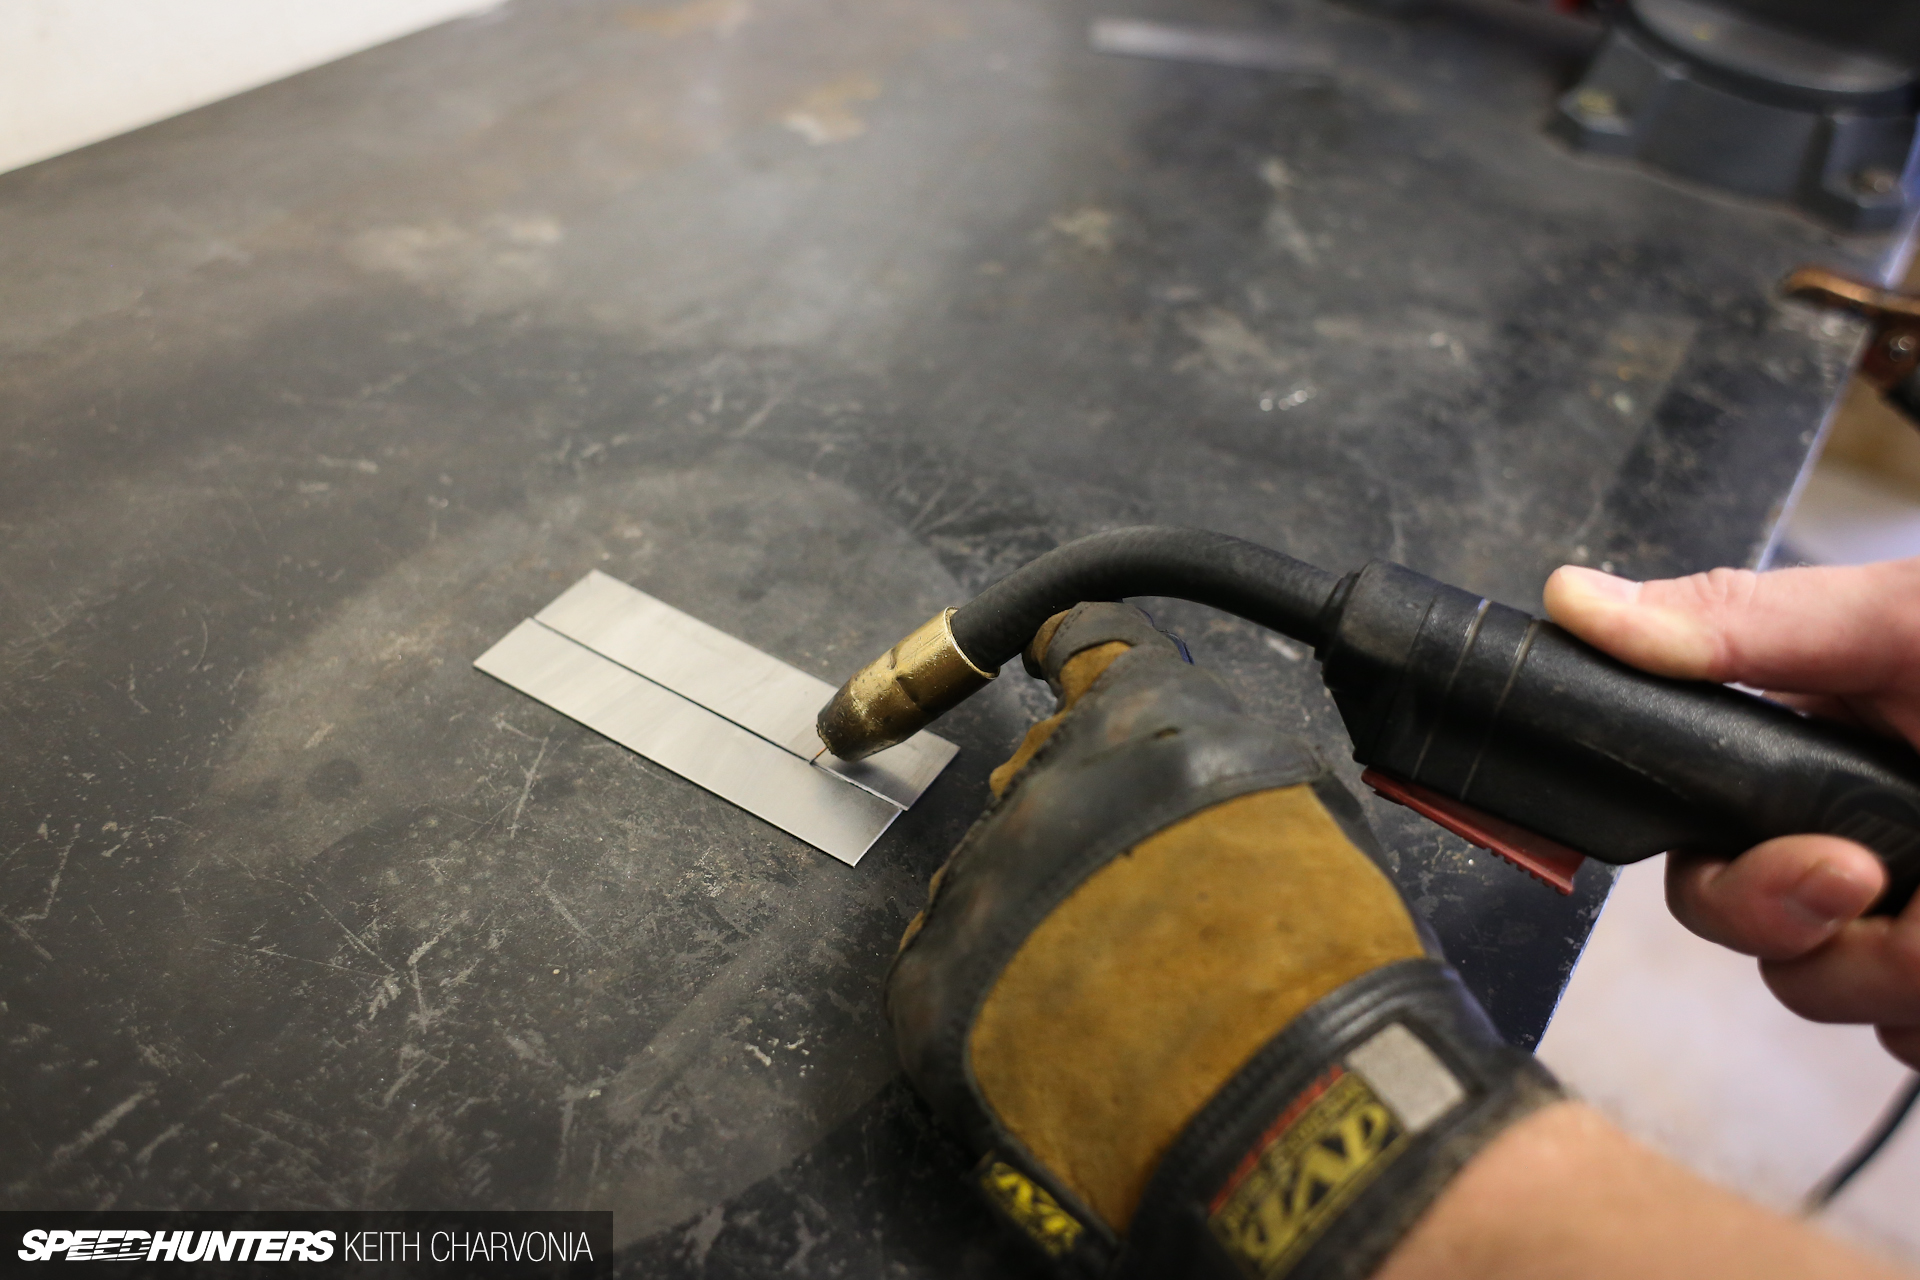
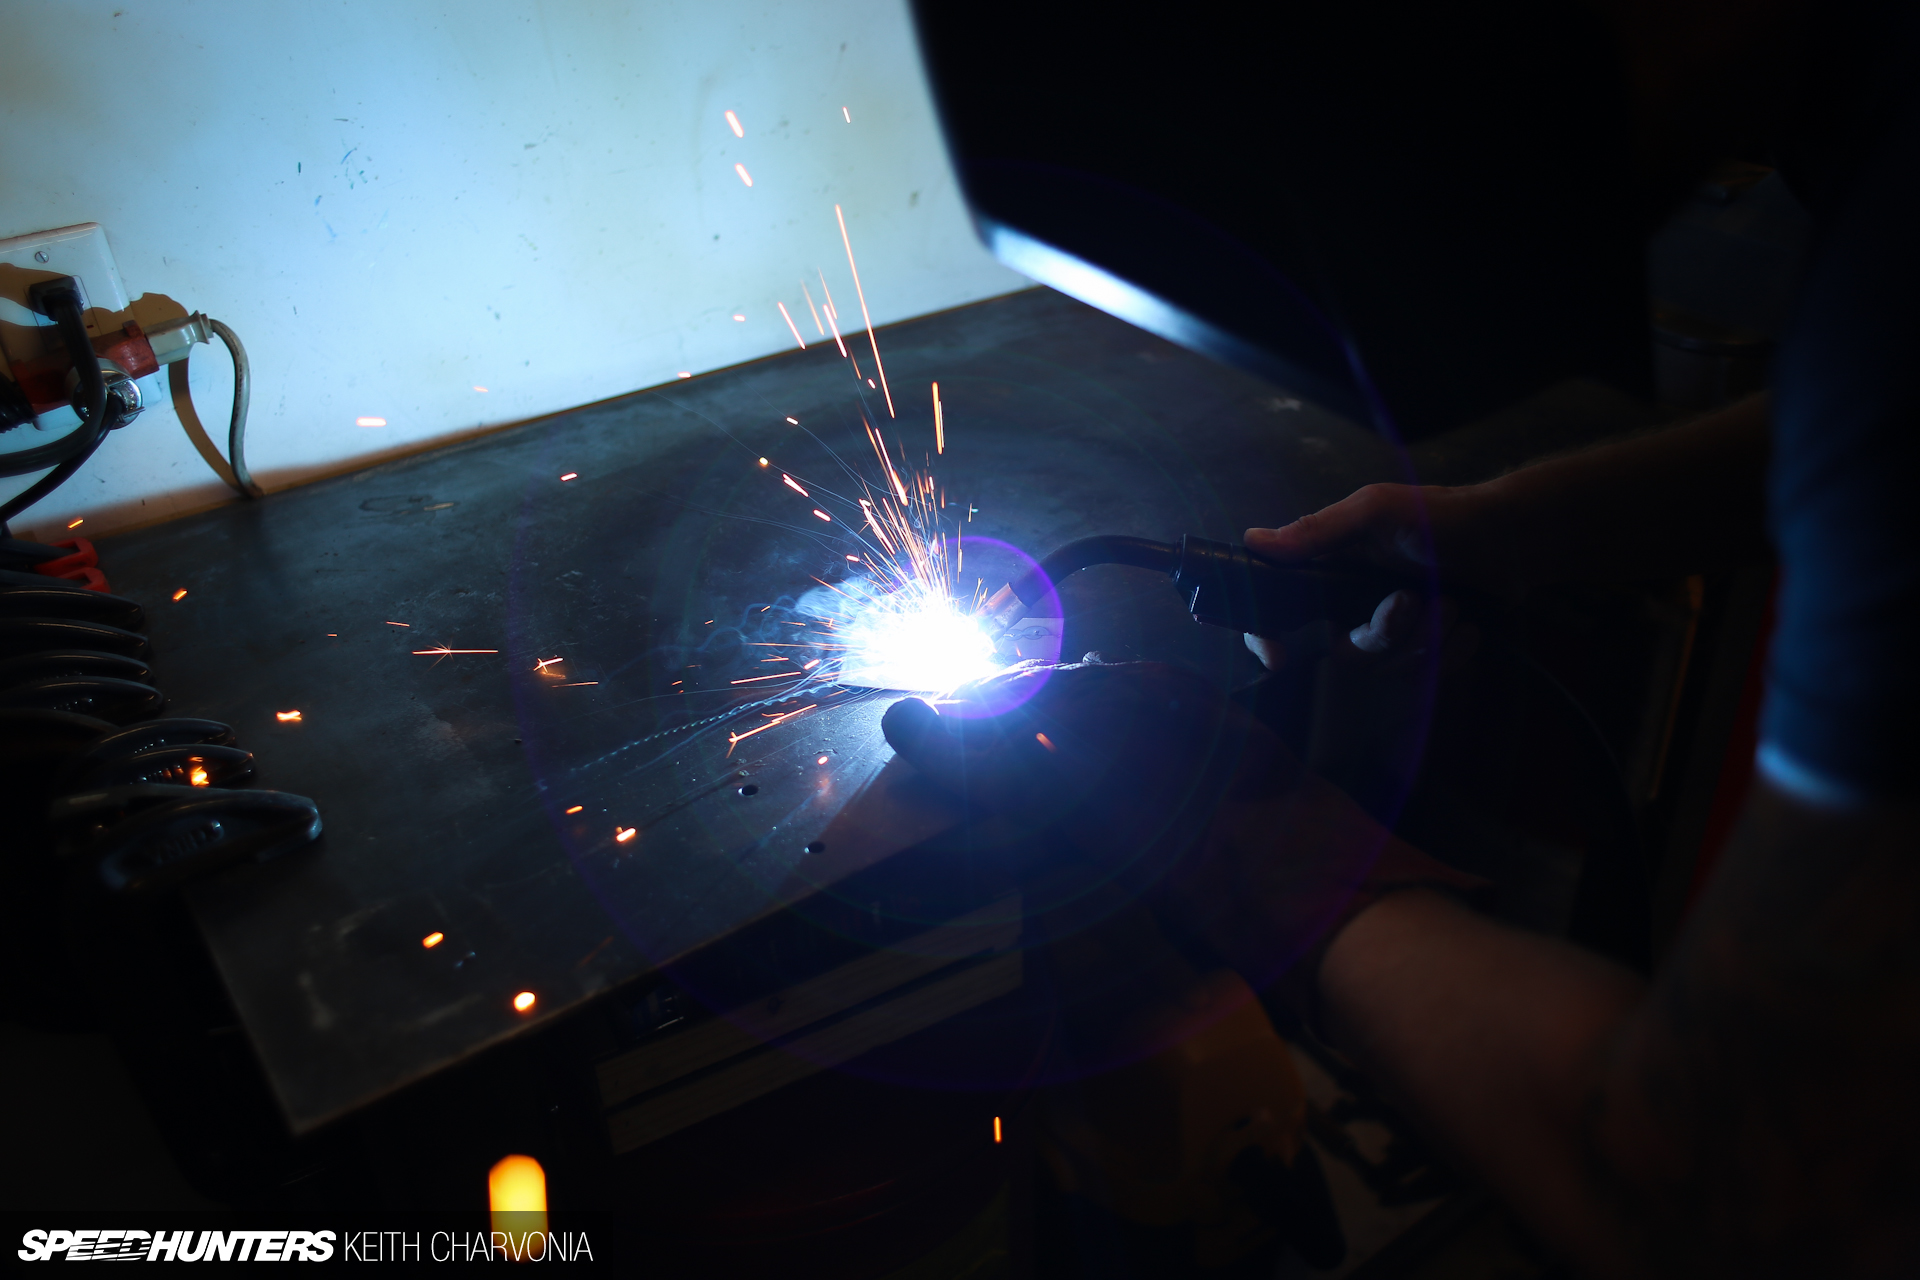
I let Joe use my lucky left glove, and showed him how to steady the torch with his free hand and set the wire right where he wanted the weld. All that’s left is to pull the trigger.
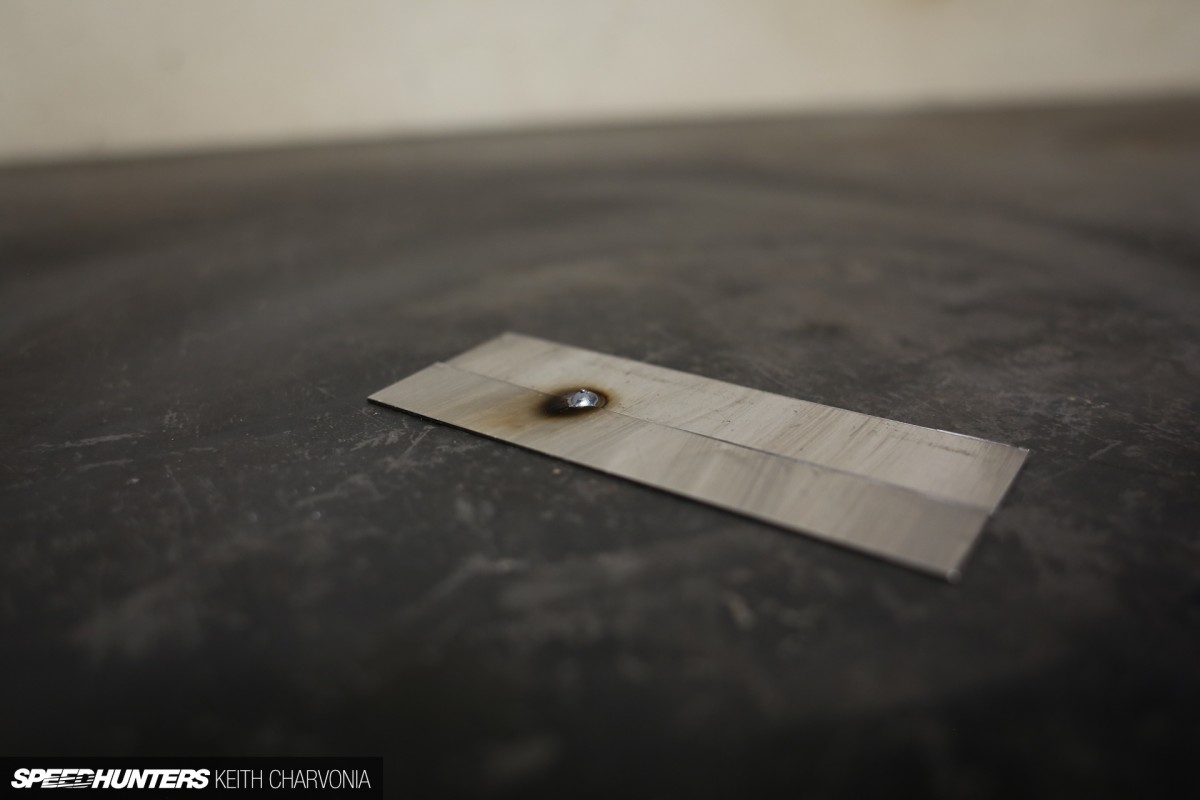
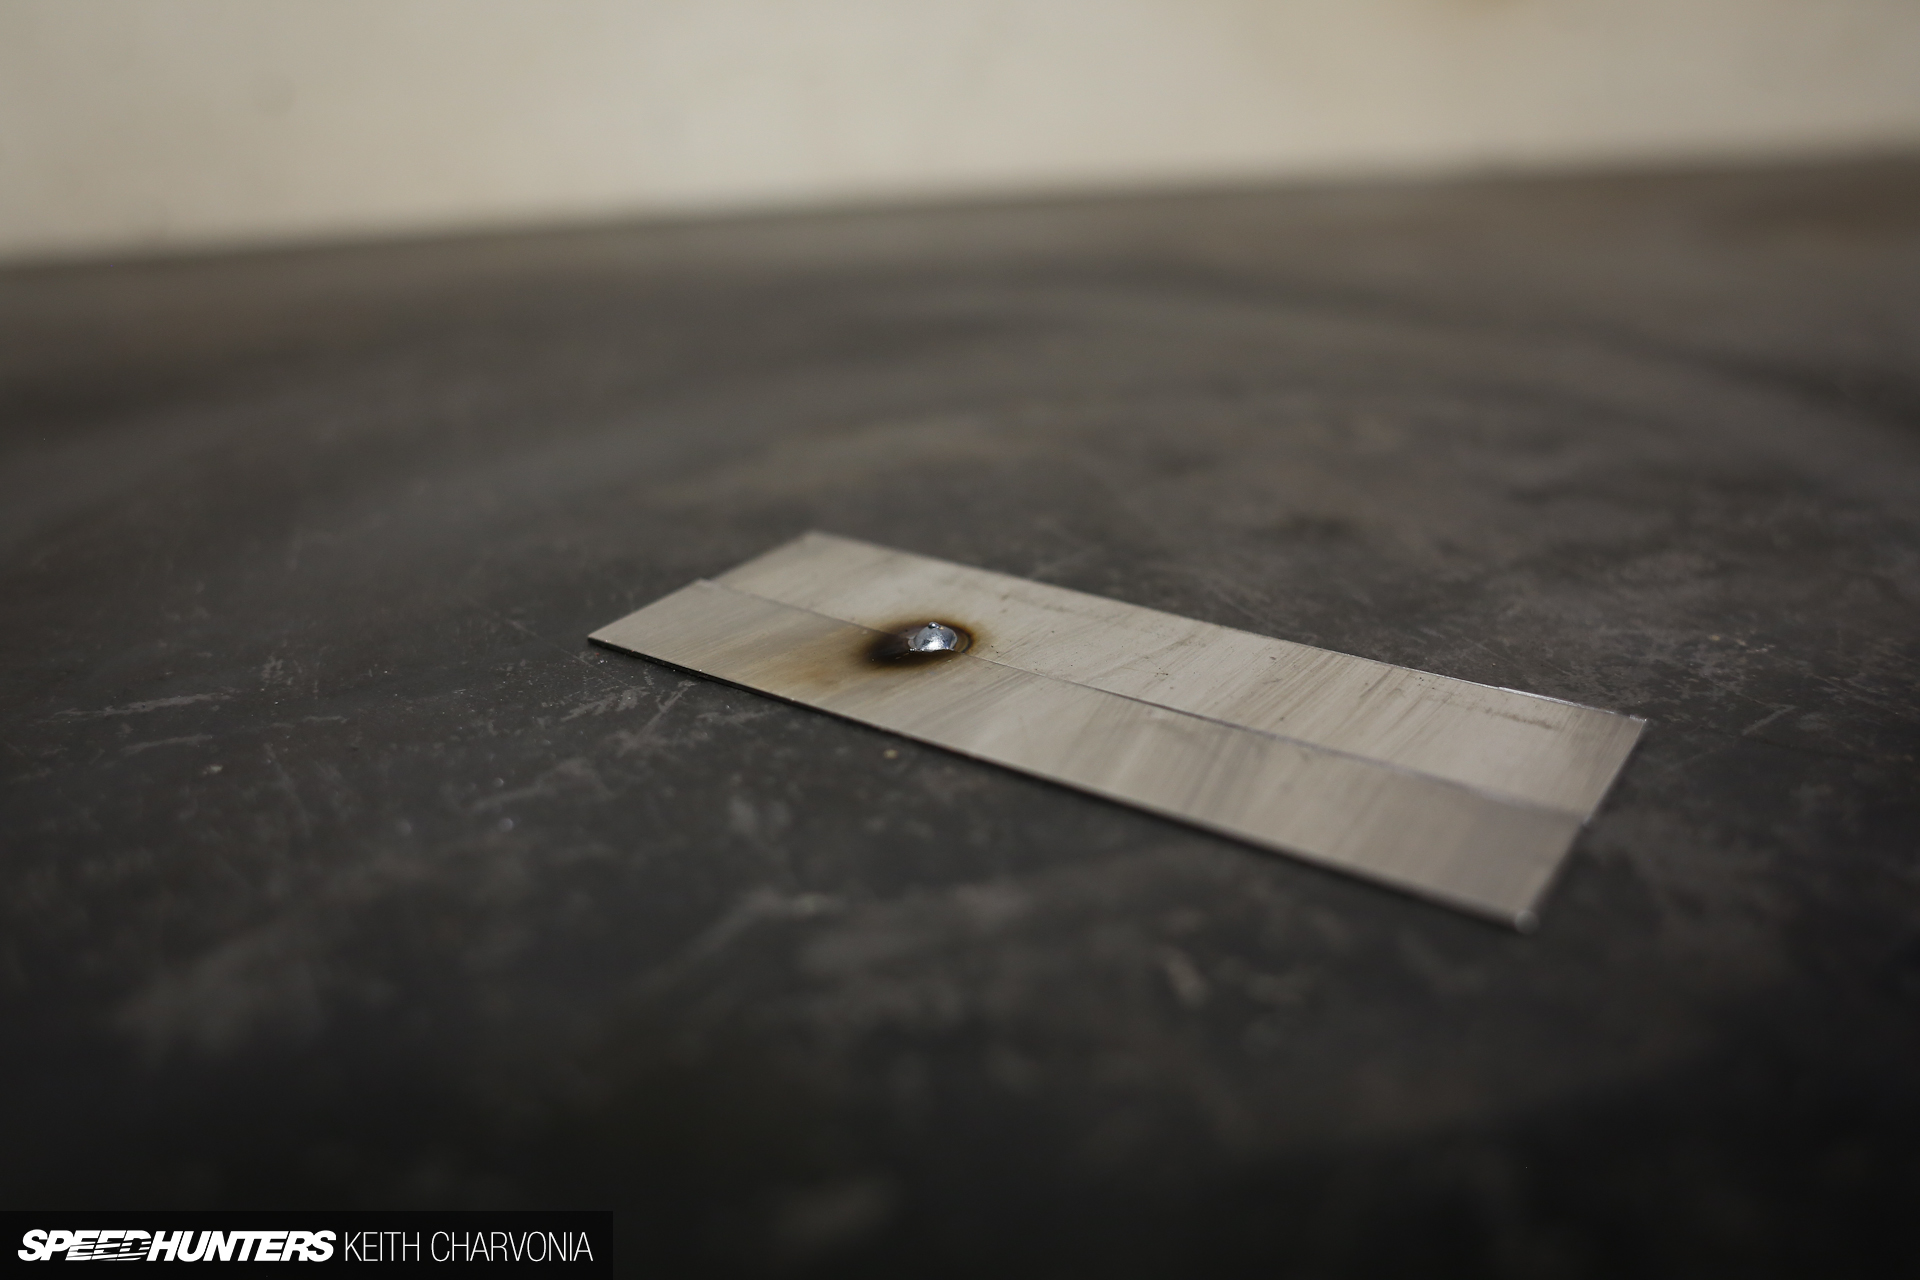
World, I give you Joe’s first weld. Not bad man!
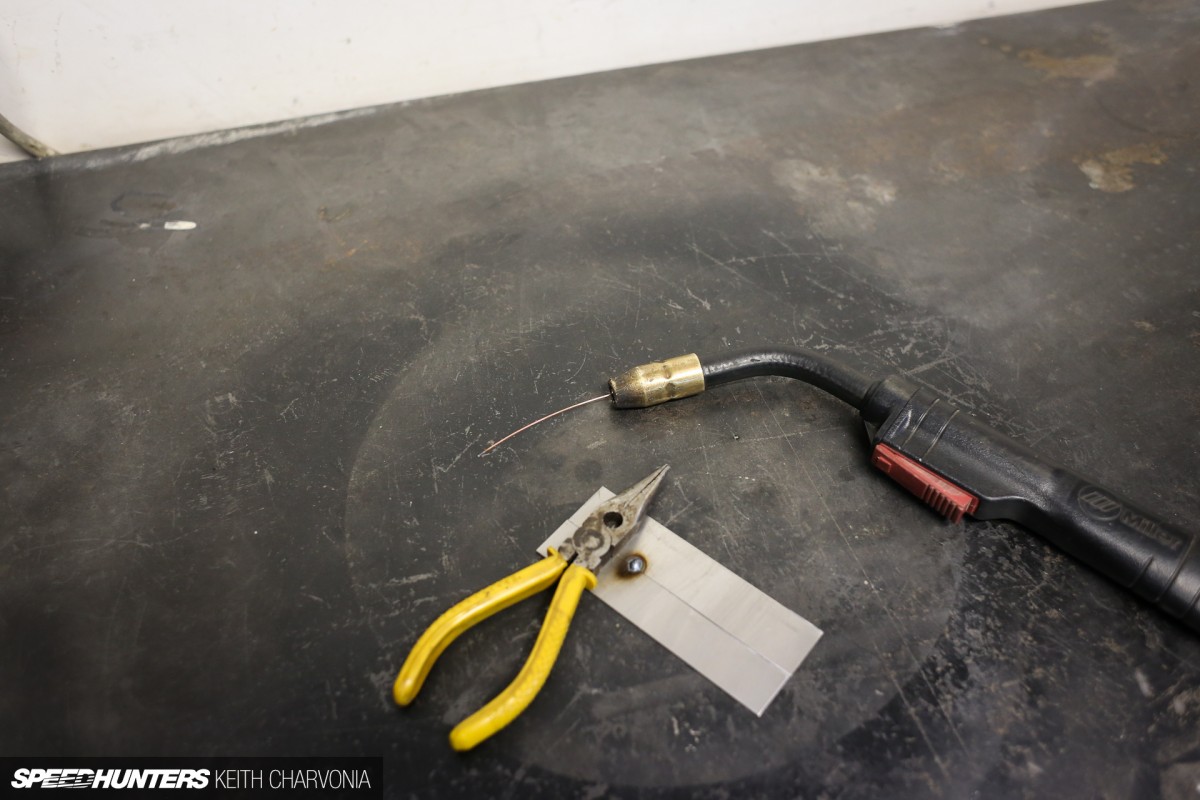
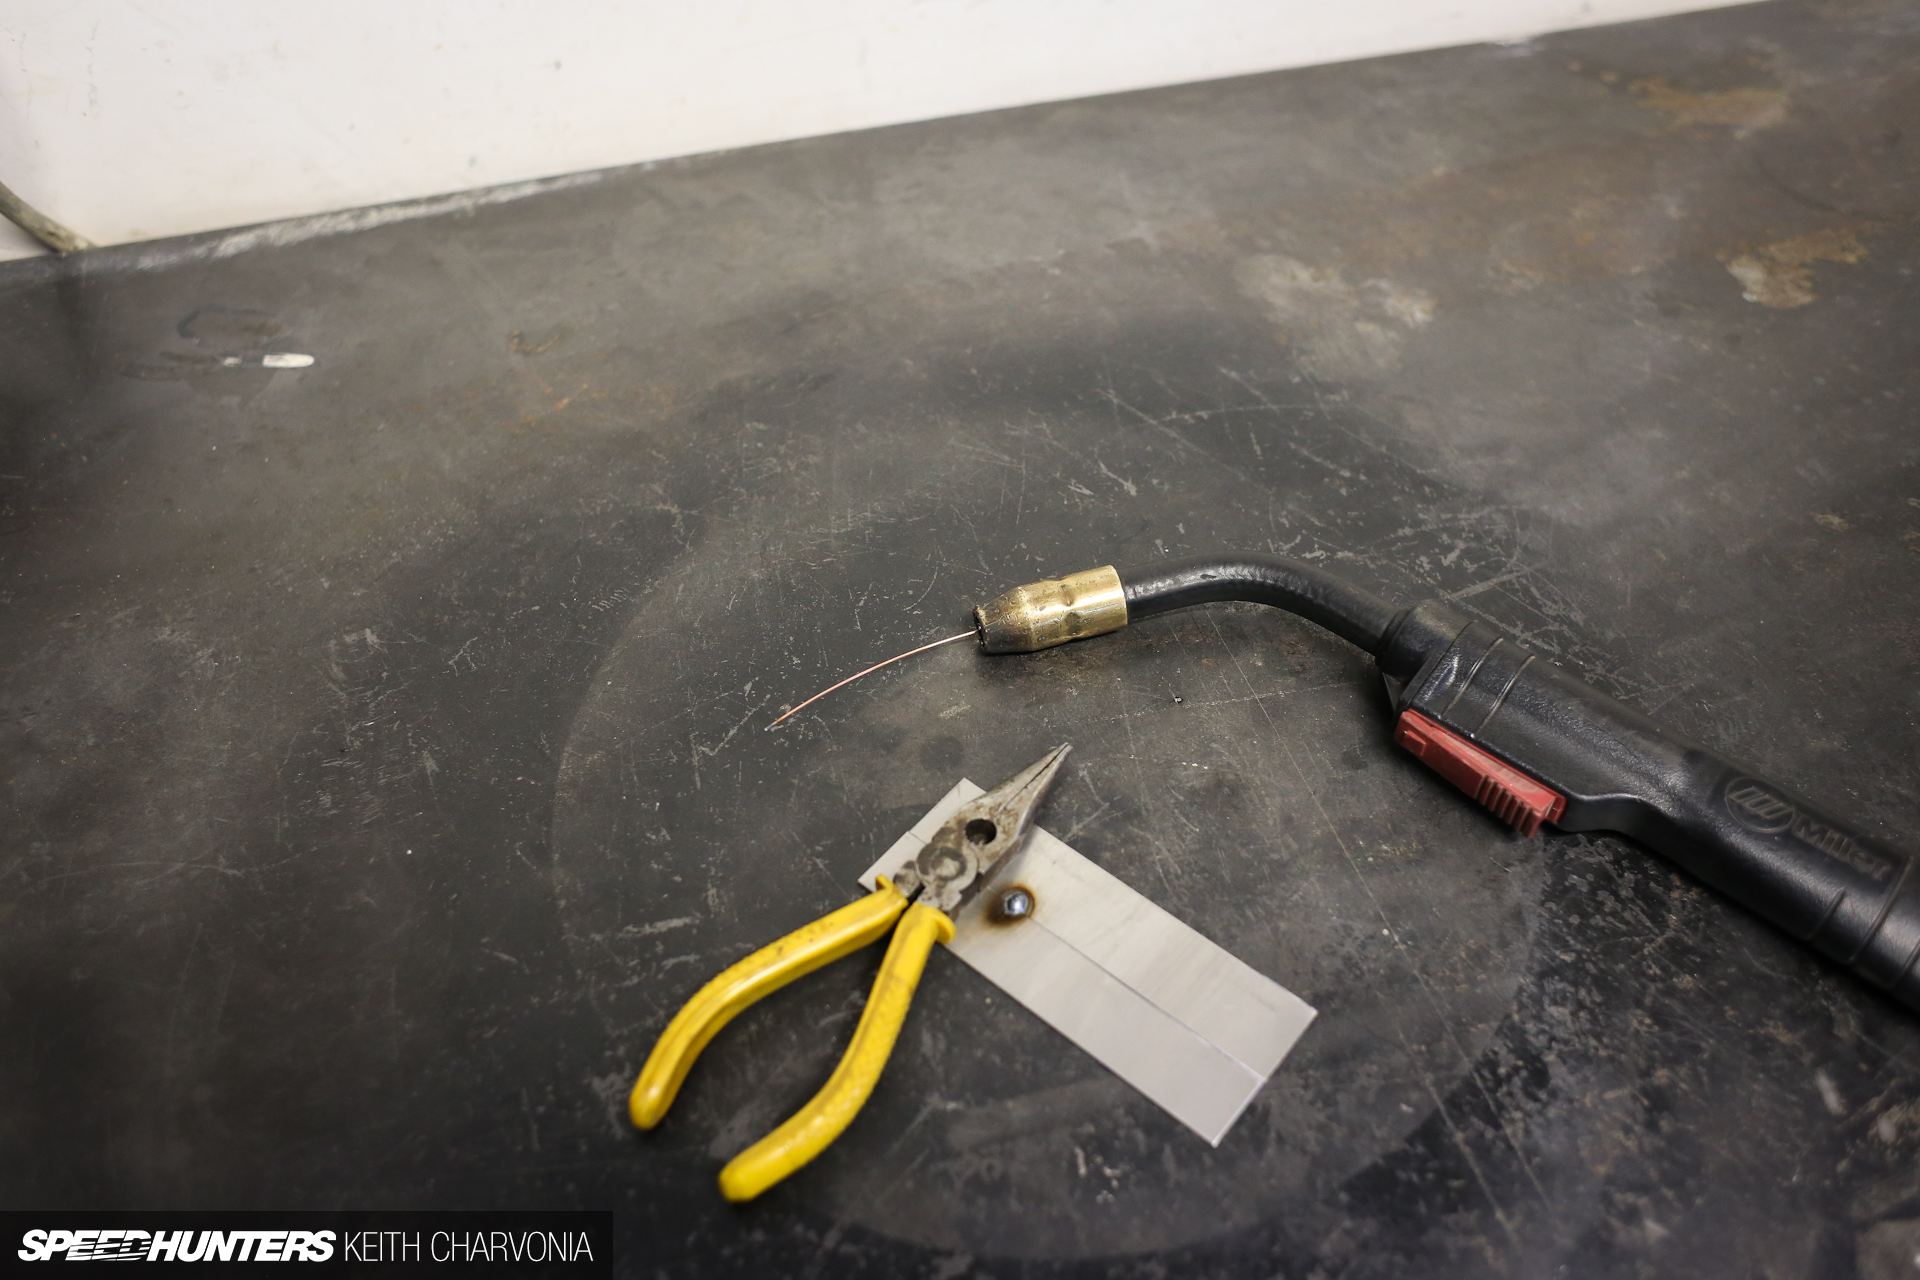
Then he pulled the trigger and spooled out some extra wire. Oh yeah, let’s teach him how to cut the wire back to the right length. You can use sidecuts or pliers that have a cutter for this, and just trim the wire back to about half an inch from the gun.
Joe’s first weld was a little proud of the surface, meaning the wire speed was too high and it put down too much material. This is just me being picky – he really did much better than most people, but I turned the wire speed down a little for him.
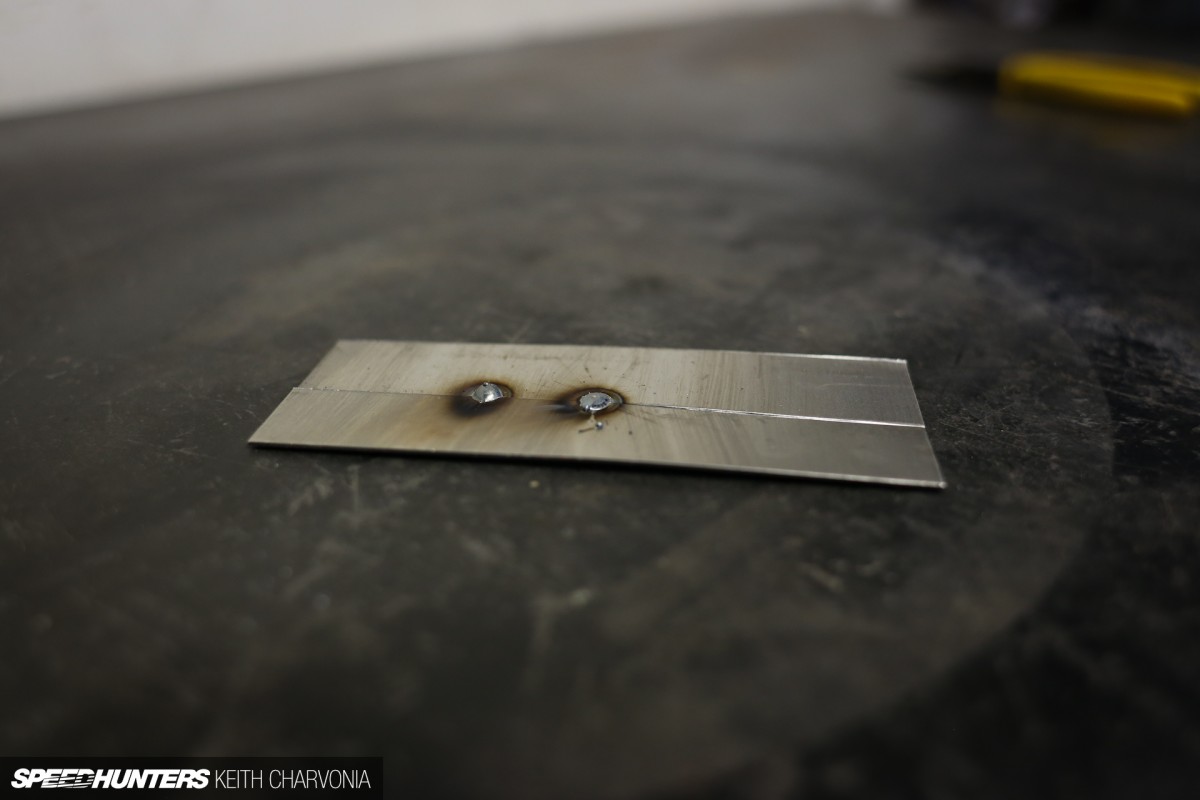
The second tack is what I would call ideal. It penetrated the metal nicely, and left a flat weld so there’s less metal to grind off later. This counts when you weld up an entire car and then have to grind it smooth.
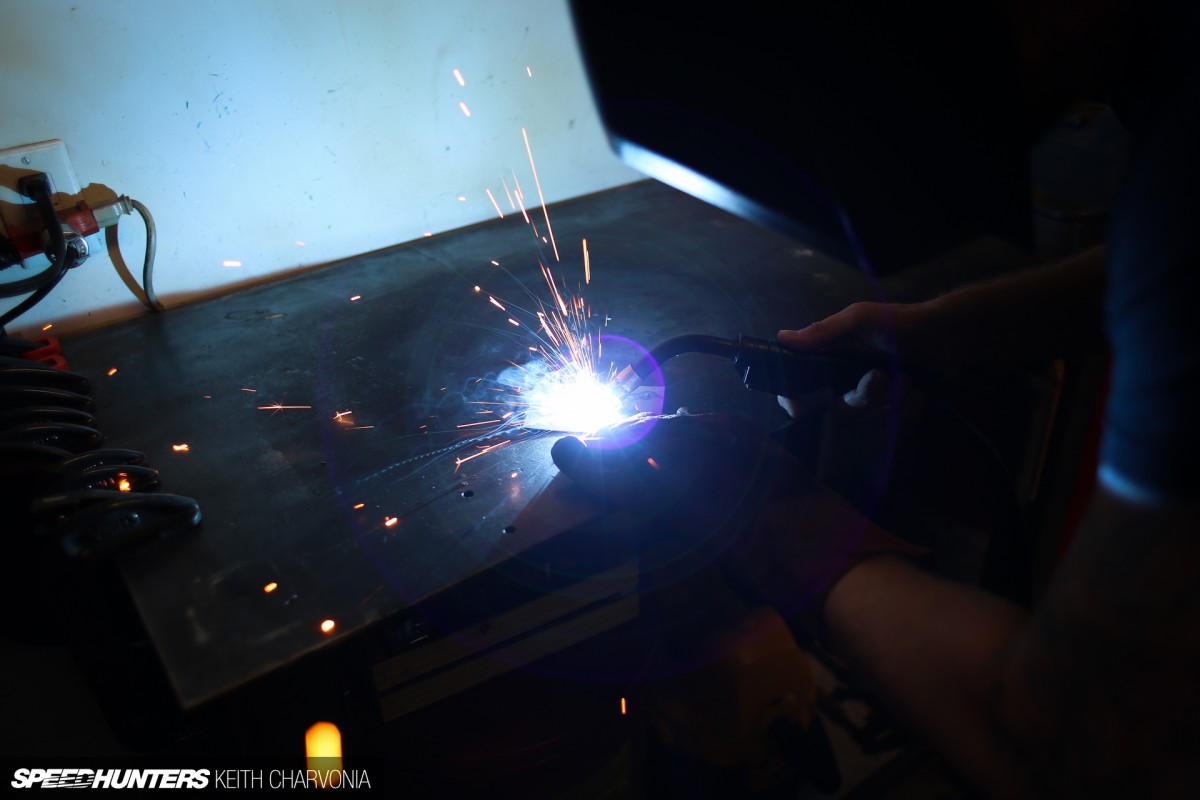
Joe caught on quickly, so I set him loose to get the feel for tack welding.
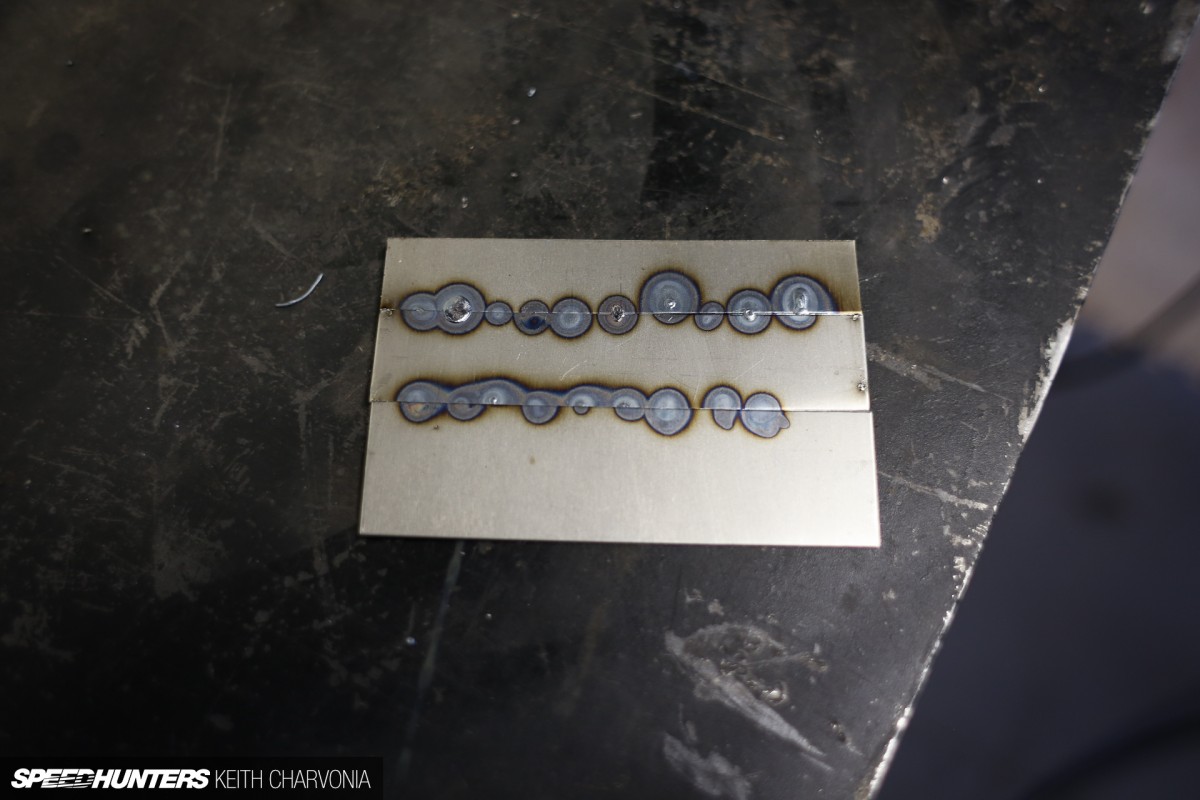
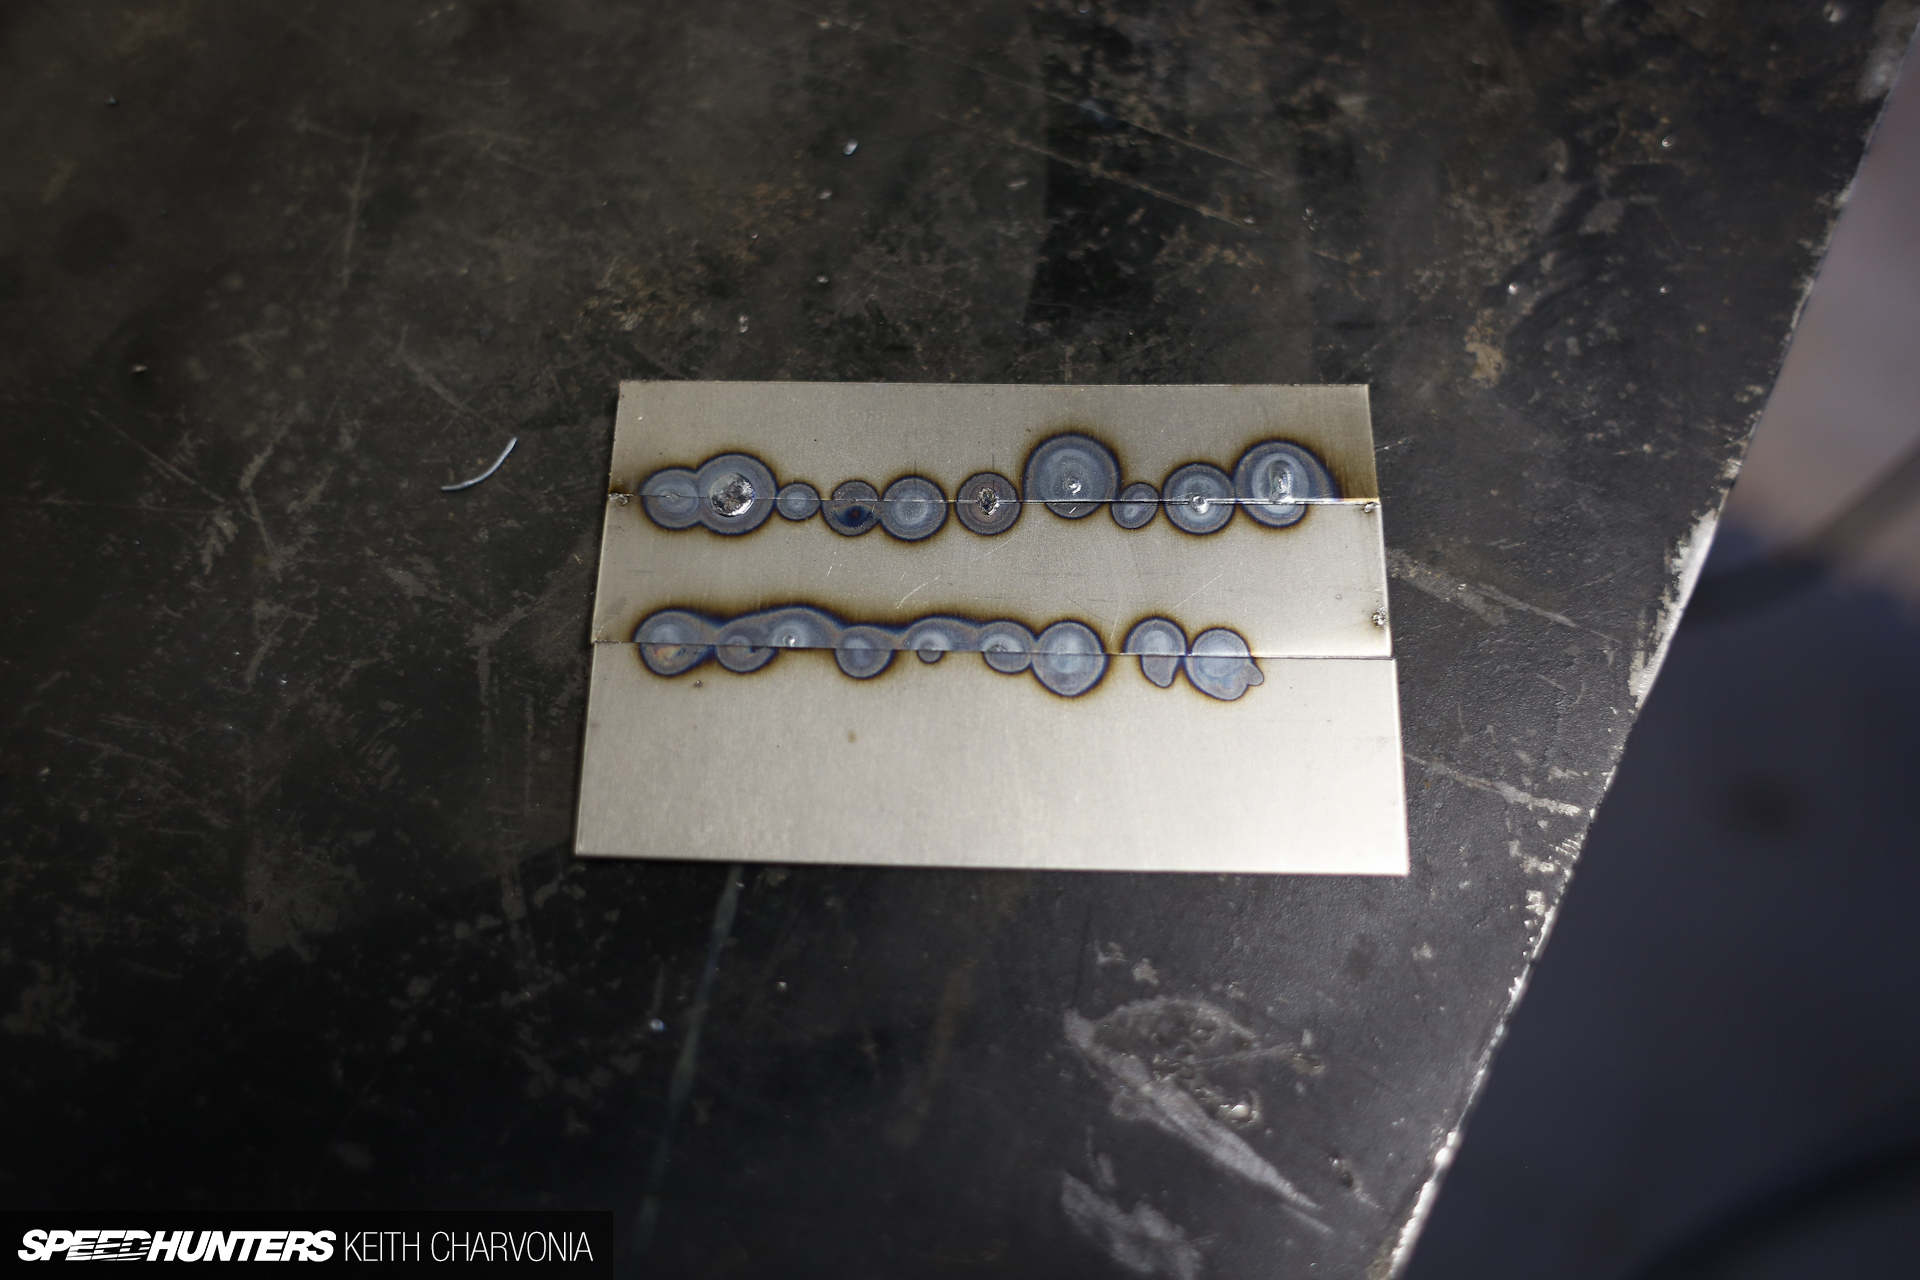
After a couple of minutes he ran out of room, so we stopped to inspect his work. Notice some of the welds are too hot and burned through to the back side. Since we didn’t change the voltage or wire speed, this just means he held the trigger a little too long. The other thing to note is that some of the tacks didn’t penetrate both pieces of metal, and instead favored one side of the gap. This is just a matter of controlling the welding gun a little better.
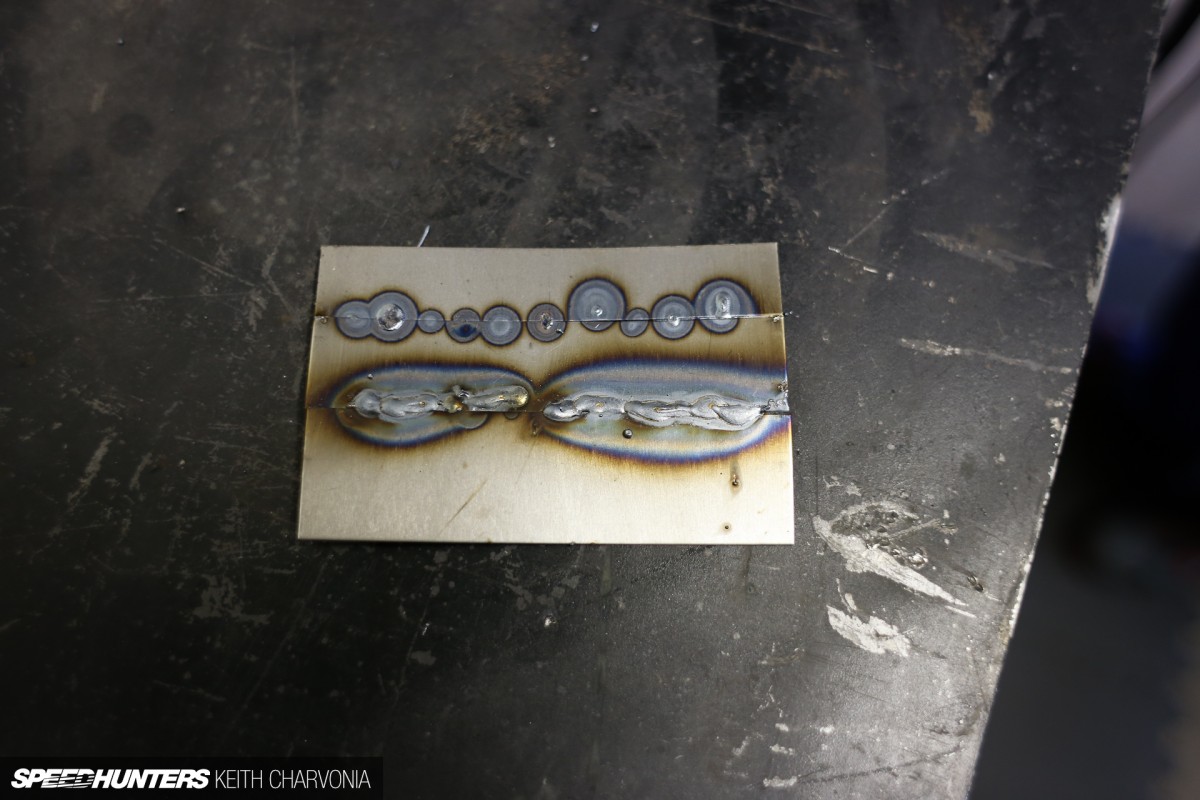
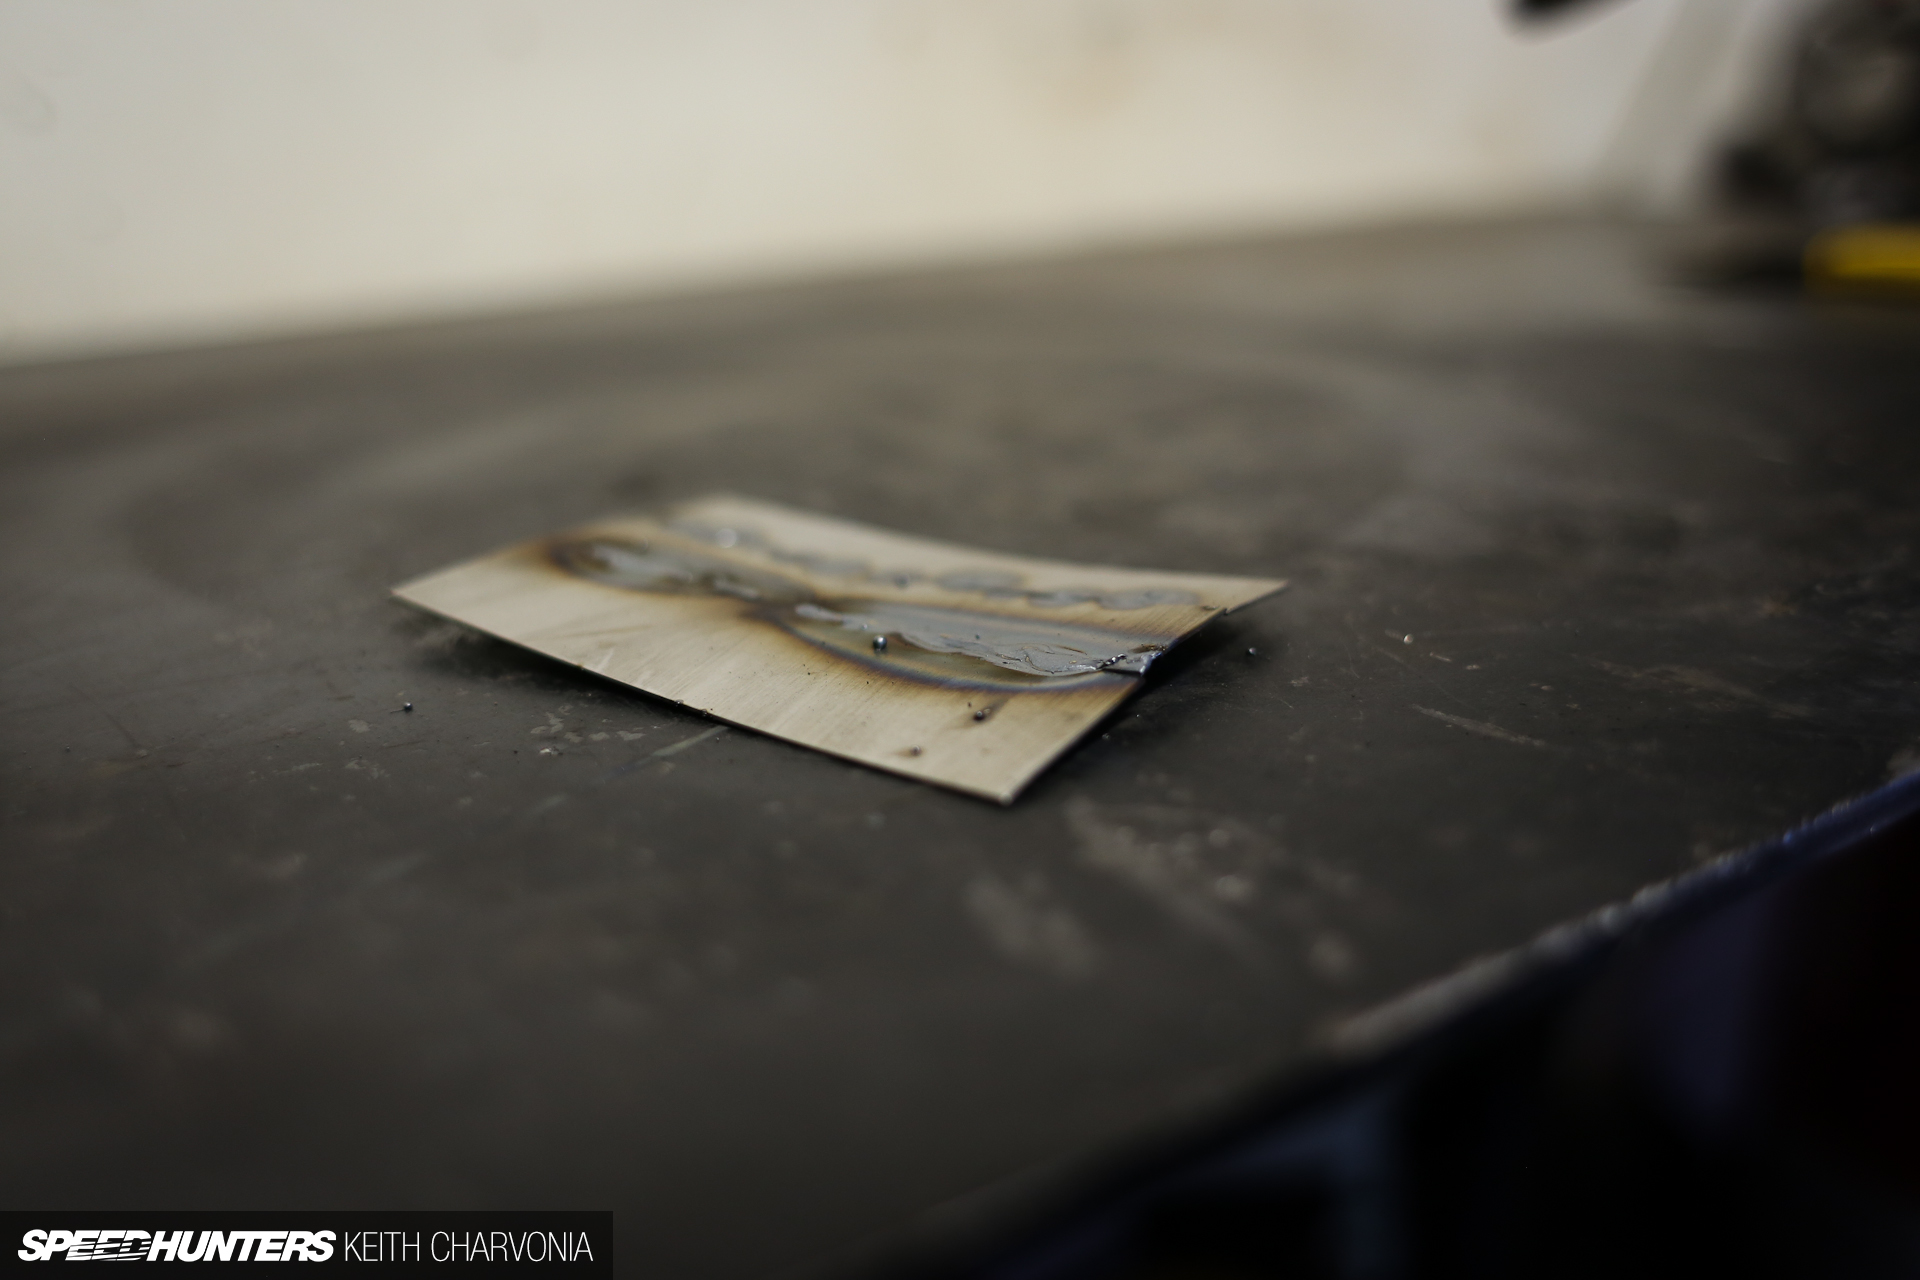
Joe was eager to get welding now, and wanted to try a bead. This would be a perfect example to learn from, but he didn’t know why yet. Notice all the heat his beads put into the panel compared to the smaller tack welds.
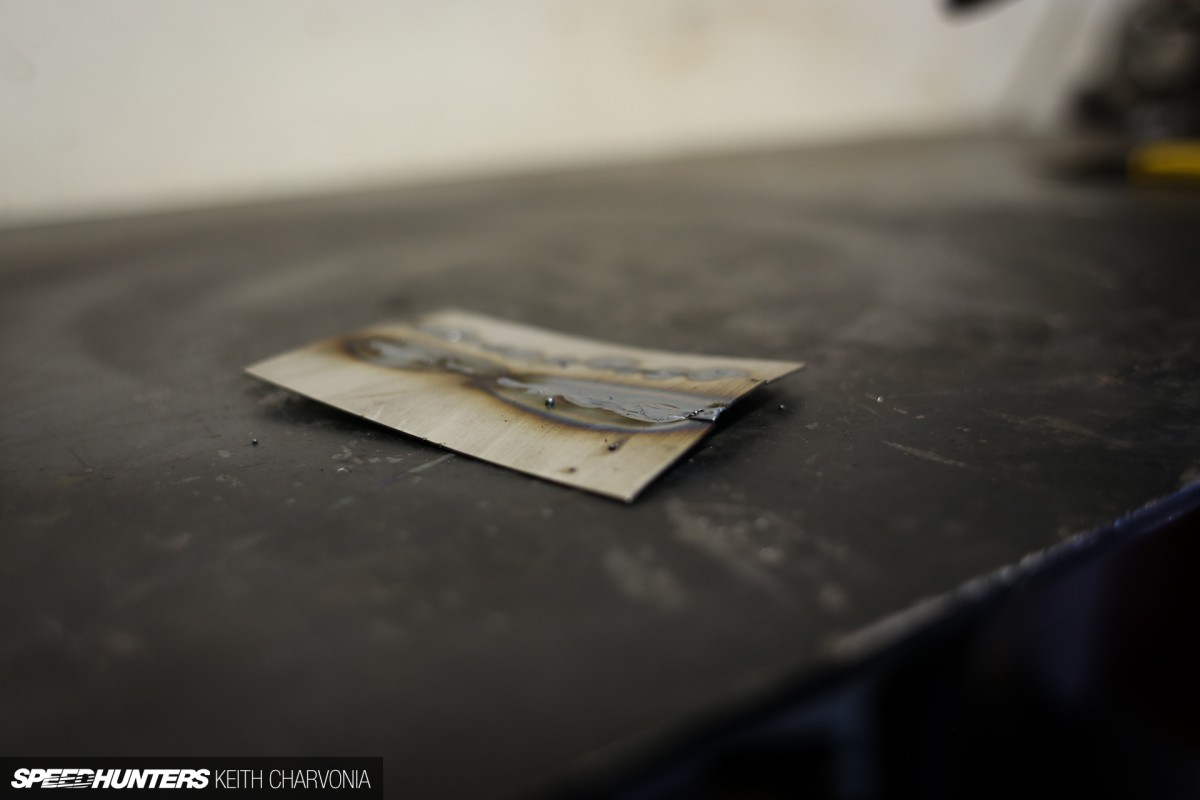
This is precisely why you don’t weld a continuous bead on your car’s sheetmetal. You have to go slow and space your tacks out so you don’t put too much heat into the body panel and warp it like this. This is also the reason I prefer working on older cars; they were made with thicker metal and are much easier to weld than modern cars.
We can get into laying a bead another time – for now we’re going to focus exclusively on tack welding since we’re working on the relatively thin sheetmetal of Joe’s ’49 Chevy truck.
FINAL CHAPTER
Now, the real work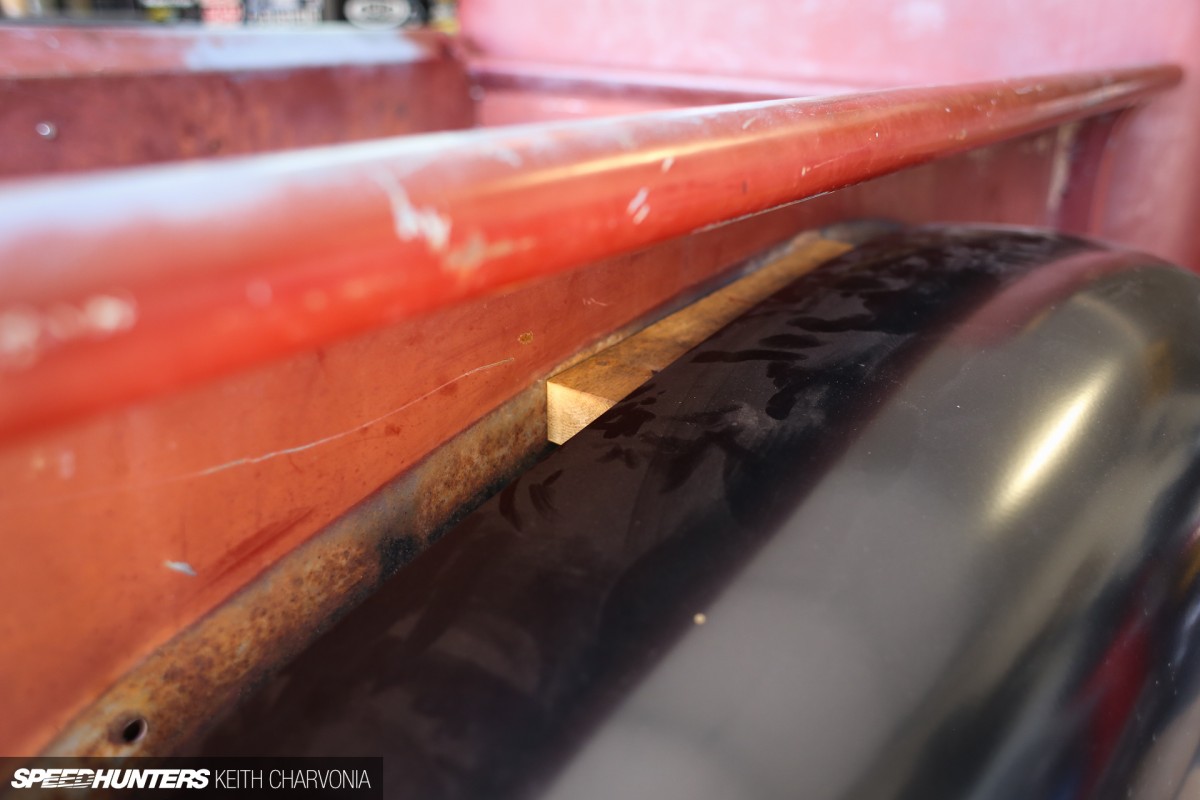
Now that Joe could lay down a tack weld, it was time to get to work and correct this ‘situation’ he had going on with his truck fenders.

We pulled the driver’s fender off and chucked the wood blocks.
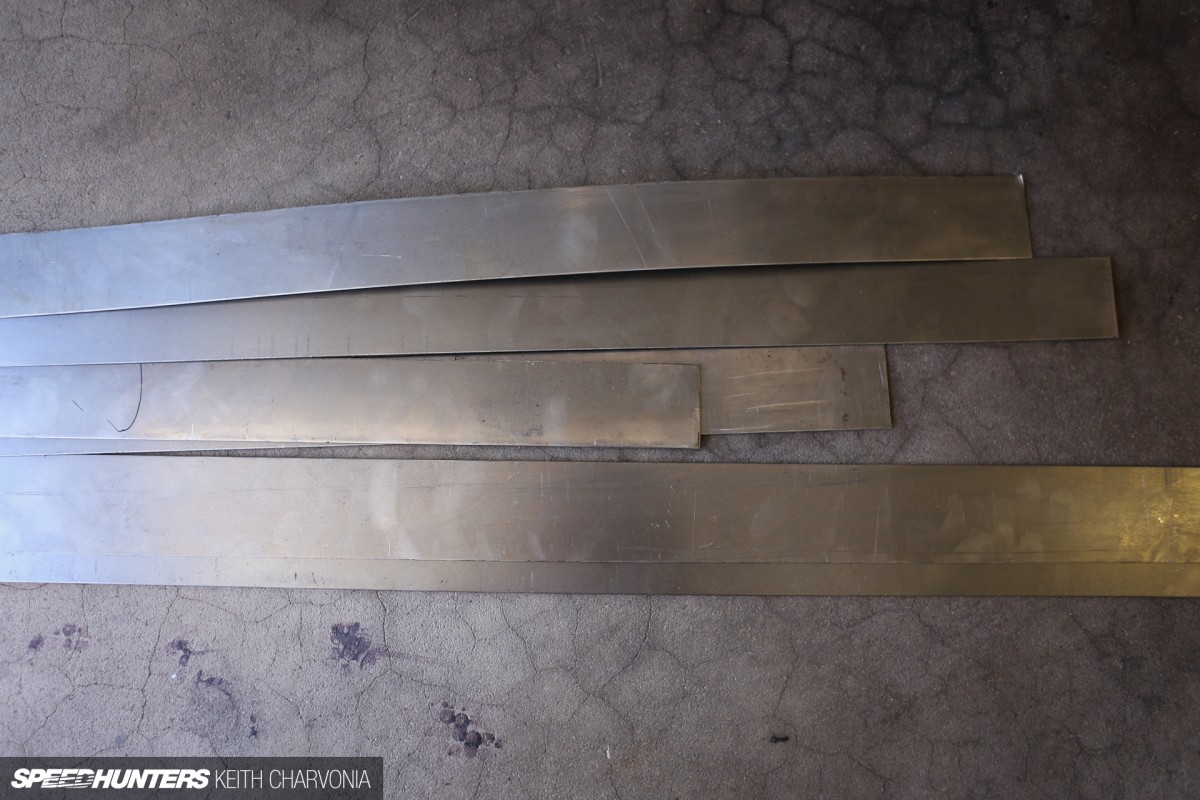
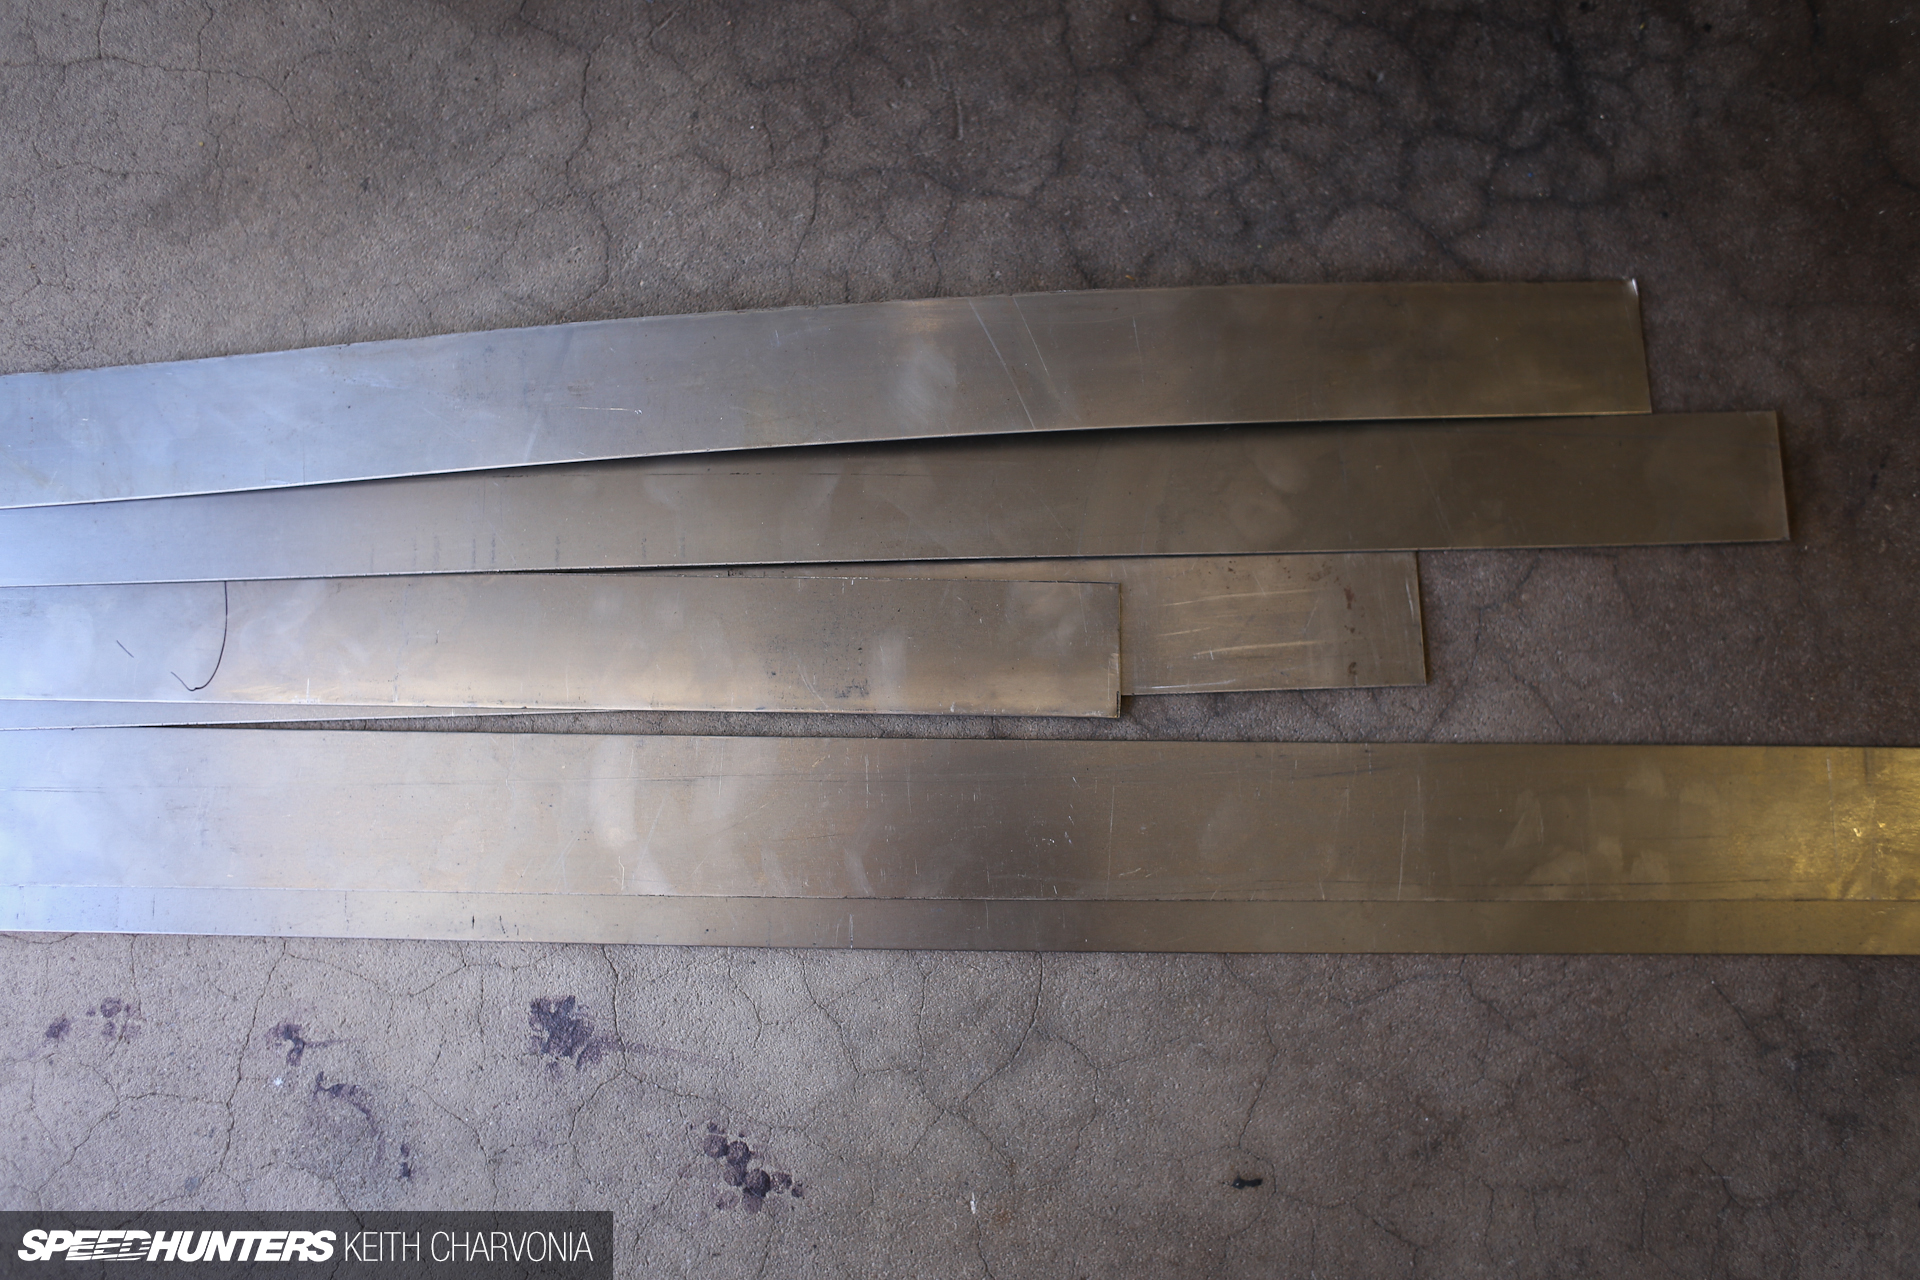
Planning ahead, I asked Joe to have the steel yard cut some 2″ wide strips of 18 gauge steel to save some time.
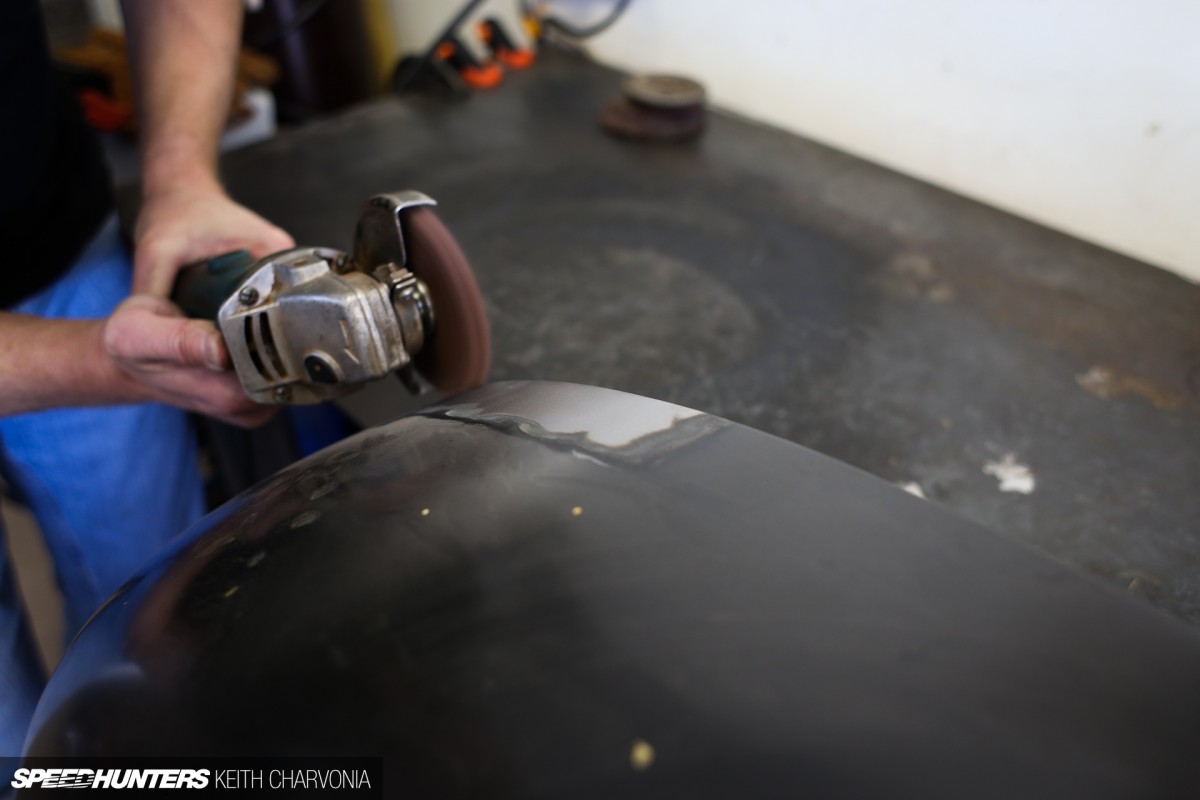
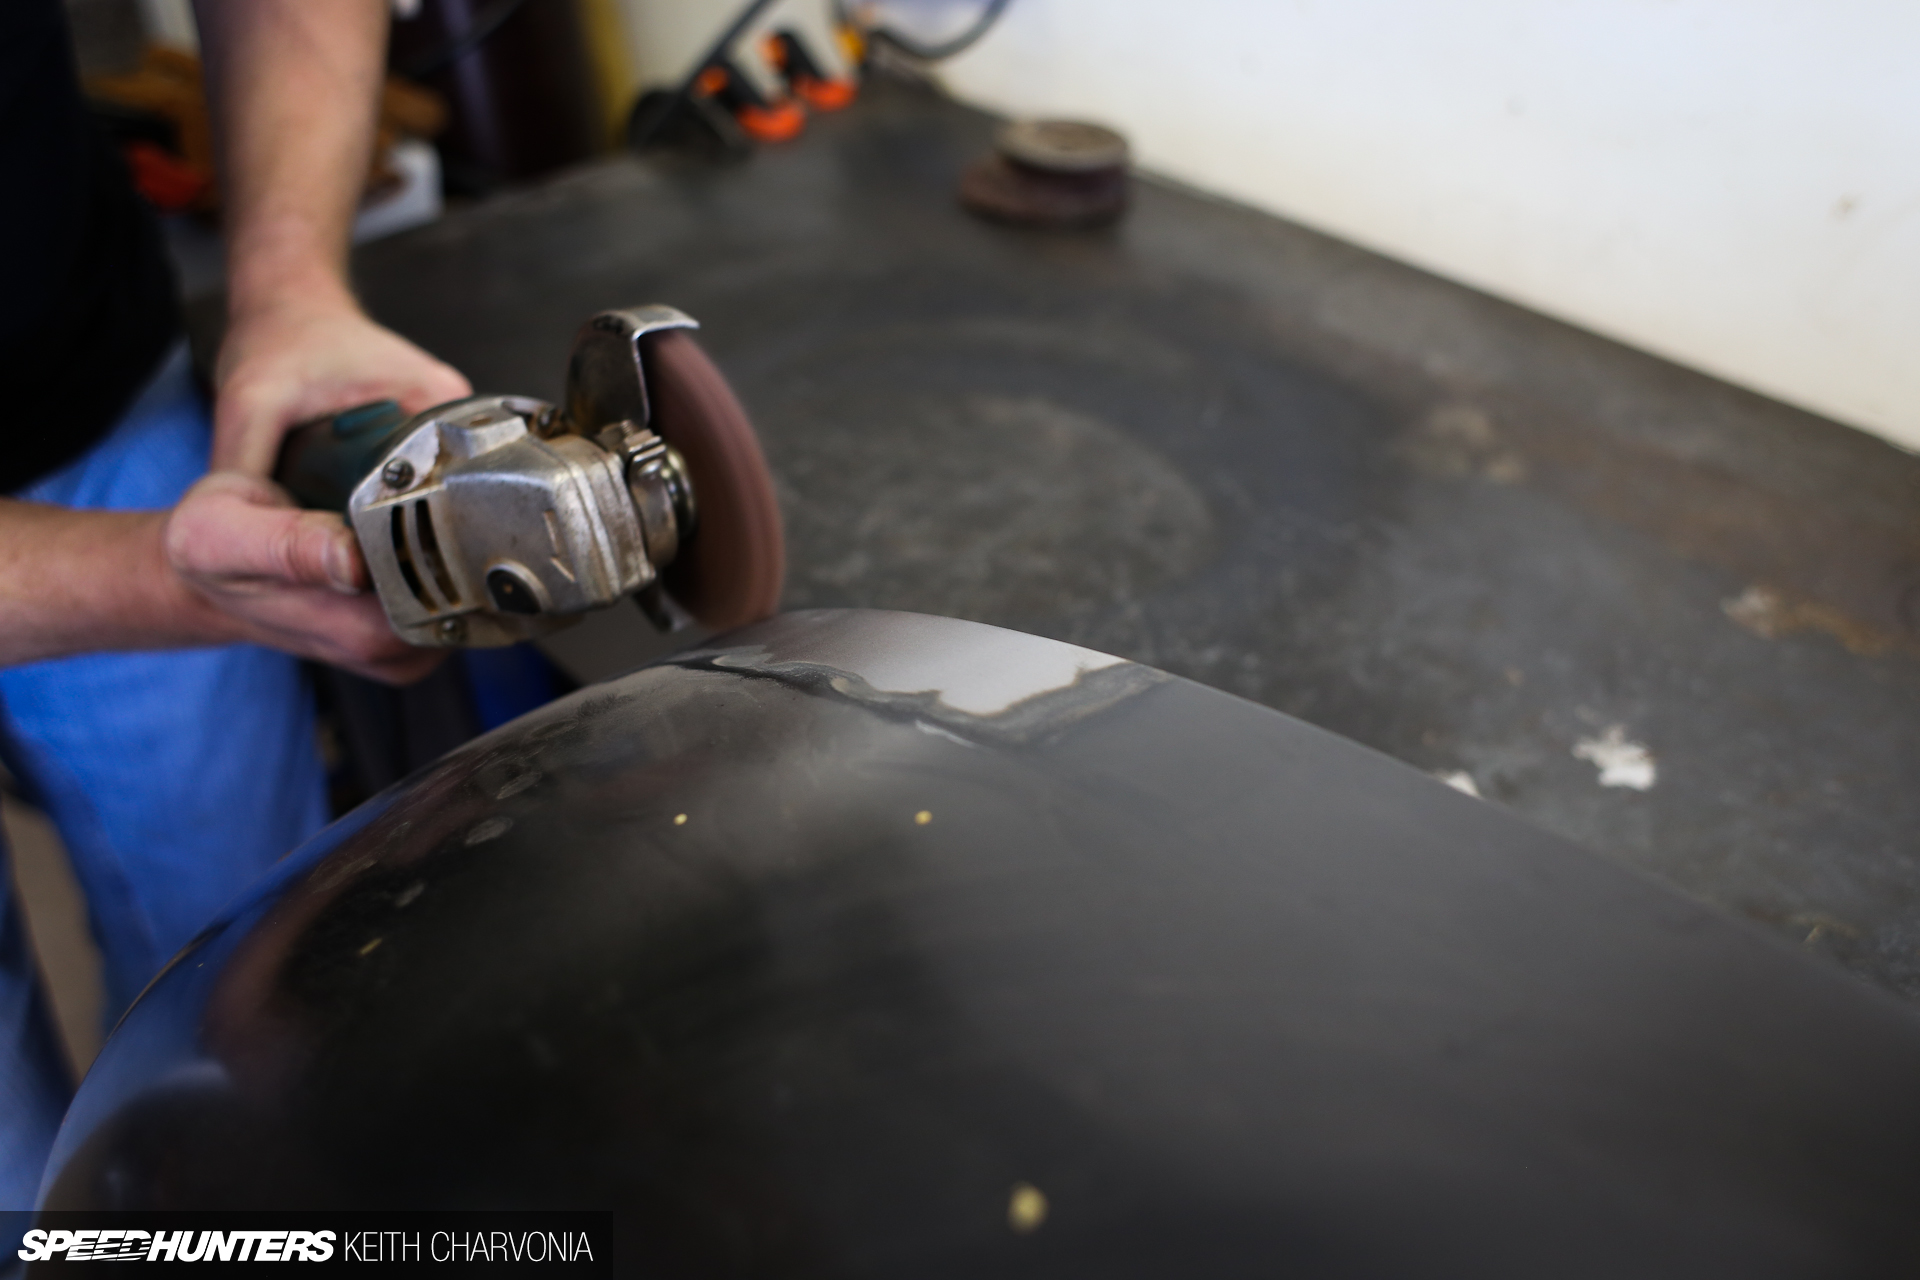
With the fender on the workbench we proceeded to strip away the paint where we would be welding. I have a stash of red Scotchbrite wheels that I scored at a previous job, but I’ve yet to find them at a reasonable price anywhere. They work great for stripping paint without getting into the metal. You could also use a sanding disk or grinding wheel, but you need to use a very soft touch so you don’t thin out the metal and make it more difficult to weld. This is also why I strip the paint before I cut the panel apart – if you do it after you will thin the edge by running the grinder over it.
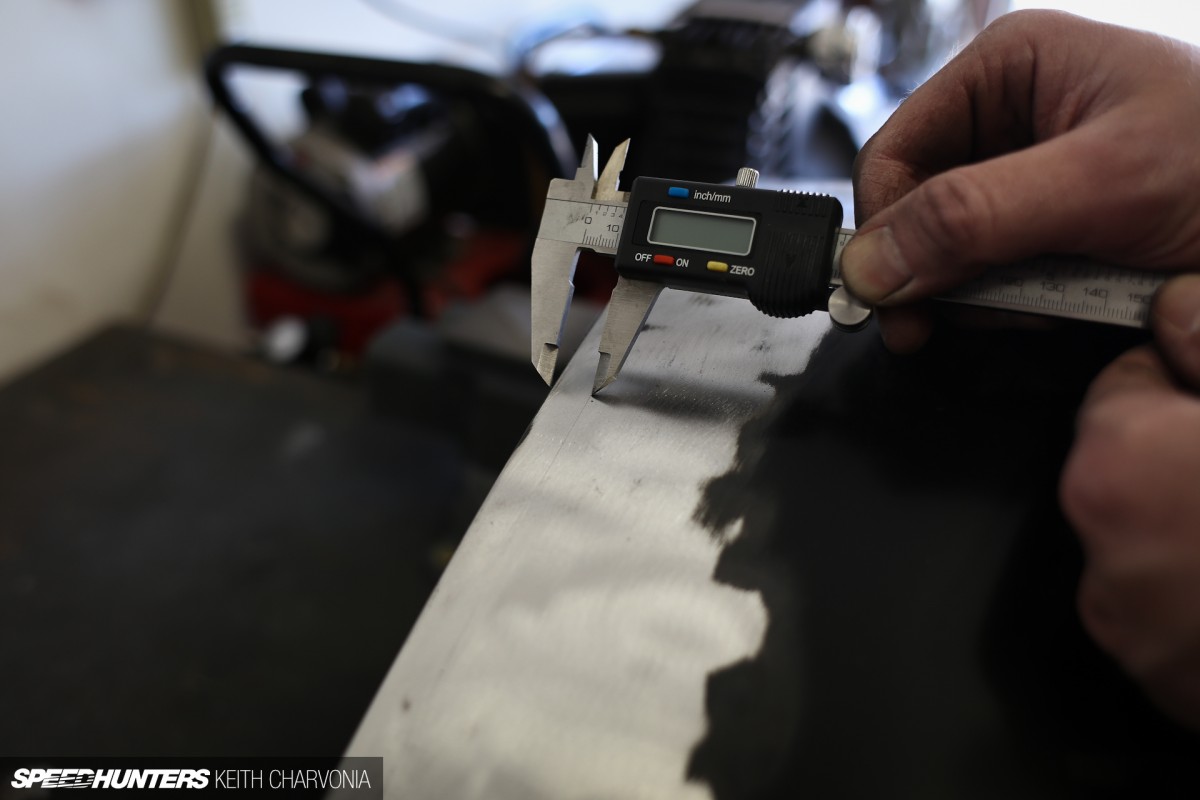
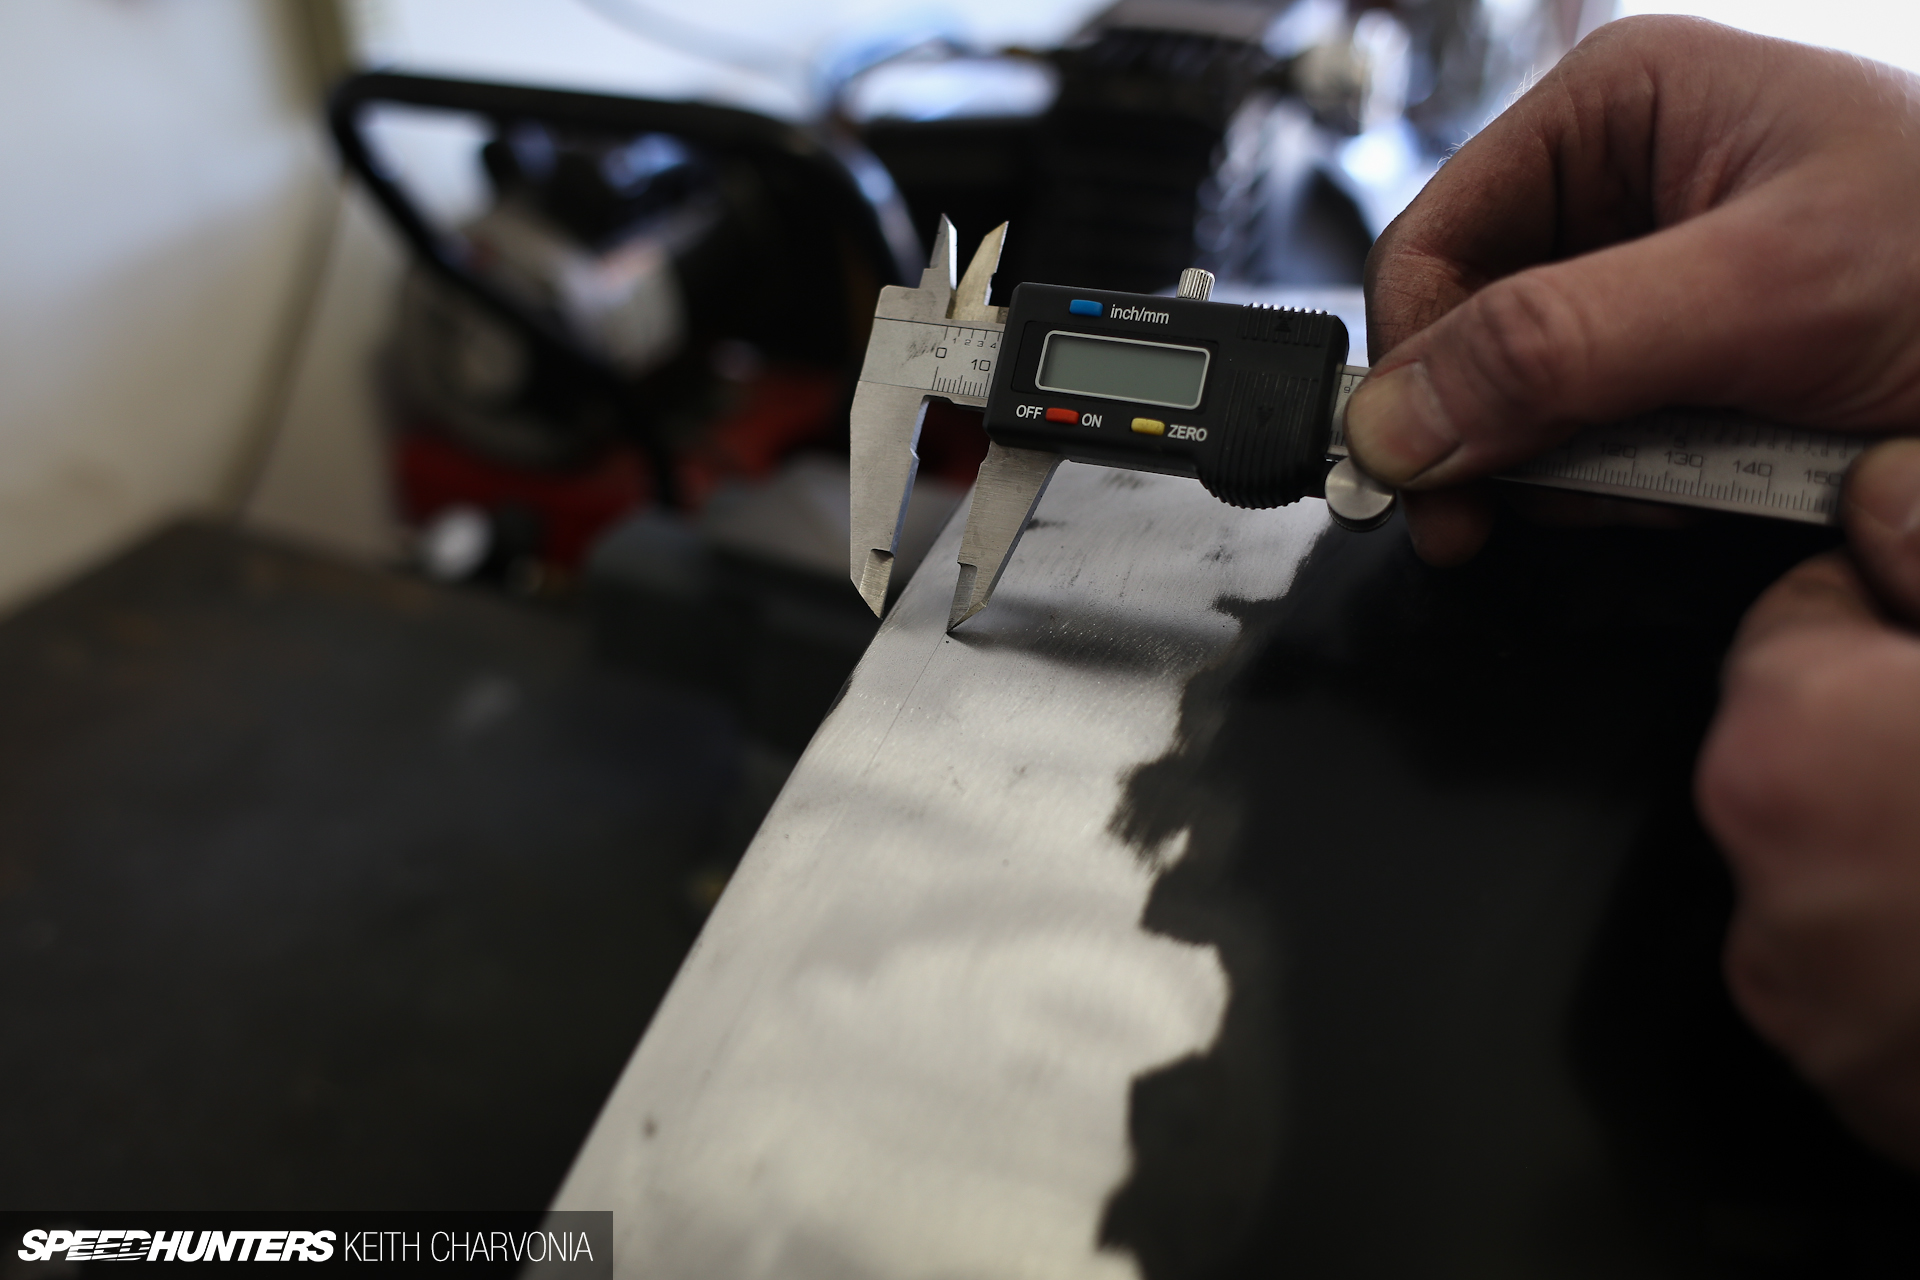
Next we took a cheap set of calipers and scribed an even line all the way around the inner edge of the fender.
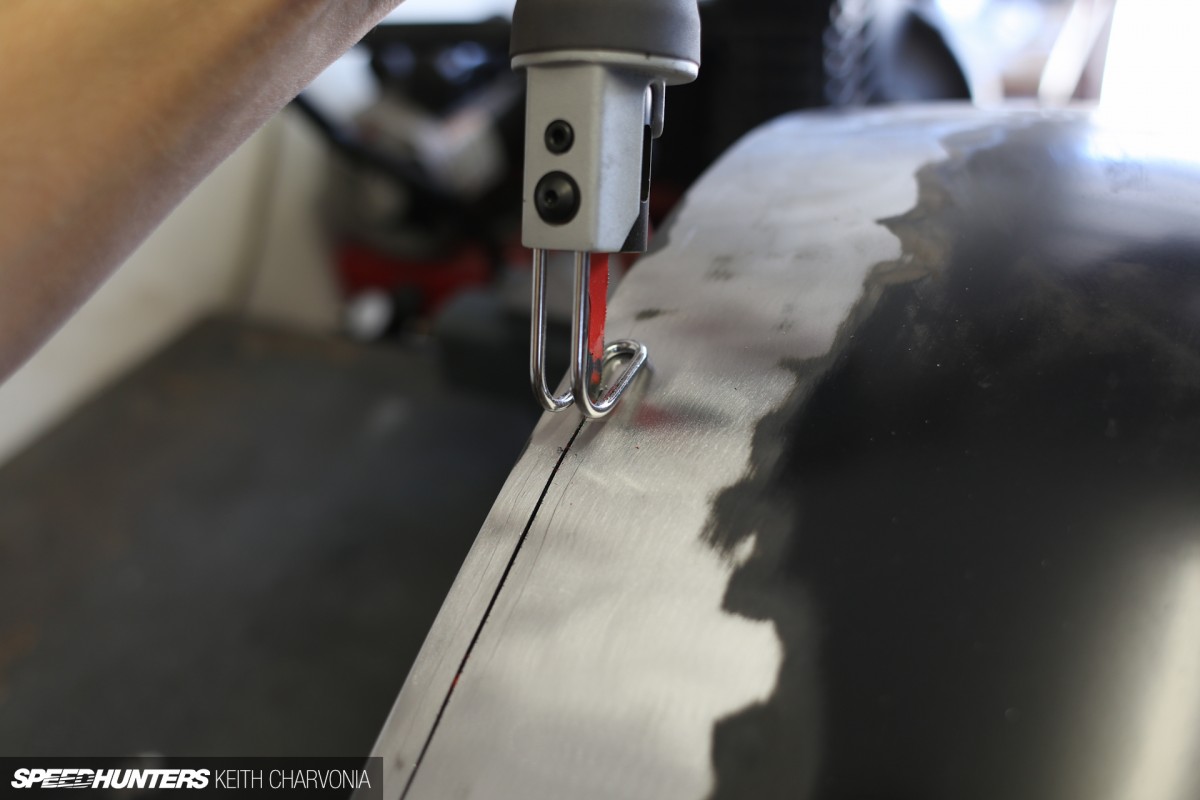
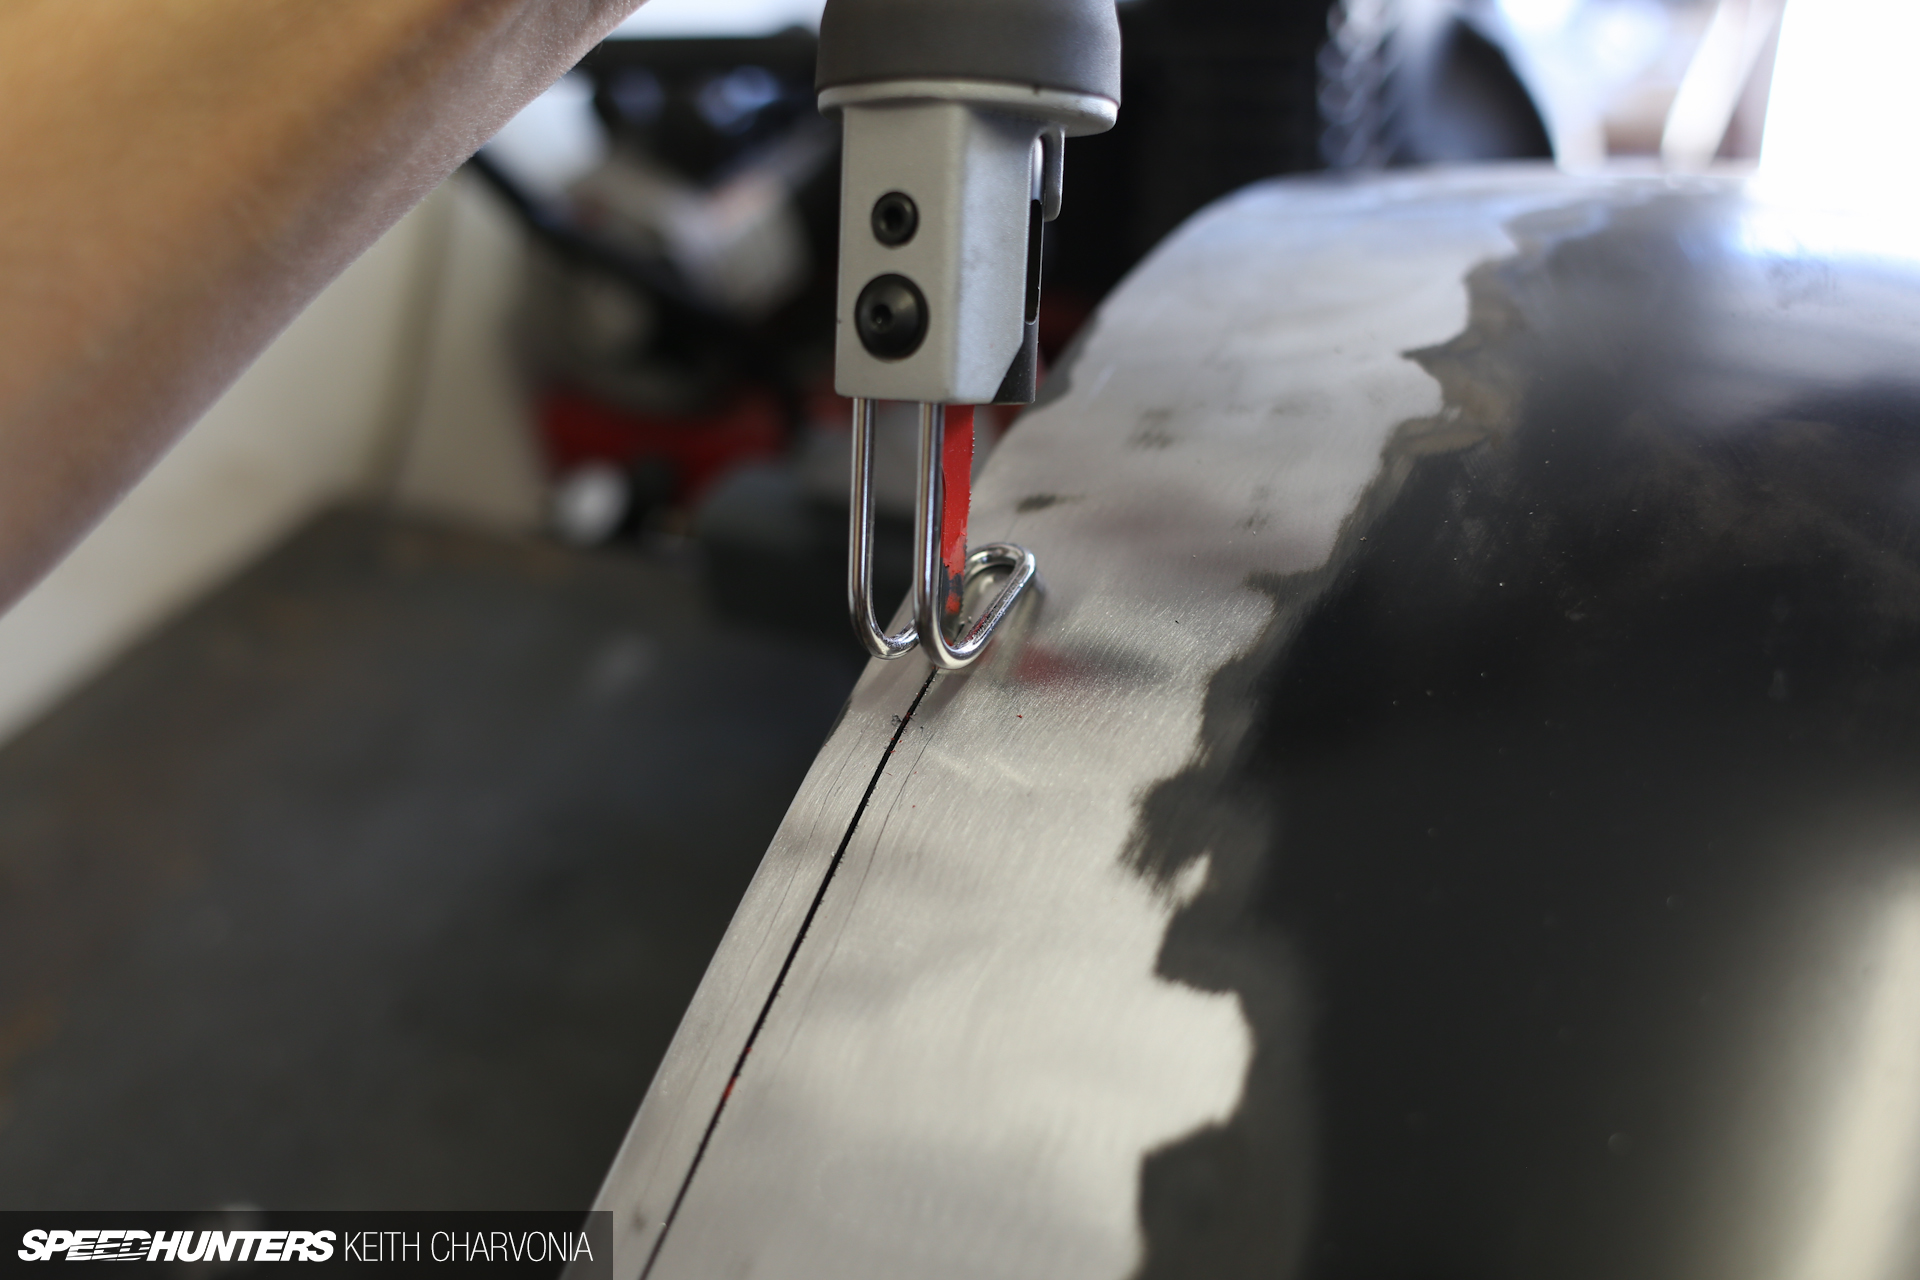
Then I just took my bodysaw and cut on the line. This is another tool where you get what you pay for. After struggling with cheap versions I ponied up for a good one and have never looked back.
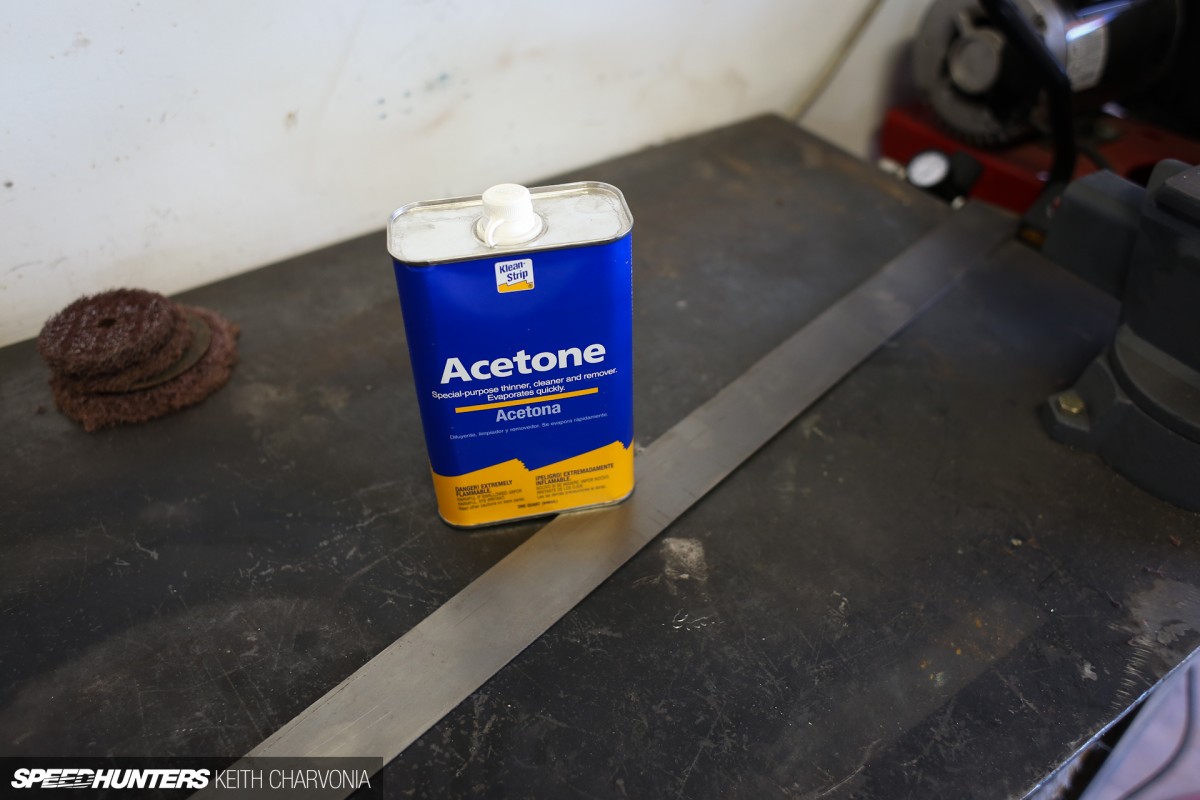
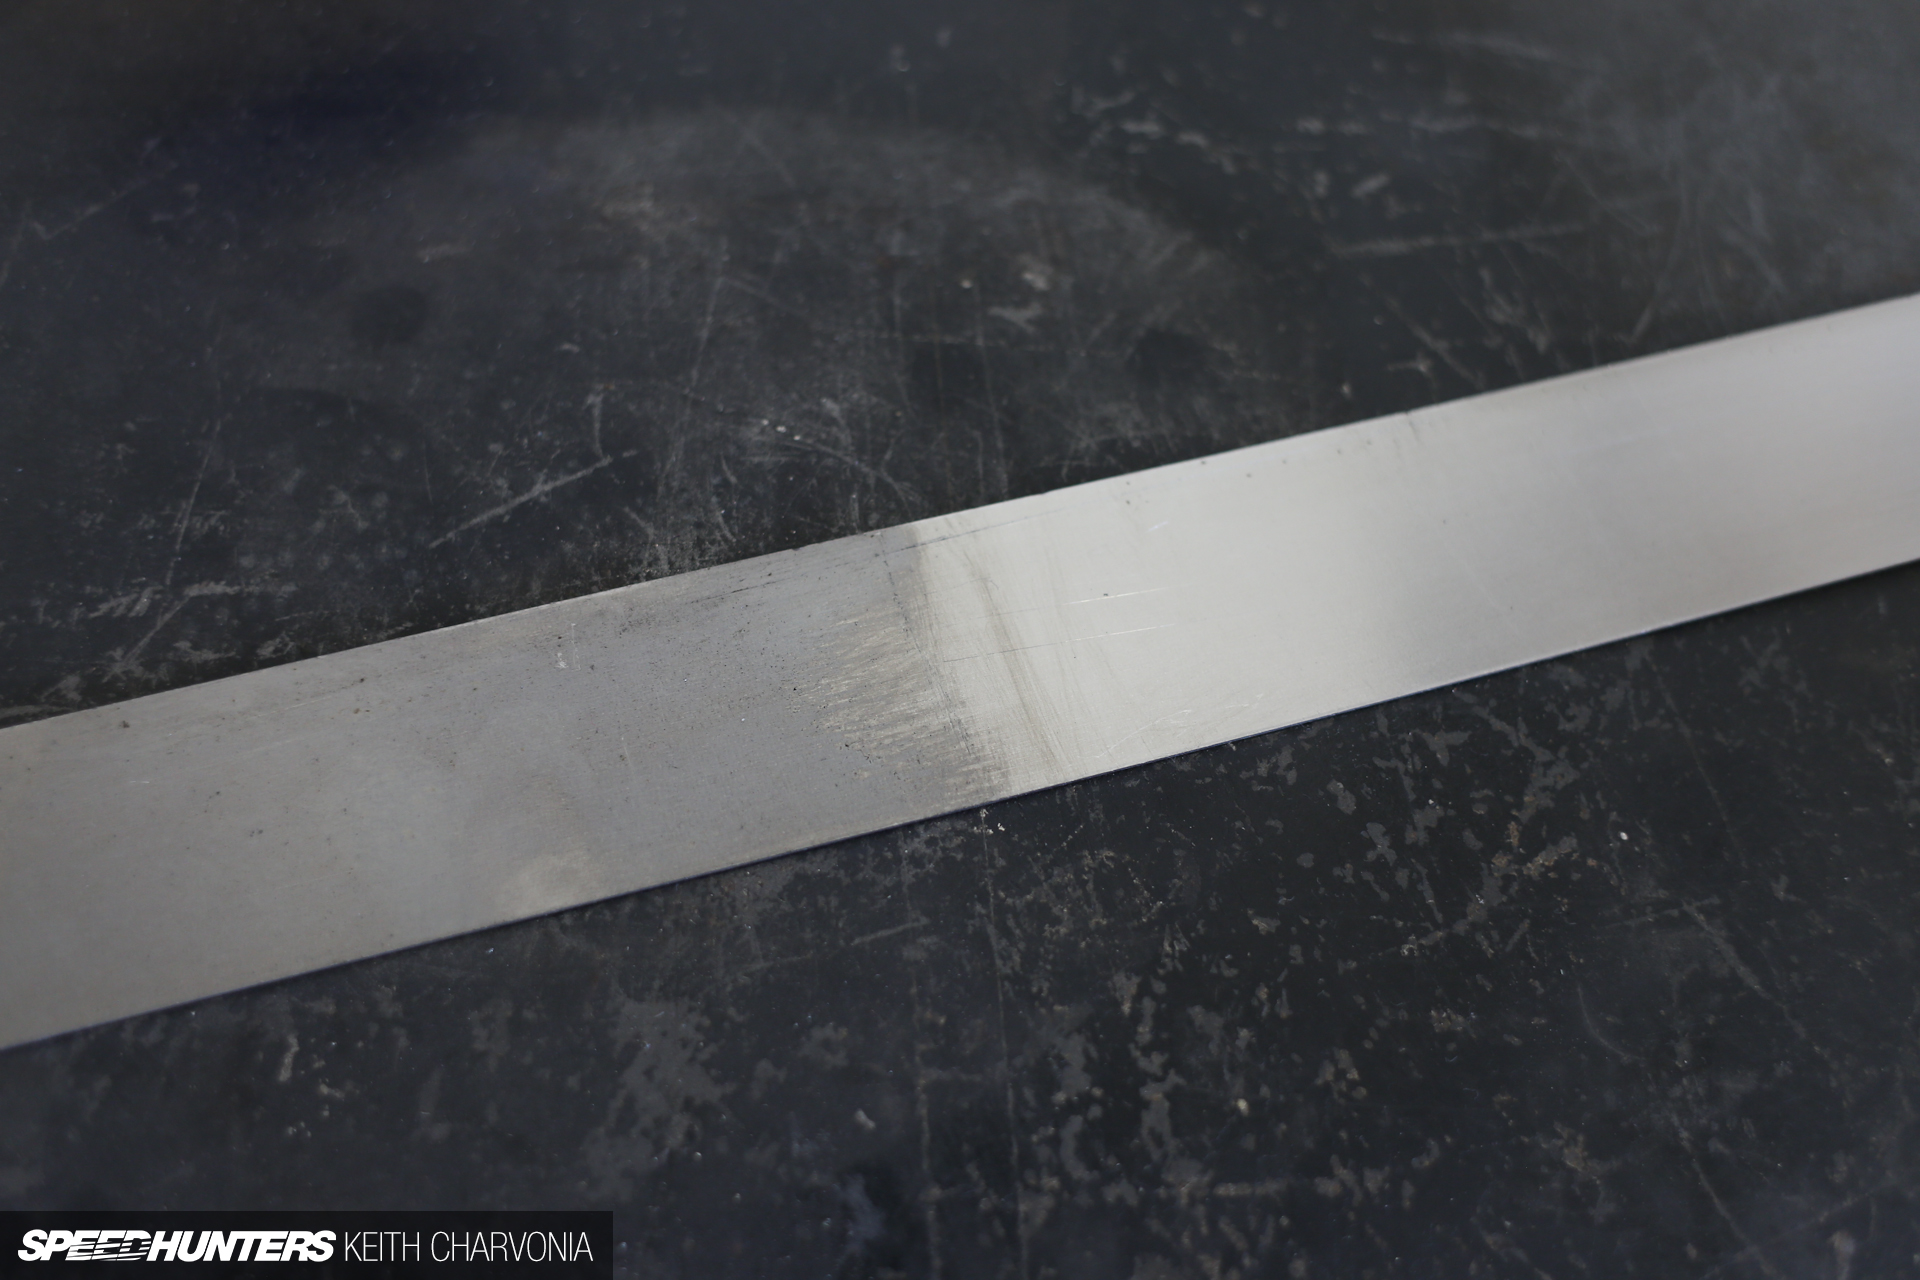
We already stripped the paint off the fender, but I didn’t really explain why. The best weld will come from clean metal, so any paint, rust or oil will only contaminate the weld, making it porous and weak. Even new metal has a coat of oil on it from the manufacturing process that keeps it from rusting while it sits at the steel yard.
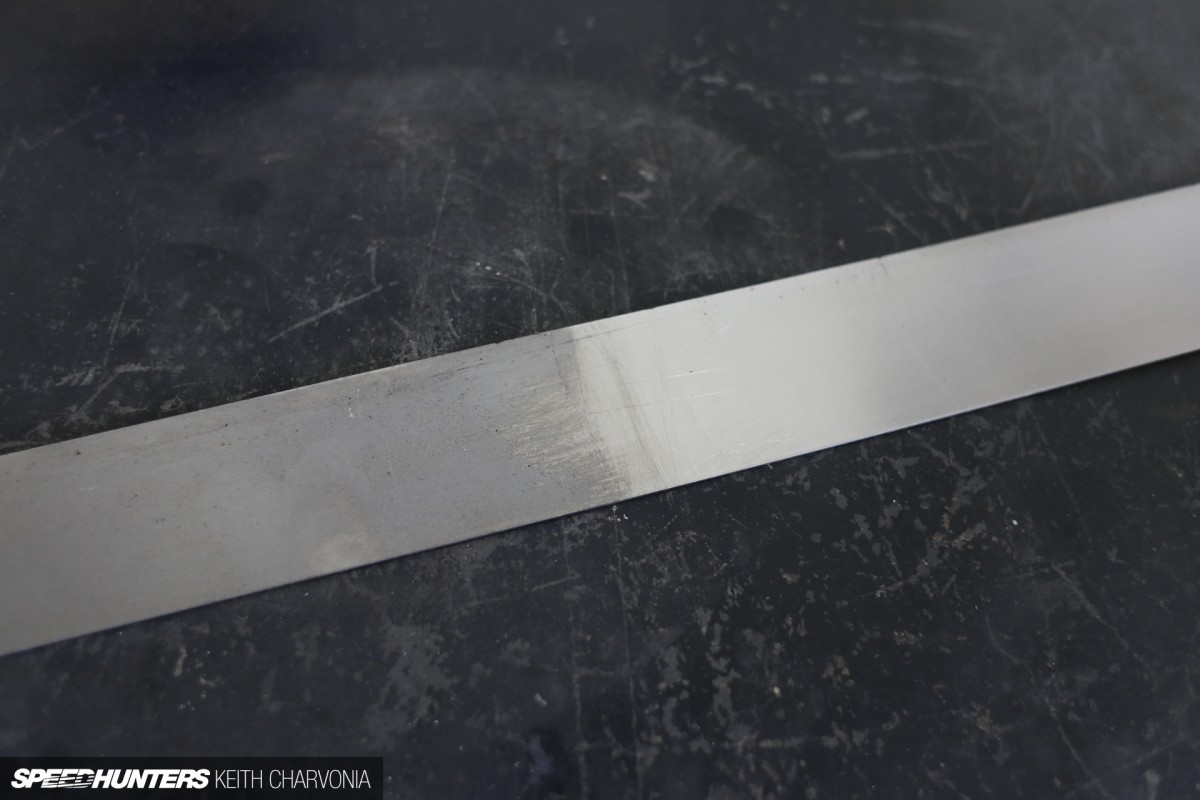
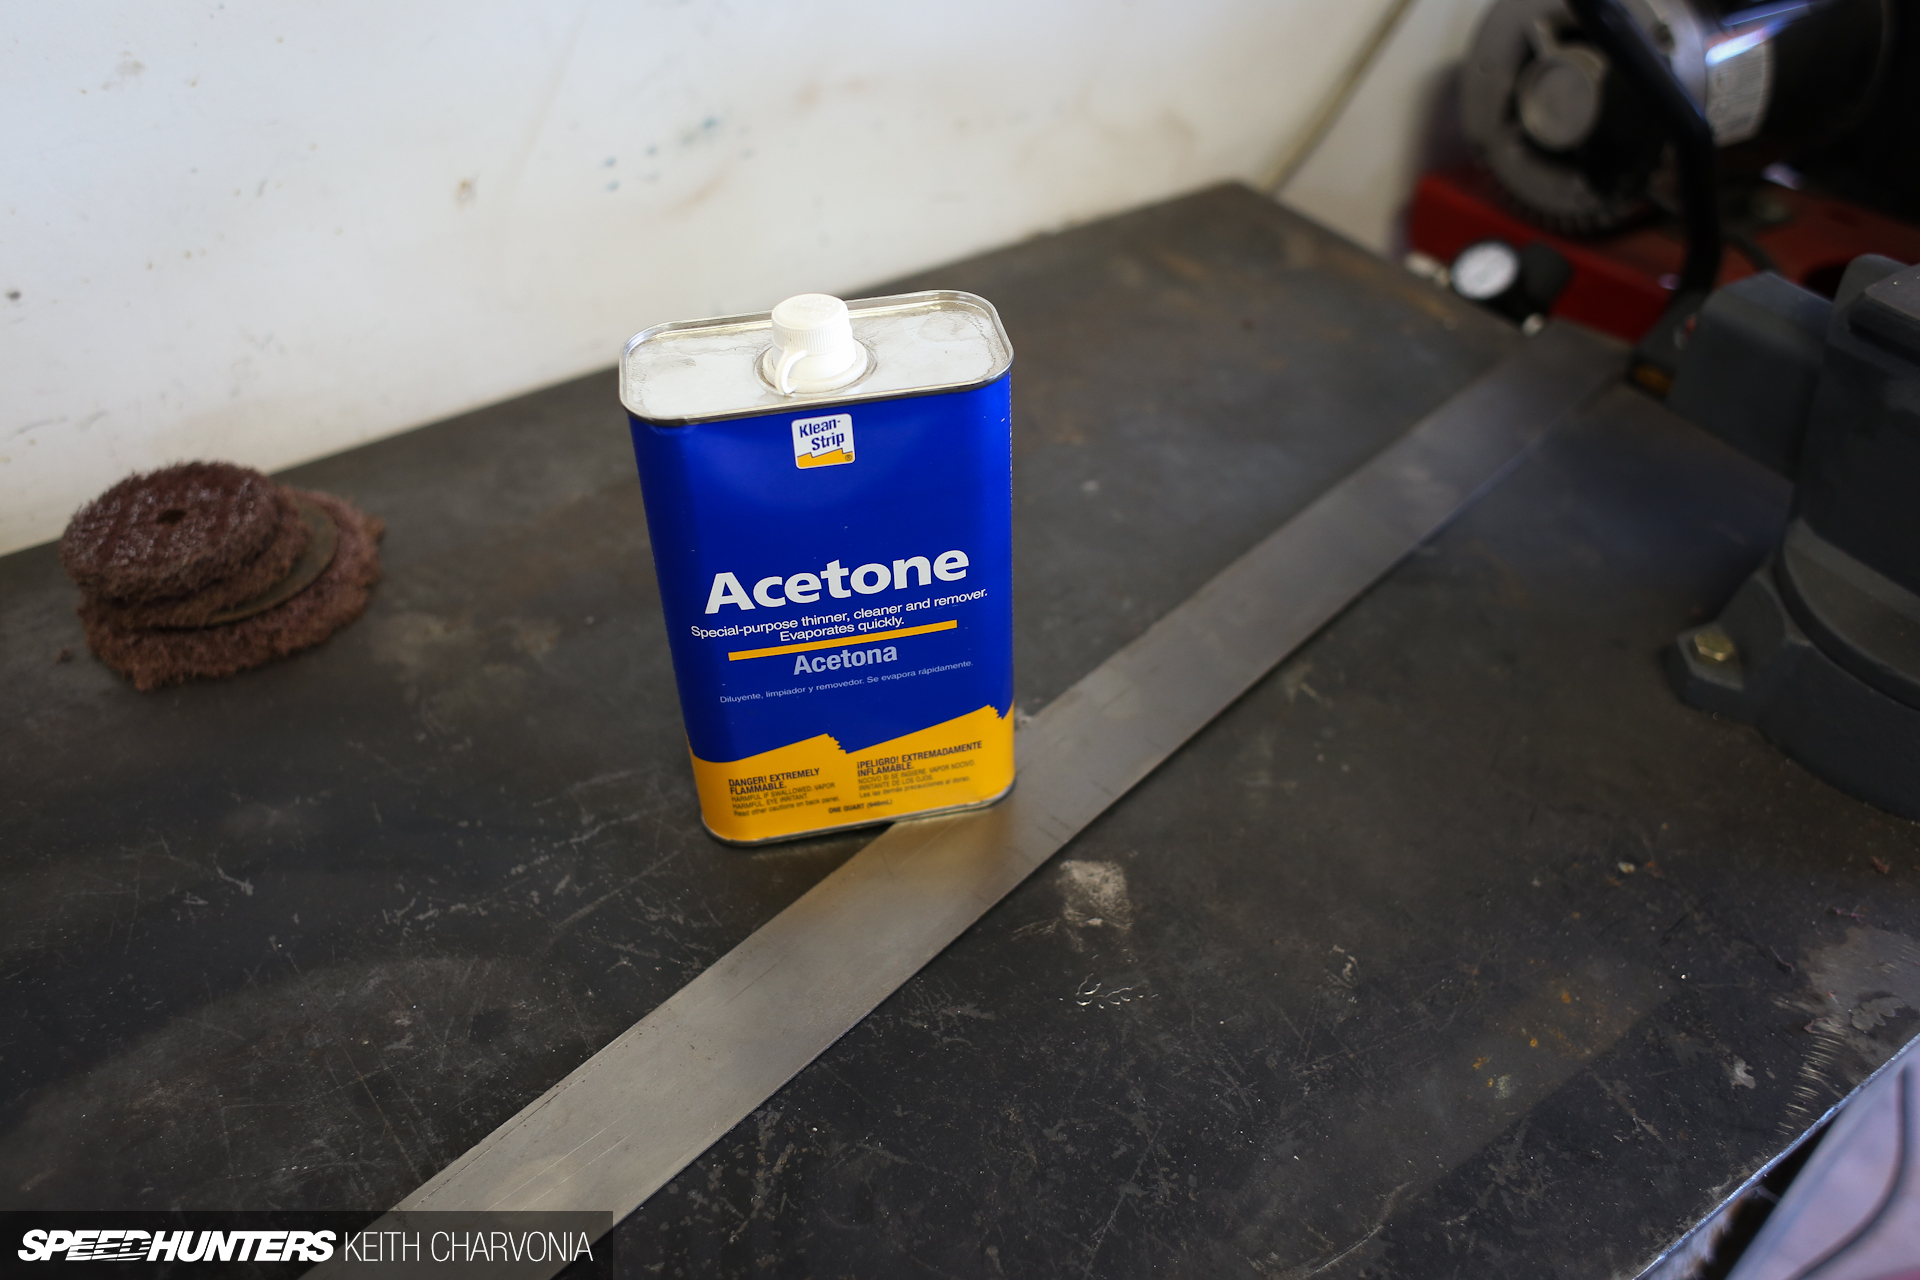
A quick wipe with some acetone on a clean towel reveals the shinier clean metal under the coat of oil. Make sure you put the acetone and the now highly flammable towel away before you start welding!
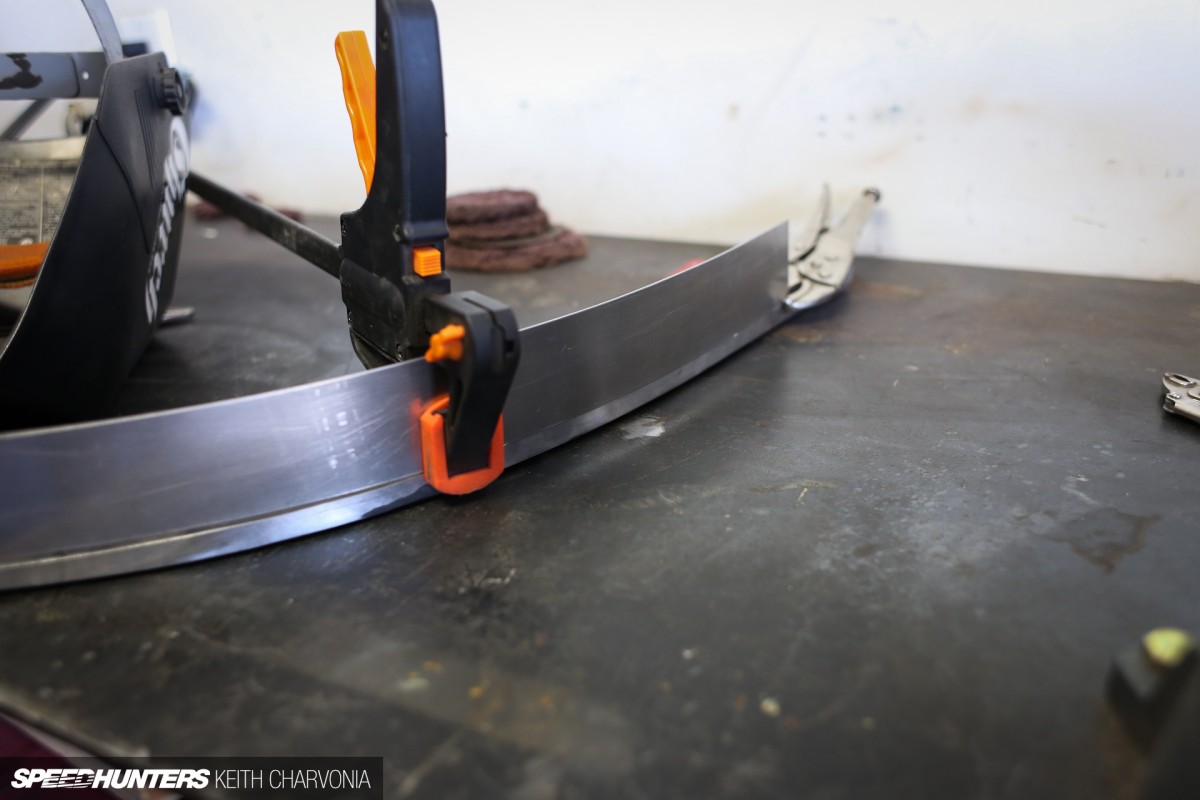
Like so many things, the success of the project hinges on the level of prep you do before getting down to the actual work. Finally, we were able to start clamping up the metal to widen the fenders.
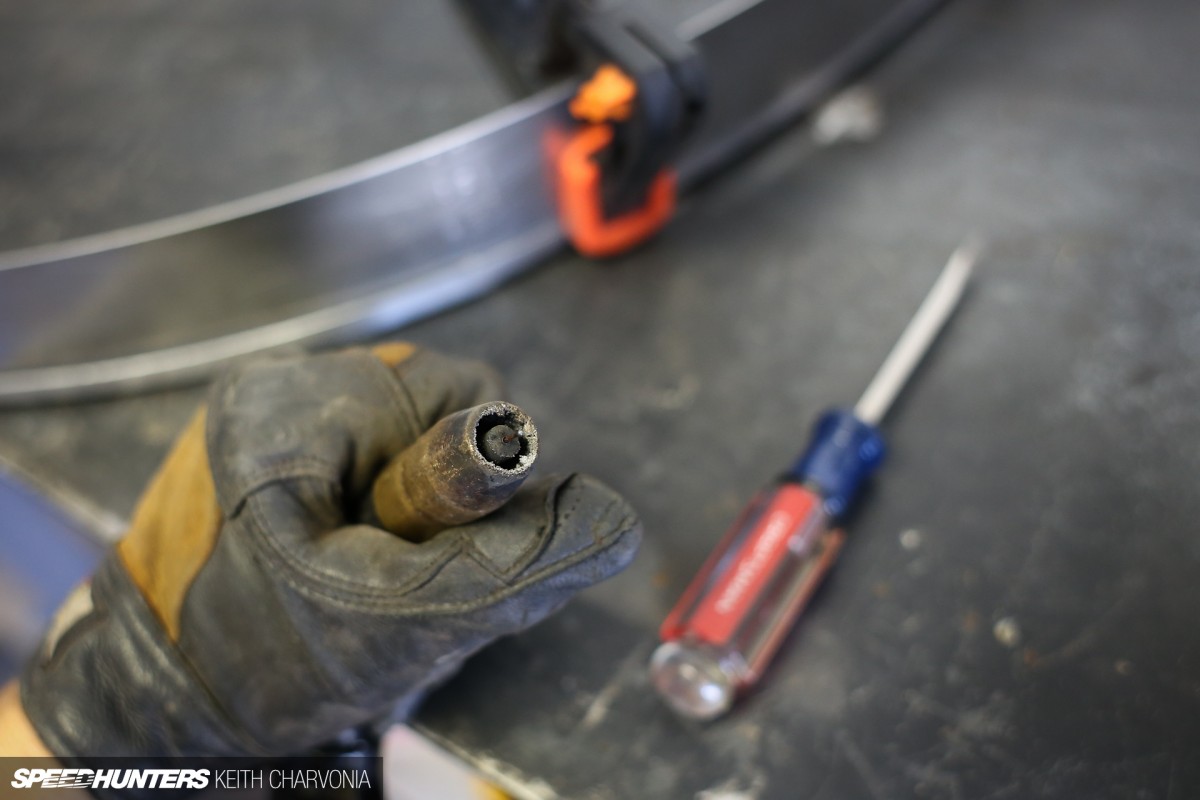
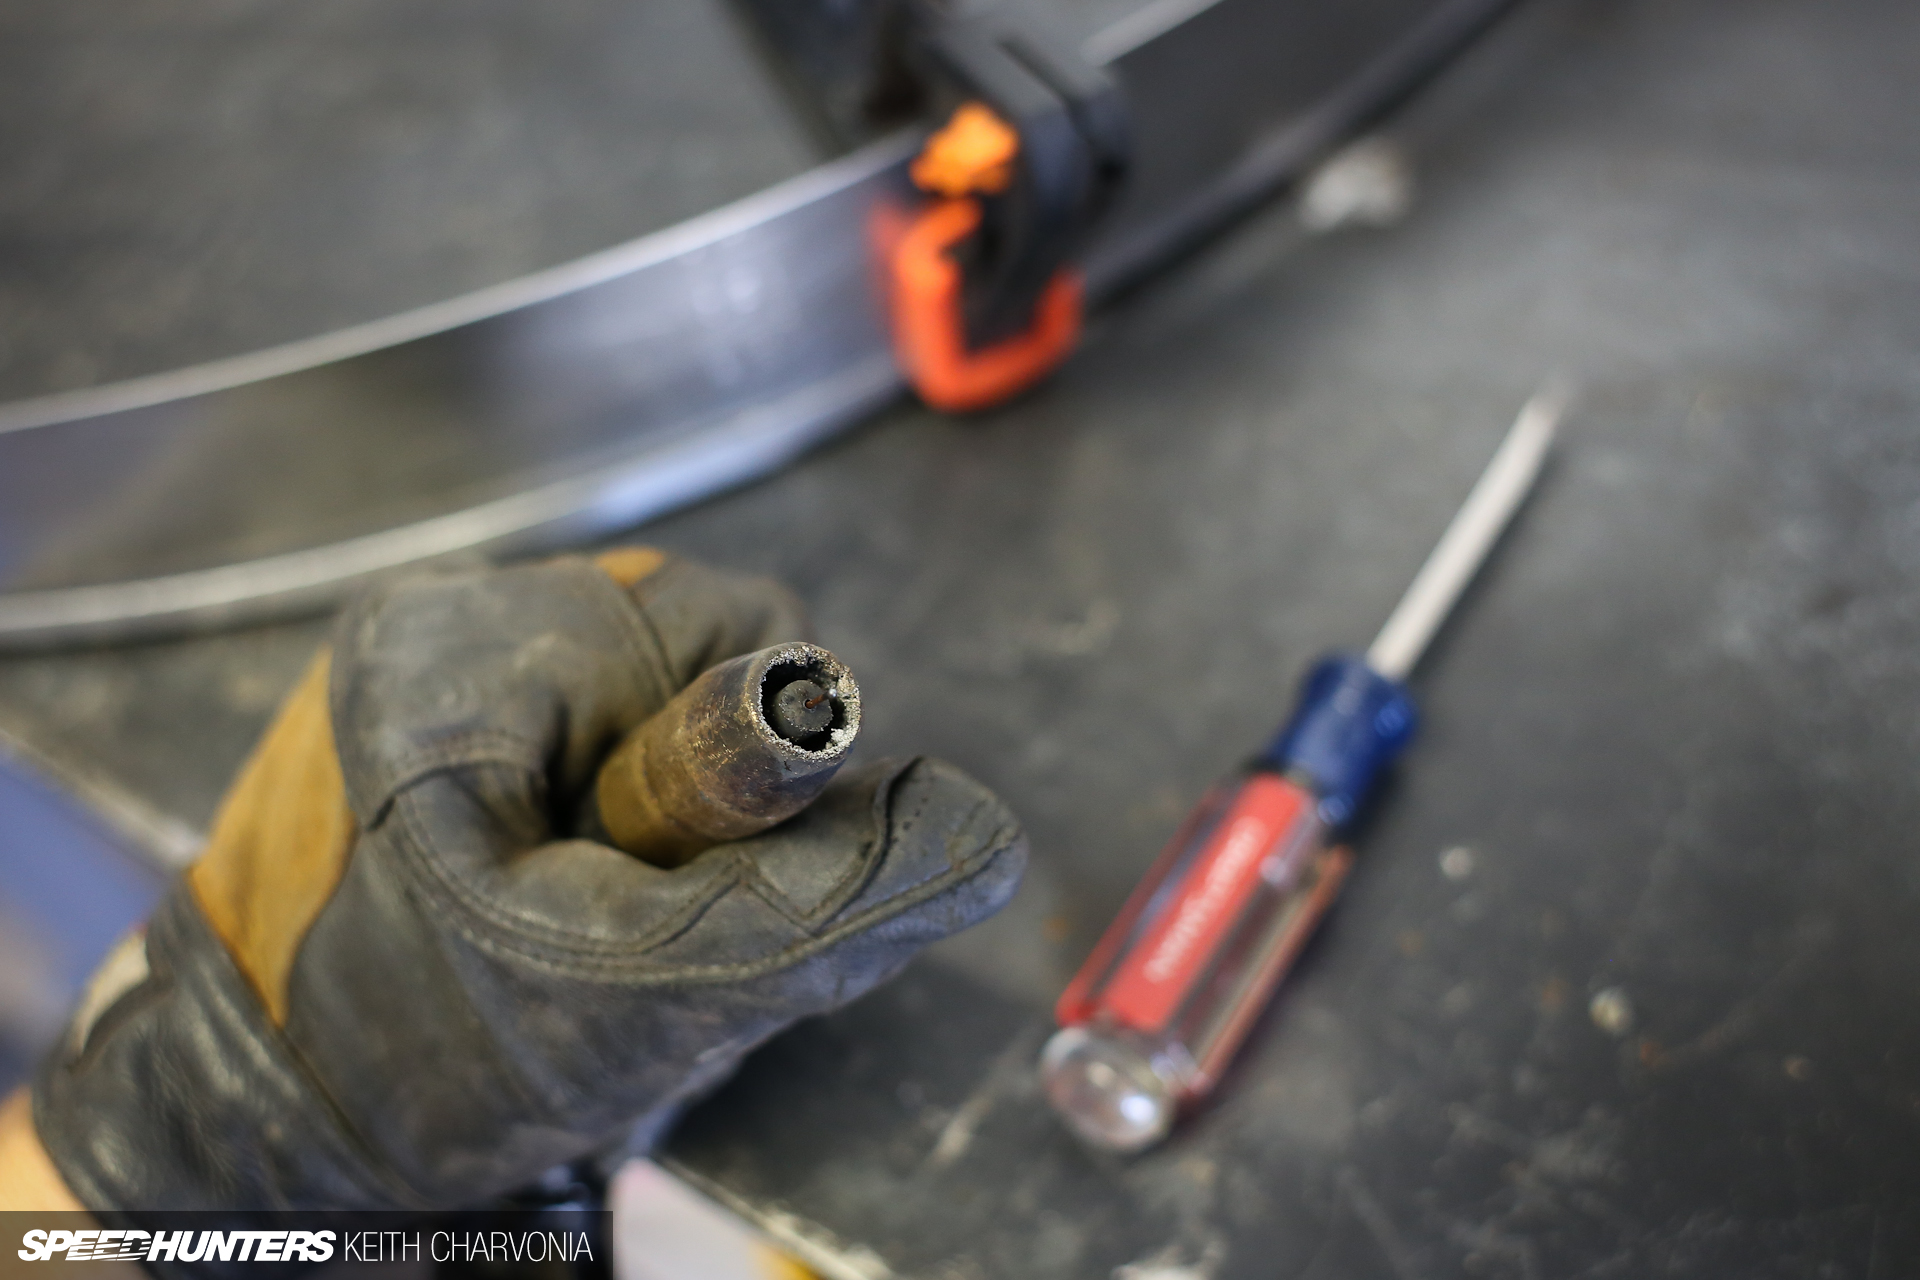
There was one last thing I needed to show Joe though. The nozzle of the welder gets a buildup of metal as you weld and needs to be cleaned out with a flathead screwdriver or needlenose pliers occasionally. If you don’t keep it clean, it will eventually block the shielding gas and result in a bad weld.
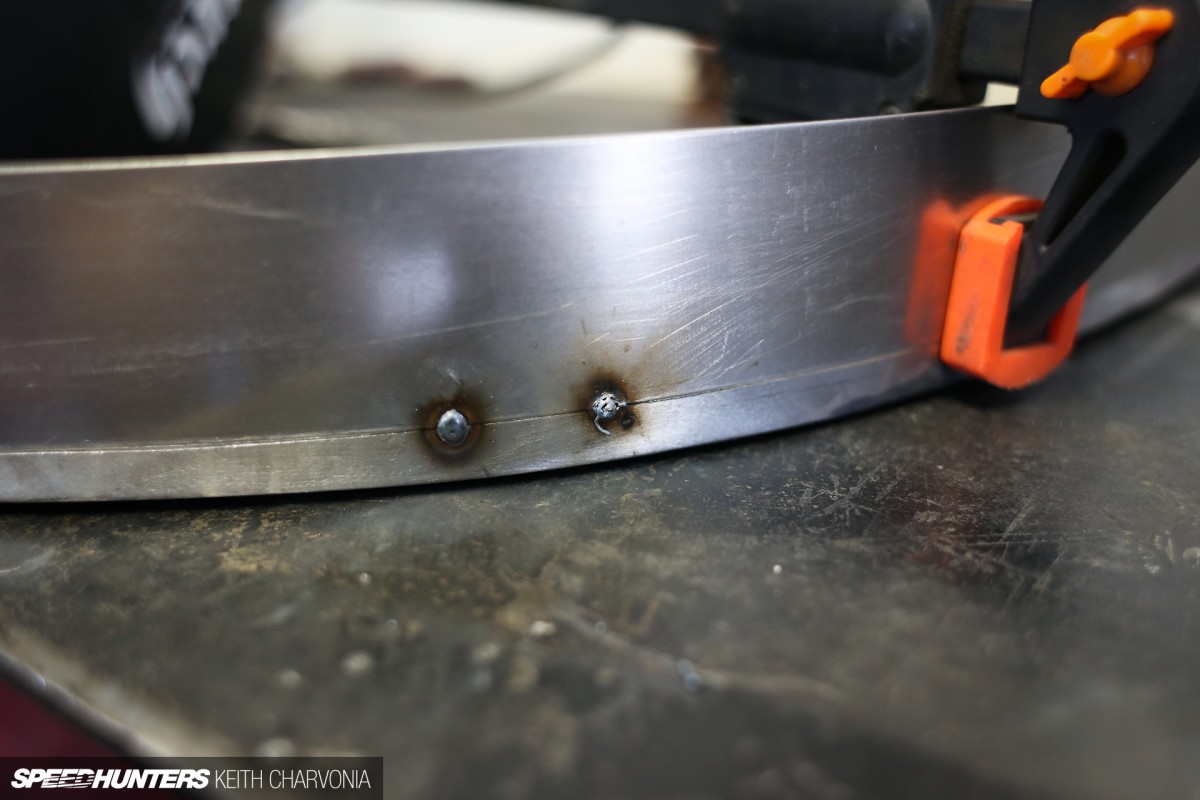
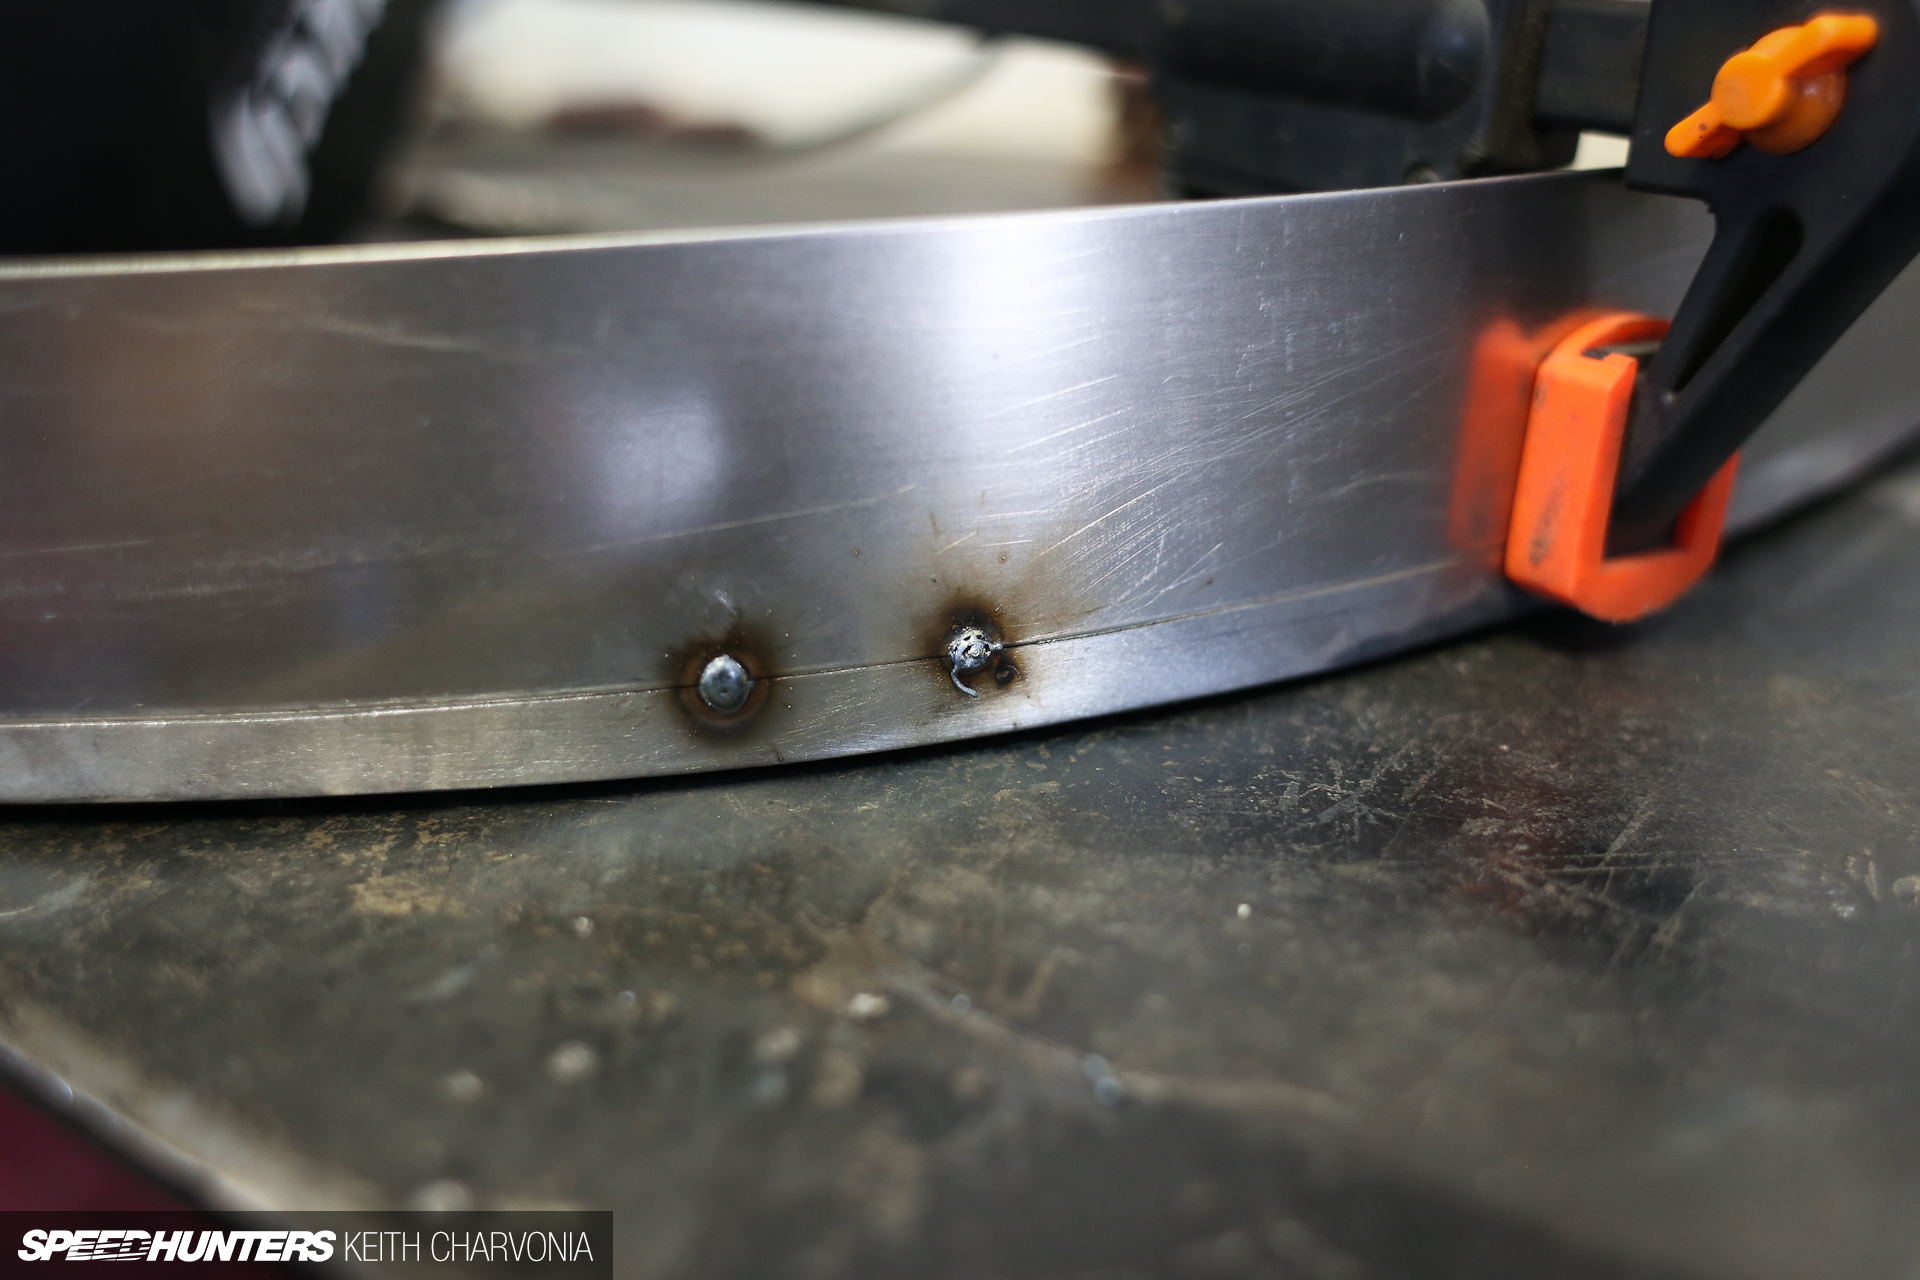
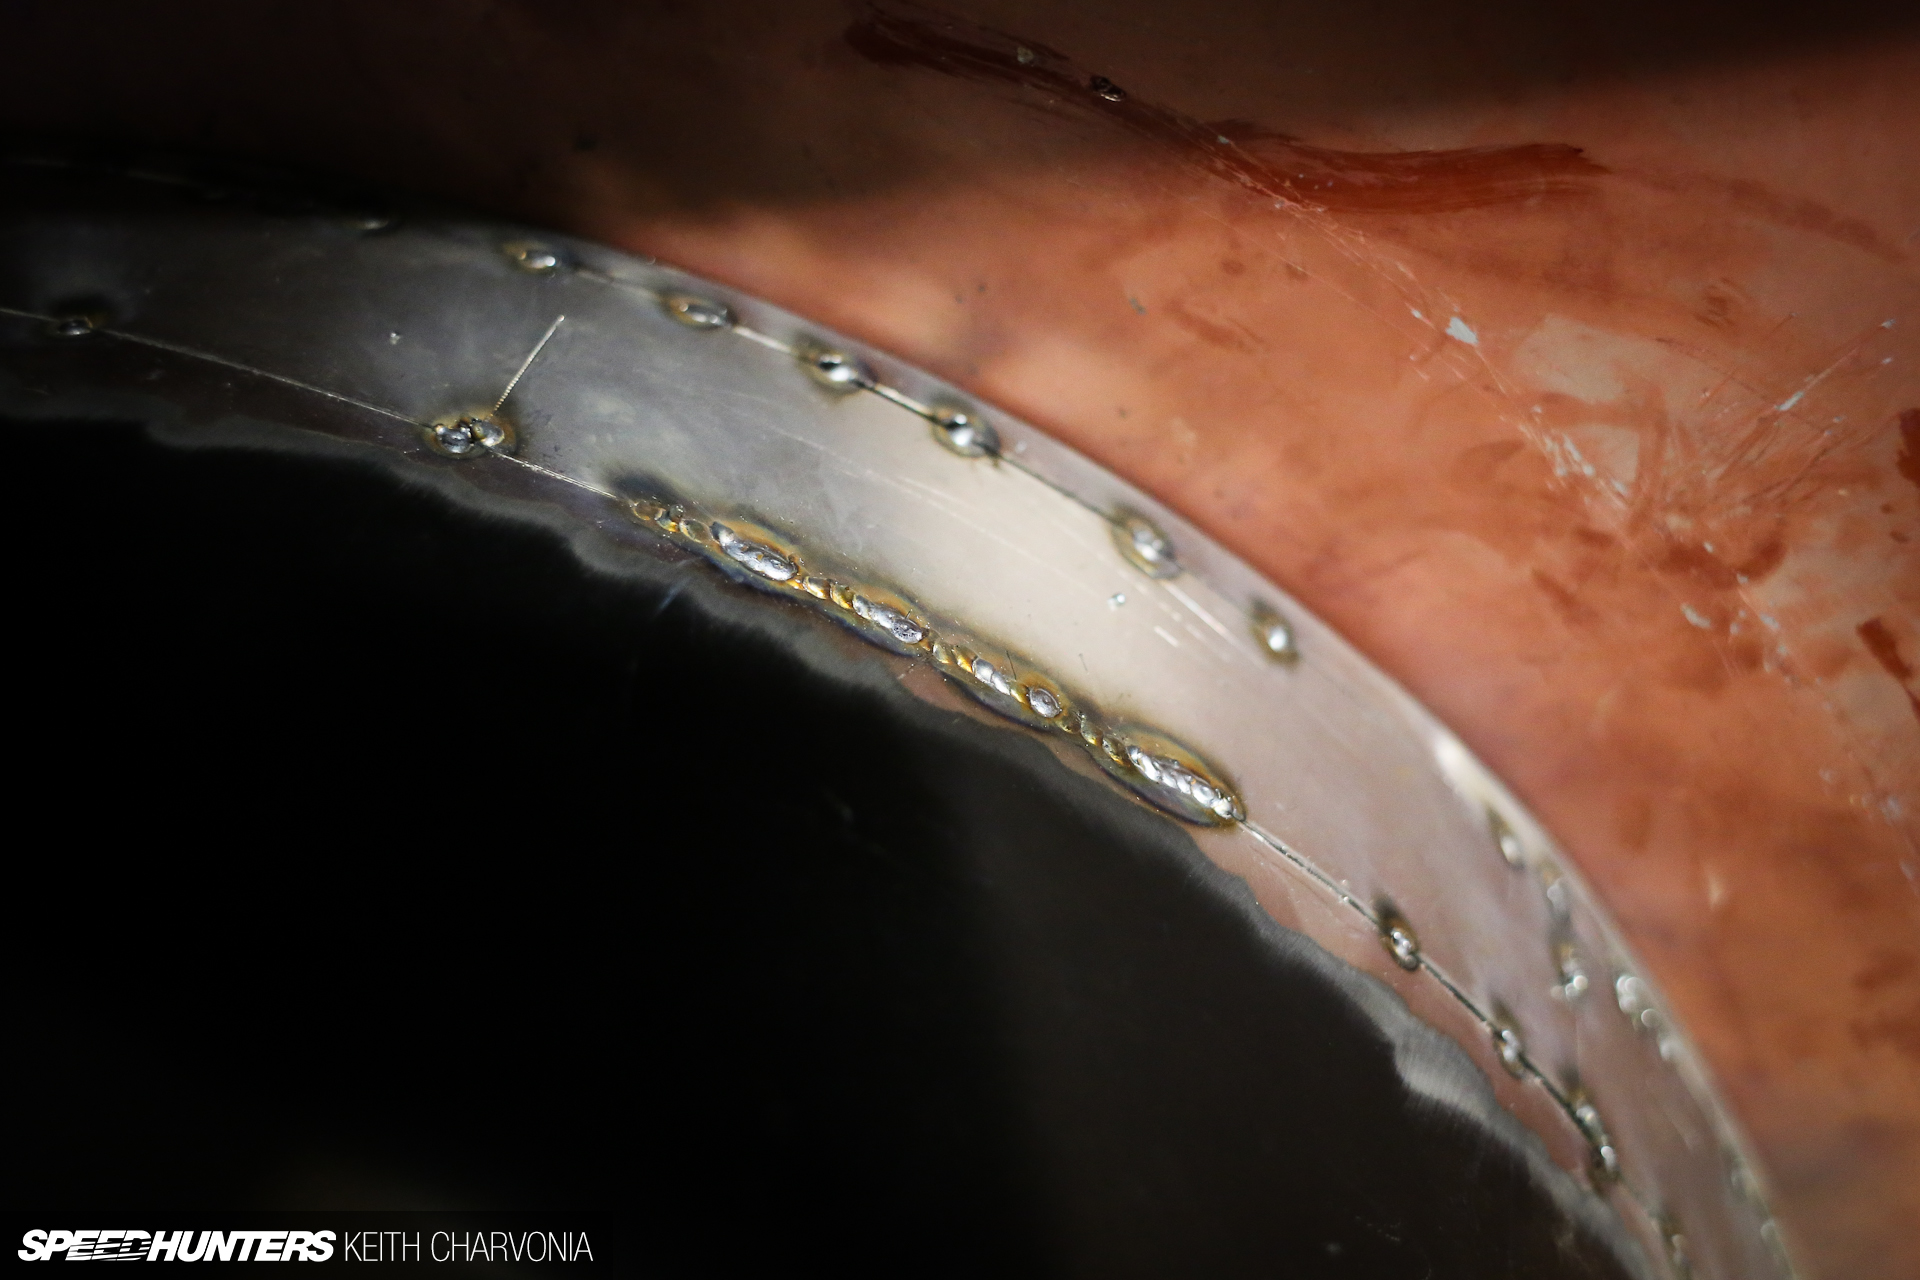
My first two tack welds yielded the perfect example of a good weld (on the left) and a bad weld (on the right). I probably hit a little oil or something and it ruined the weld, resulting in a porous, weak weld that will easily break apart. You might as well grind that one off and redo it now.
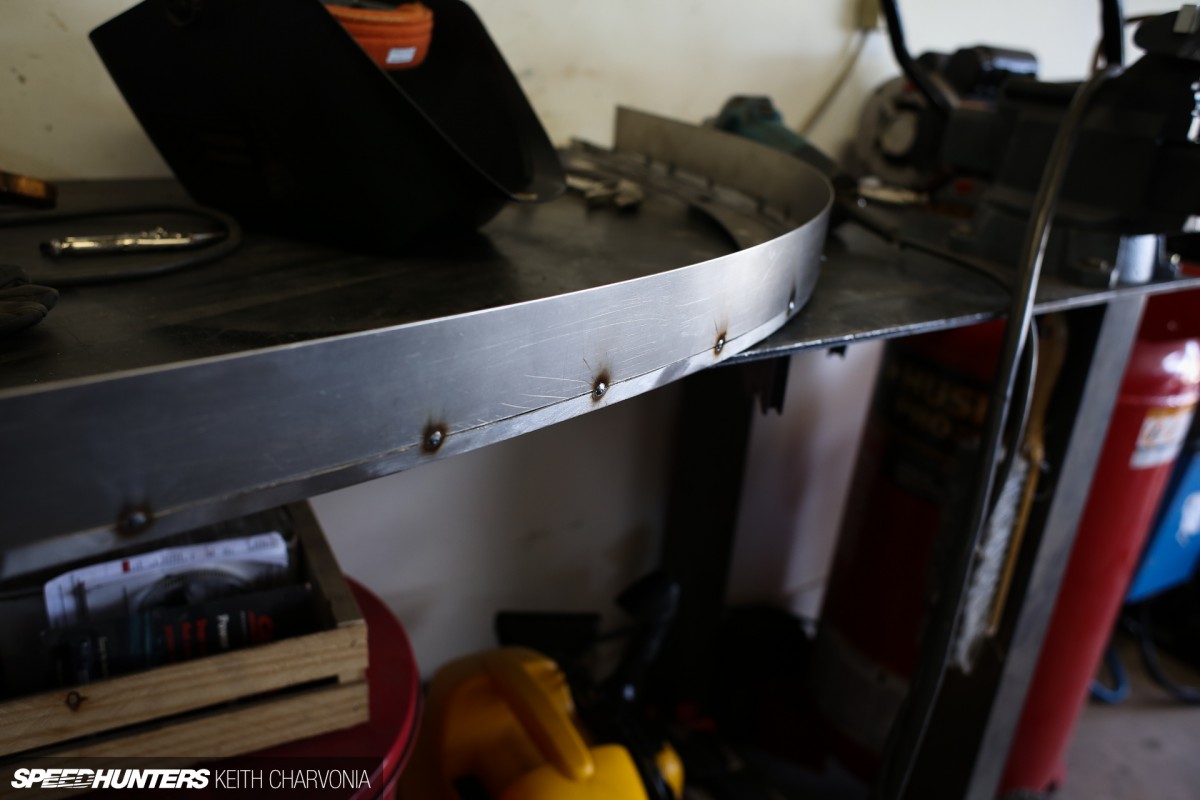
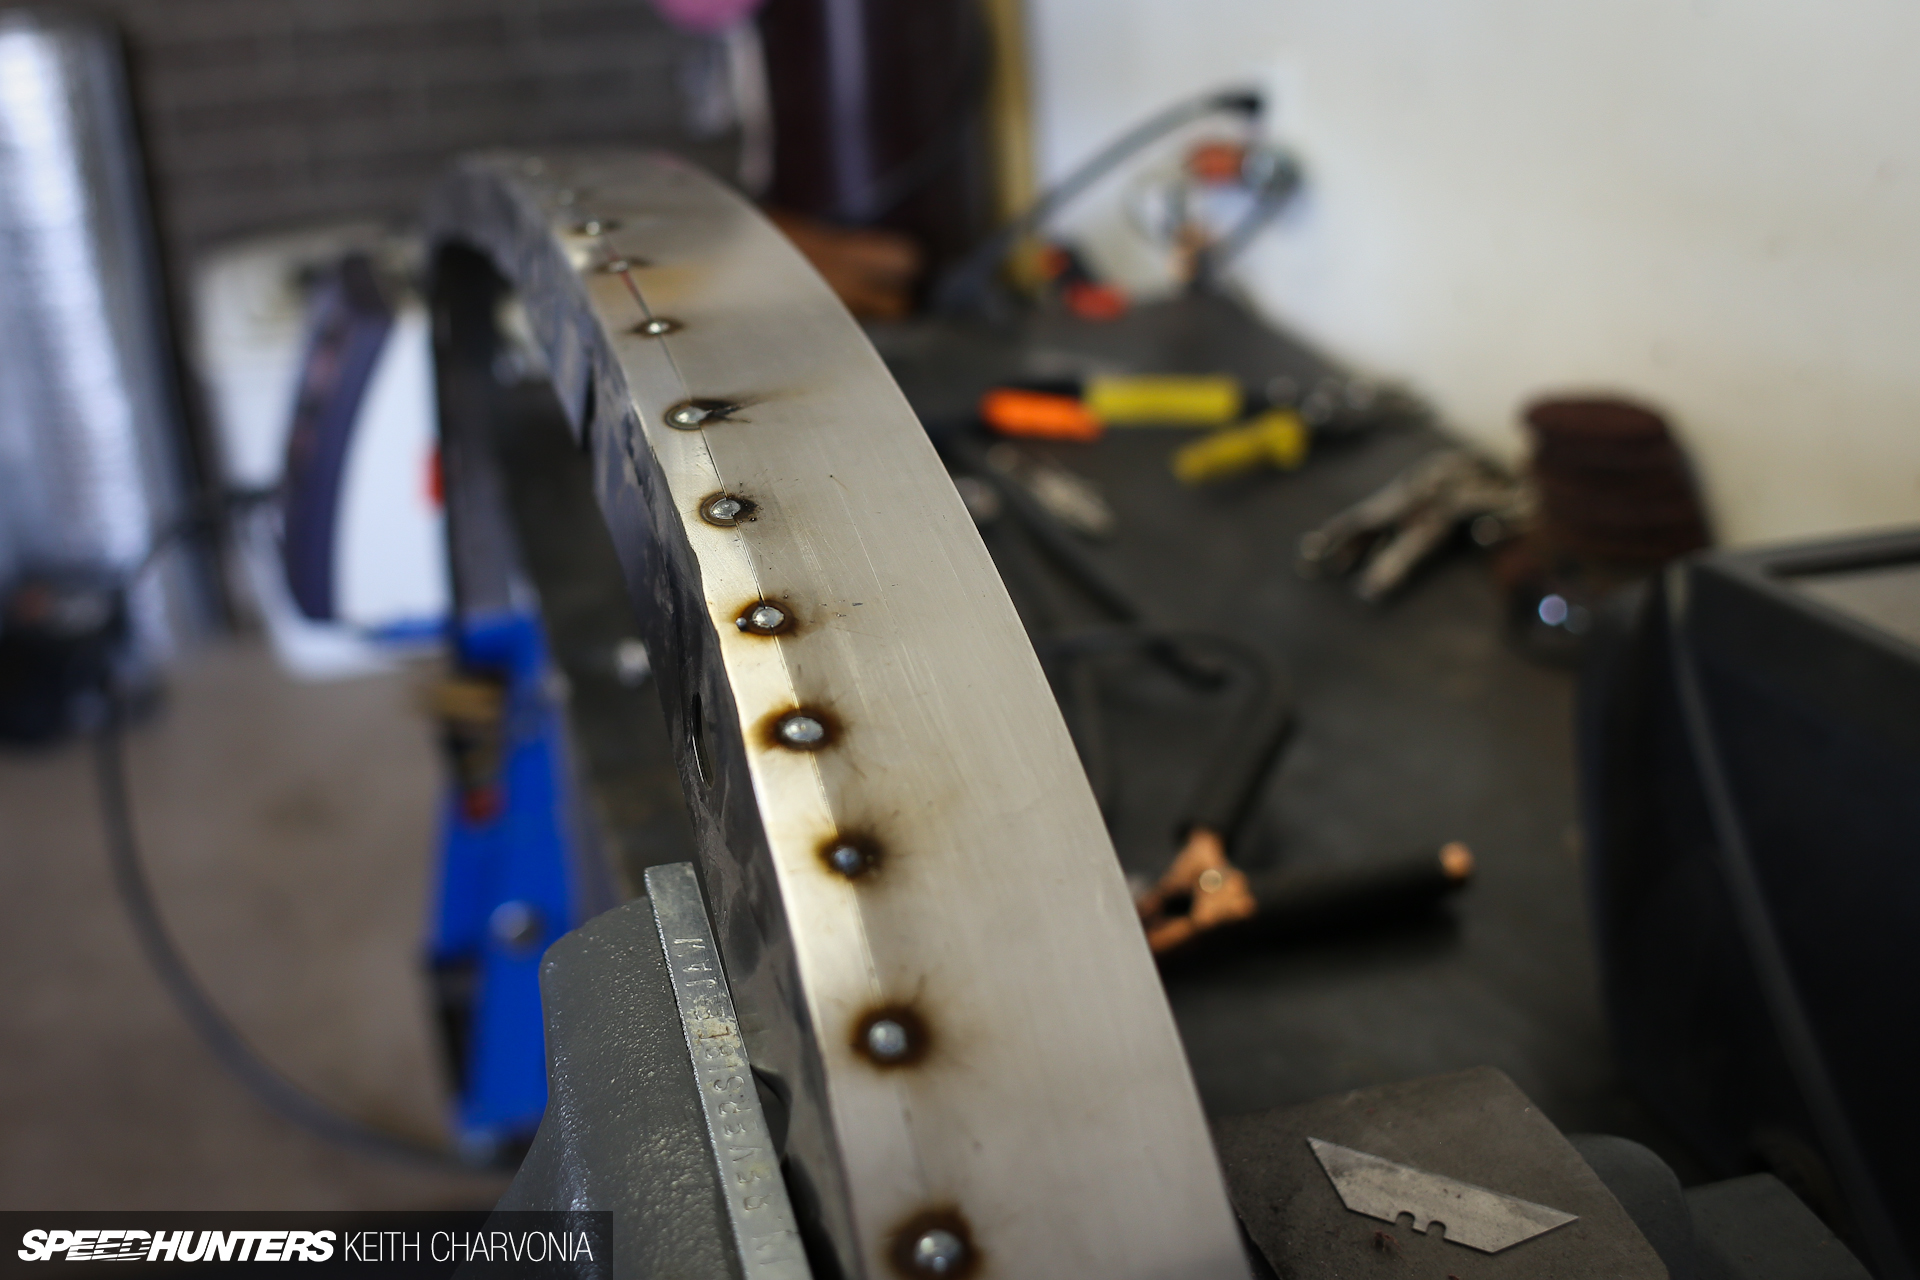
We worked our way around the fender, clamping it flush and adding a weld every few inches.
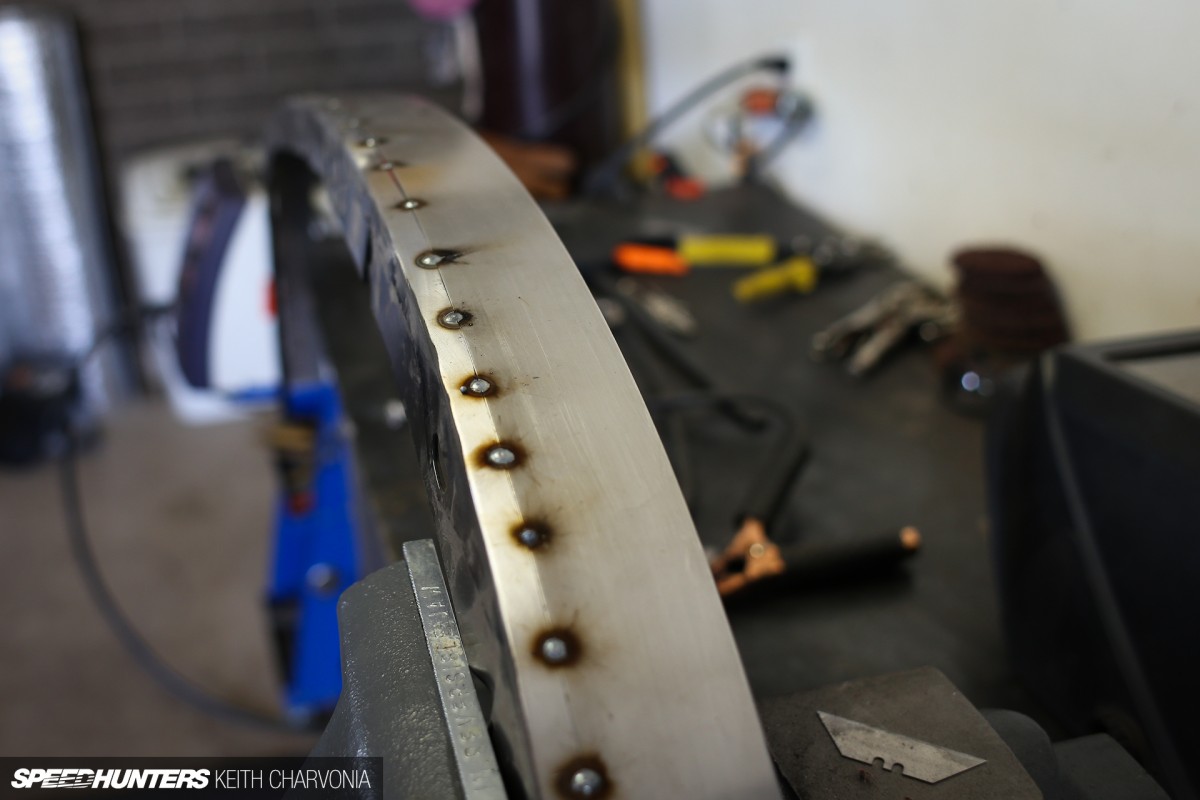
Once it was nicely aligned, I proceeded to add a new weld between each tack.
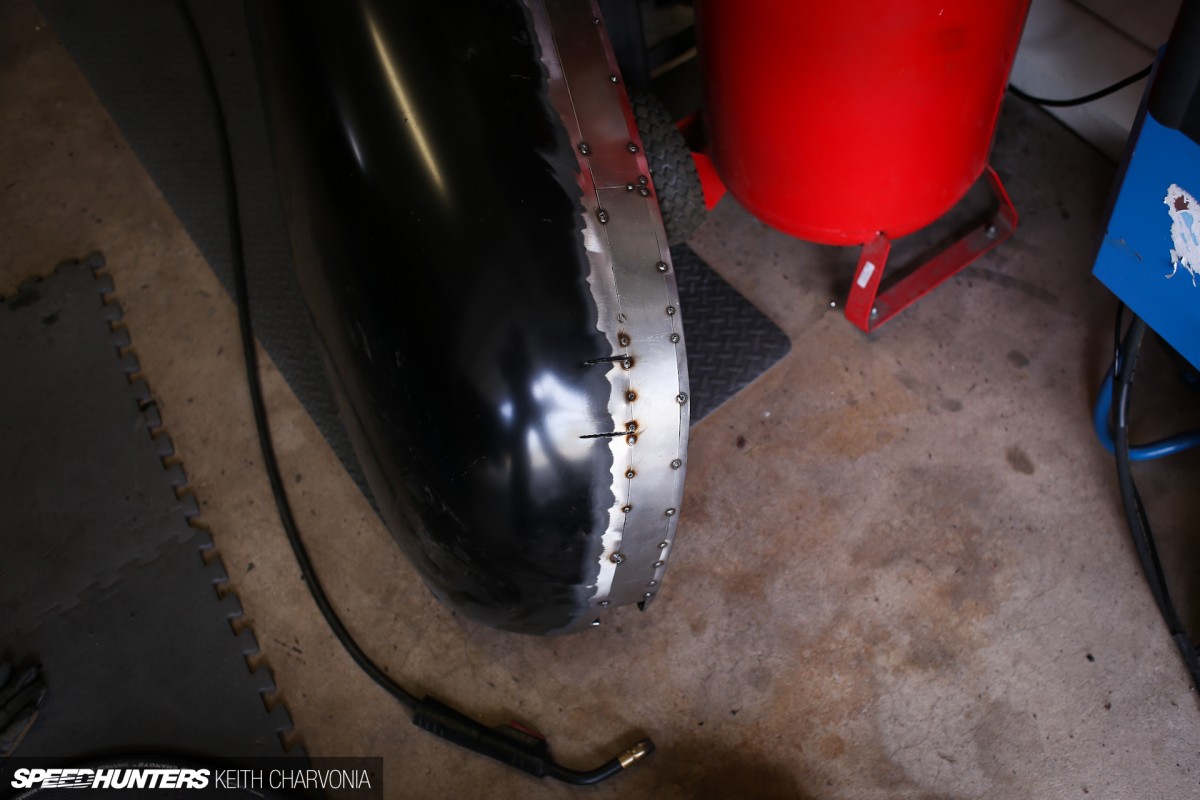
With Joe’s help, we lined up the other half of the fender and got it tacked together. Much swearing took place, because the fender was just too big and unwieldy to work on loose.
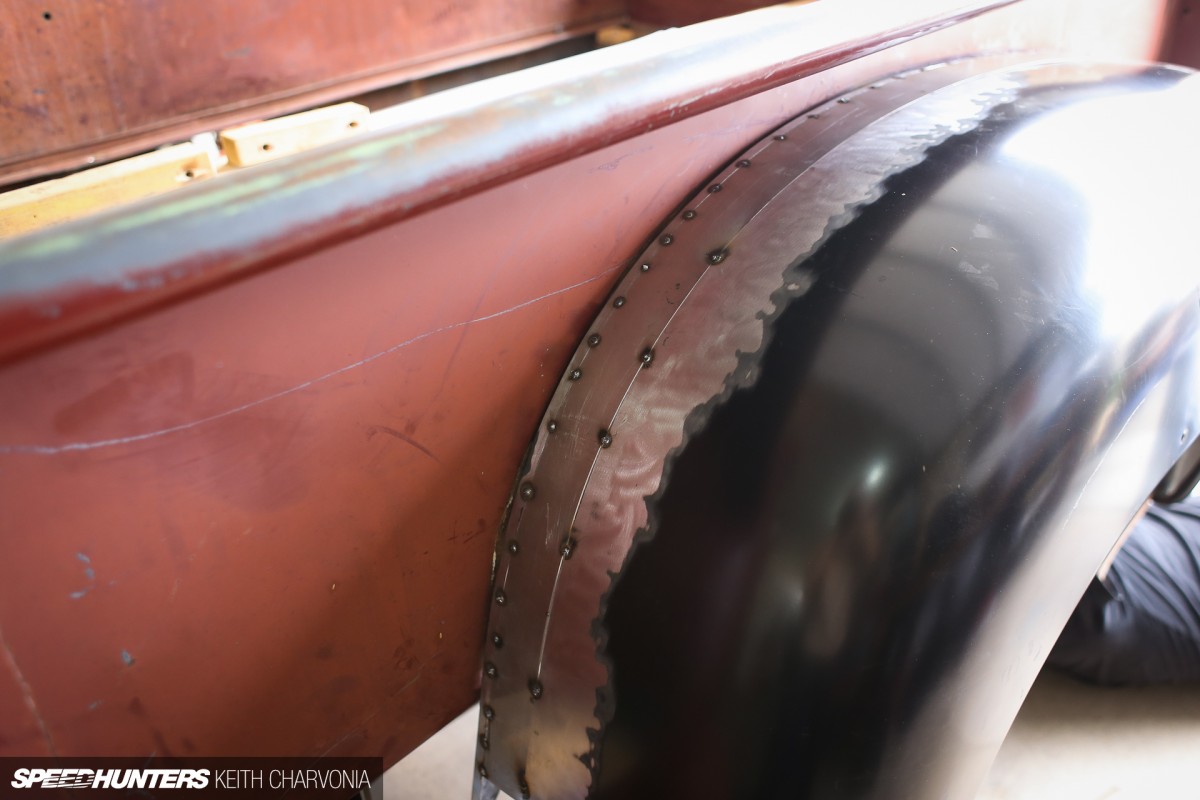
We decided to bolt it back on the truck to make sure it held the correct shape before we did any more welding.
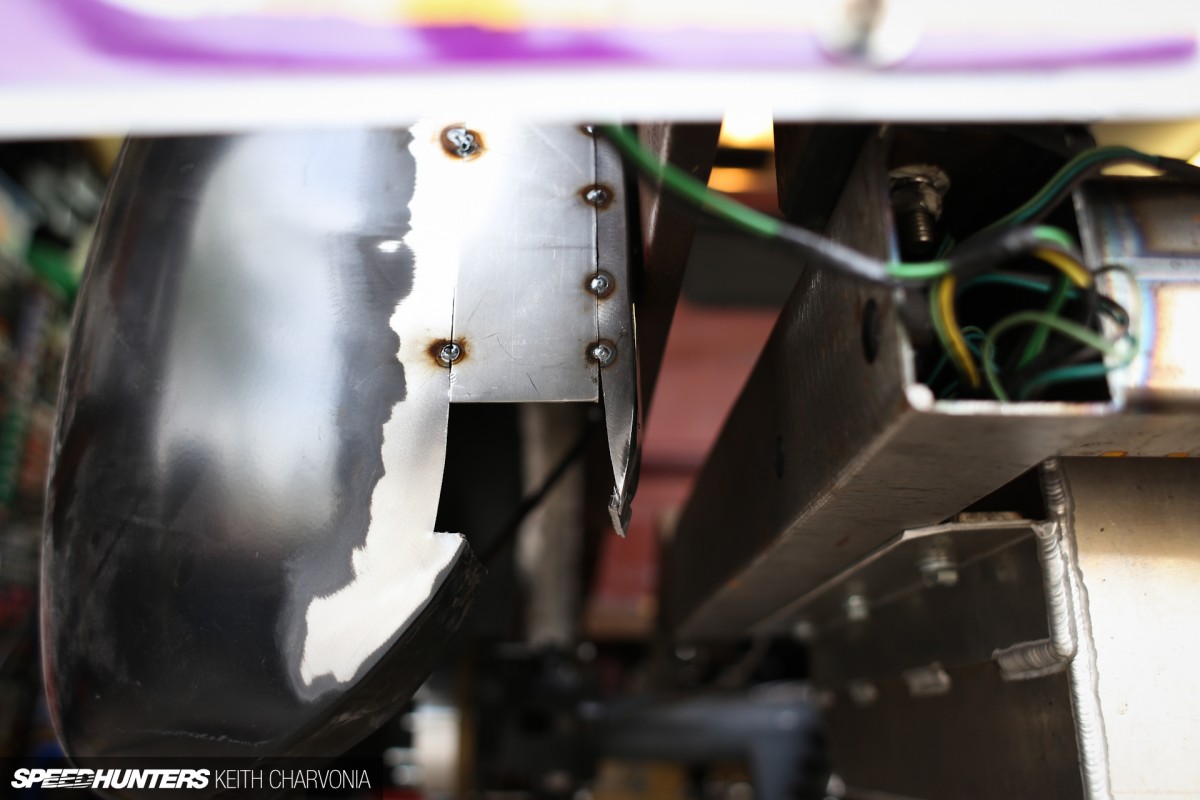
While Joe added more welds, I tackled the more advanced project of rebuilding the fender’s curved back corner.
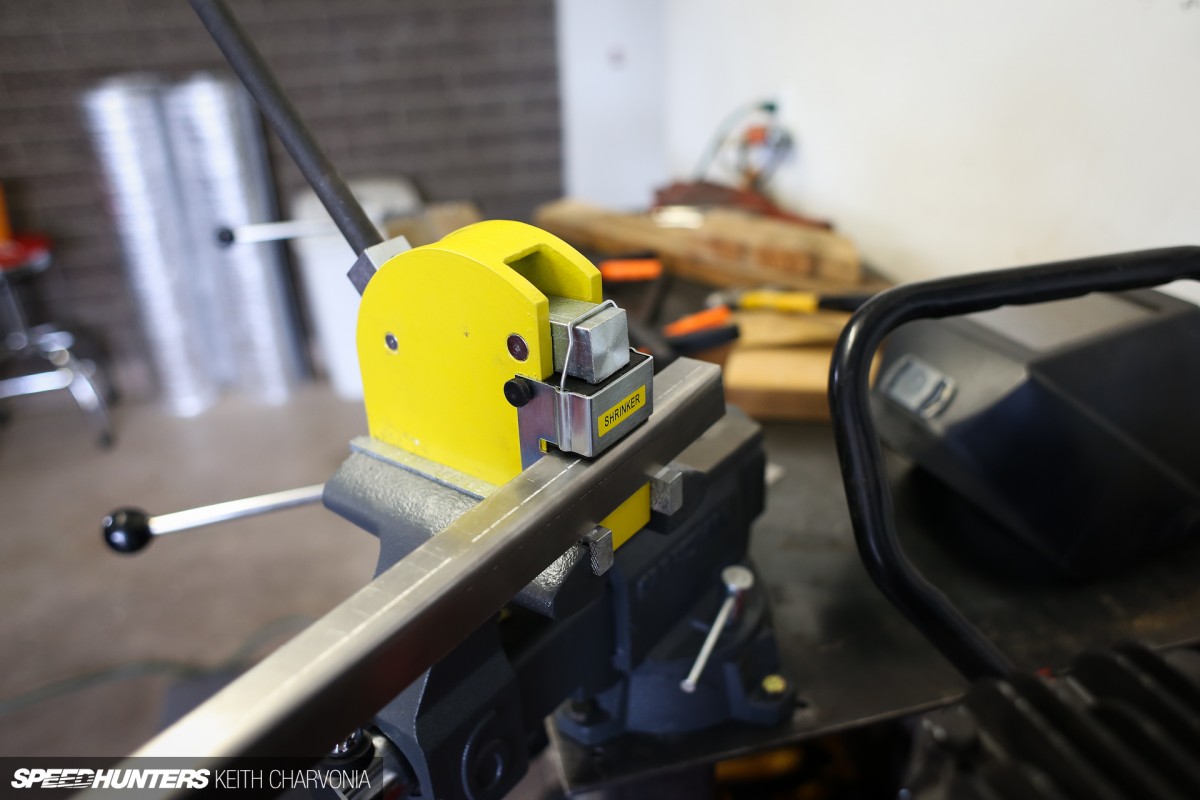
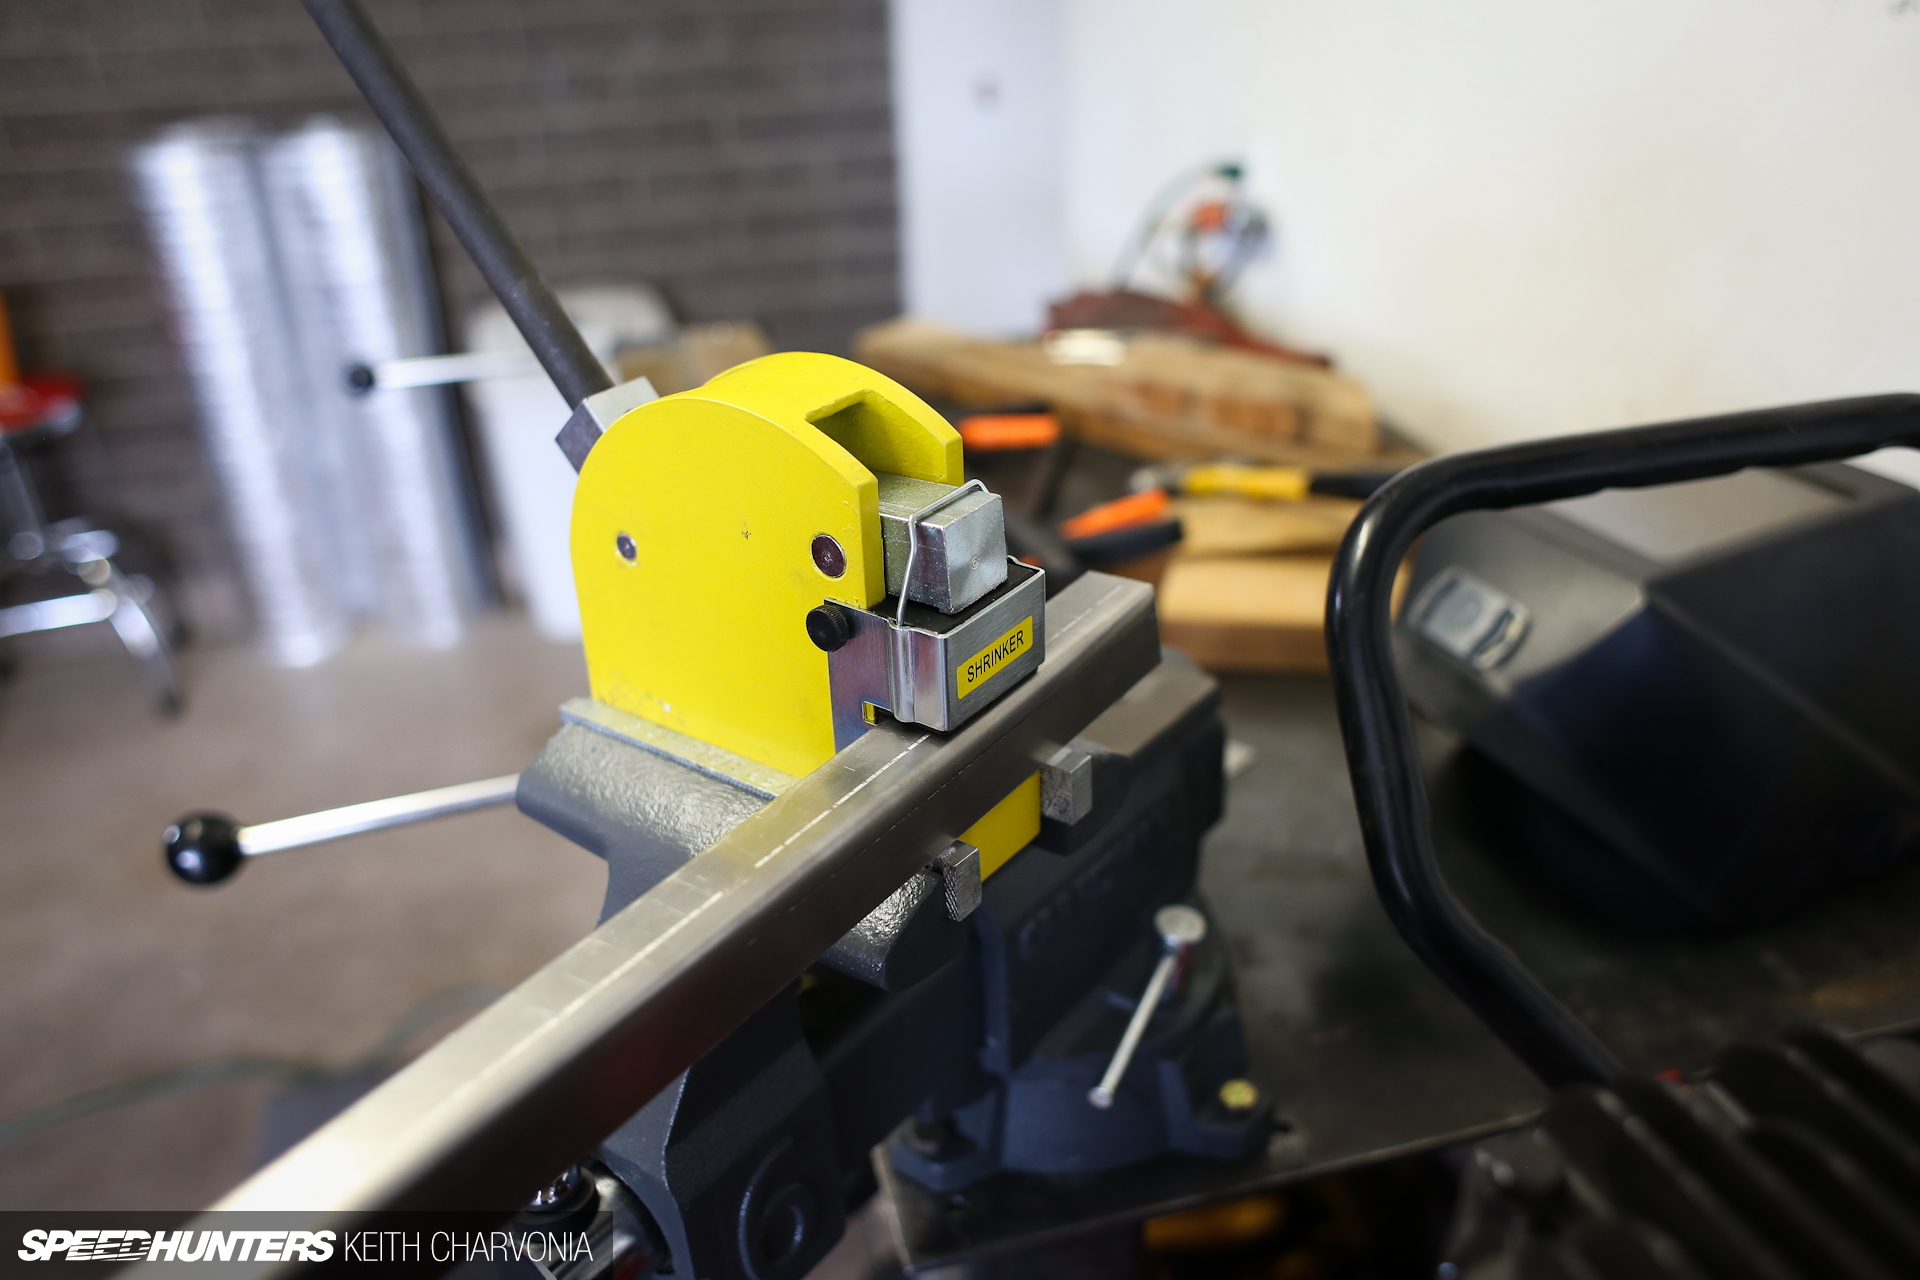
I got out my shrinker/stretcher tool to make the curved edge. It works by grabbing the material and either bunching it up or spreading it apart, resulting in a curve in either direction. I started with this straight piece of sheetmetal with a bend down the middle.

And I ended up with this curved piece that created a new transition for the rear corner. Yes, that’s the same piece of metal.
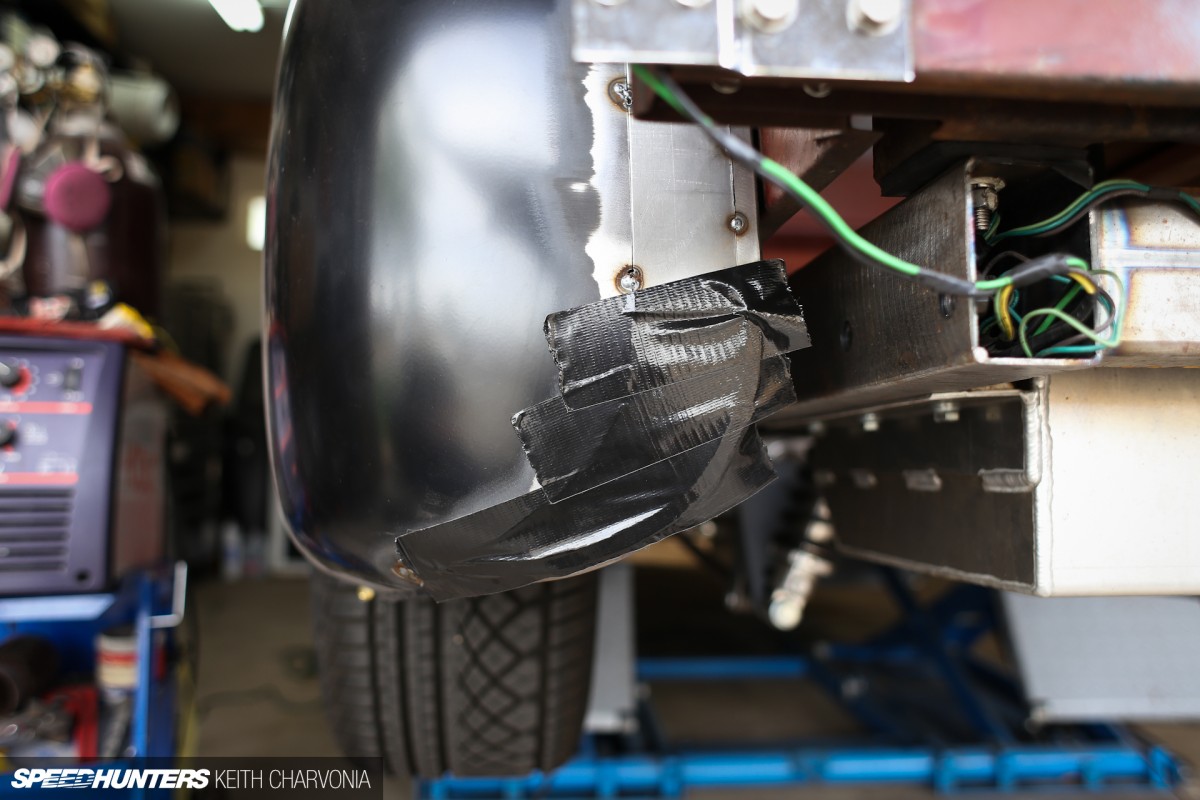
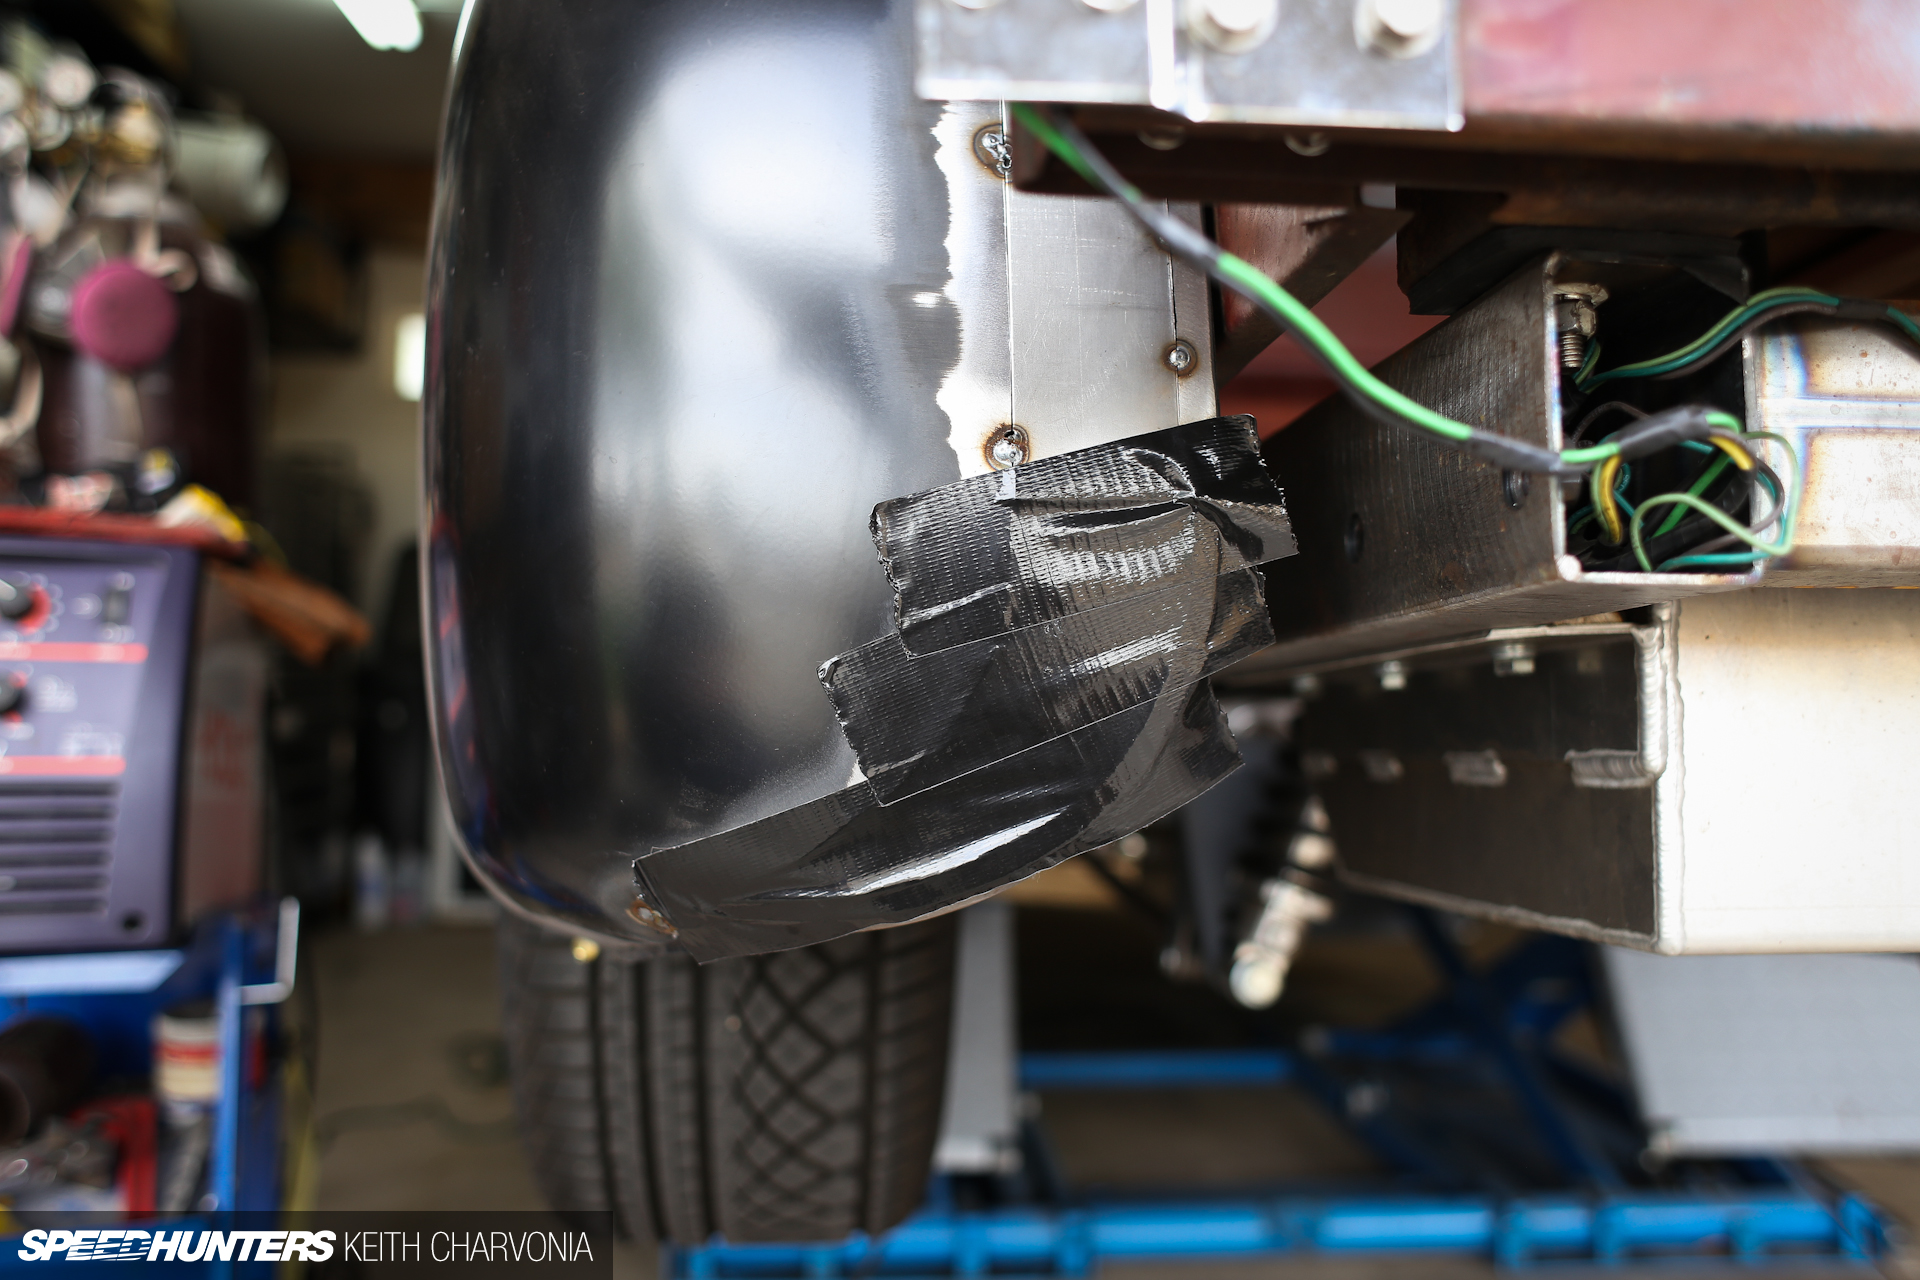
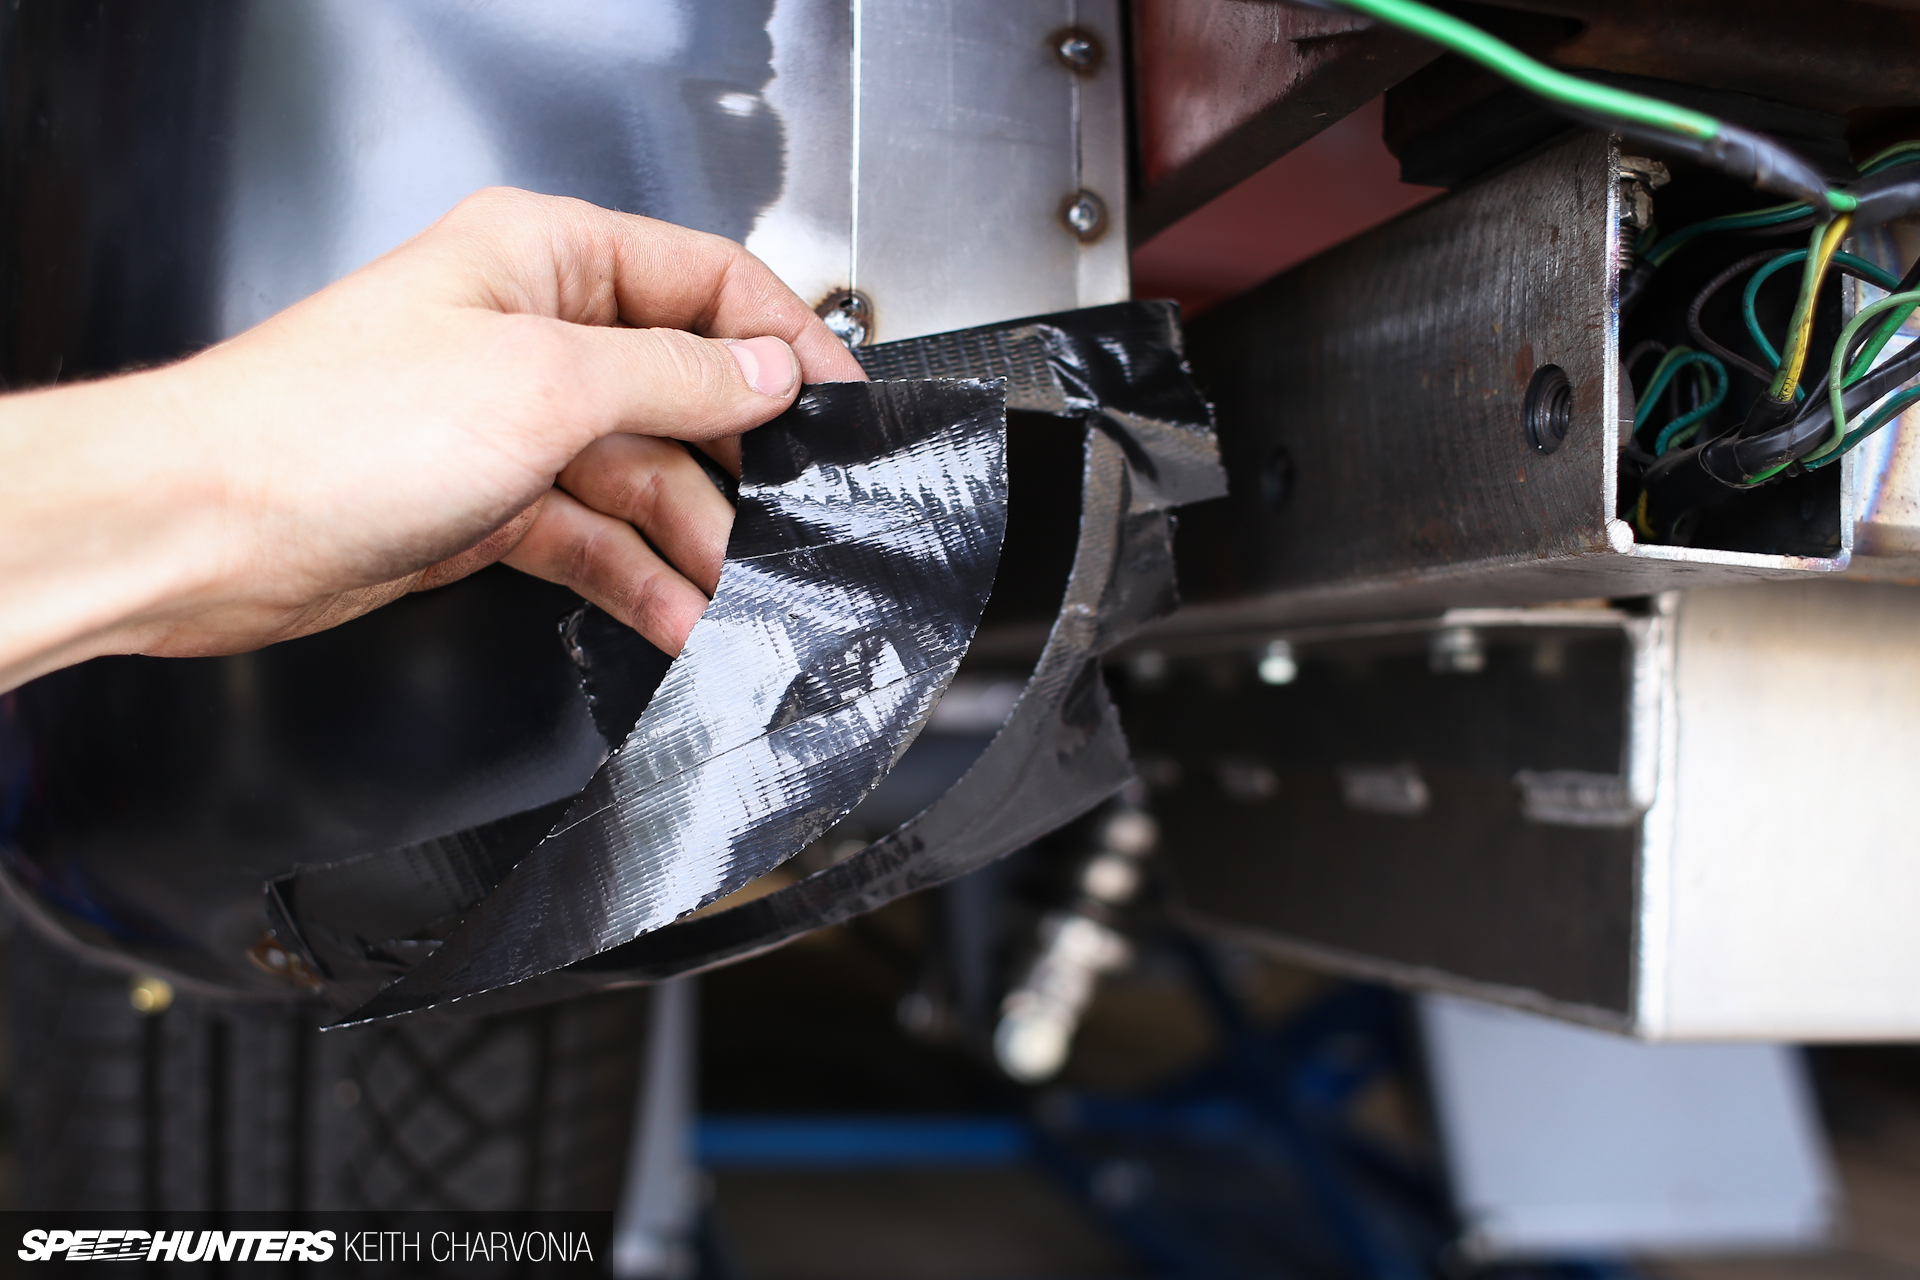
More experienced metalshapers can make this part out of one piece, but without the proper tools, I had to do it in two. A lot of guys make paper templates, but I like to use tape over the hole I’m patching.
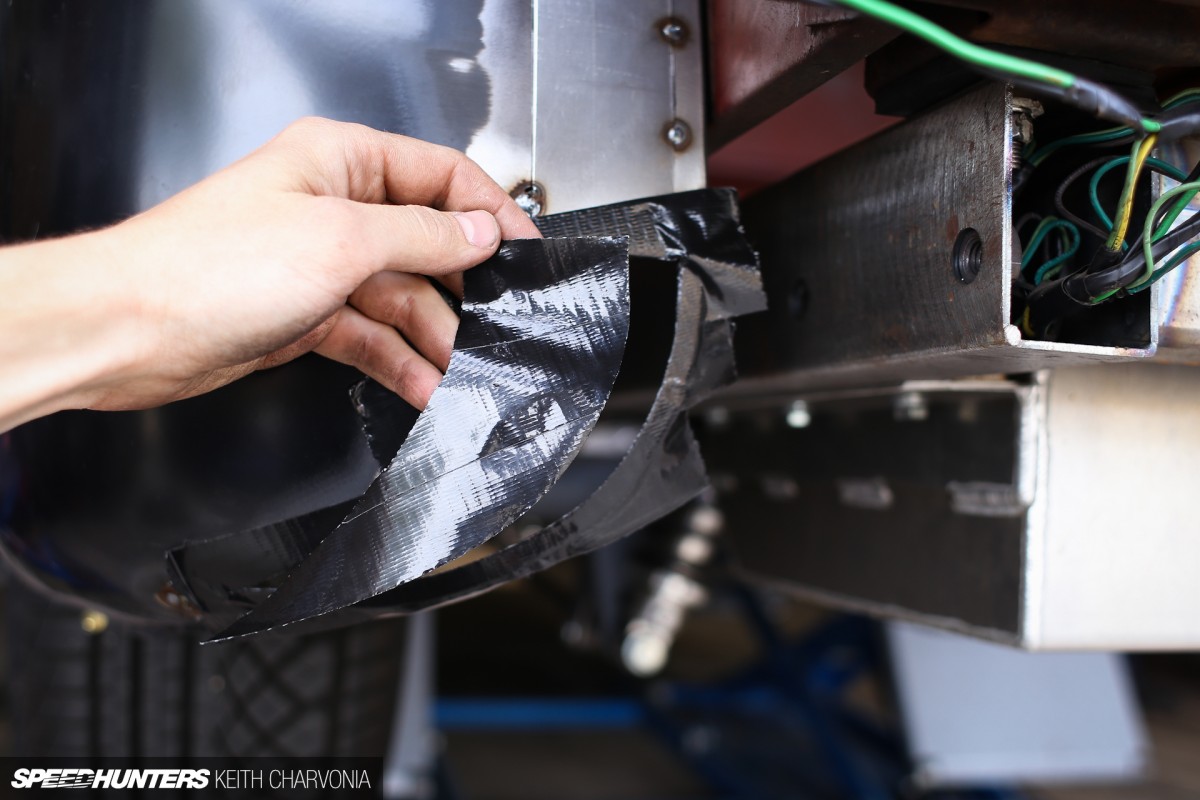
Then I just cut it out with a razor blade and transfer it right onto my metal.
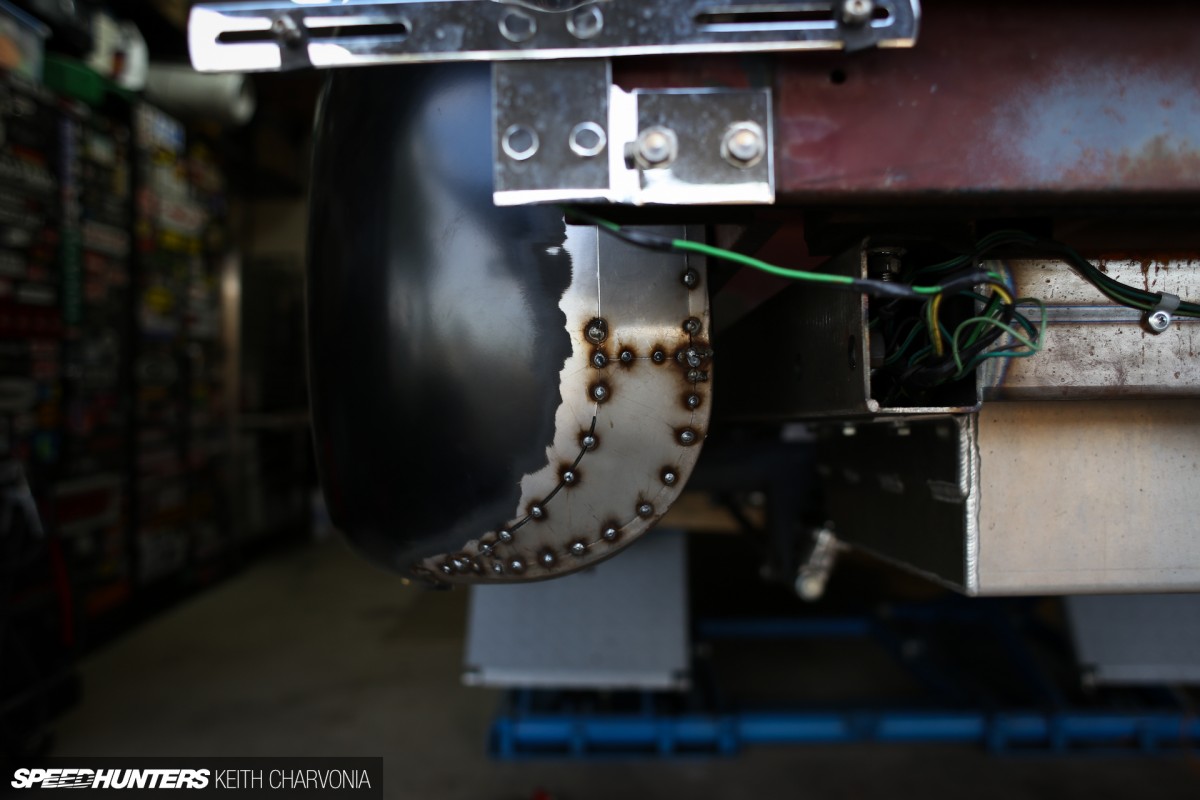
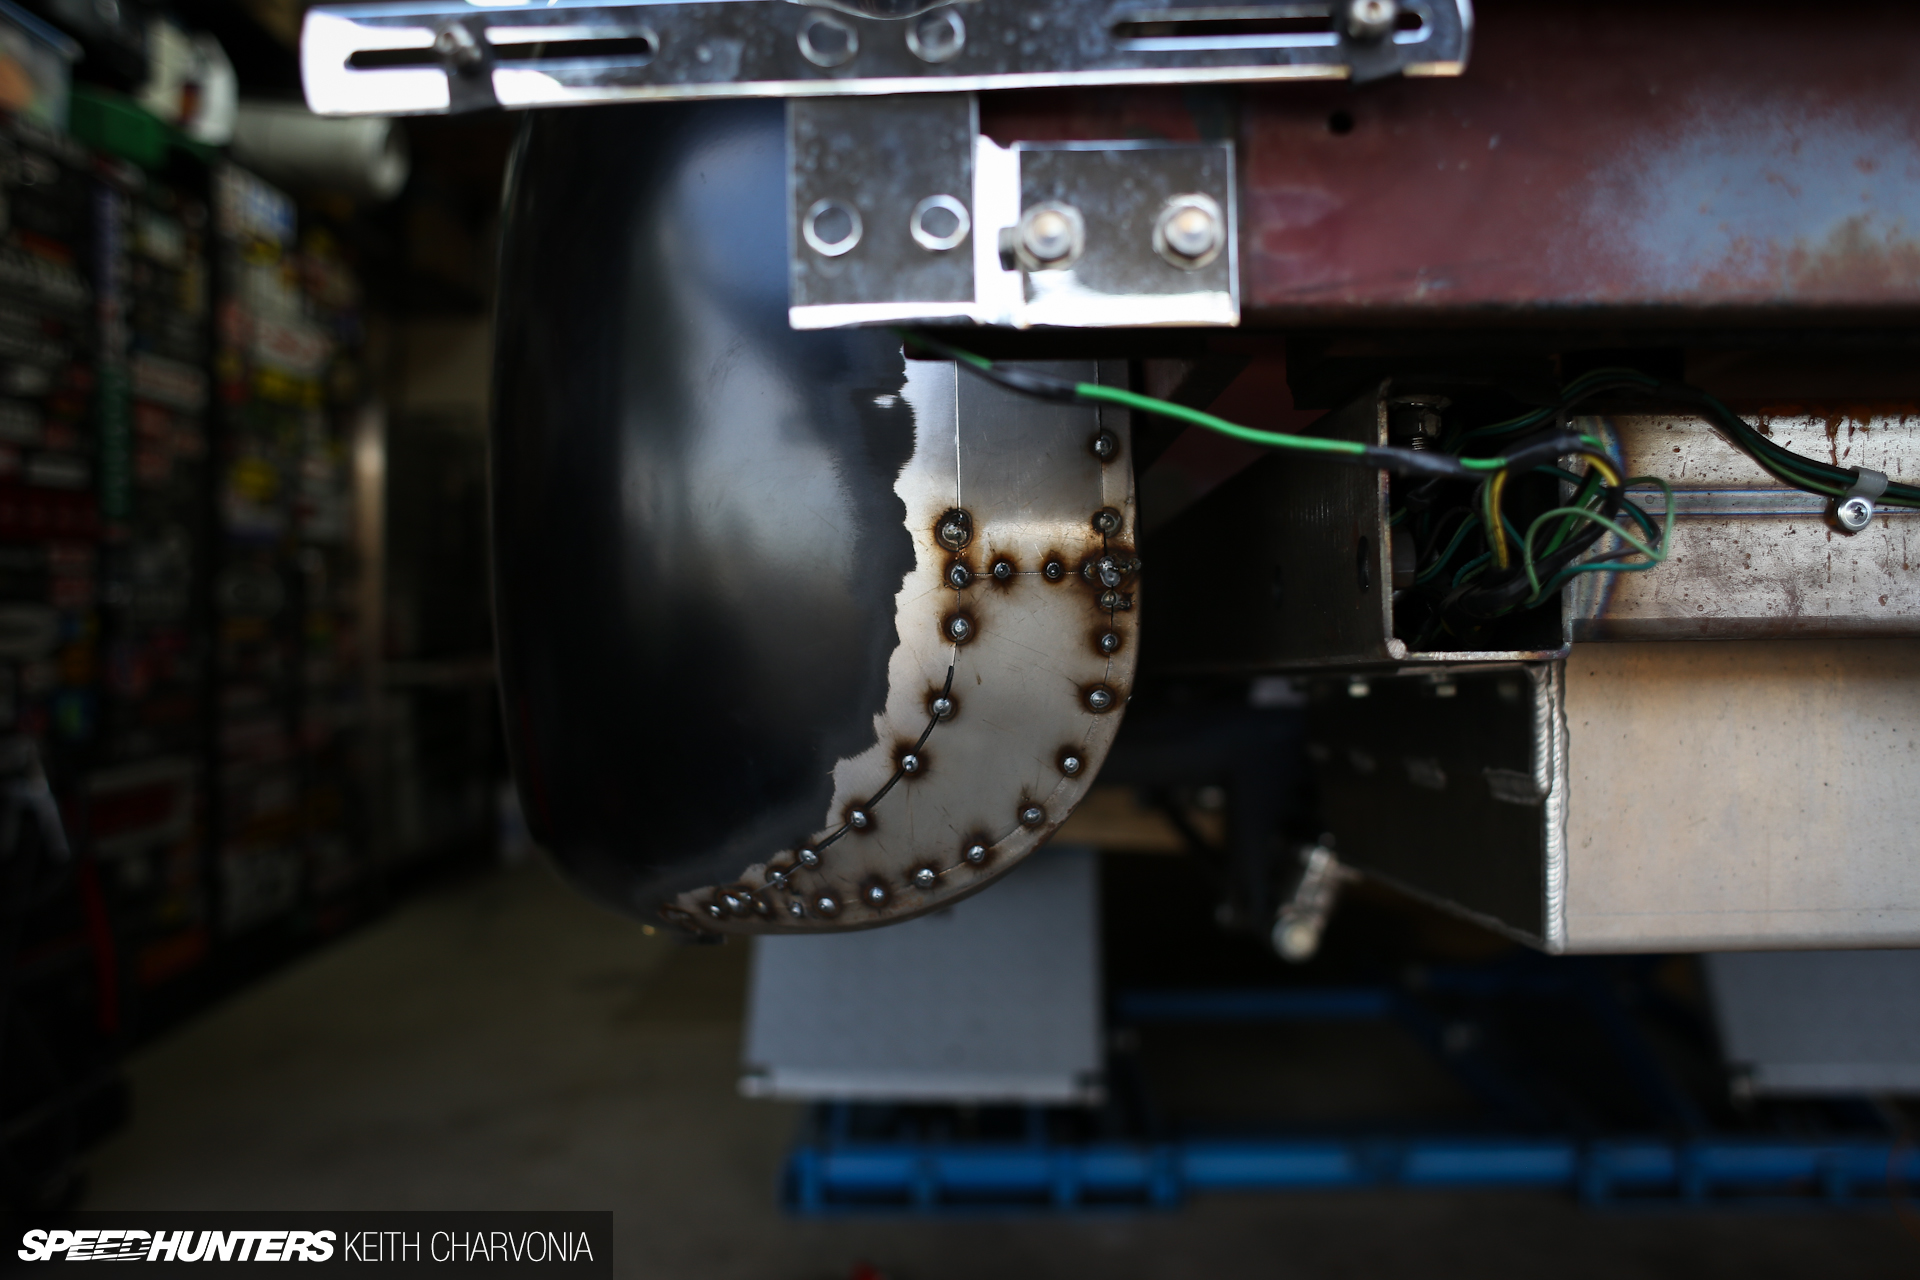
I cut the new part out with tin snips and welded it in place.
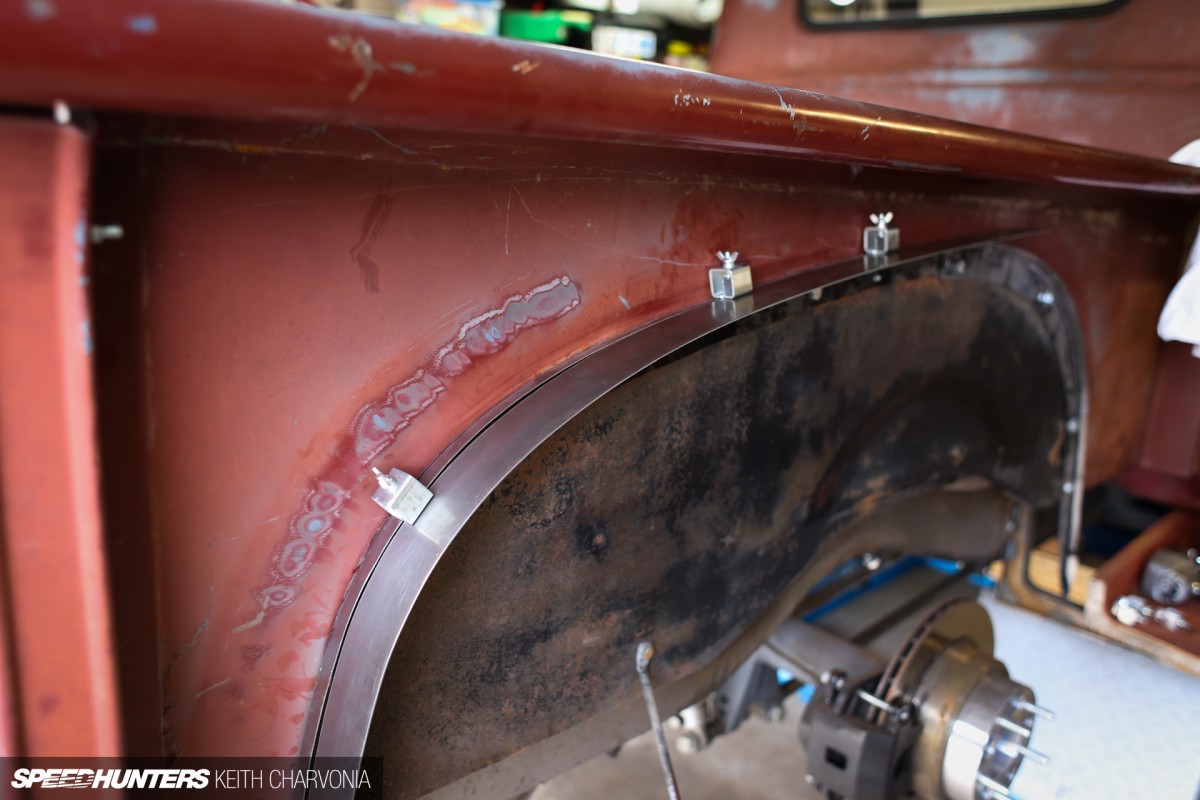
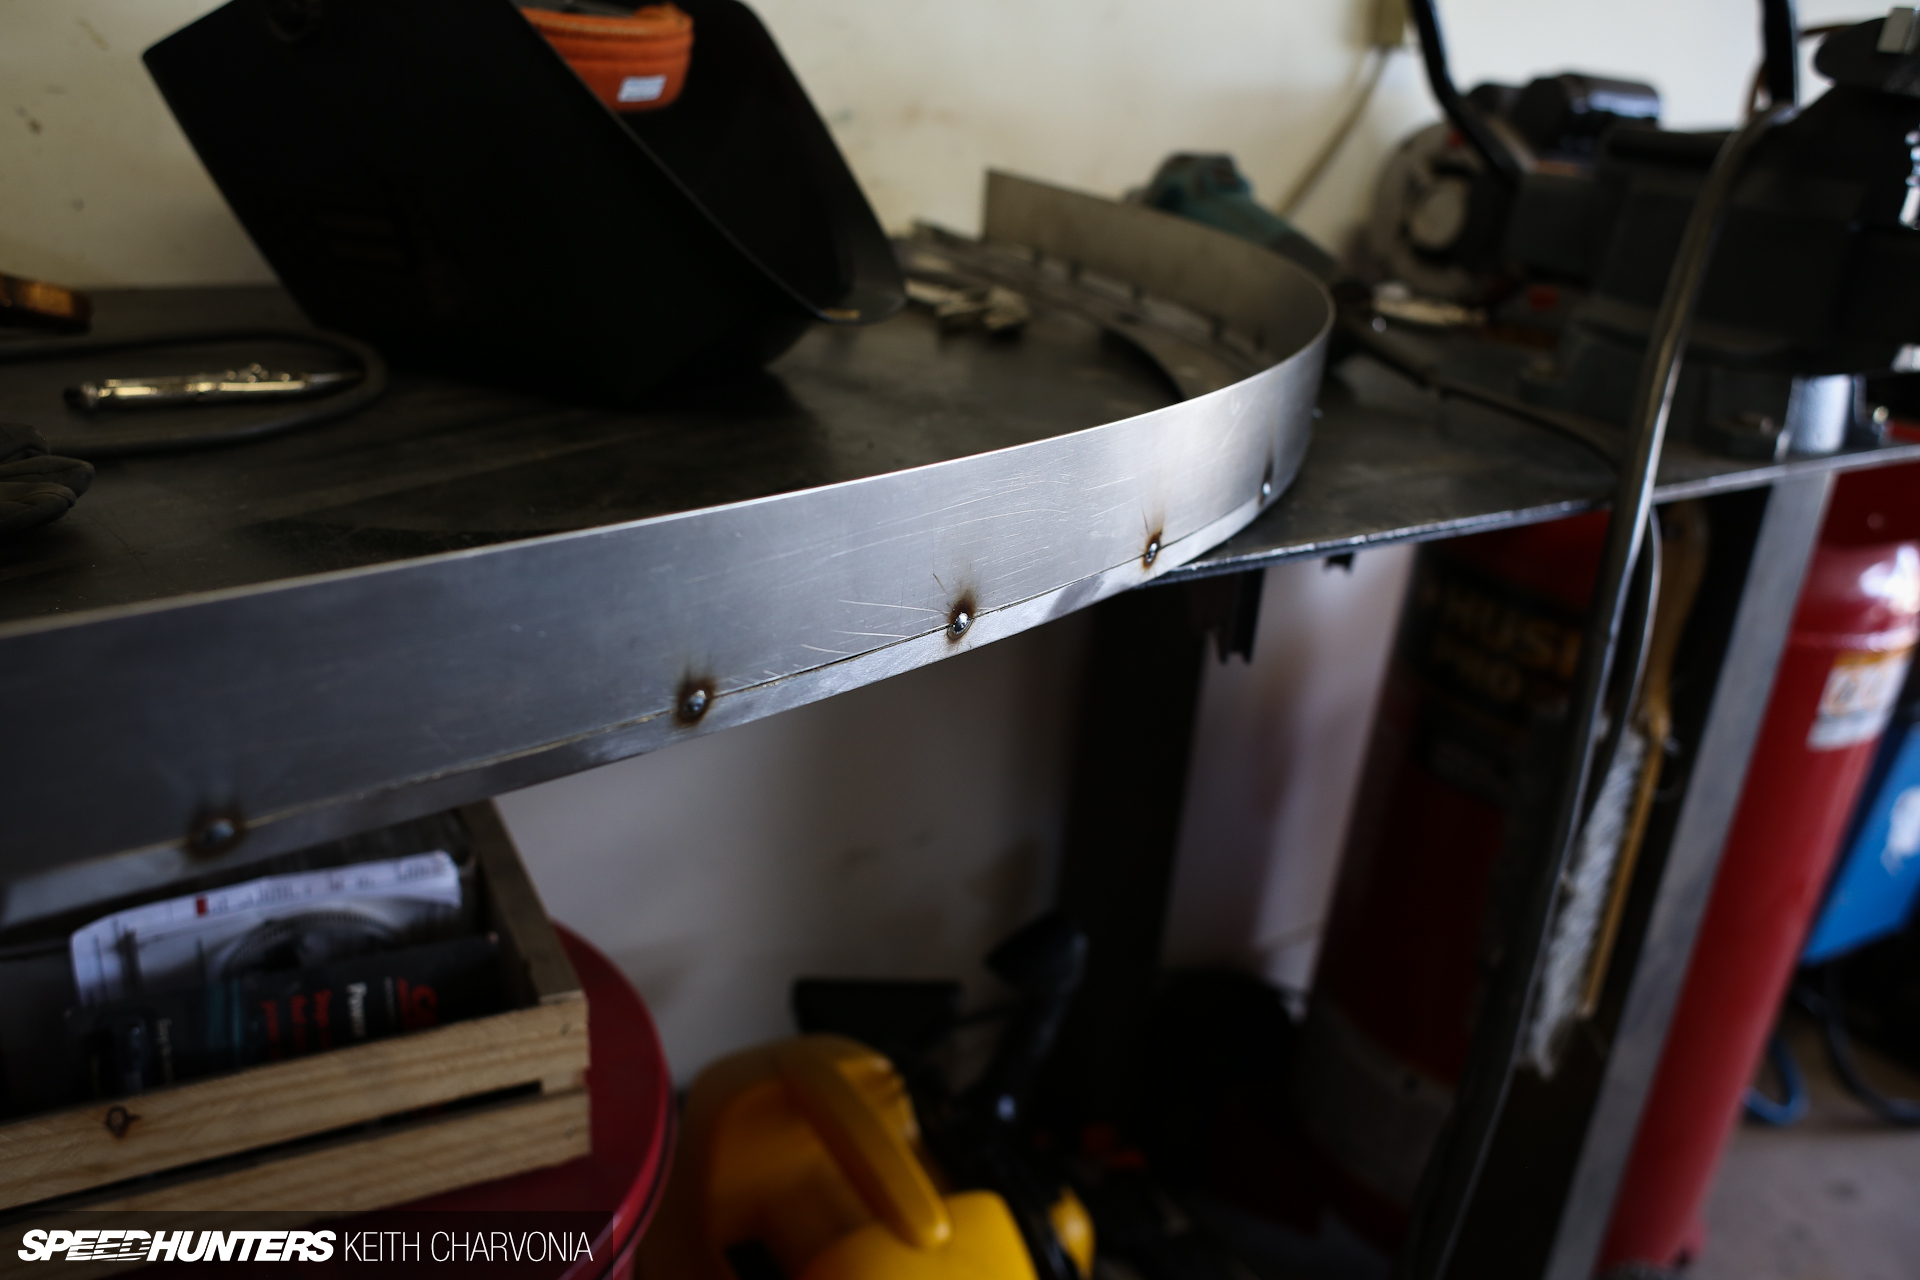
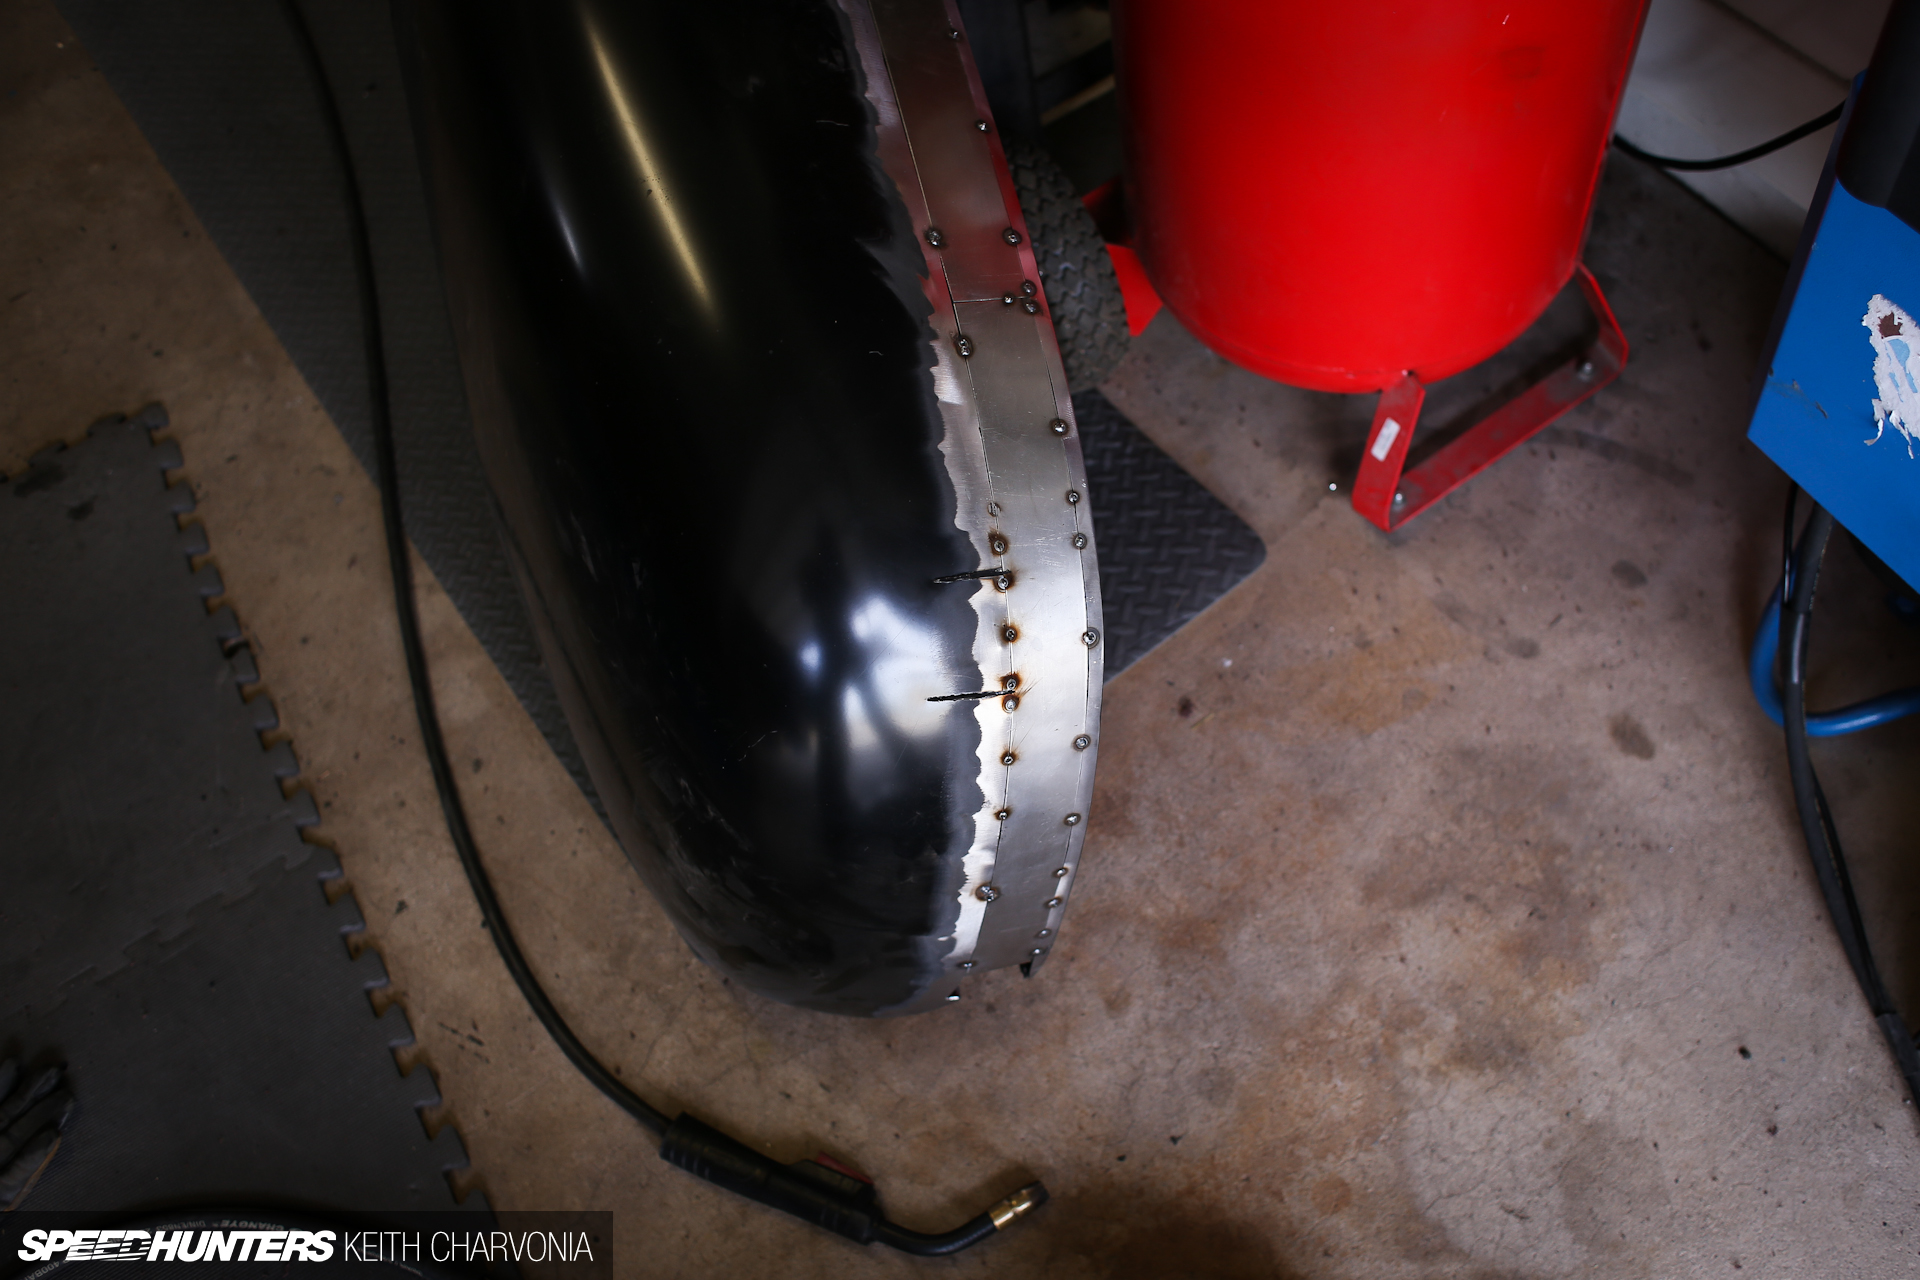
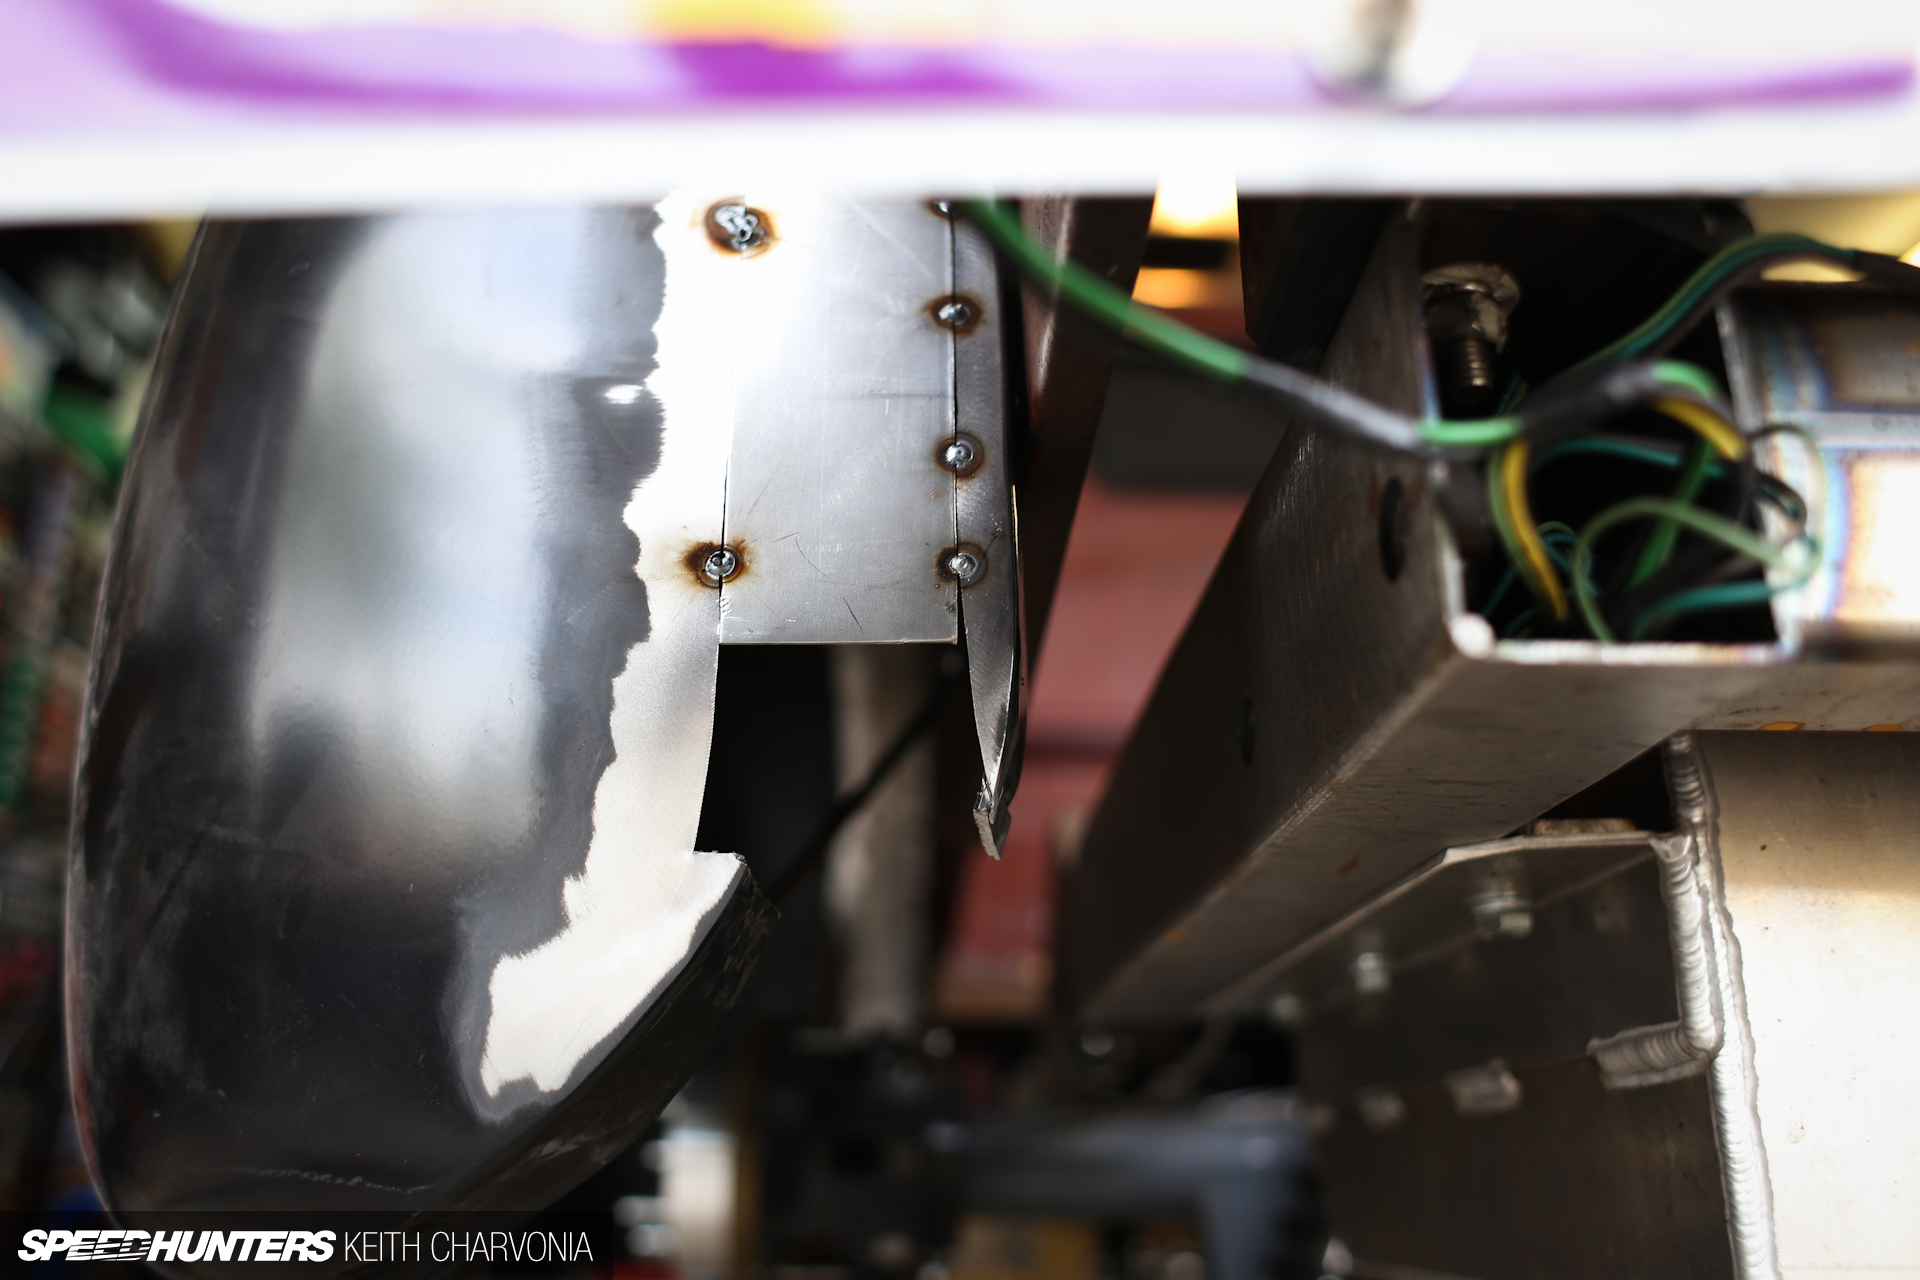
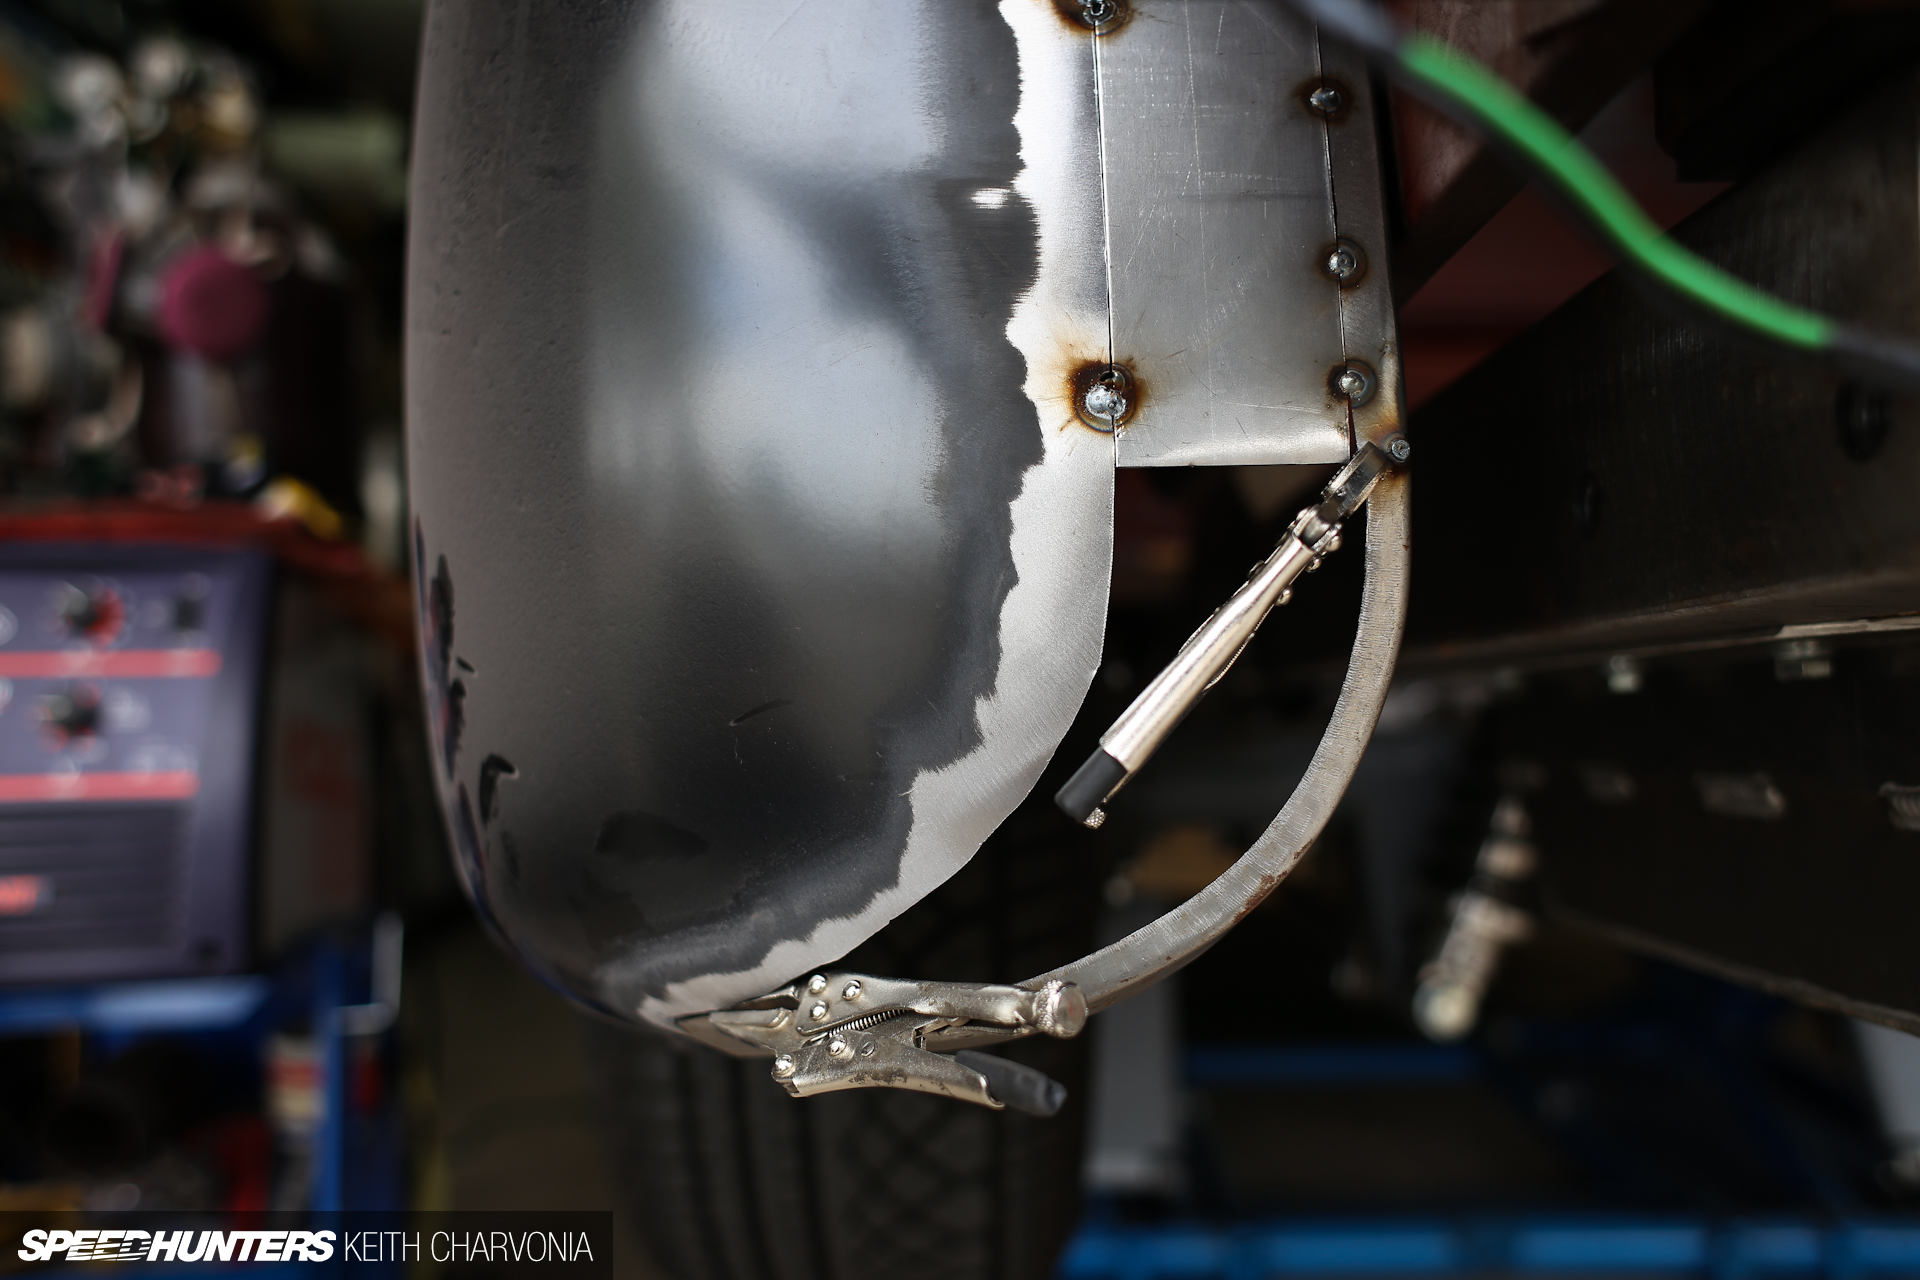
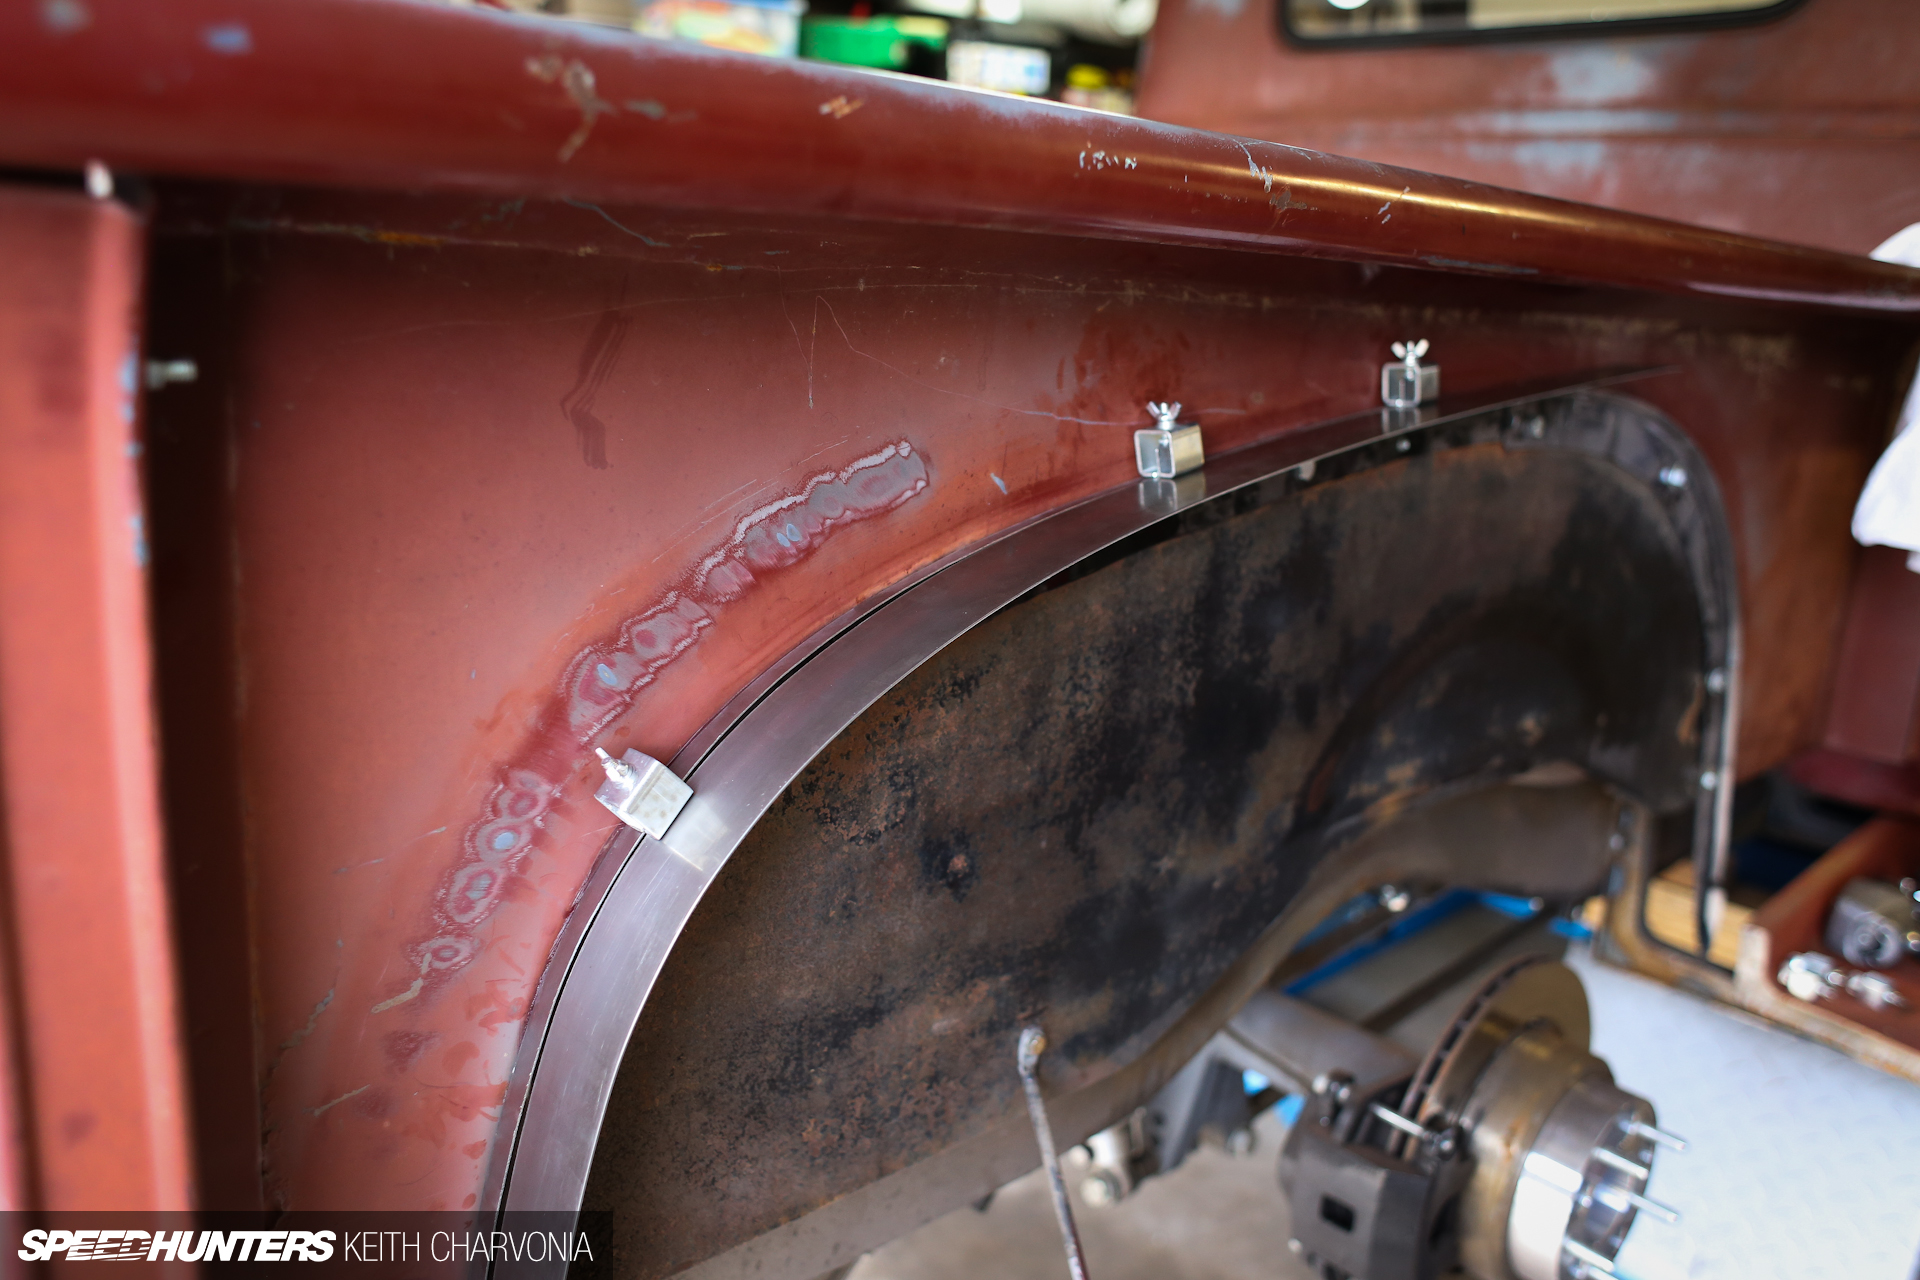
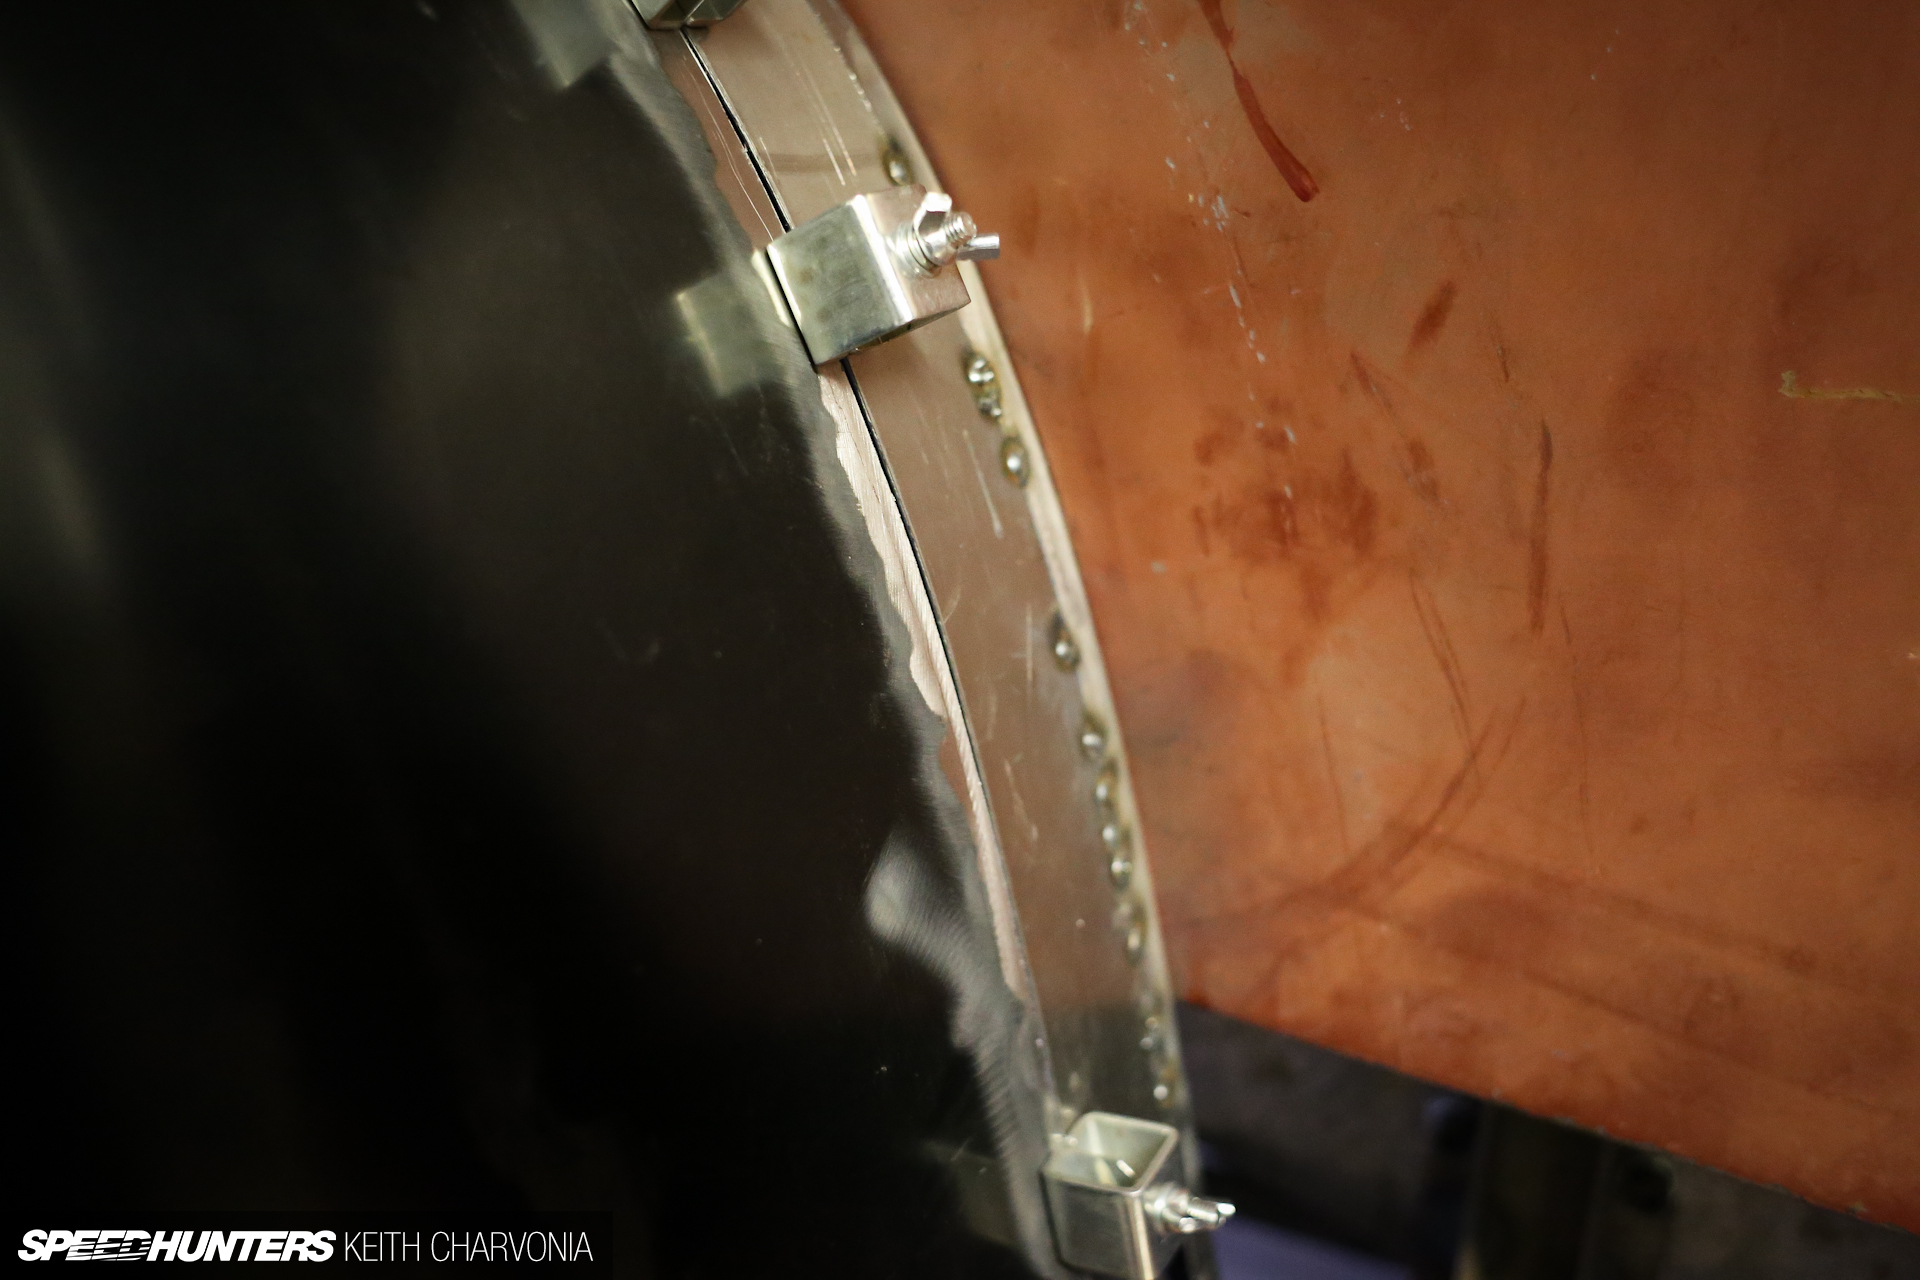
It was a pain to weld the first fender off the truck, so we decided on a different approach for the other side. We followed the same step of removing the fender, grinding off the paint and cutting it in half, then we bolted it back to the truck and used these special welding clamps to align the 2″ wide strip.
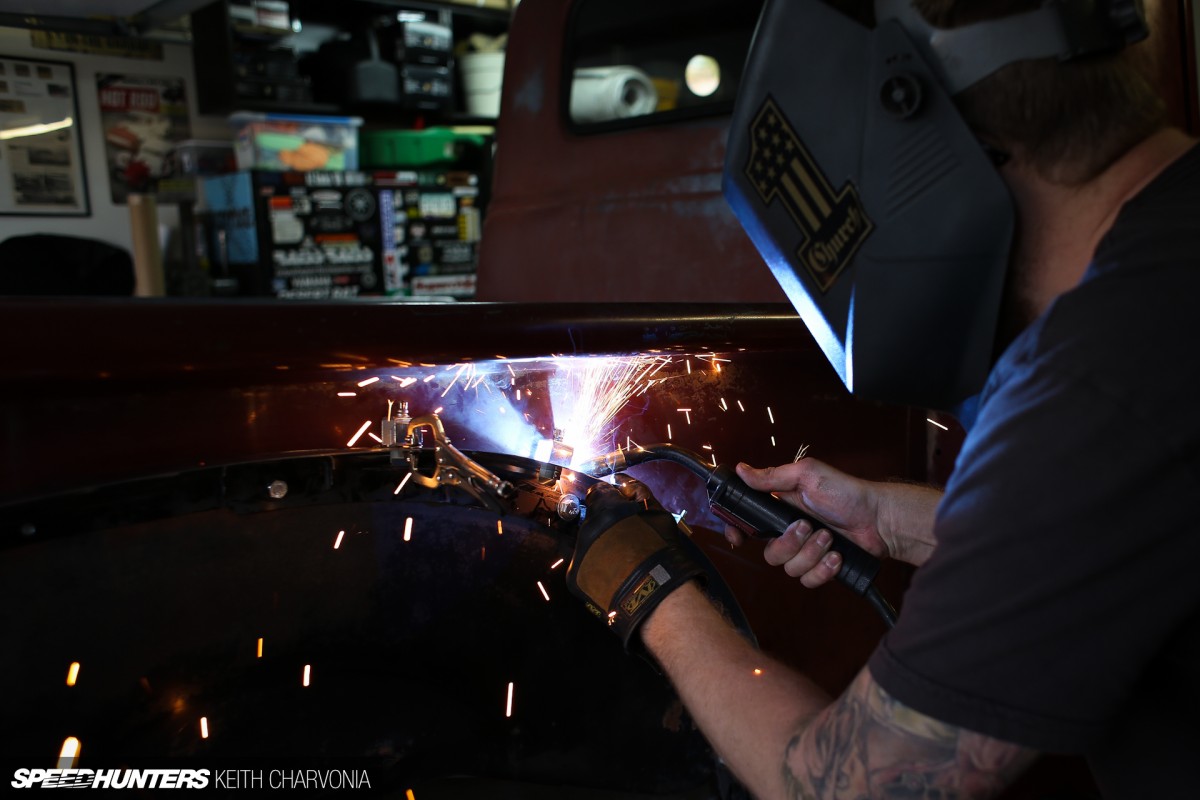
Joe got in more welding practice. This is really the best way to learn, because it’s going to take thousands of repetitive welds to make this thing solid.
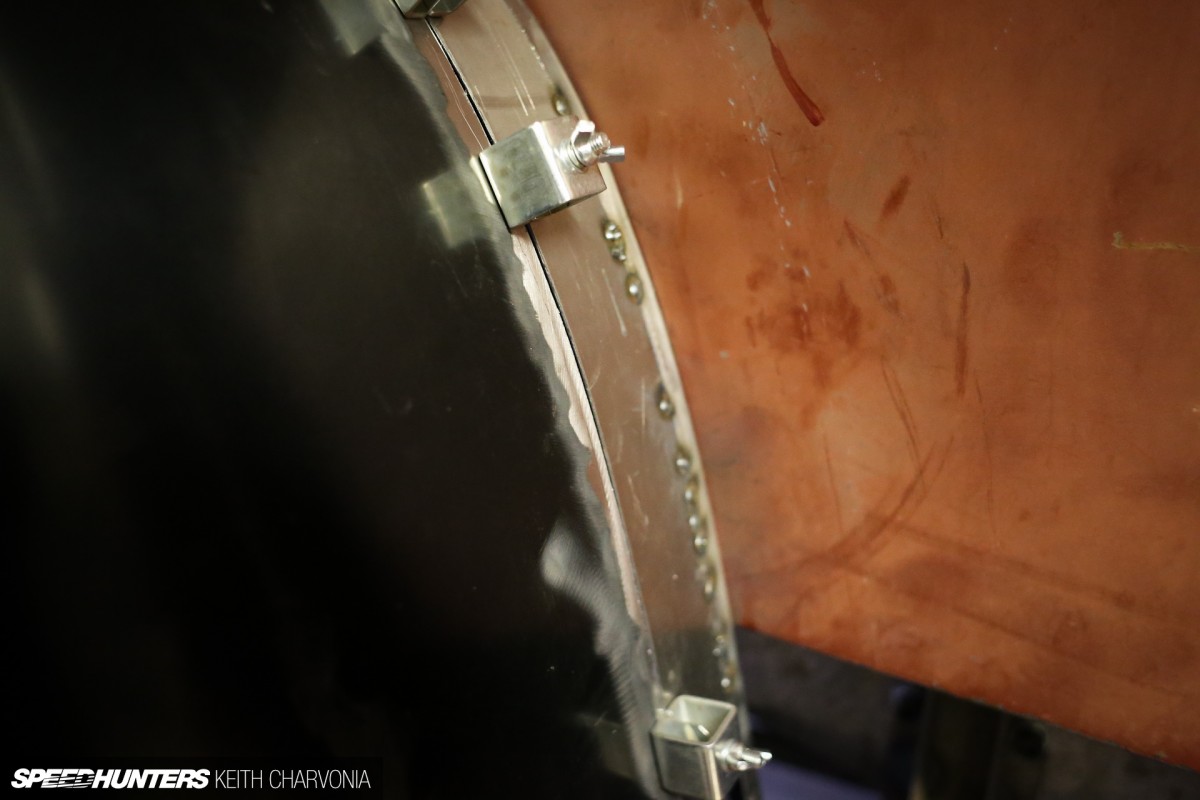
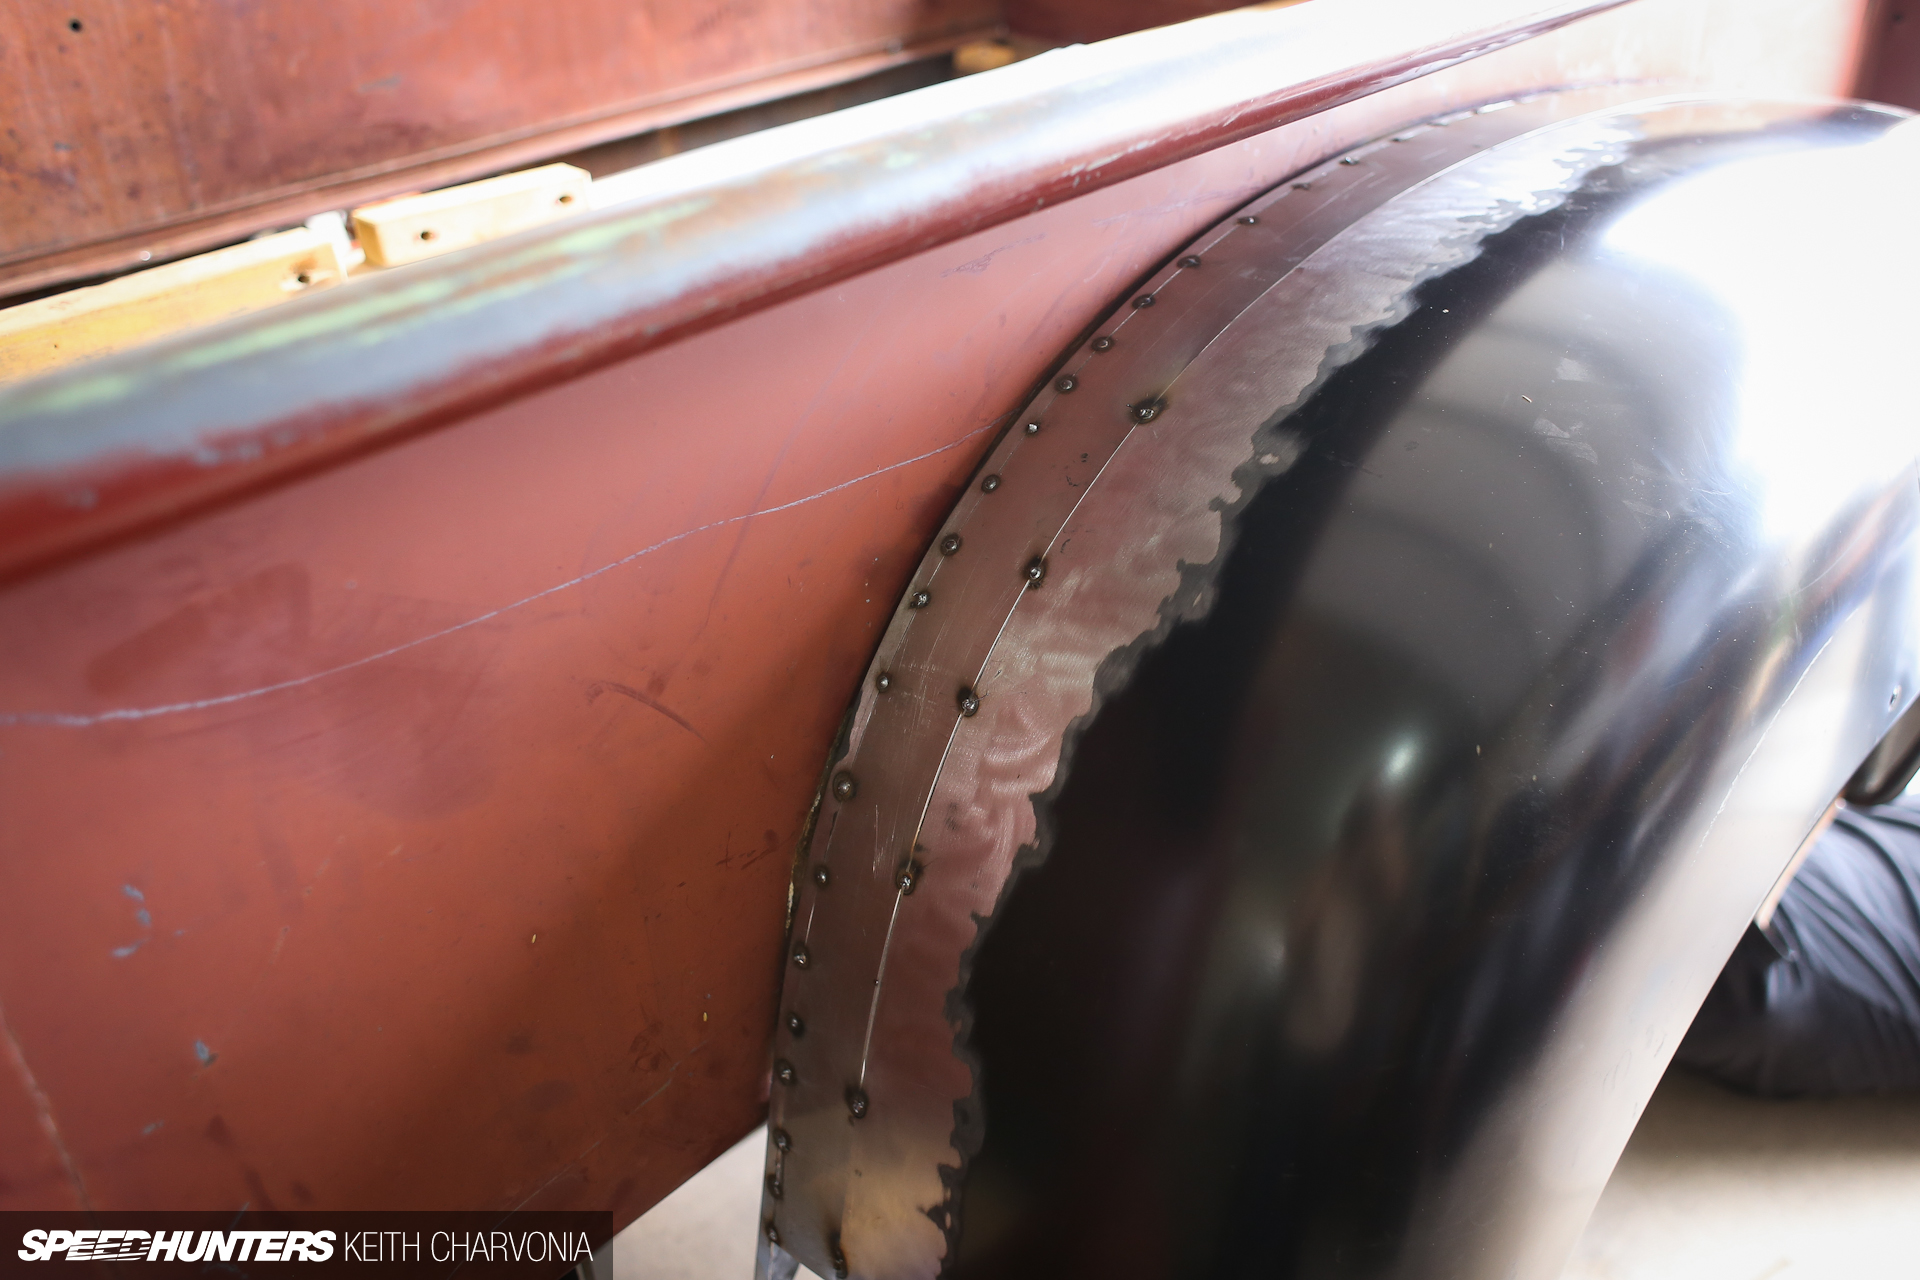
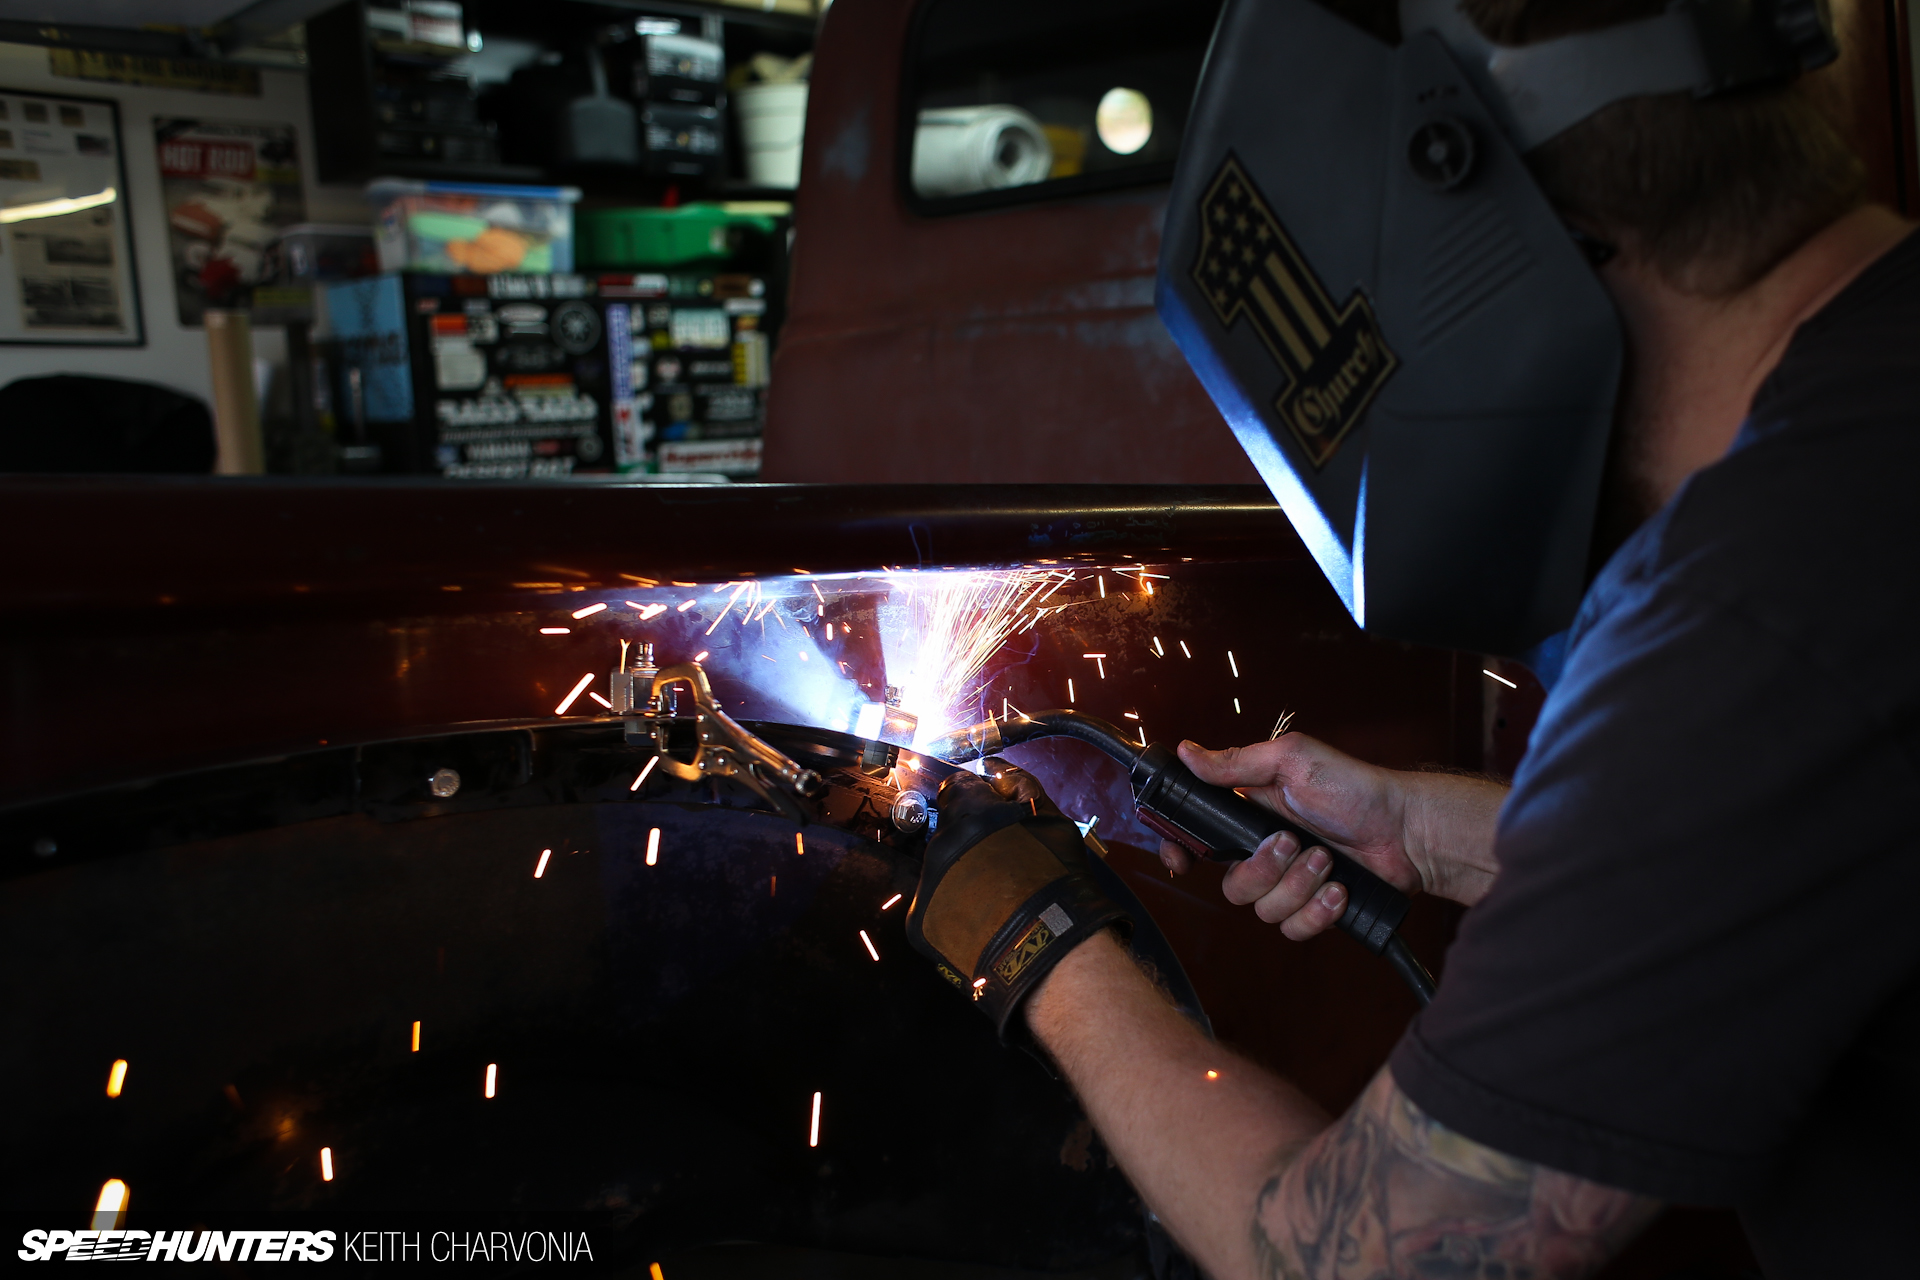
Soon we clamped the outer part of the fender up, aligned it, and welded it on. This method was much easier and required less swearing.
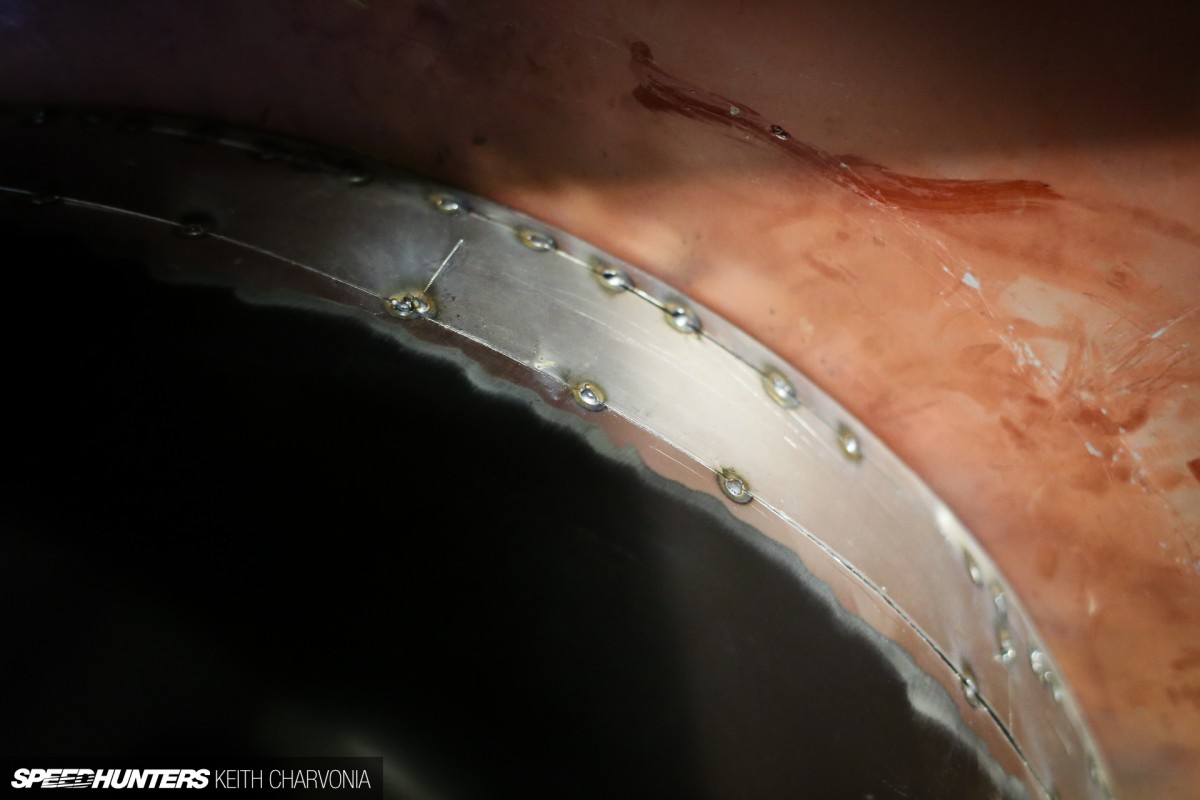
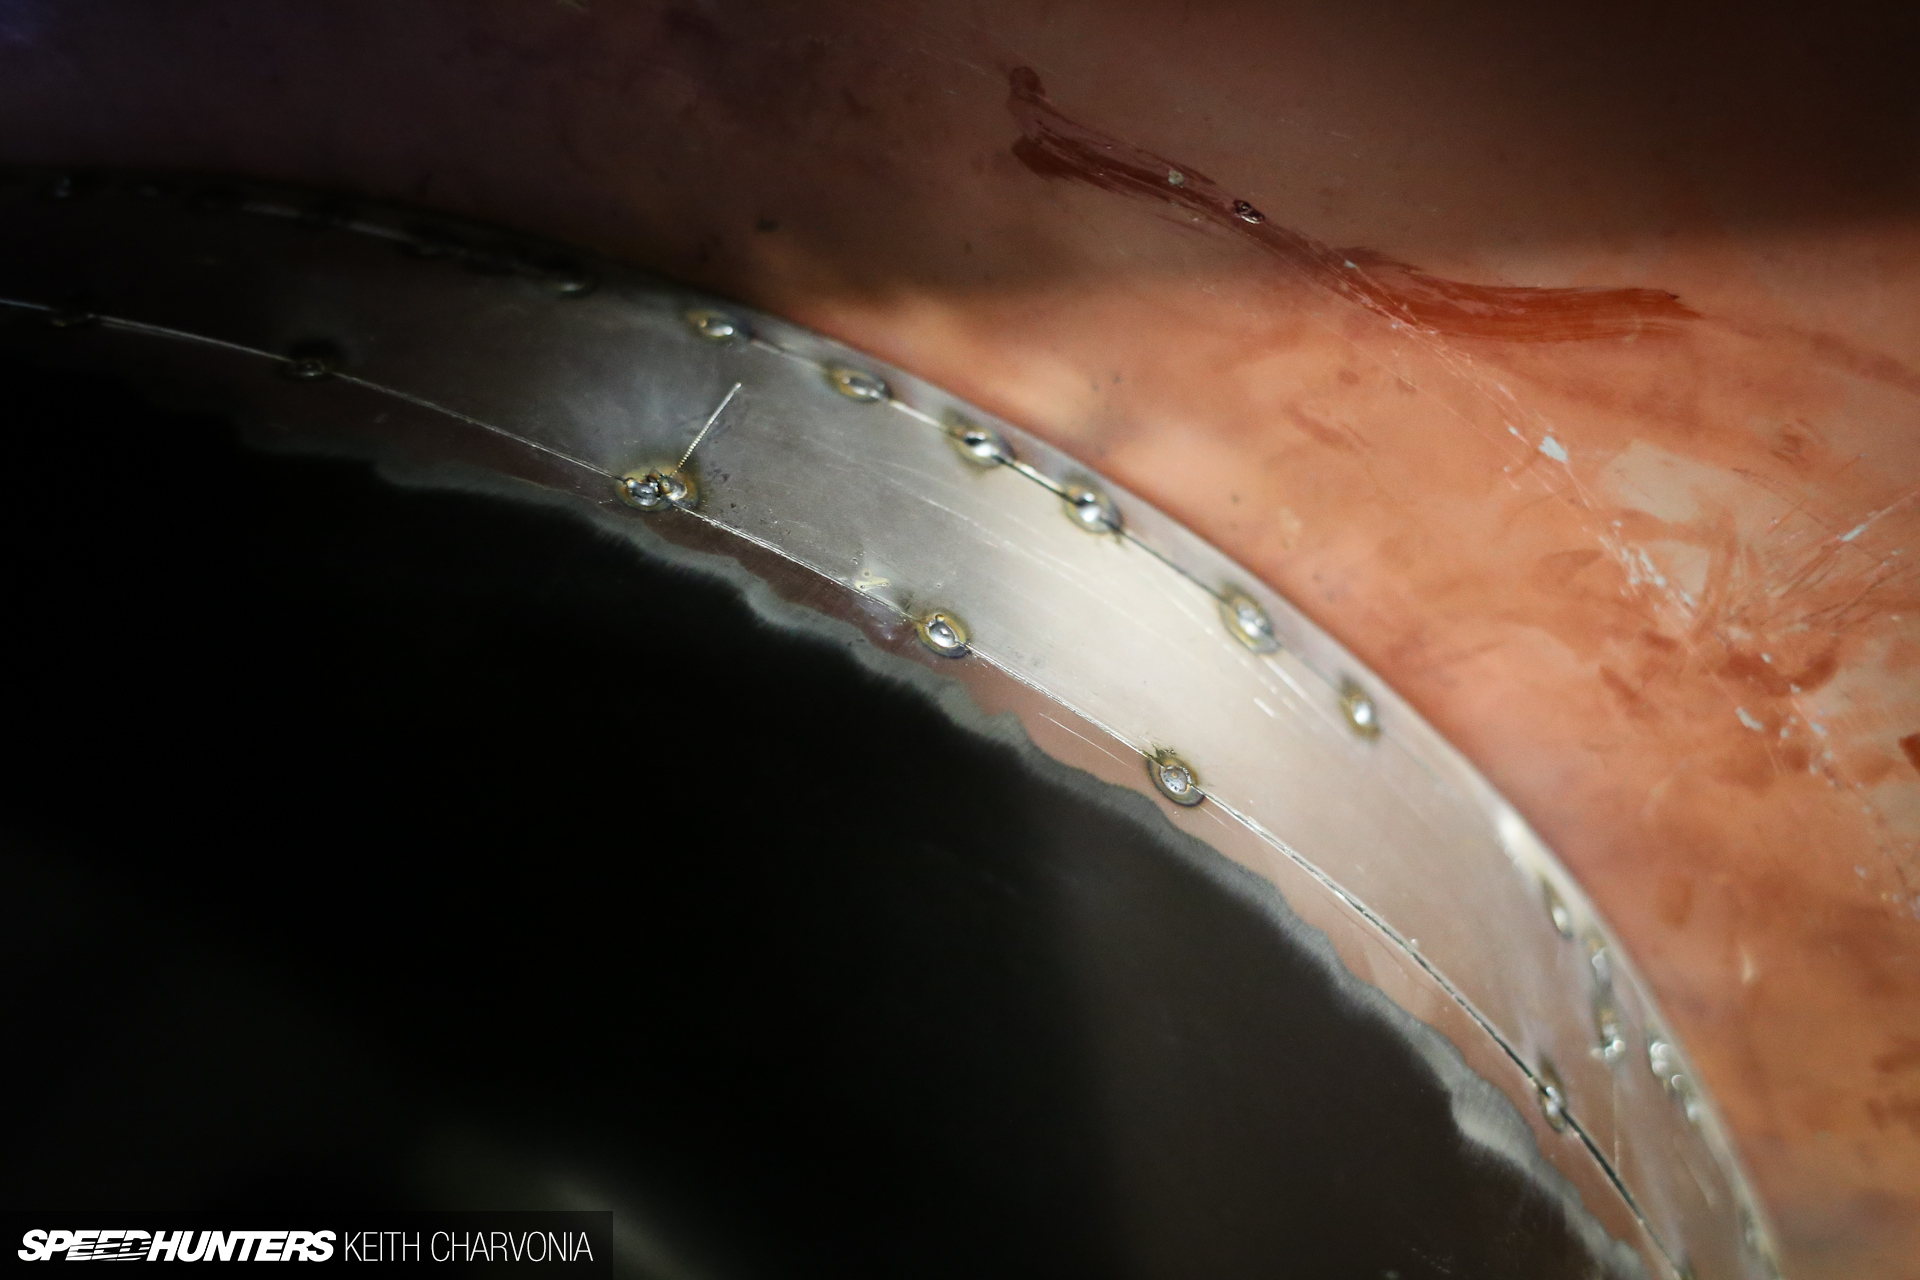
See the holes on those two welds nearest the bedside? Those were too hot and burned through. You can easily fill them as you’re welding, so no big deal.
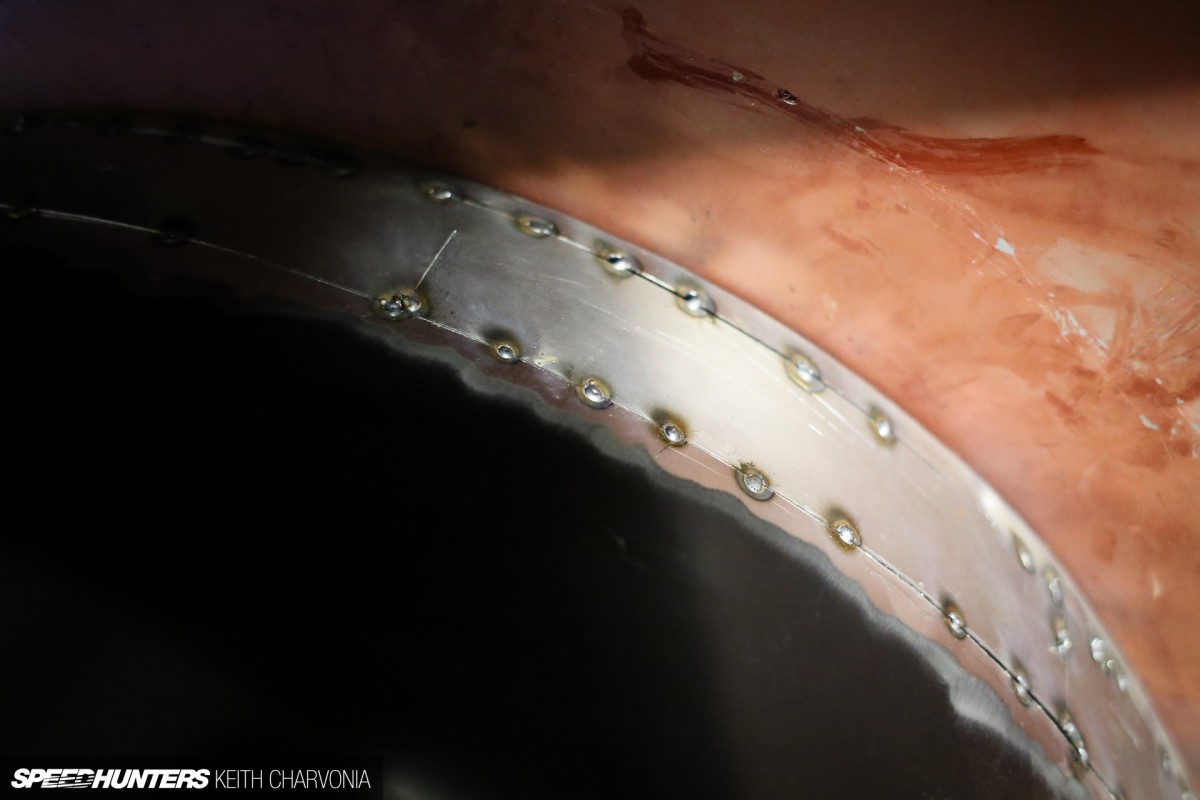
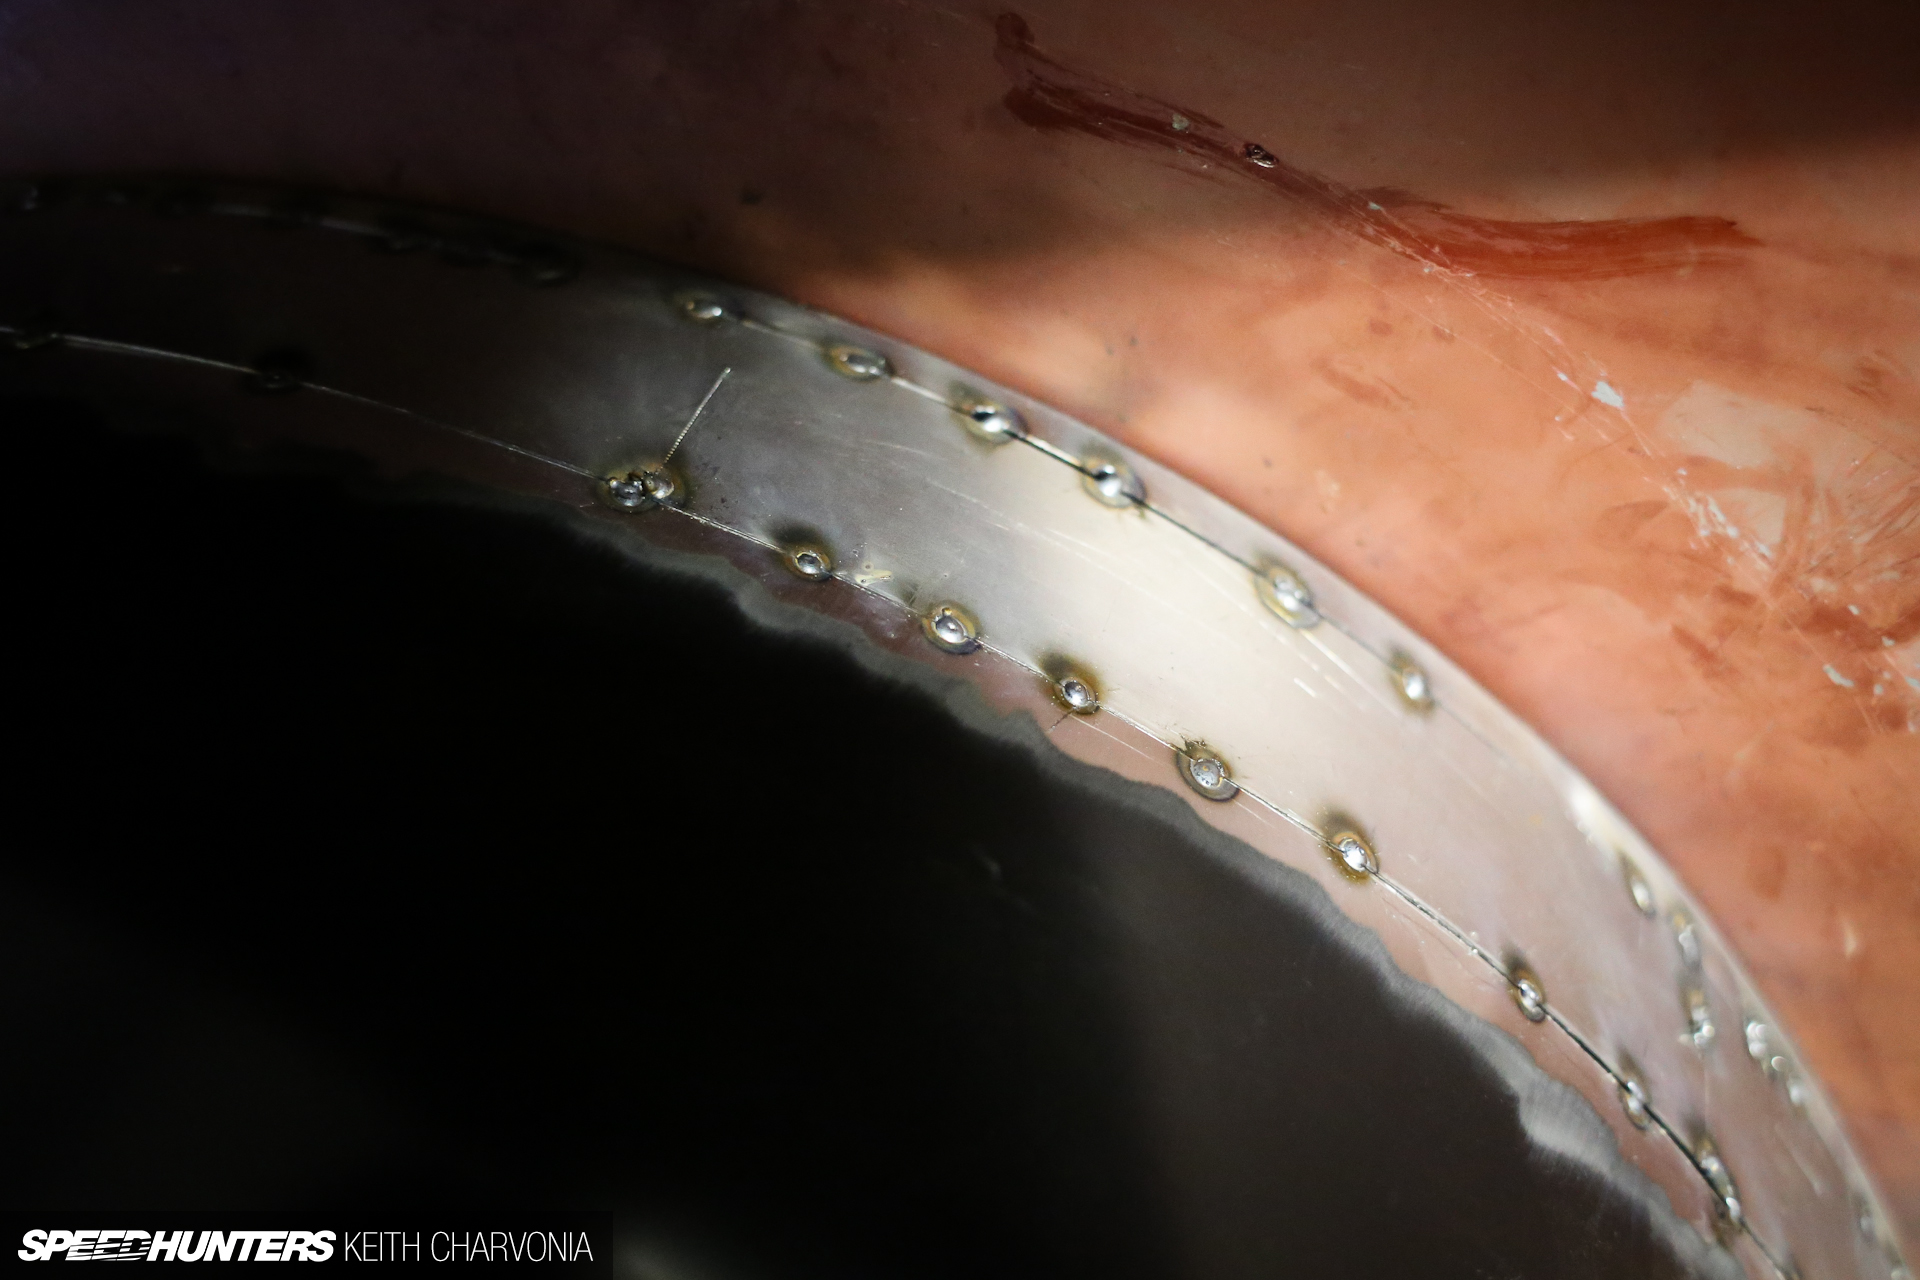
I wanted to finish welding a section and grind it down, just to show the process. To start, I added tacks in between the existing welds, basically narrowing the spacing. Remember to move around so you don’t concentrate too much heat in one spot and warp the panel.

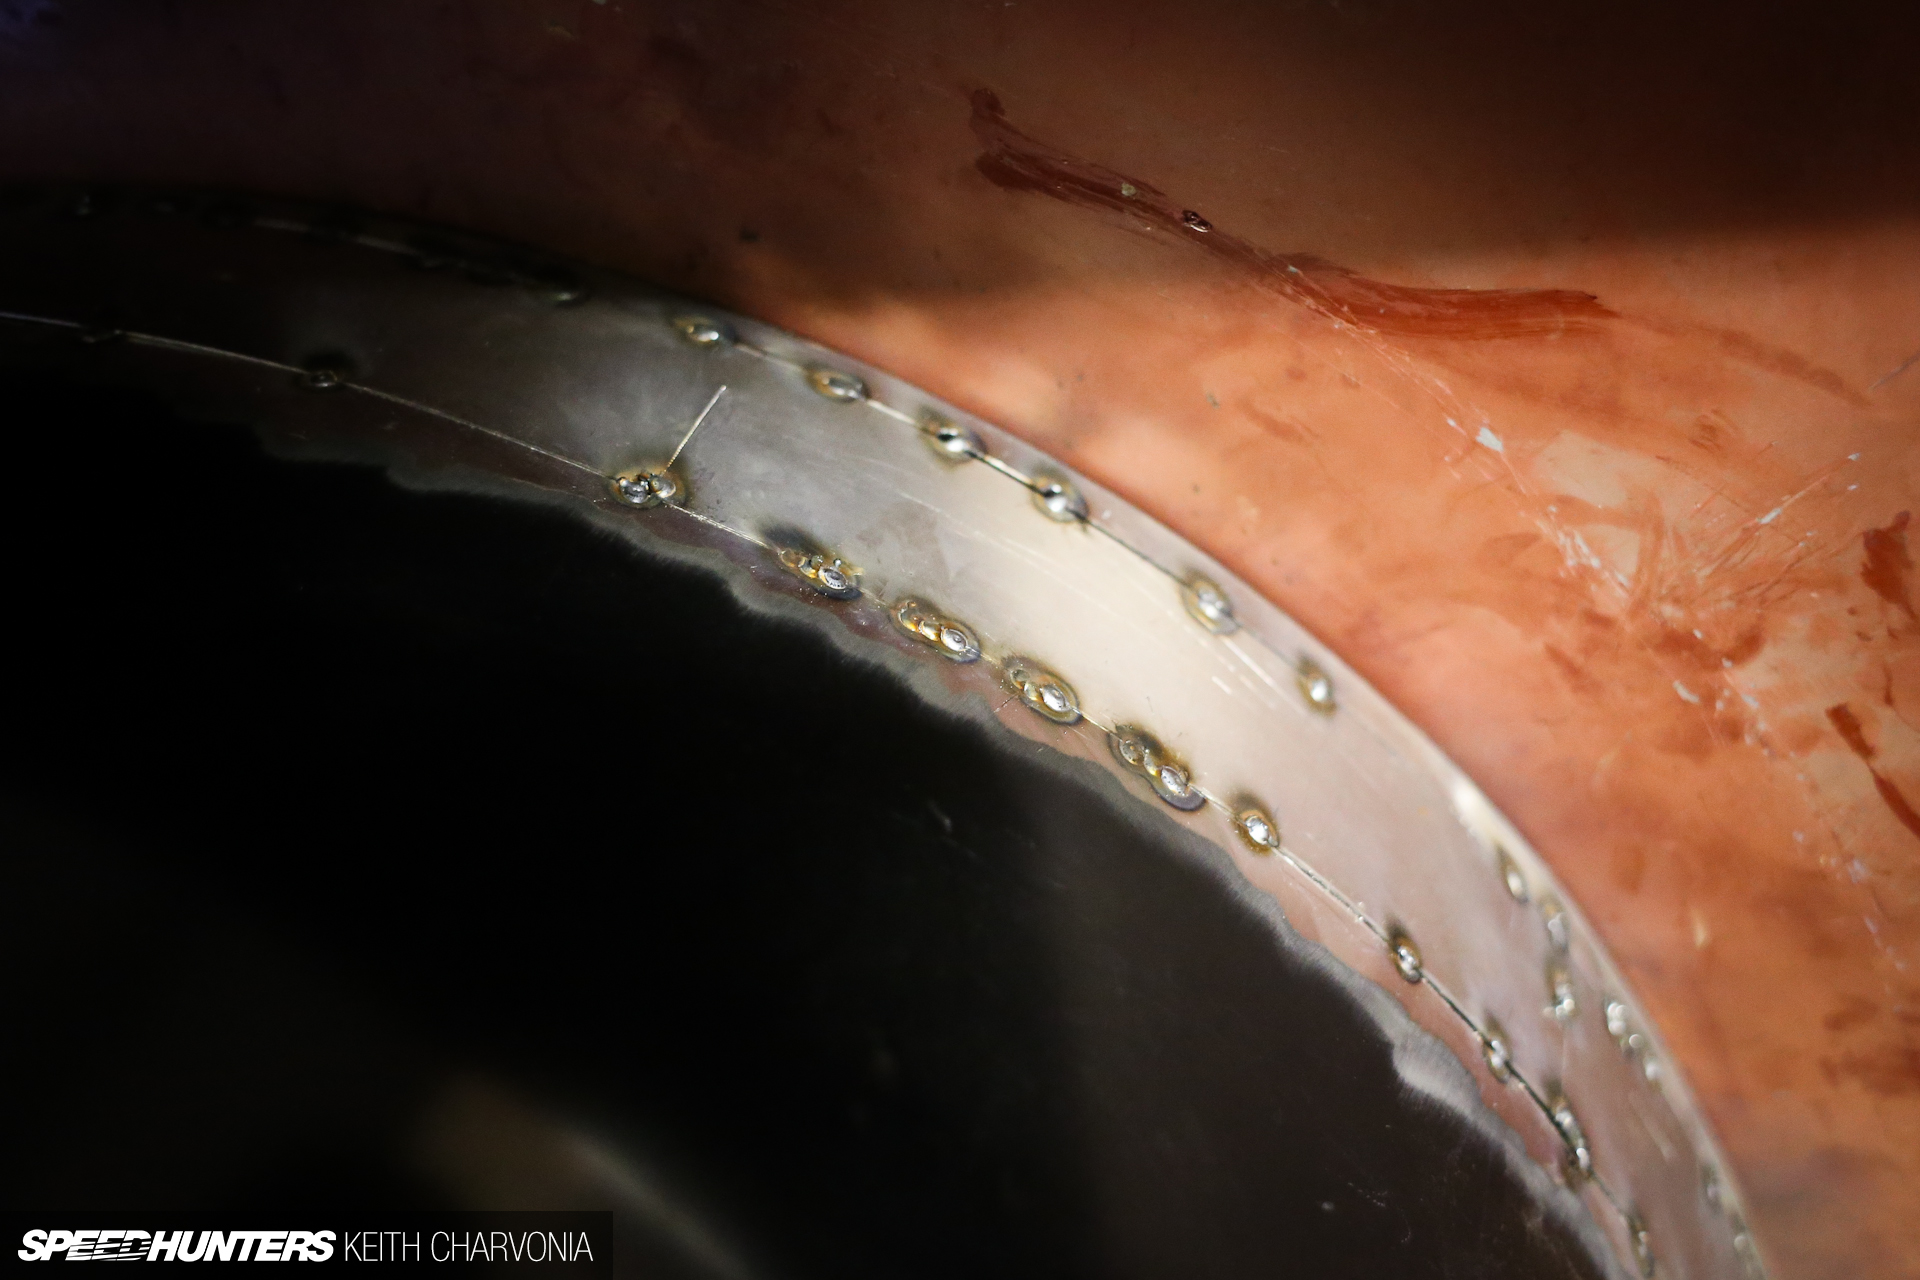
Next I started stacking tacks on top of old tacks, one at a time, and moving from left to right.
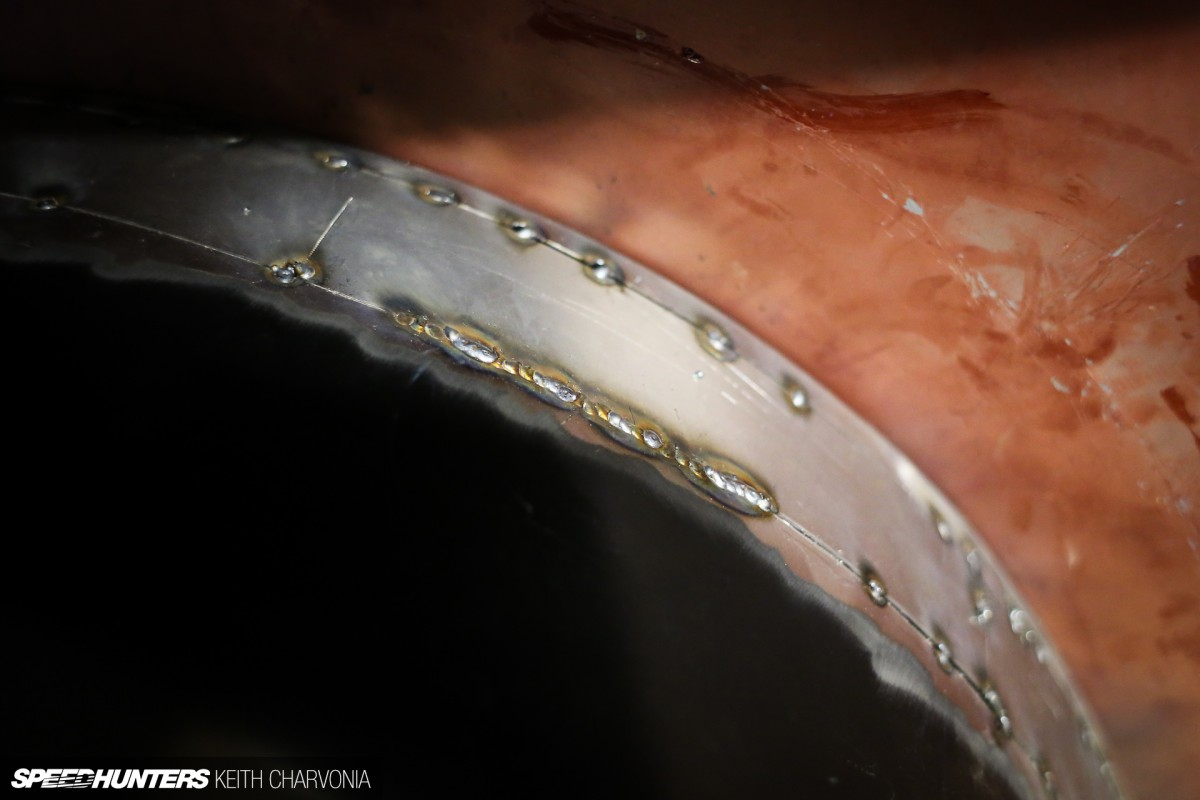
Using this technique I can methodically weld a panel solid without putting too much heat into it, and also ensure there will be no gaps or holes in the metal when I’m done.
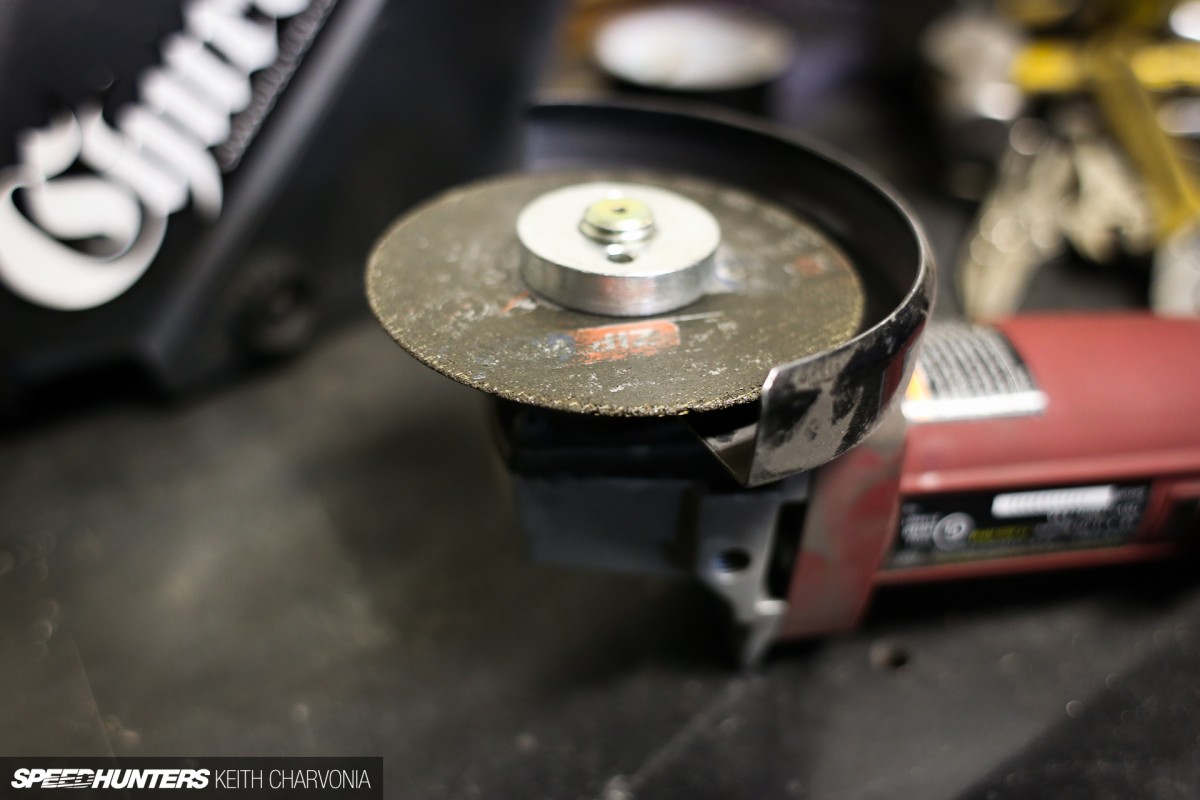
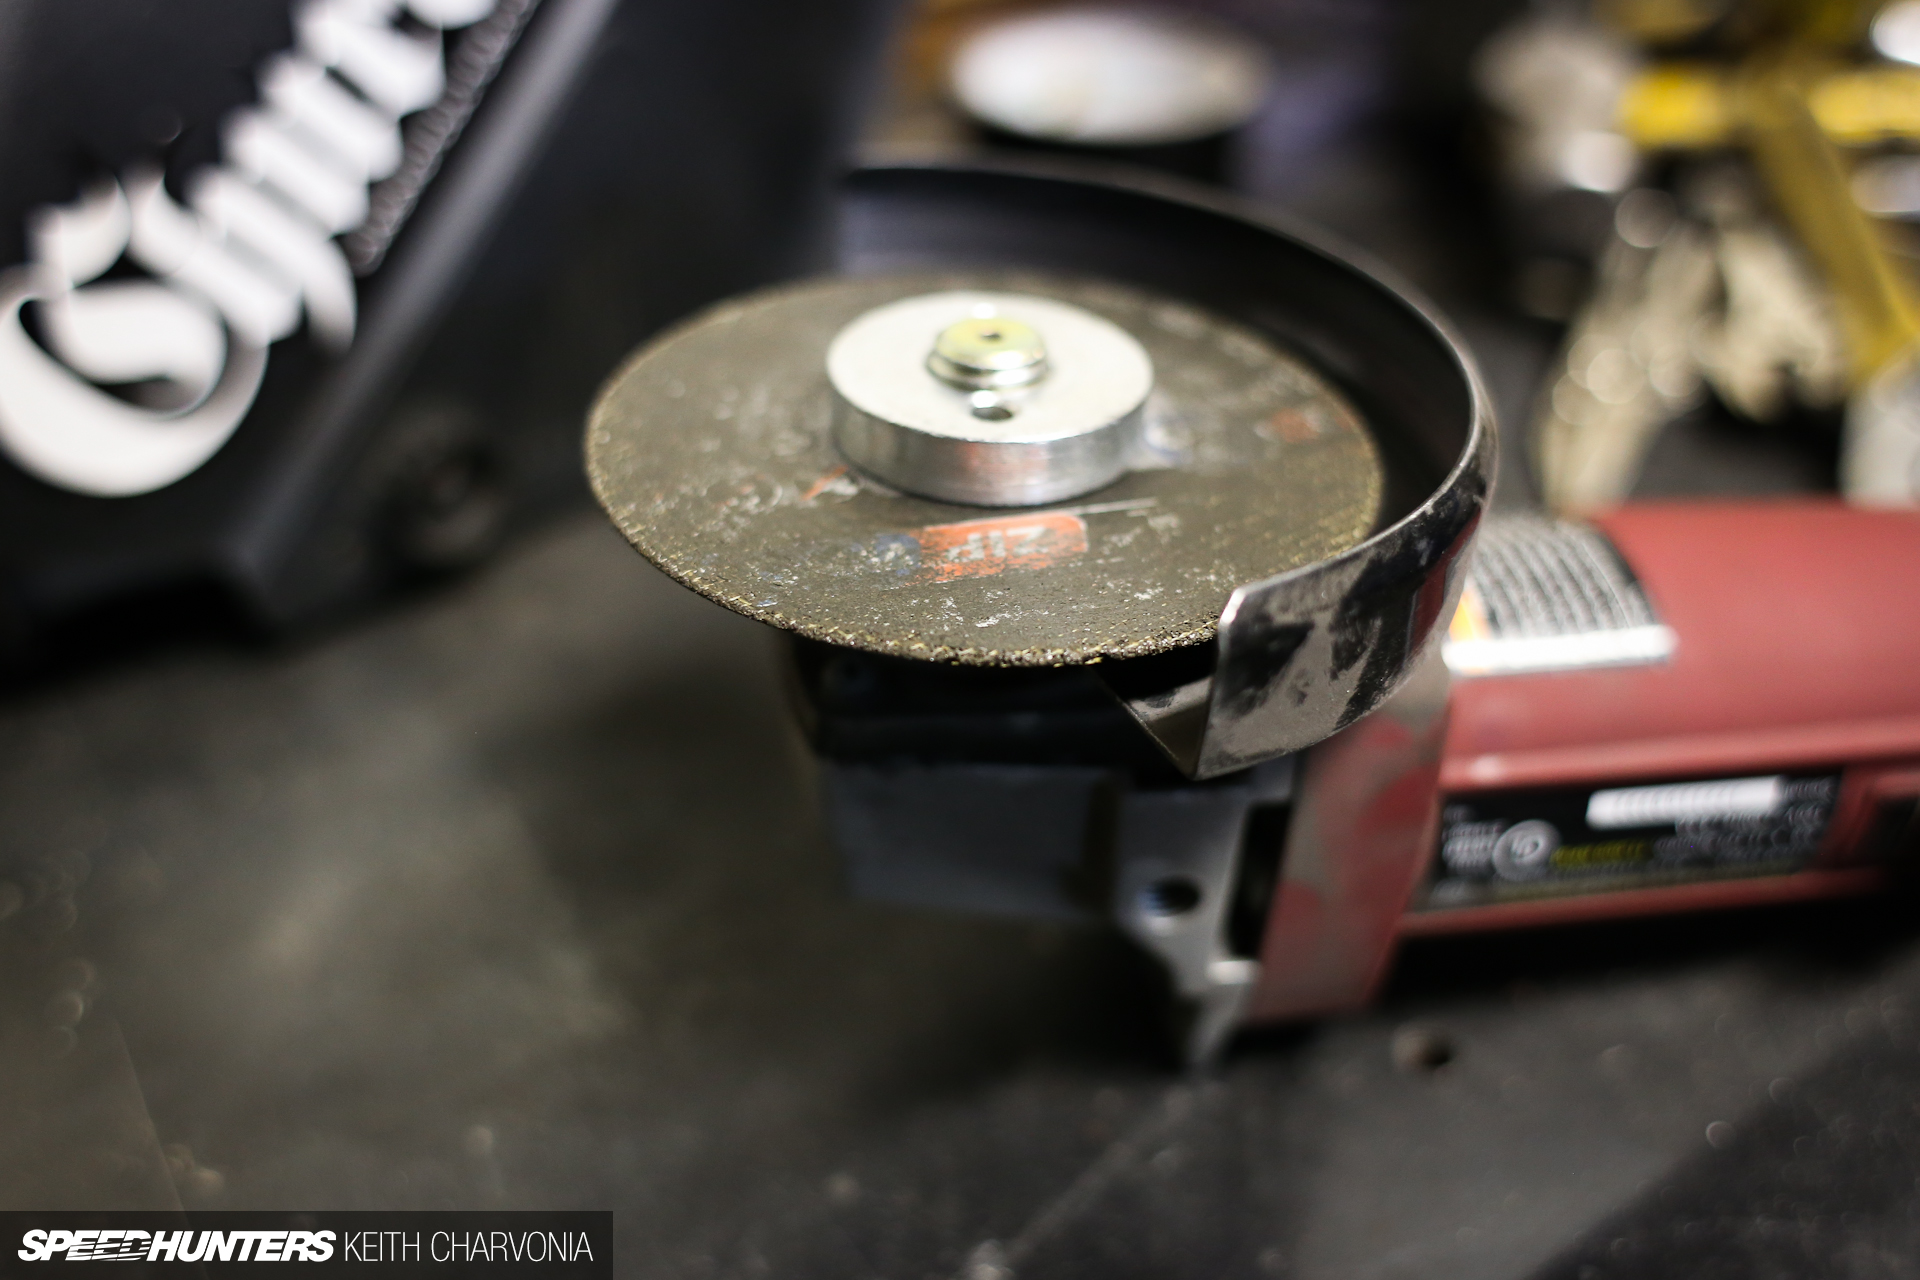
Once it’s welded solid, you just have to grind the weld down flush. I prefer to use a thin cut-off wheel for this, as it seems to be more precise and puts less heat into the panel than a grinding disk.
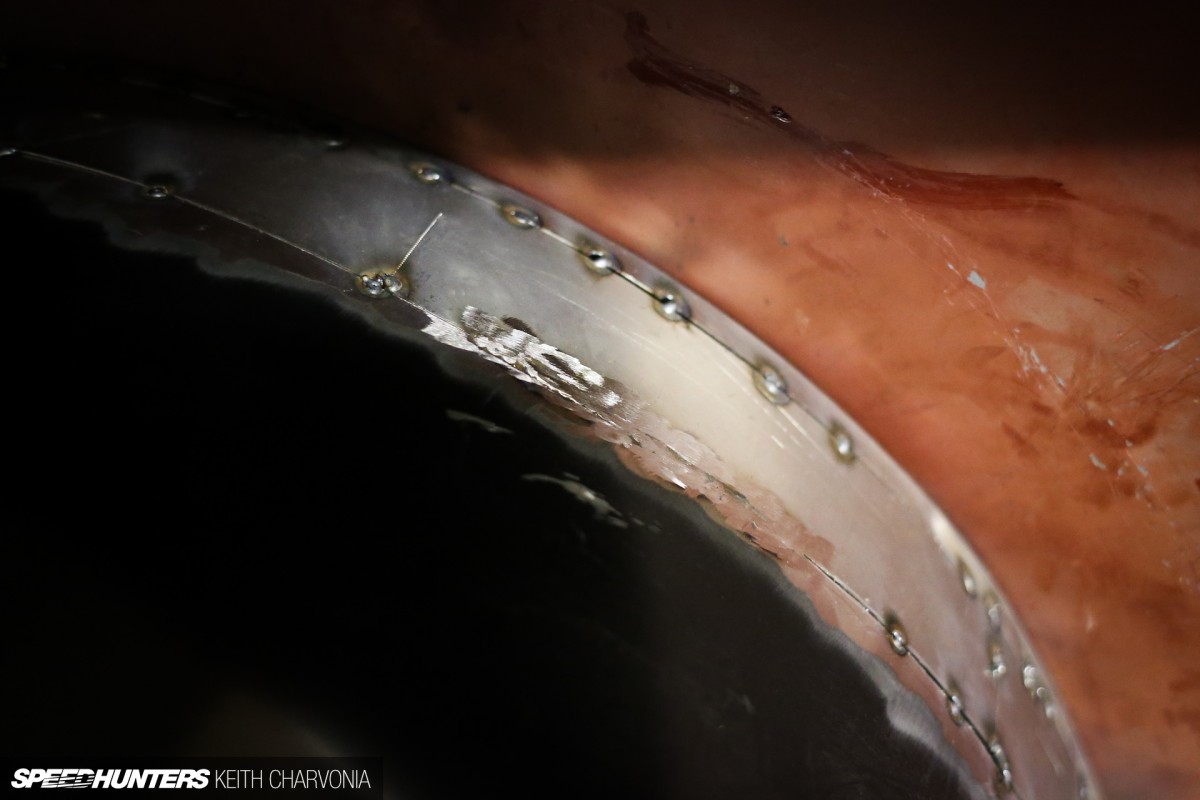
I carefully ground down the weld, making sure not to grind into the thin sheetmetal around it. Now just do this a hundred times more, for hours or days, and you’ll be ready to spread on some body filler, sand it, prime it, sand it again and paint. Easy!
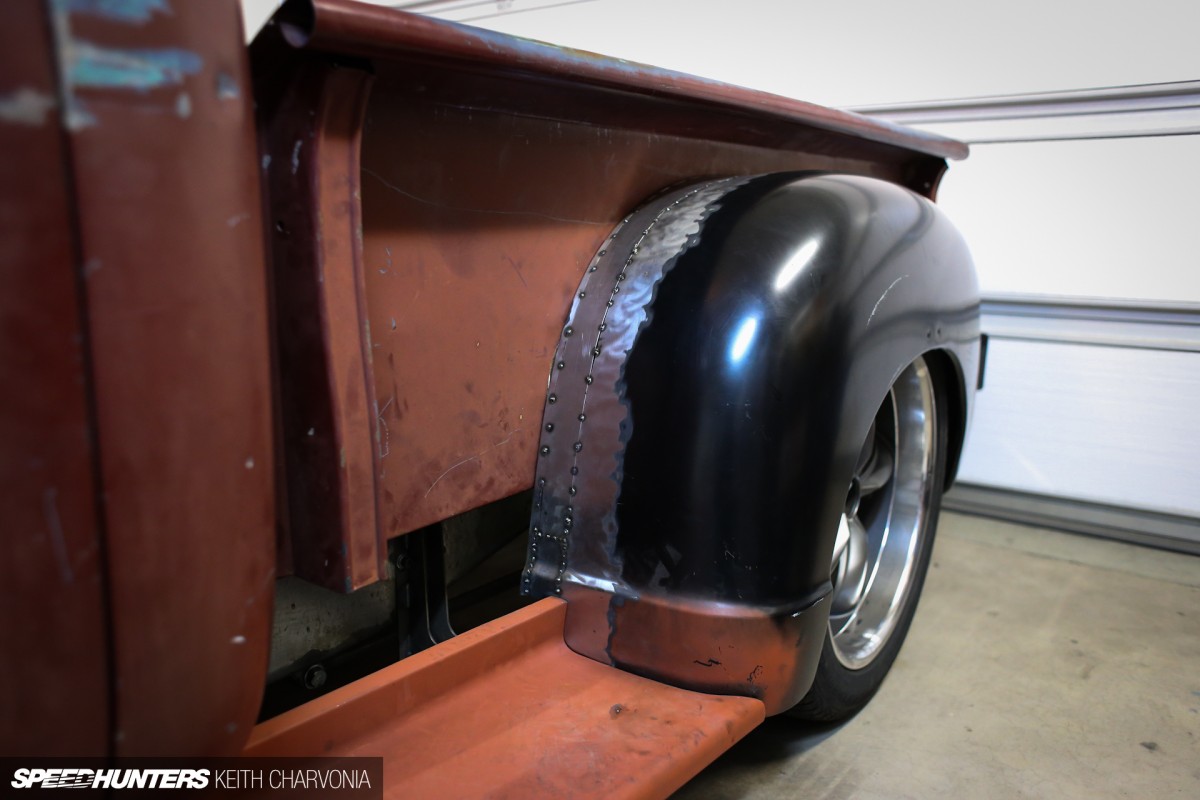
While Joe worked on his welding, I made the small filler piece with the body line for the front of the fender. They still need to be welded solid and ground down before body and paint can begin, but we’ll have to tackle that another day. At least Joe can roll in style now with his all-metal, extended rear fenders!
Keith Charvonia
Instagram: SpeedhuntersKeith
keith@speedhunters.com








Awesome article! A fabrication theme would be good! What is the "Special Welding Clamps" called?
Yes! Some technical workshops on SH! TBH, I doubt I'll ever bother doing much welding, basically... I suck at it. Still, it's really interesting to read and learn stuff, even if it's just so I can better appreciate the work and effort someone else is putting in to welding something for me haha!
Awesome Keith, cool to see the process!!!
Robo_No1 That's exactly what a technical article should do. I will probably never strip down a turbo but I still want to know what it looks like inside and how to do it. When you understand the difference between a good and a bad weld, it can really open your eyes when looking at somebodies work. The differences can be like night and day.
Speedhunters_Bryn Robo_No1 So I can take it there's a Turbo 101 on the way? ;). I'm honestly really interested in seeing more stuff like this on SH.
You're right on the difference between a good and bad weld, we have an in-house fab shop welding food grade stainless, and the skill some of our guys have is insane, it's more like an art form than a job.
would definitely be down for a series of articles on how to put an engine back together, so if you do like rotating assembly 101, valvetrain 101, etc etc.
Great article, these kinds of articles inspire me (a school kid) to make my own projects instead of paying someone else!
this is how a technical article should be!!!
Loved this article. Now has me re-interested in harassing a good friend of mine who is a welder to teach me again. More of these types of articles please. Basic 101 articles like this I hope become a regular feature.
You keep outdoing yourself Keith! Great article, we definitely need more articles like this. I really appreciate the tidbits of wisdom and that insight of what works best that can only come from experience, very cool that you are sharing this!
Another great article. I've always been looking for a good write up of basic welding and this does wonders with the pictures.
Haven't welded since college, probably won't again but this was informative article.
More of this please.
The people have spoken, Keith! A 101 Tech Article was a brilliant idea, and I'm among the many, I'm sure, that would really like to see more. Welding in particular. Showing the prep, materials, and rules of thumb in addition to the actual process was very nice. You're a damn talented writer, photographer, and fabricator. Thanks for all the great articles. Keep em comin!
oh look! an actual, informative post!
KNT Thank you for the compliment
I really appreciate articles like this! It makes me want to do this on my car instead of bolt on plastic flares.
Cool write up!
I would have thought the old truck fenders would have had thicker sheet metal than the panels of today's cars. Really informative as to your process... I need more practice with the cut-off wheel though, as I've gone through more times then I would like to count.
Great article! Cool to see informative technical work on this site as some insight as to what goes into building these awesome machines.
Just a note, Id strongly advise using your right glove just to cover the skin (in addition to wearing long sleeves, etc) - it doesnt take long for the UV put out by the arc to do serious damage. All personal preference in what you want to expose yourself to though of course, Ive gotten bad "sunburn" from welding before and it can have lasting effects.
steezmode This is a good point. I've gotten sunburn from welding before too, but it was when doing a lot of heavy welding, such as on a chassis. I can get away with tack welding without any ill effects, but that doesn't mean it's the safest thing to do either.
steezmode Also I have some canvas sleeves that are good for avoiding sparks and sunburn on the arms. A leather welding jacket is the next step up, but very hot in the summer.
Kirk_B Oh yeah, the '49 Chevy DOES have thicker metal than today's cars, and you can weld much quicker because of it. I may have worded something incorrectly if I gave you that impression.
CameronPhillips Hey thanks! We've done some 101 stories on photography, but I think tech stuff like this is cool too (not to mention fun to produce) so I'll try to do more of it.
zephoto Do it!
shiftyXTI My pleasure, hope it helps someone get up to speed more quickly if they want to try it themselves. This is all stuff I learned along the way, usually the hard way too.
aussieANON I have an Olds 350 under my workbench that needs to be hopped up.
Robo_No1 Everyone sucks at welding until they practice a lot!
Lachys114 This hobby becomes much more affordable when you DIY and learn new skills like this.
KeithCharvonia agreed it is often on heavy welding - tacks are probably not as big of a deal. Full coverage is just a habit I got into when I learned TIG and thought it was worth mentioning! Good work on the article!
steezmode KeithCharvonia That's a good habit to be in. Safety first, always. Thanks for mentioning it.
KeithCharvonia aussieANON Come on then, get to it!
I would imagine so!
Awesome article Keith!! Have you ever tried welding with aluminum? If so, what were your thoughts compared to steel?
Great article, I will actually be using this in the next week.
and I can attest to learning by doing, I can weld a lot better now than before I stitch welded my chassis. I just wish I could go back and do it as well as I can now lol
CSFrace Thanks Ravi! Yes I have TIG welded aluminum, but not enough to call myself proficient or want to show off my welds.
Steel is easier for most people because the puddle glows red, whereas aluminum just gets shiny and wet looking without a color change when it melts. I'm able to see it pretty well, but I know a lot of people have a hard time with that. The other tricky thing about aluminum is that it dissipates heat much quicker (of course, you know that) so it's harder to heat up the material and keep it hot as you weld, so you need more power for thicker stuff. On thick material you even have to pre-heat it sometimes!
teeson I know that feeling. More reason to start the next project and do even better than before, right? Glad you'll get some practical application out of the story too.
KeithCharvonia Please tell me that you are going to follow this build as it progresses. I would hate to see it go this far and then not see the complete product in the future if it ever gets finished. Great article, I loved reading it.
I'm really liking the idea of these 101s becoming a permanent addition to the site rather than just for the workshop theme. Unless that's what the team already has in mind; in that case, you guys are already thinking ahead!
Using a cutoff wheel on its side isnt a real safe thing to do. Try using a flapper disk instead, softer than a grinding disc, but built to take sideways loads.
Great article, Hope there are more of these to come.......
If I could add my 2cents worth of basic tips-
-In a still environment (no drafts etc) 10-12cfm shield gas flow rate is more than enough, and it helps to save that precious gas.
-Also, spraying some 'anti-splatter' spray on the nozzle and tip helps stop the build up of crusties and nozzle cleaning is reduced and made easier.
-Having an air-gun/blower on hand can help to cool the panel between welds and reduces distortion (never use water as this promotes corrosion)
-And one last tip, always make sure your gun lead is free from any sharp bends, It sounds trivial, but a kinked gun lead can cause problems with a consistent wire feed rate.
All in all an awesome article.....keep them coming!
ModGuy More good tips, thanks!
KeithCharvonia Robo_No1Best article I've seen on welding sheet metal. Am in the process of redoing a Datsun 510 and have a fender I want to save that needs a small patch. Will use this info - keep this type of stuff coming.
KeithCharvonia steezmode : On a side note: definitly wear both gloves. Not wearing them can cause a realatively safe form of skin cancer. I say relatively safe, because to much exposure causes the real deal....
Keith,
I have recently purchased a flux core welder, and have started doing some similar work on my car. When I overlap my tack welds, and grind them down, i find that there are a lot of pinholes in my weld. Am i doing something wrong? could it be that i am just getting poor quality welds? Should I be cleaning the weld zone after EVERY tack weld to remove the slag from the previous weld?
Any input is appreciated.
Thanks!
"It’s nice to blow the cobwebs out of the tailpipe, plus it’s good for the soul."
Are you talking about taking the Kaiser out of the garage, or the effects of the breakfast burrito?
Heh, but seriously... I look forward to more articles like this. Lots of good tips for the beginning welder/aspiring fabricator.
nickmmele I think you're exactly right about the flux being the problem, as it leaves behind a lot of slag. To get a good clean series of tacks you would unfortunately have to chip away the flux and brush it clean before stacking on more tacks, which will be very time consuming. I would recommend getting a CO2 bottle as soon as you can, and make sure you change out the wire for regular welding wire (non flux core). Check classifieds for deals on bottles.
Just wondering but why not do a stitch weld for a couple inches instead of a bunch of tacks back and forth? As long as you don't go for too long distortion/shrinkage from heat shouldn't be an issue.
ClaytonRenz On the thicker sheetmetal of older cars you can get away with a little of this, but no way on a newer car. I play it safe and tack everything to avoid a warped mess when I'm done. I've warped enough stuff to learn my lesson and just take it easy and slow.
If you are just starting out welding sheet metal on cars and want to see
why Keith tacks like this, go to a junk yard, get a scrap door and
practice by welding the handle hole up. You will quickly be able to see
how much the panel warps if you run a stitch for longer than a second or
so. With every tack the metal shrinks slightly, so naturally you would
want to minimize this by welding for the shortest period of time as
possible, keeping the heat affect area to a minimum. When you TIG or Oxy
weld panels you can get away with letting the panel distort a little
more as the weld is softer and can be dollied (stretched) back quite
easily. It is a lot harder to do this with mig welds as they harden the
steel and become brittle and susceptible to cracking when performing
hammer and dolly work.
Such a great article - have always wanted to pick up a welder and give it a go. Now to find myself a project.....
I really should learn to weld... Awesome article.
More tutorials.
speaks I am trained in autobody repair so just a suggestion. Thats how i was taught, it does depend on the metal and the person welding also.
This article is lifestyle, I am in South Africa and pulling this move on my chevy 3100 truck is a must be. This write up goes hand in hand with pay or build.
thanks for posting this. We need more of this
If your going to use a thin cutting wheel to clean up your welds. Do not use to much pressure, they explode quite easily. If you can spend a few more dollars. Use a flap disk. Flap disks are a sanding disk that fits straight into your grinder. They make clean up heaps easier and give a nice finish. They are the only thing i spend extra money on in my workshop.
Daniel Burton
Burton's Tube Worx
what size wire? Good post btw
Killmore Thanks! .030 has been all I've used for years now. It seems to work for everything on a car, from thicker frame rails to sheetmetal. Make sure you buy a name brand wire like Forney.
When welding the new sheet metal are there two different welds that you need to use? I always see spot welds to hold it into place but what do you use to close the gap between the old and new? I would love to learn how to do this to pair an older Blazer I have on the side of my house. http://www.perrysautosalon.com/Services/
Only use tack welds.
KeithCharvonia Thanks for the quick response!
Haha, that is awesome how your buddy used wood to space them out because he didn't know how to weld. My younger brother just got a mig welder like you mentioned and has been welding all kinds of things. Both things that should be welded and things that shouldn't be welded. Hopefully he runs out of welding gas soon before he decides to weld all our bikes together.
http://www.weld-techproducts.com
It's amazing how many things can be created by welding. I would have probably given up if I couldn't find a way to replace that part personally. I think it's great to have some ingenuity and make some interesting things, and welding allows you to do that. It would be awesome to be able to create things like this a little bit. I'll definitely have to look into these kinds of things in the next few months.
<a href='http://www.k-indu.com/Services.html' >http://www.k-indu.com/Services.html</a>
KeithCharvonia
Great, thanks for the reply. Picked up a Handler 140 and some .030 wire. Based on many different articles, this welder seems to be sufficient for about anything on an auto restoration.
Awesome, congrats! Now just practice, practice, practice.
How would I go about finding someone to do this job for me? I'm sure that if I'm careful, I can do this stuff myself. However, I don't have the equipment necessary for such a task. Someone will have to help me in this process. http://www.smithindustriesltd.com/en/machine_shop.html
KentClark1 Where are you located? Shouldn't be hard to find a fab or hot rod shop.
I've seen a lot of good welding jobs. I have recently been learning how to do it myself. Let me tell you, it takes a long time to get as good as some of these guys. It's a real talent, not just basic grunt work, to weld something together perfectly.
http://www.gardbar.com.au/welding-fabrication/
Trying to do this on a 1955 f100. I made my cut right by the mounting flange. But the taper seems to be too much For a straight piece of metal to add. Any suggestions?
I didn't realize how much work it was to weld a fender. I have a friend that is restoring an old car and he wants to try to weld a new fender. It seems like welding is something that can be dangerous if you don't know what you are doing. Hopefully my friend finds someone that help him with this task because I don't think he has any welding experience. http://www.metalfab.com
Thank you for all the detailed pictures! I'm just getting into welding sheet metal as a side project for a business I started and these tips have been very helpful. I never realized how hard it is to get a clean line. Do you have any tips for keeping everything tidy? Thanks for sharing your expertise with us. http://www.weld-techproducts.com
I think that the end result of the project turned out really well. The welding process is definitely an interesting one to learn more about. It takes a lot of time and practice to be good at welding. I am sure if I tried this out it wouldn't look nearly as good. http://www.bwsfabrication.com/services.html
I really appreciate seeing all of the different pictures of the process for welding. I have an older car that actually needs a lot of work. I think that knowing how to weld will become useful. Now I just need to get all of the right supplies! http://www.williamsbroswelding.com.au
There seem to be some things that one should probably know before attempting to weld. However, there seem to be some good applications for different types of welding out there. It might take some research to understand and make sure that it is done right. http://www.greatlakesweldingandfab.com
So, this must be the process of doing steel fabrication. Coming out of high school my father introduced me to welding at his shop. At his shop he guided me to certain metal objects that I would be welding as well as the procedures. http://www.apexmachiningservices.com.au/metal-fabrication/
Thanks, great lesson. Where can I get those little wing-nut clamps?
John.long@sce.com
This really is an incredible article. Being able to weld sheet metal really sounds like a skill that is available to anyone that is working in an industry that requires that kind of material. I really like the idea of having some kind of tacking method that helps with keeping the metals together. Thank you for sharing. http://www.metalbuildingcontractorlakelandfl.com
Thank you so much for all of the instructions on how to weld sheet metal. I am relatively new to welding, but I know the basics. I am currently pursuing creating modern art with sheet metal. This article is very helpful in helping me know what to do. I also like the pictures as well. They are very specific to the steps. I learn best through visual aids so that really helped me. Thank you so much again for this article!
http://www.kitchenersteel.com
Thank you so much for the tips on how to weld sheet metal. I really like how you made some modifications to the instructions when you found a way to weld that would be easier for the reader. I will have to try it out on my car that I am building. By the way, this truck you are rebuilding is amazing! Where did you get this truck? Also, where did you get the sheet metal to weld with? Is there a particular store you went to?
http://abfabrications.com.au/contact-us
This is a very interesting process. I can tell sheet metal welding is definitely a skill that comes with time and practice. I've never welded so I think I would have a hard time getting it right without needing to grind off the excess metal later on.
http://www.suburbanweldingandsteel.com
That tape trick I will definitely use!
Oh wow, that's pretty cool how you can weld sheetmetal and something that I have yet learned about. I wonder though, do any welding services do the same thing if you were to present them with a sheetmetal? For me, it's just a thought that I have been thinking about now that I have read the article. http://www.hygradelaser.com.au/robotic_welding.html
Oh wow, that's pretty cool how you can weld sheetmetal and something that I have yet learned about. I wonder though, do any welding services do the same thing if you were to present them with a sheetmetal? For me, it's just a thought that I have been thinking about now that I have read the article. http://www.hygradelaser.com.au/robotic_welding.html
Fantastic piece of information on sheet metal welding. It will be real nice if you could post a video tutorial of welding.
Fantastic piece of information on sheet metal welding. It will be real nice if you could post a video tutorial of welding.
Eastwood sells them. 4 to a pack
What I didn't think of when I heard metal fabrication, was the welding part of it. I guess that's one of the most important parts of fabricating. You guys are both quite the handymen. It's like you guys are mechanics and metal fabricators at the same time. I'm impressed! I need to find myself a metal fabricator, hopefully they have multiple talents like you, to help me with my project. http://www.academysheetmetal.com.au/steel-fabrication
Welding is great. I had no idea that you could weld things on old cars. I thought you would only use welding to build something new. http://www.rolycorp.com/
Help.
First of all let me say that this is a well written post. There is not alot of information regarding sheet metal welding out there, so this is worth its weight in gold.
I have started repair on the doors of my project. 1978 Ford Bronco. I am using a patch panel for the outer skin, and will be replacing the inner bottom as well. I am almost getting frustrated.
Now I know this is by no means beginner level welding, but I am game for the challenge. Nonetheless, this is a difficult process.
The issue I keep running into is that me welds keep blowing out. Not all of them, just a few inches worth, but this is what gets me. Why was I able to weld the majority of the gap with continuity, but a few spots will not allow a weld to hold.
I have turned down the amperage as low as possible, and the wire speed as well. As I said, I am almost frustrated.
Is there someone who can give me some tips or guidance on how to keep these areas from blowing out?
Additionally, when I make attempts to 'plug' these holes that have been created (with very low amperage) the area around the hole blows out again, (like a cigarette burning tissue paper)
Help???!
Excellent write up, but one thing was left out as far as I can tell. What size wire were you using in the welder?
Very informative, and great illustrations