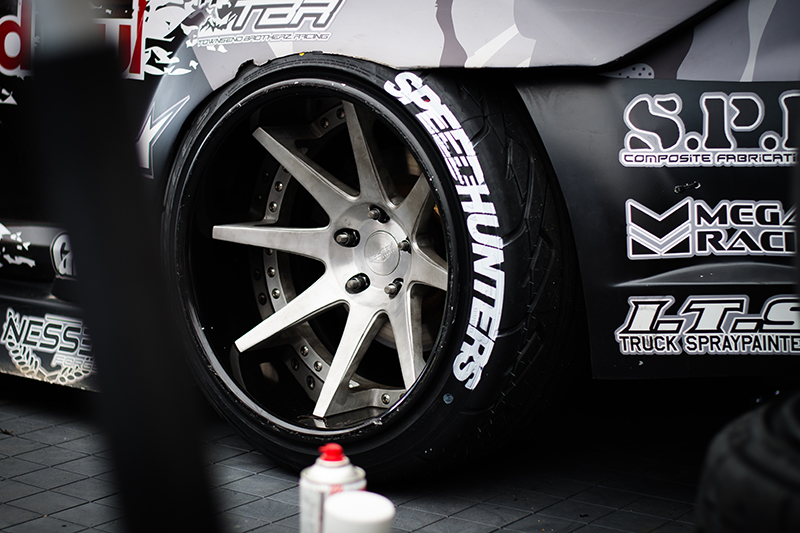
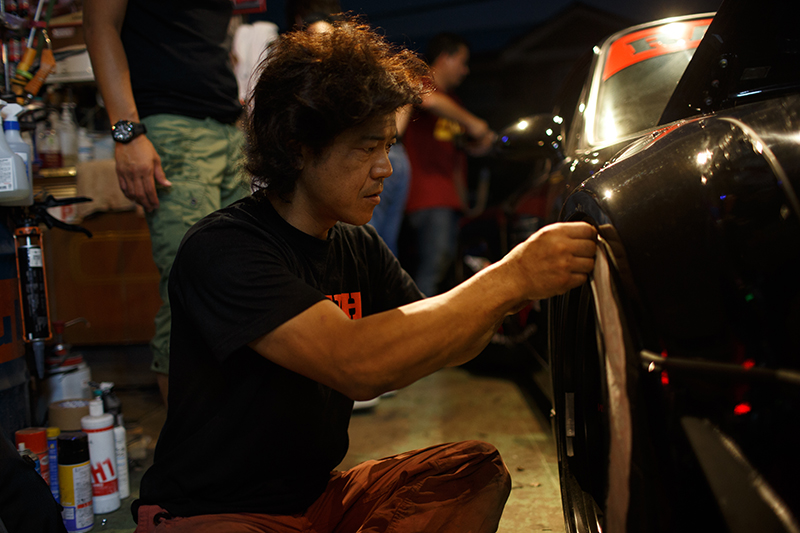
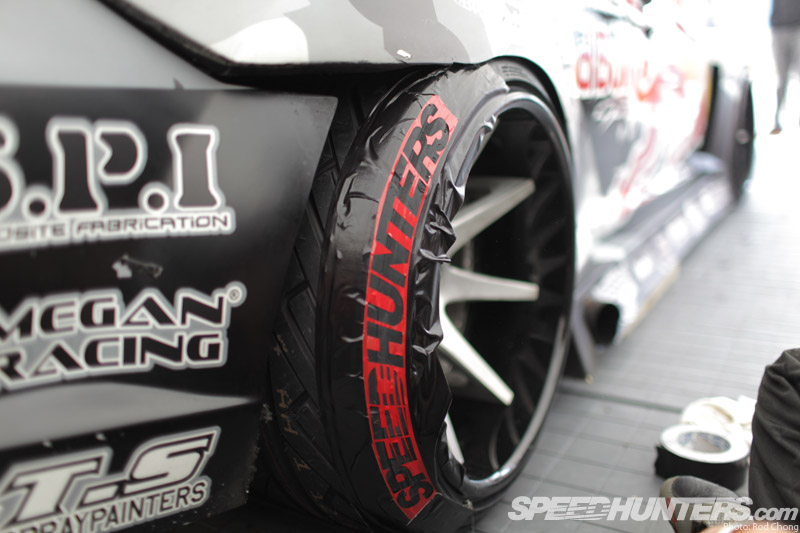
What’s up Speedhunters! We have a RAD new product that’s just dropped to give your whip that extra appeal at minimal cost… the Tirebomb kit.
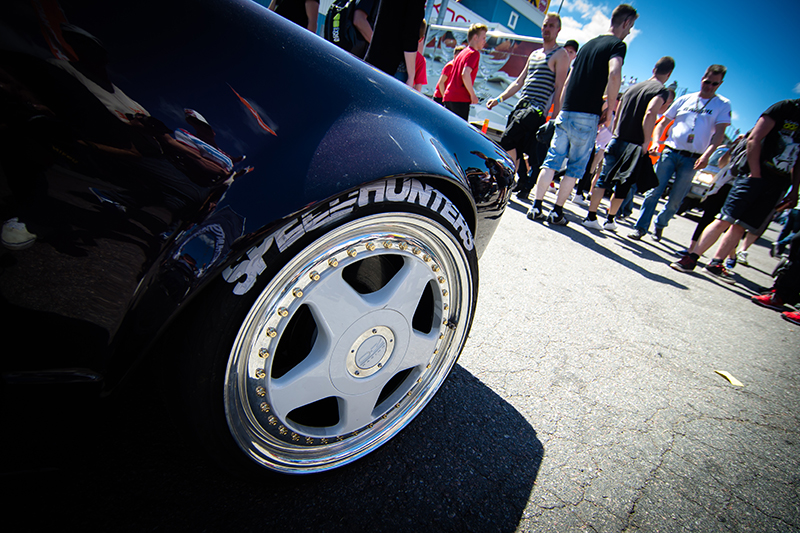
You can see here how effective it can be.
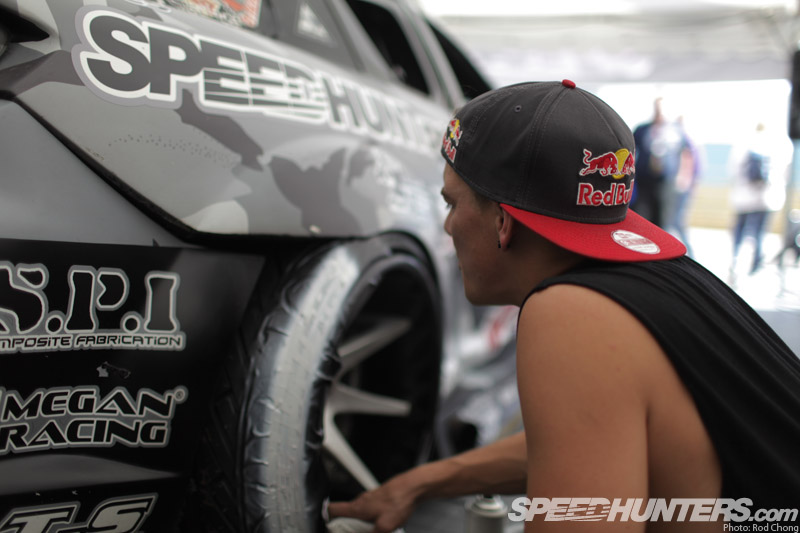
So we thought we’d give you a quick demonstration of how to use the kit. Firstly pick your tire size as the kits are available in different diameters from 15 inch to 20 inch. Note that if you run a stretched side wall you will need to order the next size up in diameter. The kits are also available with different sized logos to suit different tyre profiles or to allow you to choose whether you are going for a small subtle look or a large full maximum attack style.
Make sure your tires are clean or if they’re new, some brake cleaner on a rag will remove all grease and wax.
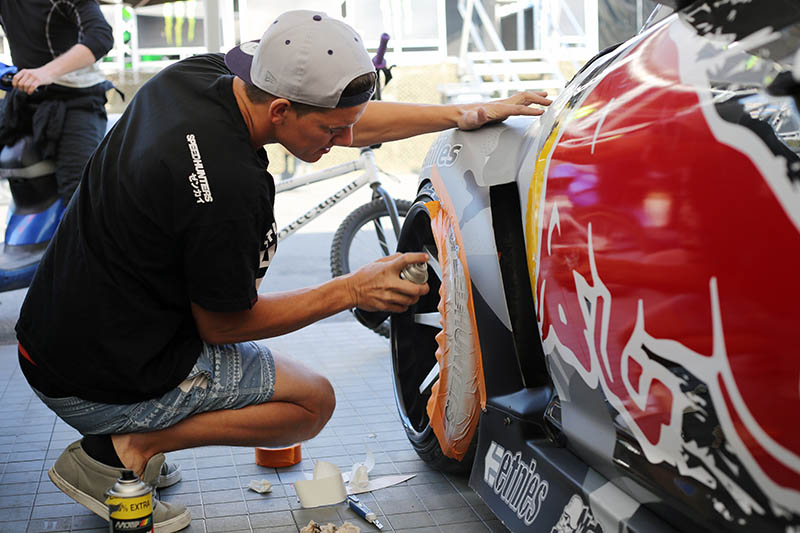
Find the smoothest part on the side wall to apply the mask and rotate the wheel so you have a clear firing range to avoid getting overspray on your paint work.
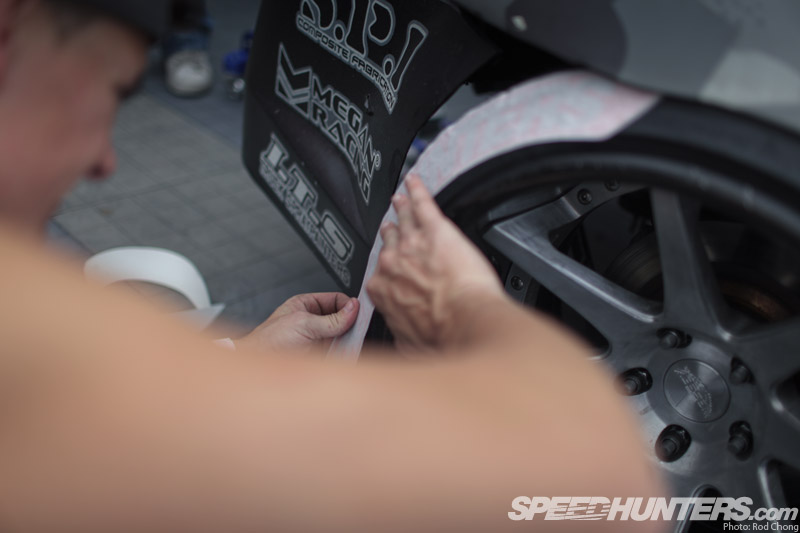
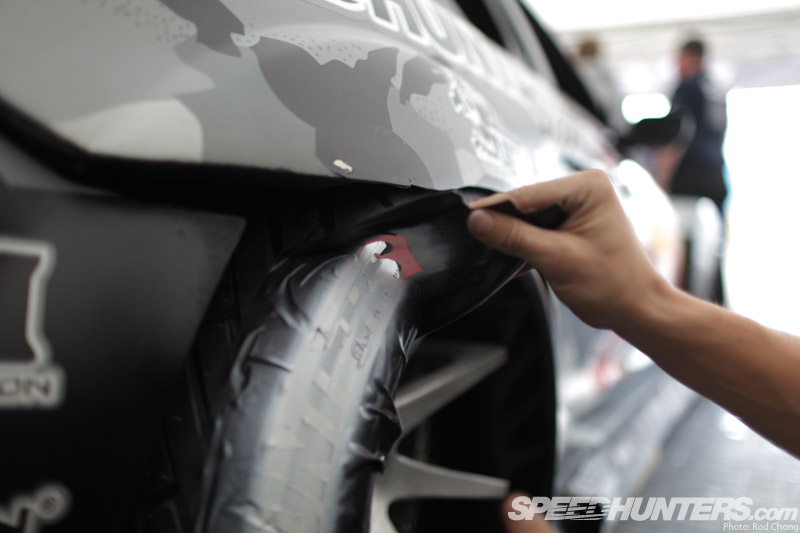
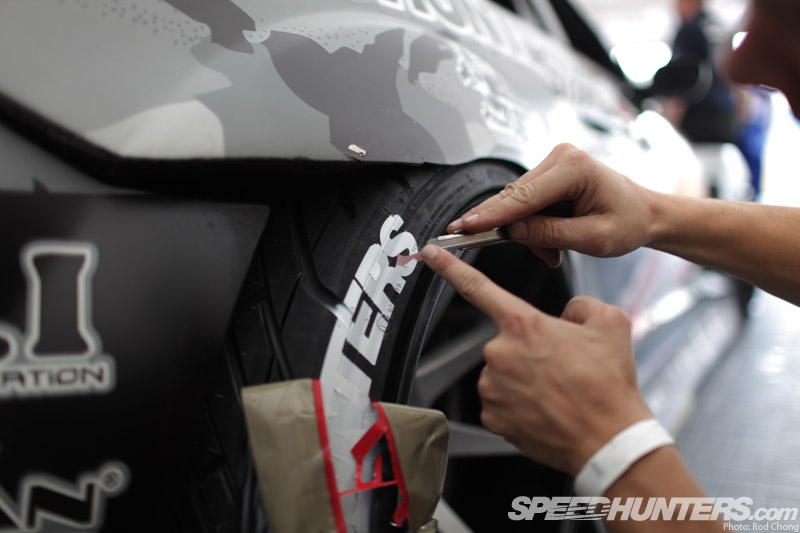
Peel the backing paper off leaving the stencil stuck to the application paper and apply to the tire using the tread or the rim to align it straight. Once you’re happy with the placement you can now rub the decal hard using your thumb to ensure all the edges are stuck down.
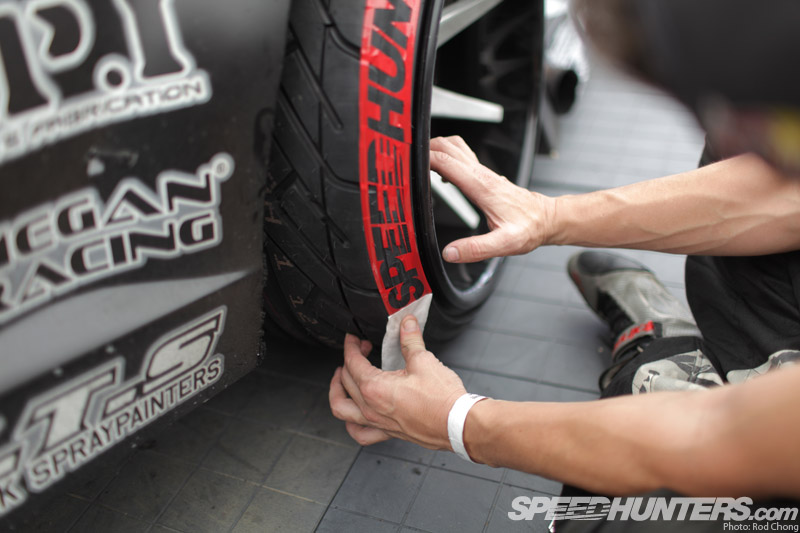
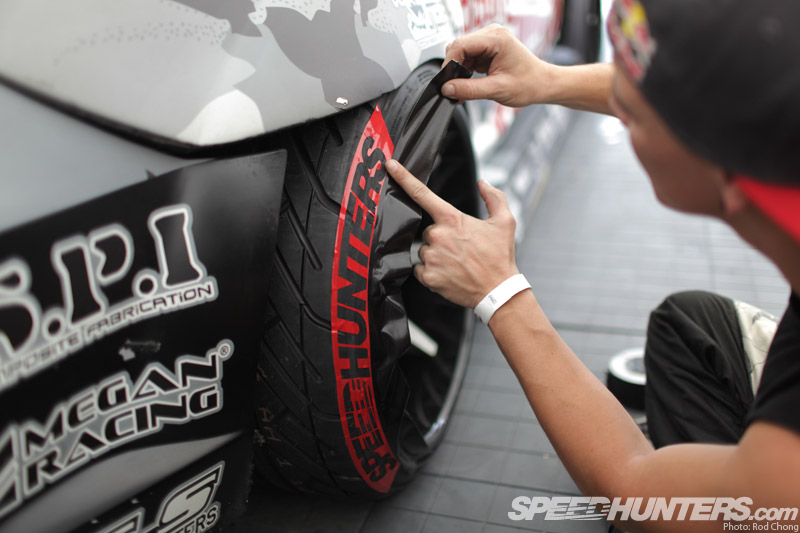
Now peel the application paper off, back hard on itself to leave only the stencil mask on your tire. Be sure to take care with the sharp edges as they may tend to lift with the application paper. Just use your thumb again to stick them down.
You can now mask off the rest of your wheel and fender with some masking tape. I’m using race tape only because I always have a large supply in my tool box for my car’s cosmetic repairs.
Masking complete ready for paint.
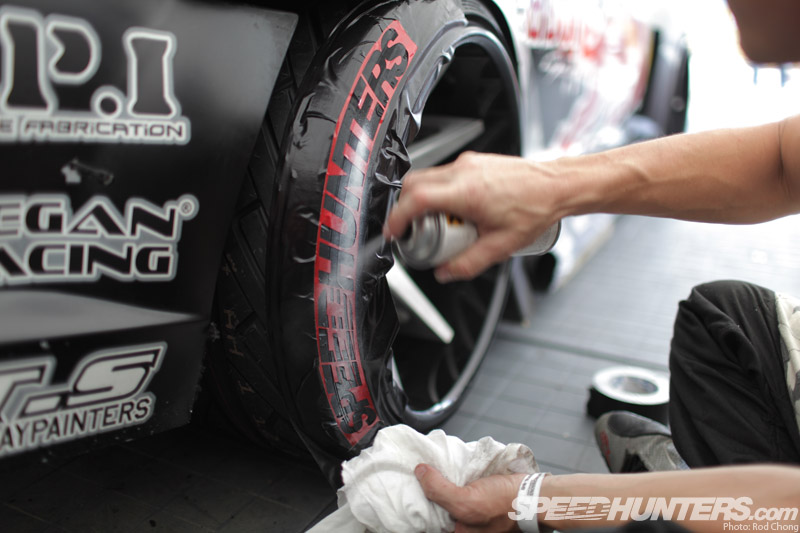
I’ve found that the best paint to use is either a fast dry enamel or primer. Shake your can well and do a test spray onto something to check the paint sprays consistent and the nozzle is clear. The trick is to dust on light layers of paint – too thick and the paint will just peel off. If you want to use color you can apply color over your white primer or use a dye.
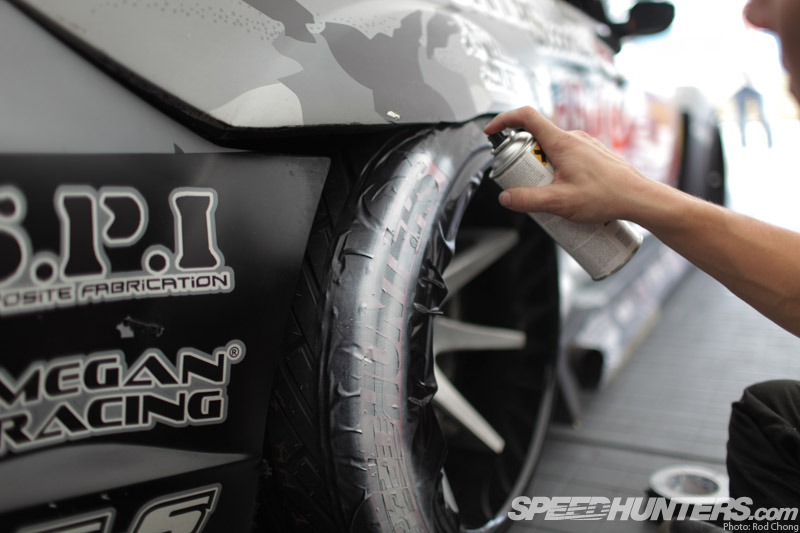
Slowly spray bombing thin layers is the key.
Allow a little time to dry between each layer.

Yep, stoked with that coverage.
A quick blow dry and the mask is ready to remove. Ensure the paint is completely dry before removal. Test it’s not tacky by touching the paint on the mask.
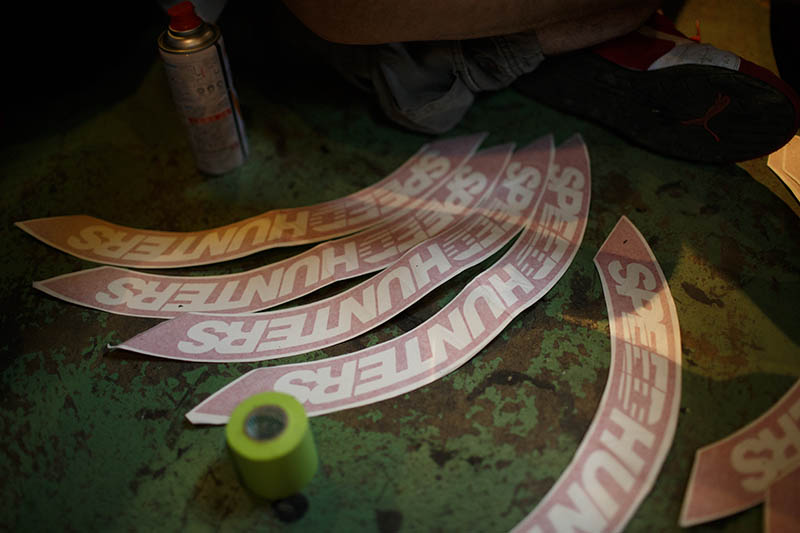
Peel back the stencil mask at approximately 90 degrees from the tire wall.
Remember to pick out the centers of the letters. The stencils should only be used once each – there are four per pack though so you won’t be caught short.
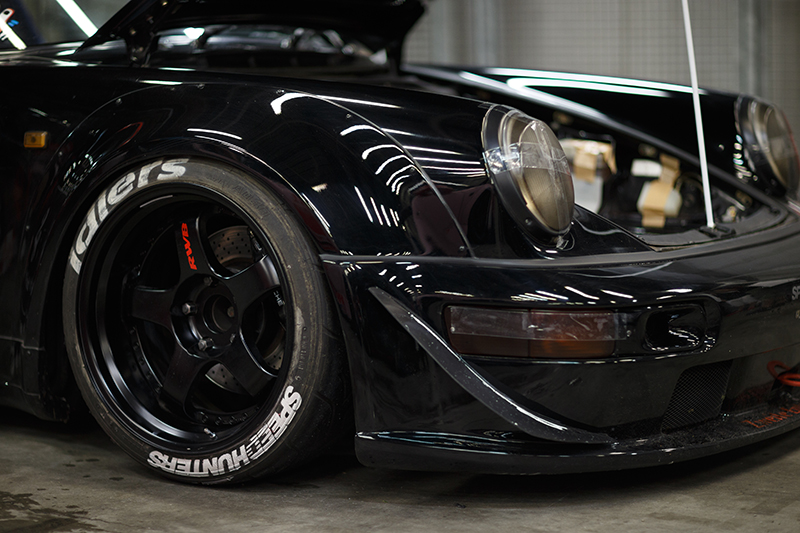
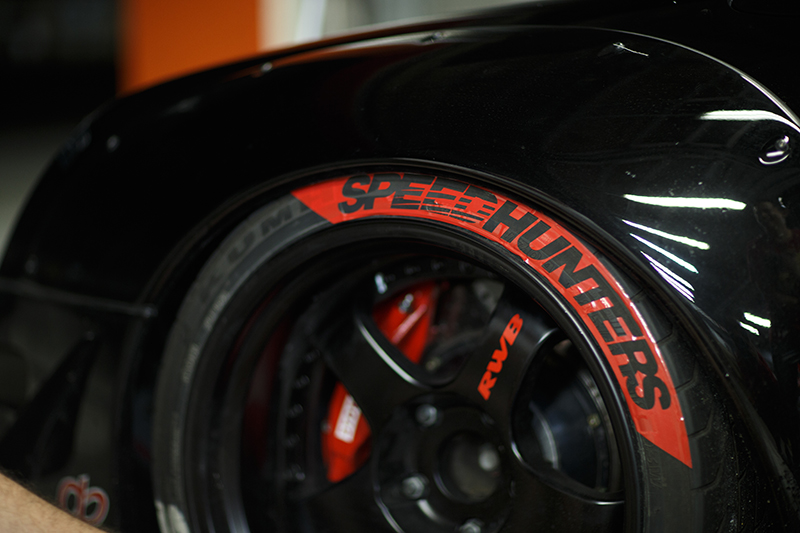
Now sit back and admire, or strap up and shred your freshly branded rubber!
Browse the Speedhunters EDTN Collection 03 on the store
Mad Mike Whiddett
OFFICIAL SPEEDHUNTERS SUPPLIERS


How do you guys tackle the issue of the paint yellowing after being driven a while? I used paint on my tires with a stencil, had a track day (road course) and they were yellow/brown worn after that.
What paint do we use? The guide above says fast dry enamel, but the packaging I received says to use acrylic. Help!
do you not have the 20 inch in stock anymore>? and if my tire is stretched on a 20 inch rim do i need to go up a size or is that fine
I wish these were staggered setup friendly. I run 17" up front and 18" in the back.
@Josh cant you clear coating it ? to prevent that
I'm wanting to buy these for my boyfriend. I don't know much about cars and I want to get them for him without him knowing. I know he has a size 17' tire. Which mm would be great for that size?
HELP!
Where can i buy the sticker in red ??
Sorry, I just bought the speedhunters tire sticker from you, and I select the wrong size⋯⋯⋯can you help me change to 18 40mm thanks!
dope