
Imagine this: one day you're called into a meeting and told you're job is to build a pro-level drift car. Sounds like a dream come true right? Well, what if there was a catch: you only had three months to do it. A few years ago this scenario happened to me, and what ensued was an adventure that I'll never forget.

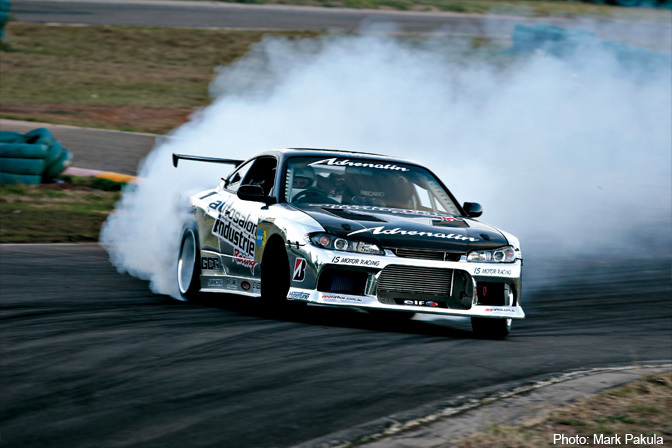
Those of you who read my Car Life introduction will remember I showed some pictures of the Auto Salon Magazine/Industrie Clothing S15 Nissan Silvia. A lot of you guys asked to see more of it, so I've dug through the archives to show its three month journey.
As you'd expect, it was a frantic, non-stop build that went night and day. Weekends? Forget it!
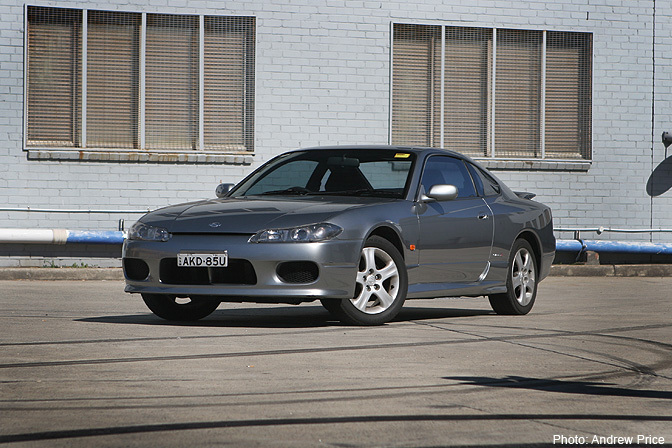
Of course the first thing we had to do was choose which car we'd use. We considered a lot of cars but we kept returning to Nissan's S15 Silvia, purely because it has such strong aftermarket support. We came close to going with an FD Series VIII RX-7, however we felt it would require more development before it would be competitive. Because of our deadline, we opted for a complete road-going S15 rather than a bare shell, as we couldn't lose any time foraging through wreckers for something like a LHS swaybar end-link. So it made sense for us to choose the straightest example we could find. This was the donor we purchased which, besides some high mileage, was truly immaculate.
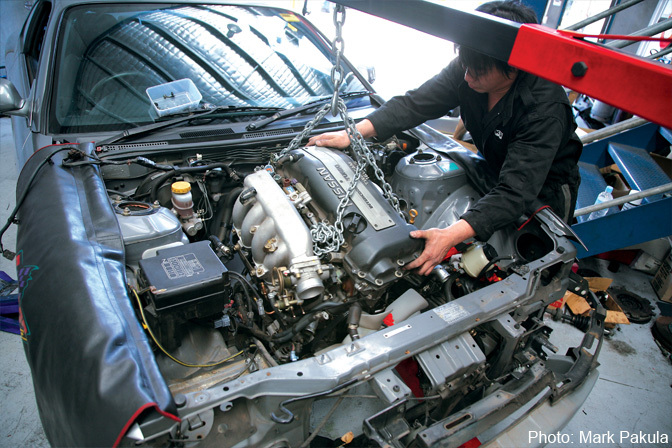
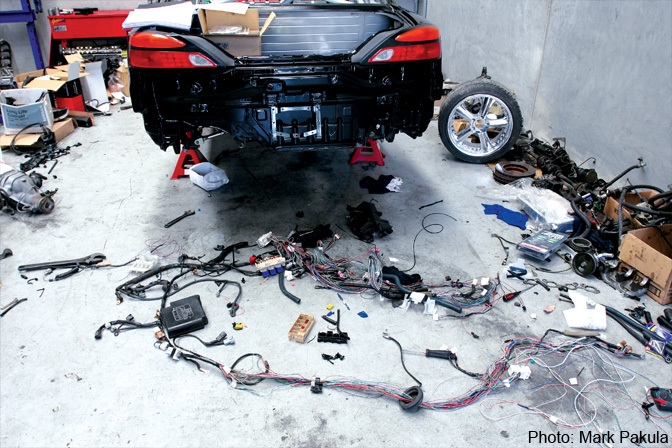
We didn't waste any time, taking it to IS Motor Racing in Sydney to be stripped the day we purchased it. I have to say that I felt pretty guilty tearing apart such a mint S15. Finding unmolested examples is becoming harder every year, and this S15 didn't even have a scratch on its bumpers…
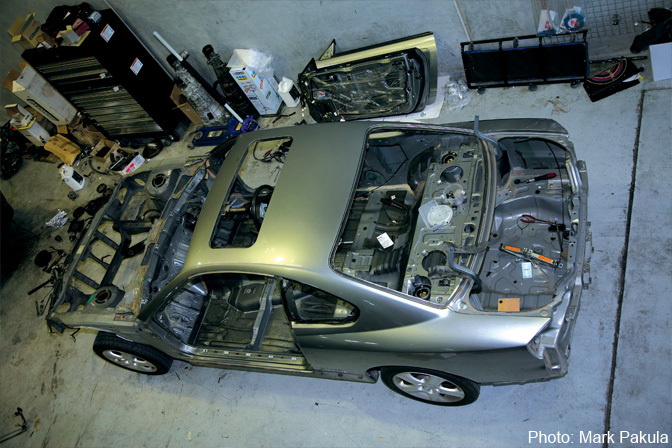
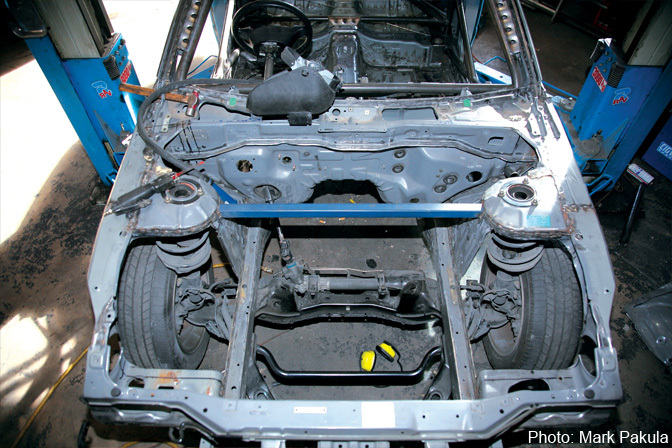
…And then suddenly we had done this to it.
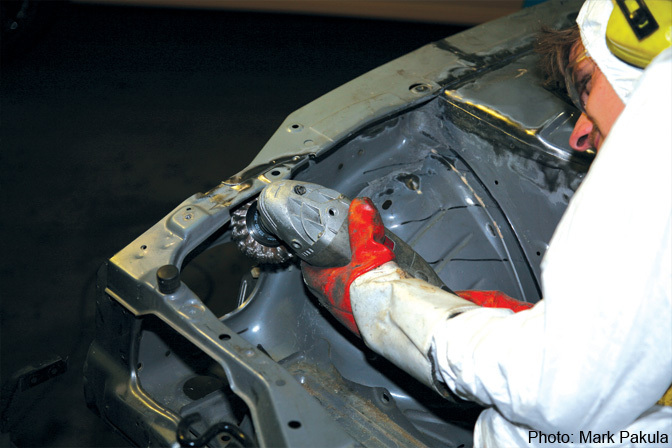
With the chassis bare, the next step was to prep it for welding, which was done with wire-wheels. Here's Garth from Hachiroku helping out. He did this for one night and never returned again. I can't blame him though, because this was one hell of a dirty job. Photographer Mark Pakula and I emerged looking like we had gone through a chimney and we were blowing grime from our noses for a month.
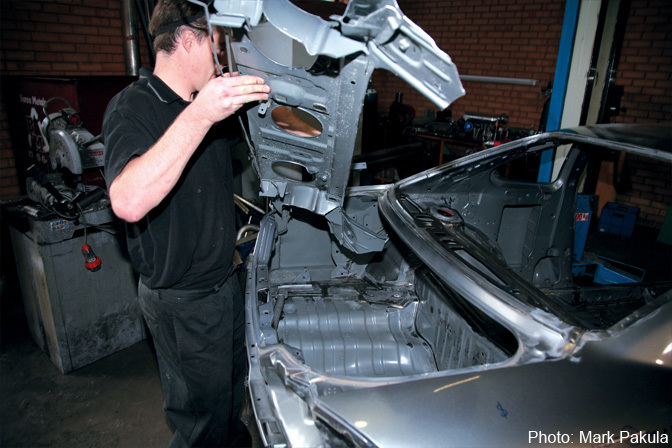
The parcel shelf was unceremoniously cut off to make way for a partition to separate the trunk from the cabin.
With no rotisserie available, we had to make do with sore necks and blood draining from our arms as we tackled the undercarriage. We paid particular attention to the rear-end. We welded gussets to the rear cradle and reinforced its mounting points in readiness for a GT-R diff housing (using a Tomei two-way) and driveshafts. Notorious for being weak, we replaced the S15 6-speed with a custom transmission. We ran a PPGearbox GT-R dog set inside a VG30 case, with a custom bell housing and one-piece tailshaft.
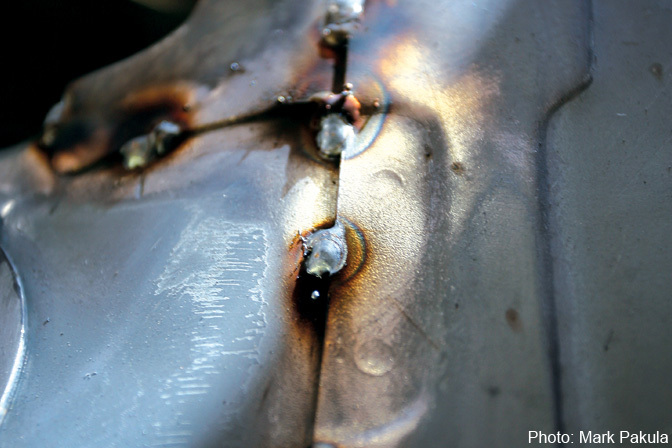
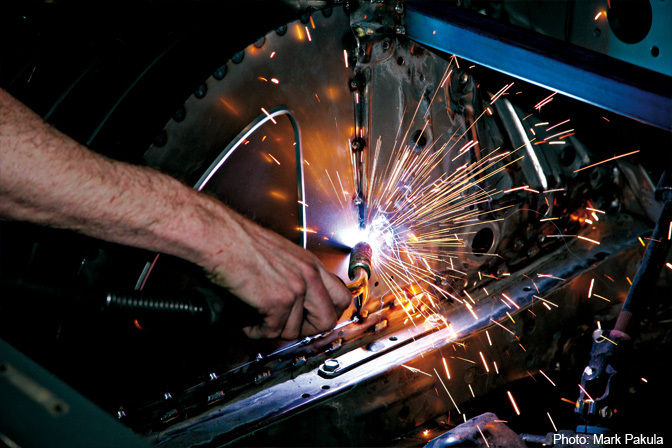
And the welding begins.
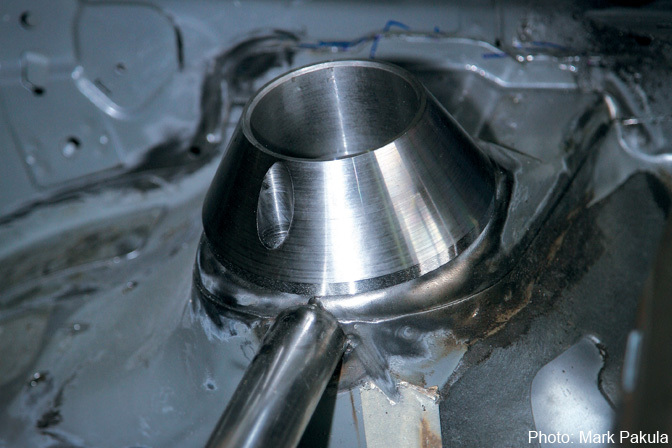
Our roll-cage design linked all four corners. We made these steel tops on a lathe for the rear strut towers.
The steel tops would be the rear anchoring points for our roll-cage.
Our S15 was a Spec R, so it came with a factory sunroof. We used the sunroof glass to mold a carbon fiber skin replacement.
Cutting the front wheel arches…
Seeing the car like this really rammed home how much work there was to be done. Had we bitten off more than we could chew?
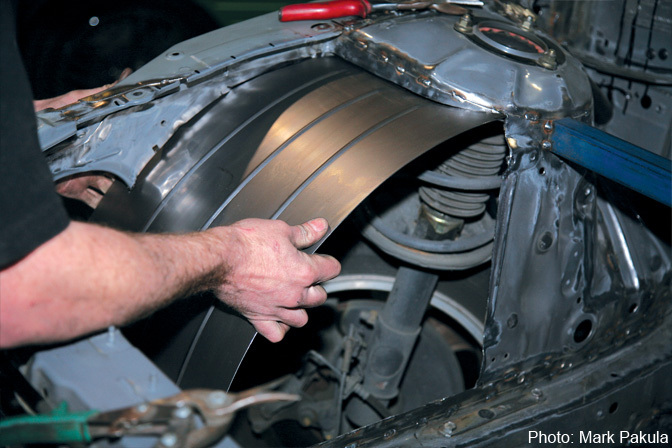
New sheet metal was rolled for the half-tubs.
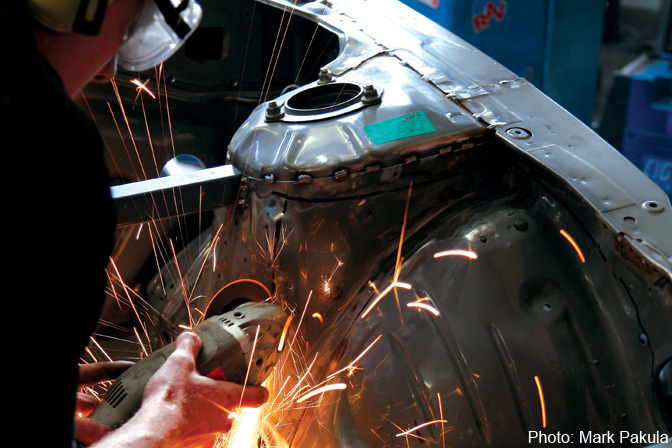
And tacked on before being fully welded. The rear quarter panels were also cut and rewelded as we were going to convert the S15 to wide-body.
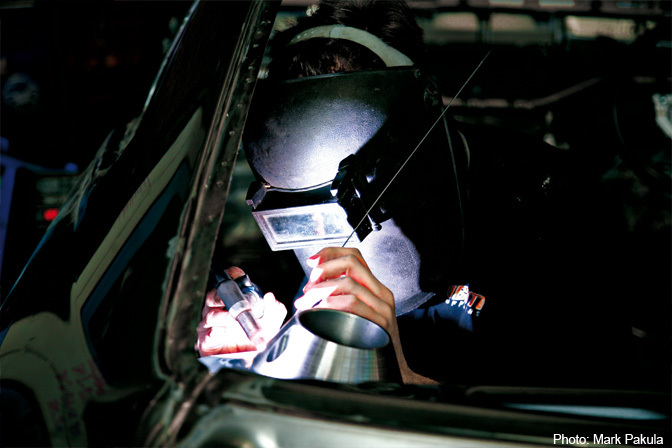
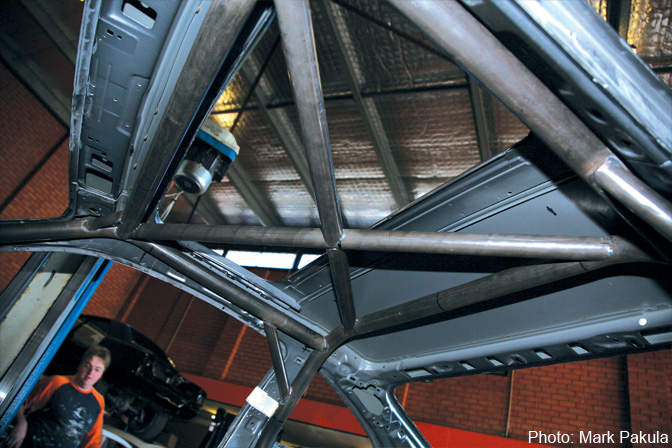
Brad from Westside – a true welding artisan – TIG'd our chromoly cage together. We wanted to build an S15 that had the fundamentals of a competent circuit car, which explains the complex roll-cage design.
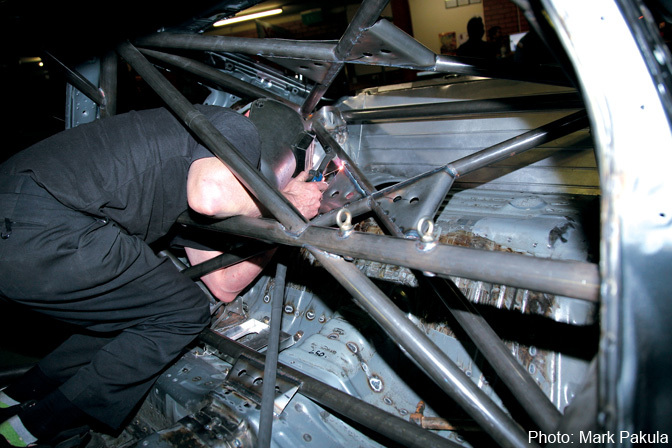
Brad worked day and night on the roll-cage, often in painfully contorted positions.
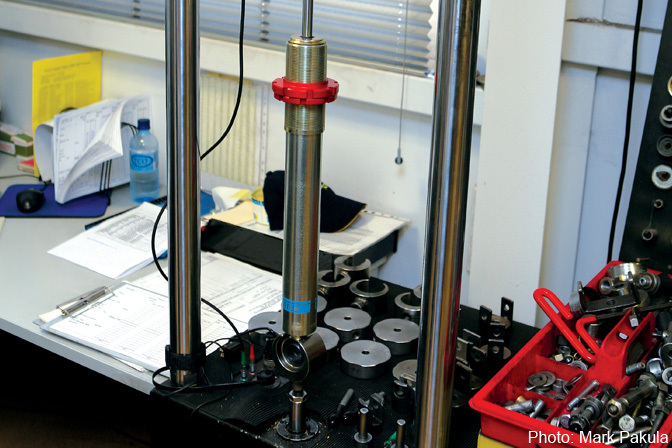
Once the fabrication work had been completed, the chassis was sent to Canberra so work on the body could begin. While this was being done, we had to start on all of the parts that didn't require the chassis. Here we're testing our shock absorbers on Bilstein Australia's dyno. Our suspension was one area that would constantly evolve from race to race, as we developed a better understanding of what was required.
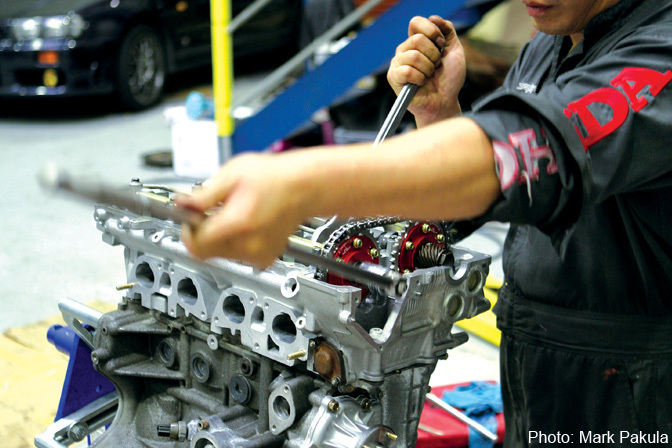
Meanwhile over at IS Motor Racing, Indy was putting together the SR20DET. We outfitted the bottom end with a 2.2 liter Tomei stroker kit, with the ported head featuring a combination of Tomei camshafts and HKS Step III valvetrain.
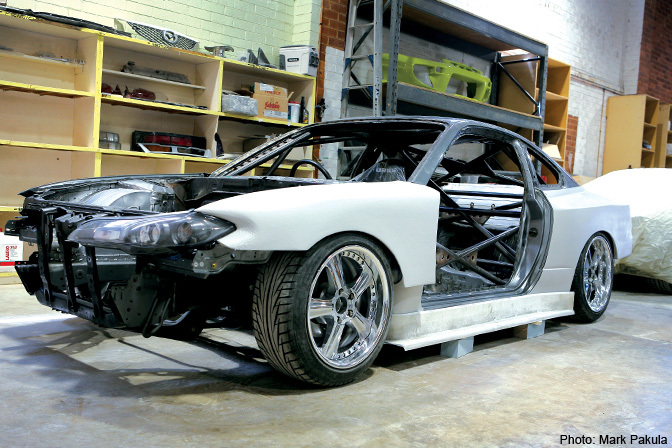
Down in Canberra, our custom body-kit design was getting sculpted on our S15. As our rims were still being made in Japan, we used a set of old AME Modelarts and spacers so we could design the body-kit around the correct offset wheels. After making a few revisions to the above design, these pieces were used as the plugs for molds, allowing us to reproduce the panels in fiberglass. And over its two seasons of competition we went through quite a few of these panels!
Once the body-kit plugs were completed, the S15 was brought back to Sydney for the reassembly to begin. The chassis was painted black while the engine bay and interior were done in a light gray.
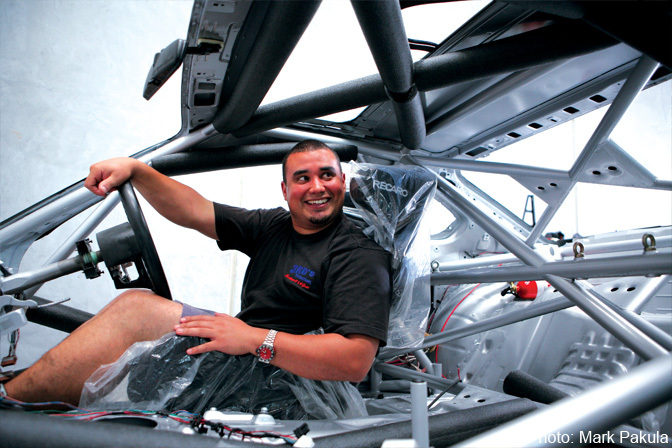
Here's our driver, Fernando Wiehrl, sitting in the car for the very first time. By having the driver involved at this early stage we were able to customize the seat height and handbrake position to suit.
We retained the original harness but stripped out the wires that were no longer needed. It took around seven weeks to get this far into the build, which meant we were beyond the halfway point. As you can see there was still a mountain to climb!
Part II coming soon!
- Charles Kha
OFFICIAL SPEEDHUNTERS SUPPLIERS


AWESOME article!!
Thank You!!
Wow! This is awesome! Love the build and quite crazy that you guys did not have a rotisserie to do this with, definitely quite the challenge. Great work! Can't wait to see the second part.
props on the badass cage. i was expecting to see a hoop and a few tubes, japanese style.
Cant wait for part 2... great build!
Read this in a mag i bought in australia years ago, always wanted to see more, greeeat!
this exactly the stuff that i like to see. moar MOAR!!!
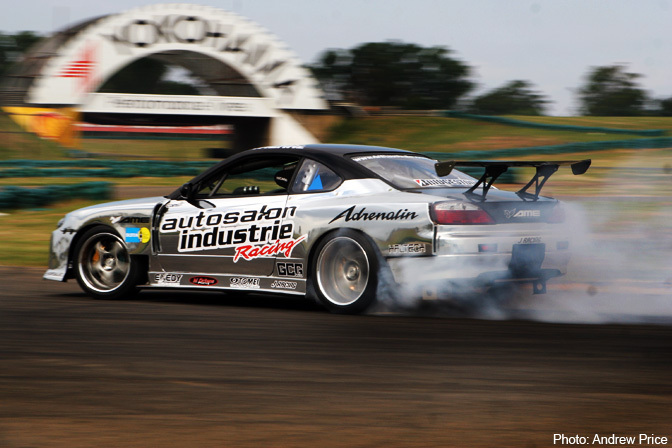
Oh the Yokohama sign at Oran Park RIP Oran Park! We'll forever miss you!..
Great thread, it's great to see quality build pictures like this. Thanks for sharing them
I love this type of stuff. Looking forward to part 2
whoa.. what a great job.. cut & shut to perfection and in such a short space of time - good idea with the sun-roof too, clever thinking.. i'm glad that someone knew what they where doling with that 'maze' of a roll cage! keep us posted with part II
Holy crap, that is insane! Can't wait for part 2!
Cant wait for part 2, write me down on the subscribed list!
OMG this is awesome! I cant wait for next part(s)
more! I need more
crazy.
definitely gonna be looking out for part two of this one
And I caught soo much crap about removing my rear parcel shelf. Do you guys think it's okay to run a couple of events before I finish fabrication on the rear bulkhead/firewall? The portion left at the base of the rear window is very flimsy but with the roll cage tied into the suspension points, I thought it would okay. Assuming I don't kiss any rails or other cars that is.
Bloody brilliant article!
THIS! Man I love this site, but seeing articles like this remind me why I love working on my car in the first place.
I love articles like this one ..really much
LOVE IT!
Awesome write up, seen this car a few times in person and it was an awesome piece of machinery. What ever happened to this car since DA stopped? I hope it isn't sitting in some garage collecting dust..
Great write up. I've seen this car in person and it is one awesome car. What ever happened to it when DA ended? I hope it's not sitting in some garage collecting dust...
ojala nose demore la parte 2 para ver la evolucion de ese S15
I remember working on this one. lots of work with no time!
Wow....all this in just three months? Props to you guys. That's some HARD WORK!
Speedhunters.com is truly dialed into what we love to read and see. Patiently waiting for part II. Awesome build!
great build. i was looking for a youtube clip of the 2007 D1GP and your the car you built is in this clip in the comp.
http://www.youtube.com/watch?v=xUyOroqr2Es&feature=related
RIP autosalon mag, sadly missed Glad you boys have found new jobs in the industry.
who know how much it coast?? i mean all work..
Three months isn't a long time to assemble a drift car from scratch. Here's Part II of the S15 build that was done in just 12 weeks.
For countless years, Hachi Roku owners have been experimenting with engine swaps. 4A-GZEs, 3S-GTEs, SR20s
Awesome car. Is it still complete? Would love to track it down, make a great track car.