Time stops for no man. I’m reminded of this by the inevitable wave of guilt that crashes down around me every single time I start writing and realise just how long it’s been since the last Project Nine update.
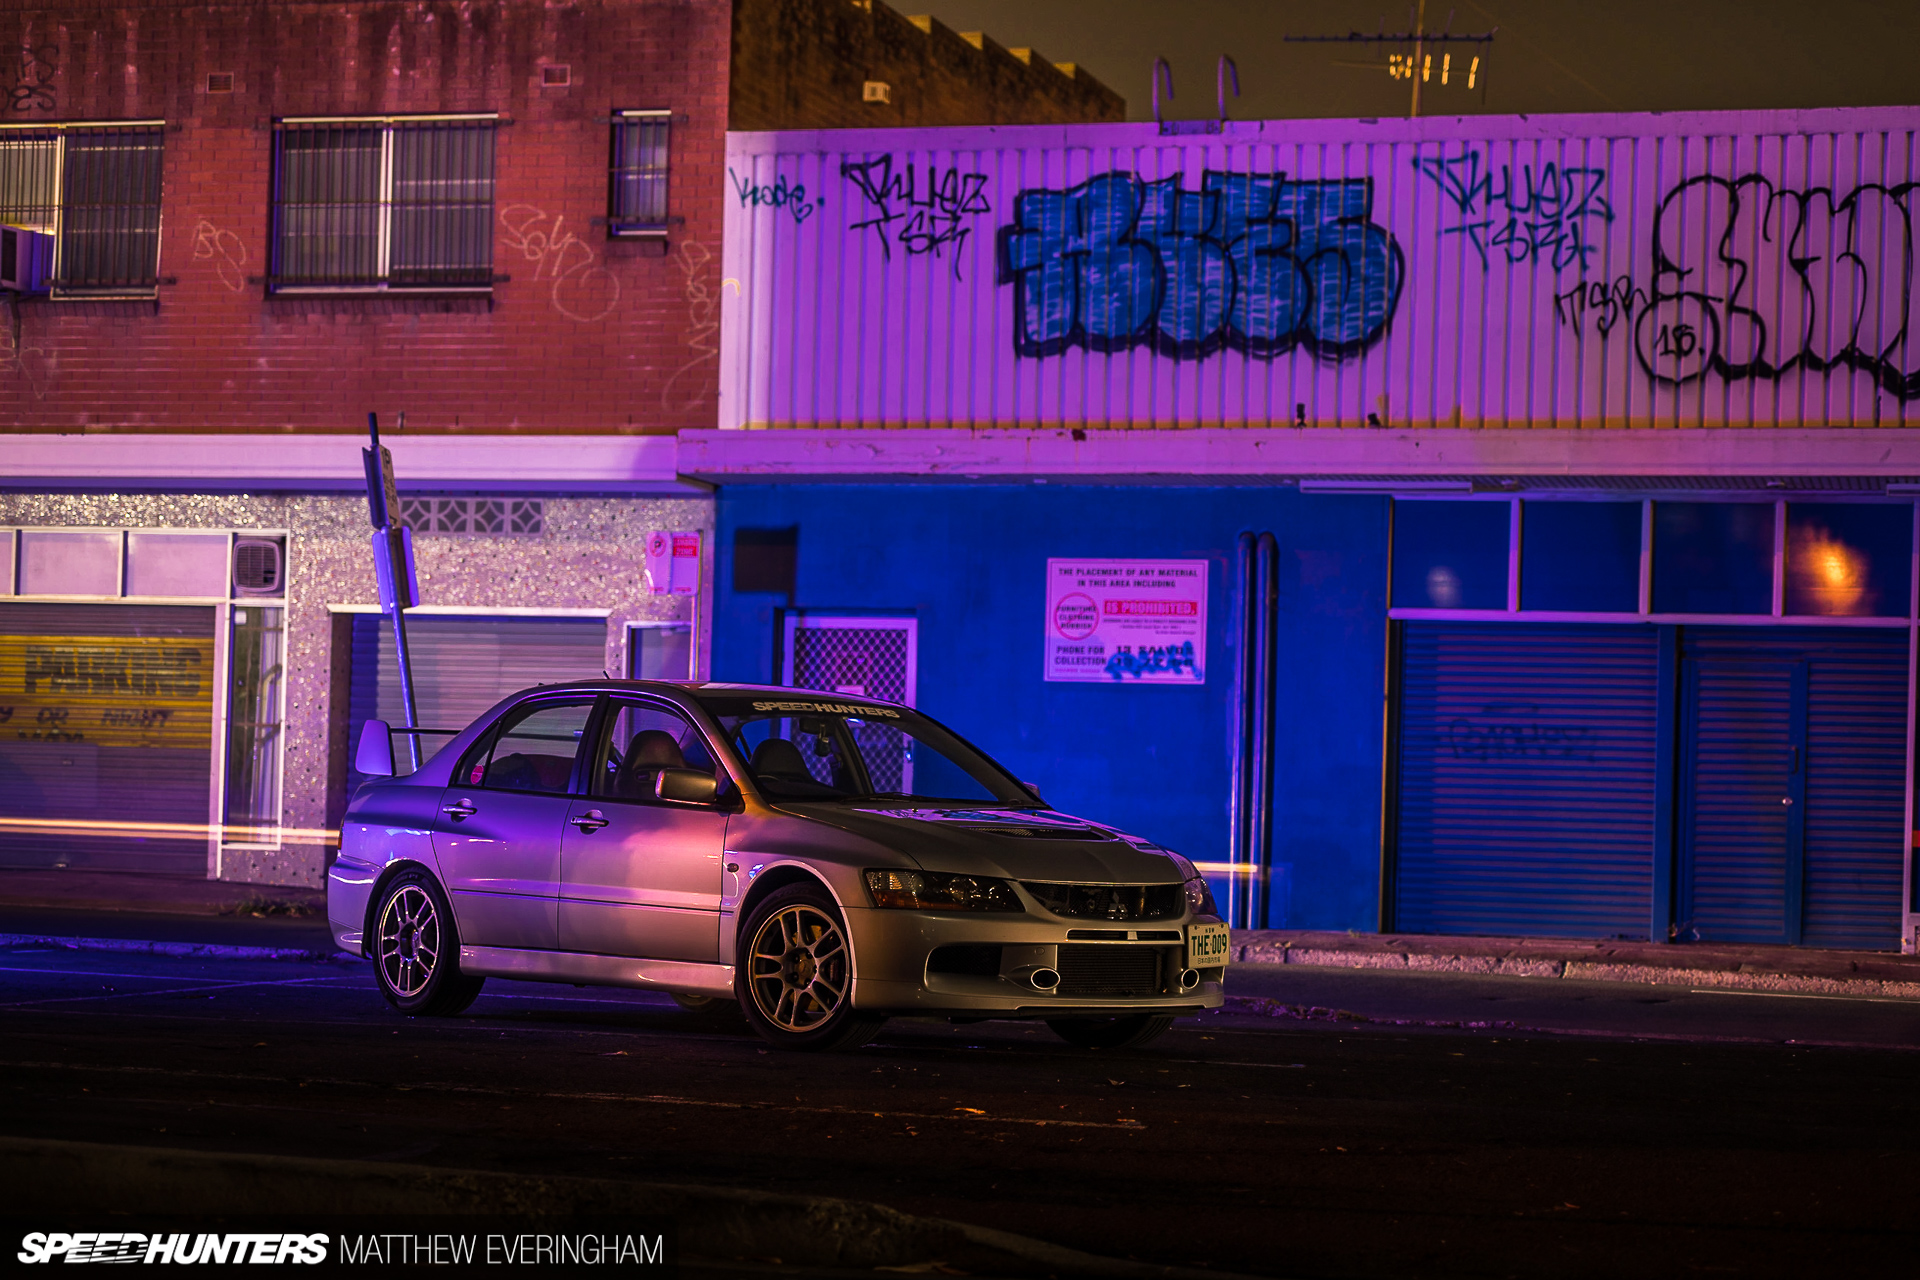
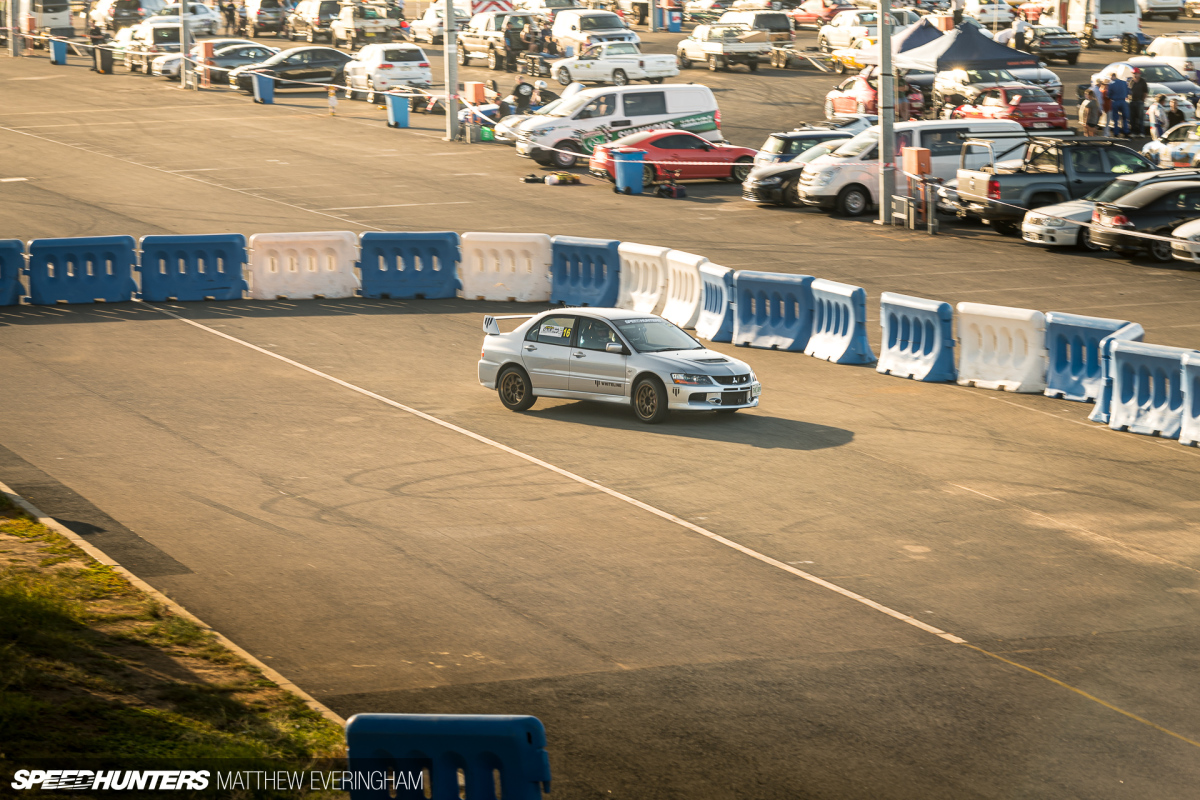
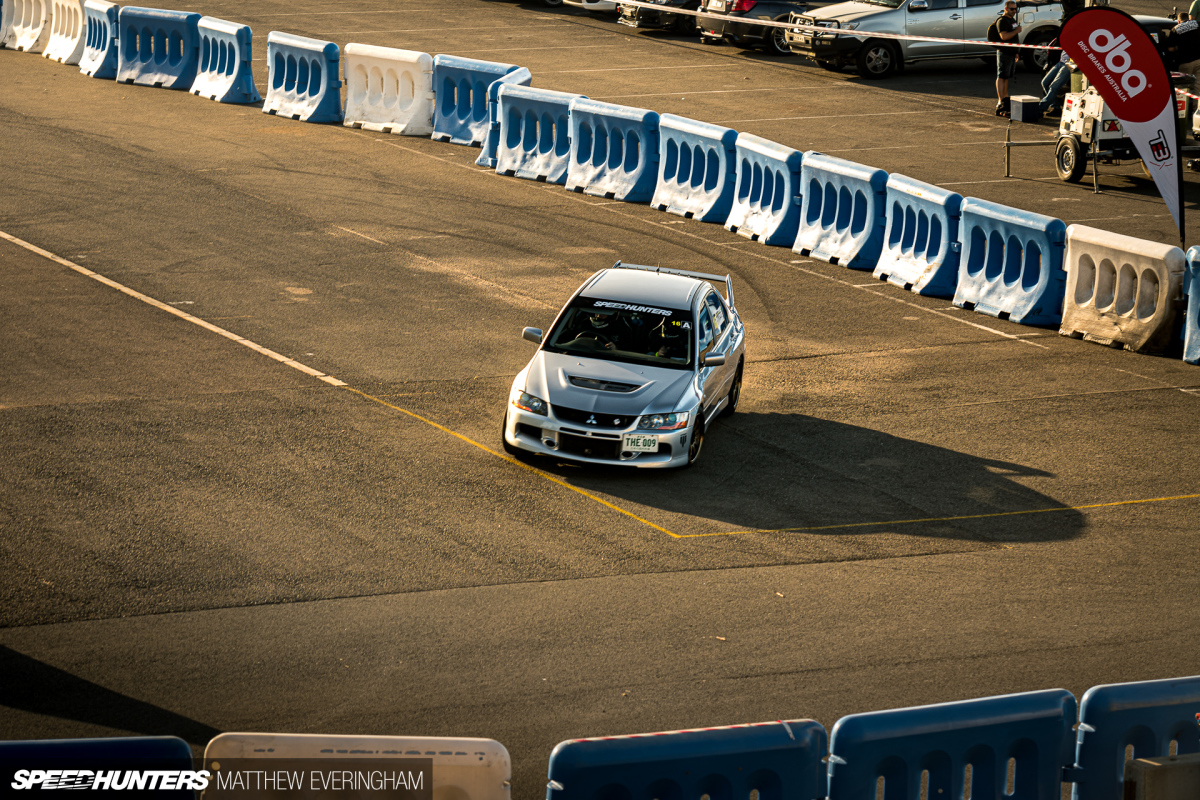
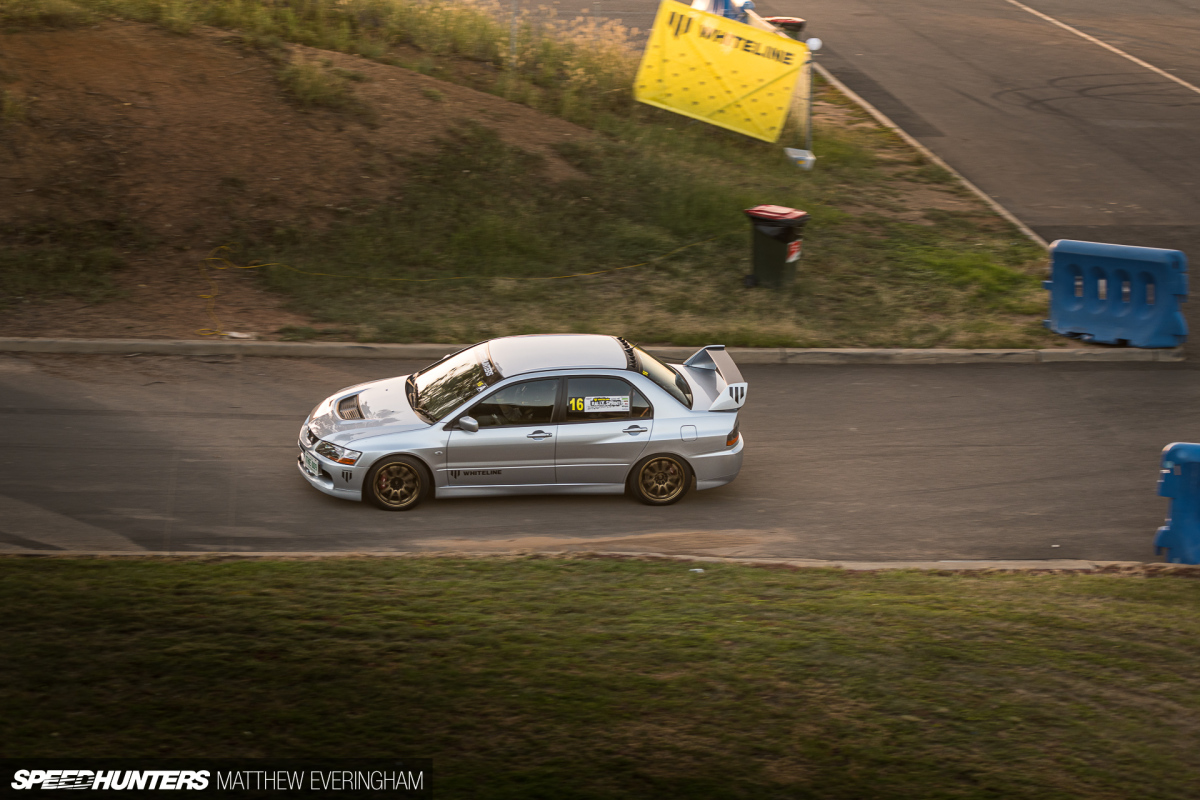
But I guess the silver lining of zero updates means that my Mitsubishi Lancer Evolution IX has been behaving, right? This is true; since our last update the car hasn’t skipped a beat. It’s been driven daily, punctuated with a handful of spirited mountain runs to keep me sane, but sadly I’ve not had the time to get out on a track since our last story.
Oh yeah, and I guess we shouldn’t forget that little Covid situation… So little happened in my life during 2020, that I quite frequently forget it existed at all. My memory must be stored by events and not dates, because I always refer to 2019 as ‘last year’ or a ‘few months ago.’ That’s a great excuse for about 12 months’ worth of silence.
One positive to come from the enforced downtime was actually having enough spare time on my hands to think seriously about how I’d best like to shape my Evo moving into the future.

It’s been my faithful accomplice for quite a few years now, so I’ve decided to spend a little more time and effort in 2021 to restore the car’s weaker and more worn components.
For a performance enthusiast, I think the Evolution IX represents the pinnacle of Mitsubishi. There’s no need to rewrite an already solid package. I’m not interested in hitting 12,000 horsepower on the dyno, making it a dedicated track car, or becoming a speedhump-fearer.
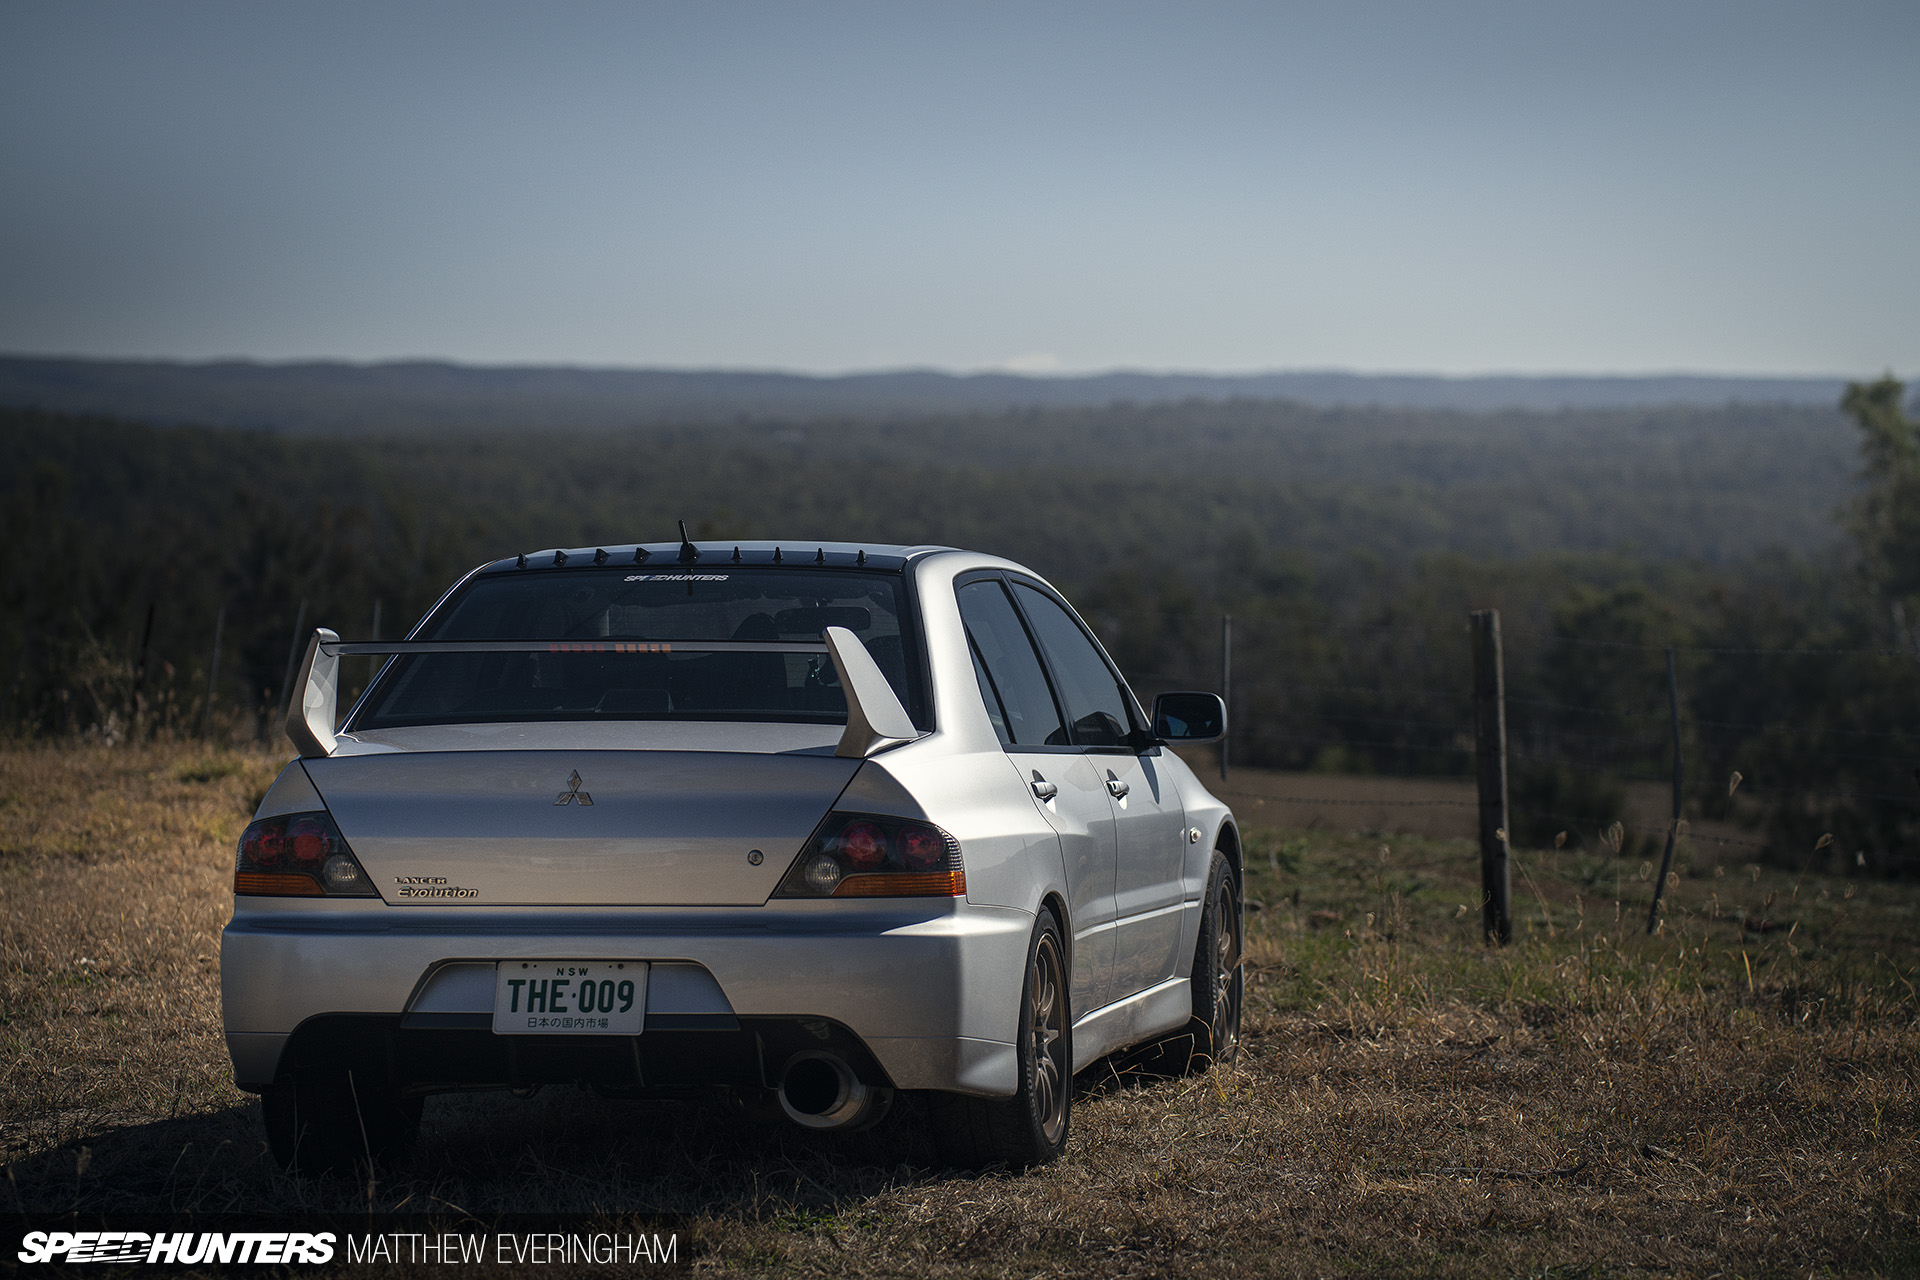
The goal here is to chase an OEM+ look and feel. I’ll be aiming to take advantage of some of the technological advancements over the last 15 years to enhance the already brilliant package Mitsubishi released from the factory.
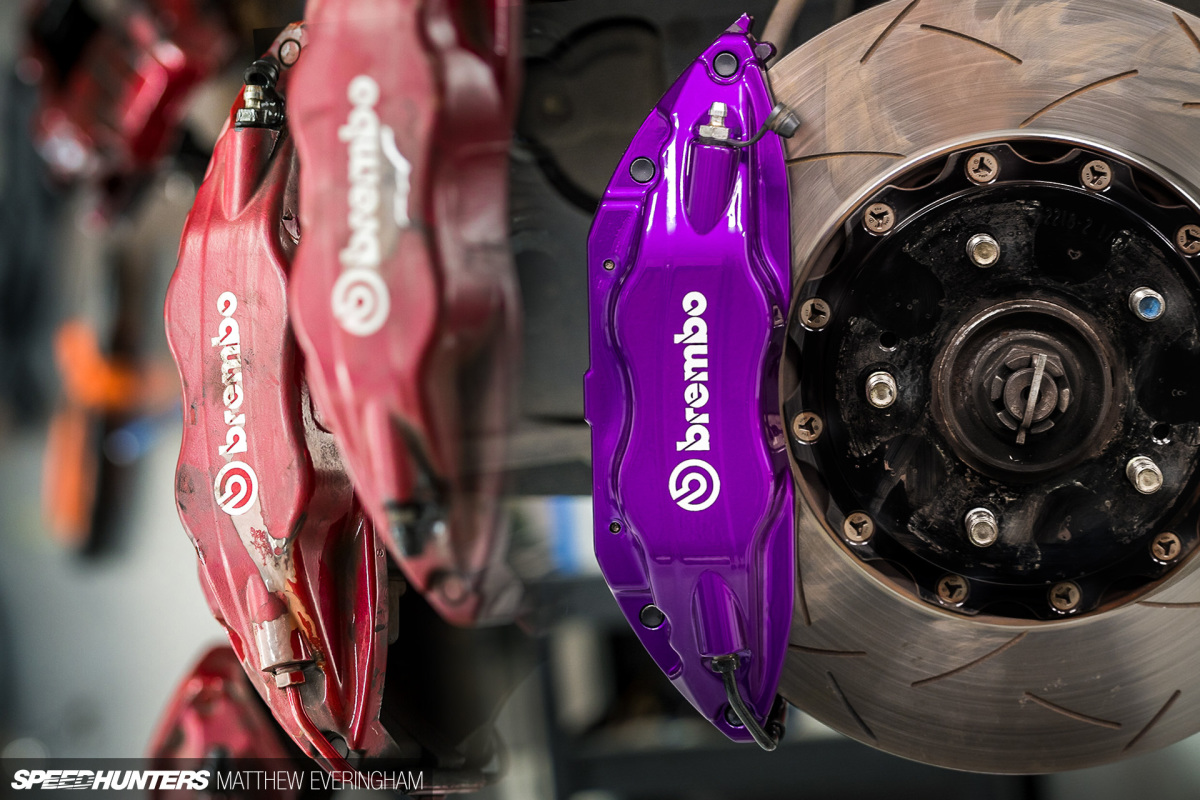
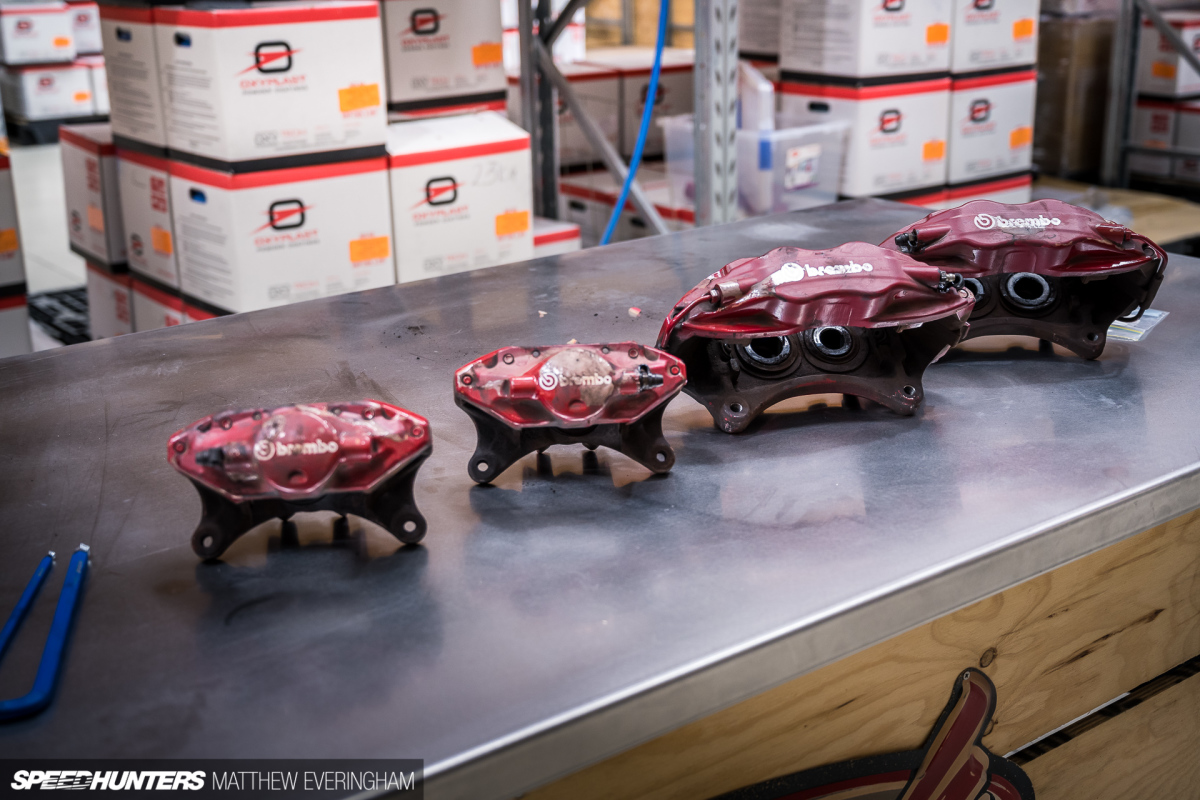
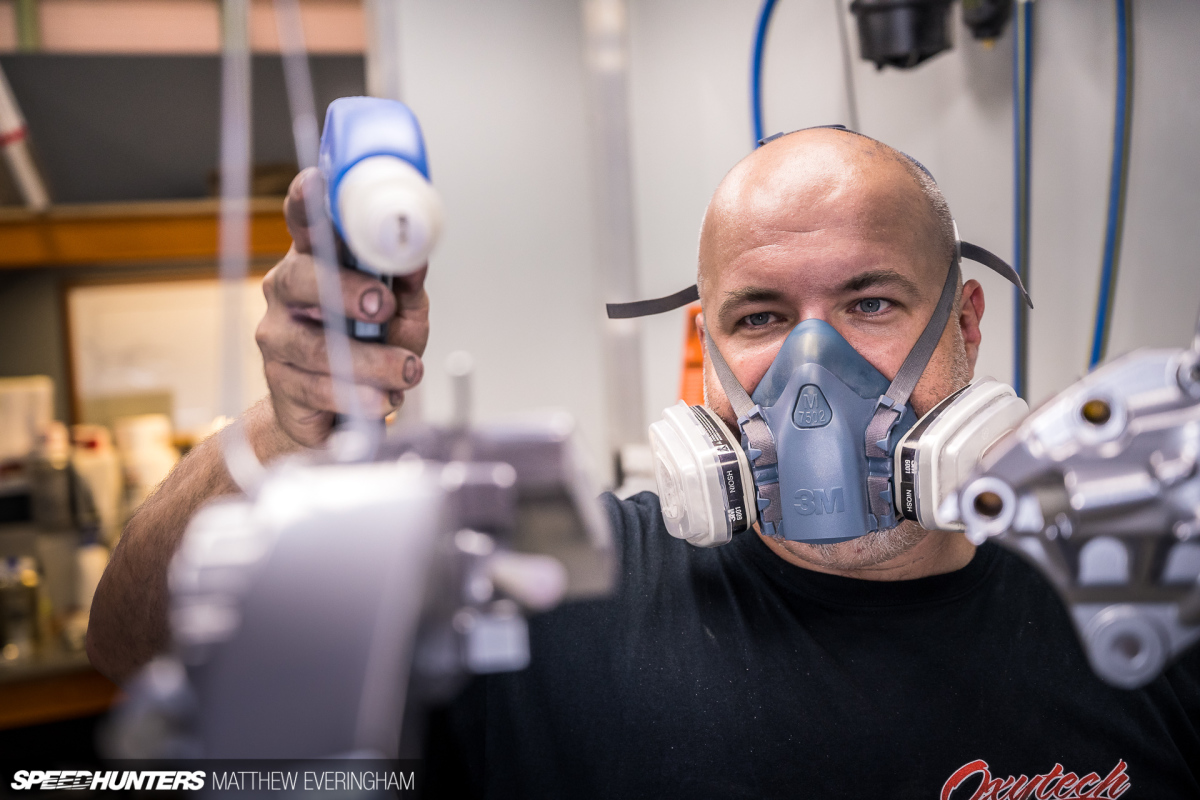
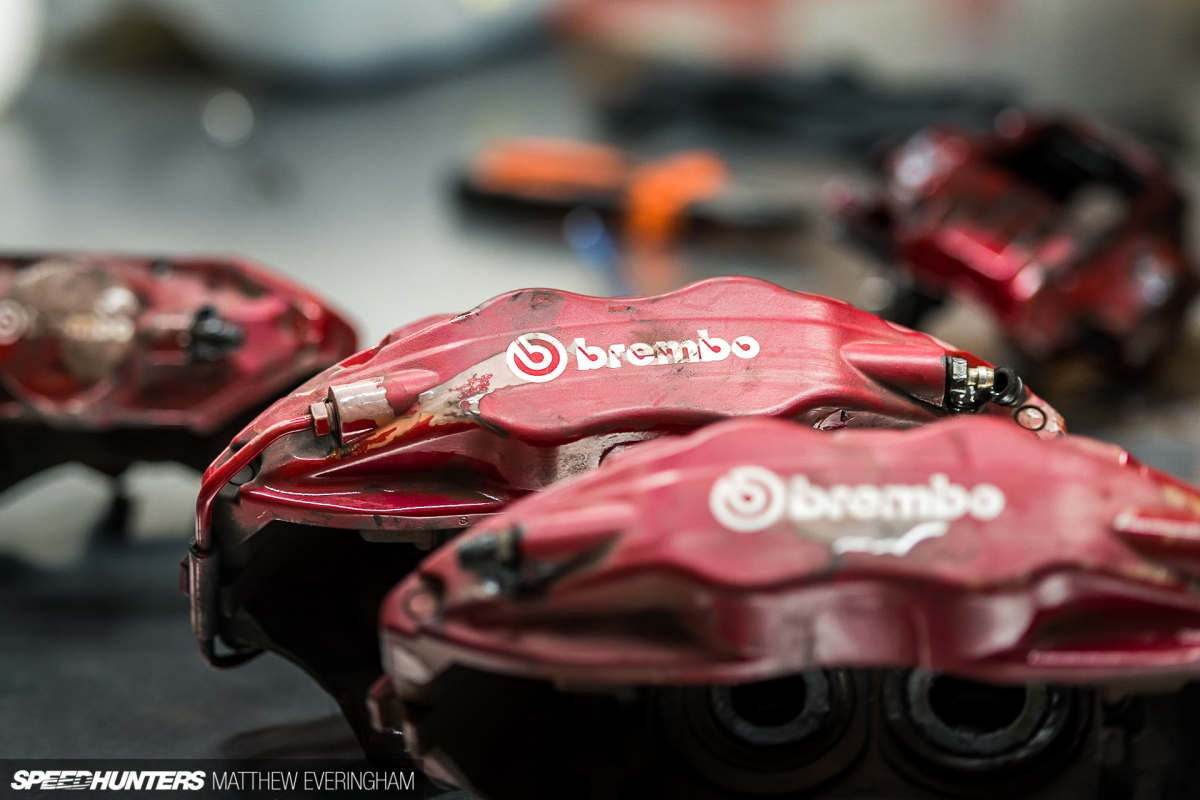
Brembos, Sweat & PowderThe most sensible place to start our renewed project is to restore what bugged me most about the car. After all, a chain is only as strong as the weakest link, and that link for the Evolution – at least aesthetically speaking – was faded Brembo callipers.

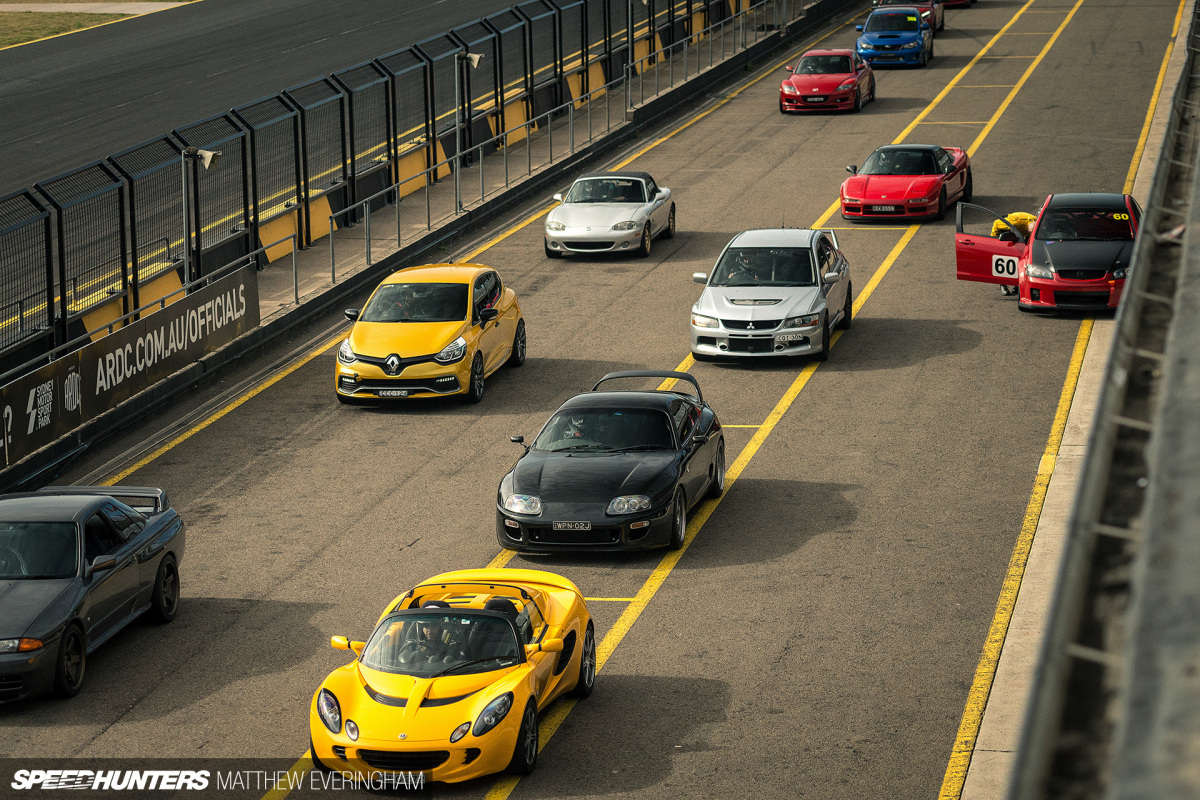

The original vibrant red was roasted to a flakey brown during some ultra-high temps at Sydney Motorsport Park chasing down a friend’s NSX. For the longest time, I tried to ignore how much they detracted from the vehicle’s overall appearance.
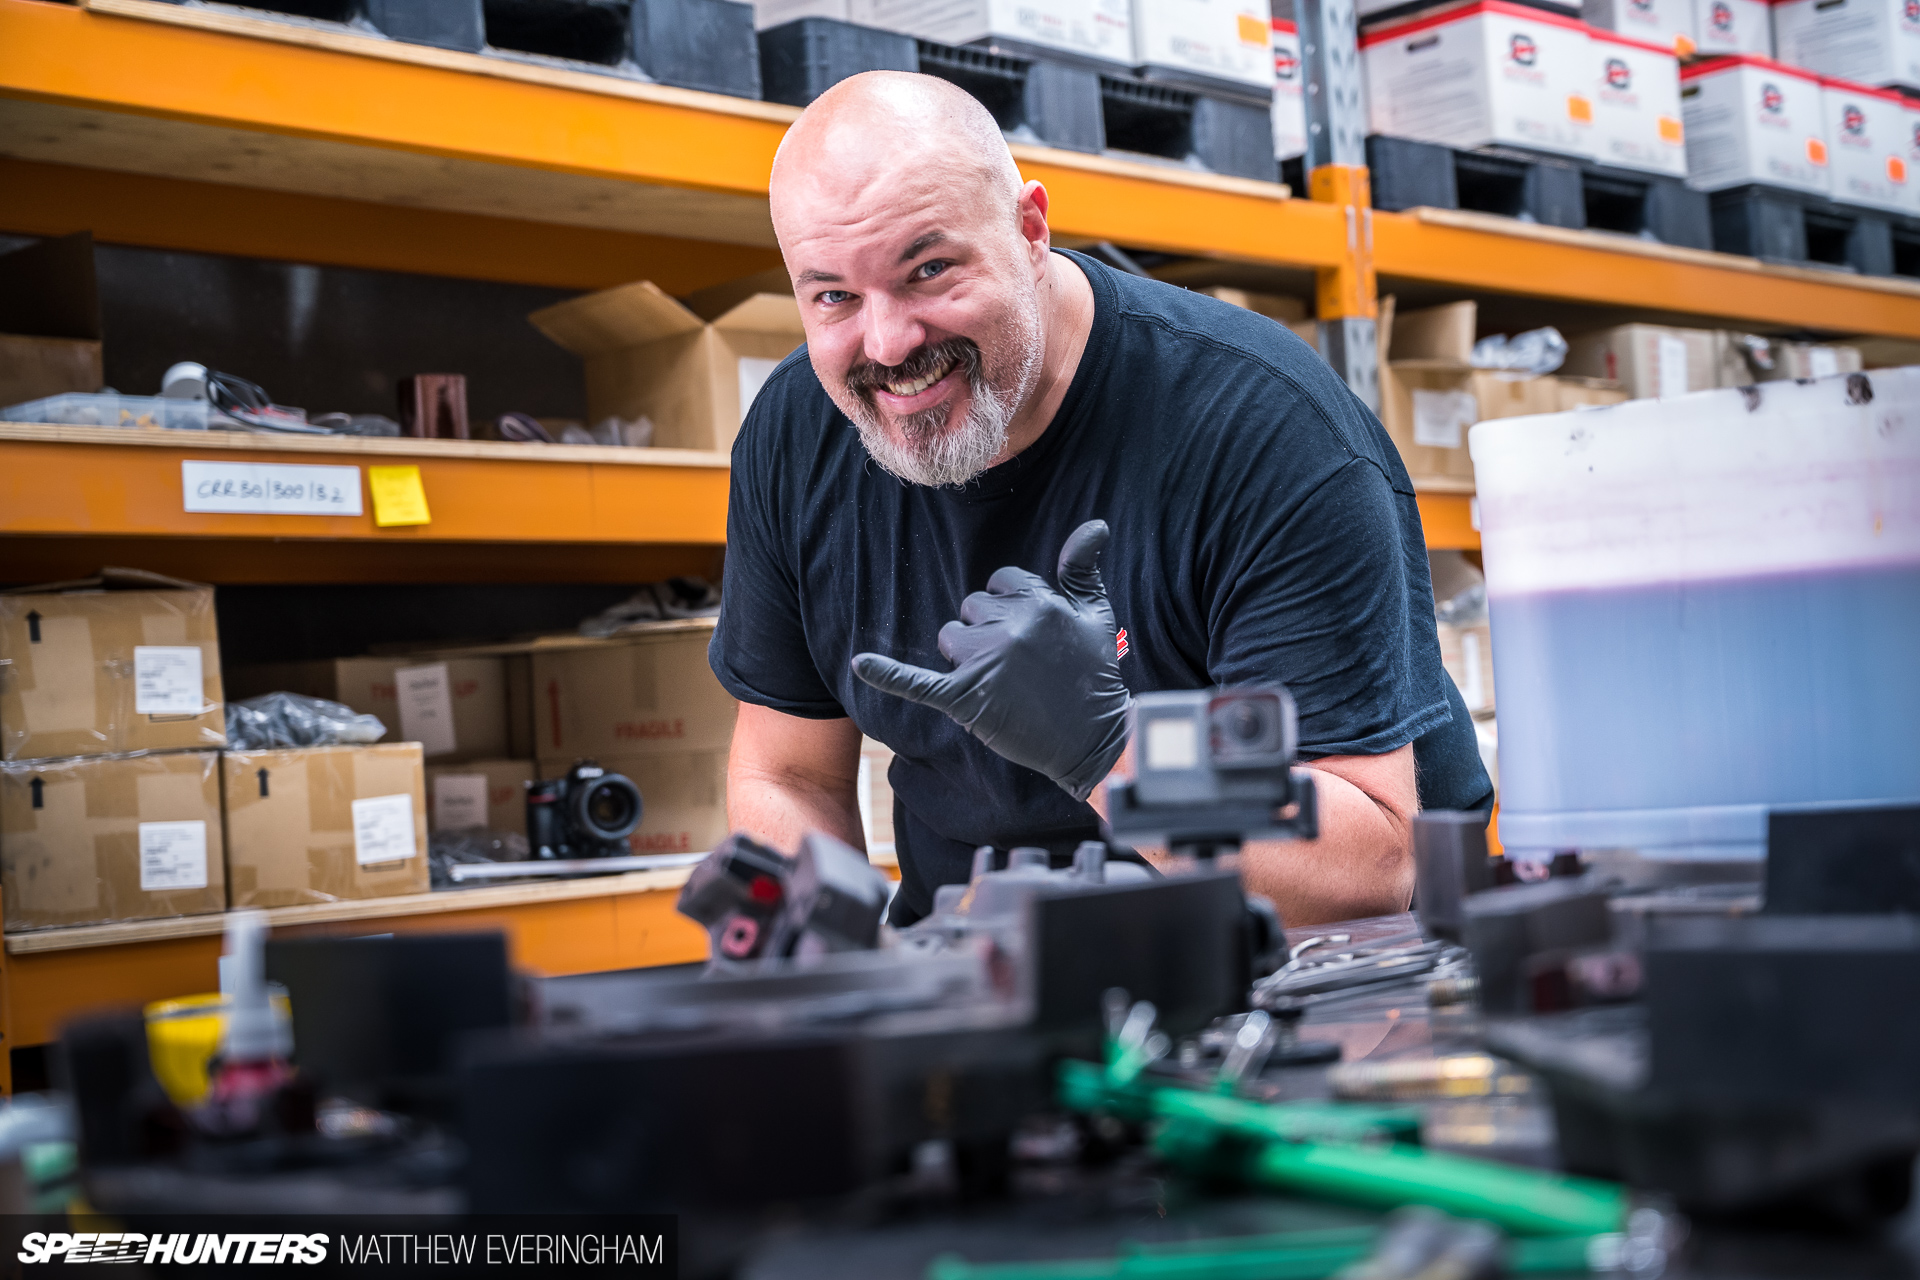
Scotty Barter, a mate of mine who happens to sell all the good stuff a powder-coater craves, had offered to help restore the poo-coloured Brembos a few times over the last couple of years. A kind gesture and a genuine offer for sure. ‘Yeah yeah, we’ll talk about it later,’ was my usual reply. It’s not that I wasn’t interested, I just know how busy Scotty is running Oxytech, raising a family, helping out other mates’ builds and trying to find time to work on his own project cars.
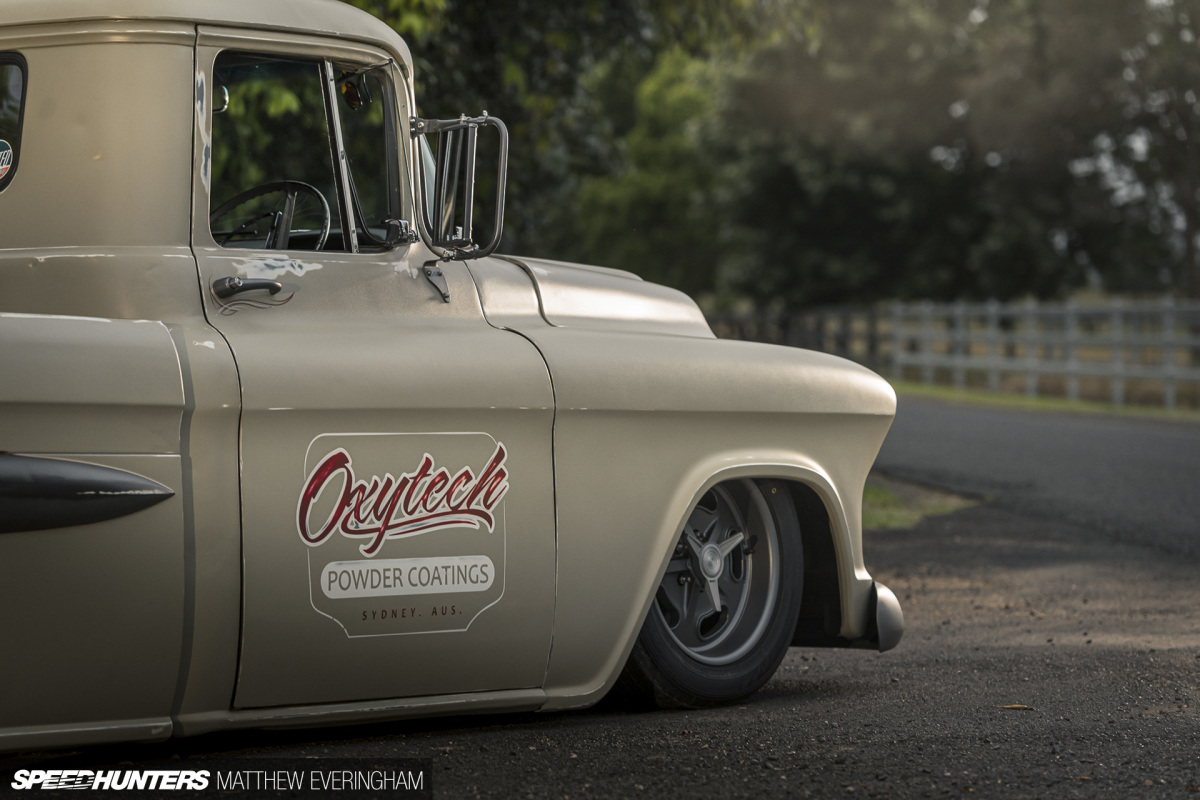
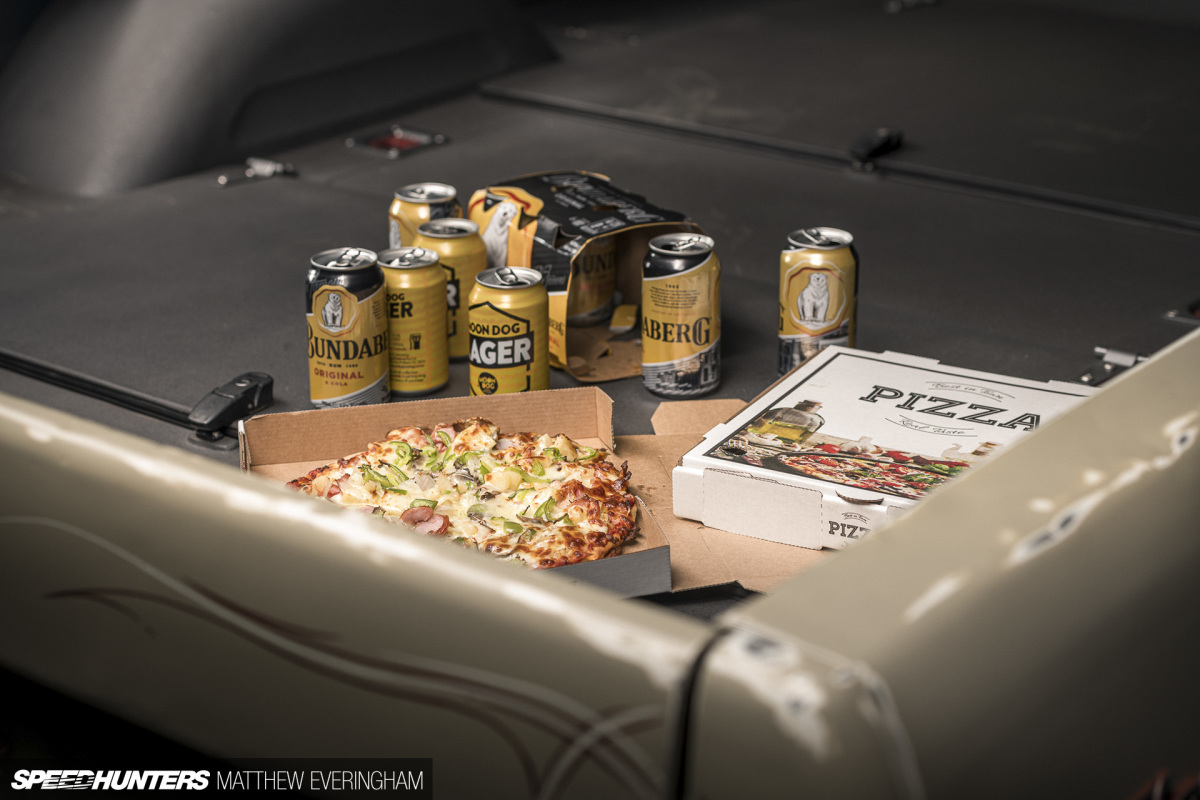
But eventually, the universe conspired against my faded callipers. I got the call to shoot Scotty’s freshly-finished and very tough ’56 Chevy work truck for Aussie magazine Street Machine. During a chilled night of photography, rum and pizza, it was agreed that I’d finally take up his generous offer and we’d give Project Nine the calliper refresh she deserved. And while the brakes were removed, my tired-looking RAYS Volk Racing CE28Ns would also cop a fresh coat of powder.

In hindsight, I doubt I would have ever agreed if I had a full understanding of the time and effort involved beforehand. Like most automotive projects, the bulk of the work hides within the preparation – in this case a plethora of tiny tasks that take hours. In comparison, the main tasks of blasting and applying powder were by far the quickest and most fun elements of the restoration.
The Process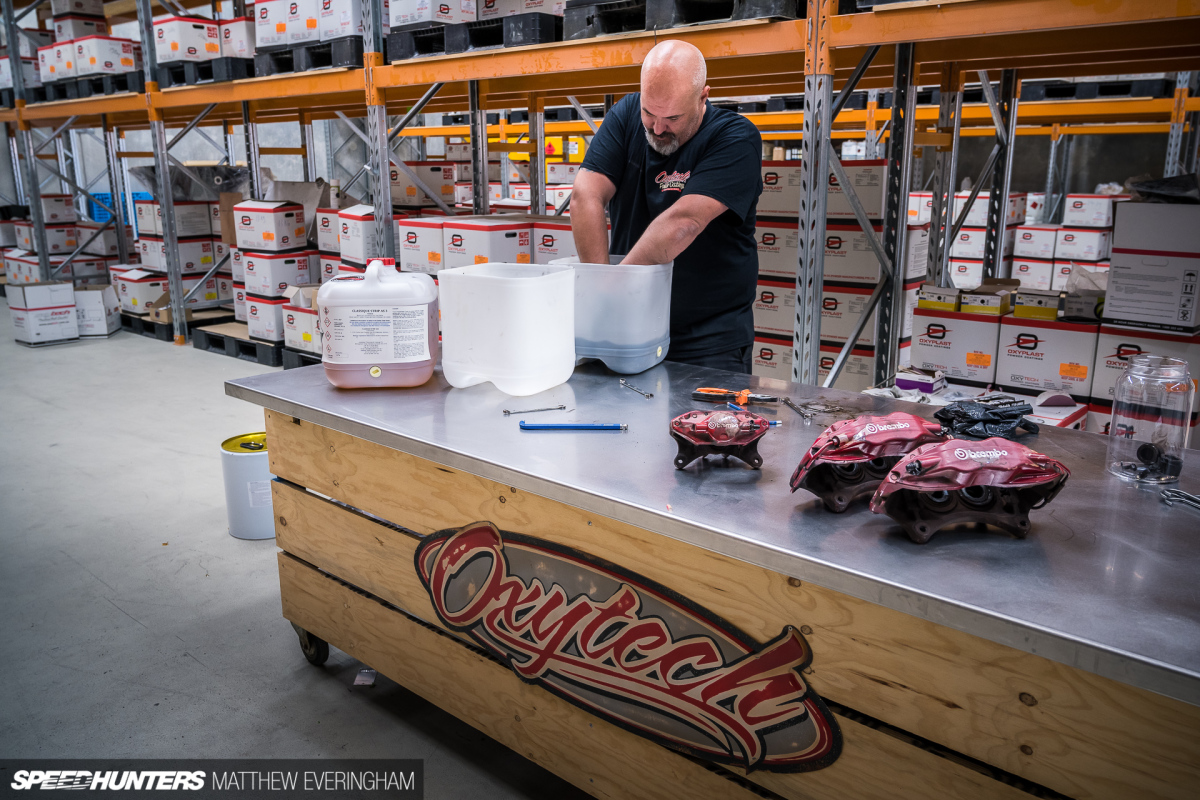
It’s not a difficult task by any means, it’s actually a pretty straightforward job. Nonetheless, I appreciated having Scotty on hand to help out. The experience he brought along after having done dozens of similar restorations made the task as simple and quick as possible.
If you’re considering a similar restoration and not sure where to begin, grab a coffee and get comfortable; Scotty and I documented the entire process. While strictly speaking this isn’t a guide, it should still be detailed enough to be somewhat useful. Even if it’s just for sizing up the scale of the job before choosing to DIY or throw cash at the problem.
OK, let’s get started. Removing the wheels and brakes is straightforward, and frankly, if this is outside of your comfort zone, you should probably be paying to get the job done. Be mindful to place your brake pads in a way that’ll ensure they all go back in the same location and rotor side. Oh, and get yourself a brake line clamp kit to save a lot of mess. Brake fluid is not your friend.
Before you get carried away splitting your callipers, give them a good inspection and check that you’ve got all the replacement seals and any other ancillary parts that may need to be replaced. Give each calliper a solid inspection for other signs of damage. Callipers are usually bullet-proof, but trust me, you’ll want to find any extra issues at this point and not further into the process.


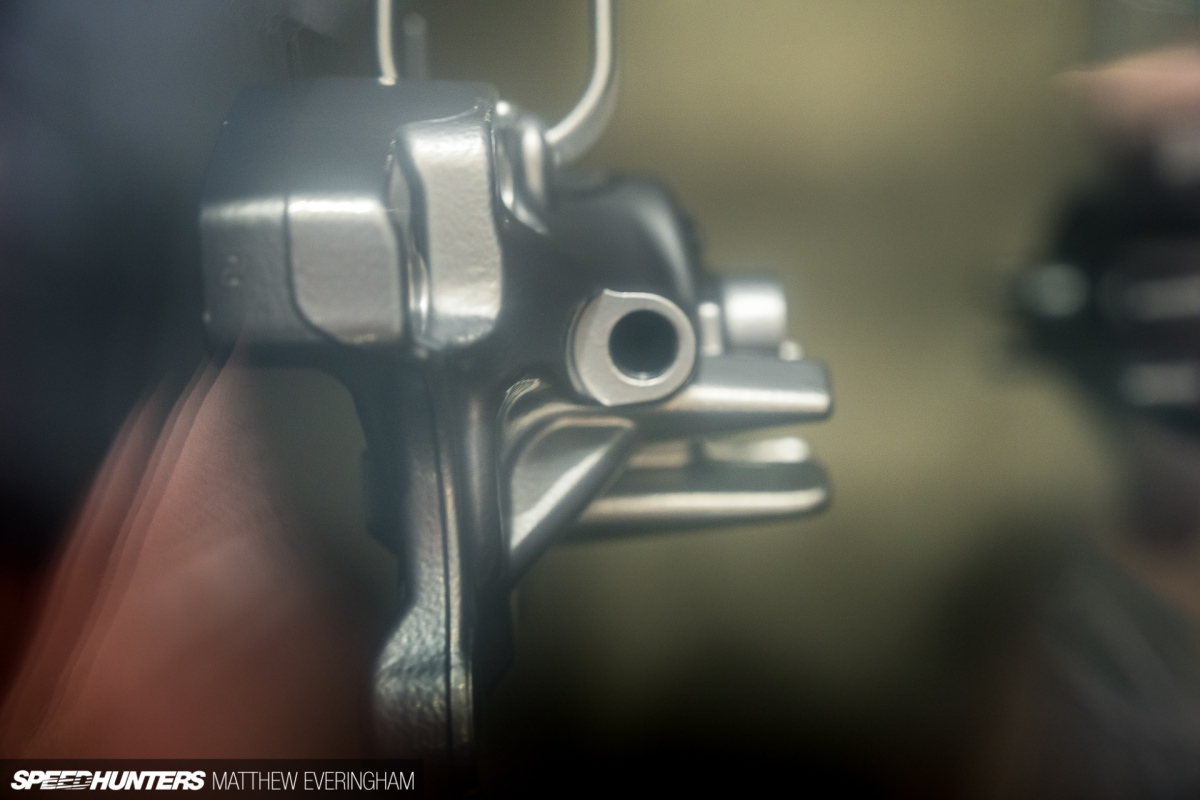
If you’ve decided you’ve got what you’ll need to proceed, godspeed and good luck. Loosen those nipples and use compressed air to blow out the seals and pistons through the bleed valve. Follow up by removing the nipples, lines, and seals. You can remove the squealer pads, but you’ll need a Torx bit and some patience. Lastly, and of course the least fun bit, you’ll need to crack the Allen bolts and separate the two calliper halves to prepare for a proper stripping.
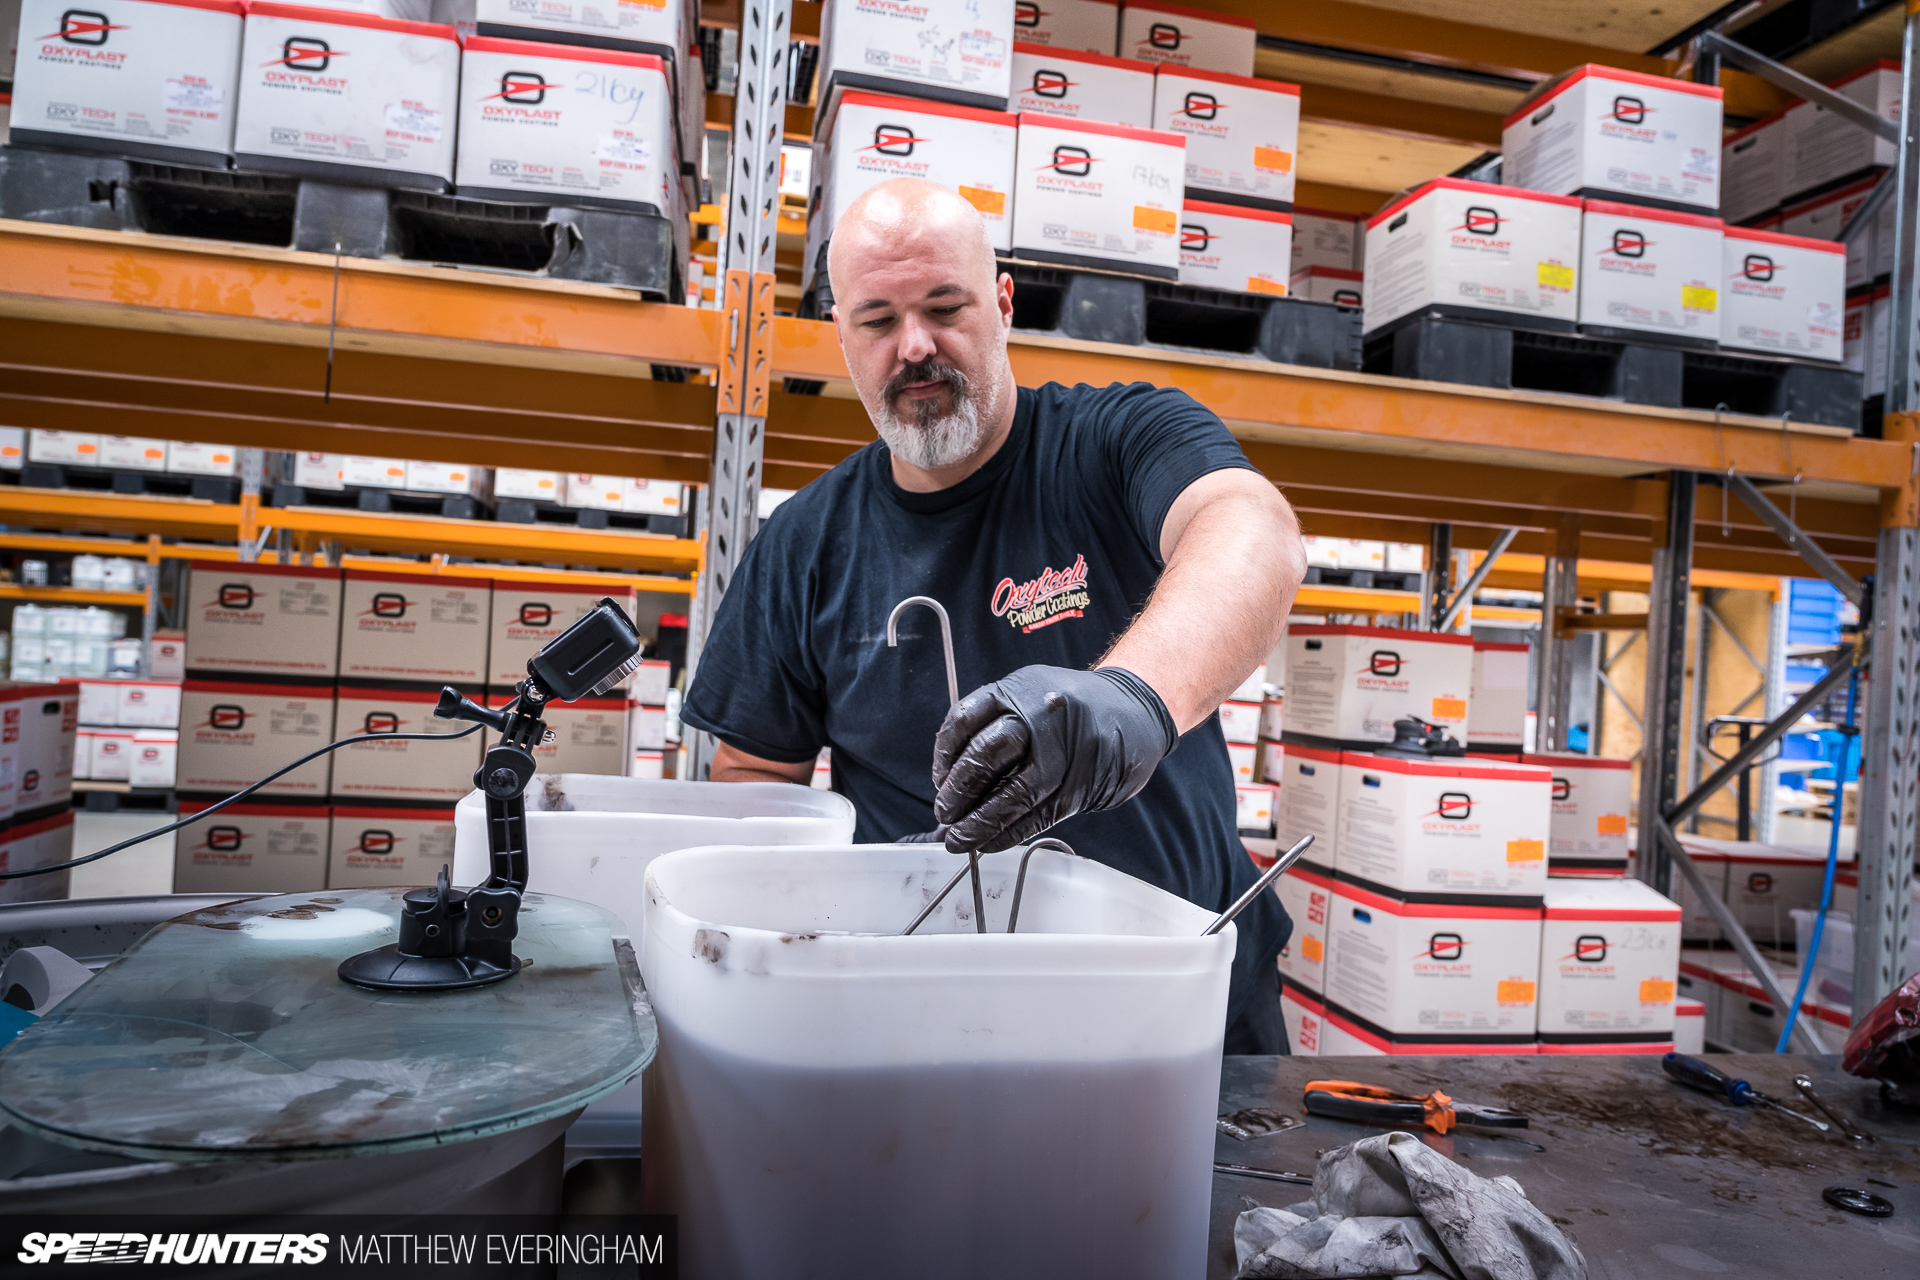


In our case, we’ve used Oxytech’s own Classique Strip AS-3. I blinked with a vacant stare when Scotty told me it’s a methylene chloride-based solution that strips quickly even at ambient temperatures. I smiled politely, but really I was thinking how fancy the word ‘classic’ looks with a slight variation in spelling.


Each piece was hand rinsed in some fresh water, but instead of leaving them out to dry we had the luxury of baking them in the oven for 20 minutes to help remove any residual stripper.


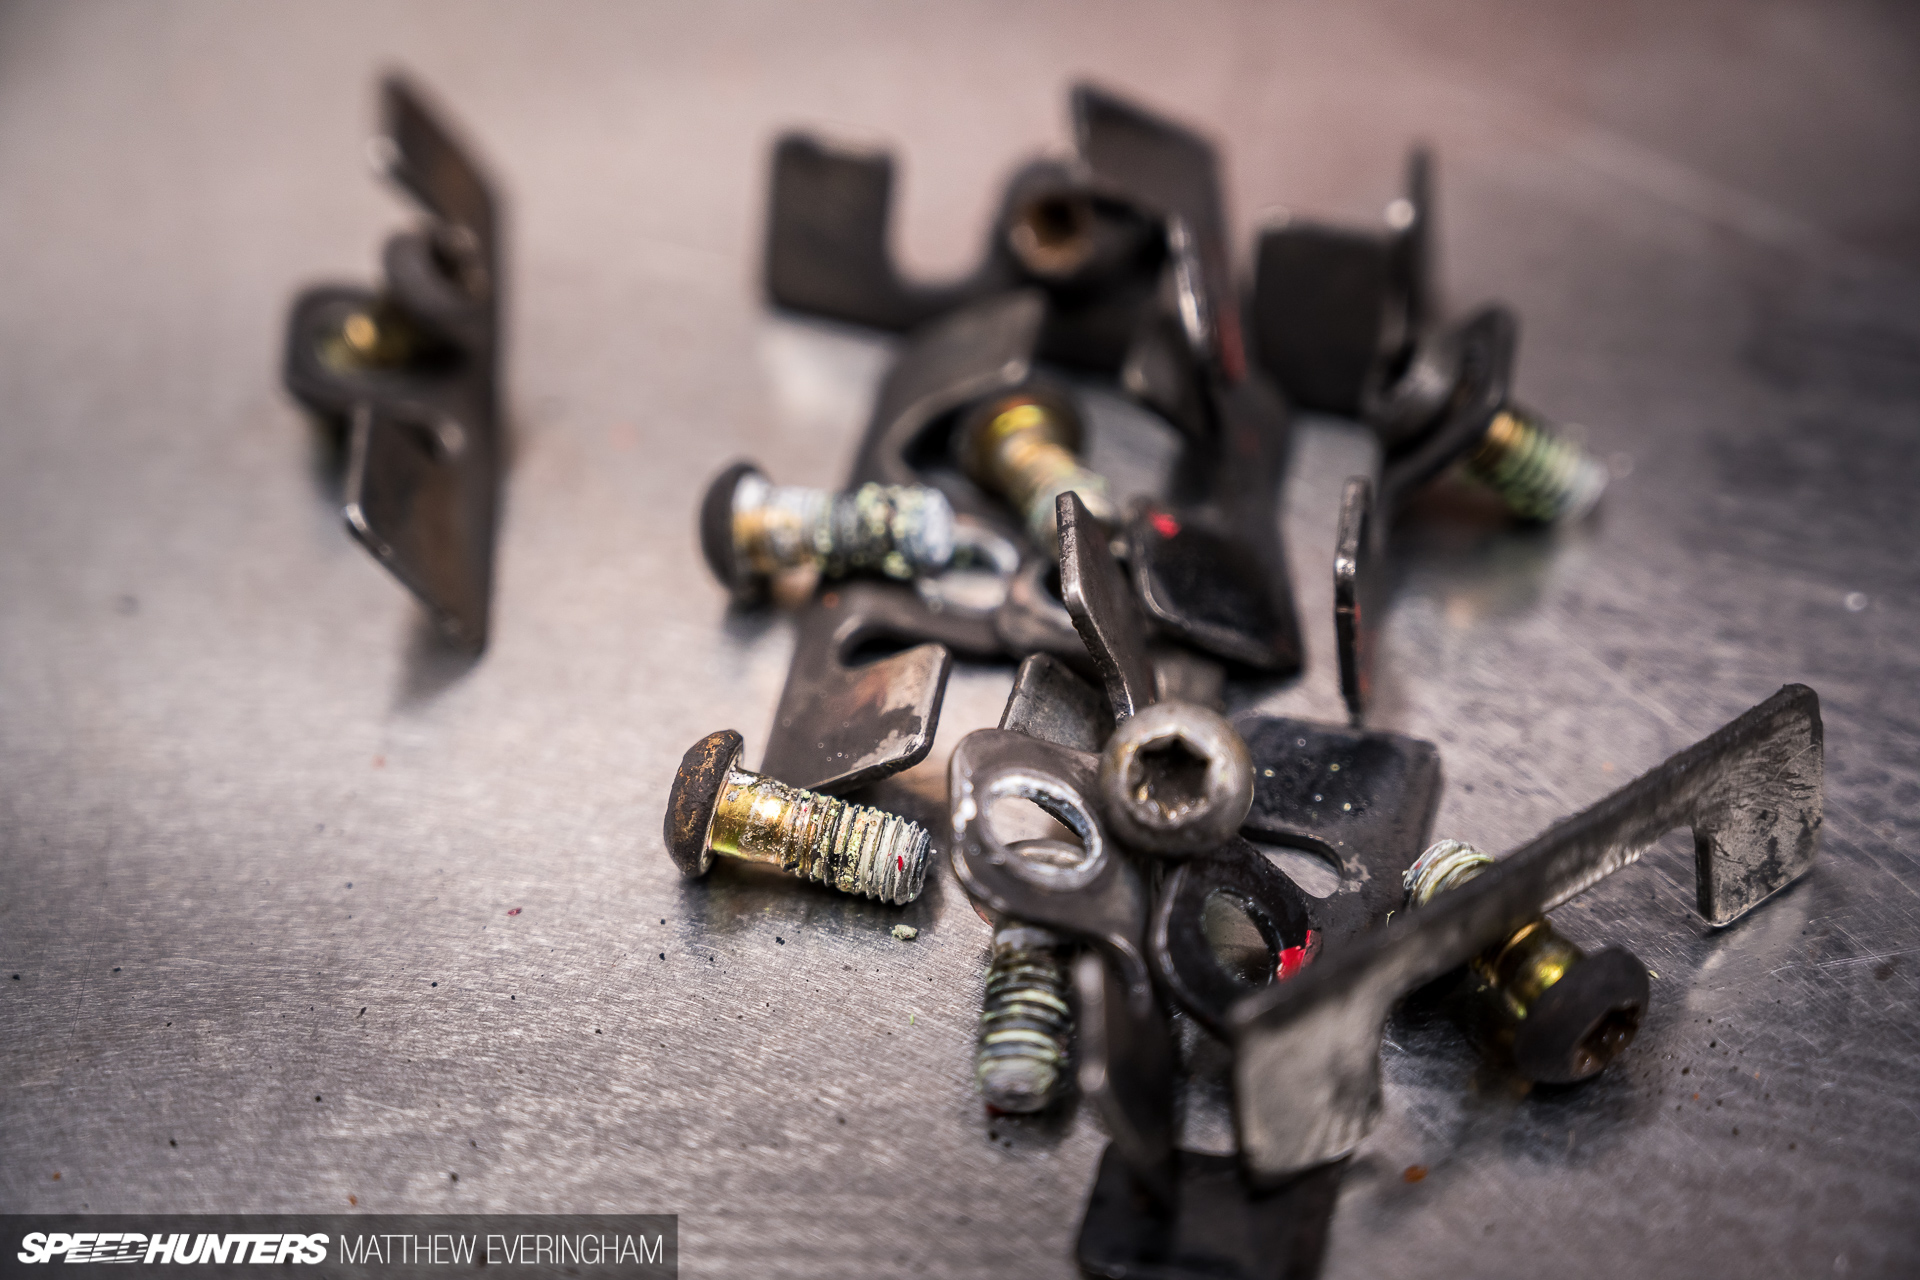
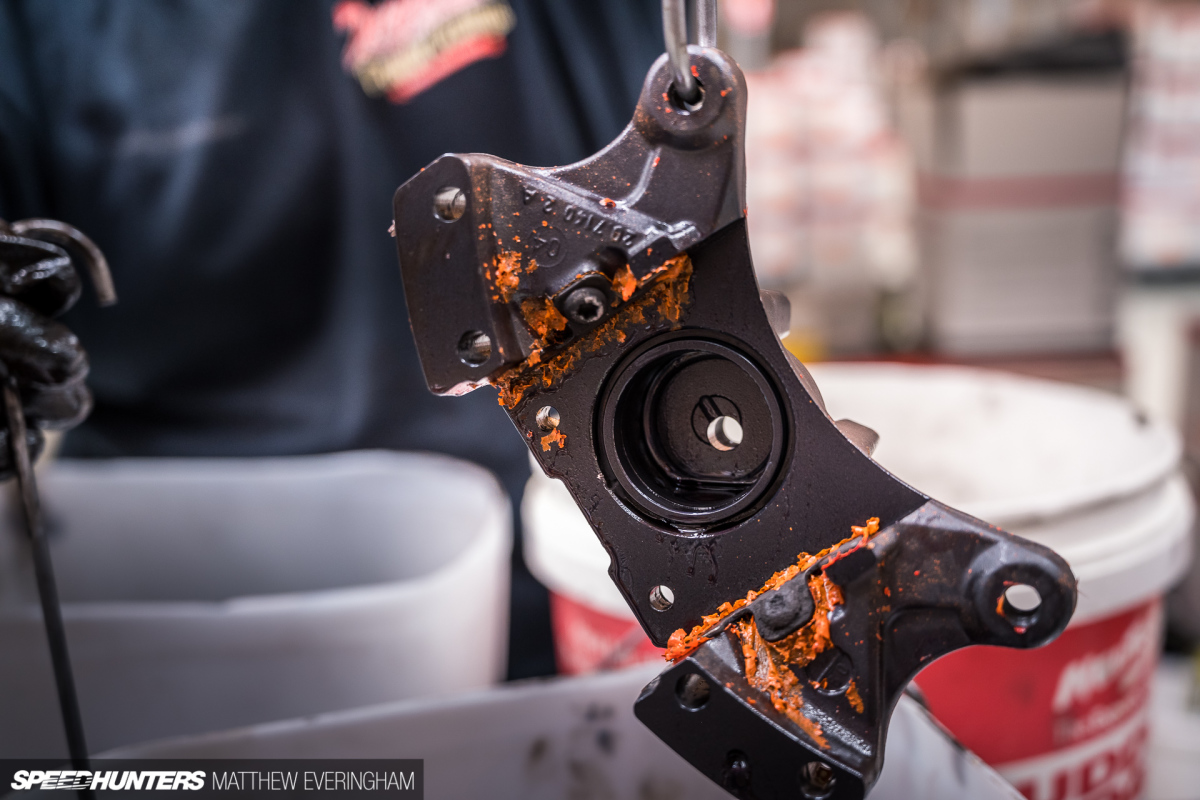
While the bare Brembos received a light sandblasting all the external bolts, plates, and bits were lined up for a tidy up using some general thinners and a bit of wire brush action. This was completely optional; I guess it’s up to you how far you take the restoration, but what’s the point in pulling it all apart to stop halfway?
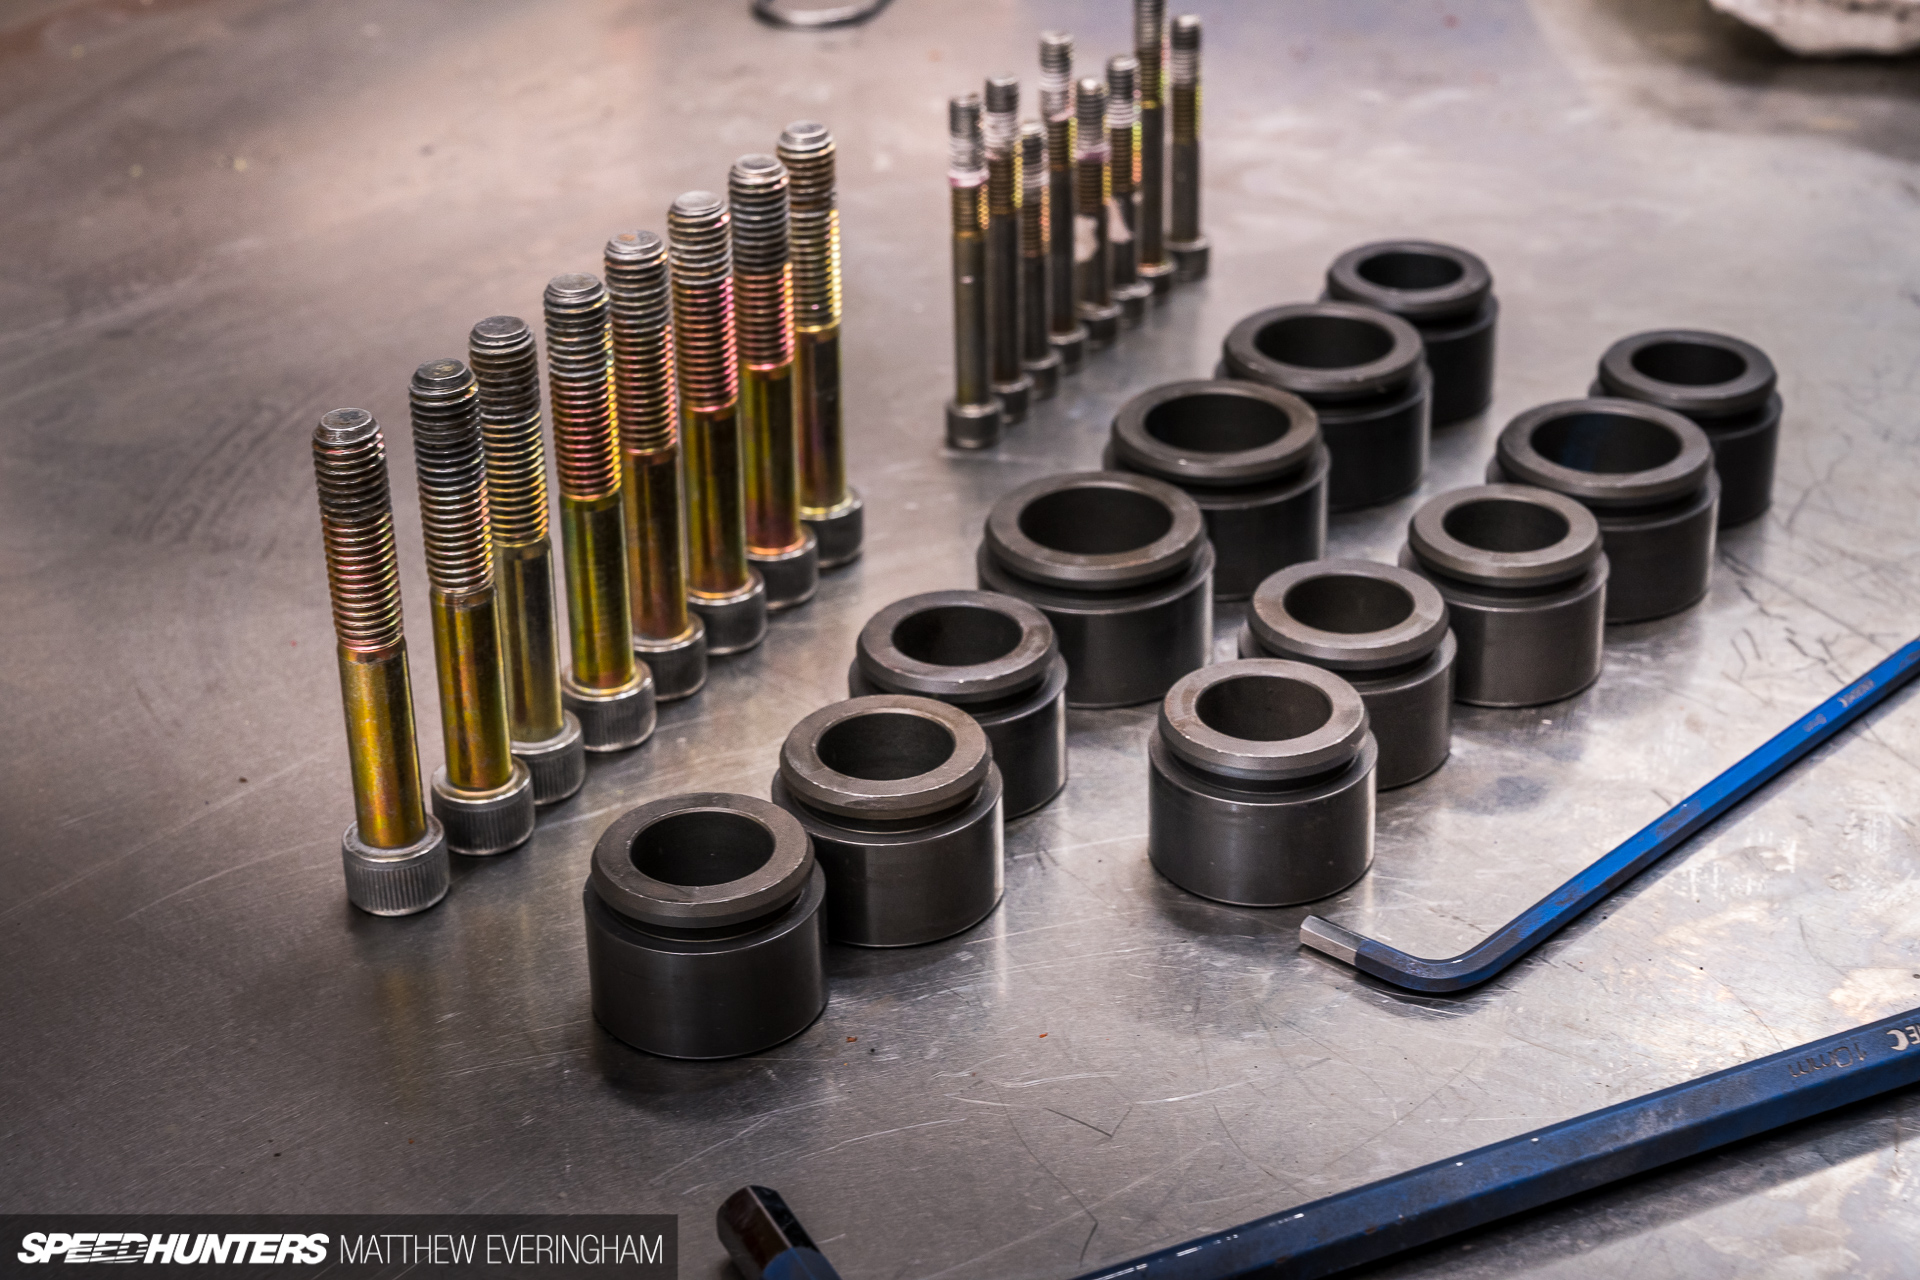

We took a particular interest in the bolts as we planned on giving their heads a very light colour coat, too.
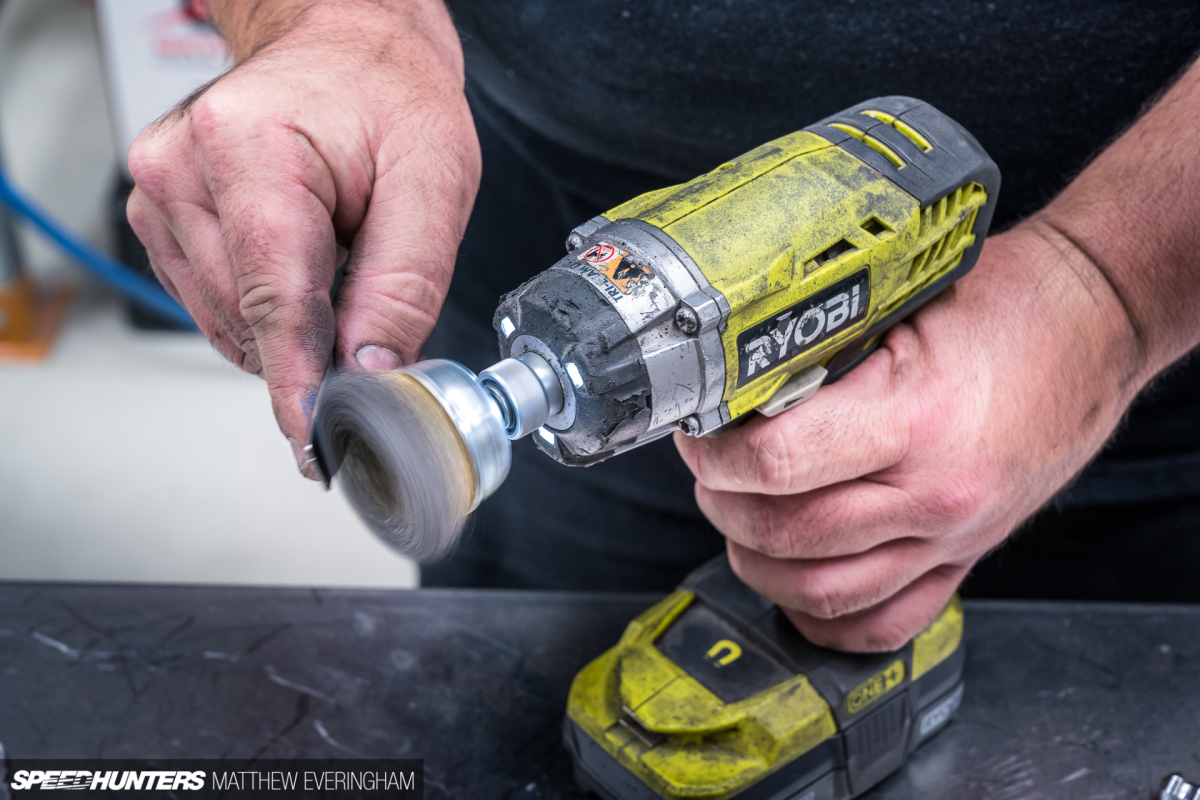
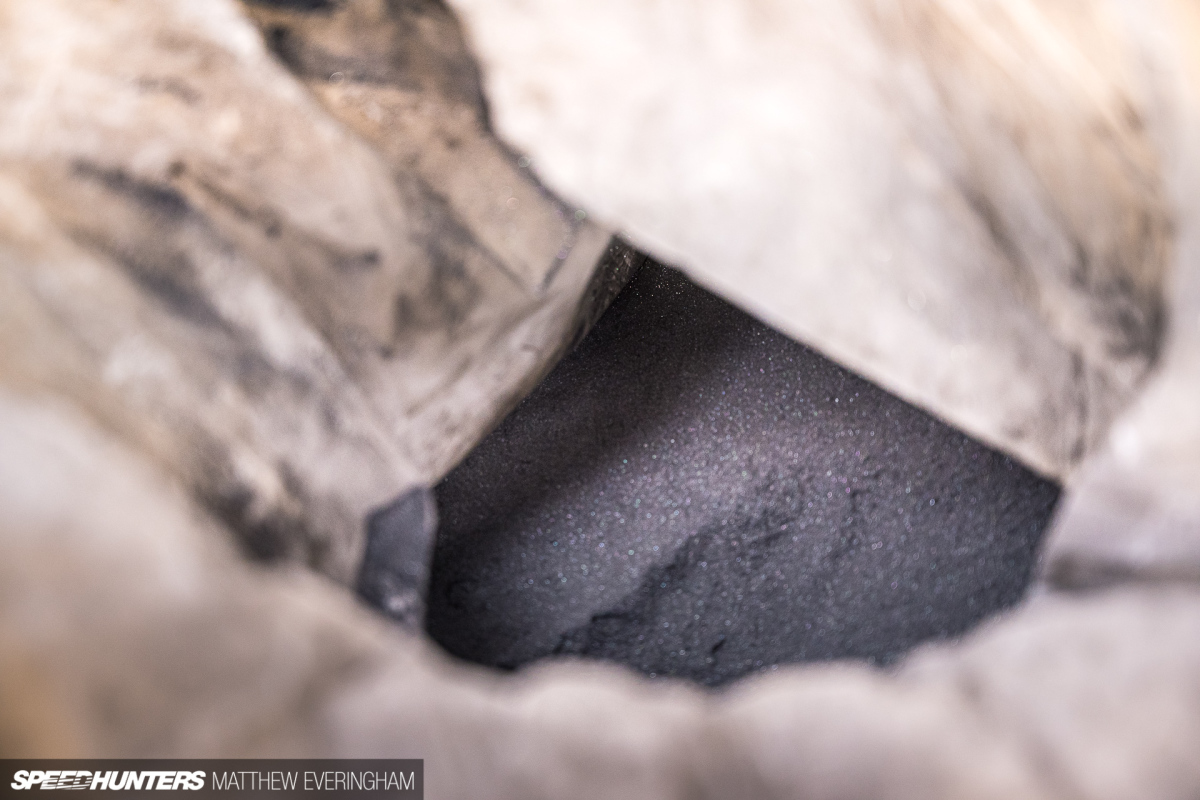
Before blasting or sanding, be sure to fill in any gallery entries and cover any factory machined surfaces. Scotty used an #80 mesh aluminium oxide blasted on low pressure.

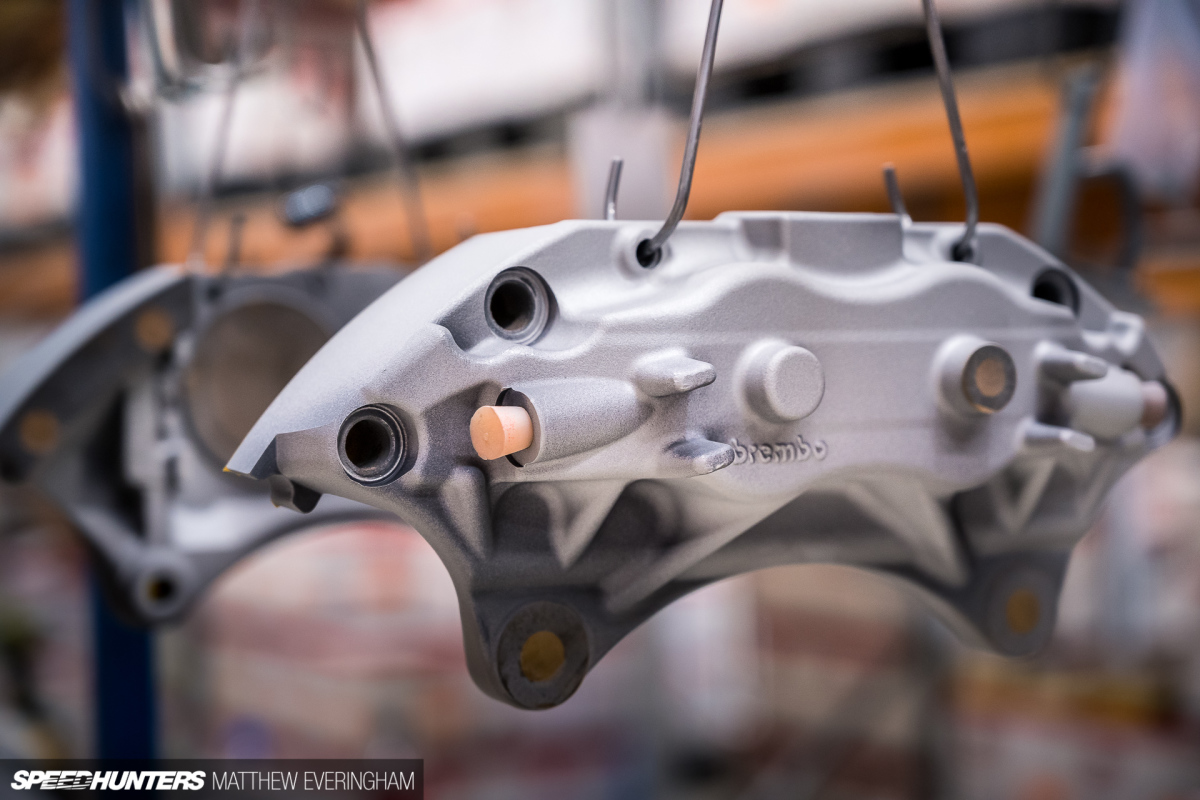
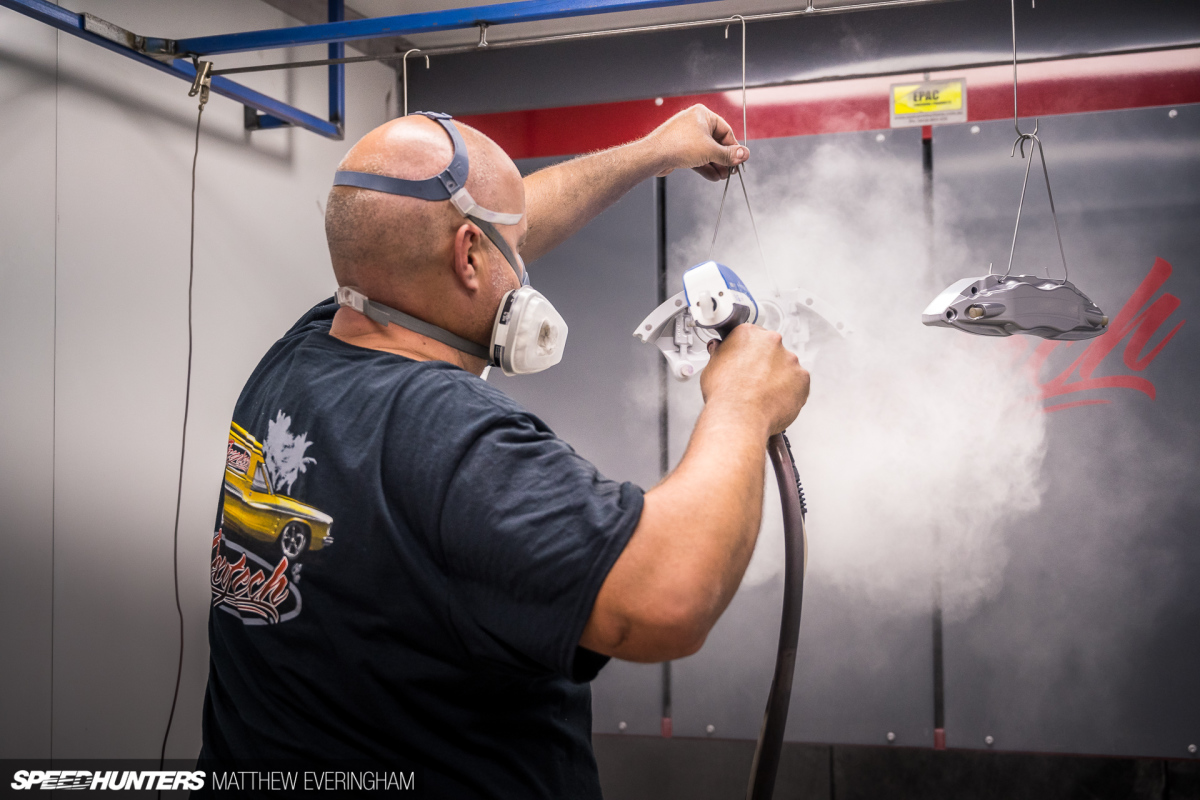
The beads aren’t too harsh, and in his experience they leave a mint profile. Believe it or not, now we’re finally ready to lay the first coat of powder.

The nerds in here who don’t already know how a powder gun works will find it all more interesting than they’d probably presumed; I know I did. The gun actually strips away a heap of the electrons as it excites the powder before discharging. Remember as a kid rubbing a balloon through your hair to make it stand up? Well, the same principle is what ensures a nice even coat here. The negatively charged particles move and cling to the nearest earth point, which happens to be what you’re trying to coat in perfectly flat powder.
See, way more interesting than you probably thought.
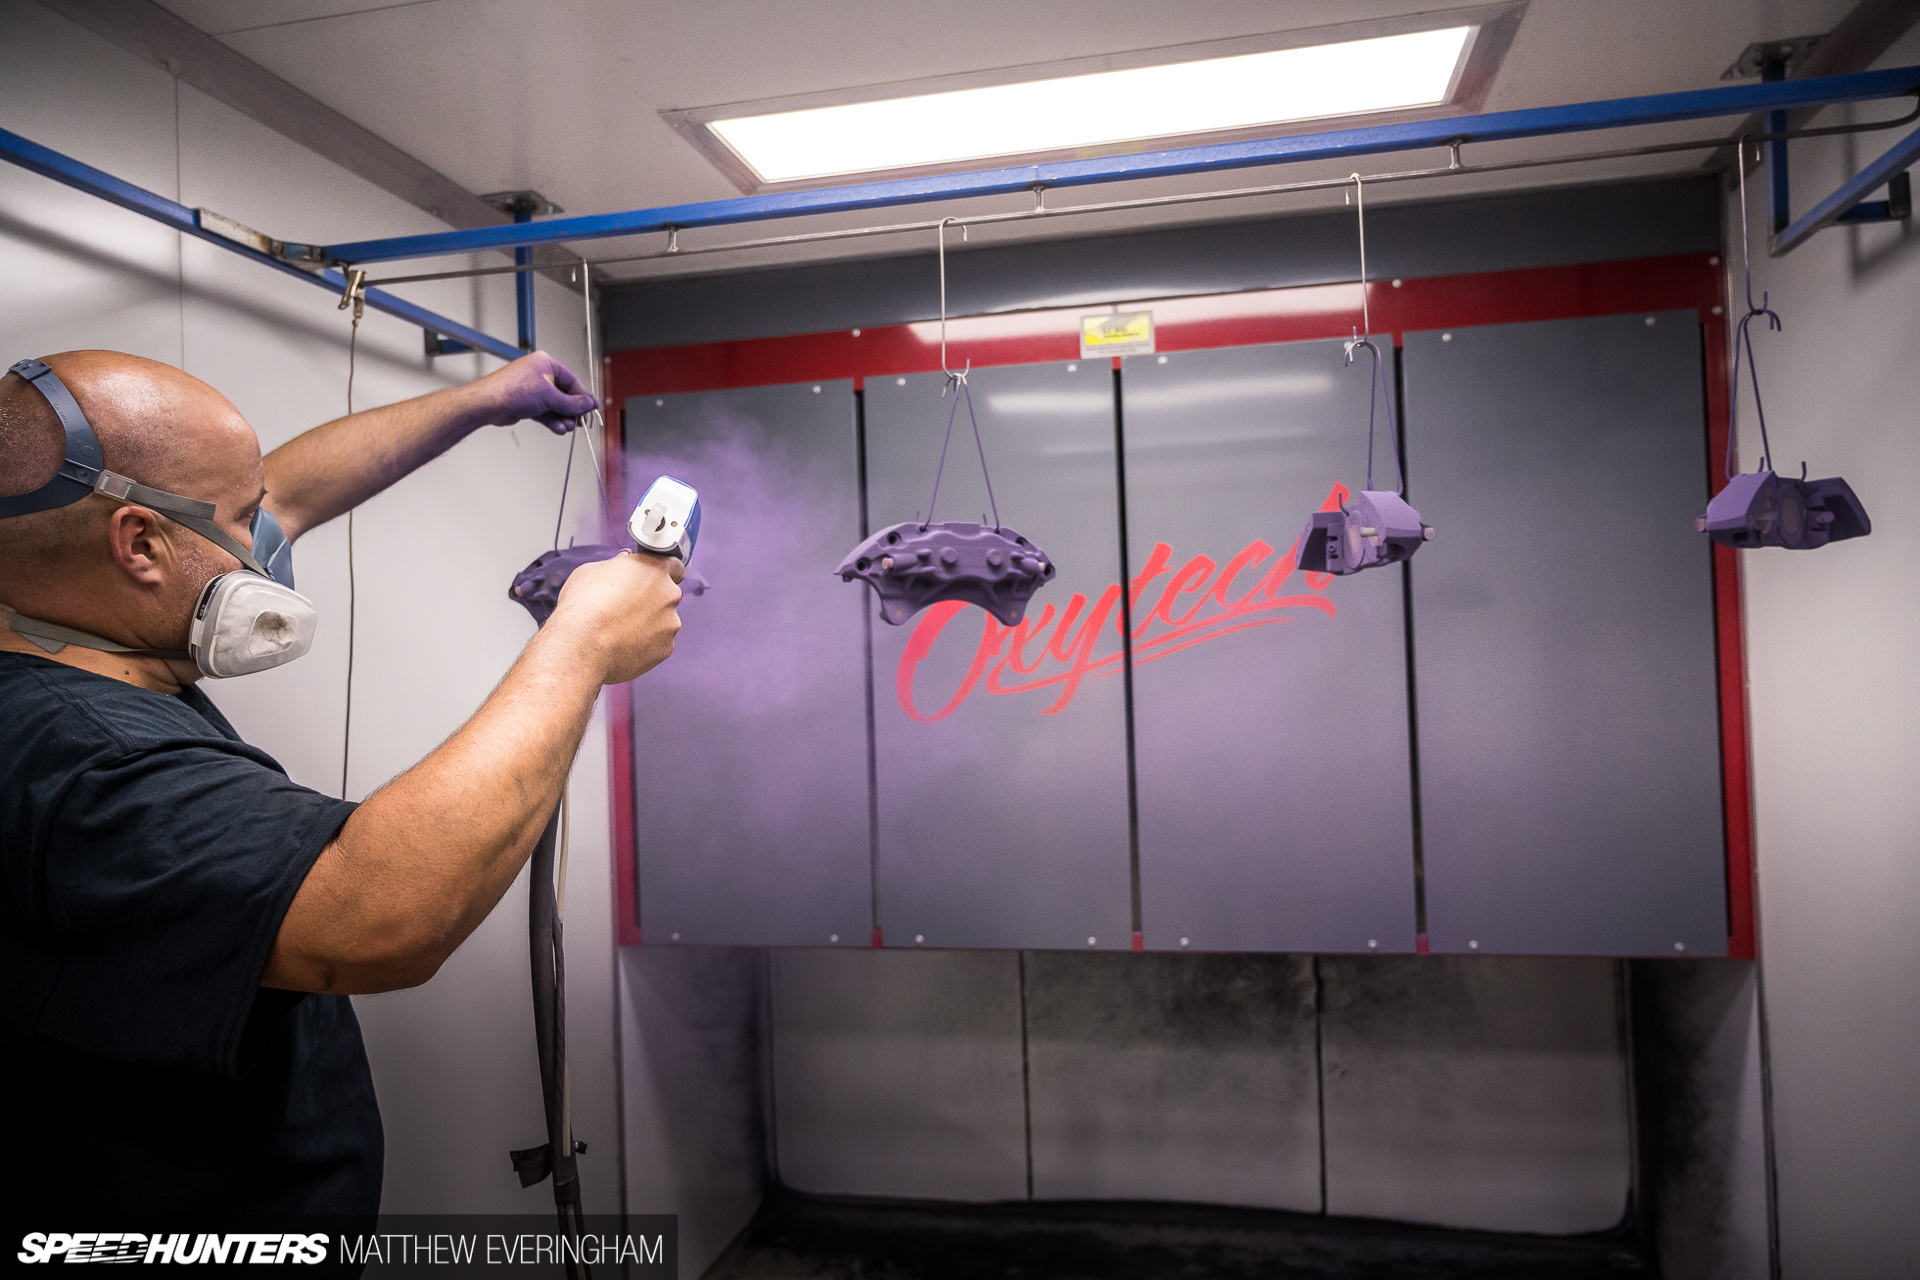

Scotty shot the first batch and explained the process: distances, motion, quantity. It looked pretty simple.


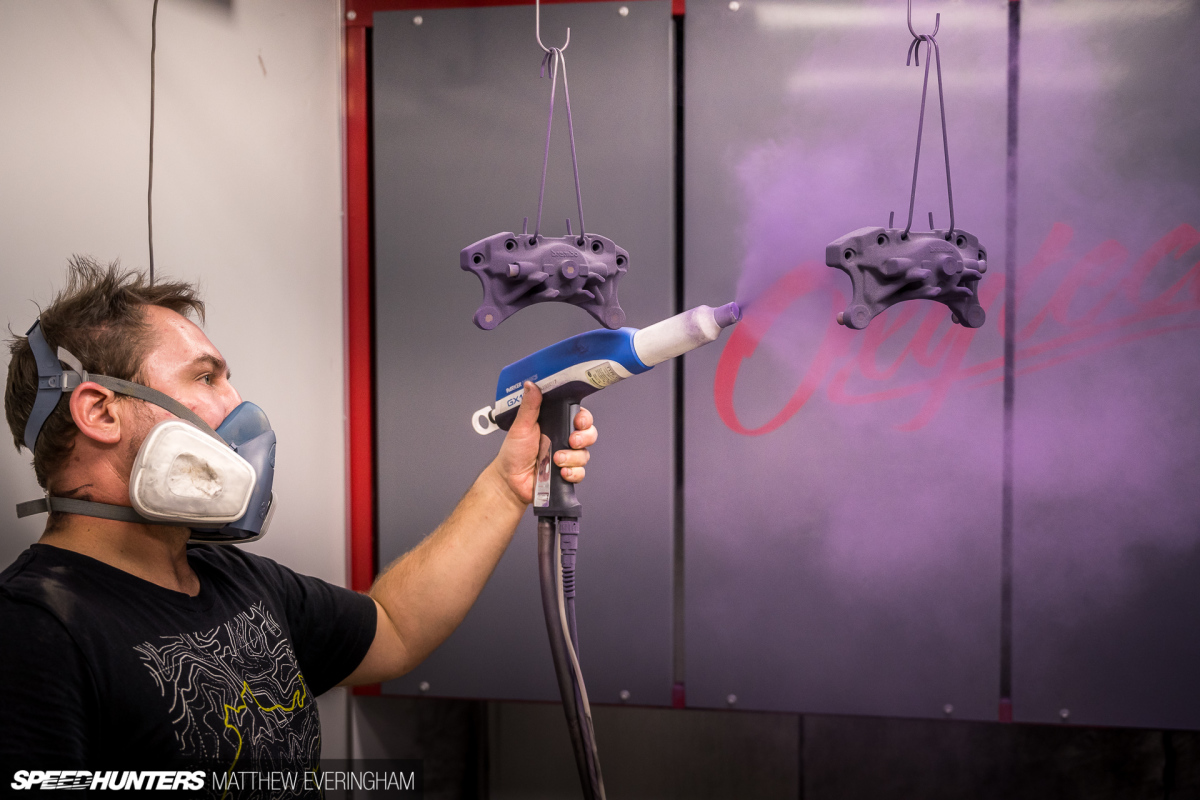
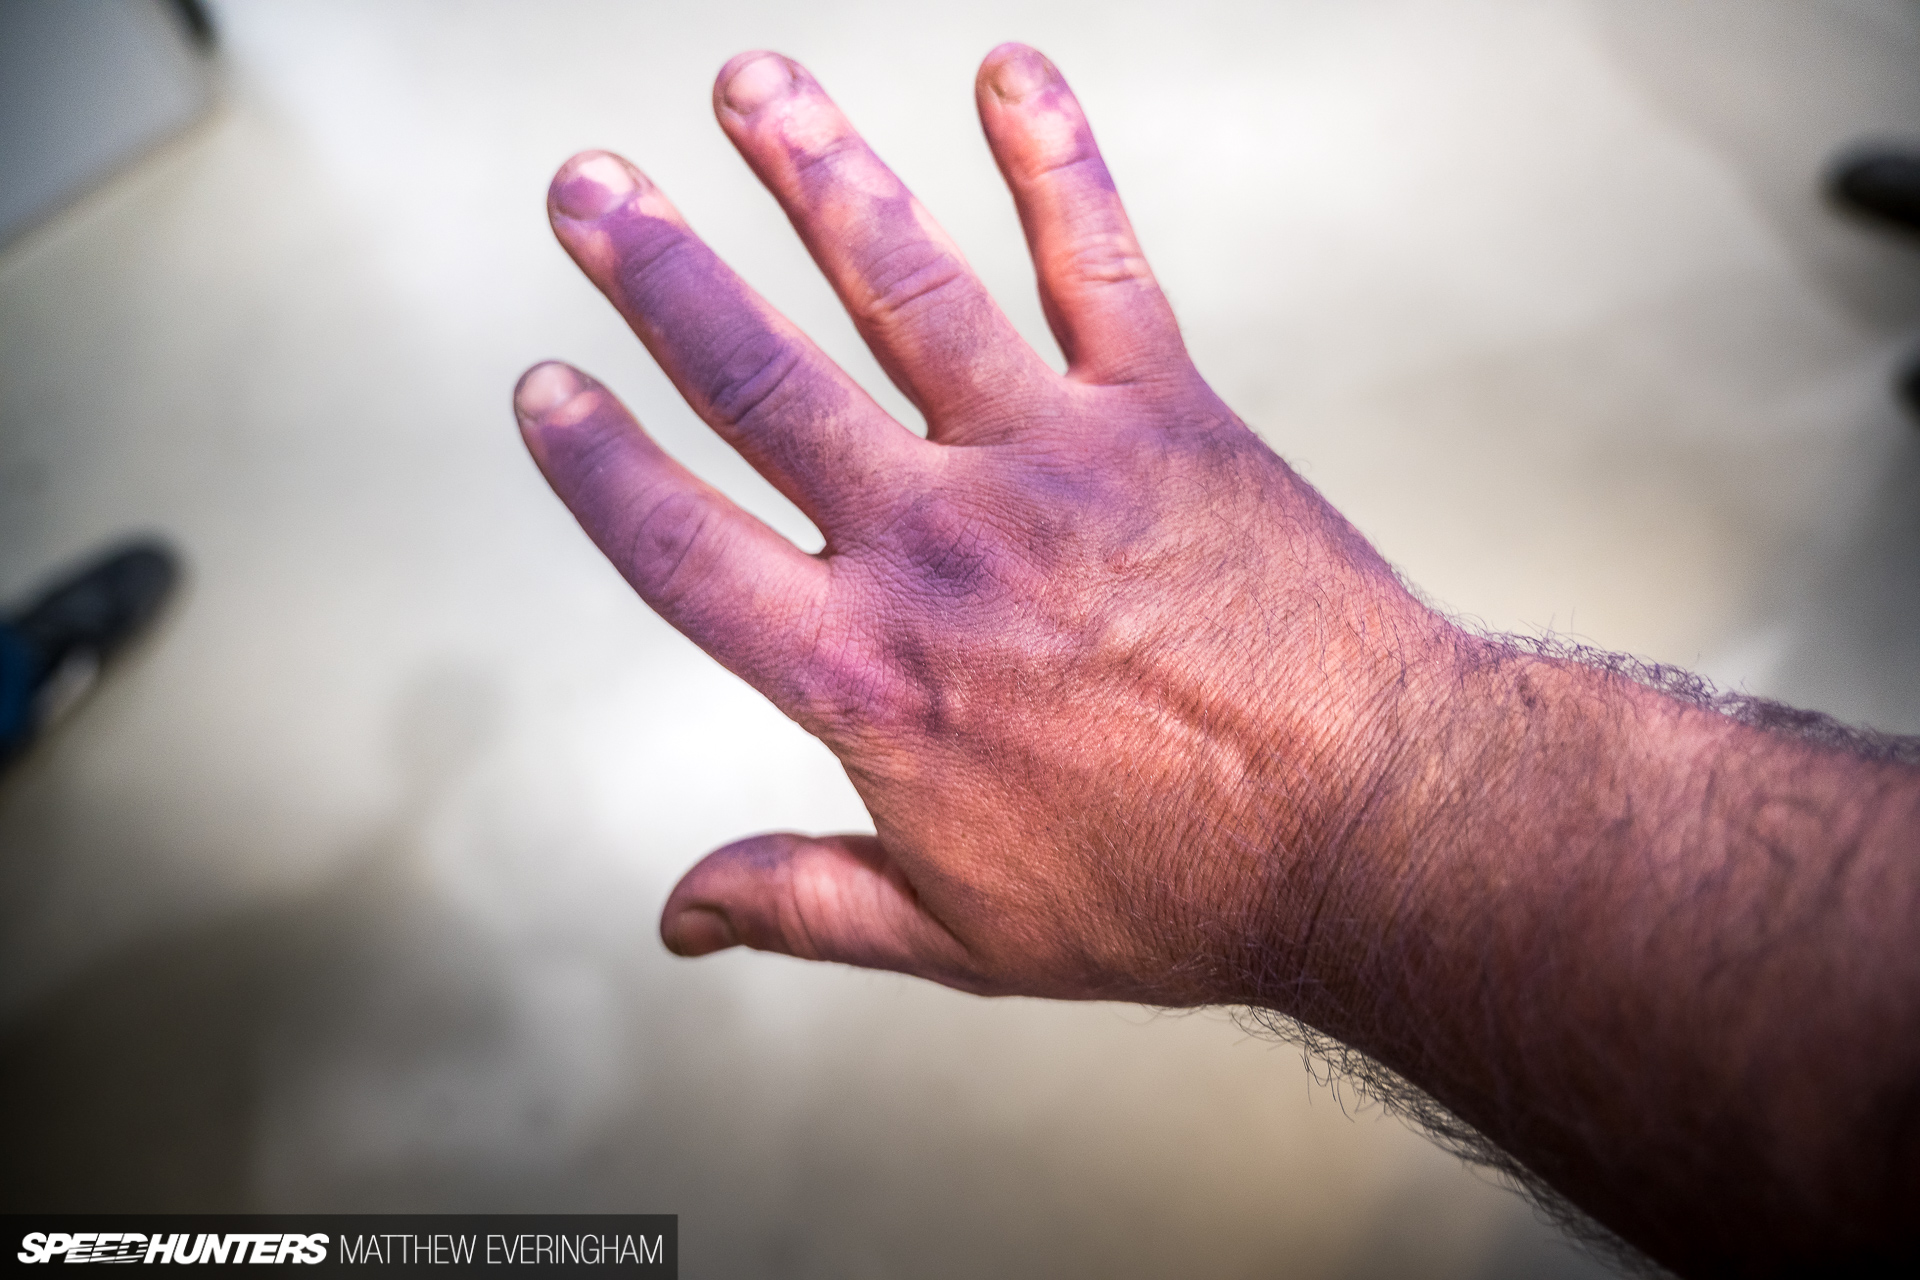
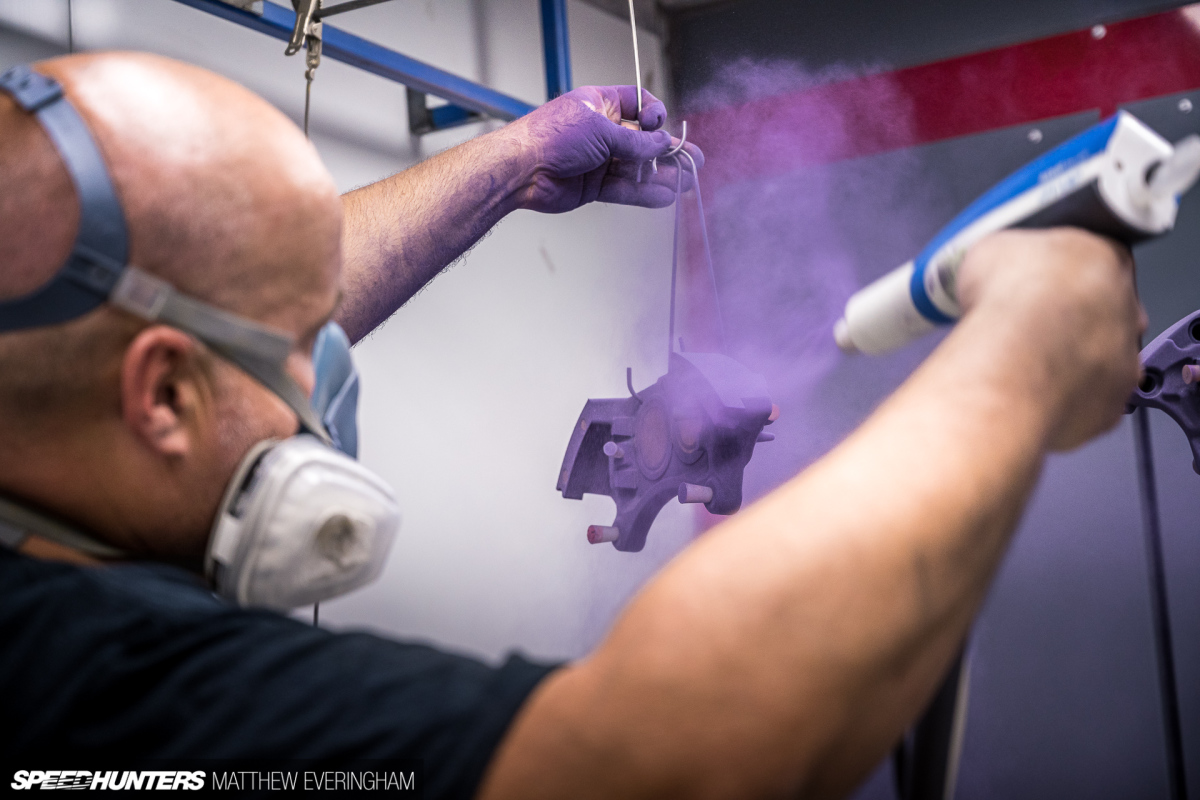
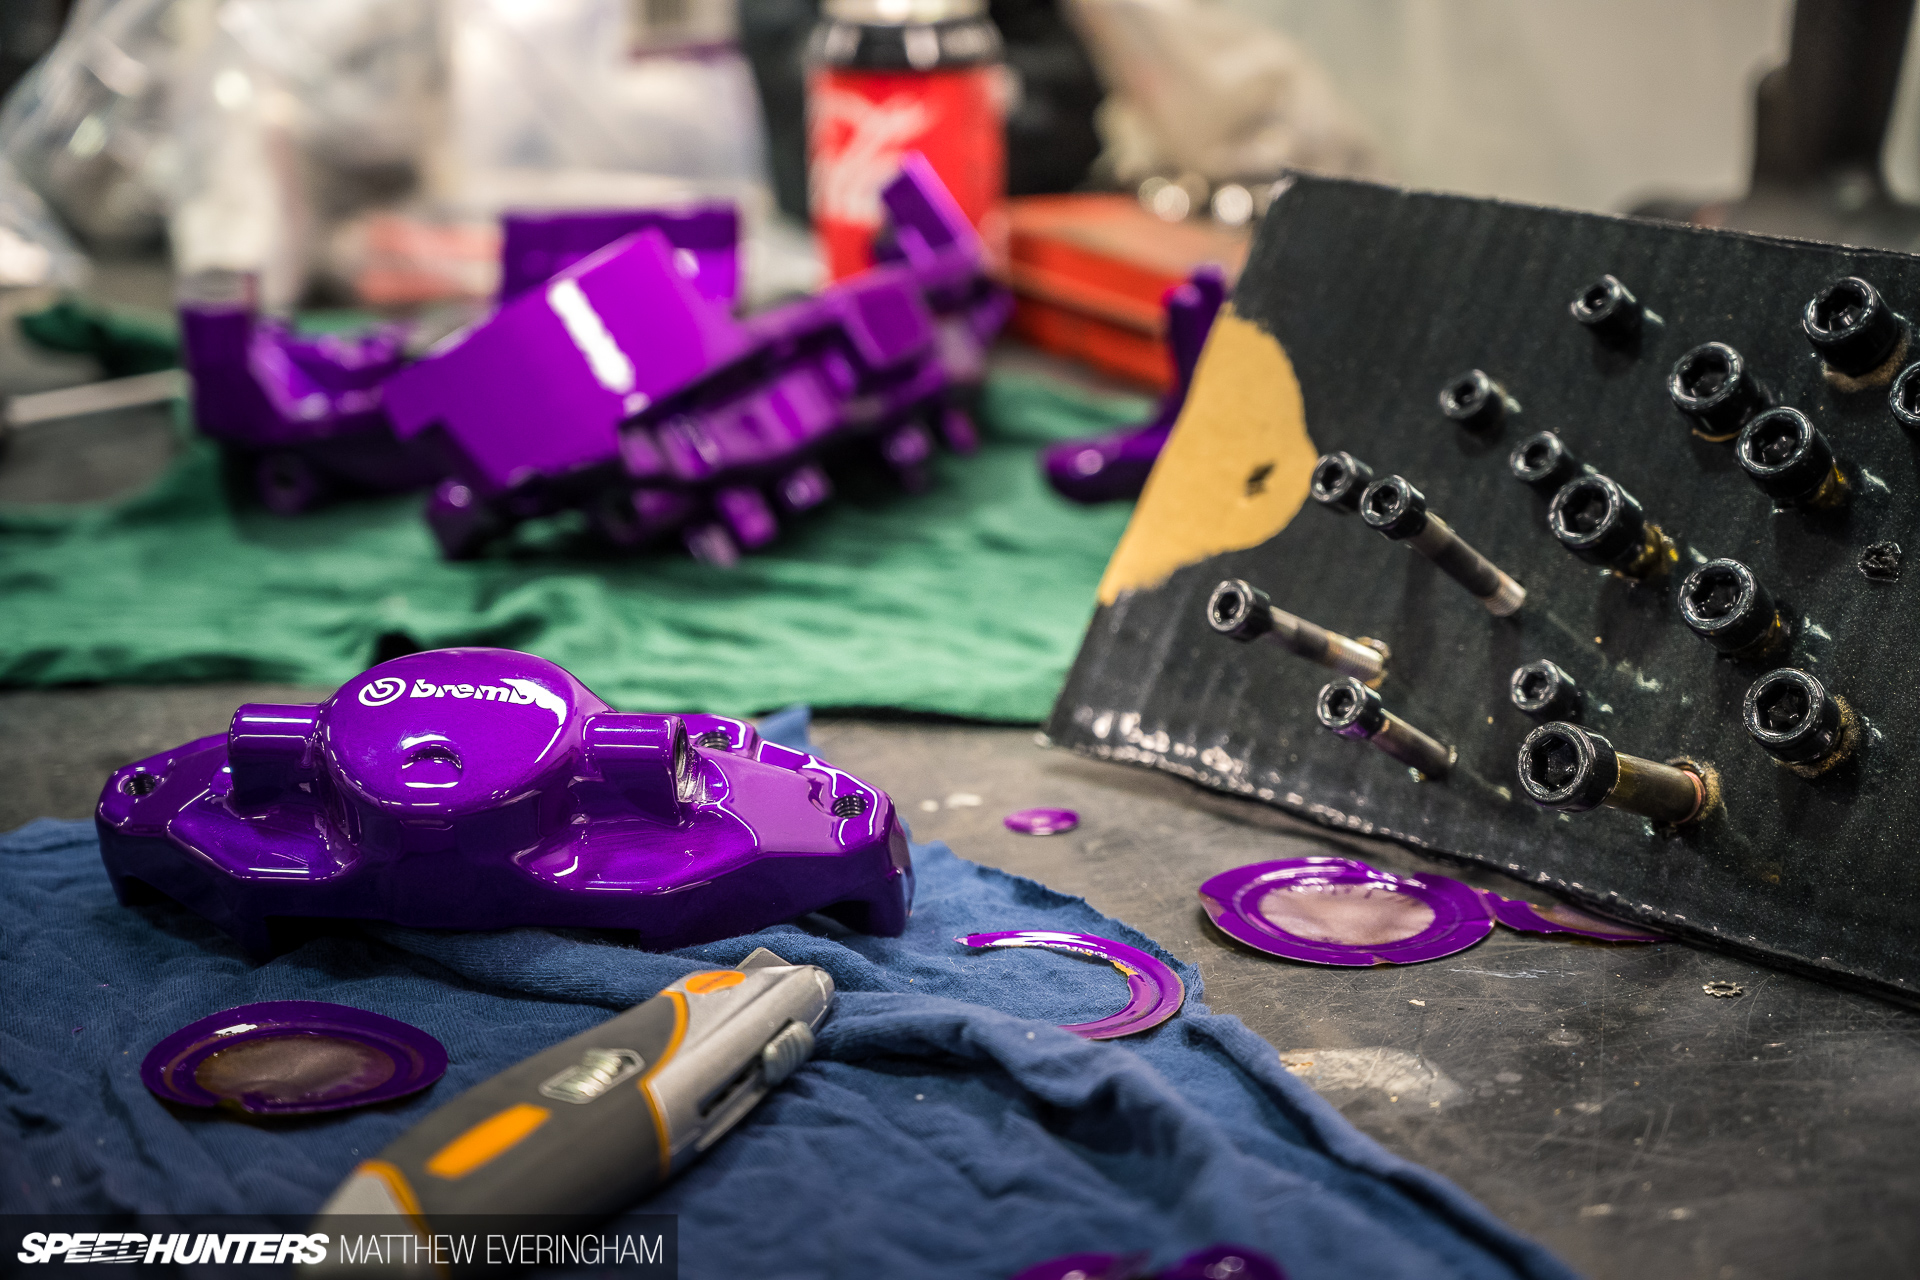
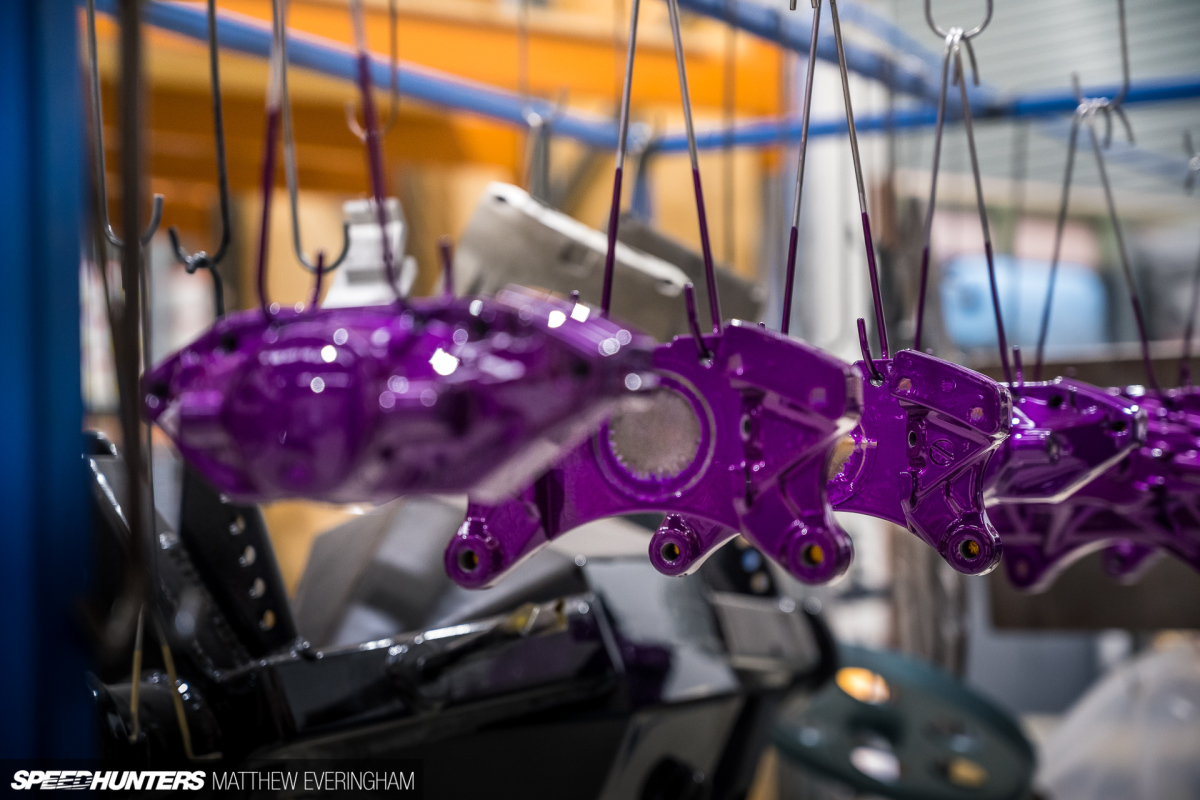
But for some reason when it was my turn to let loose I ended up with more powder on me than the callipers. At least it gives you guys and gals a chance to appreciate my amazingly non-traditional colour choice; Dormant Purple.
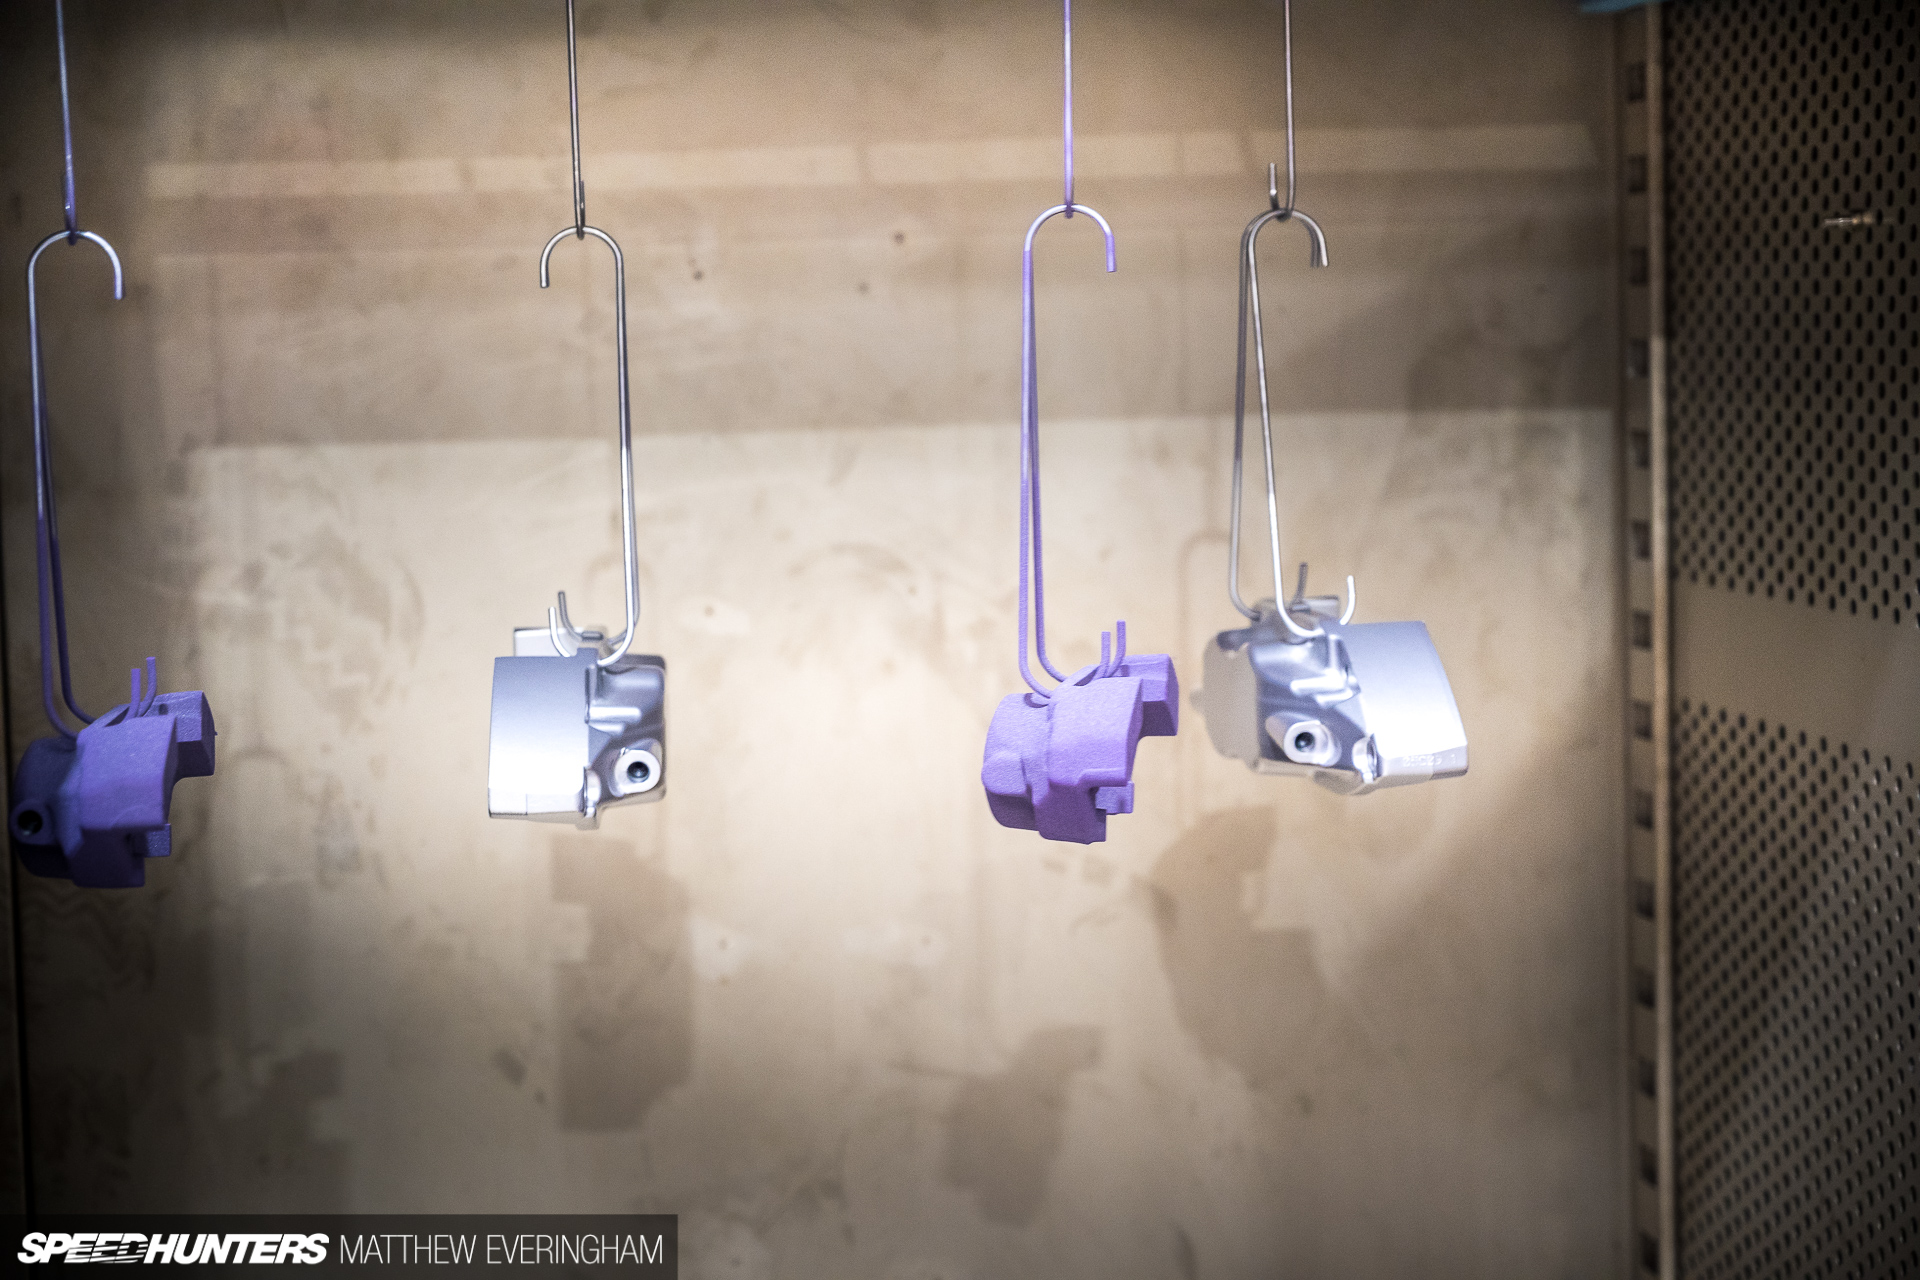
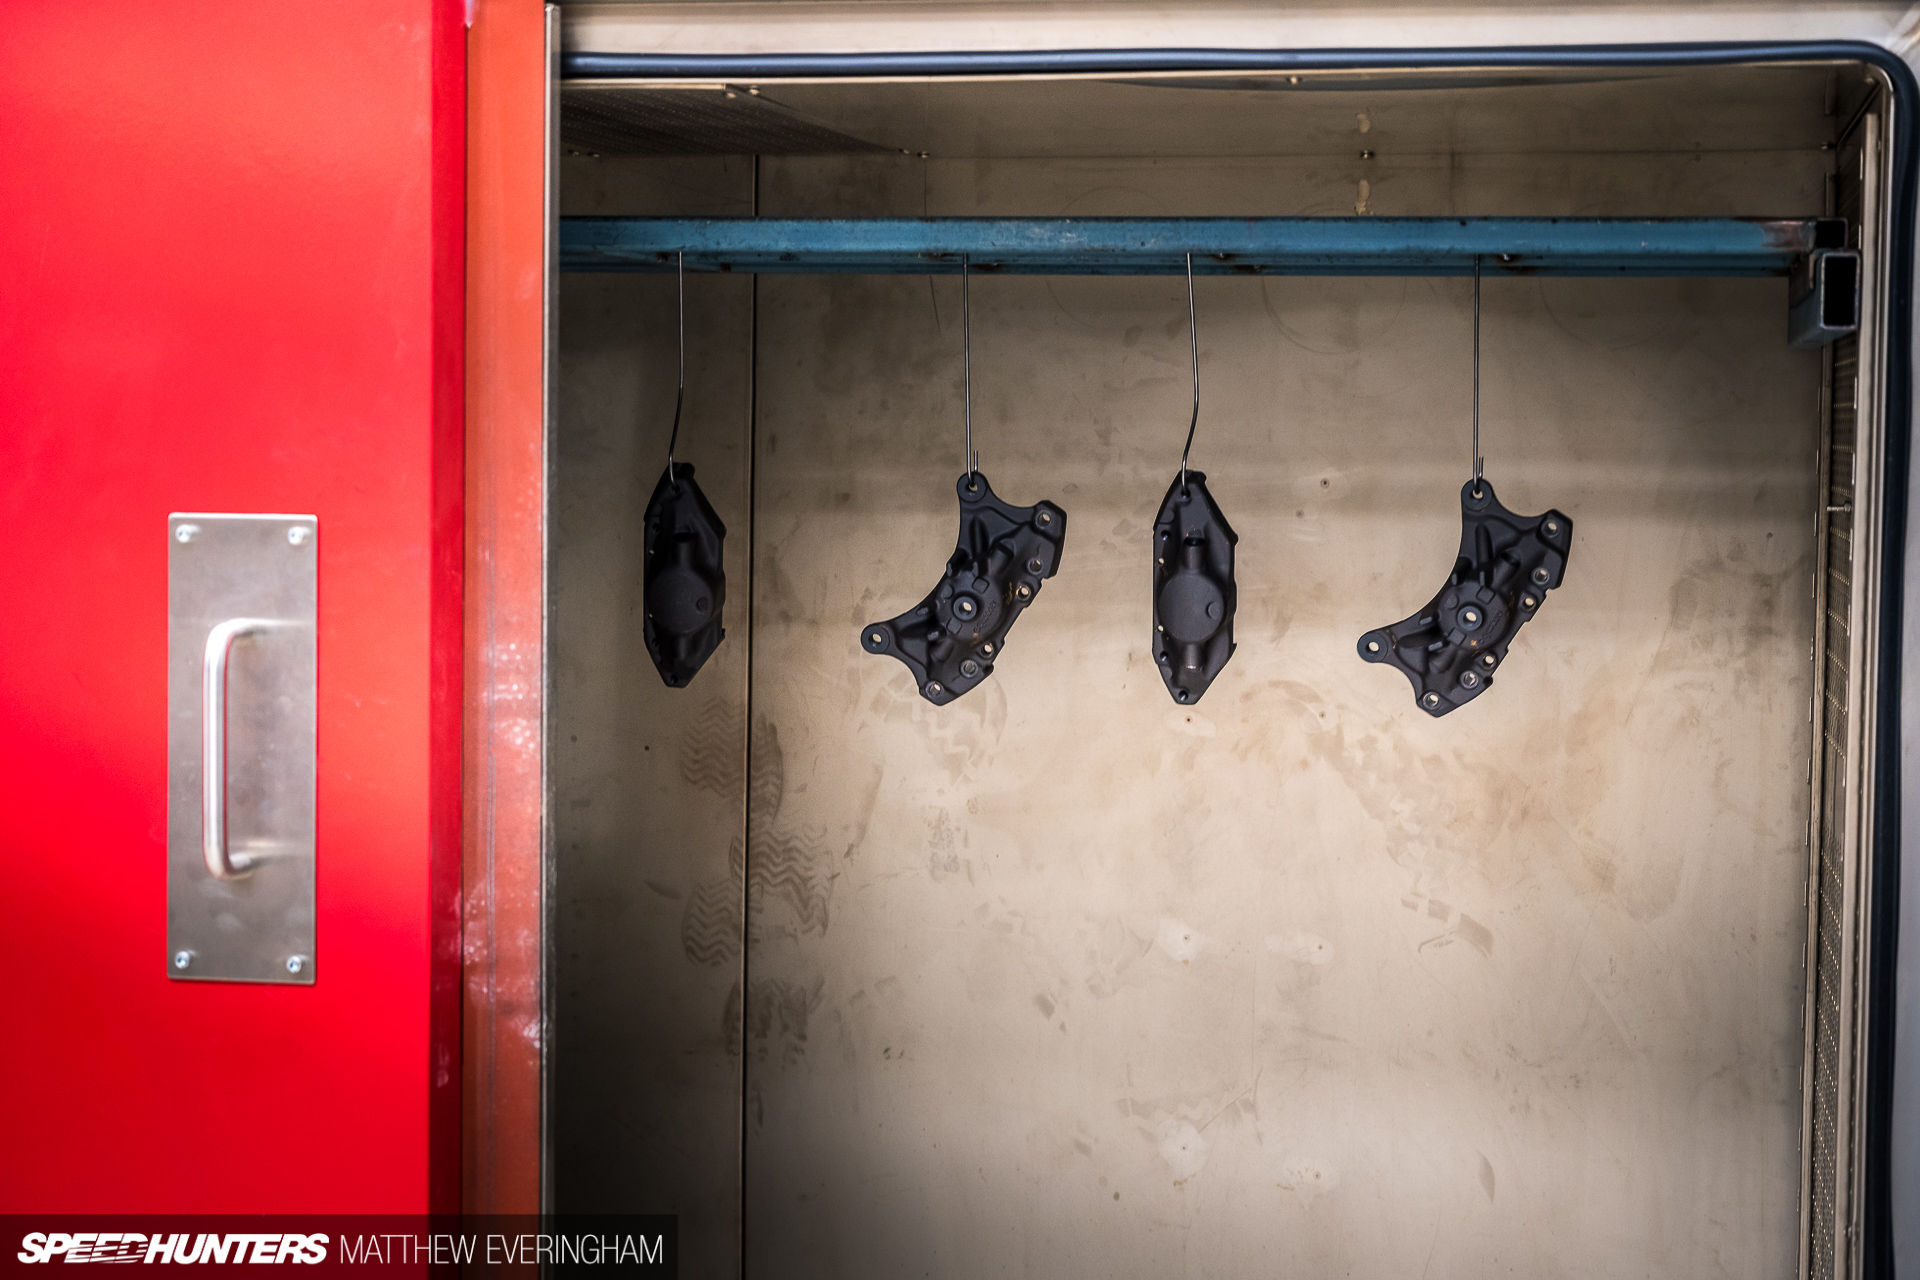
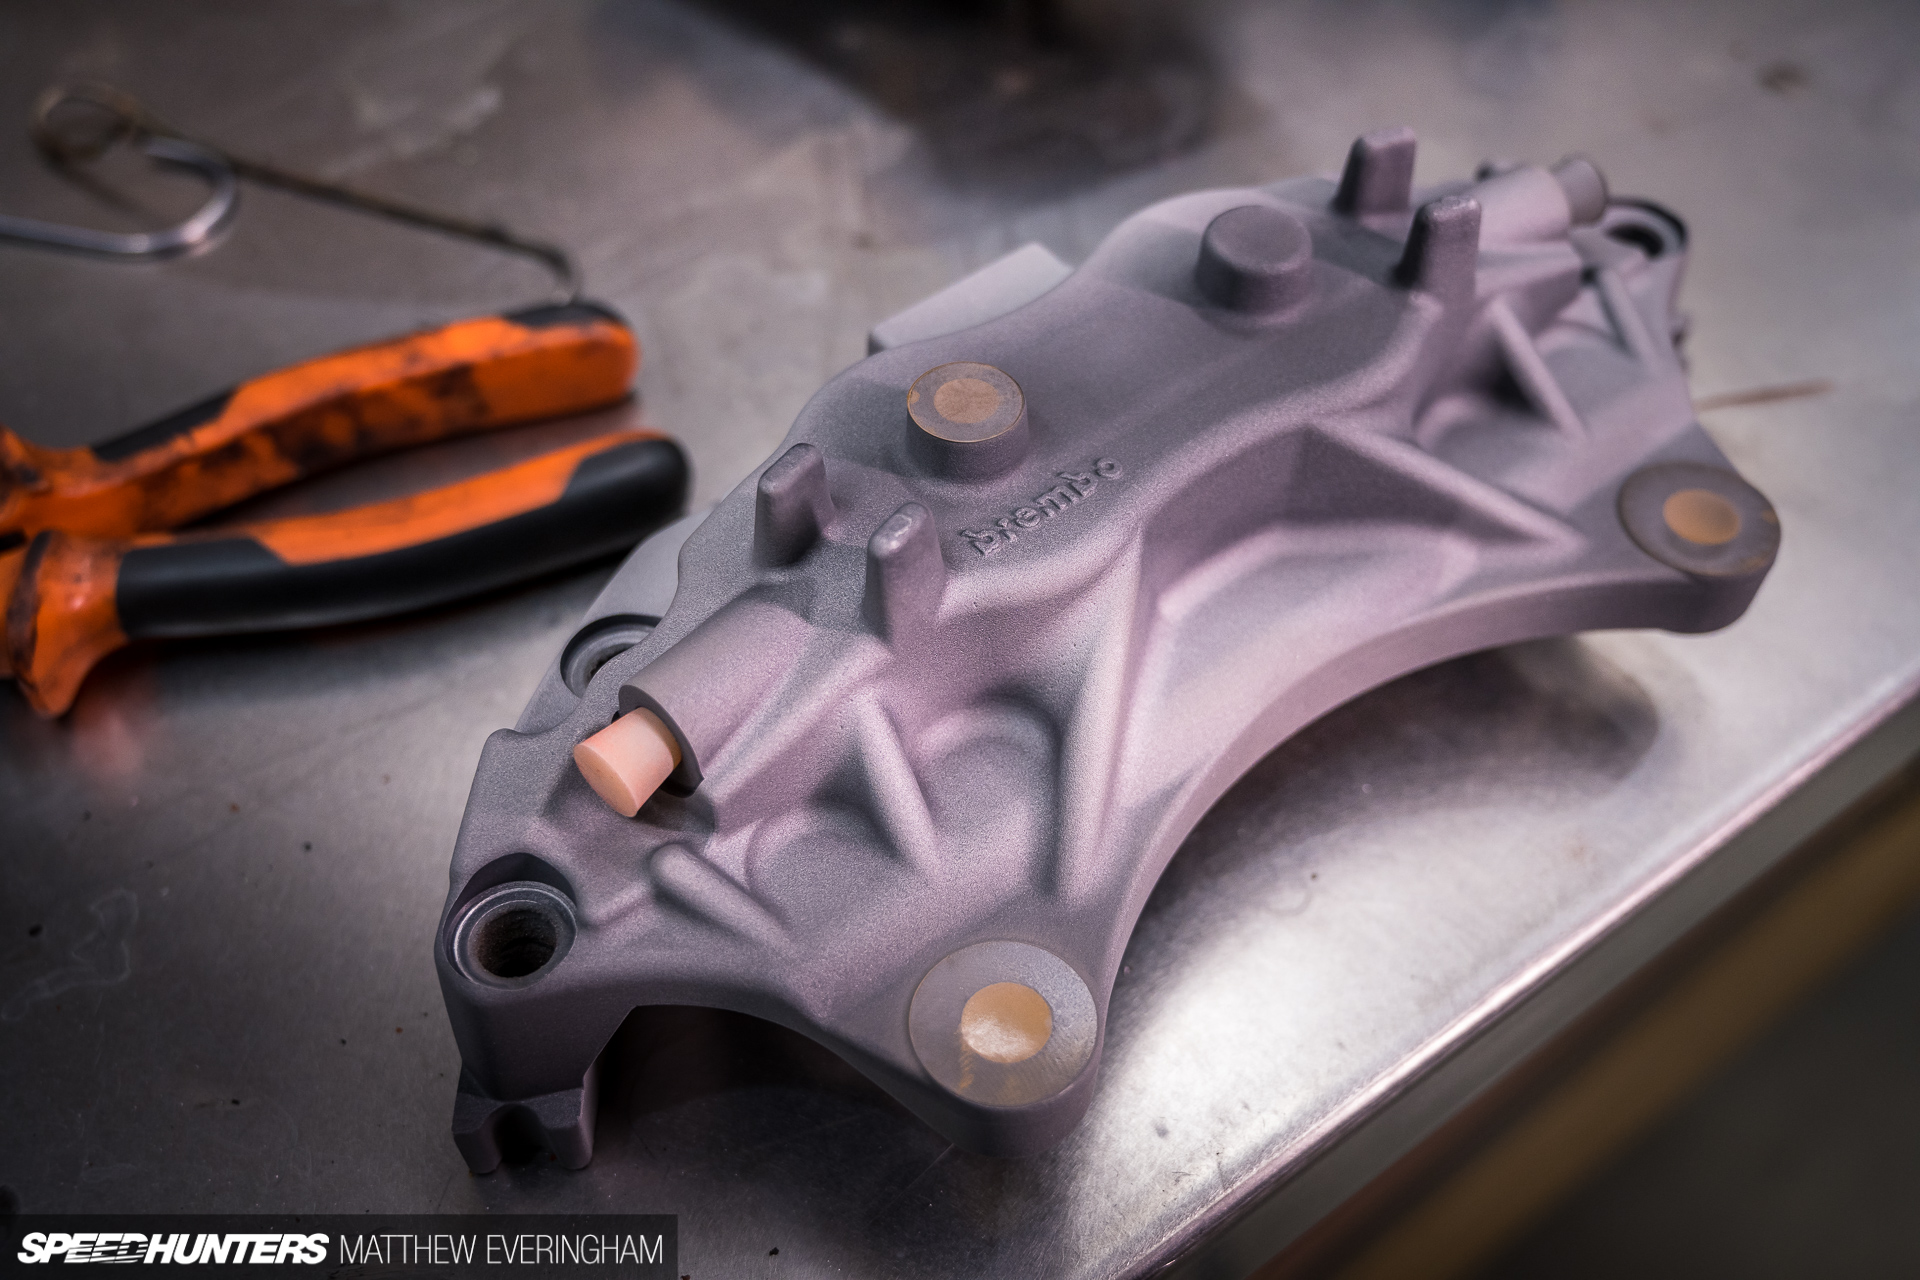
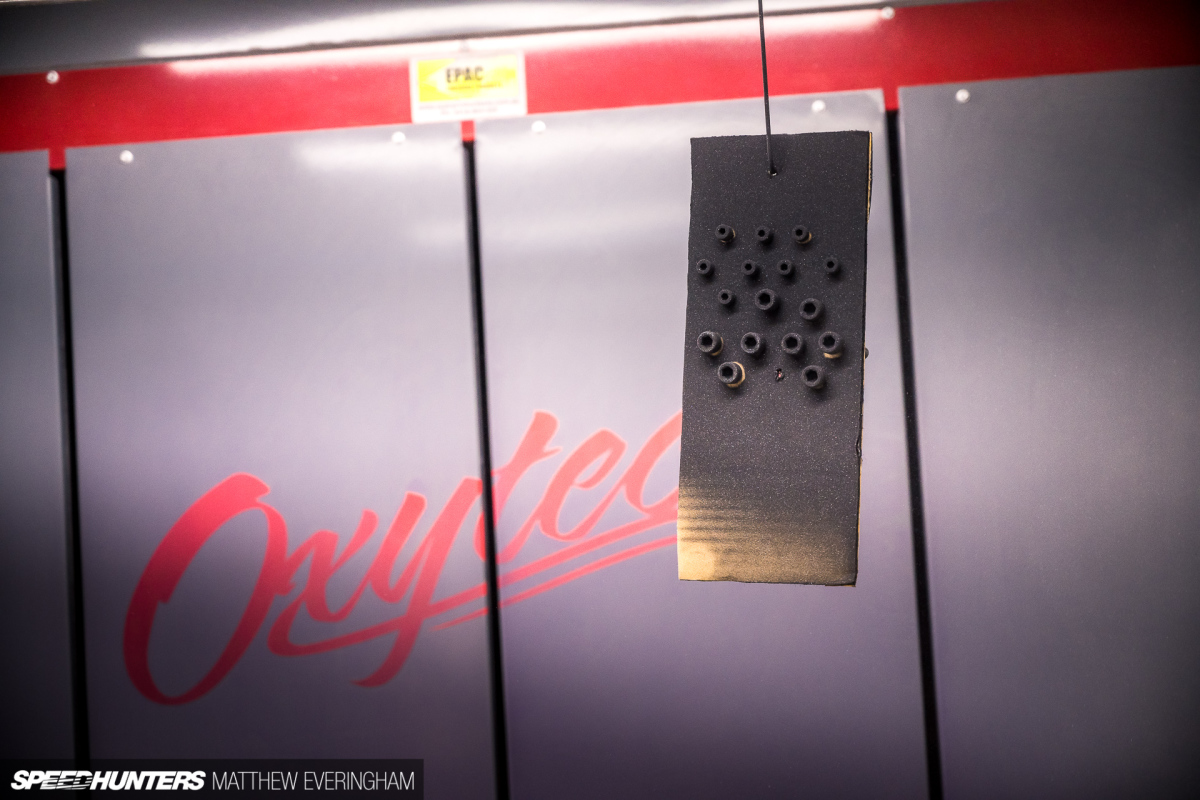
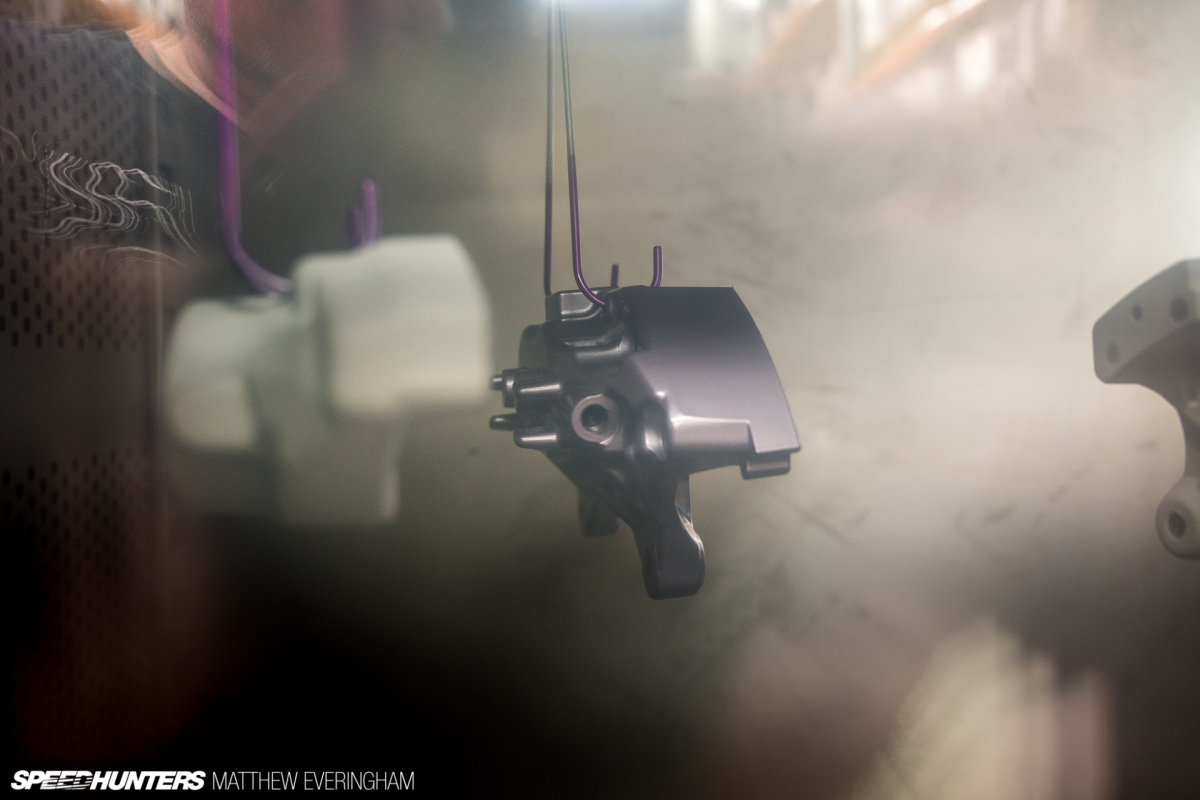
You’ll notice the two colours in the oven? The callipers enter the oven purple and exit silver after being baked at 200°C (392°F) for 35 minutes. After cooling a second coat is applied. It’s technically a clear coat, but it reacts with the base coat to create the final deep purple. There’s a time-lapse of the transition in a video I prepared at the end of this post.


Now all that’s left is to break out the new seal kit and repeat the dismantling process in reverse.
Take your time and be extremely careful when removing the blanks you fitted to protect the machined surface; you’d hate to get this close to the finish line before you screw it up and damage your pristine brakes.
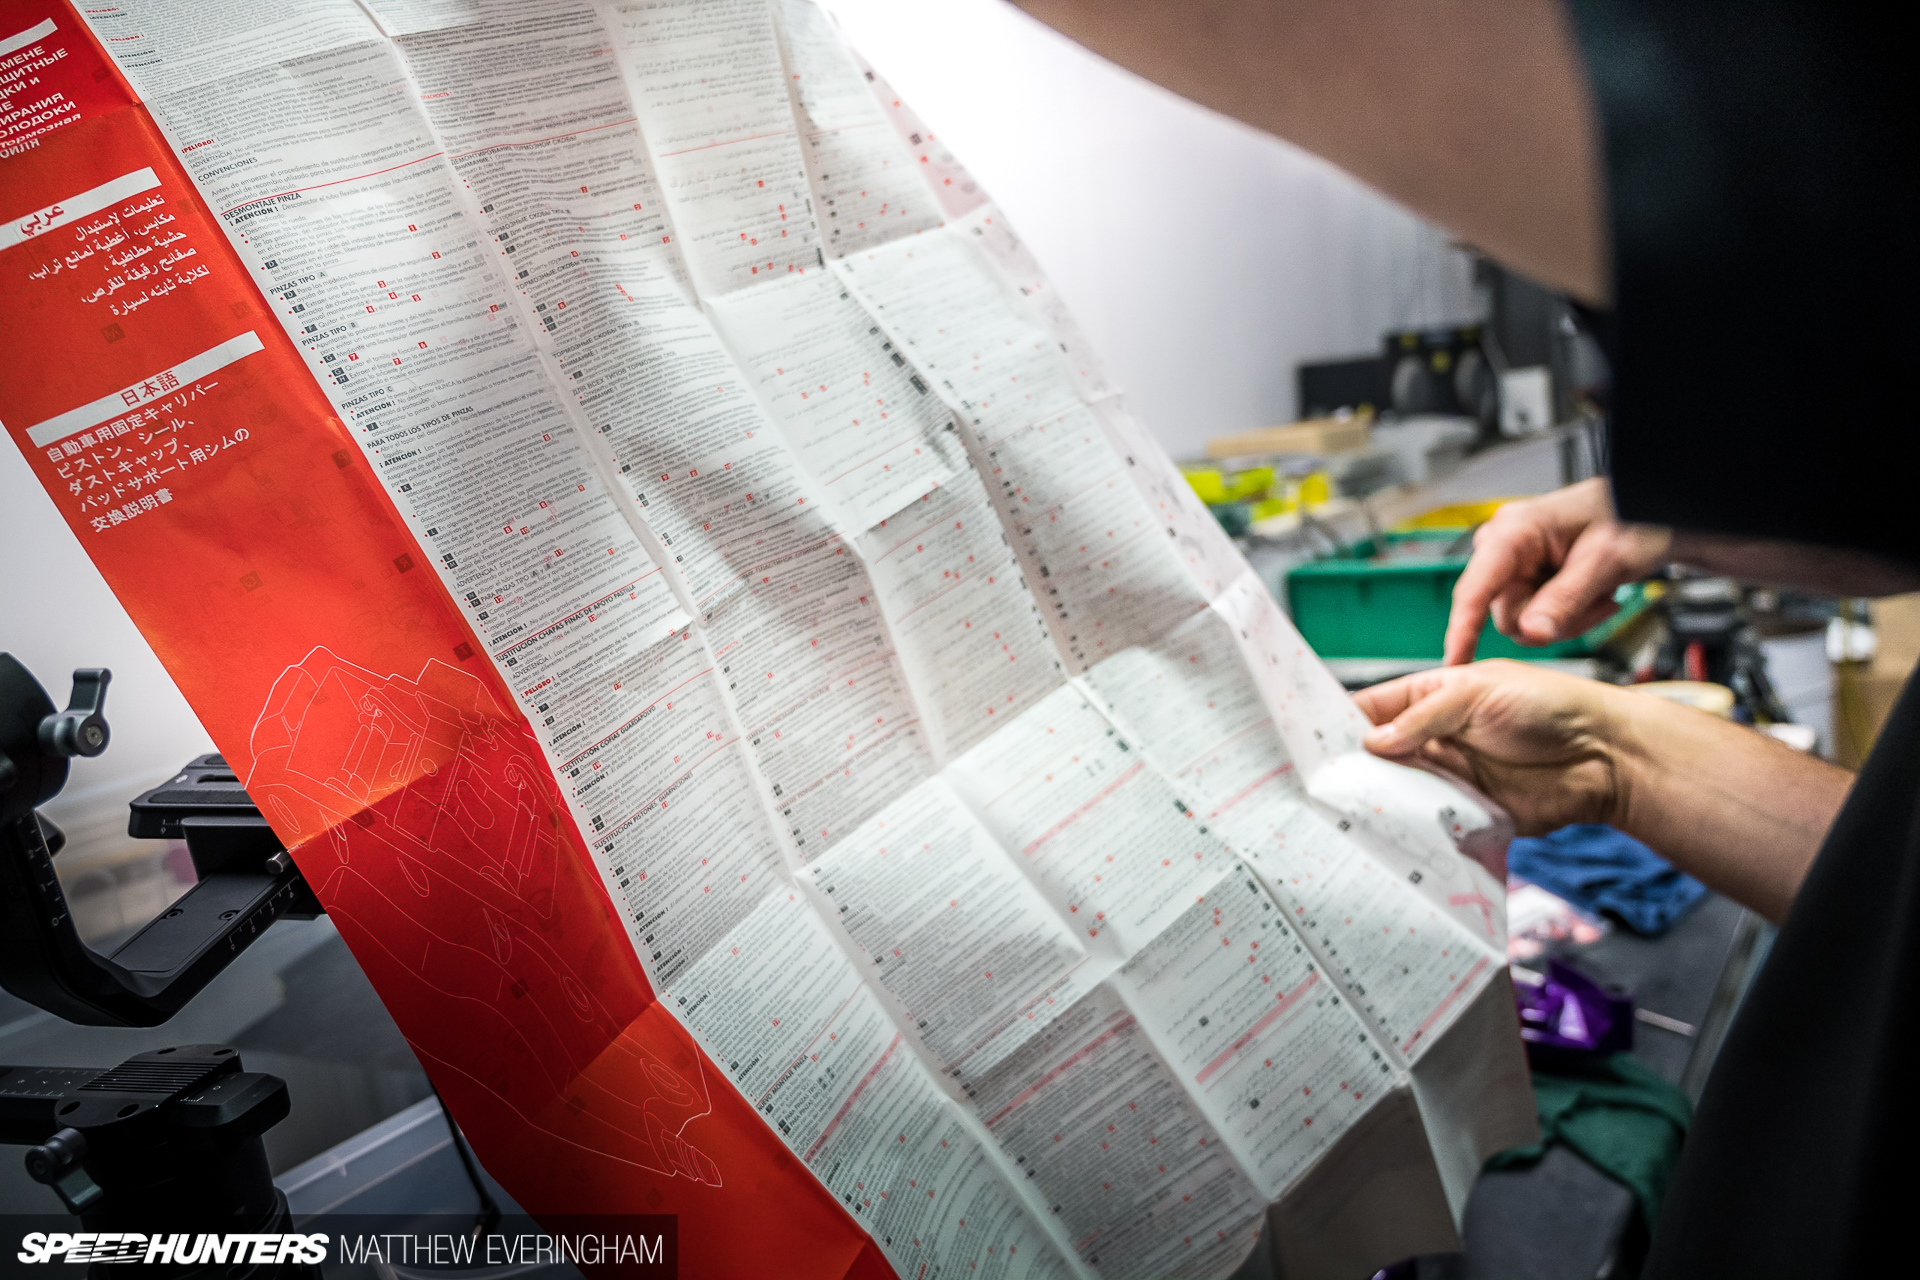
That’s a lot of instruction for a seal kit. Just make sure you grease up the piston seals and don’t forget about the centre seal that unifies both sides.

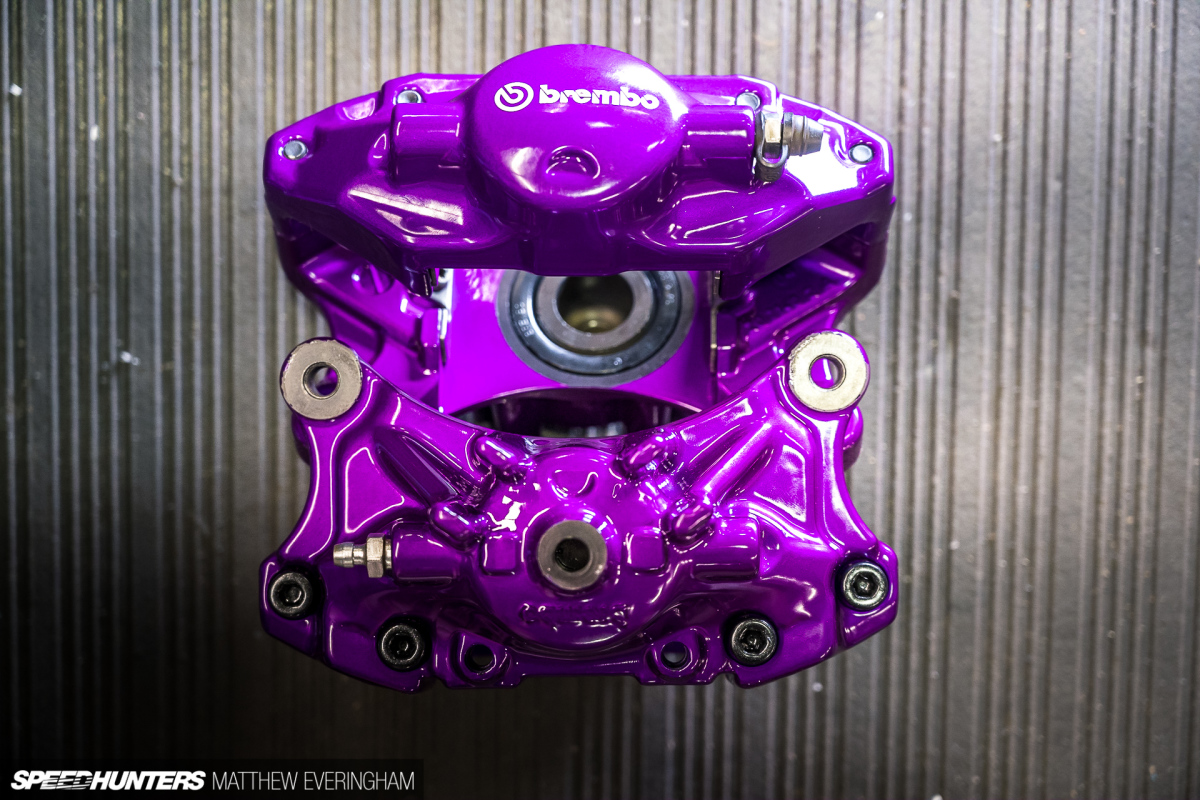
My new Brembo heatproof decals were sourced online. I’d purchased a set for my old Evolution VII and they survived years of abuse.
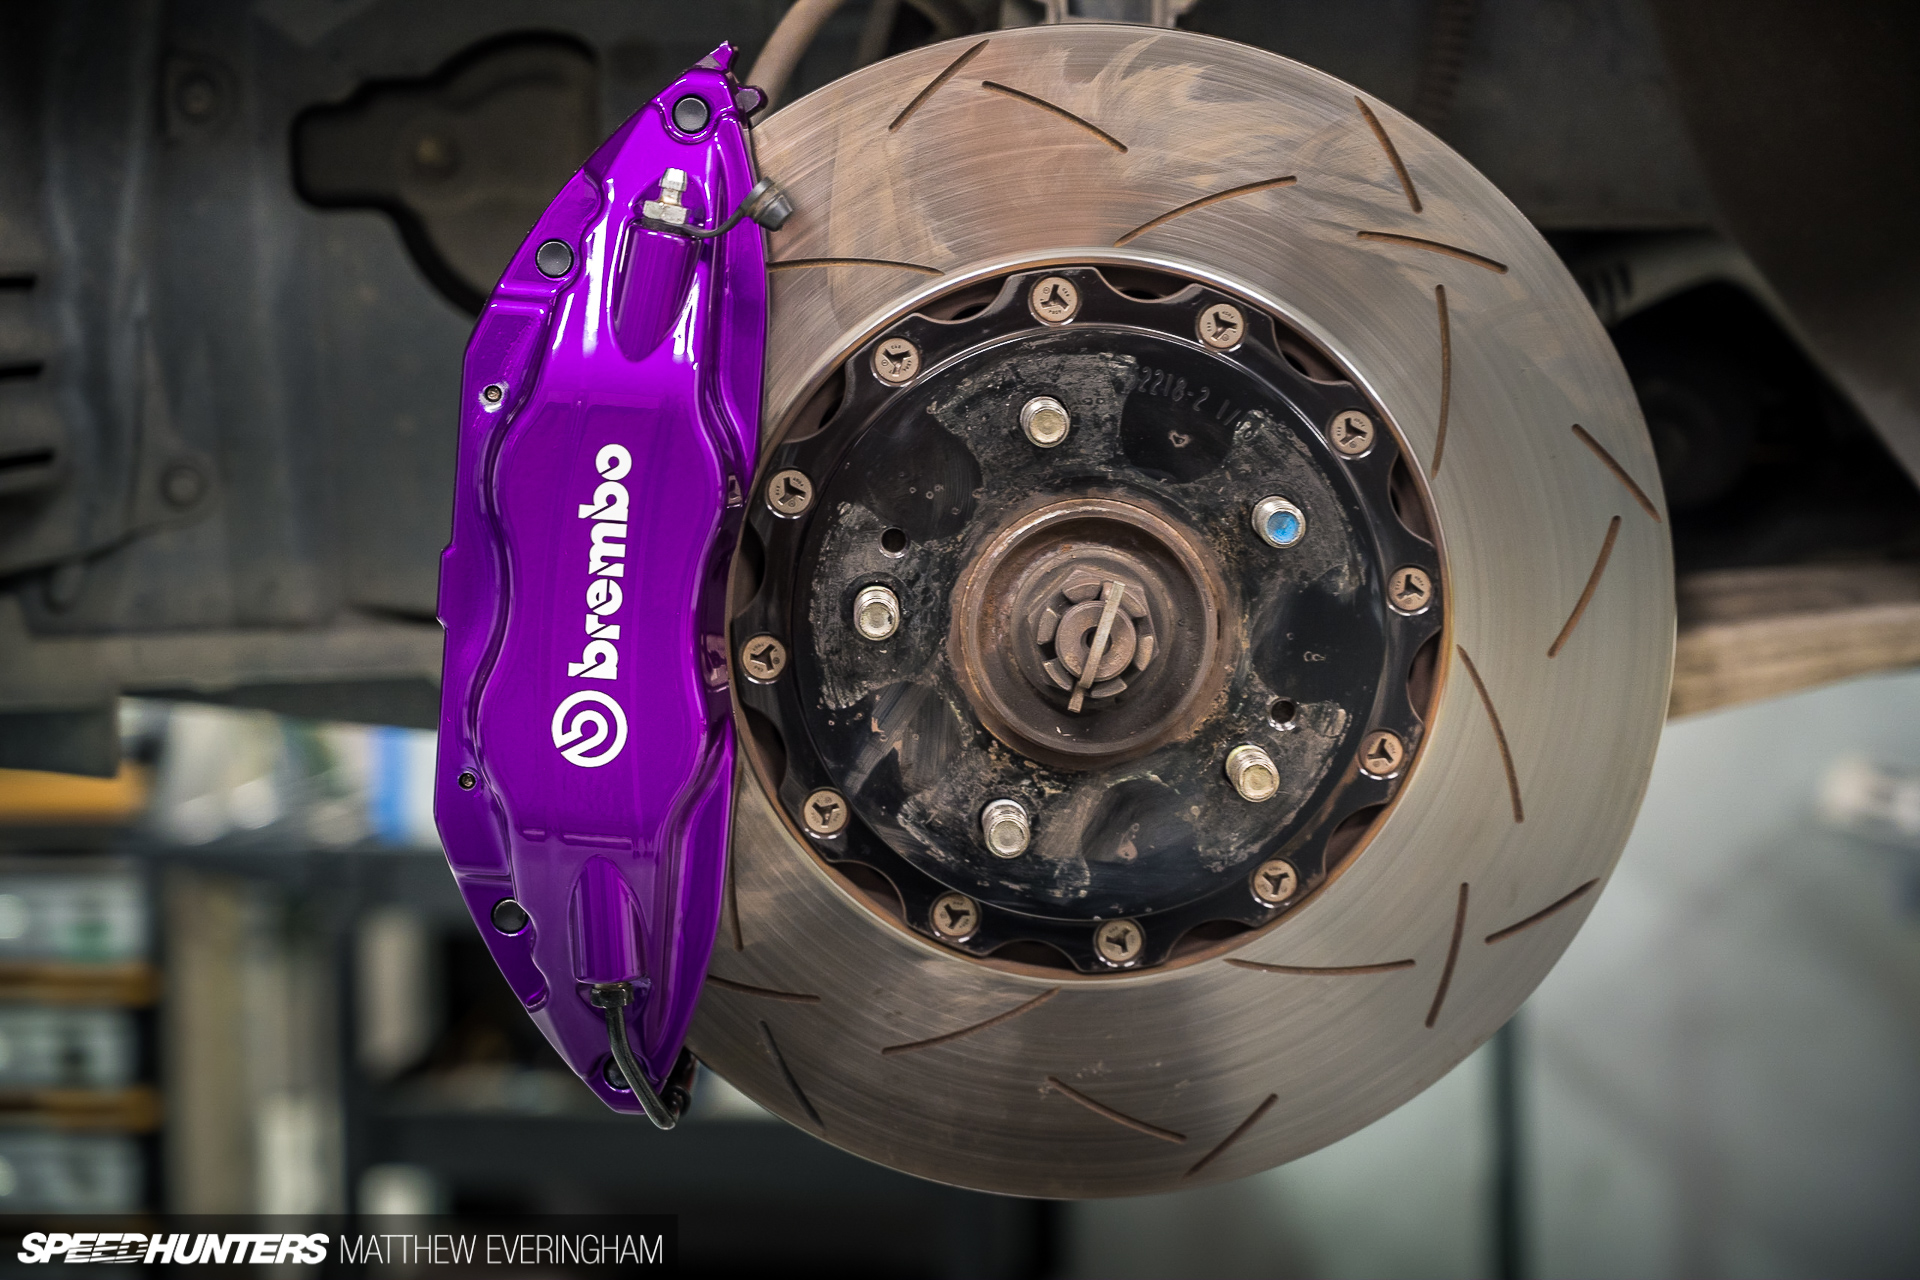
It’s amazing how a splash of colour can make such a difference. I copped a lot of ‘naysaying’ amongst mates when the bold colour choice was mentioned, not that it matters, but most of them have come around to the idea now.
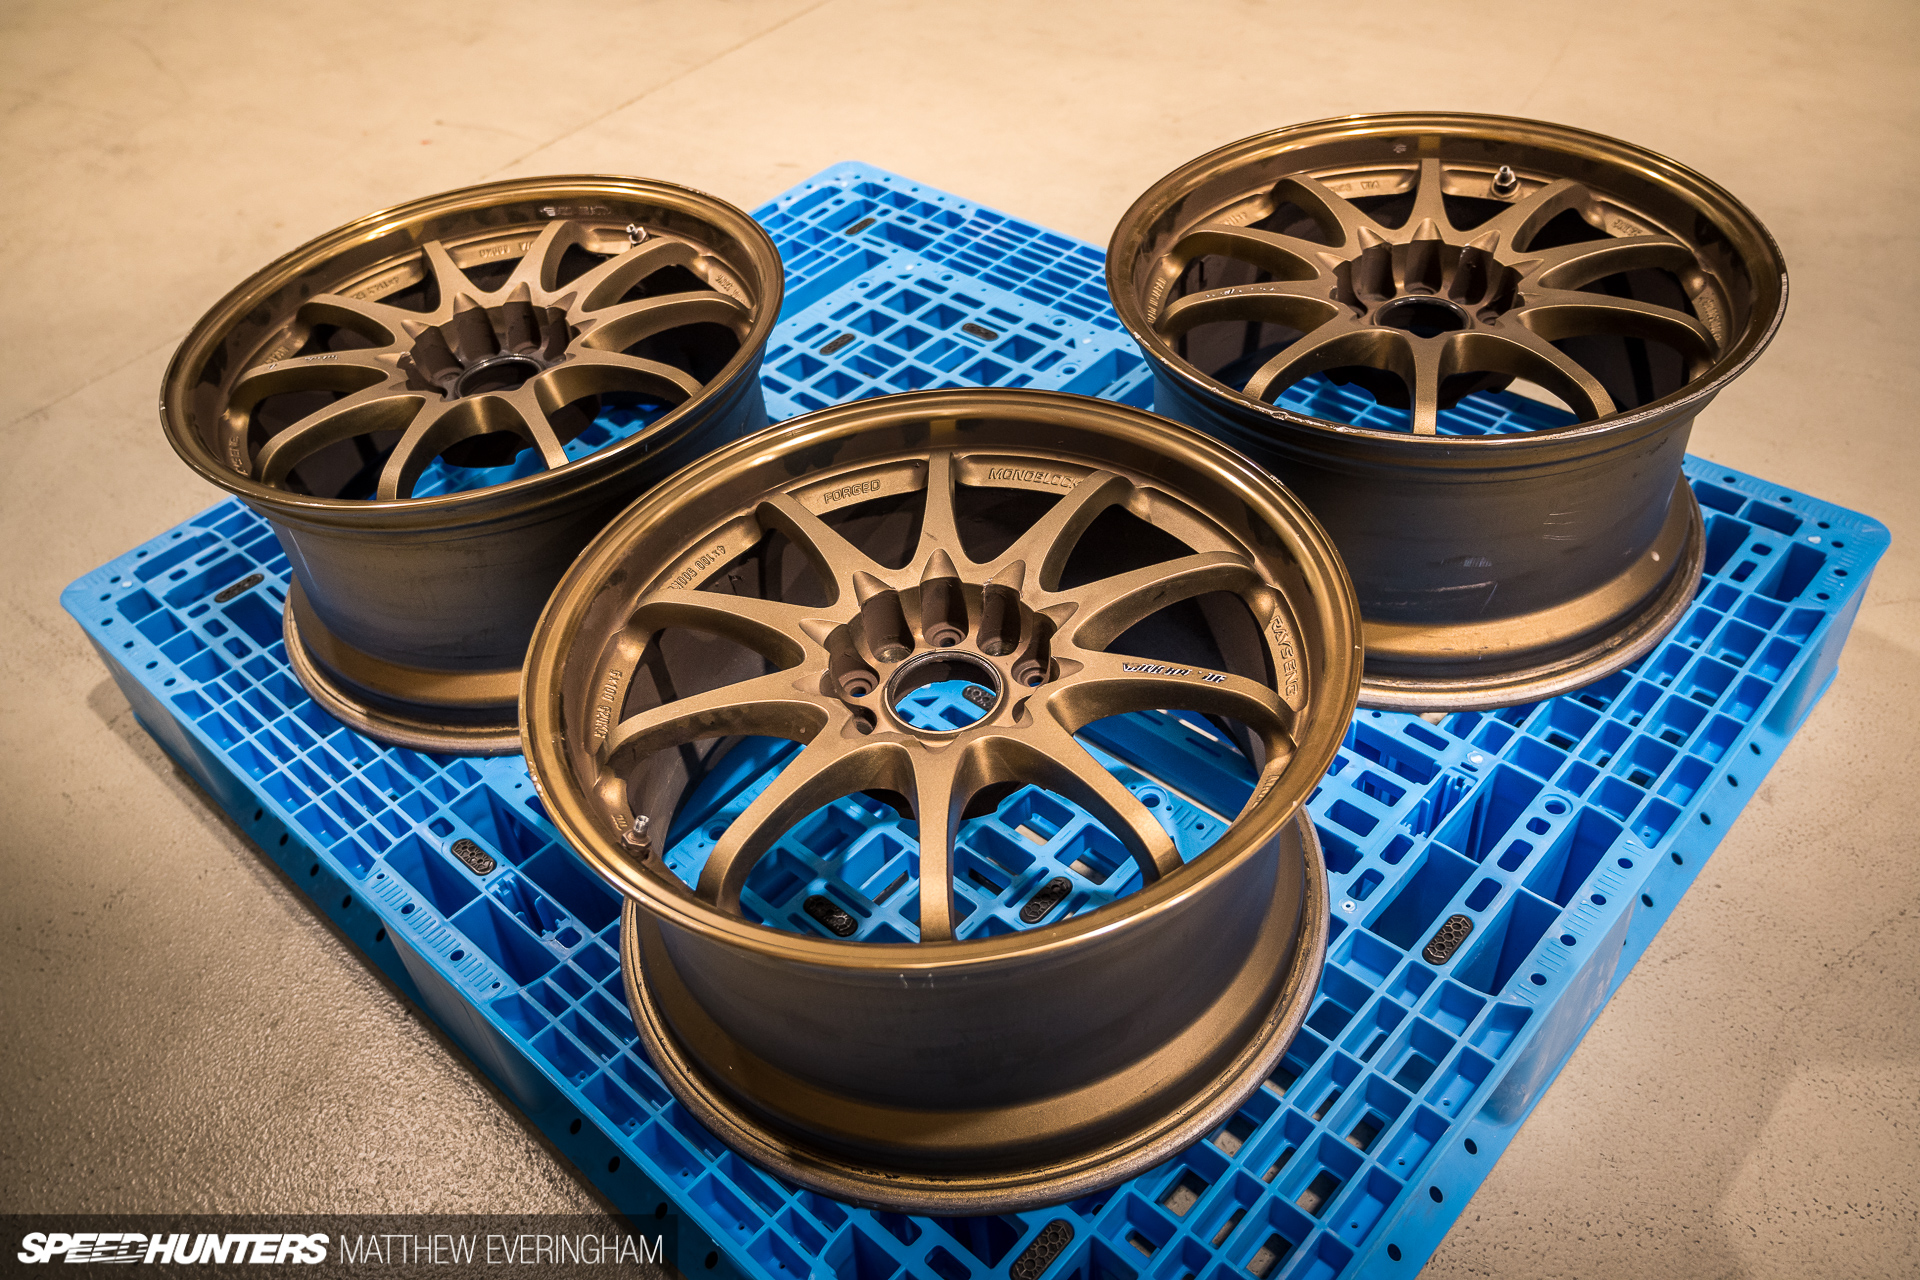
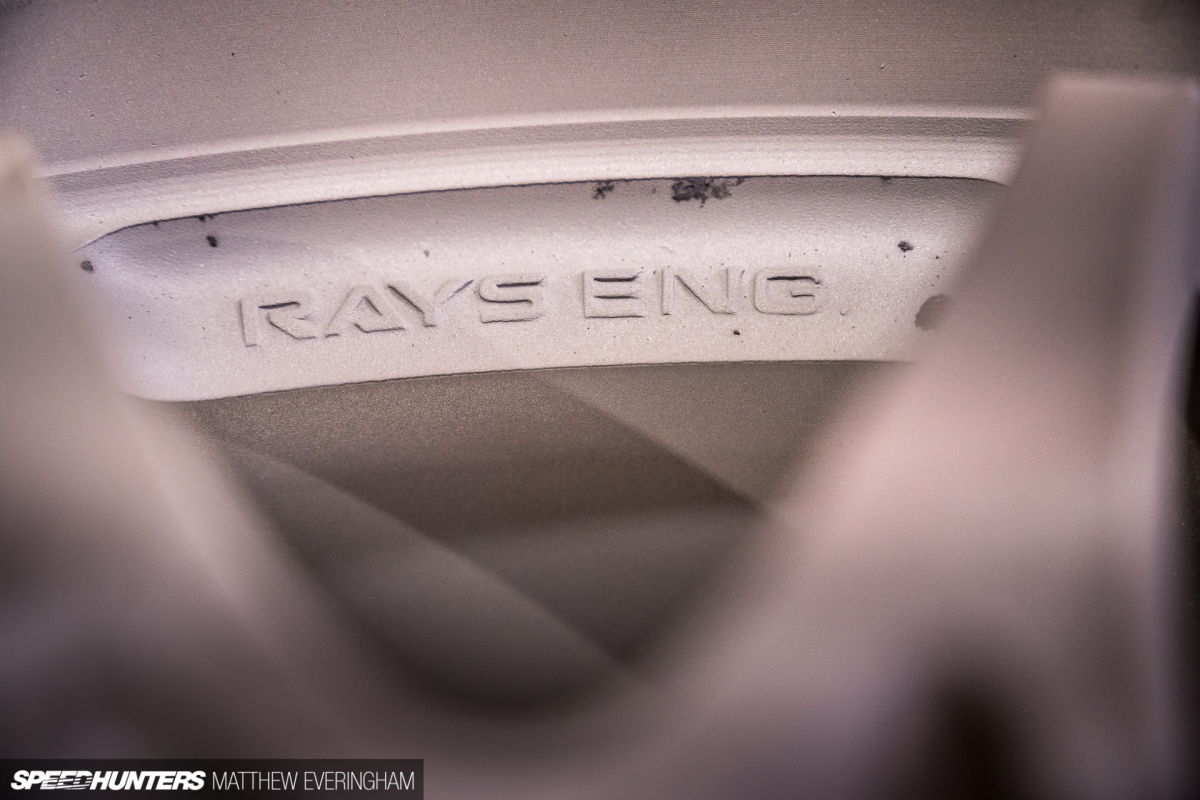


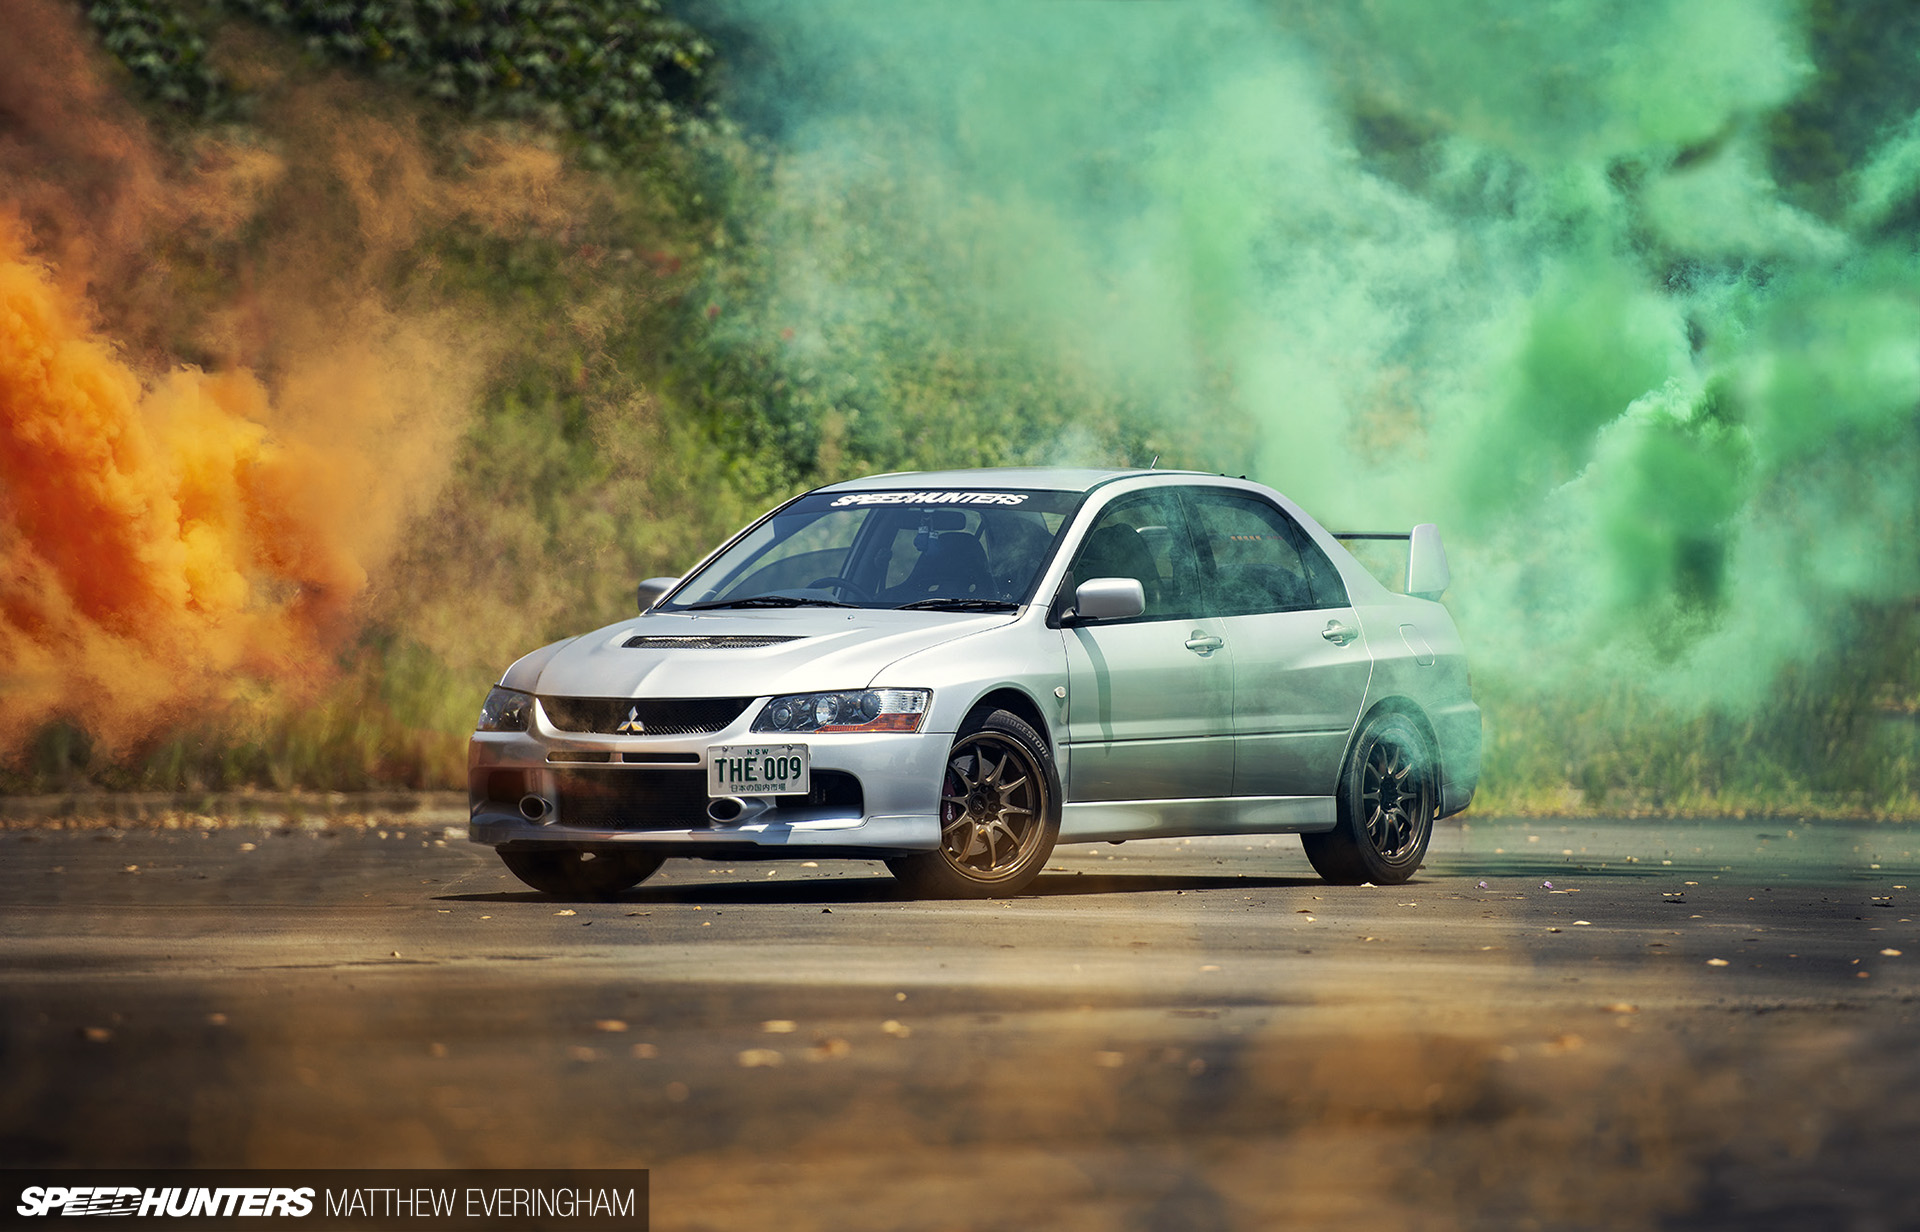
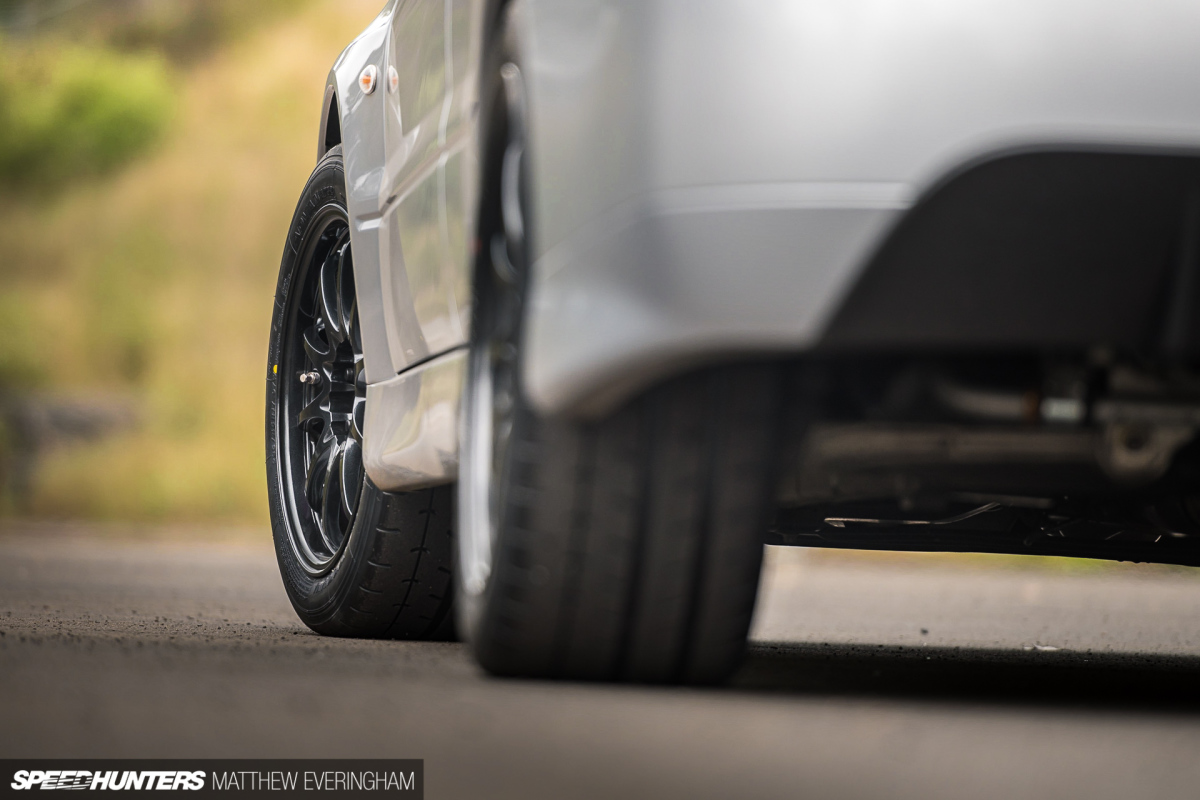
To help finalize the transformation, Scotty also sandblasted my tired-looking CE28Ns and gave their lips a quick polish too.
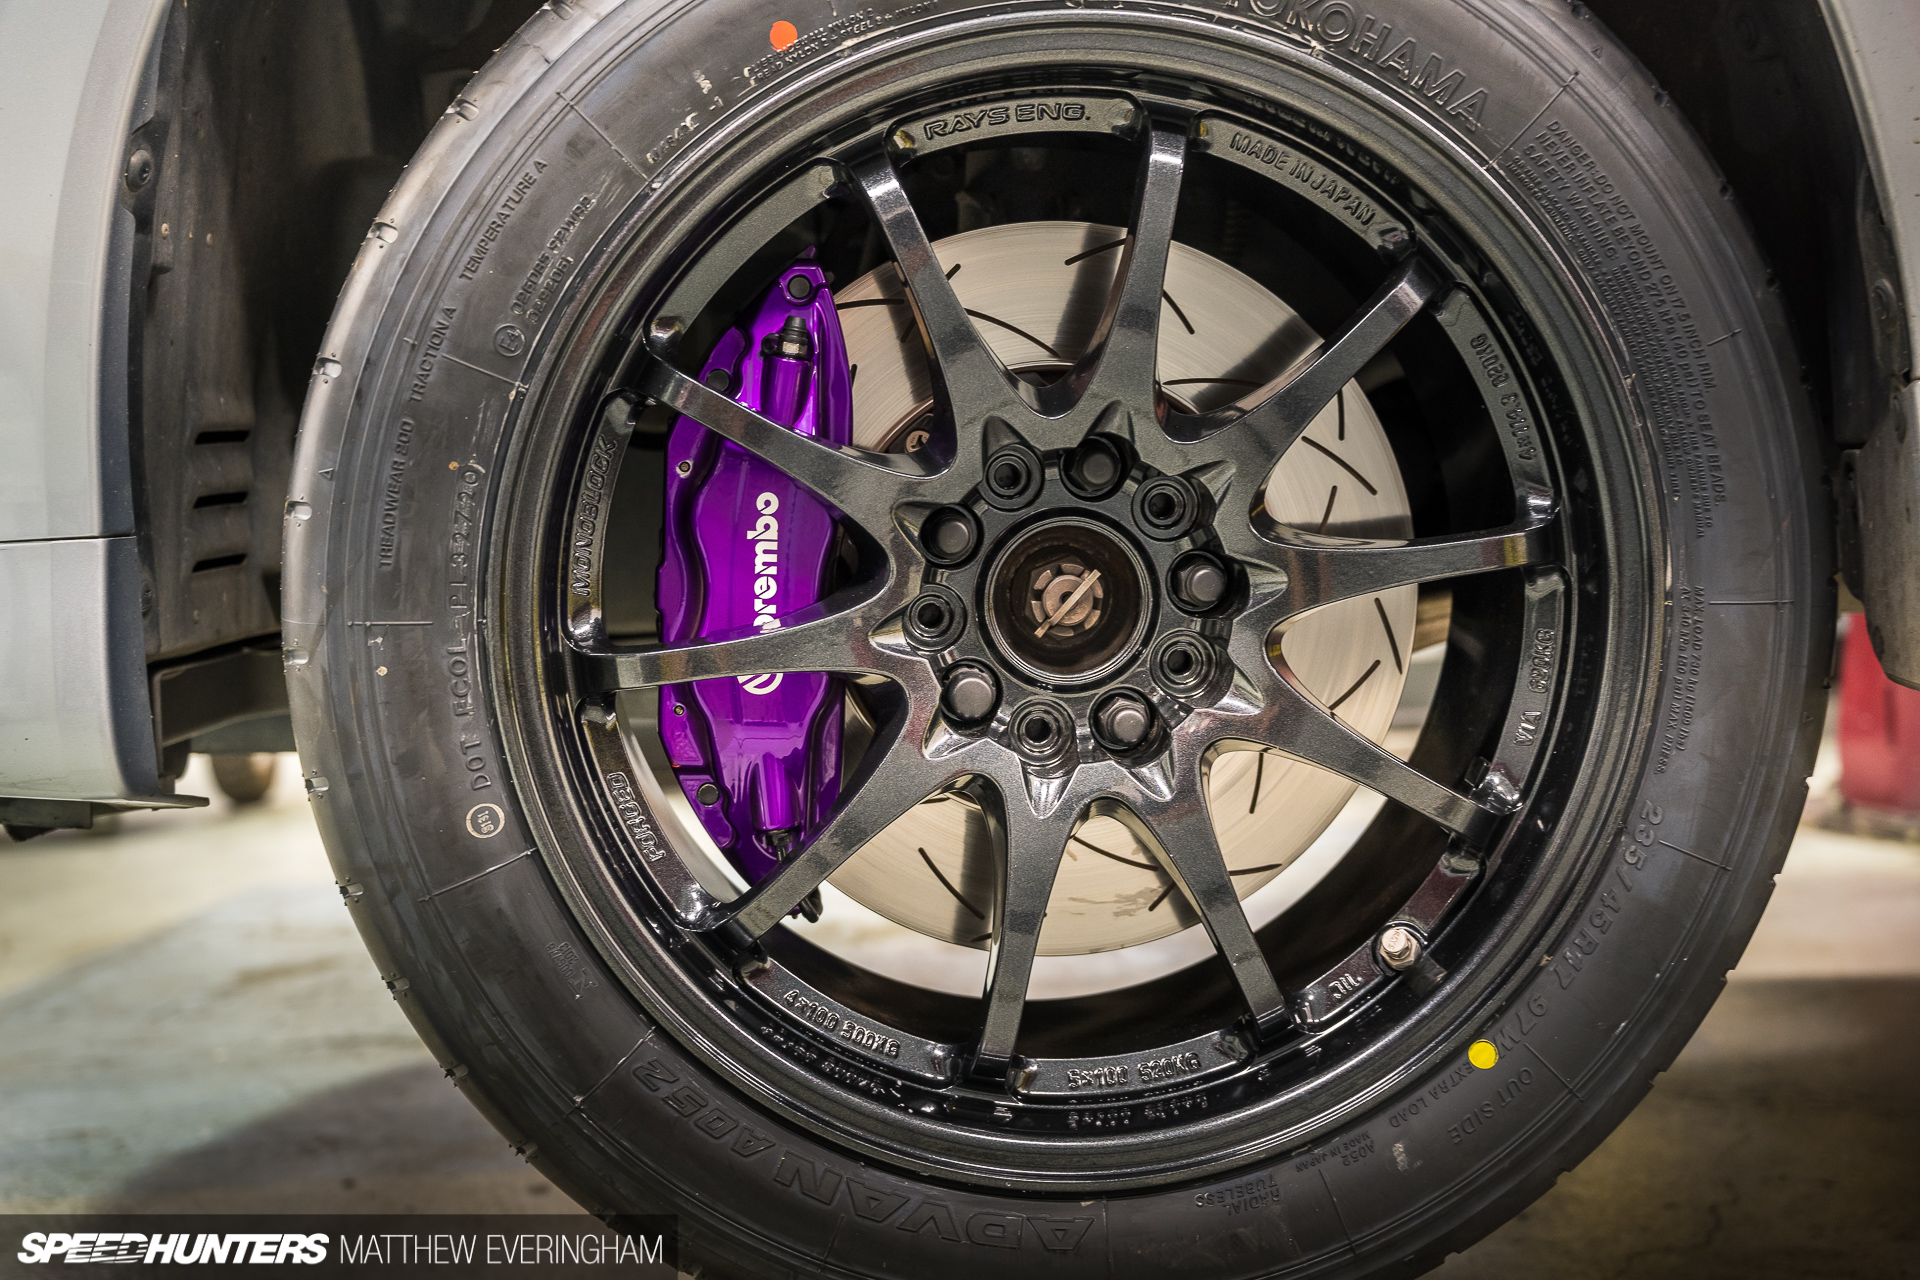
Purists may scream and hunt me down for blasting away Volk Racing’s iconic anodized bronze finish, but I think Toyota 1G3 Magnetic Grey really suits these wheels.
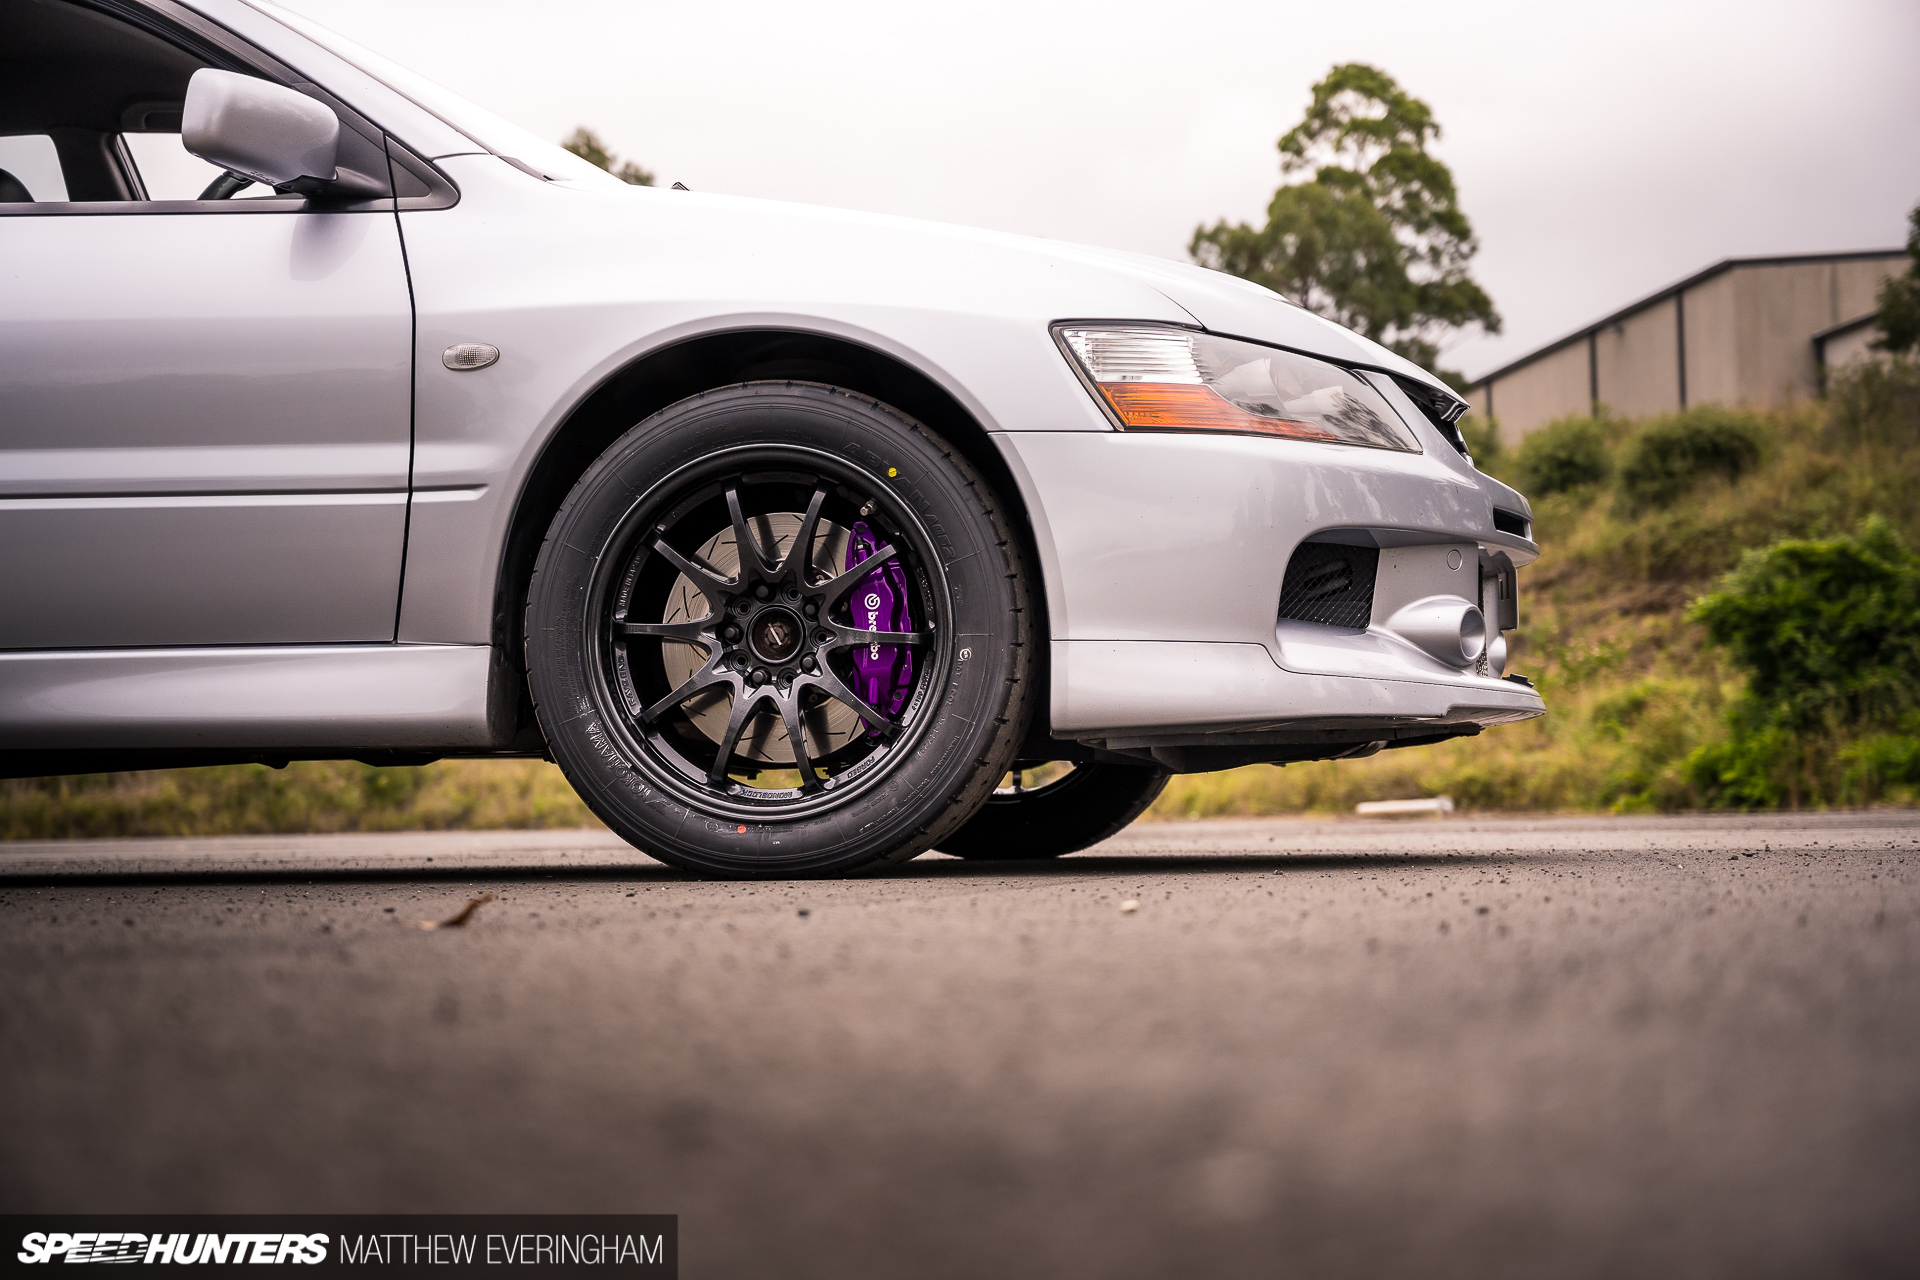
The wheels aren’t complete yet – there are still a few little touches to add – but hopefully everything will arrive soon and we can do the full reveal on an upcoming drive day with mates. I’m pretty keen on putting these new Yokohama Advan A052 tyres through their paces, so will report back soon.
It’s so easy to only focus on modifying the bigger ticket items, so I hope that by seeing the impact this relatively small job has made to the car, it will motivate you to also think smaller and start attacking a few of those easy-to-ignore jobs of your own.
In the meantime, I cut a quick video of the calliper restoration process. I’m fairly new to video, so don’t expect a full-blown production, but I do hope it helps.
Matthew Everingham
Instagram: matthew_everingham
matt@mattheweveringham.com


OFFICIAL SPEEDHUNTERS SUPPLIERS


I am strongly considering doing this on my IX as well (mine became Brownbos after a day at Watkins Glen). I'm Electric Blue so considering a copper orange hue. Great post, the purple looks phenomenal.
Brownbos! Haha, that's gold! What a missed opportunity! I wish I'd heard/thought of this before writing this piece.
I love Brembos but restored Brembos are even better!
These guys look like they do great work, but the fact that he never had any eye protection on seems very unprofessional. I got excited when I saw the respirator during the painting process but I was blown away by the fact that they still didn’t have any eye protection on.
I’m sure the end result is good, but one mistake and the dude could lose his eyesight.
Good call. Safe to say the (right) powder-coating would withstand much higher temperature than other hi-temp paint.
In addition, powder coating has more colour choices, and more resistance to abrasion.
I'll go for PC any day.
That vintage look is in though...nah the purple looks wayyyyy better!
Very cool. Just a reminder that you don't want to PC wheels that will see a lot of track use because you need to be able to regularly inspect for cracks. I believe most of the very high temp coatings for calipers that will be abused are liquid-based, some oven-bake and some are air-cool. Modern coating technology is very impressive and very specific for applications like friction fighting on internal engine parts, and thermal management which goes both ways, thermal barriers and thermal dispersants, used to INCREASE heat transfer for things like air-to-air heat exchangers and brake calipers.
Solid advice, thanks mate.
Are powder coats suppose to withstand high temps?
Yes. Some more than others though, so you need to check if powders are suitable before application.
https://t.me/s/pintoresbarcelona
Matt, what were the torque specs for the 2 hex bolt that clamp the 2 side of the callipers together and where did you find the torque specs? Where did you get a new seal between the 2 sides?
Front brake assembly mounting bolt 108 ± 10 N⋅m (80 ± 7 ft-lb)
Rear brake assembly mounting bolt 54 ± 5 N⋅m (40 ± 4 ft-lb)
Brembo have a rebuild seal kit that contains the centre seal and all piston seals. The front and rear kits are sold separately.
Heey what is the code of color ? I want same on my Evo V thanks.
No official code. but the colours used are Dormant Purple for the brakes and Toyota 1G3 Grey for the wheels. Check out the suppliers site, hopefully there's a powder guy nearby who has the same powders on offer.
This is the kind of content I like to see! Good work
Love the color choice! I recently did my calipers in Dodge's Plum Crazy. I have while wheels now and was pumped to see how this looked behind the bronze as I'm torn between white again or bronze when I upgrade to new wheels... but... oh well. Looks killer!
Just wish there was someone in the UK who did work this good.