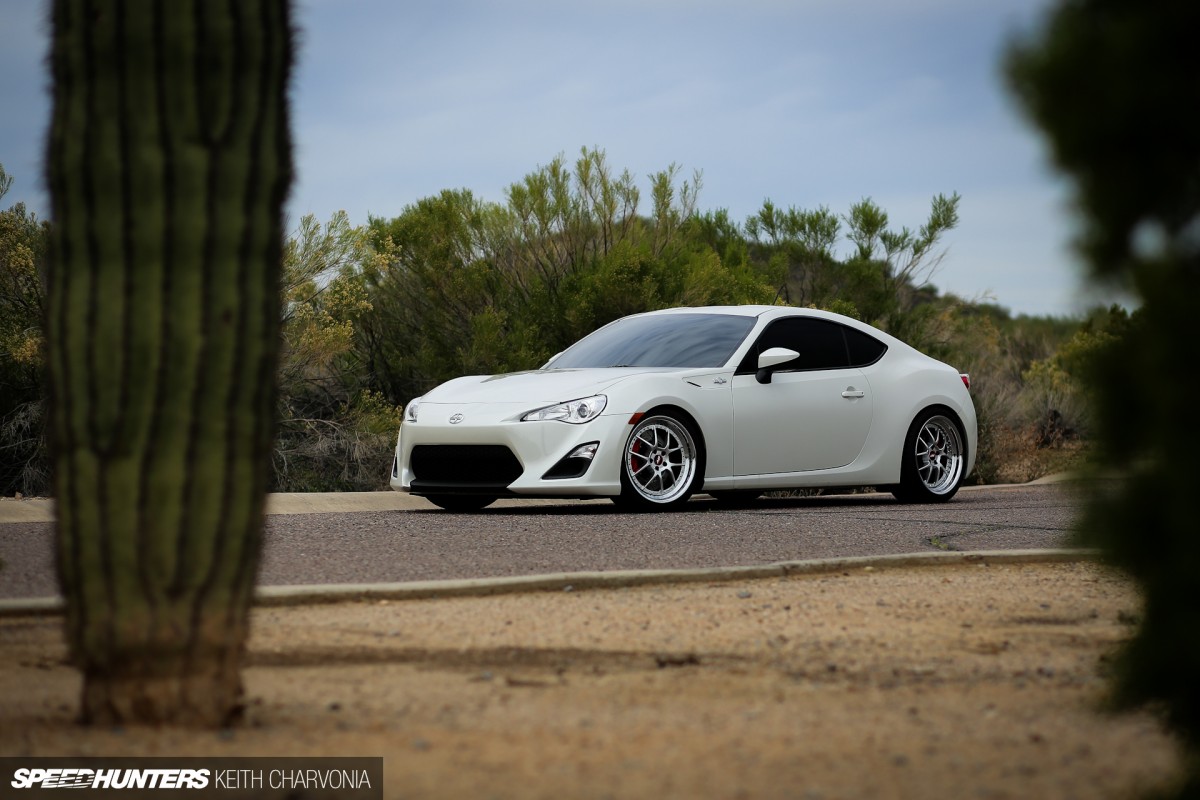
Last time we checked in, my daily driver FR-S was still in SEMA mode, with graphics designed by my friend Brian at StudioPCK and sponsor logos to promote all the aftermarket companies that I’ve had the good fortune to work with.
One thing you may not know about building a SEMA car is that often times you’re asked to sign a contract pertaining to sponsored parts. Usually it will outline the exchange of product for advertisement, detail where and how the company’s logo should be displayed and dictate the length of the agreement. Generally you’re asked to promote said company for one year, then you’re free to do whatever you want. Hopefully you fulfilled your end of the agreement within that year by taking the car to shows and getting good press, especially if you intend to ask for another sponsorship in the future.
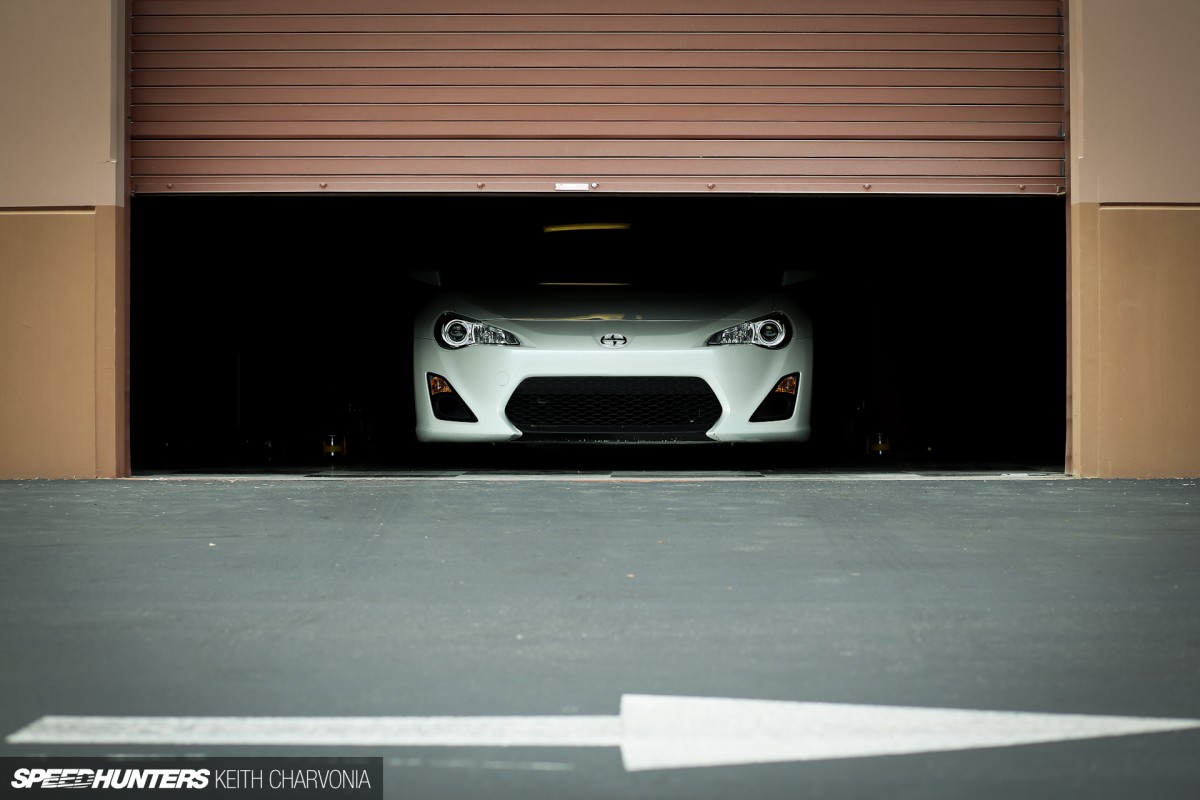
Well, the day has come that all my sponsorship agreements have been fulfilled, so it’s time for a change. I can sleep well at night knowing I did everything I could for my sponsors, even taking the car back to SEMA a second time for additional exposure last year.
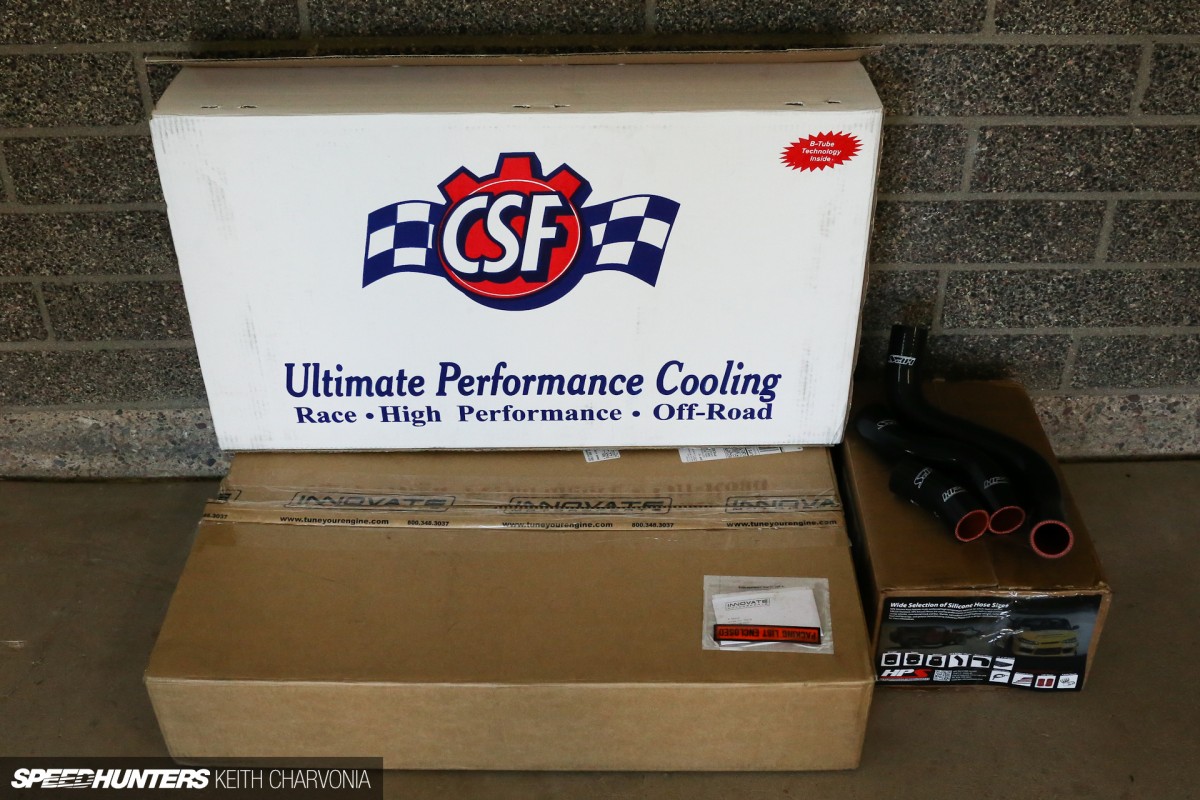
It’s funny though: even after the frenzy of taking the car to SEMA twice, I keep finding myself with a perpetual pile of mods waiting to be installed. Like most of you, I just can’t help myself. This round of mods is going to focus on preparing for the impending Arizona summer heat, something that the FR-S has handled okay so far but I know I need to address since I’ve gone forced induction. So in that stack of boxes awaits an intercooler for my Innovate supercharger, a CSF aluminum radiator and some silicone hoses from HPS.
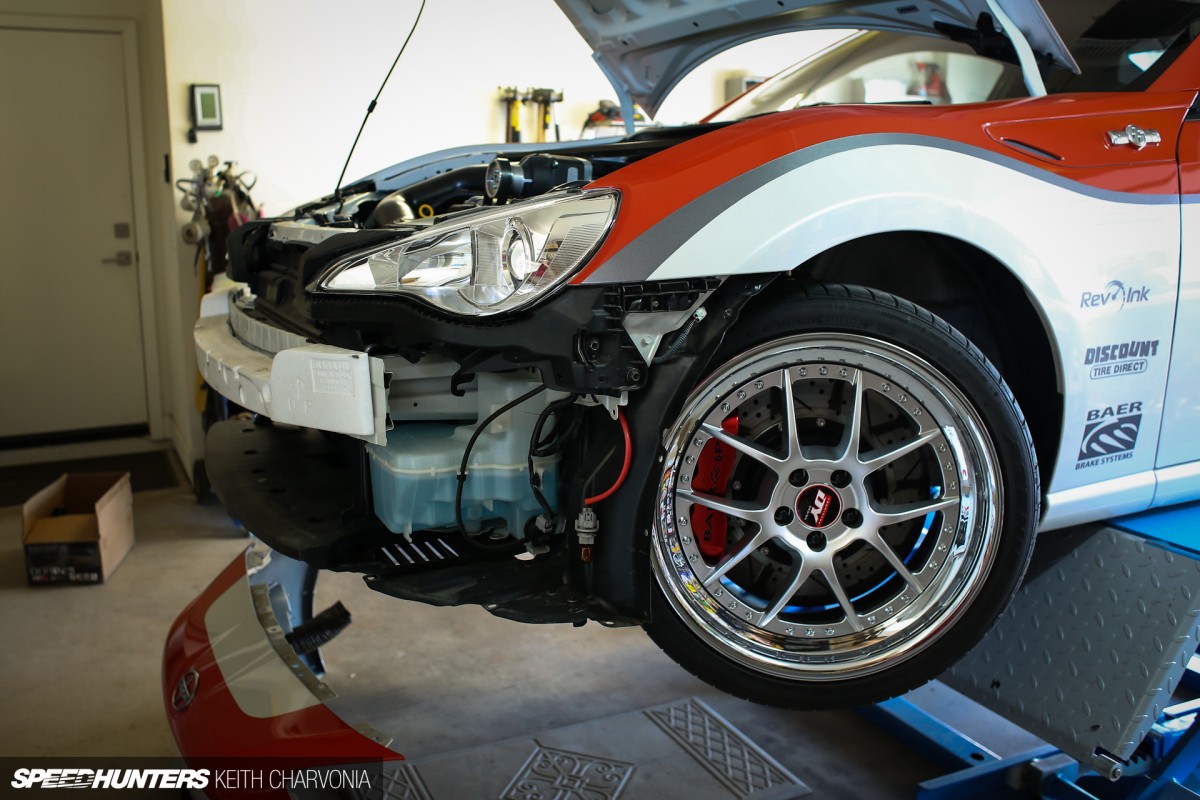
Since I had to remove the bumper, I wanted to install them all at once, because sadly an FR-S bumper sags more and more every time you take it off.
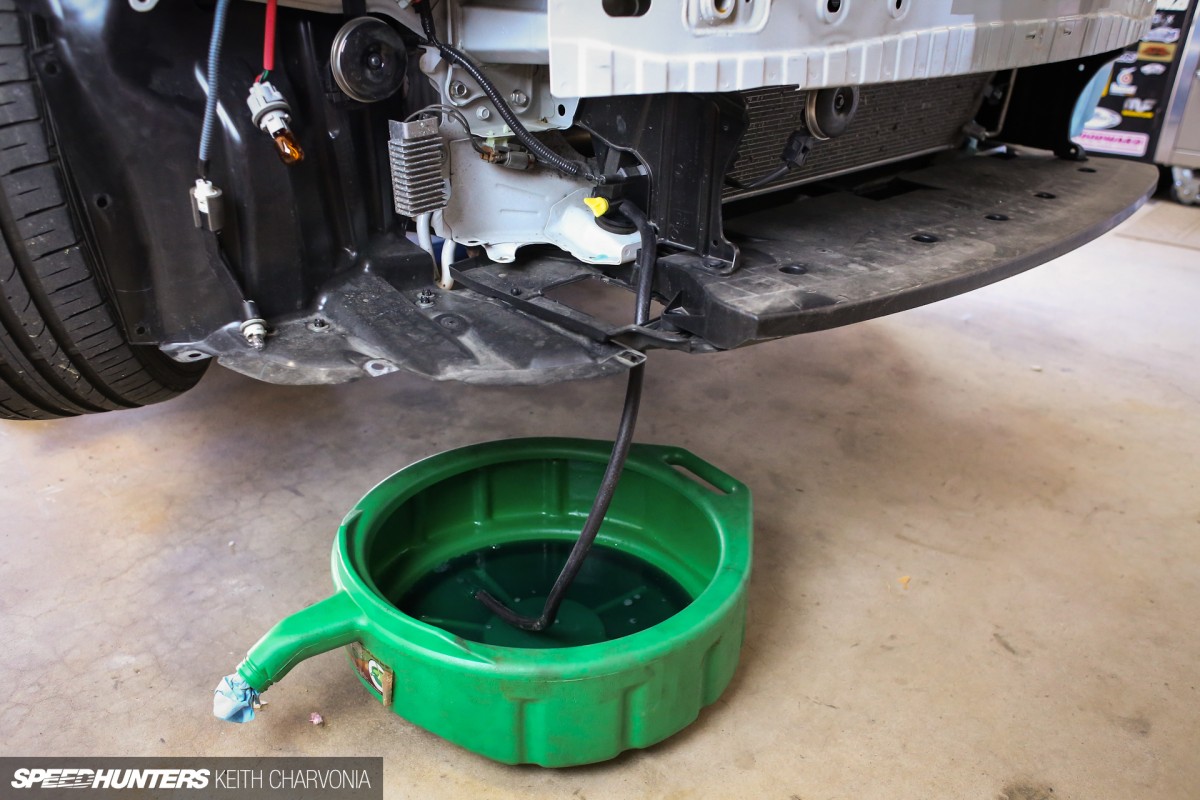
With the bumper removed, the next step was to drain the factory ‘FR-S blue’ coolant from the radiator. How many of these plastic drain plugs have you guys broken off? Fortunately I got to this one while it was still new, and now I’ll have an aluminum drain plug next time I change out the coolant.
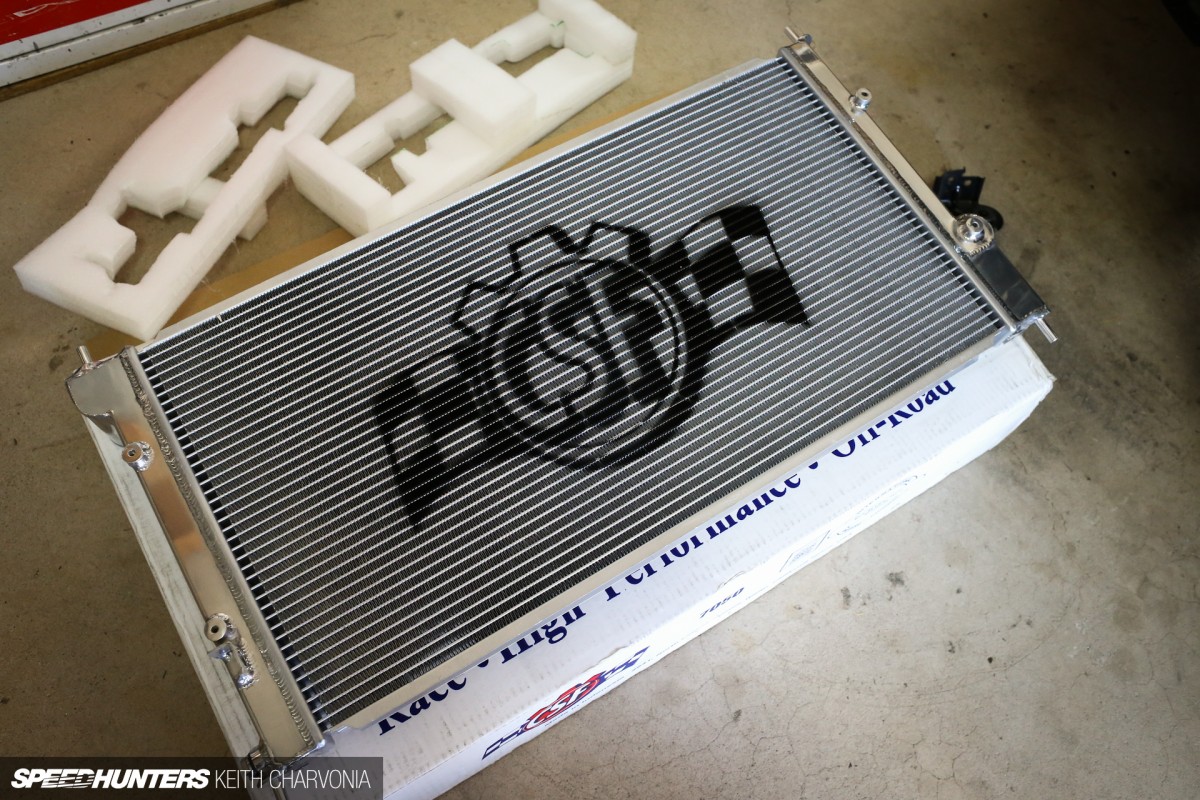
Because that aluminum drain plug is of course attached to my new CSF radiator. It’s tortured me for two weeks, sitting across from my desk at work all sealed up in a box. We’ve talked a bit about what CSF do, but the real test for me is when you try something for yourself, plus as you guys may have noticed by now, I love to wrench on my cars. I’ll take any excuse to modify and improve things.
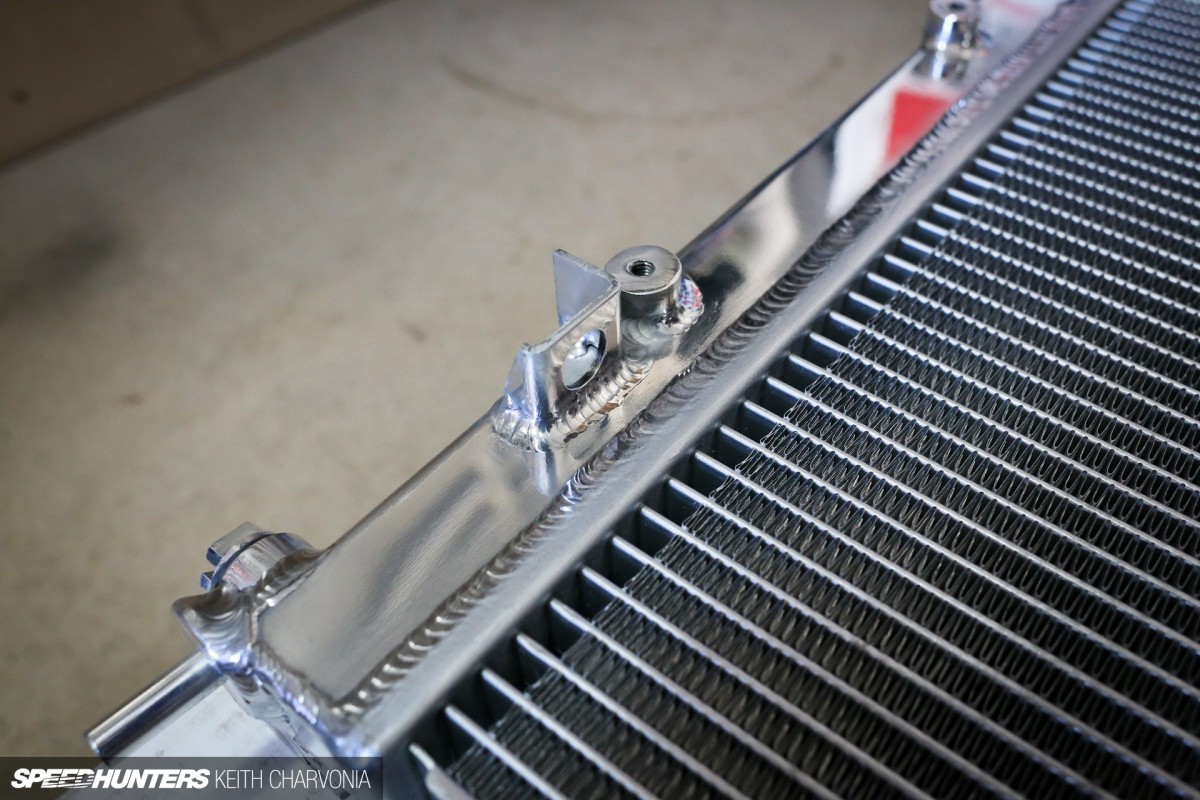
The best part about pulling a brand new product from the box is that it will never look as perfect as when it was fresh from the manufacturer. So just for a few seconds, I reveled in the mirror polished finish and TIG welds.
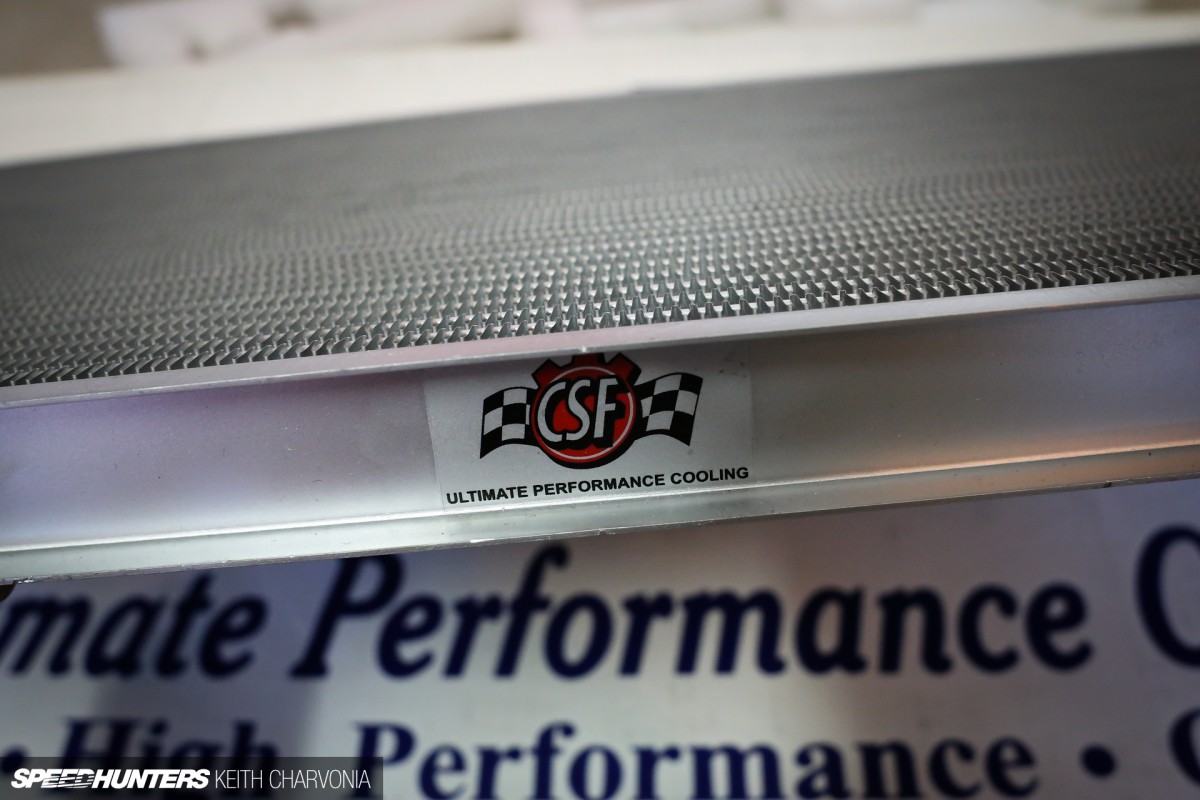
CSF told me it was a direct replacement, so when I took a good look and realized their radiator was almost twice as thick as the stock one, I was kind of surprised. But I’m just the guy with the tools and they’re the team who’ve been specializing in the cooling industry for decades. Despite the fact that the new unit has 31mm cooling fins versus the stock 16mm version, I had faith that it would bolt up as promised. CSF use something called B-Tube technology, so besides the obvious benefit of the fins being twice as big, if you were to cut the radiator open you would find the fins look like a capital B, which adds even more surface area to help with heat dissipation.
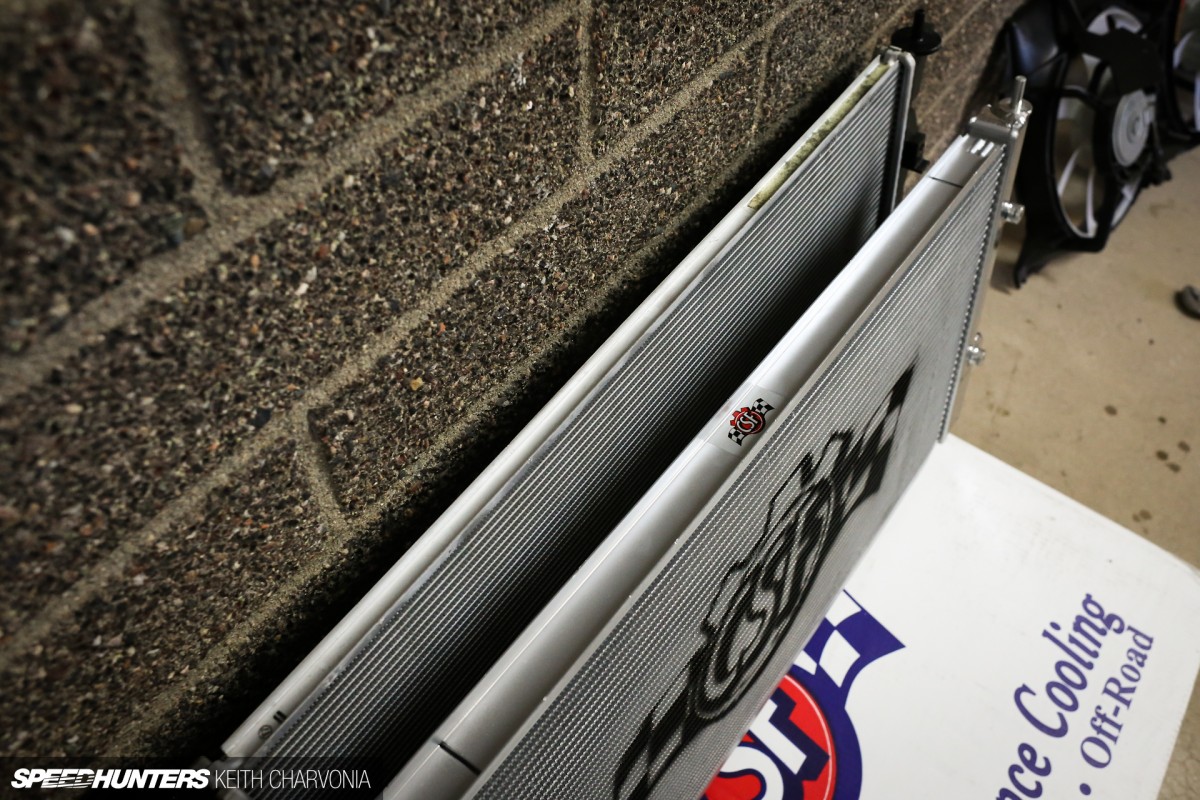
I’ll be honest – I did wonder whether this much beefier unit was going to occupy the same space without any installation issues.
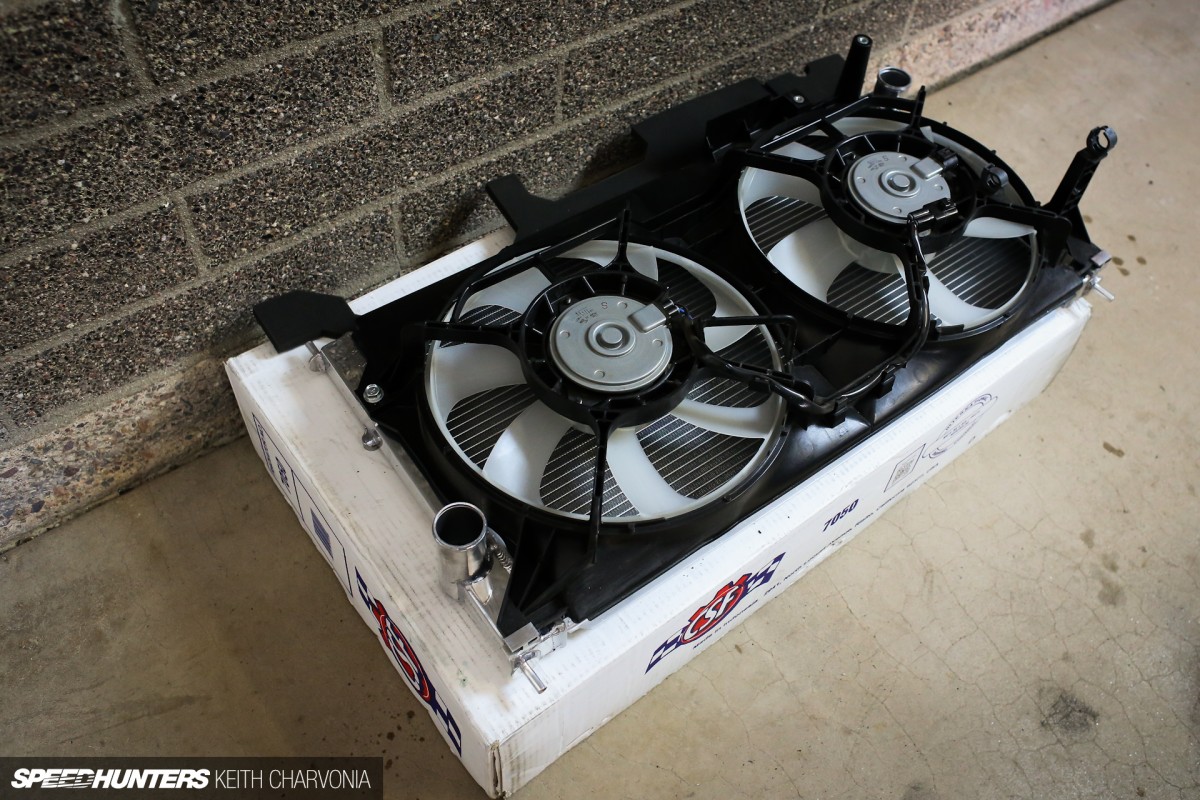
First thing was to bolt the factory fans on to the new radiator, which took all of about 30 seconds using the factory hardware. The mounting points are machined aluminum and have been welded onto the radiator, but CSF did their homework and everything lined up just like stock. One immediately obvious benefit of the aluminum mounting points is that they are far less prone to breaking from impact or fatigue compared to the stock plastic ones.
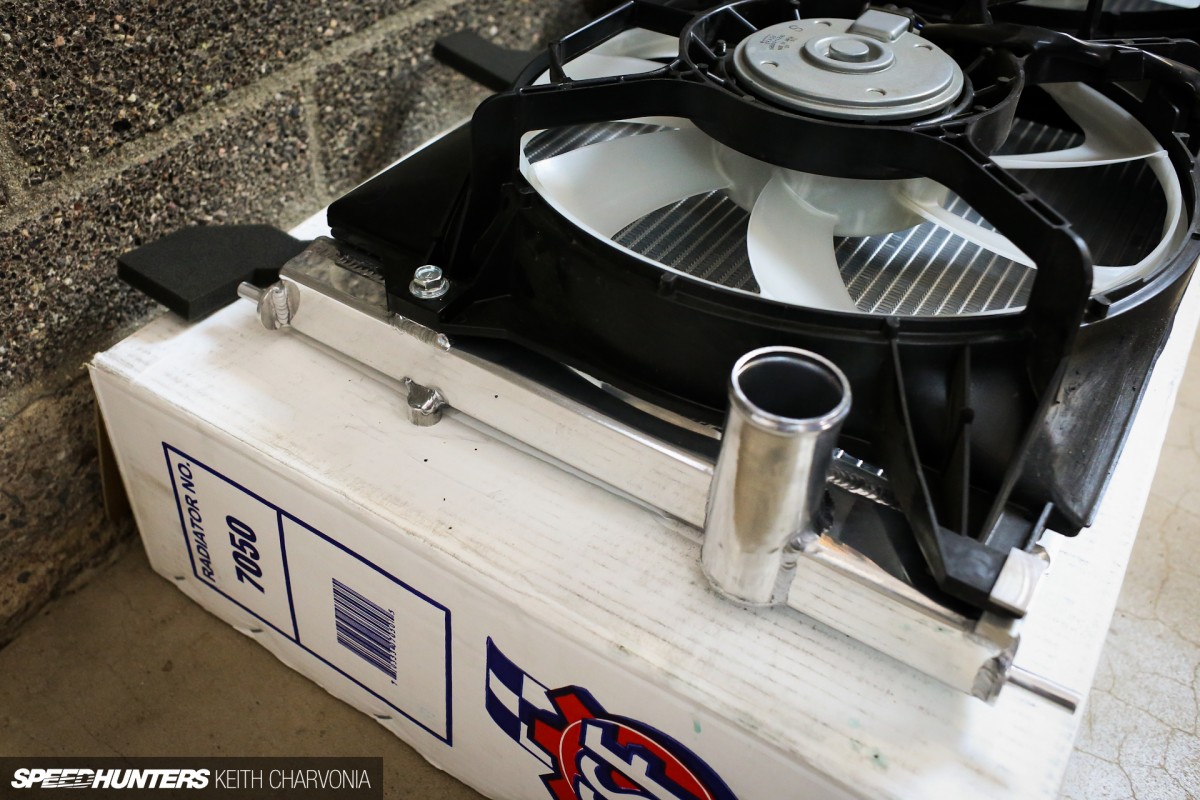
To me that’s the biggest upside: that CSF’s radiator is all aluminum and forgoes the stock plastic end-tank design altogether. Living in Arizona, our cooling systems take a serious beating. Not only is it blazing hot outside, but you’re literally required to run the air conditioning to even sit inside your car in the summer. And it’s not just heat we deal with either – we get freezing temps in the winter too, all of which places a lot of demand on a plastic part and shortens the lifespan of a stock unit.
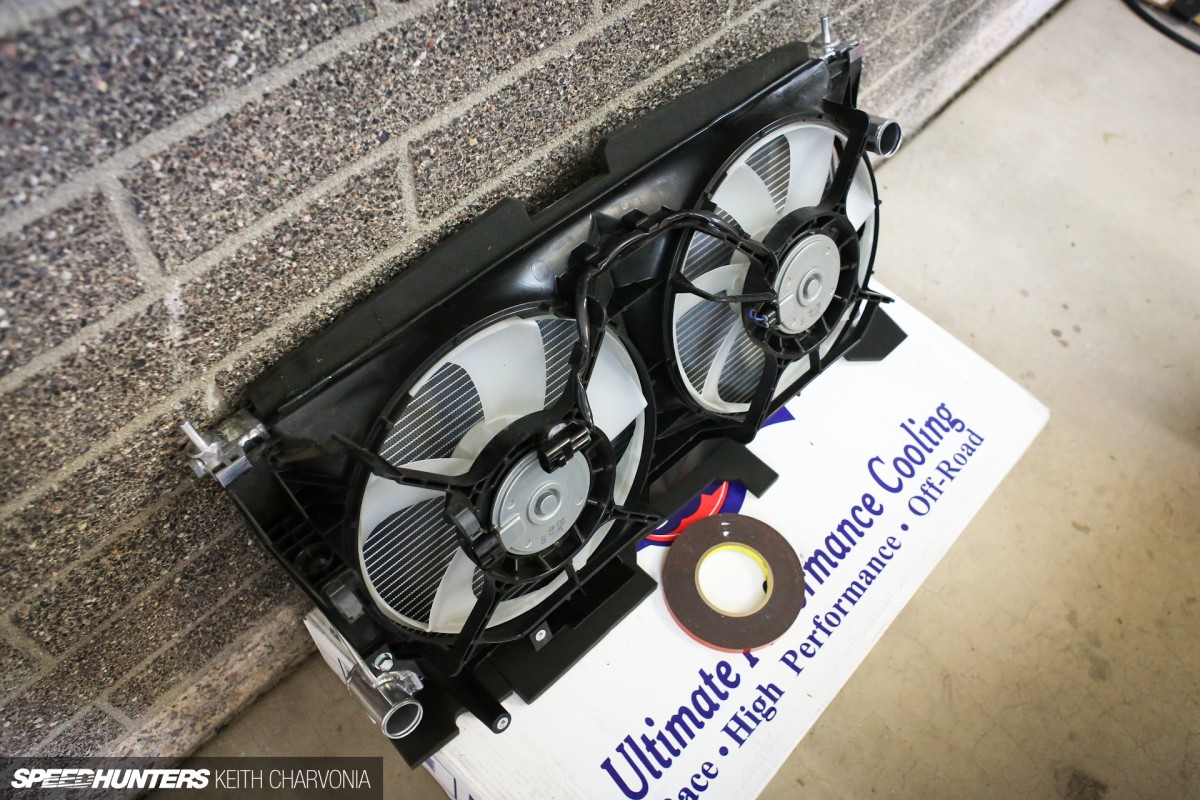
I used some high-strength, double-sided tape to transfer the factory foam pieces to the new radiator. Maybe it wasn’t necessary, but I feel these are the little steps that keep your car from getting modded into oblivion.
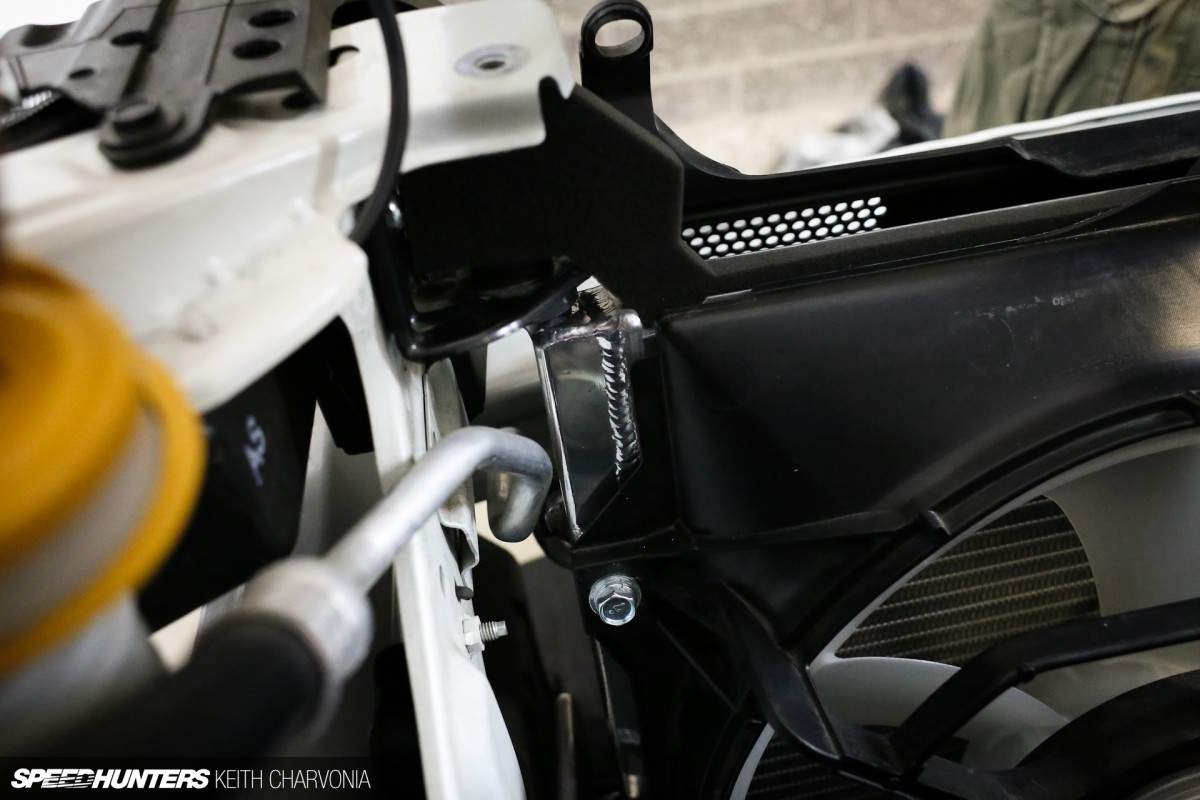
The new radiator jumped right in the hole – factory mounting brackets, hardware and all. For a part that’s twice as thick as the original, there’s really not much to see once installed. If you look closely you can spot a polished bit here and there, but for the most part nobody would notice unless they were looking for it.
But let’s face it, this isn’t exactly a mod you do to get looks anyways. The real benefit will come this summer, when the high in Arizona will be 115°F and I’ll have the satisfaction of knowing my radiator has twice the burst pressure of the stock one.
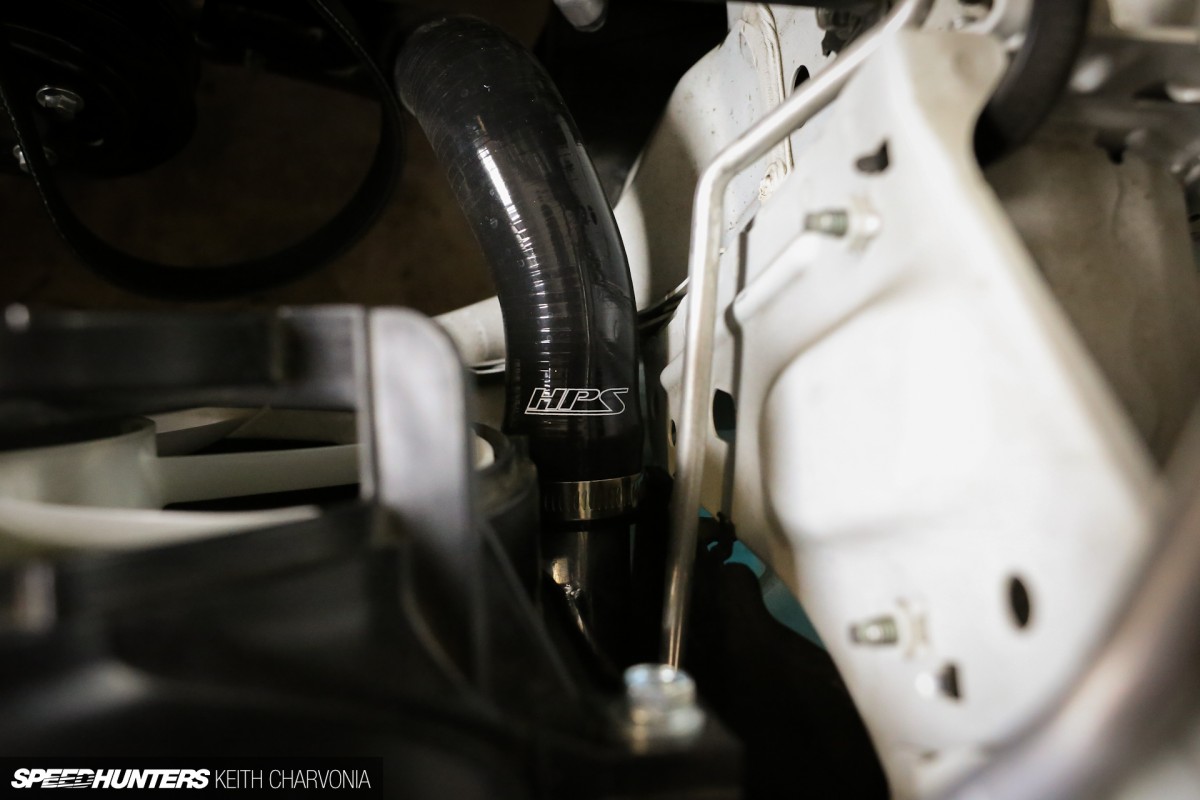
Since I had the factory rubber hoses off, I figured I might as well upgrade to silicone parts from HPS.
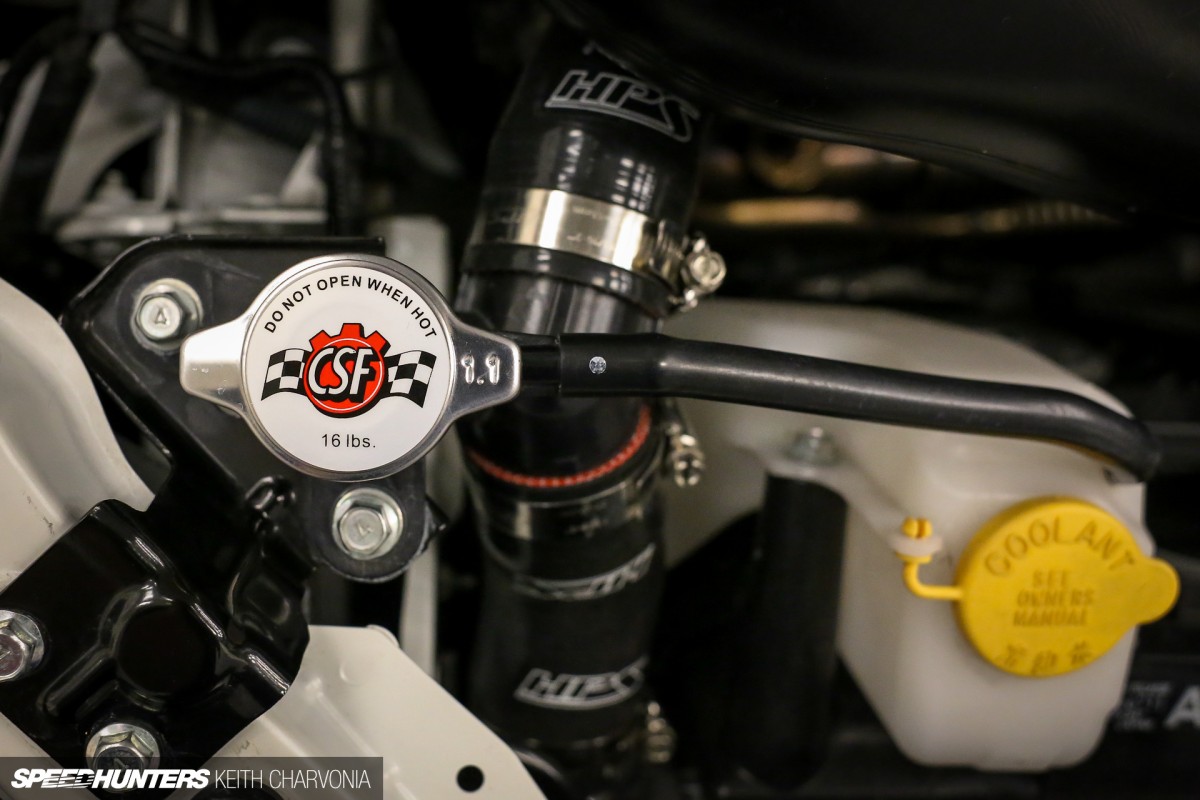
Like I said, there wasn’t much of the radiator to see once it was installed, so I asked Ravi at CSF to send me a radiator cap so I could fly his logo where it would be visible. Thanks Ravi!
CHAPTER TWO
Boost up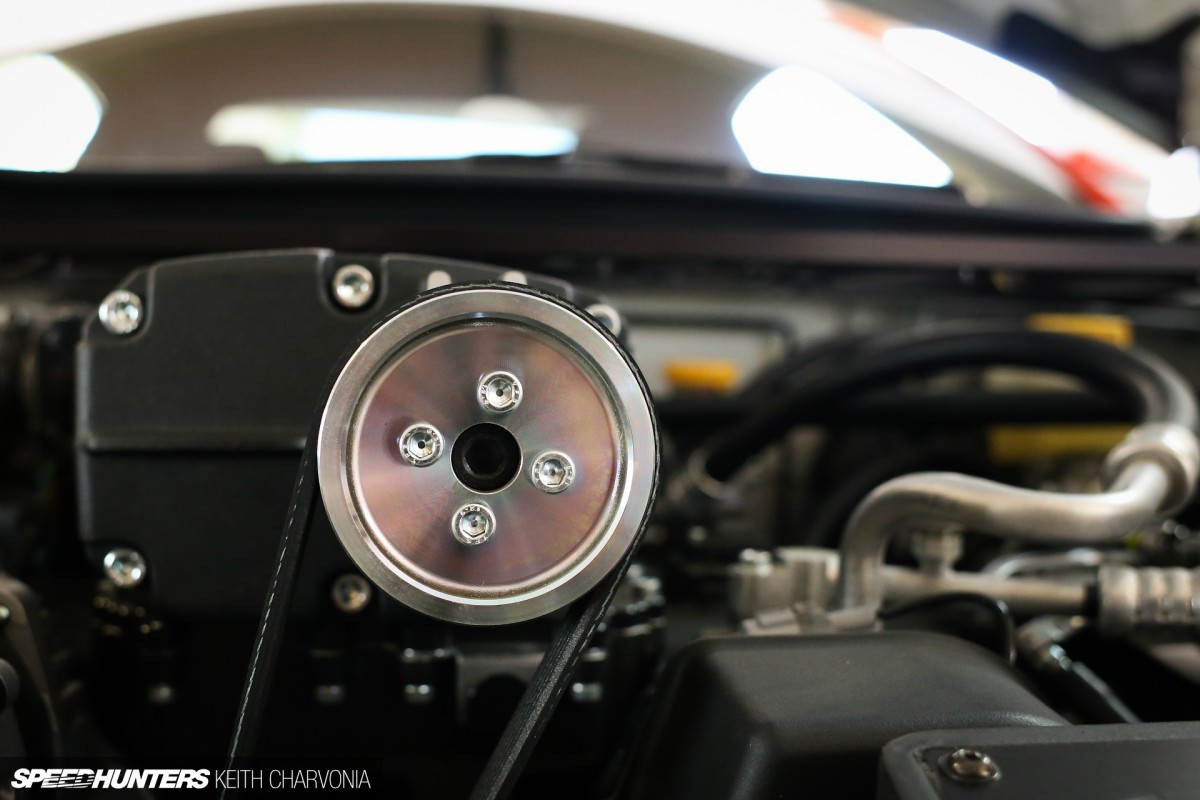
With the radiator handled, I turned my attention to the intercooler install, which would of course be accompanied by a smaller pulley to up the boost.
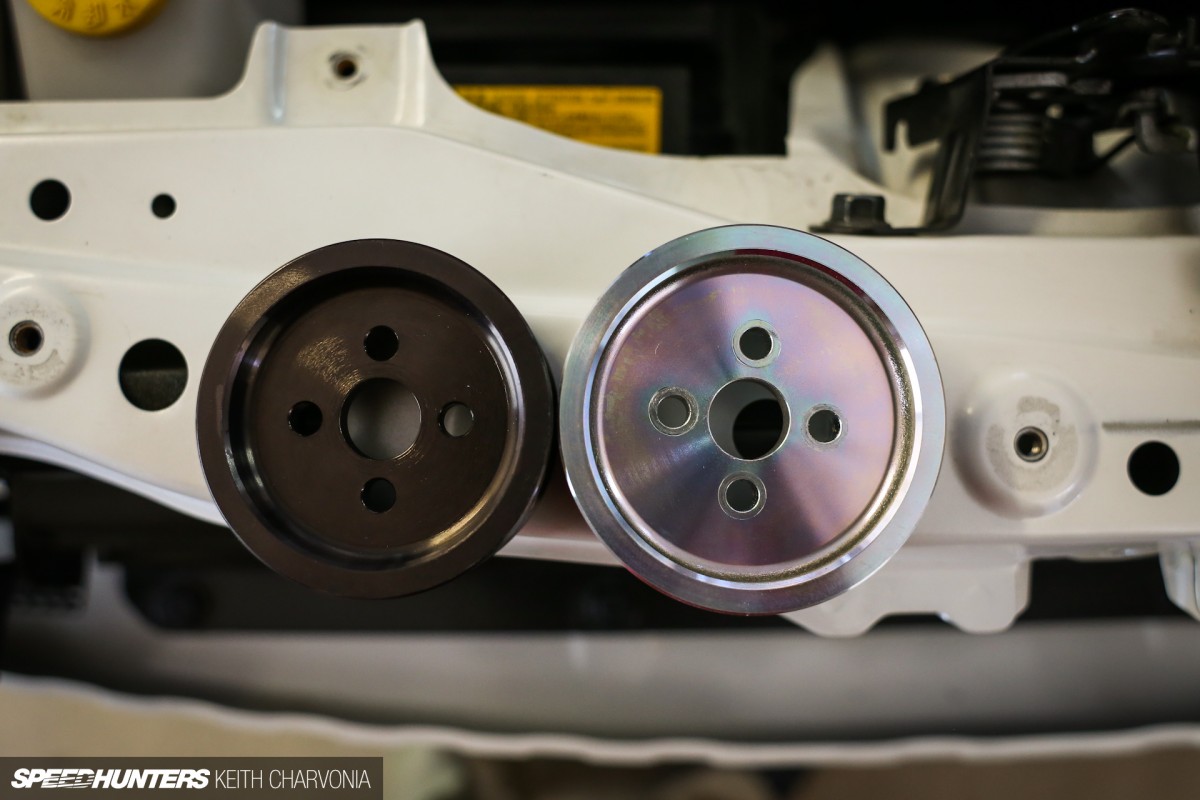
I would be removing the 75mm pulley for a 69mm version – something that’s not really recommended until you intercool the system, as spinning the blower that much faster will only generate more heat and negate the gains from higher boost.
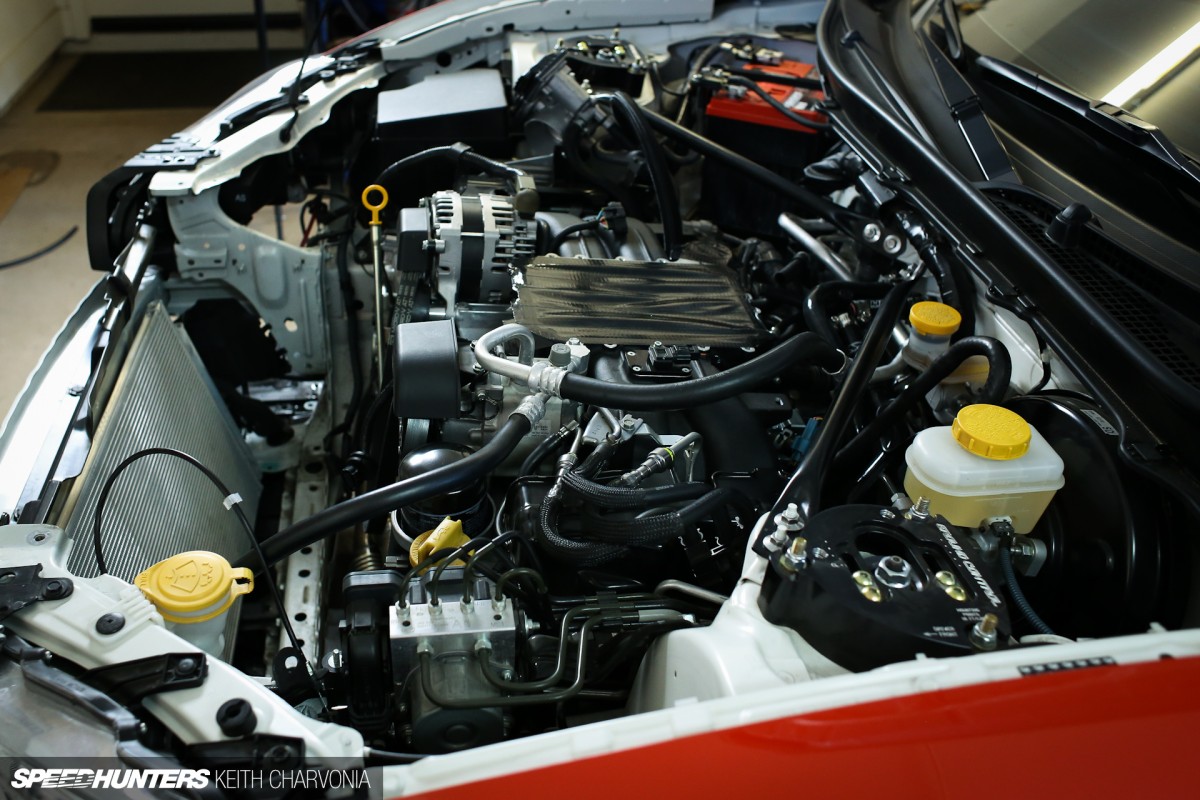
Innovate uses a Laminova water-to-air intercooler that sits inside the intake manifold under the supercharger. Once again, I would be tearing parts off the top of my engine.
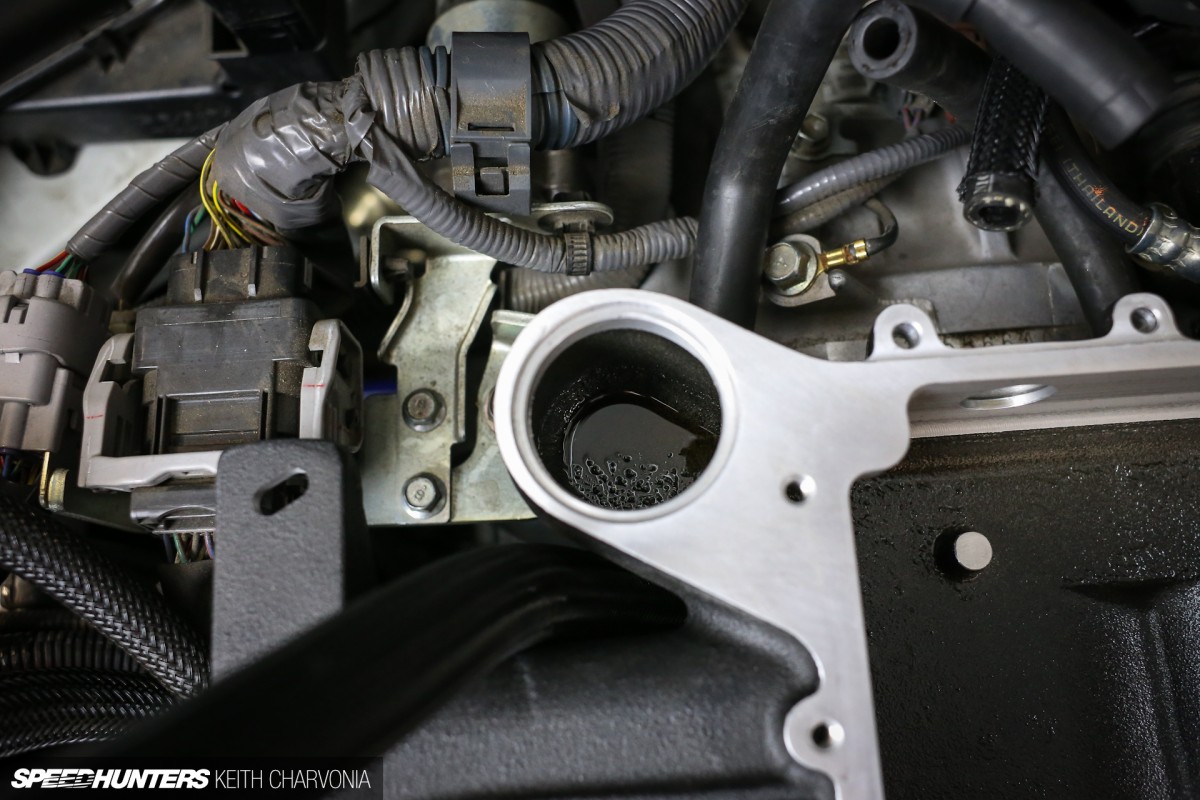
While the supercharger was off, I noticed quite a bit of oil in the manifold. Time for a catch can.
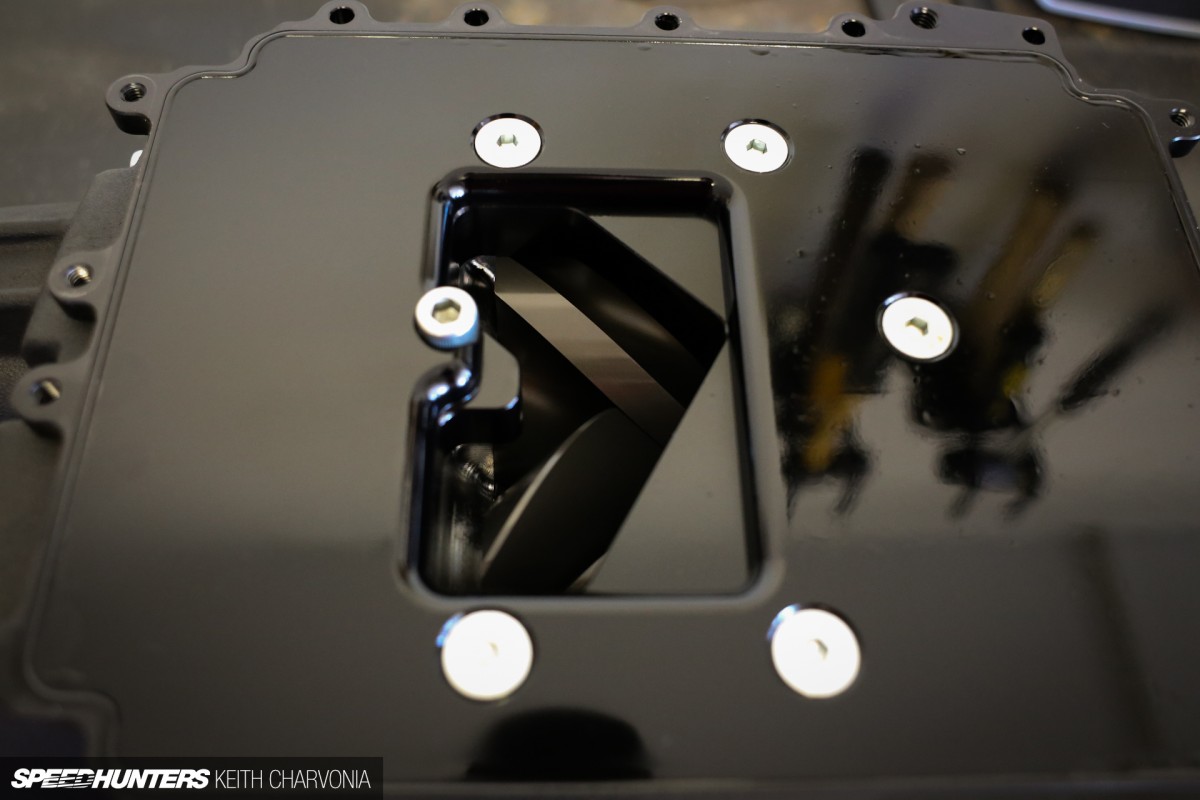
I put the the blower on the bench to check the oil level and make sure all the fittings were tight.
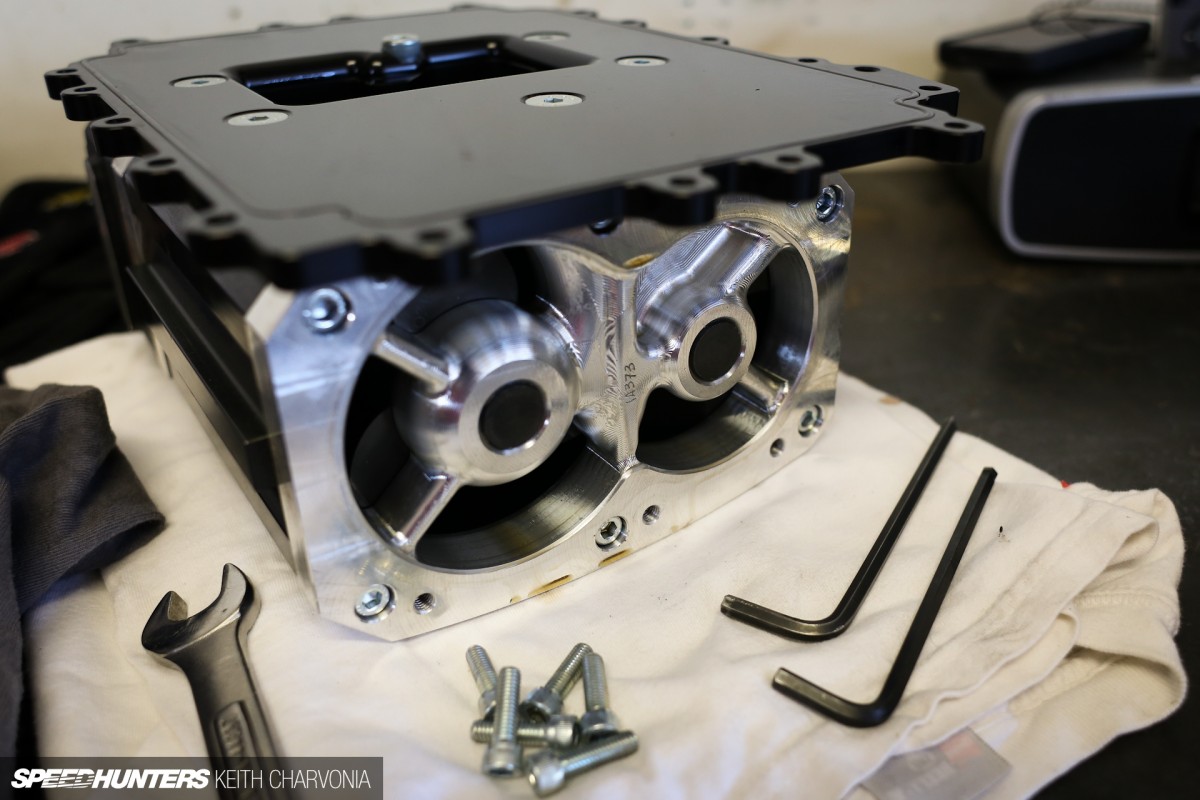
I may have gotten a little distracted by the pretty CNC machined parts too.
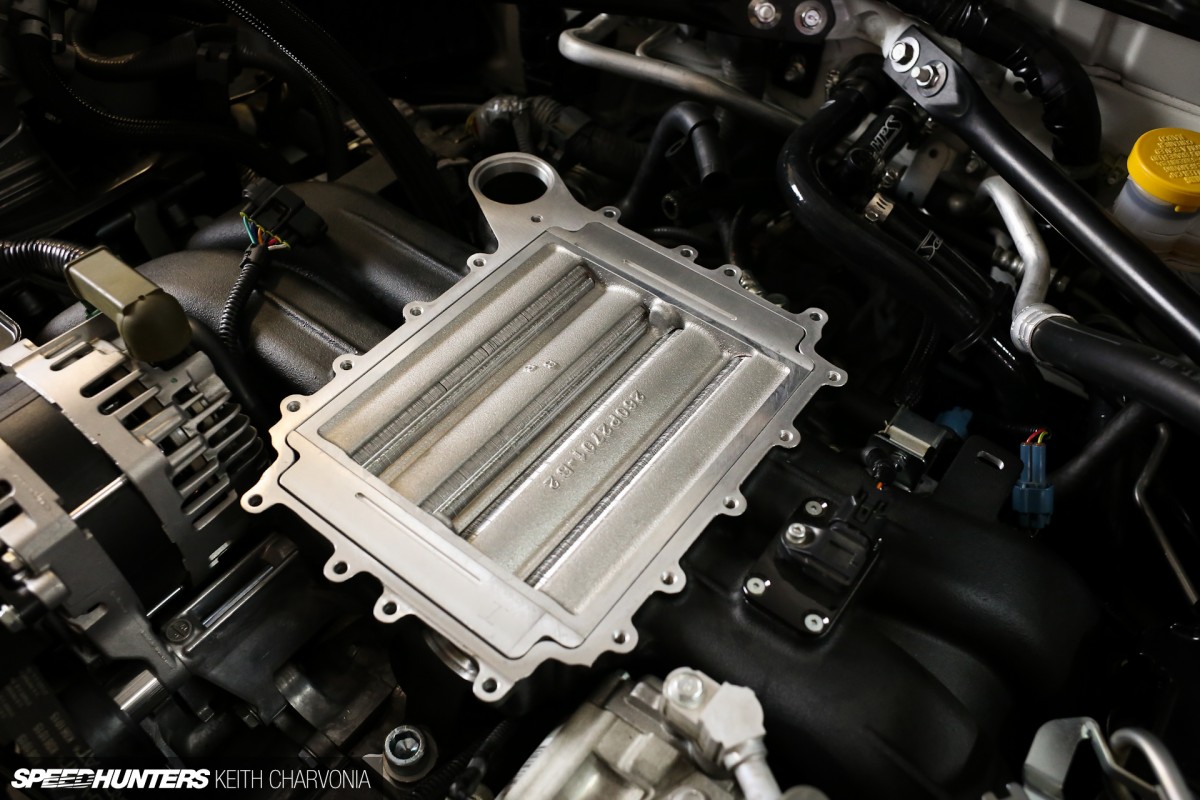
I carefully dropped the heat exchanger unit into the manifold.
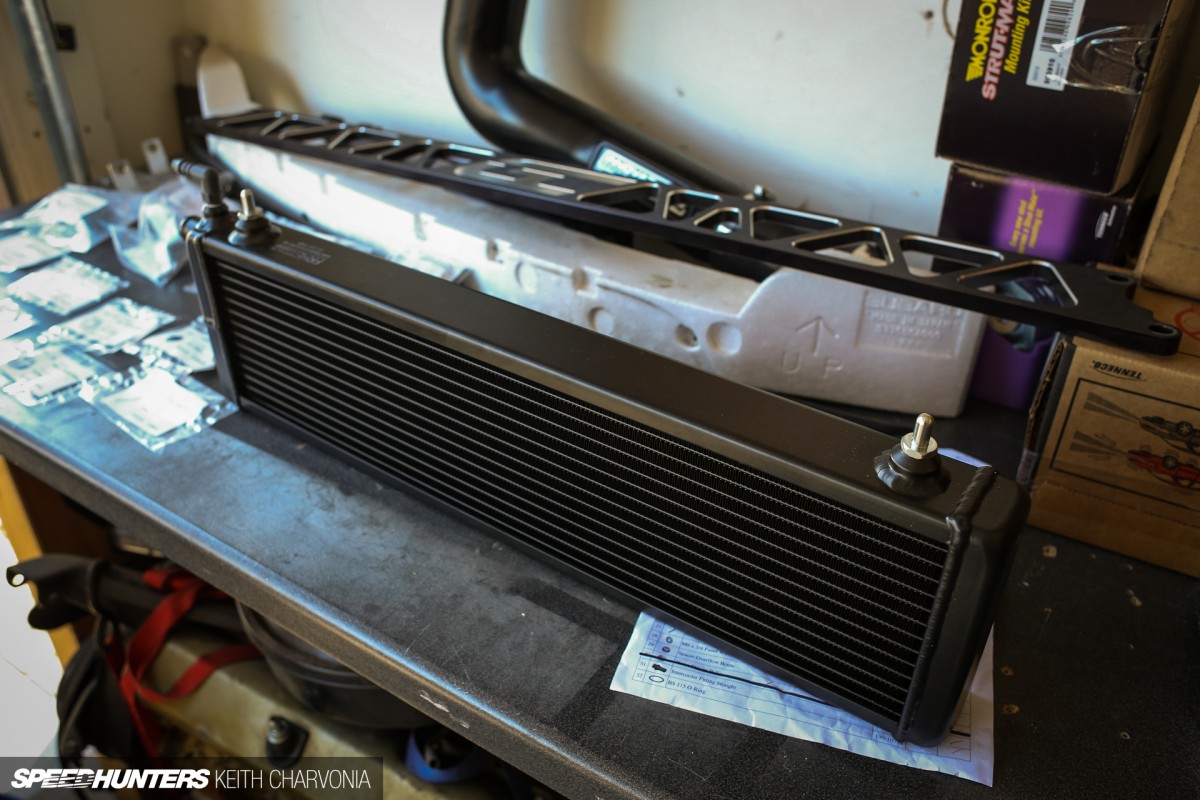
Then I mounted the air-cooled portion in the front bumper.
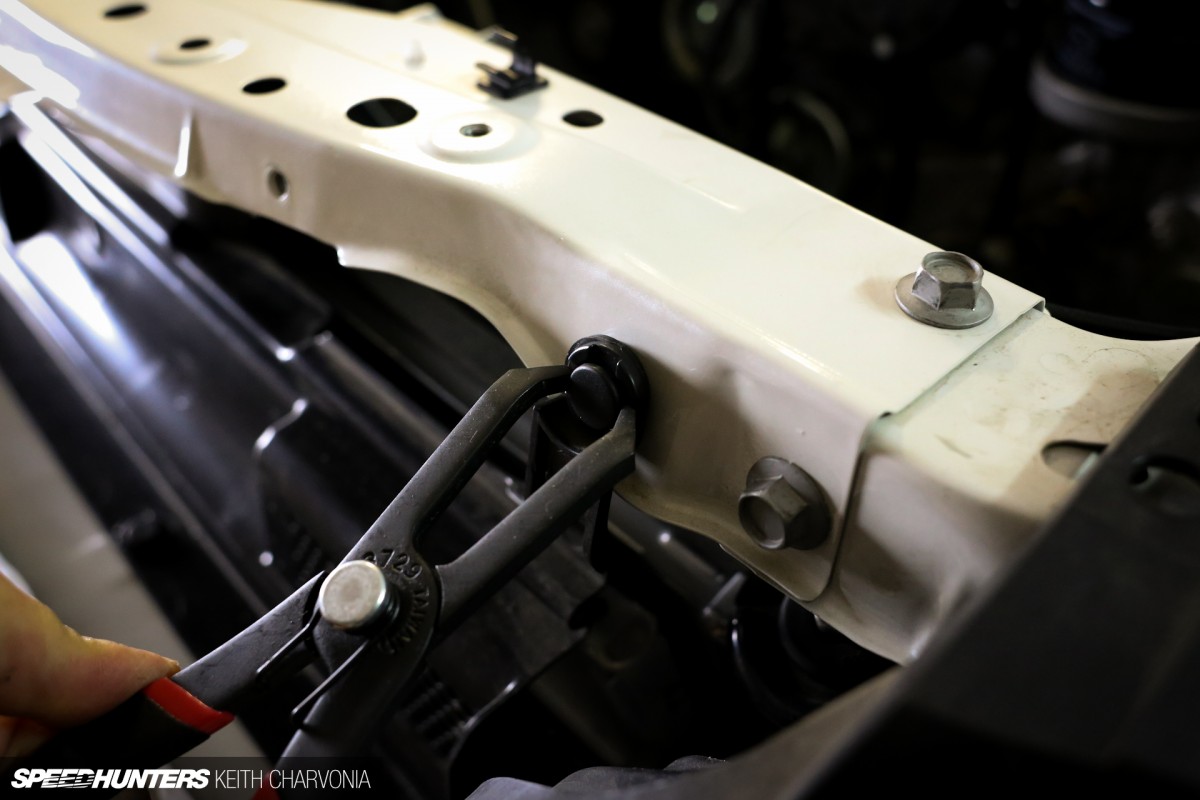
I’ve noticed that you guys are always interested in unique tools and things that just help get the job done, so I snapped a photo of these new plastic clip removal pliers I just bought. The FR-S seems to be held together everywhere by these little pop clips, and with the special pliers you can easily remove them without breaking anything.
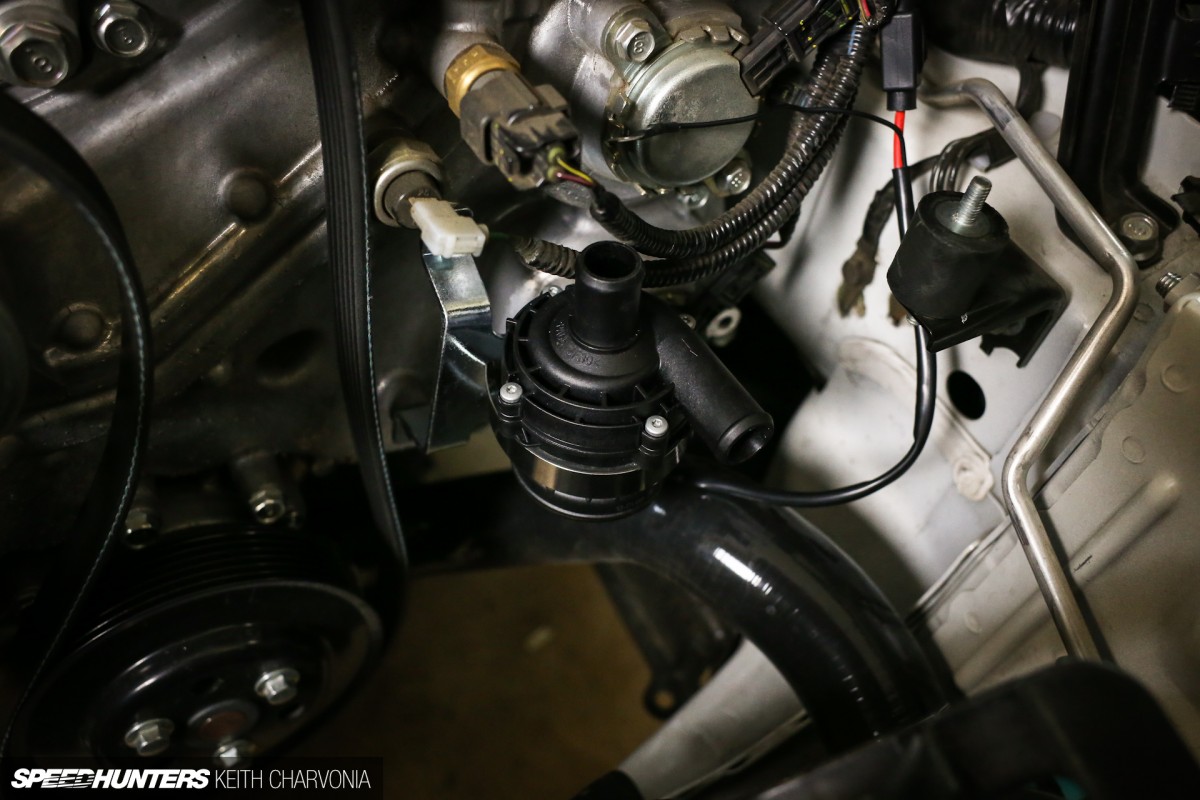
I mounted the Bosch pump to the engine block and routed the hoses for the intercooler system. It’s a closed loop system that powers up when you turn the key. You don’t even notice it’s running, but you do notice the now-constant power level that comes with stabilizing the inlet air temp.
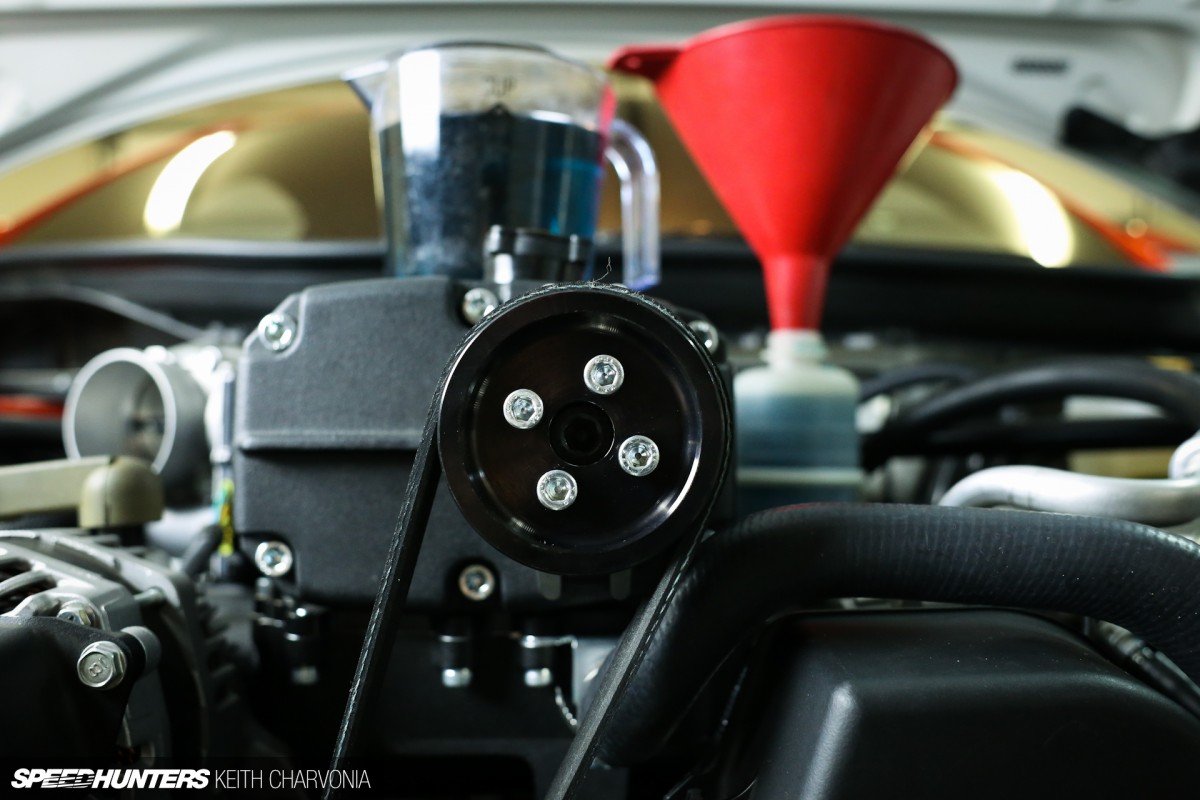
With everything bolted back up, I threw on the little pulley and filled the system with that magical ‘FR-S blue’ coolant.
BONUS CHAPTER
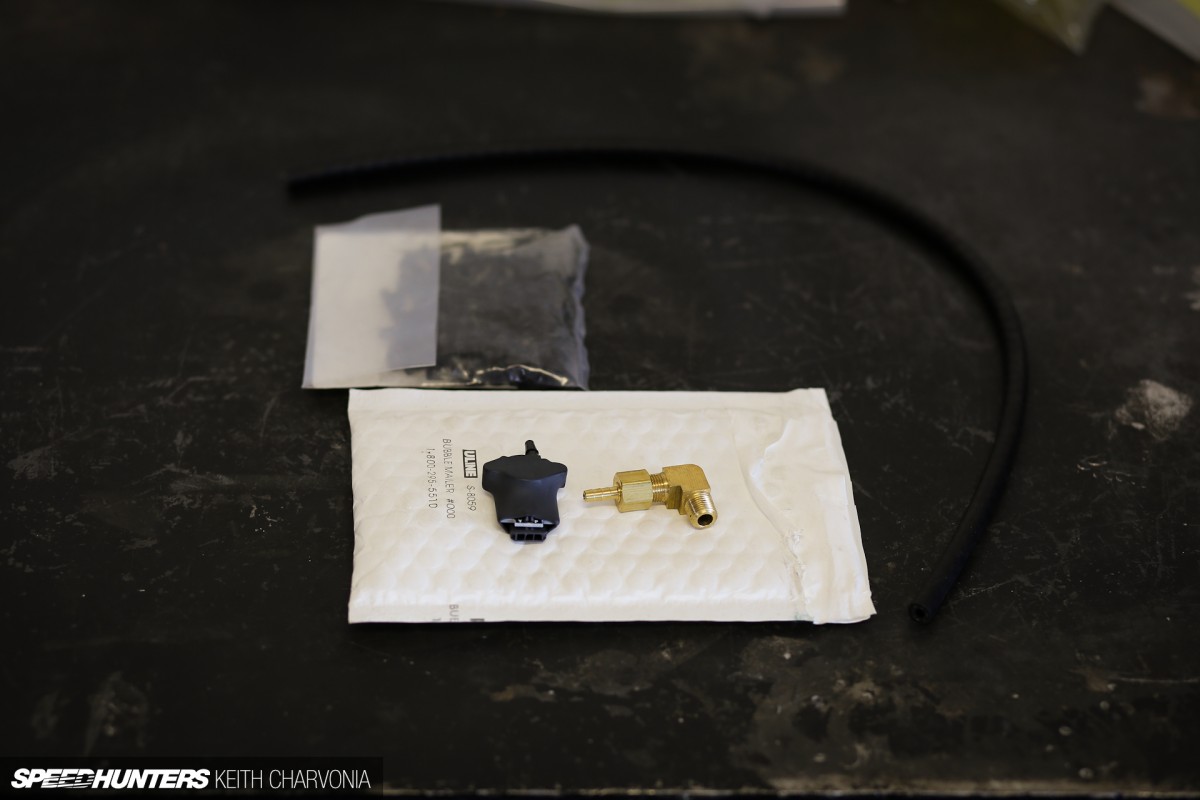
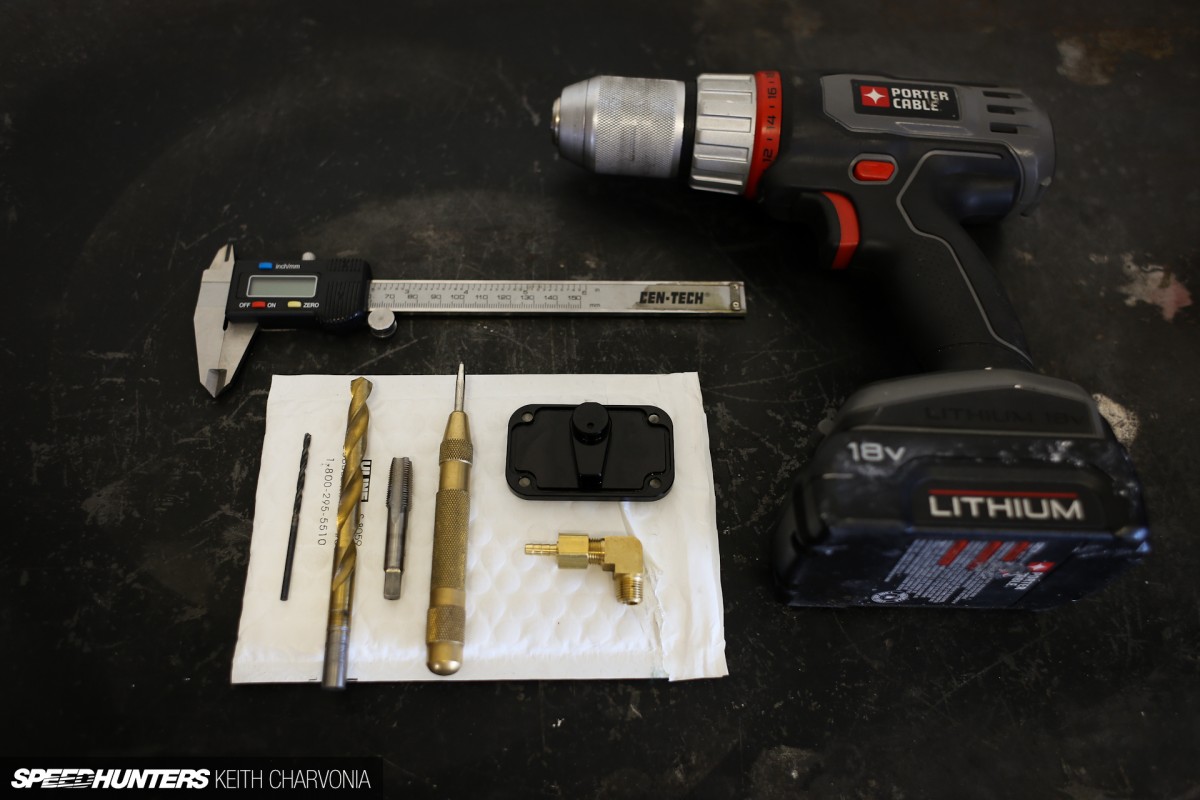
Cutting Room FloorI showed you guys my P3Cars gauge last time, and one of the things it can display is boost. Now that I had a smaller pulley though, the stock MAP sensor would not read the actual boost because it exceeds the limit of the factory sensor. To know how much boost I was really getting, I would need an analog sensor.
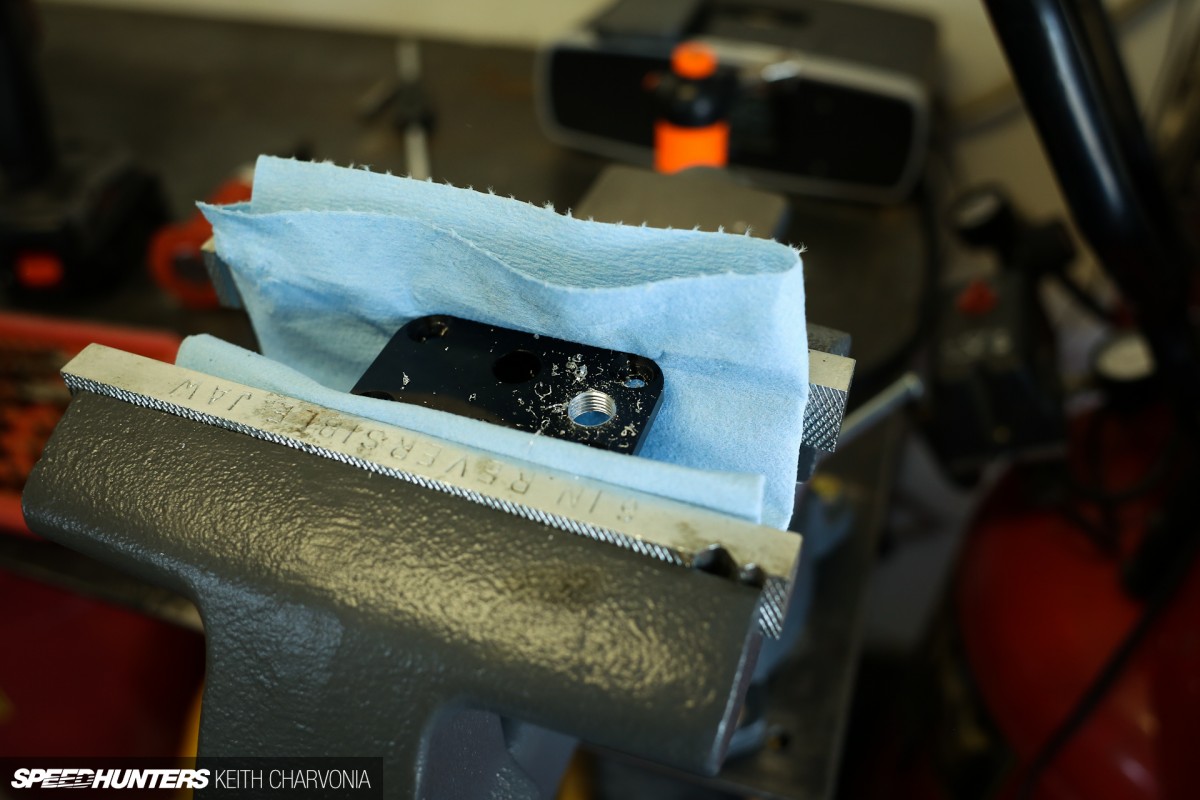
I pulled off the MAP sensor plate to drill and tap a hole for the hose that would be routed to the new analog sensor.
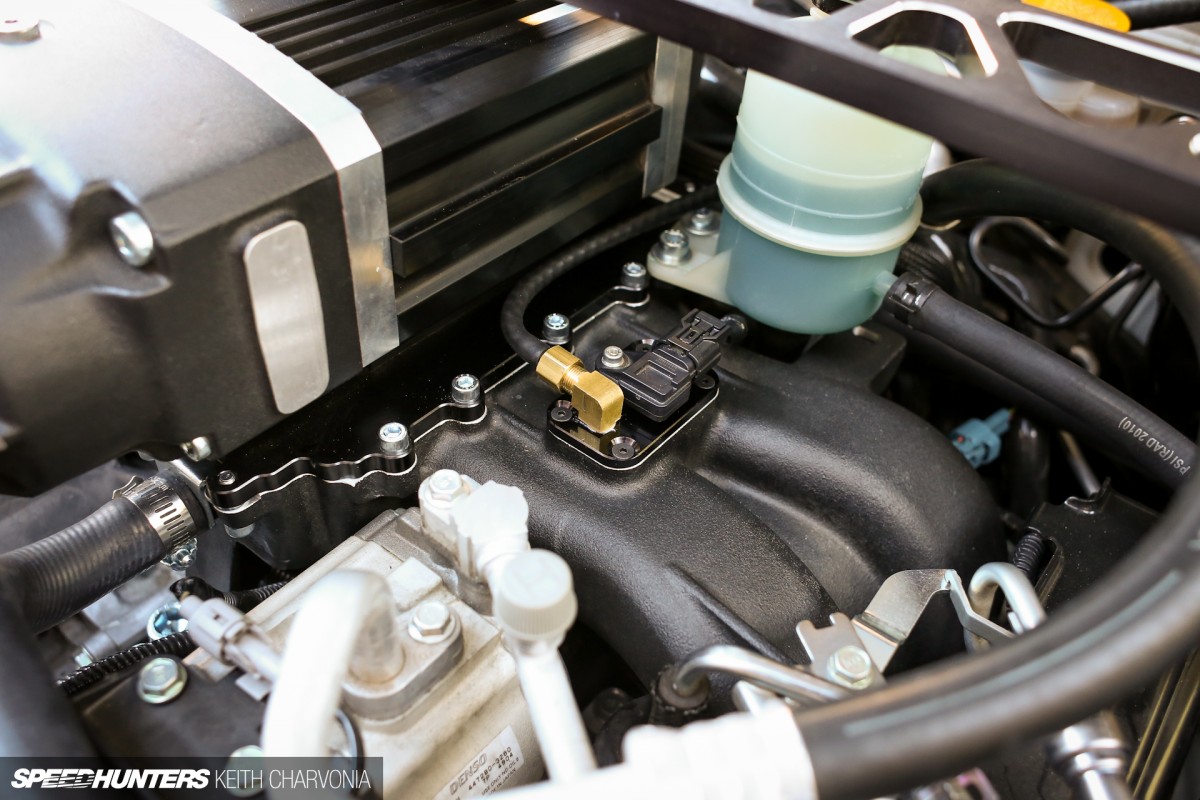
It didn’t take long to drill and cut some new threads. I threaded a 1/8″ NPT to 1/8″ barbed brass elbow with some thread sealant into the new tapped port.
With everything buttoned up, I simply ran the hose to the sensor and plugged it in.
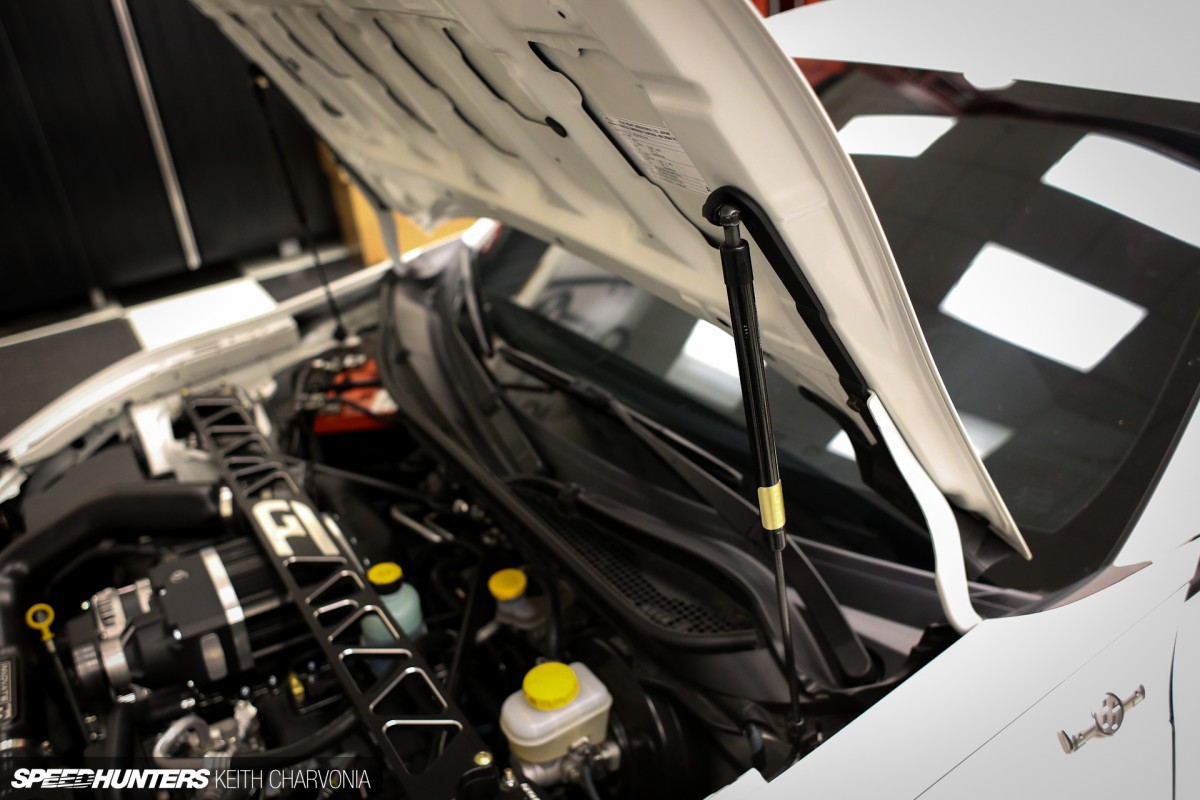
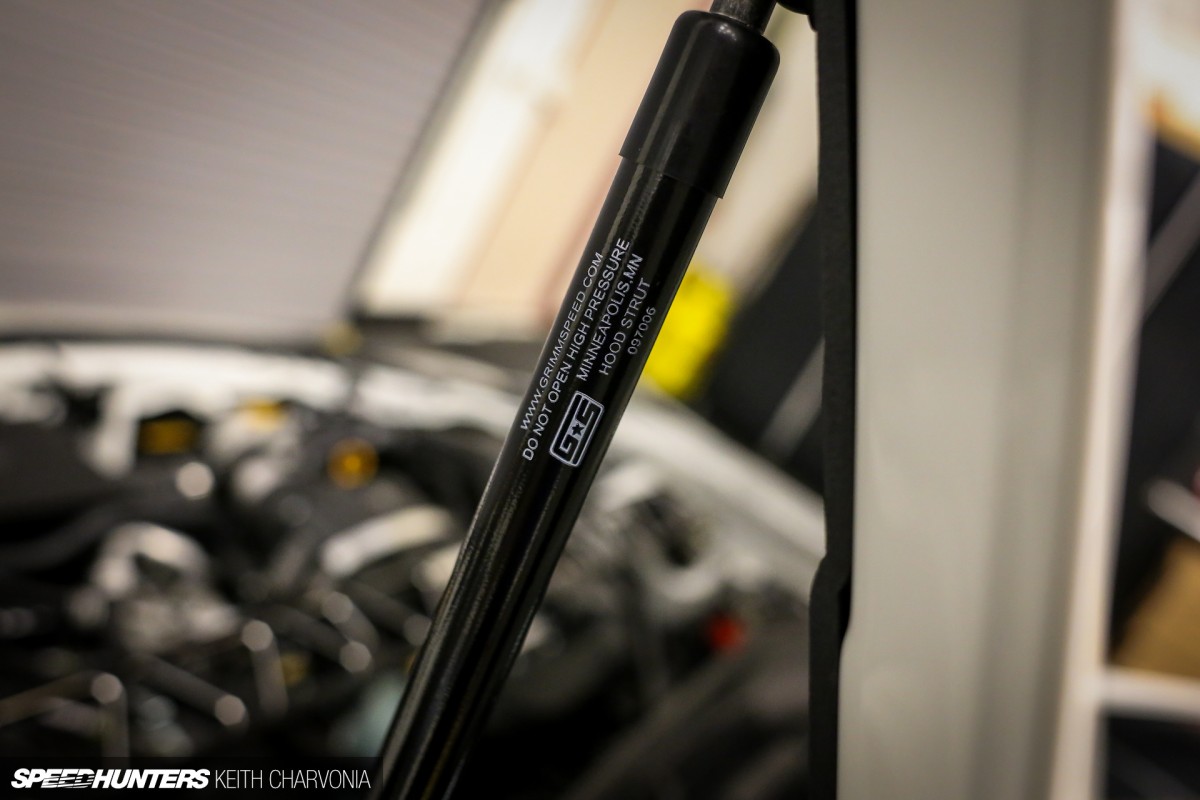
I don’t know why I didn’t think ahead on this one, but installing hood struts should have been one of the first things I did to this car. Getting the stock hood prop out of the way and lifting the hood higher not only makes wrenching easier, but it makes it easier to take pictures too. Look how high the hood lifts now and think about how much more light you get in the engine bay for working and taking pictures.
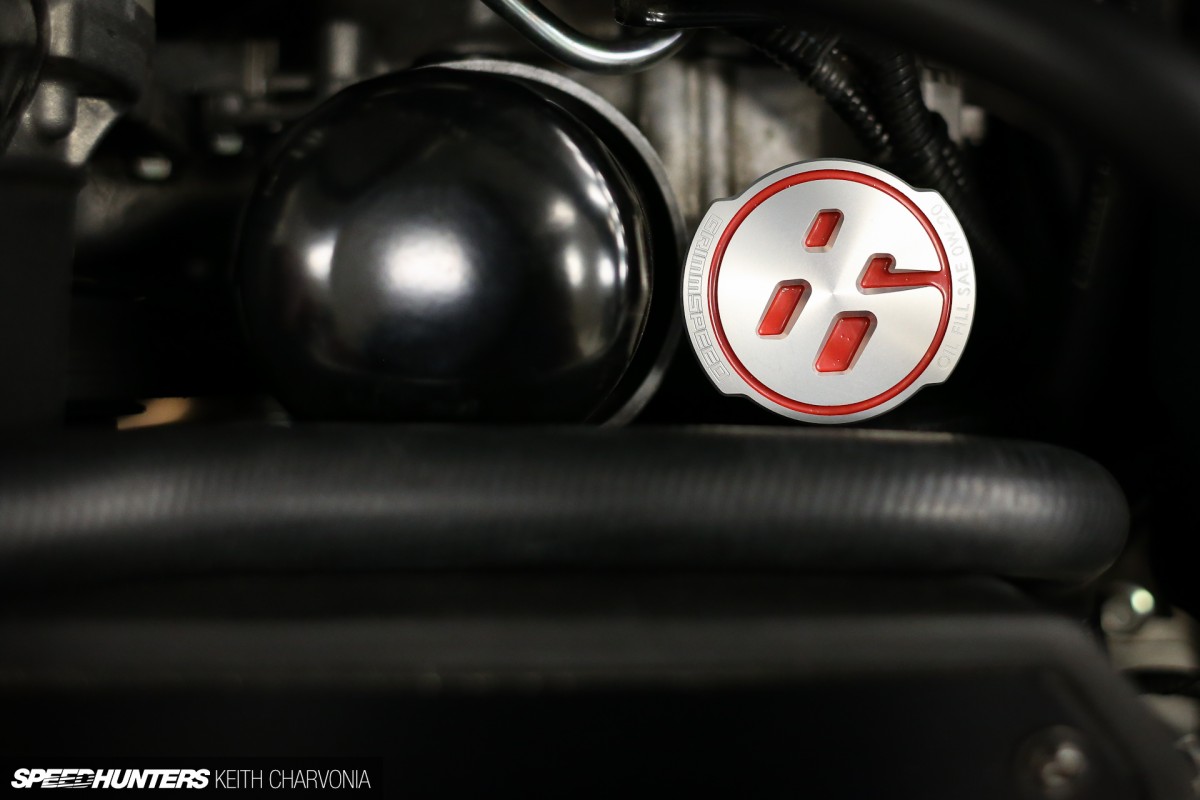
I got these from GrimmSpeed and was impressed by the detail they put into the design. The hood lifts effortlessly, and you can just drop it and it slams shut with just the right amount of force. Factory-style printing on the gas shocks is a very nice touch too. Working in manufacturing, I really appreciate this kind of detail.The guys at GrimmSpeed were nice enough to throw in a machined 86 logo oil cap. I’m told Tada-san, the Chief Engineer of the GT86 project, even has one of these sitting on his desk! It sure beats the plastic yellow cap the car came with.
FINAL CHAPTER
Cleaning it up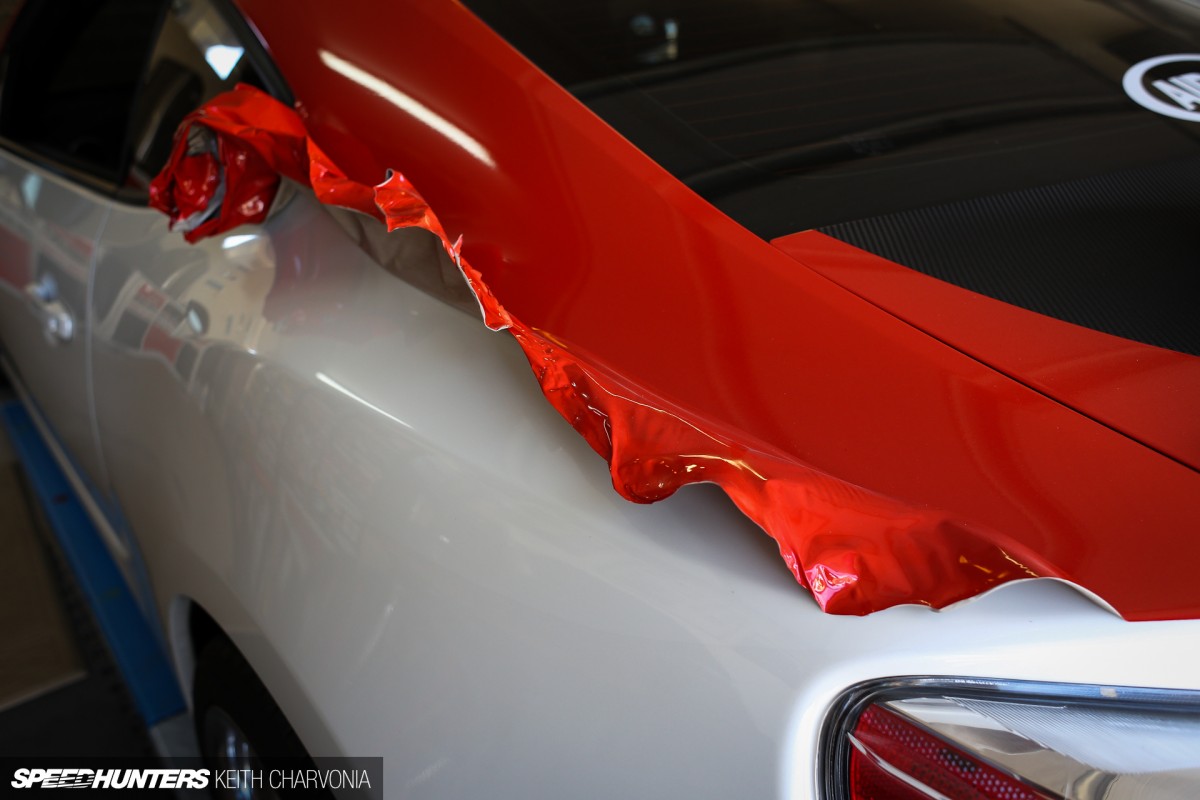
As you saw at the start of the story, I peeled the graphics off the car as part of this phase. As guilty as I felt for undoing the hard work of others, it was just time to have a plain car. I hope this means less people will try to race me on the freeway too.
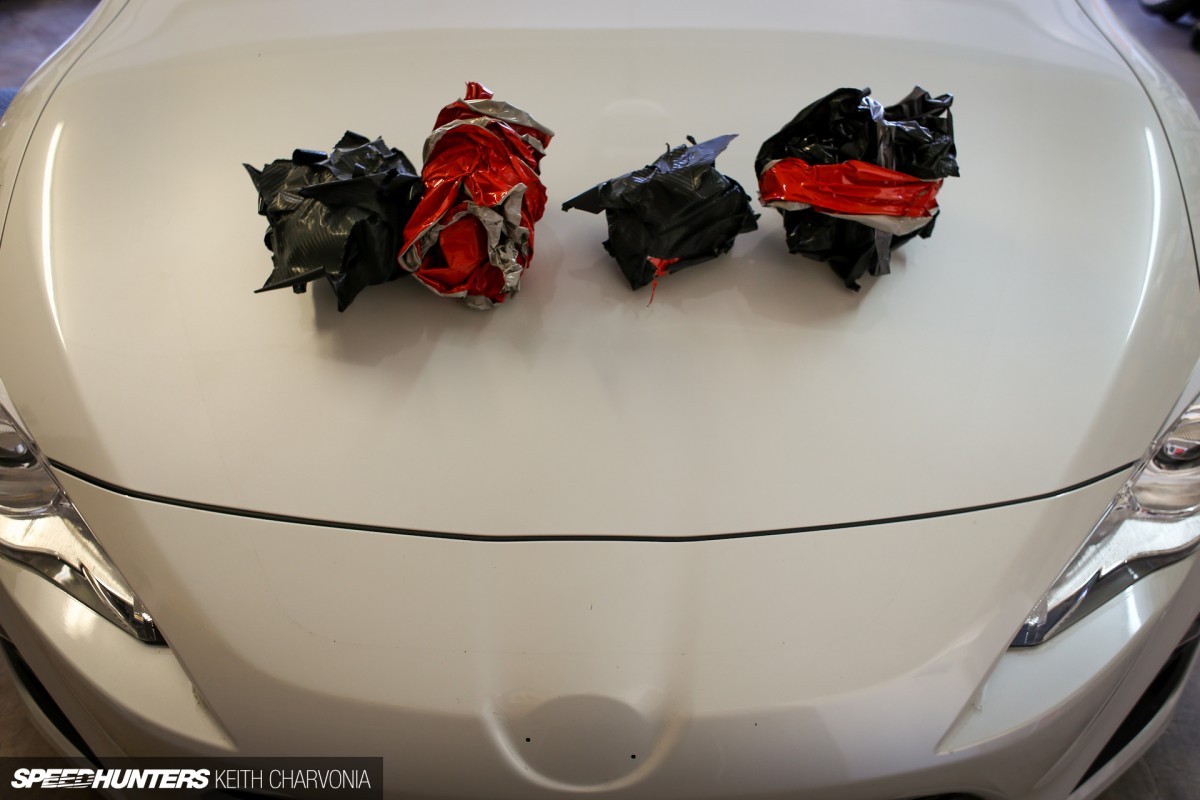
Over a few lunch breaks, I had all the vinyl peeled off. It came off pretty easily, and a heat gun helped in any tricky spots.
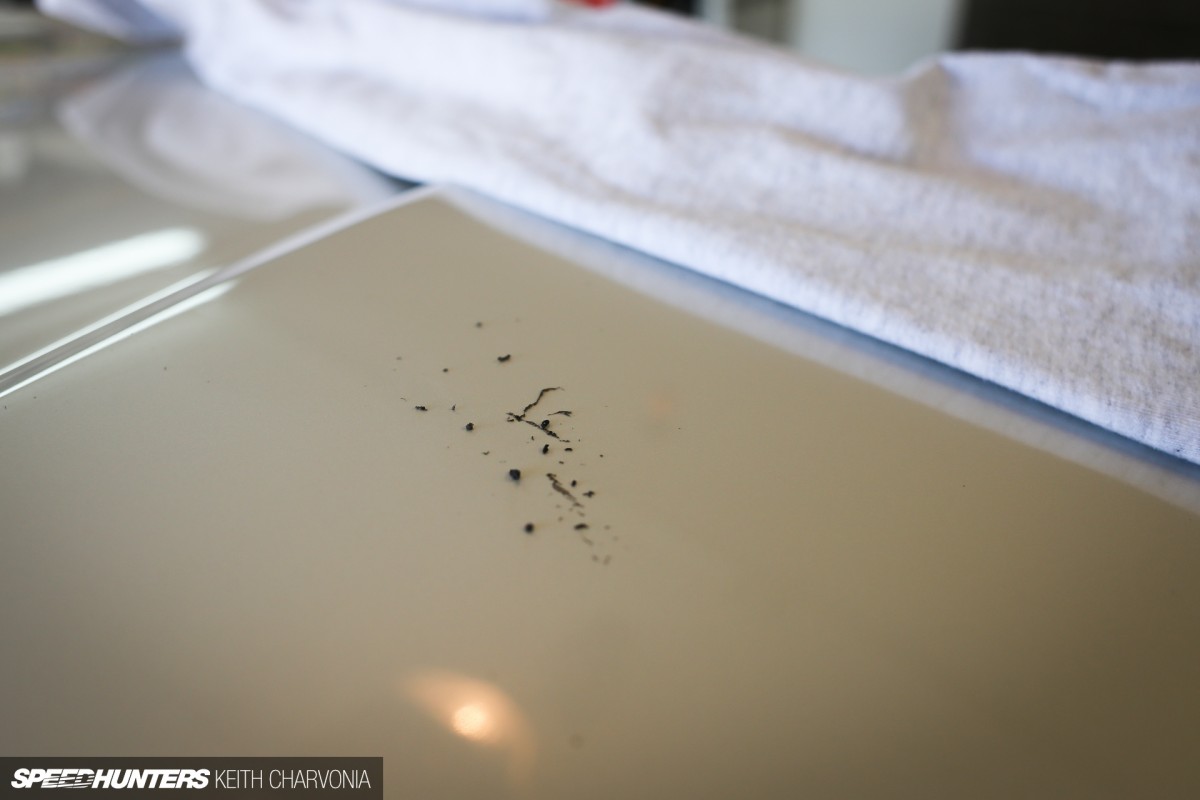
For the most part it left the car clean, but there were spots of sticky residue that I had to deal with.
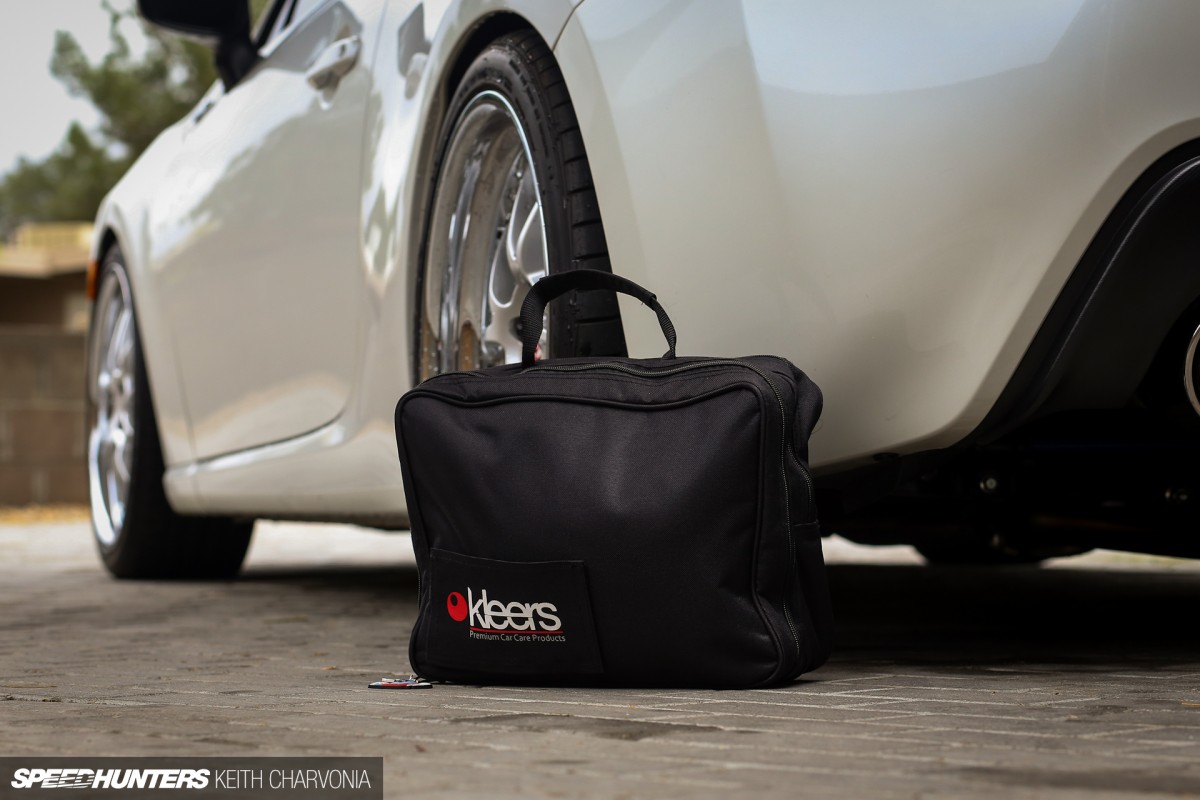
Fortunately I had yet another friend in the aftermarket to look to for advice. I emailed Andy at Kleers and asked what he recommended for a car that had just had a vinyl wrap removed. He told me to get out the detail kit he had sent to a few of us Speedhunters a while back and look for the Paint Cleaner and Finishing Wax.
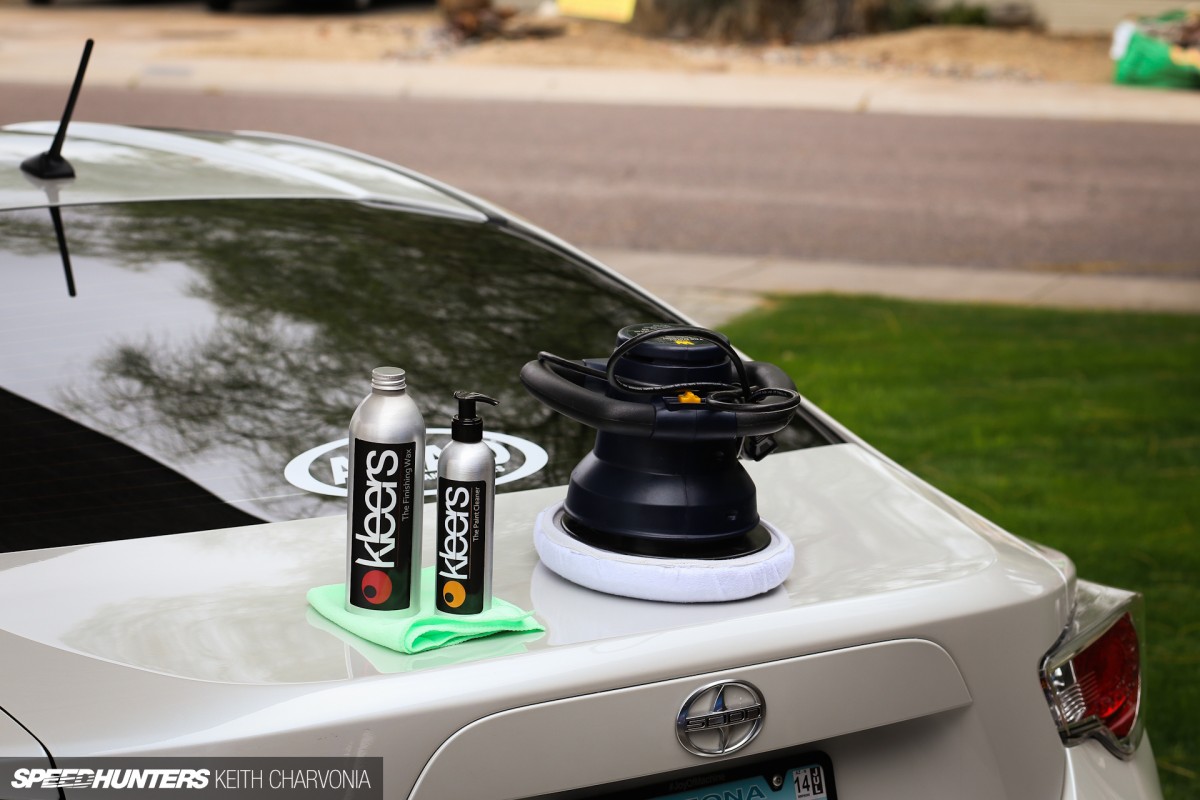
I’ll admit up until now I had only used the spray detailer and glass cleaner because I’m just too busy to spend a weekend detailing my car. The paint cleaner and wax are meant to be applied by hand, but Andy mentioned I could speed up the process with a low speed orbital buffer. I couldn’t have clicked the Add To Cart button faster.
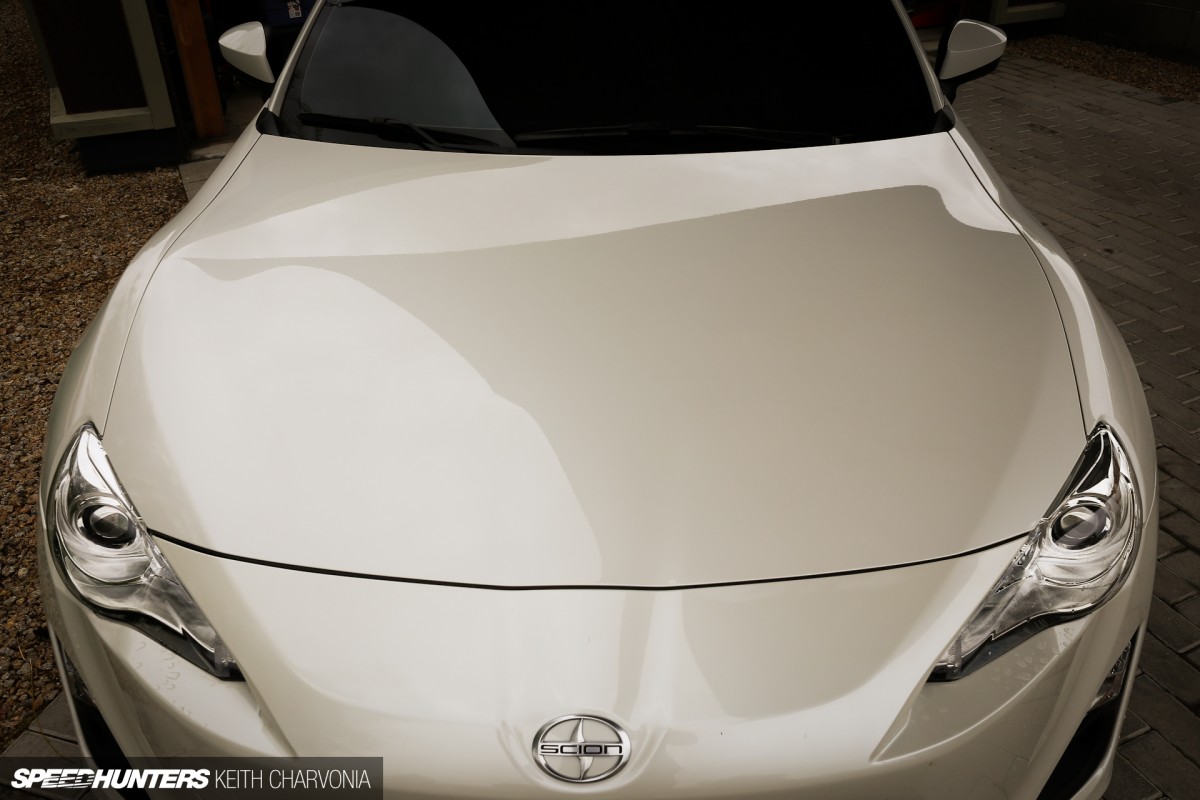
It only took about an hour to clean the paint and lay down a coat of wax with my new buffer, and here’s the result. Obviously it’s hard to show reflections on a white car, but it definitely removed any stickiness left behind and made the paint shine again.
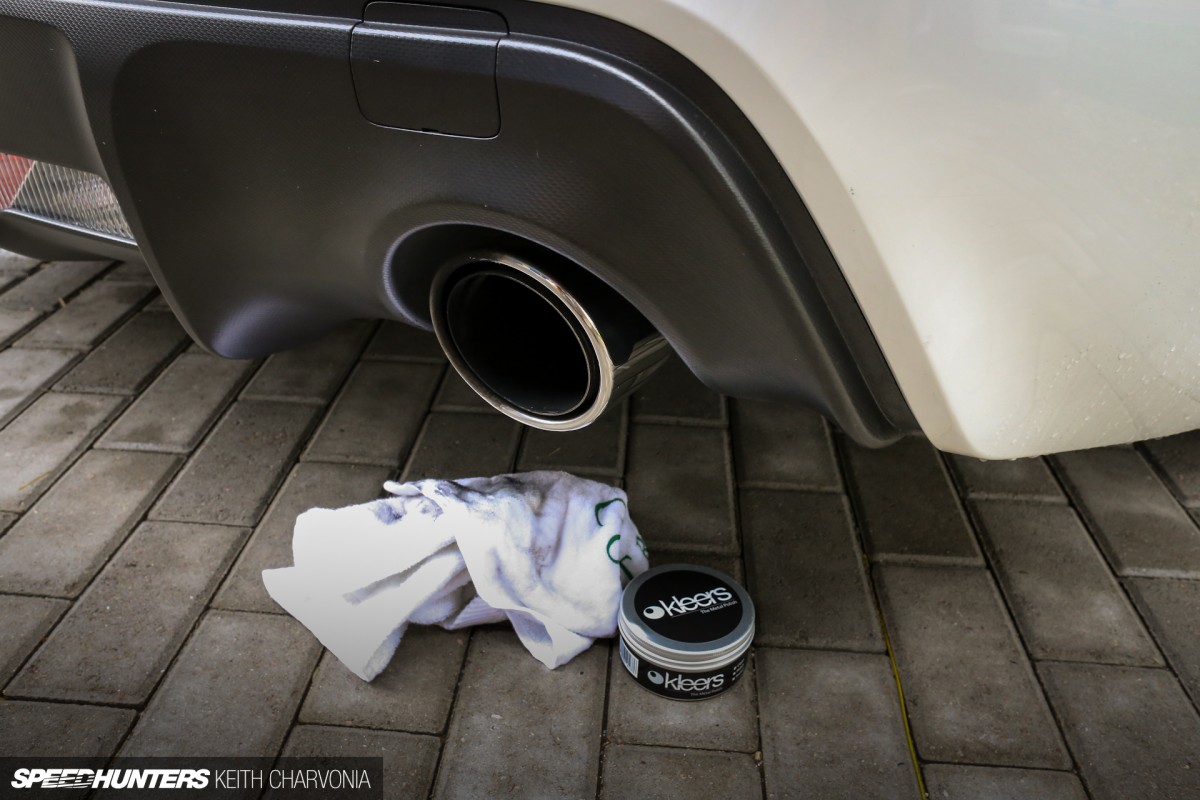
While I was washing the FR-S I noticed how nasty the Borla exhaust tips had gotten. Wait a minute, have I ever cleaned these? I got out some Kleers metal polish while nobody was looking and gave the dual tips a quick clean-up.
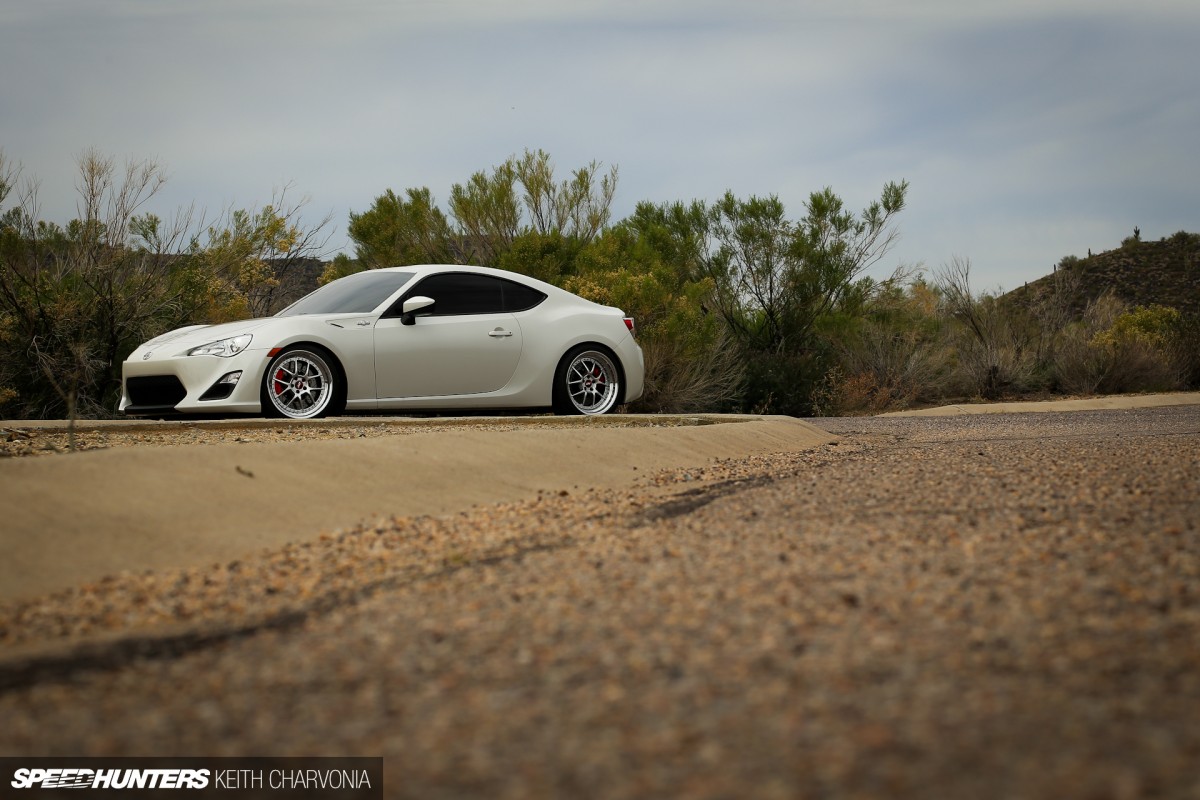
I’m enjoying my new stealthy-stock look now, although it took a few days to get used to. I’m also glad I got my cooling mods taken care of before summer so it’s one less thing I’ll feel rushed to do later. The car is really at a good stopping point now, with each area of the car having been modified with quality parts and everything working harmoniously together. I bet I can find something else to do though, in fact I’ll let you in on a secret… Plans are well underway for phase, three is it? Project car life, I wouldn’t have it any other way.
Keith Charvonia
Instagram: SpeedhuntersKeith
keith@speedhunters.com


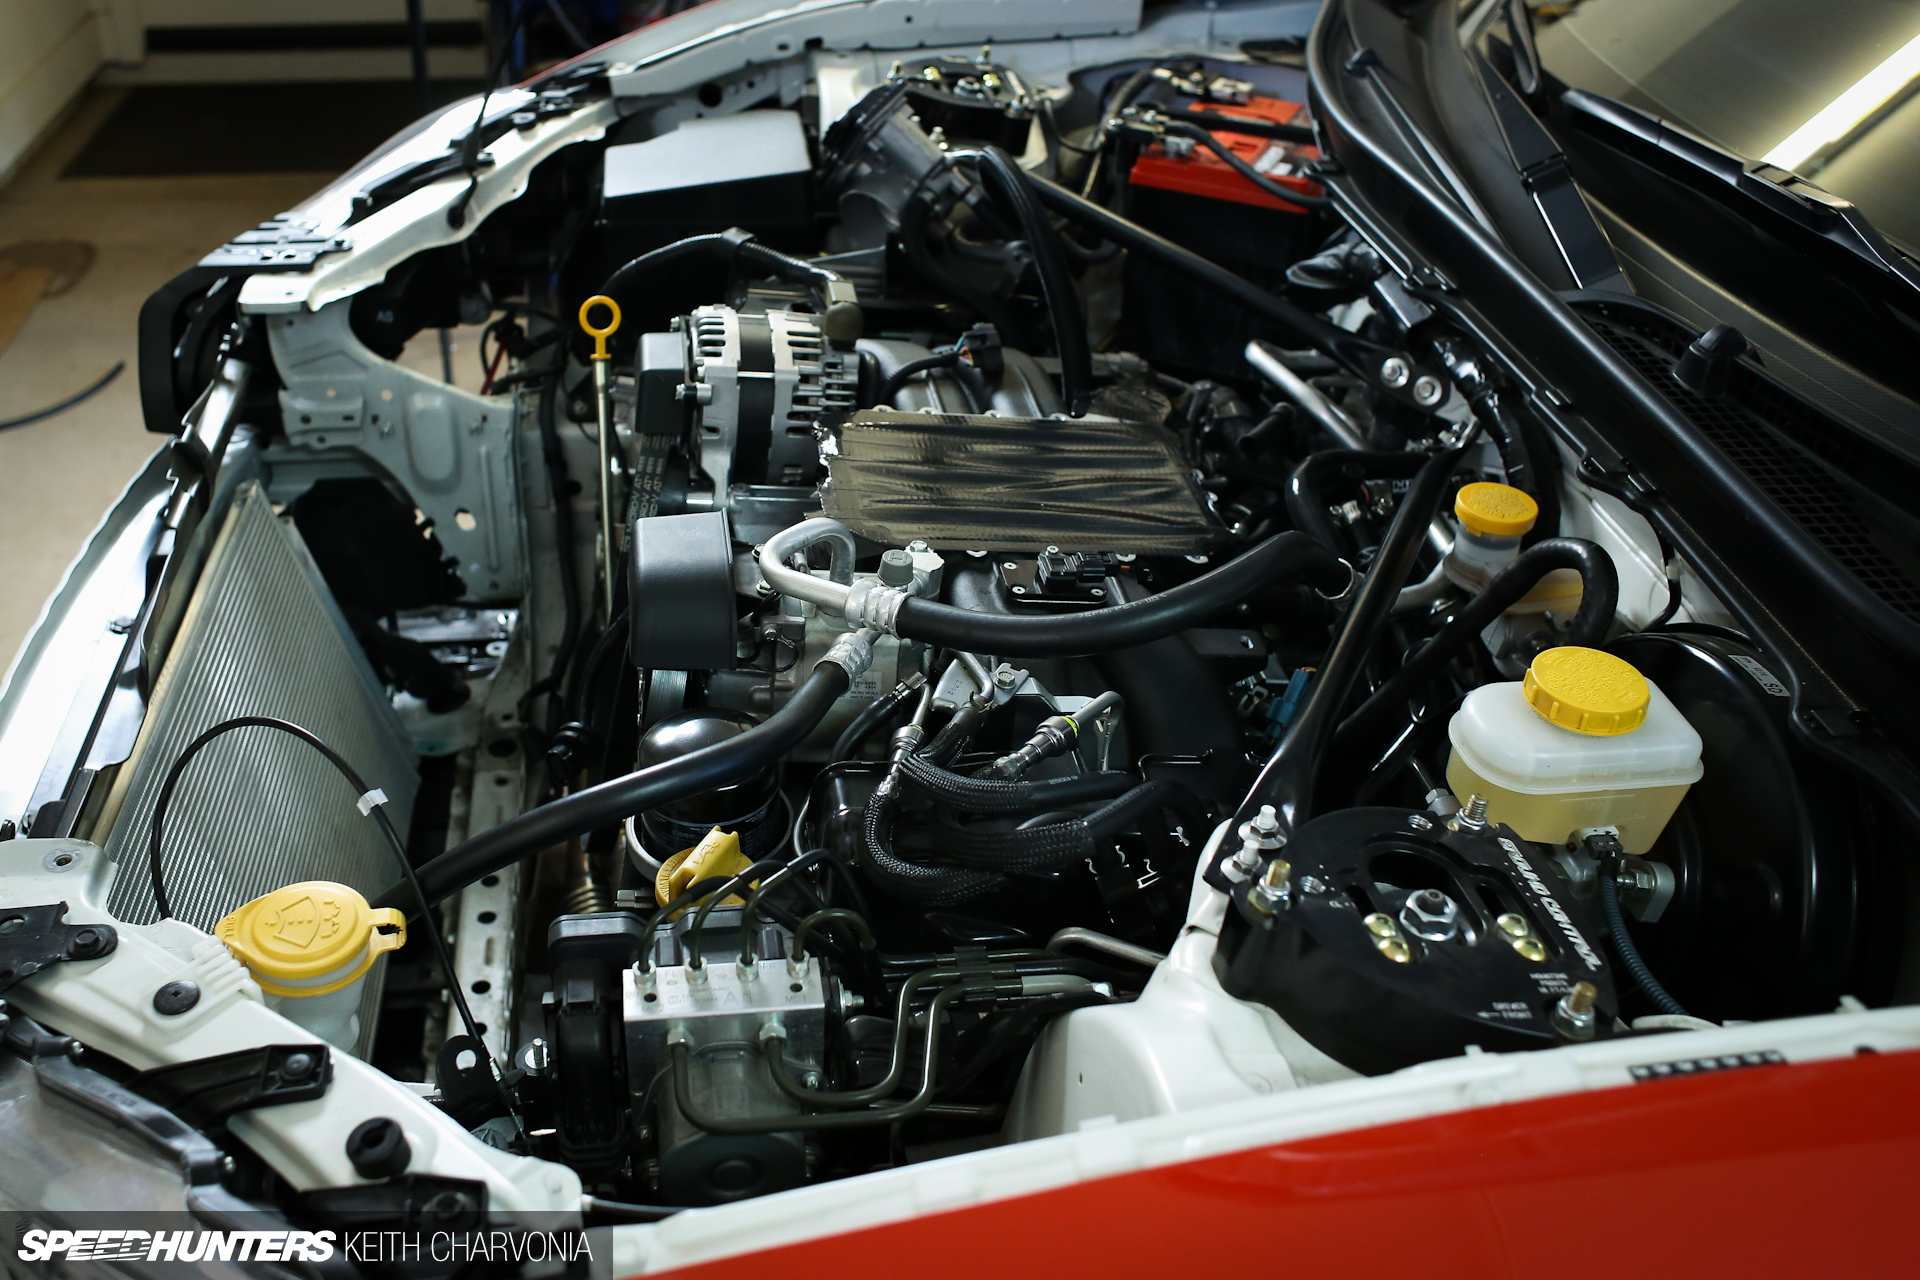




Great read...very interesting.
... Great Read Indeed. Lovely, less is more and all that Malarkey
Bullet also, have a Supercharger Kit, twinscrew type, im guessing yours is also ?.
Love the speed hunters project cars features.
maybe instead of just a catch can you should look into an air/oil separator? it keeps all emissions equipment intact (note, i dont know anything about arizona's emissions laws)
Well put together article and I thoroughly enjoy the attention to detail. I have to pick up a set of those plastic clip pliers!
Great article, love the detailed photos!
DJJAW11 Mine is a Sprintex unit sold by Innovate Motorsports. They took the Sprintex supercharger and made a cast intake manifold to adapt it to this engine.
RichG Thanks!
KeithCharvonia DJJAW11 ... Hi, Keith, I thought as much, (I should recognize them
via now!), many thanks, will be v good then. 80% + efficiency, I don’t wish to
start a debate, but overall twin-screw superchargers probable more suited to
real world road driving, over a turbo
DJJAW11 KeithCharvonia Right, everyone has their opinion about what is better. For me the simplicity of the system was the biggest draw, because it has far fewer parts than a turbo or centrifugal supercharger system. Easier install, cleaner engine bay and less stuff to break and keep an eye on.
"FRS blue coolant" Just curious, what type is it? Something really specialized I have to assume based on how you quote it haha. Just reminded me of the Pentosin NF my T5 Volvo takes.
BradHarvey I would have to check the bottle, but the guys at the Toyota dealer said it's brand new and ONLY goes in the FR-S. Maybe because it's the first Subaru boxer engine they have supported?
BradHarvey "Use either Super Long Life Coolant BLUE or similar high-quality ethylene glycol-based nonsilicate, non-amine, non-nitrite, and non-borate coolant with long-life hybrid organic acid technology"
Always wanted a set of yoshihara wheels for my s14a. They look great on the FR-S
Awesome, thanks for taking a peek. I was just trying to figure out if there was any specific engine related reason why it might be special coolant. Im not sure about silicates in the NF but I know it is amine, nitrate and phosphate free because of the really long change cycle Volvo recommends. Thanks!
KeithCharvonia BradHarvey I can see why they went for the catchy name!
Great write-up! I'm planning to buy a BRZ soon and this just gets my gut all tingly. Reminds me of when I bought my GS-R almost... 18 years ago? Wow. At that time the aftermarket was just getting to speed, and every now and then something new would come out (in the pre-eBay days you had to rely on your local speed shop to stay up-to-date.) The GT86 twins have definitely fit the space left by the compacts of yore. Thanks!
hey keith another great read glad to see the zn6 back in its stealthy state just curious if your going to change the wheel set up and go for an updated look
TBH I'm not very familiar with superchargers. Interesting to see the cooling solution with water-to-air and the mounting of the heat exchanger, very neat. It occurred to me that I've never thought about how intercooling is set up with top mounted superchargers before. If the supercharger isn't top mounted, I'm guessing the setup is more like on a traditional turbo setup?
Isn't the prefix inter a bit misleading btw? It's more like aftercooling than intercooling. That applies to turbo setups aswell I guess.
thehowardcolesel Yes I am, I have my eye on a few things right now.
The sp3 from ssr or the cr Kai's or maybee some vossens would be bad ass or something from VIP modular
@KeithCharvonia - so the 69mm pulley was a healthy gain over the stand 75mm pulley?
I take it your still running your normal tune (93 oct fuel) with it?
Also I heard the torque at 2000rpm is quite nice now?
I have a similar setup and just ordered a new pulley and nameless's el headers. Looking forward to installing.
Honestly with all the crazy iterations of this car, this is looking like one of my favorites. Subtle outside, nice wheels, and sweet caramel goodness inside the wrapper. Well done.
BenCamilleri Hi Ben, yes the 69mm pulley is a distinct gain over the 75mm. I think it's good for about 20 hp, but you can feel it a lot at low end. The car just wants to go now! I'm actually running on 91 octane since that's what's available here. We have E85 across town and I could make much more power with it, but it's not convenient so oh well. I'm more concerned with having a reliable car that drives great than making peak power. I have a dyno 20 feet from my desk and I haven't even put my car on it since the supercharger!
AAhhhh now it look good Love your car, great writeup!
Much better!
Looks great!
Mr_Scarpelli Thanks! See you at FDLB.
Hey Keith, did you keep your a/c? I have noticed a lot of cars with aftermarket cooling ditch it. I think its something to be saved though, summer heat sucks for sitting in traffic ext.
KeithCharvonia - sounds good buddy!
LoganJJJ Yes I still have AC, I couldn't imagine not having AC in Arizona. The CSF radiator and the Innovate intercooler fit just fine with the stock AC system. Everything works great together!
KeithCharvonia LoganJJJ I went 4 straight summers without AC in my car while in college. Very happy to have AC finally! It's torture not having it here in AZ.
The idea of changing pulleys is much more appealing to me than the equivalent on a turbo'd car.
Are you going to change the Scion badge to a Toyota one? Coming from the UK where we don't have Scion, it just seems sort of wrong.
I'd love an 86 to fiddle with too, the huge aftermarket support seems refreshing, and how so many things seem to just work,and are designed so well.
Great read! And with matching photos to boot. Thanks!
robzor KeithCharvonia LoganJJJ I've been there too, I'm not going back!
this site really needs a forum for our own projects