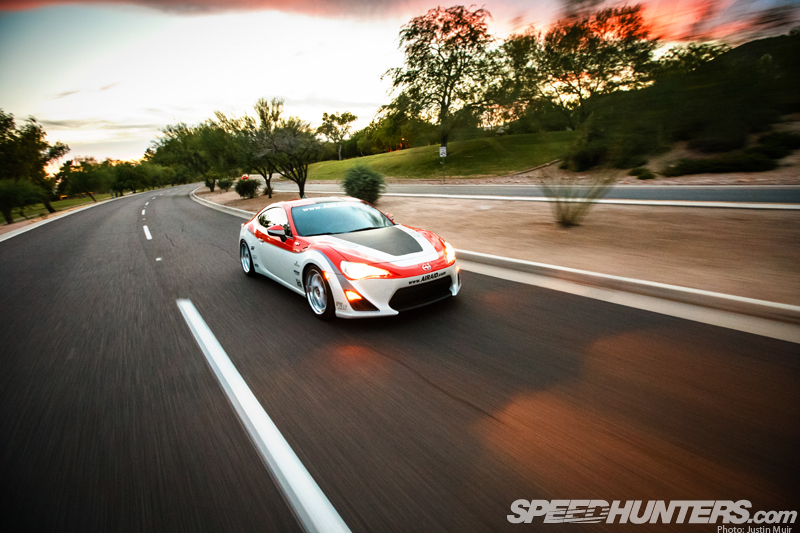
I’m known as the hot rod guy around these parts, so I’m guessing a lot of our readers will be surprised to learn that my daily driver is a modded ZN6. I built the car for my employer, Airaid Filter Company, to display in our booth at last year’s SEMA show. I loved it so much that when my company put it up for sale I was the first in line to buy it.

Of course, since it was built as a SEMA car it was designed to grab attention, hence the graphics and logos. The next phase of this fun little car’s life will be as a daily driver and Speedhunters project car, so it will be changing quite a lot over the coming months.

The first project I’ll be doing is installing this SuperPro Master Kit for the ZN6 which includes every bushing you can change out on the chassis.

SuperPro is an Australian manufacturer of performance suspension components like these bushings. I’ve had my reservations about polyurethane bushings, but they use a proprietary blend that not only improves handling and stability, but does so with no increase in noise or harshness. You can read more about this here.

SuperPro also prides itself on precision engineering – something I started to notice as I opened each package. The steel sleeves are machined to tight tolerances and the bushings are knurled and grooved to retain grease and reduce friction at pivot points. The ability to hold grease means you don’t have to keep taking your suspension apart to re-lubricate the bushings.

They also sent sway bars – front and rear.

I had already mounted a set of KW V3s and honestly was plenty satisfied with the set-up as it was. Not only do the V3s handle well, they are by far the nicest riding lowered suspension I’ve owned – a good quality in a daily driver.

The first bushings I set my sights on were those that held the rear crossmember to the unibody. The crossmember supports the rear differential and suspension, so taking up the slop here should make the car feel tighter.

I was pleased to see that this was an insert and not a complete bushing because I knew this would make the installation much easier.

There are four mounting points so I removed one bolt at a time and used a large pry bar to sneak the upper bushing into place.

Here you can see how the inserts are molded to fill in the gaps in the factory bushings.

Moving to the front mounting points I did the same with my pry bar…

… and loosened this bracket to slide the lowers into position.

Here’s the finished installation of the rear crossmember inserts.

While I was under the rear of the car I turned my attention to the sway bar.

The spindly stock unit is apparently 14mm.

I used a ratcheting wrench to turn the end link nuts off. This is helpful in case they spin, as you can use a hex key through the open end of the wrench.

The SuperPro sway bar was in place in minutes. I used the furthest end link mounting position since the instructions recommend you start at the softest setting.

The calipers show the new bar is 19mm in diameter, but it’s actually 18mm plus the thickness of the powdercoat.

SuperPro also has its own aftermarket end link coming, so we’ll touch on those in the next installment.

Moving to the front of the car I pulled down all of the skid plates that cover the belly of the car.

I removed the steering rack bolts and let it hang down a bit so I could get to the bushings. There’s no need to unhook the tie rod ends to swap the rack bushings.

I used a large socket that fit over the bushing on one side, with a long bolt that would draw the stock bushing out as I tightened it.

This worked well and the bushings came right out.

Once the bushing was most of the way out I was able to grab the socket and wiggle it the rest of the way.

The SuperPro bushings are two-piece with a machined steel sleeve, so you just pop one half in each side, grease the sleeve, and slide it in.

While I was under the front of the car I pulled out the front sway bar…

…which measured 18mm…

… as compared to the 20mm SuperPro version.

I applied plenty of the supplied grease to the frame-mounted bushings and again attached the end links in the furthest mounting position.

Here’s the finished product with sway bar and steering rack bushings installed.

There are a lot of bushings left to install on all the control arms, but I thought to finish this story I would give a quick demo using parts that I’ve already removed from the car in favor of more adjustable aftermarket parts.

I have a little five-ton bench top press which I attempted to use to press out the rear toe arm bushing. No dice.

The instructions call for a torch to heat the rubber part of the bushing.

With the press maintaining a stretch on the bushing I applied heat with a propane torch.

Soon I heard some cracking sounds and the rubber part separated from the outer sleeve.

Next I clamped the toe arm to my work bench and used an air chisel to carefully cut away the remaining sleeve.

Now I had the bare arm into which I could install the SuperPro bushing.

Each pack is clearly marked and comes with its own pack of grease.

After applying grease to the inside of the bushing and the outside of the sleeve I slid the sleeve into place.

Another part I had already removed from the car was the stock rear lower control arm (LCA).

Again I put pressure on the bushing…

… and applied heat…

… until the bushing popped out. By the way, it would be wise to clean the factory goop off the arm before doing this. It does make a mess.

Here’s the SuperPro bushing and sleeve installed in the rear LCA. Notice the ridged edge of the bushing – this is the knurling that is designed to retain grease and reduce friction.

So how does it drive? I have to say I thought the car was tight before, but the addition of these SuperPro parts has made me realize there was more to be had. The car corners even flatter, and there is less slop in the chassis while launching and shifting too. Steering feel is definitely more precise and responsive, with no NVH penalty that I’ve felt in the last week of driving with these parts installed. I’m off to buy a bigger press now, so stay tuned for the next story where I’ll install the rest of the suspension bushings.
In the meantime, what would you do if you got your hands on a former SEMA show car? We would love to hear your thoughts in the comments section.
Words and photos by Keith Charvonia
Instagram: SpeedhuntersKeith
keith@speedhunters.com
Rolling shots by Justin Muir
More Project Car stories on Speedhunters
More stories about the ZN6 on Speedhunters
OFFICIAL SPEEDHUNTERS SUPPLIERS


Great article! What kind of lift is that (brand/model?) Thanks!
@JCB It's an Atlas Kwik Bay 7000 lb mid-rise. I can't imagine working on cars without one after using it for a few years.
@mike jones Still good.