
An update on Project Workshop is well overdue, so allow me to rectify that today with a progress report on my Japanese home garage fit out.
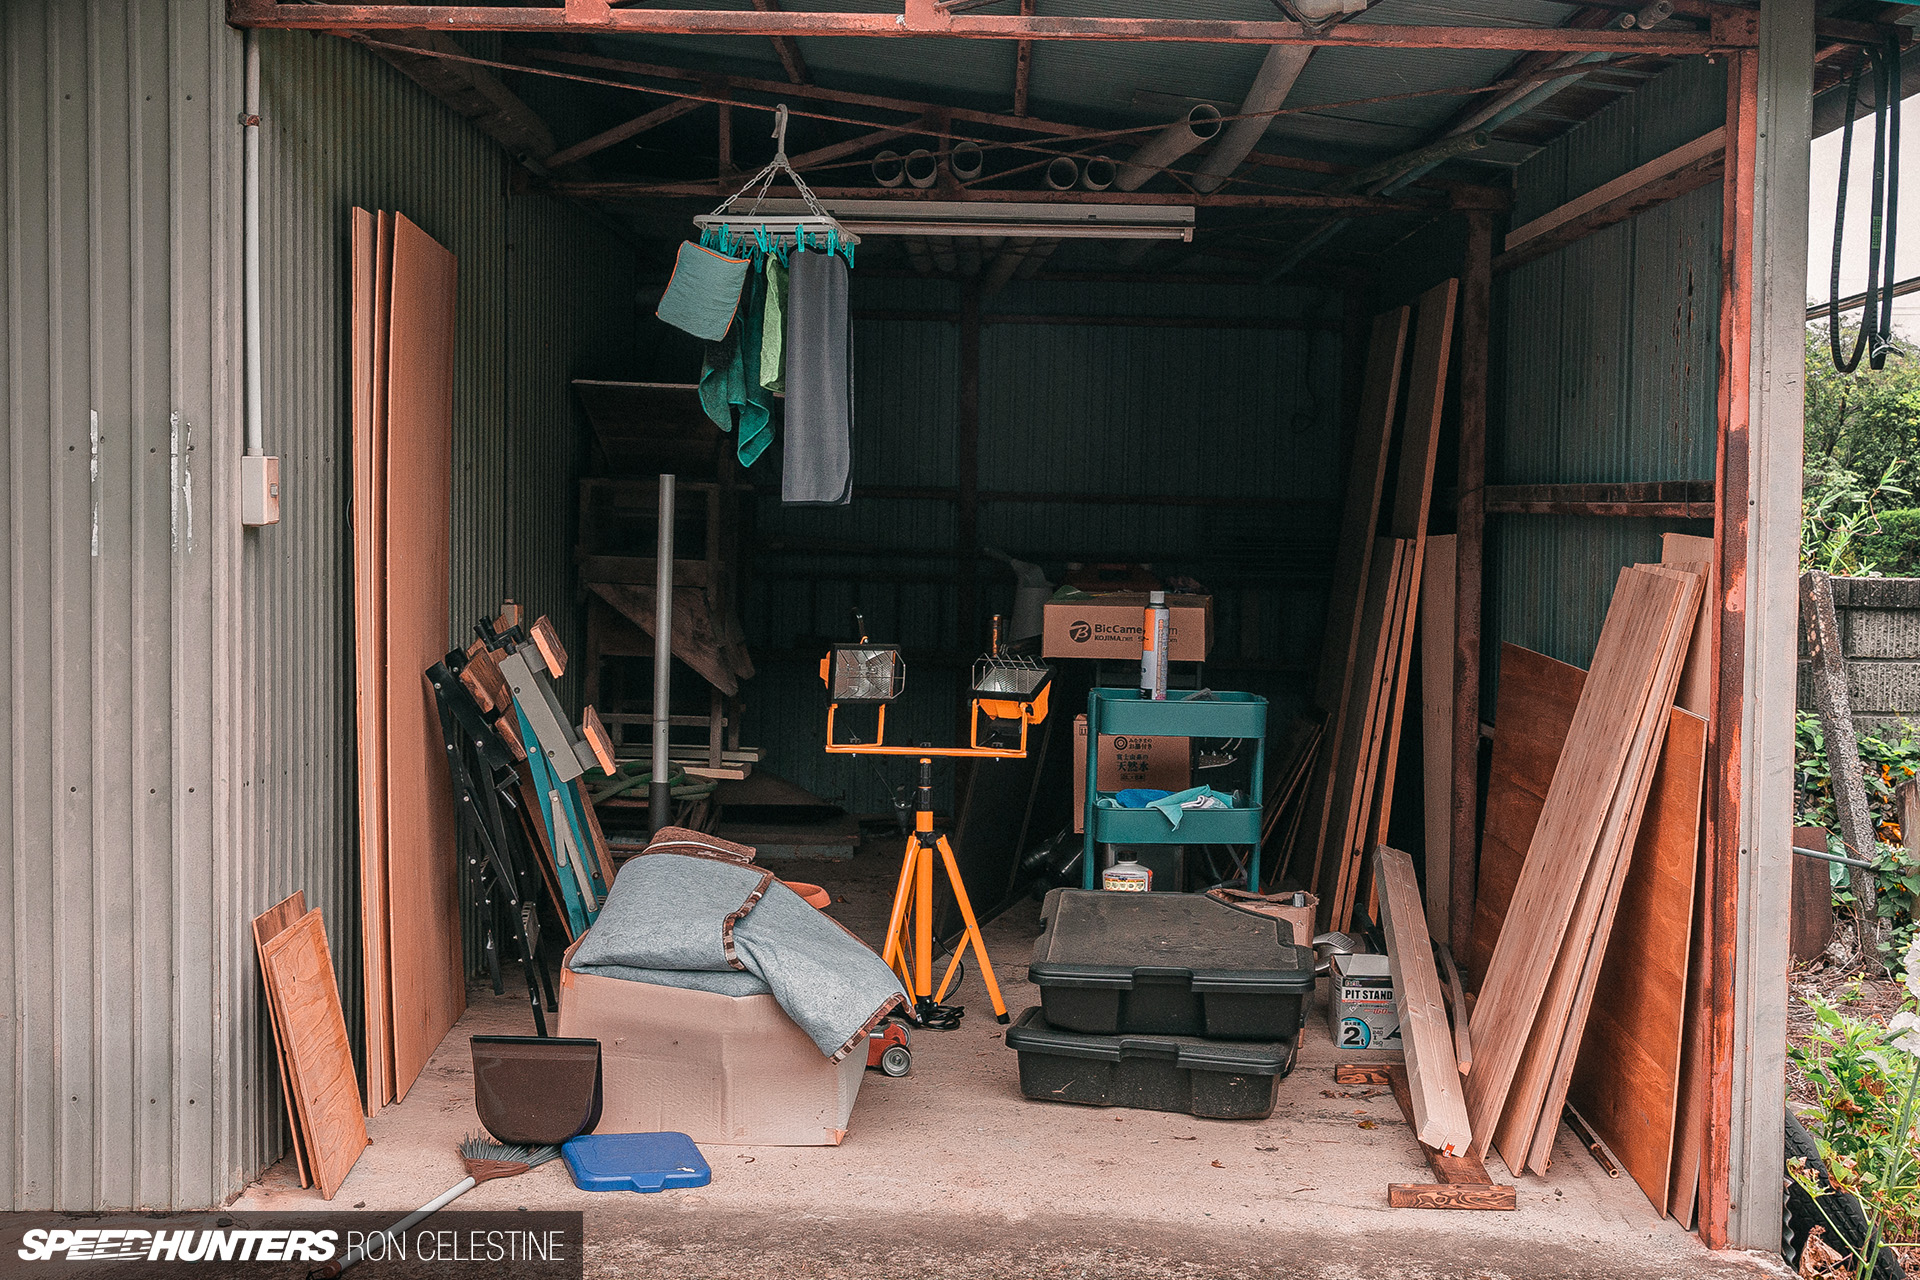
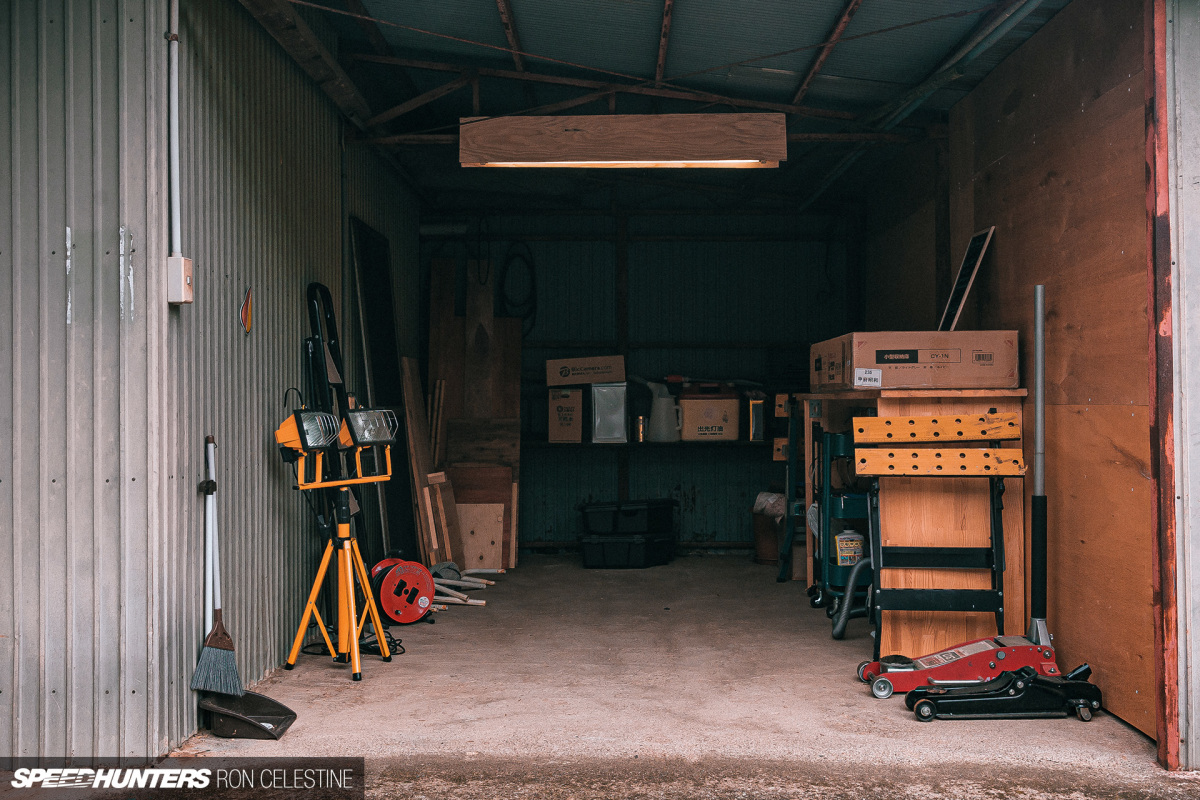
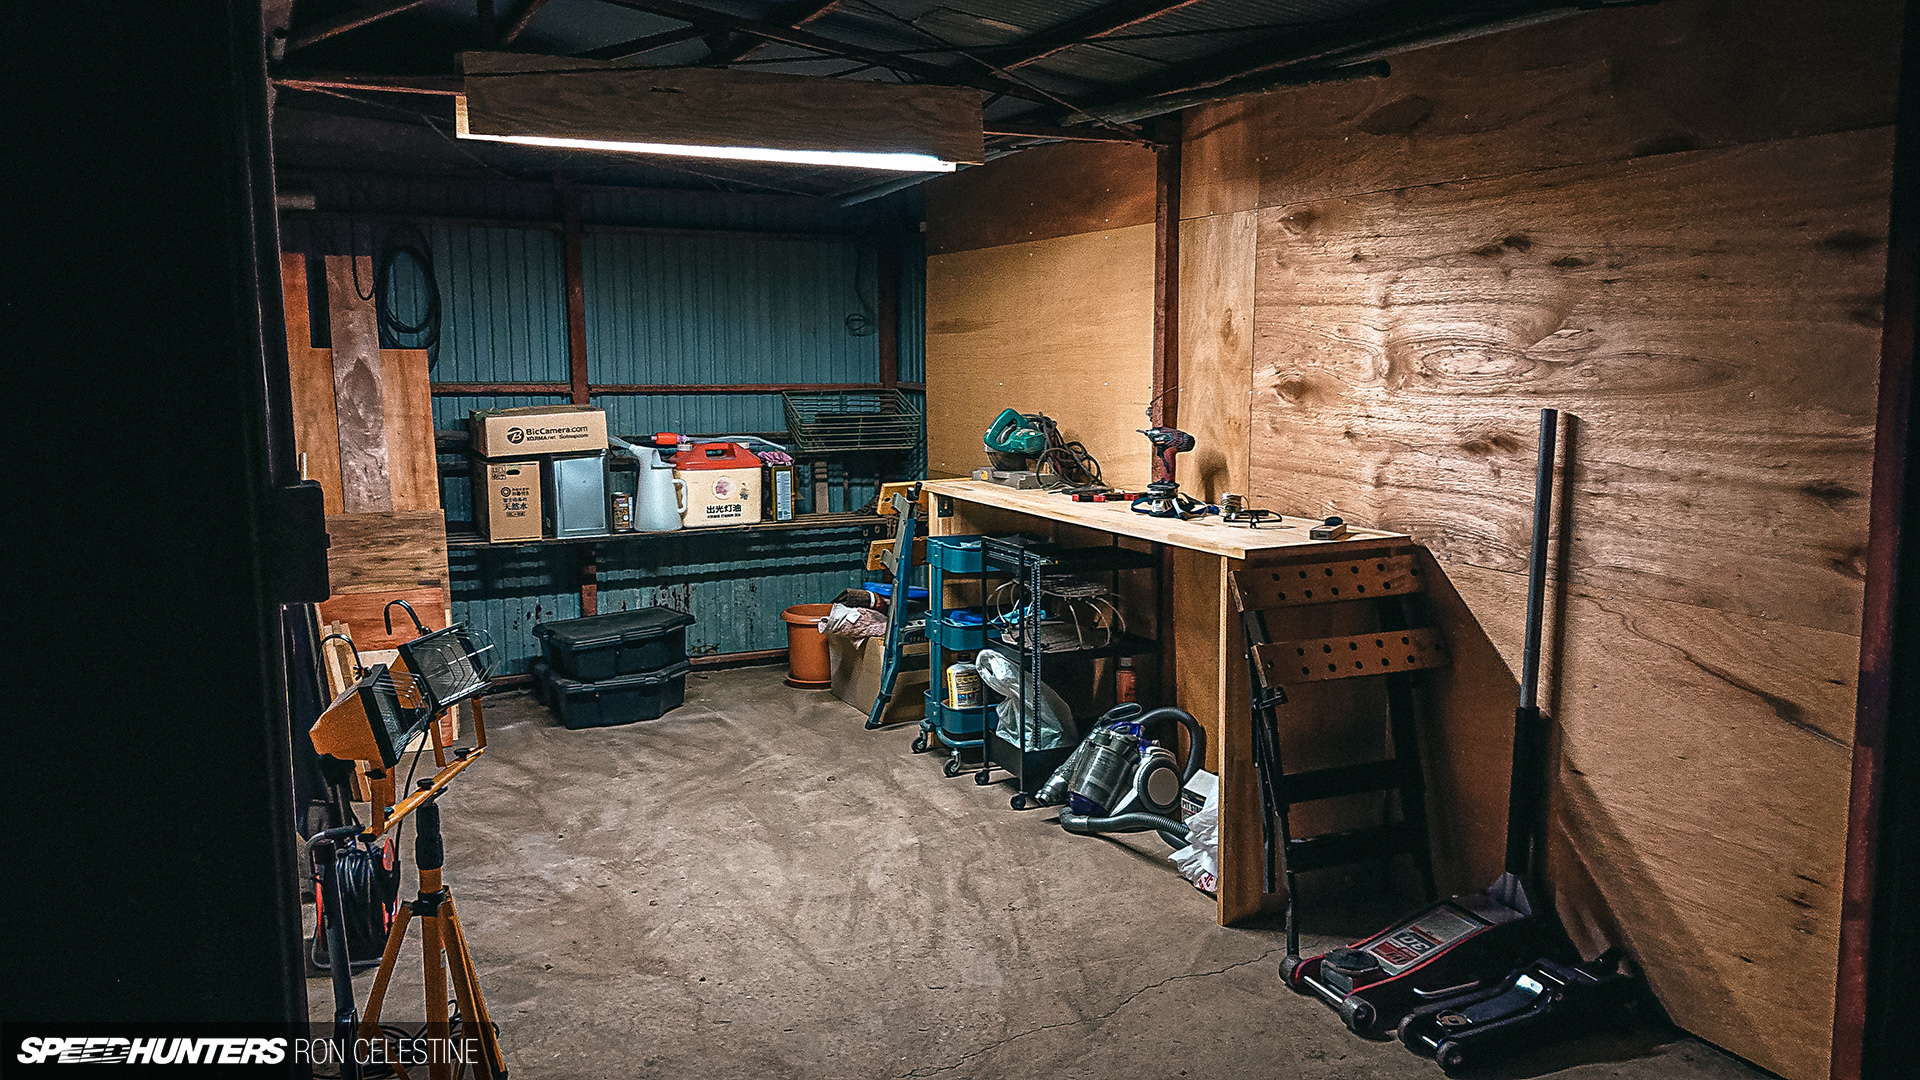
When we left off, the space was a mess of spider webs, dust, rusty old tools and appliances, and other random items from our big move to the countryside from the city.

Before I could start creating my new garage space, I needed to consolidate and relocate the old equipment and appliances to another area. The toumi (traditional rice de-husking machine) was much lighter than I thought it would be, but the refrigerator was, well, a refrigerator.

Not only that, but the area I needed to move it to was across the stone driveway. The refrigerator wouldn’t roll on this loose surface of course, and I didn’t want to throw my back out while lifting it, so I used some leftover plywood from a house project to make a small path. Once the refrigerator was at the end of it, I simply moved the plywood sheets again and repeated the process until I reached the other side.
With everything cleared out of the way, I began working on creating a new inside wall for the workspace. Seeing that we are renting the house and don’t own it, I didn’t want to permanently alter the space, just in case the owner ever wants to revert it back to its previous state. I don’t want to dump a ton of money into it either. So the goal is to create a space that feels safe to work in, motivates and encourages creativity, and securely houses my tools and parts – all on a very small budget.
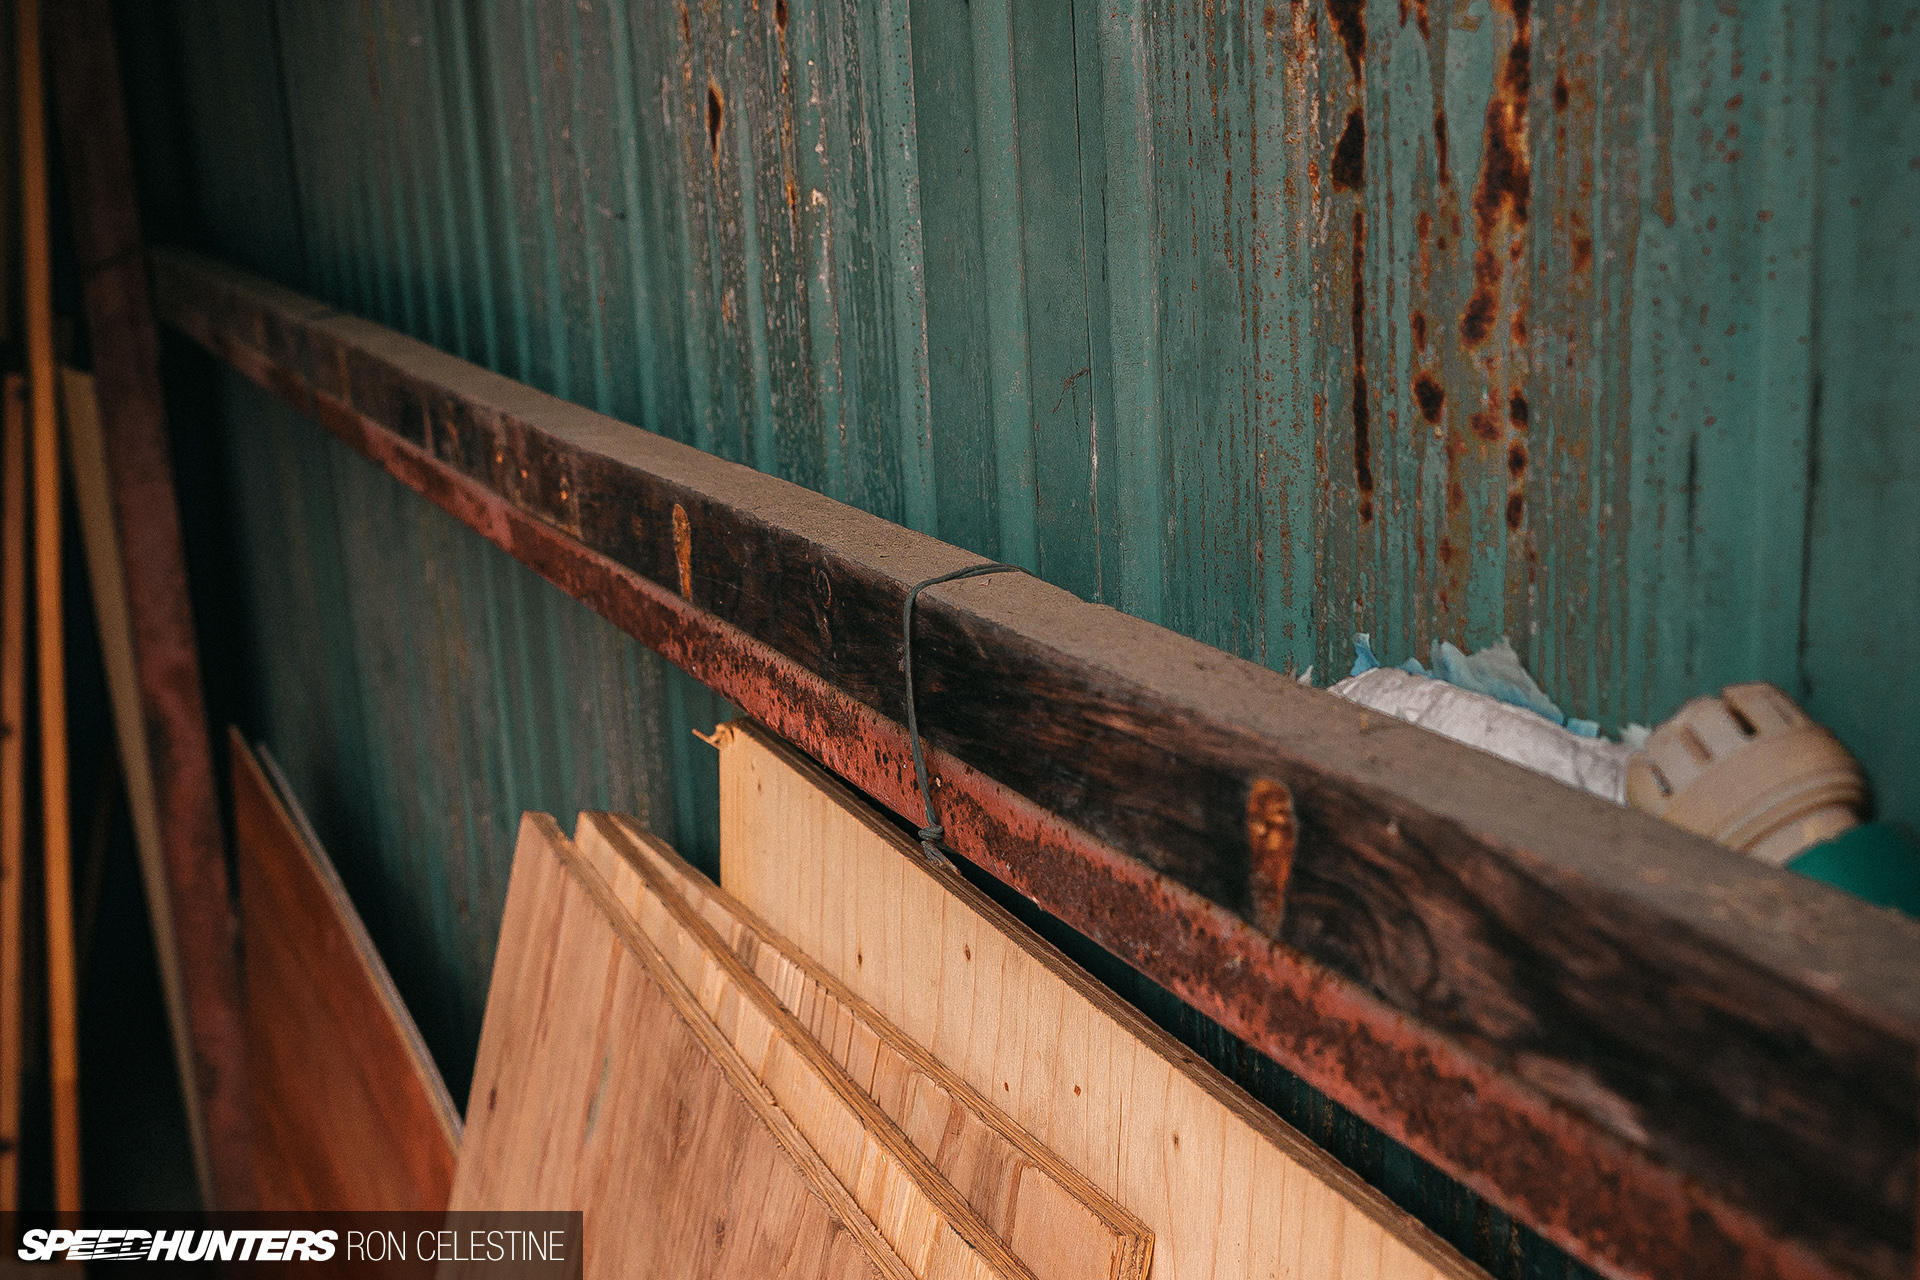
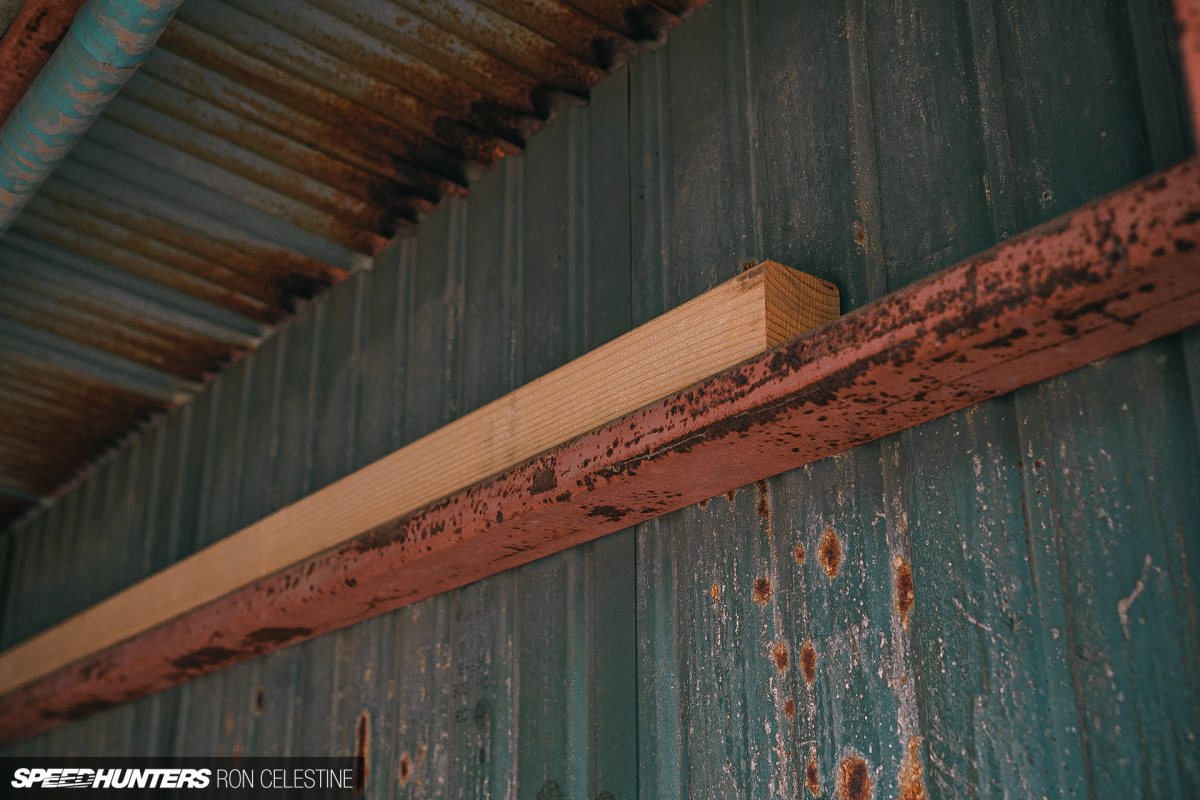
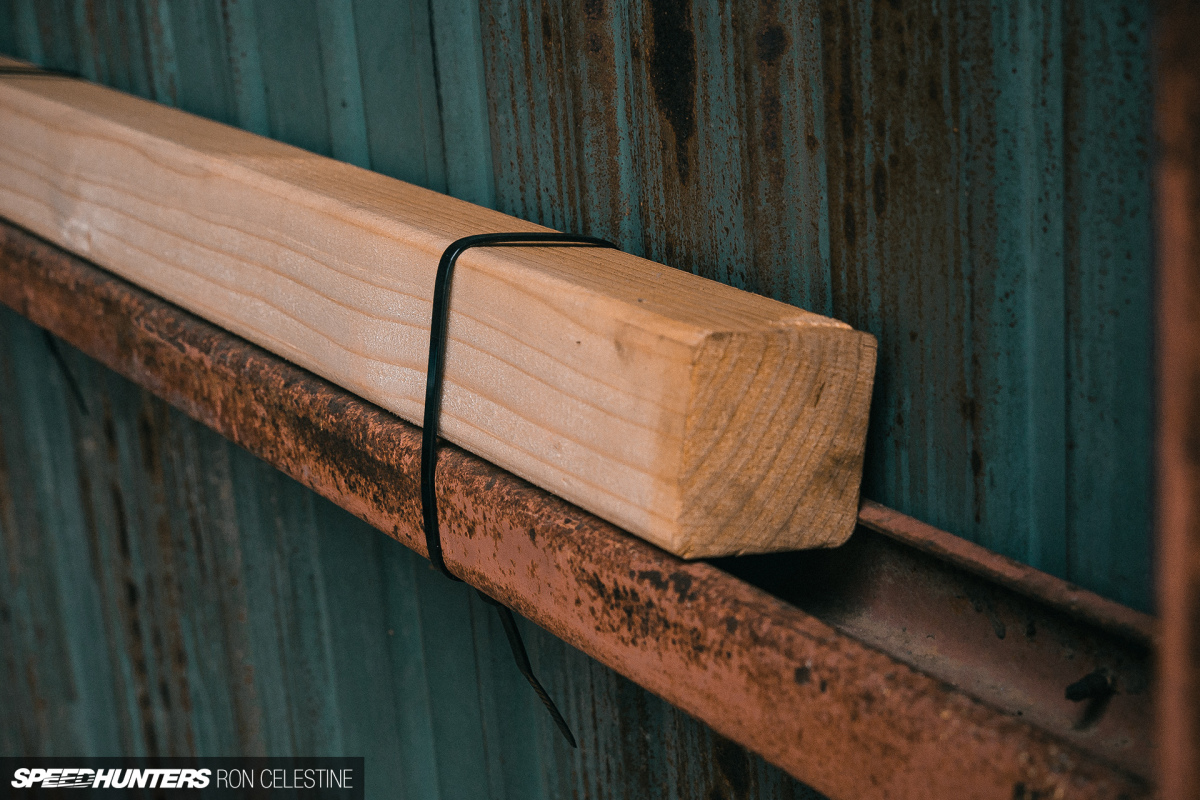
The first thing I noticed was a piece of old wood tied to the top of one of the wall’s horizontal steel frame beams. The wood was drilled and seemed to have previously had hooks attached for hanging various tools. It’s a good idea, and one I decided to replicate across the entire wall using the strongest plastic zip-ties I could get my hands on at the local home center. My reason for adding this wood was a little different though.
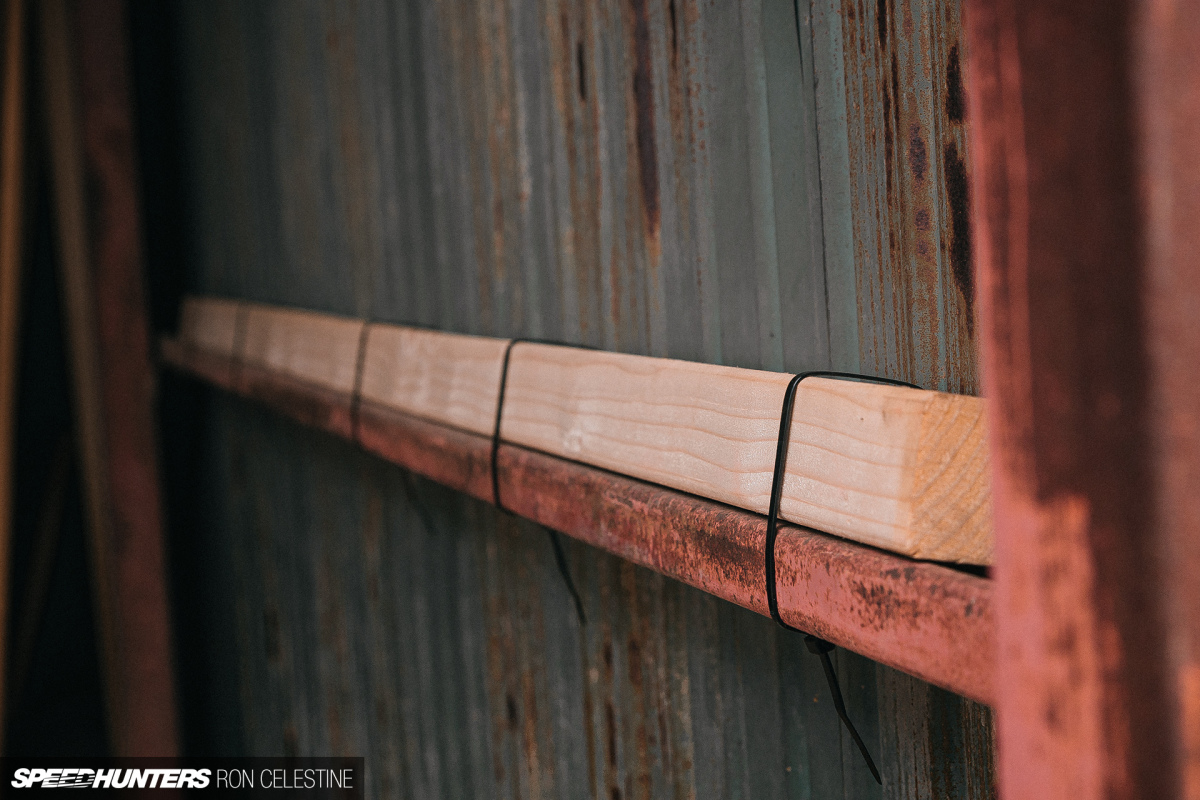
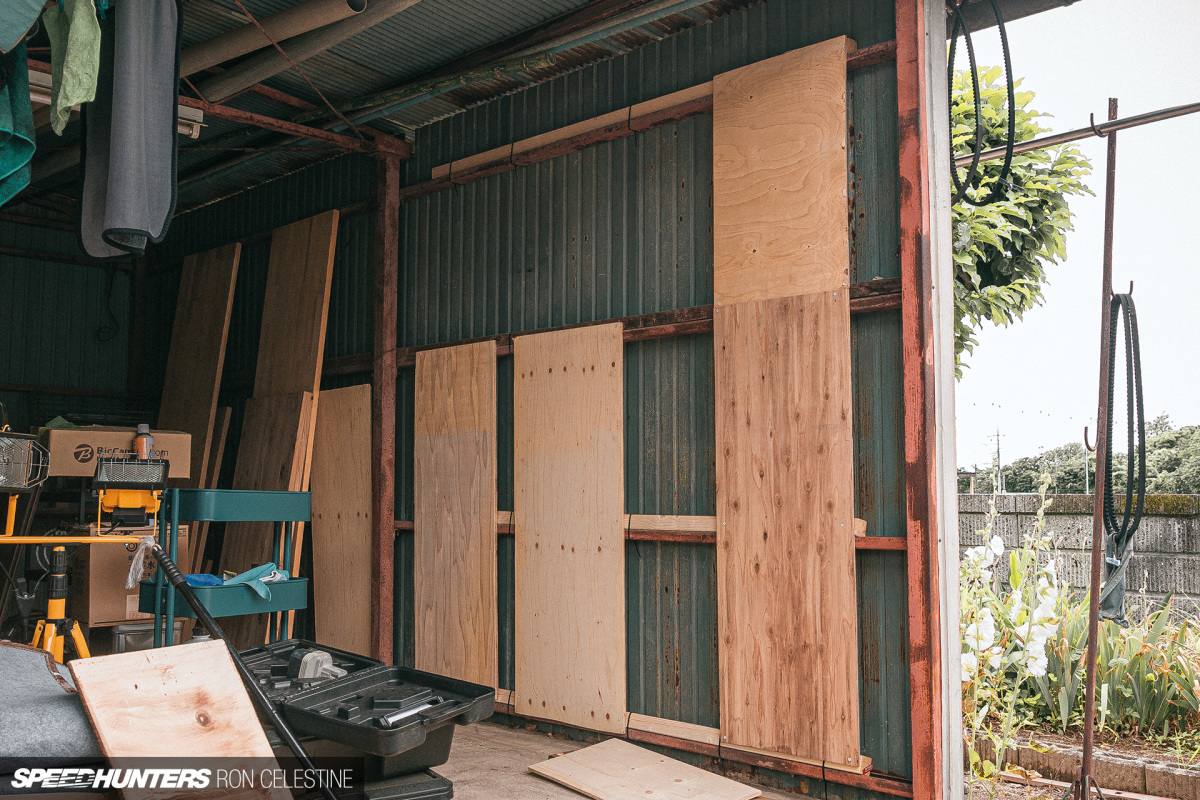
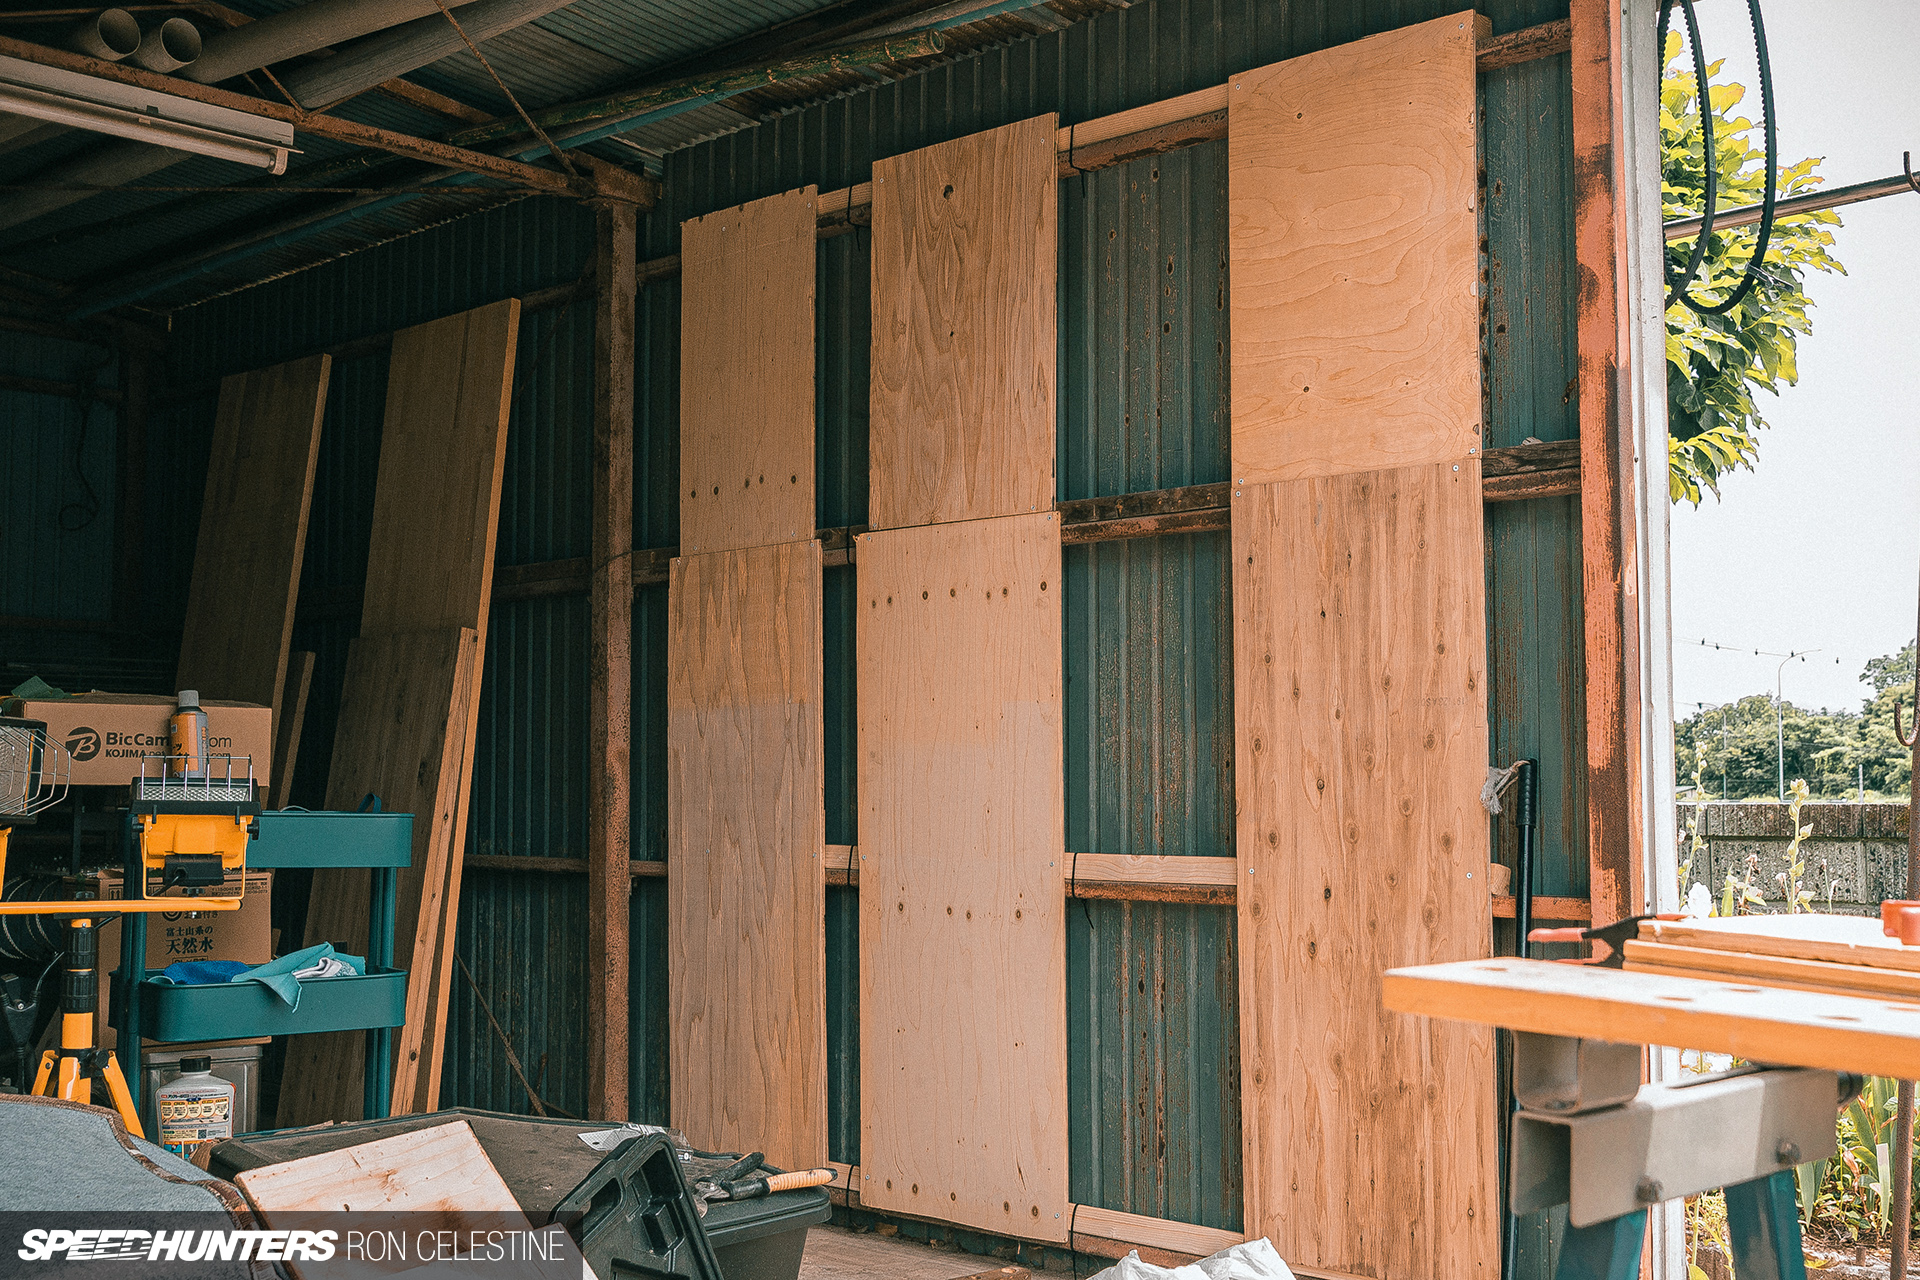
With the wood/zip-tie combo acting as framing, I attached plywood vertically to the supports. The idea behind this step was to not only add a bit of rigidity, but to give me something to screw into when I laid another layer of plywood, this time horizontally.
Here’s what it came out like.
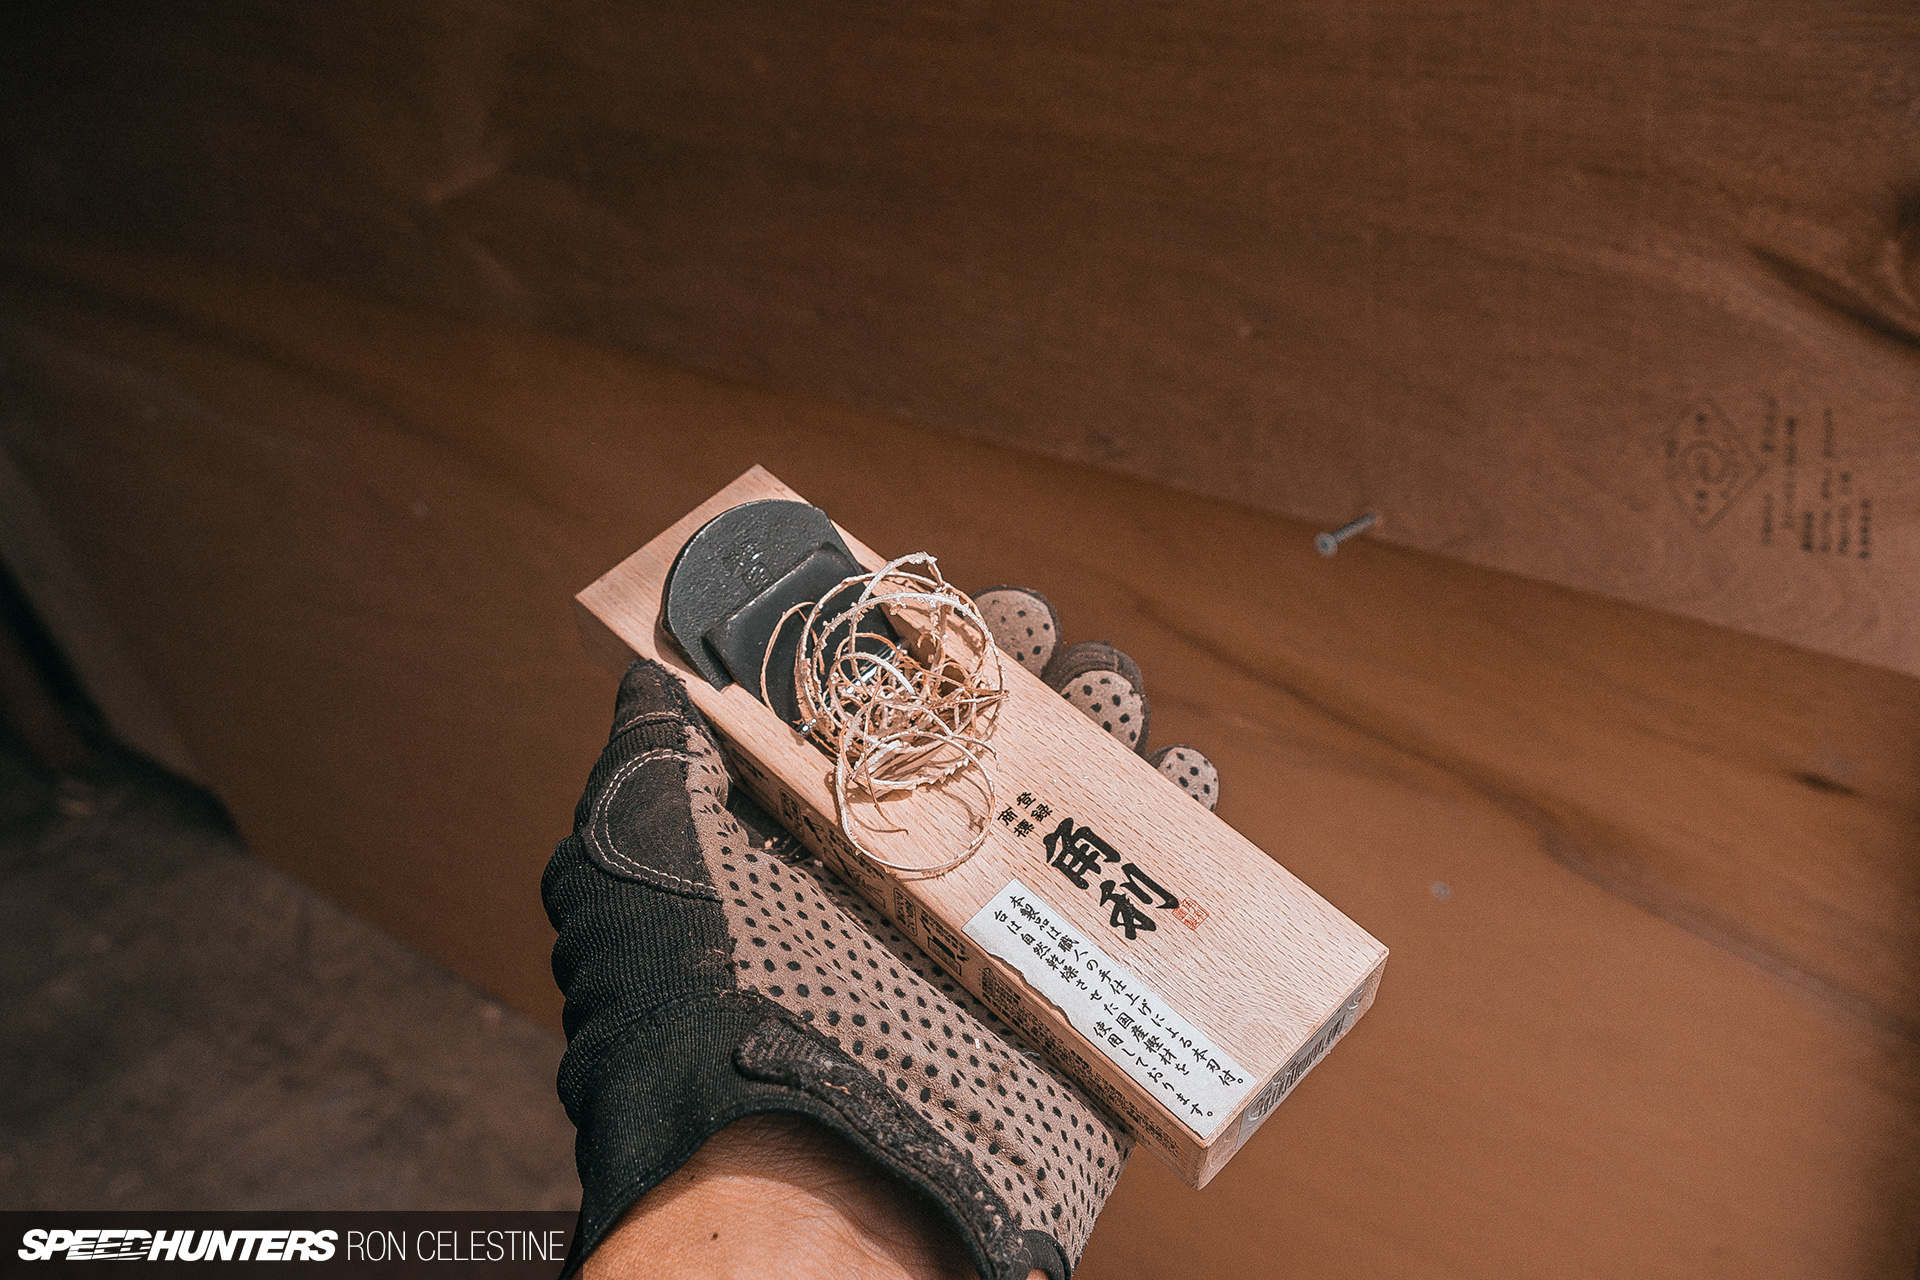
I used hand planers when I lived in America, but up until this point had never used a Japanese-style one (kanna), so I was pretty keen to learn on this project. Unlike the planers I’m familiar with, where adjustment is made with a knob, you actually have to strike the kanna up front, behind and on the locking stone with a hammer to adjust it. You also pull the kanna rather than push like you do with most hand planers.
To say the kanna learning curve was a steep one would be an understatement, but with some sage advice from my father-in-law, I was able to true up the edges and remove just enough material to fit the ply sheets together perfectly.
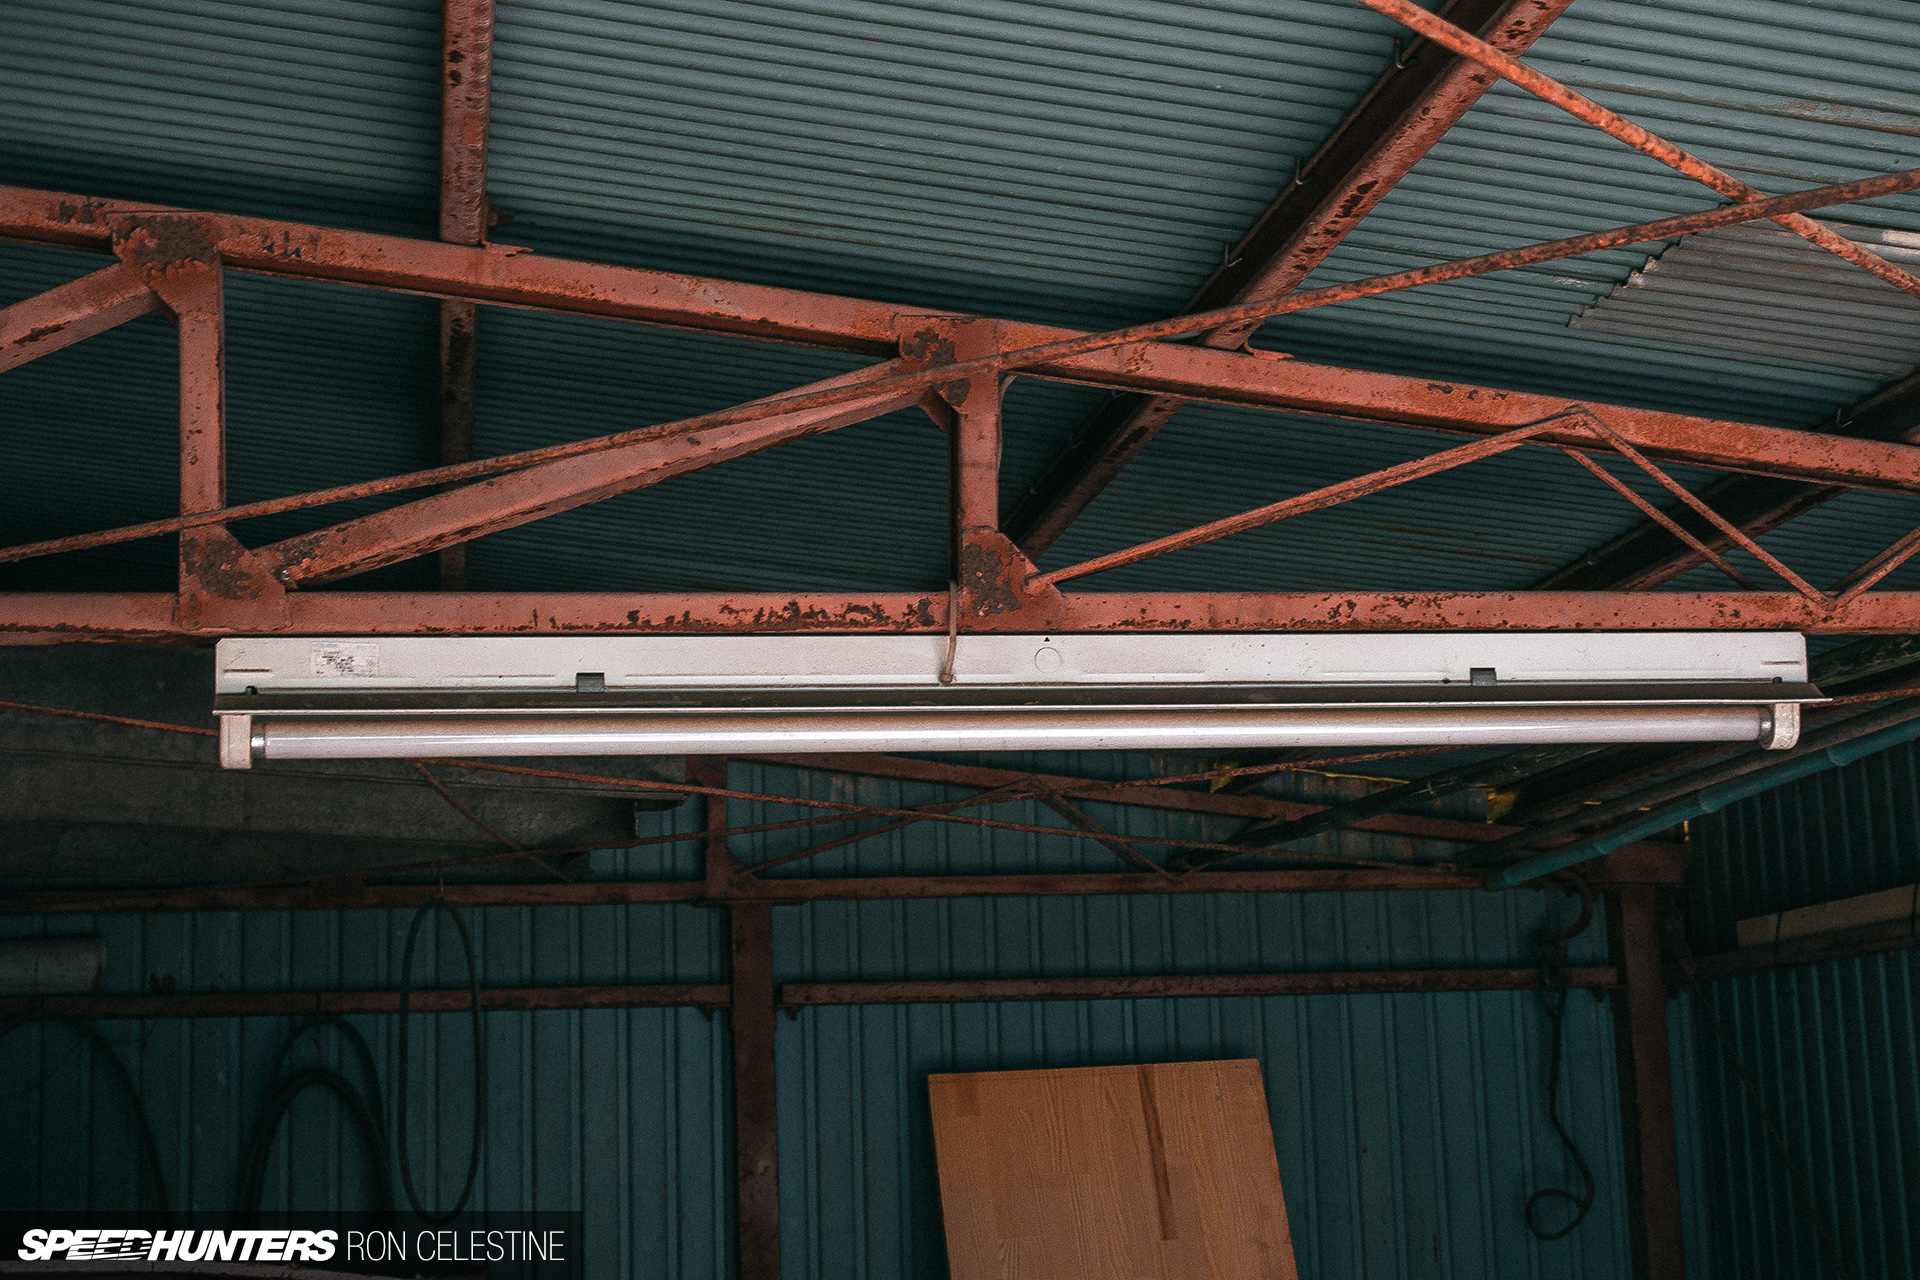
With half of the wall completed, I turned my attention to the light fixture. Why didn’t I just finish the wall first you ask? An excellent question! I just couldn’t stand to look at the light any longer.
I didn’t want to replace the whole unit, as that would more than likely go against the criteria I set out before, but I needed to do something as it was going to clash with my workspace vision.
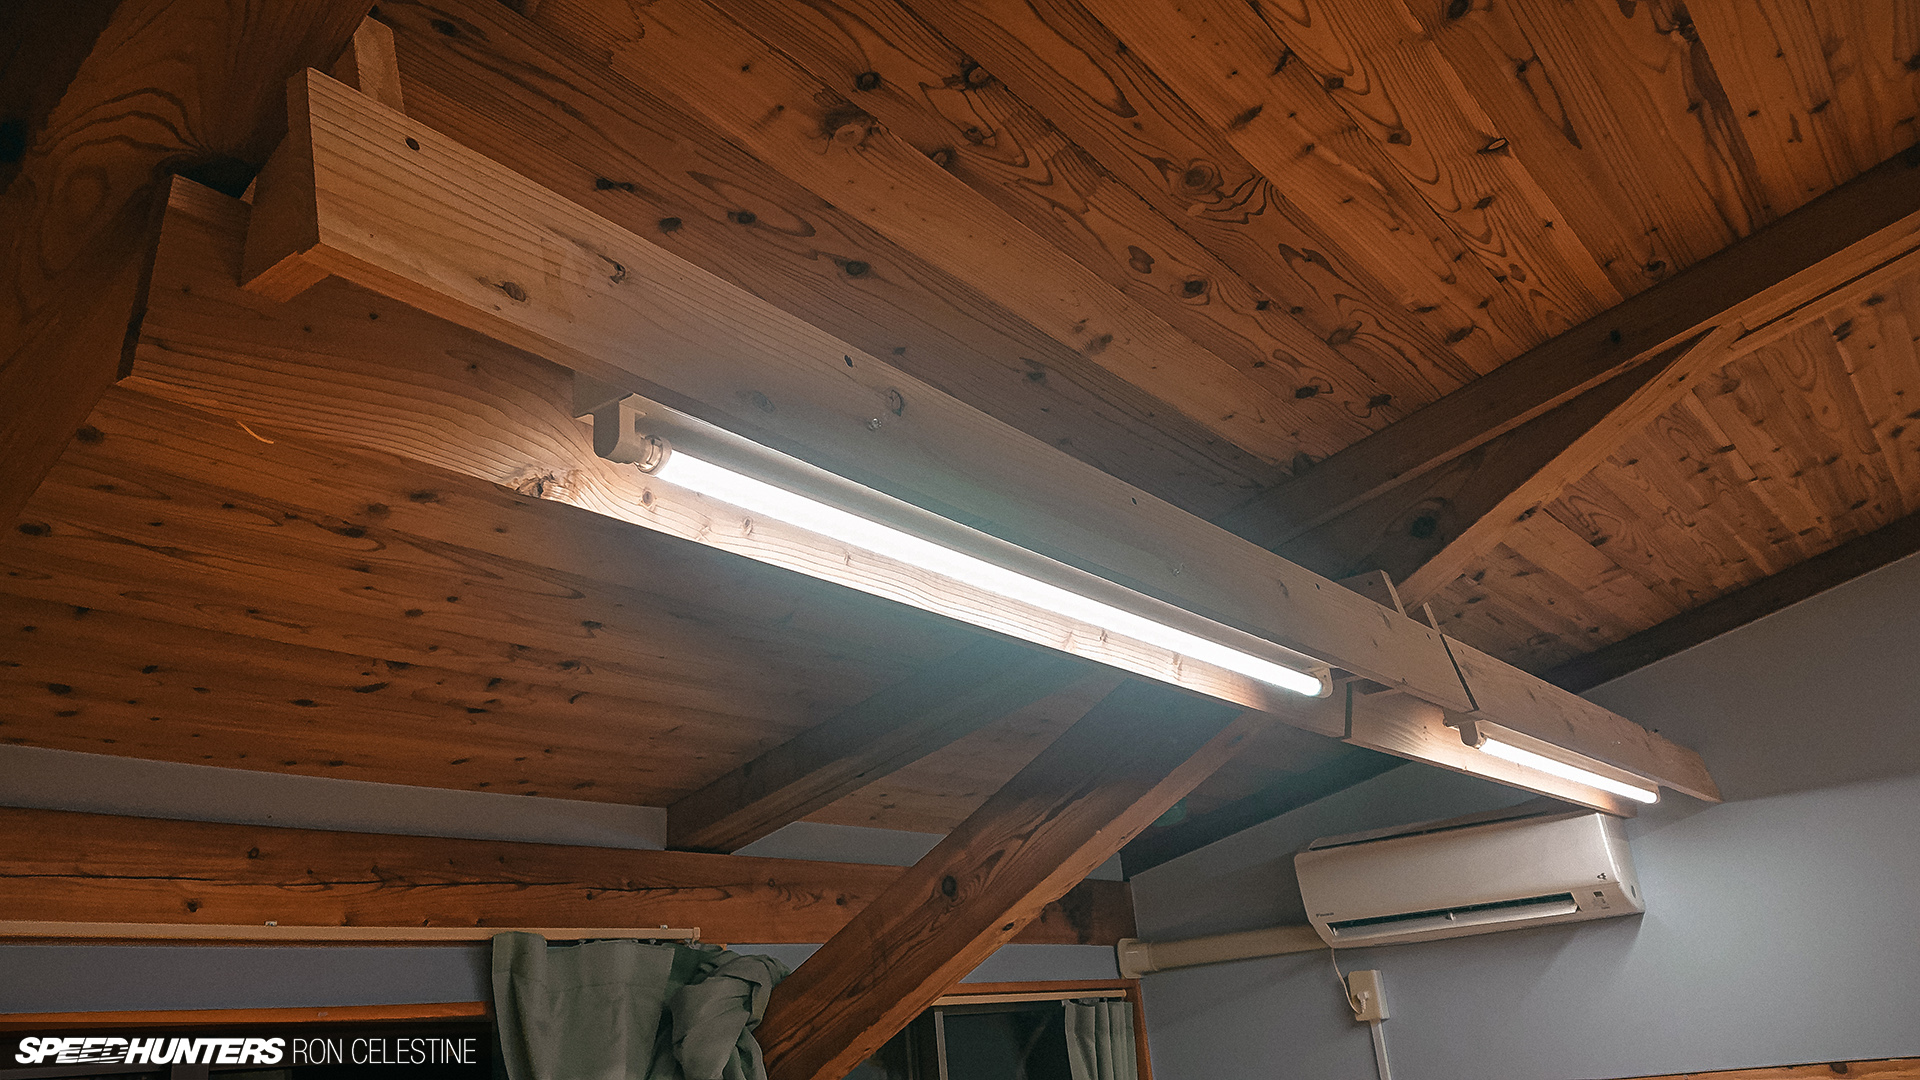
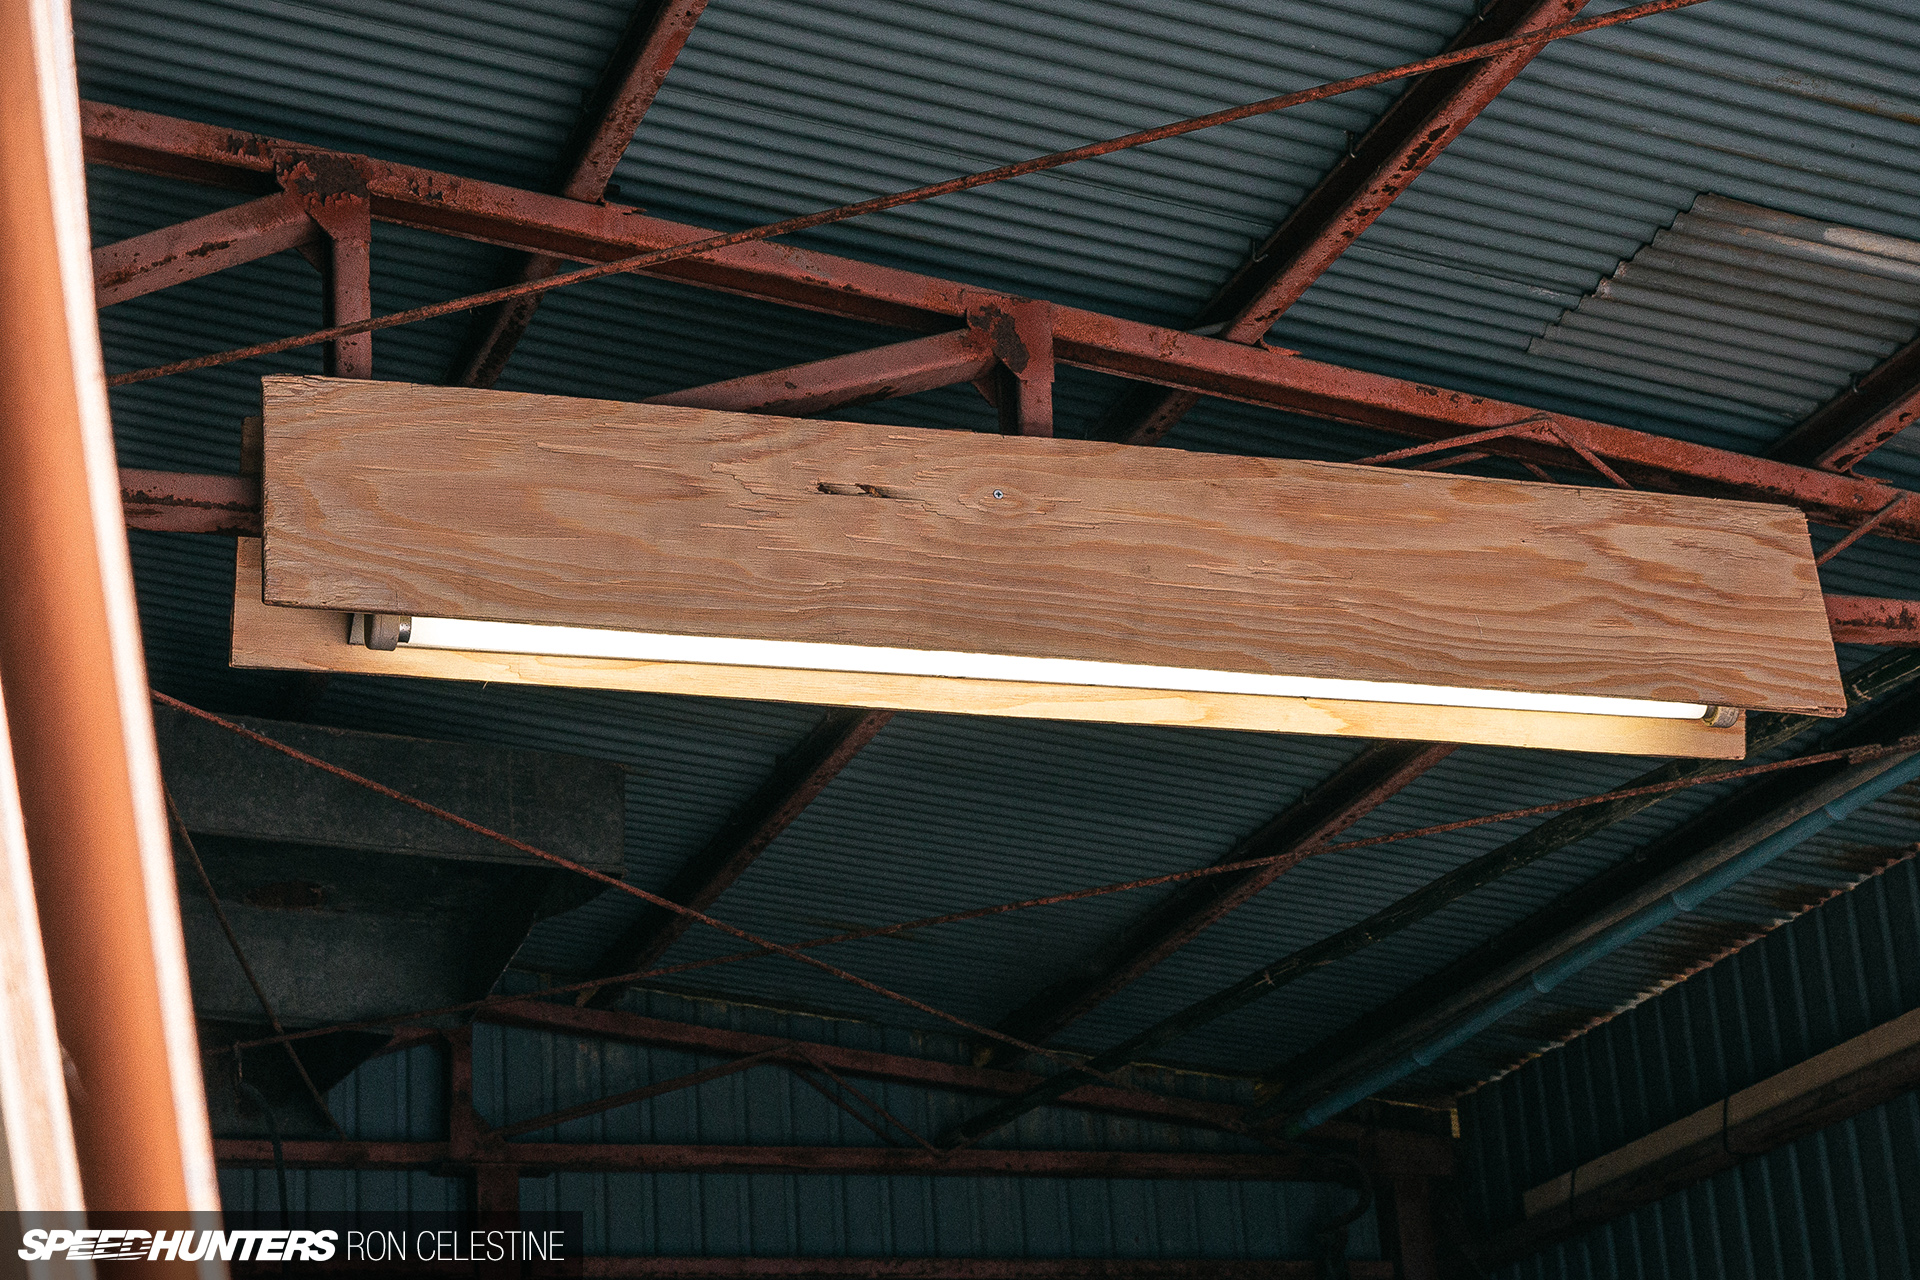
One day out, I noticed that a school had the same tube style of lights (albeit LED) but with wooden covers to hide the units. This seemed like a brilliant idea for my garage, and even better, I could quickly knock something up with leftover plywood.

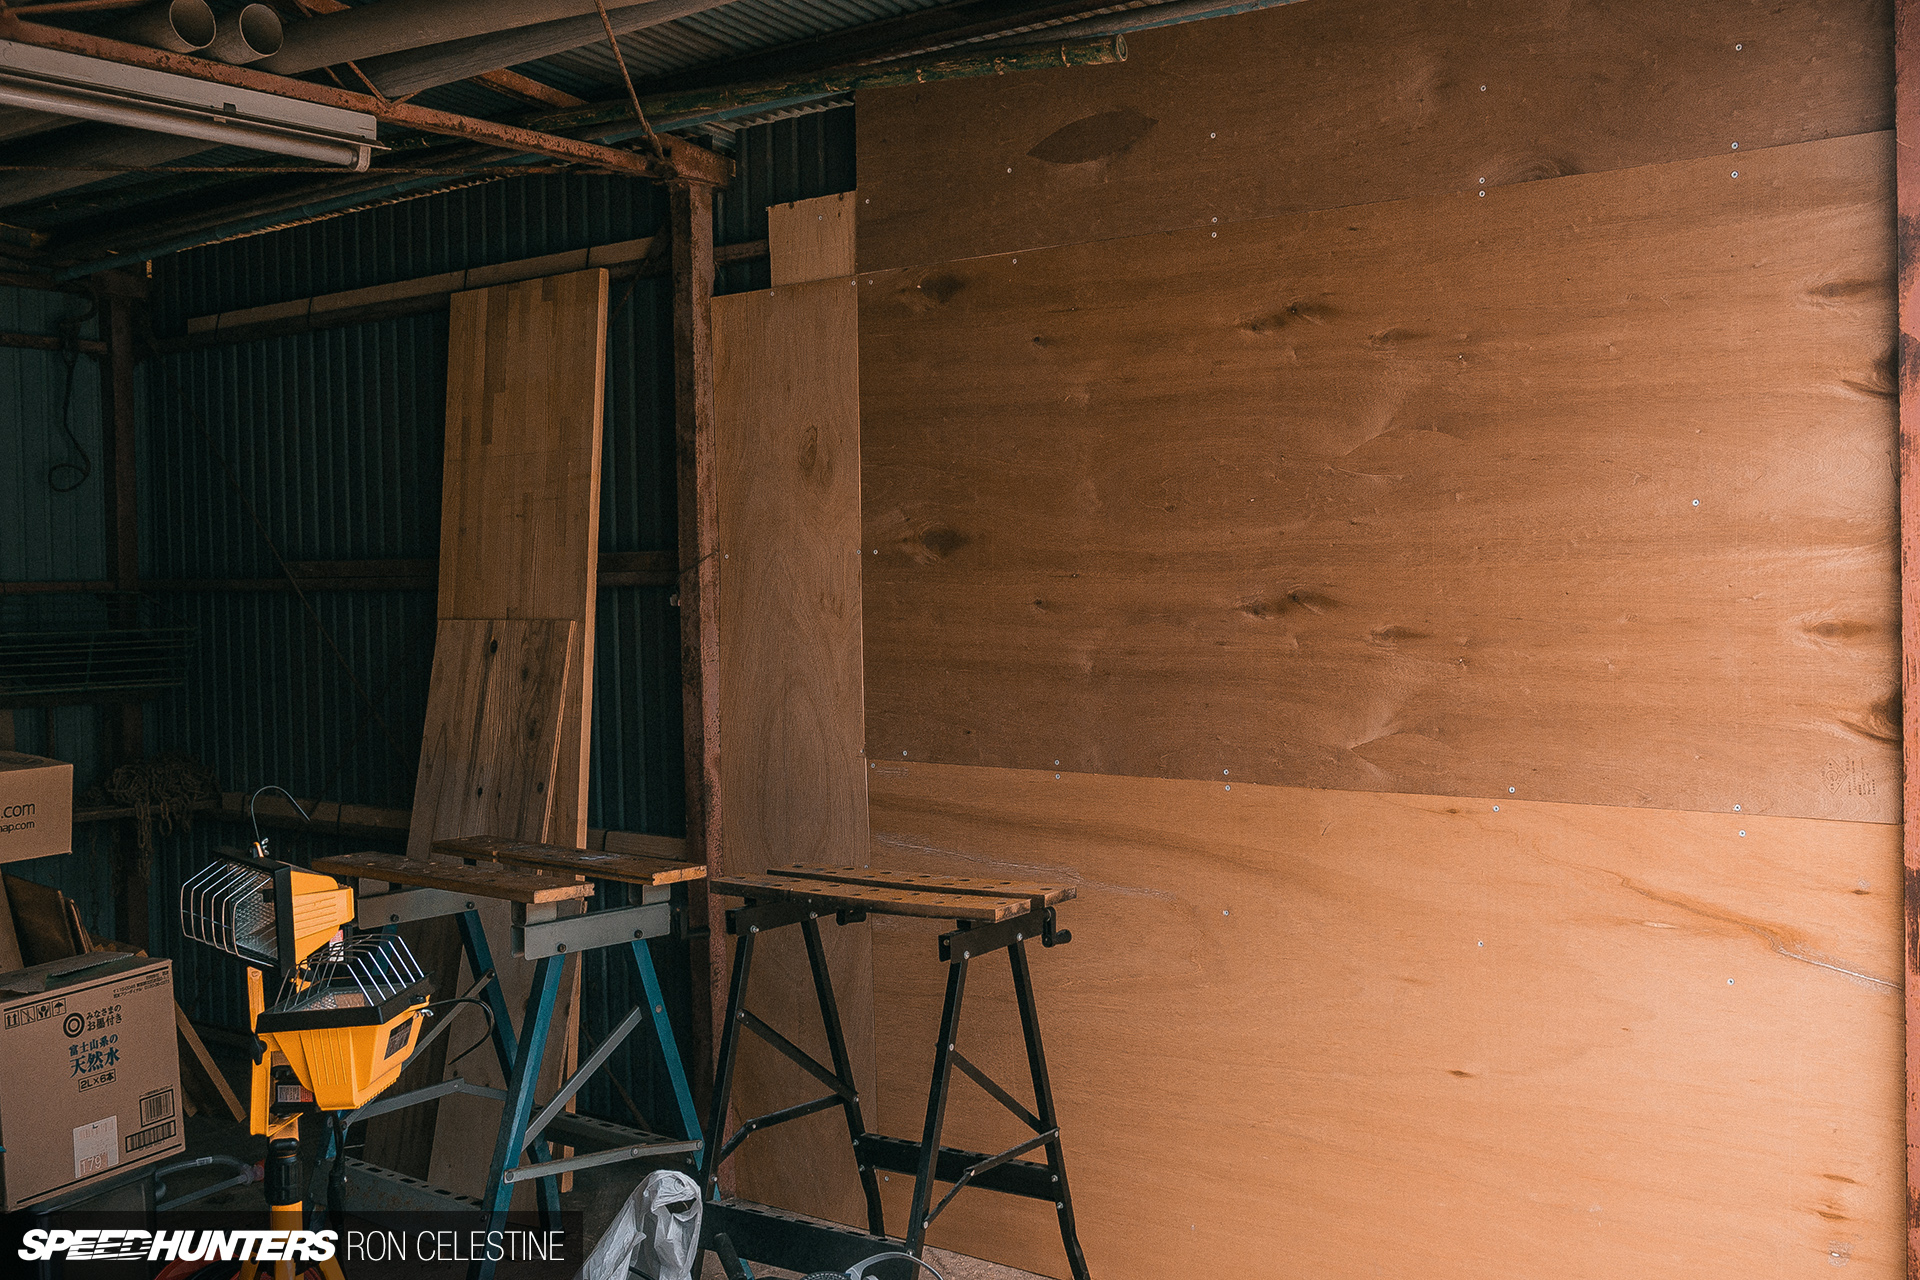
With the light eyesore sorted, I moved on to finishing the wall.
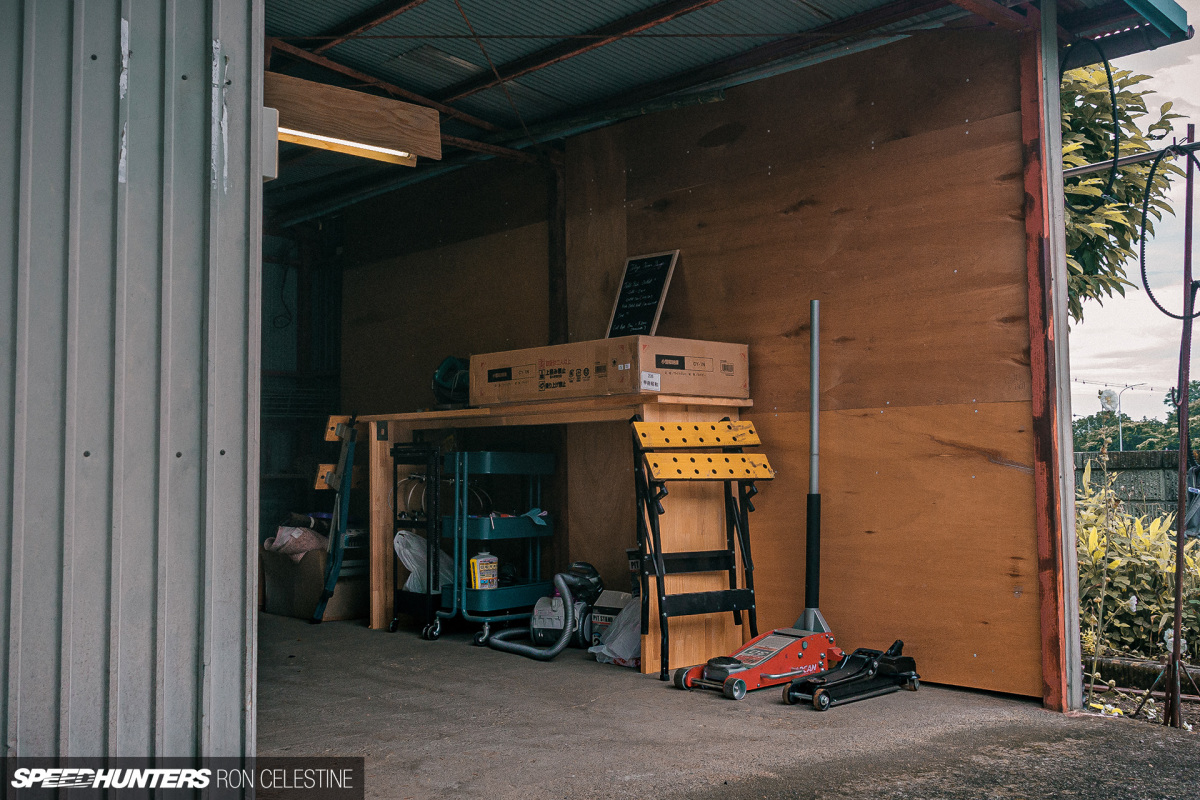
When that was done, I made a work table and notched it to fit around a vertical steel beam.

I then cheated a little bit and purchased a small storage box that I could put my tools in, and then lock.
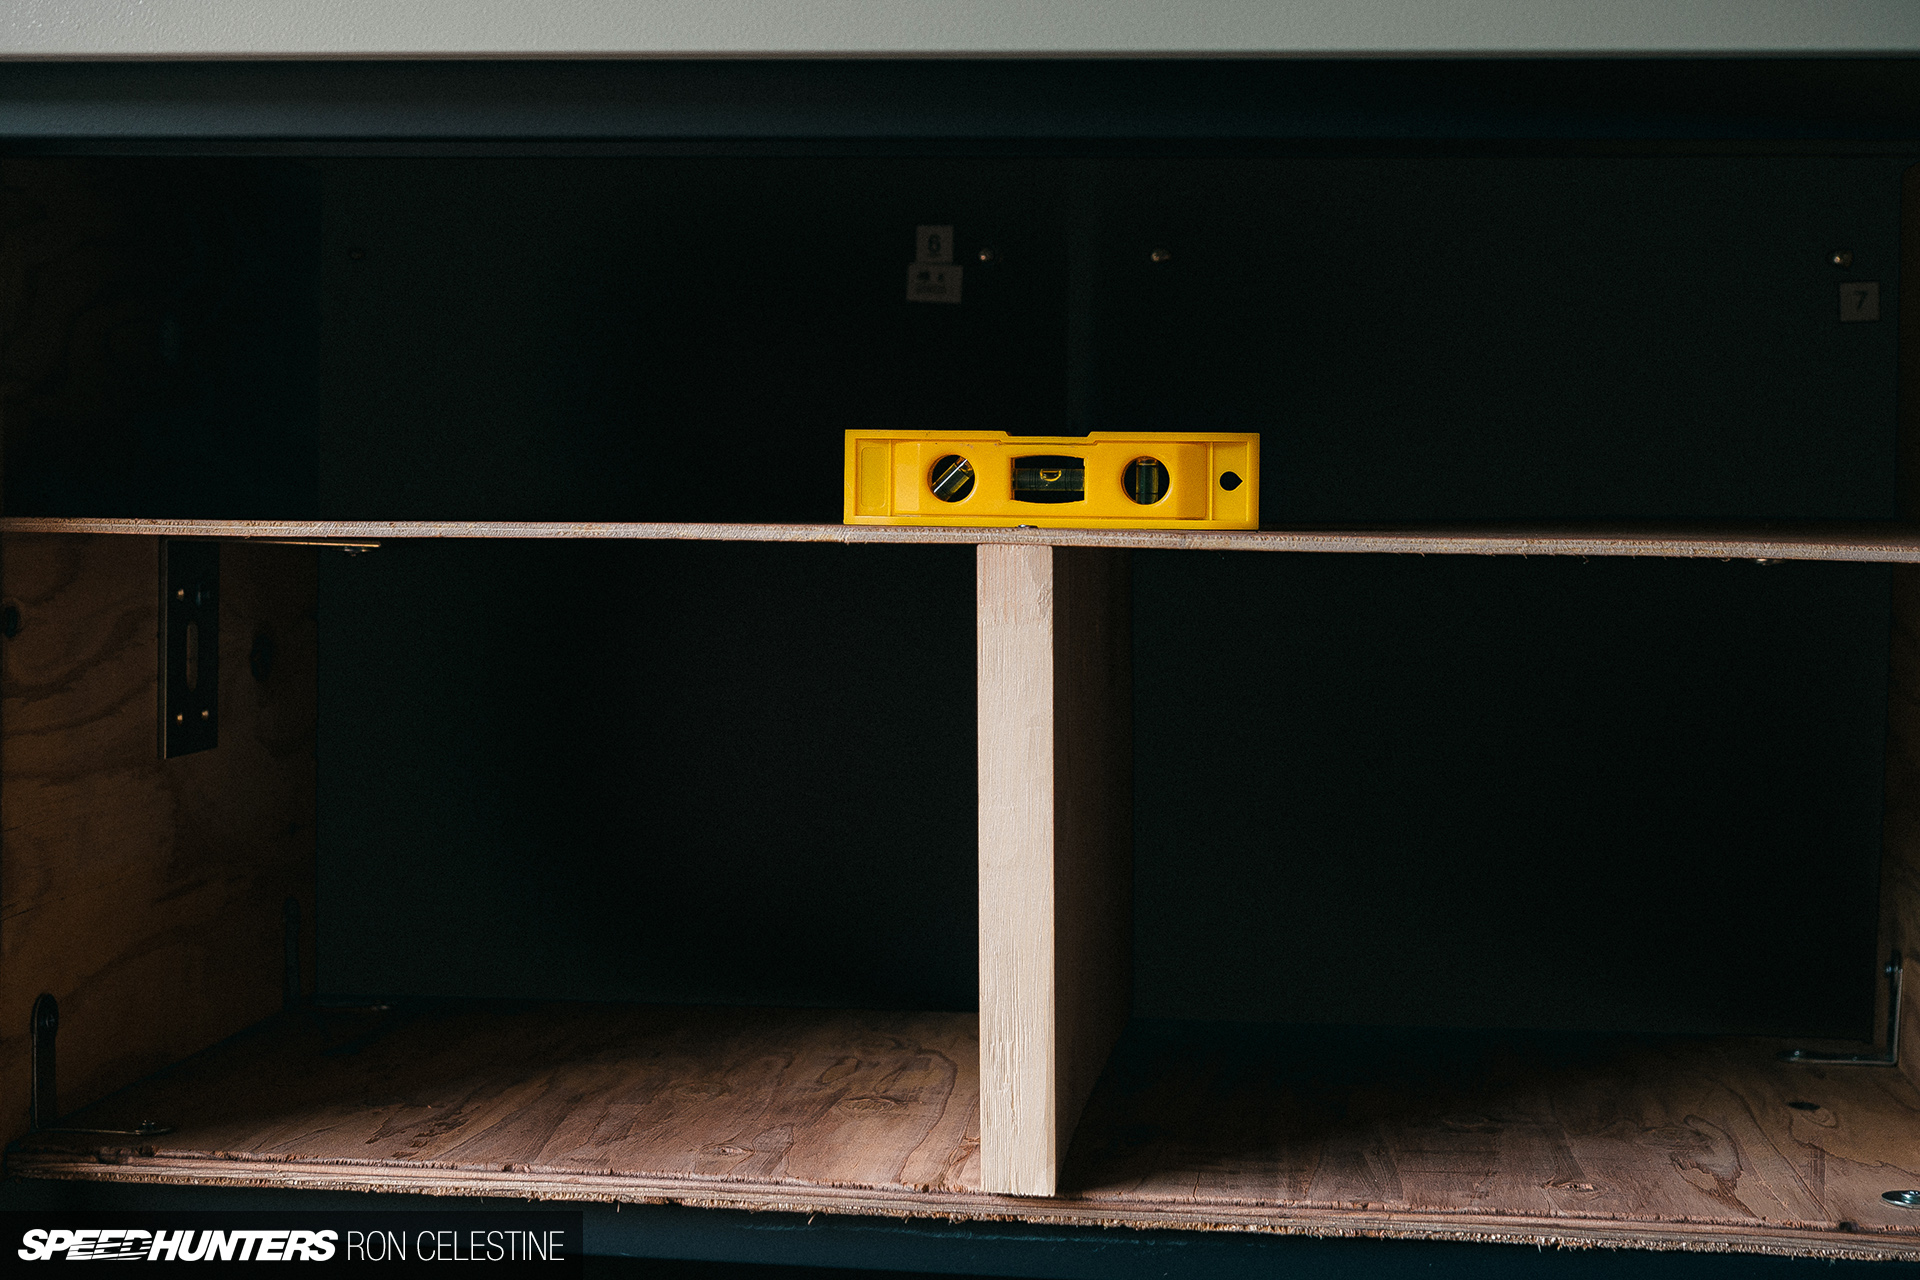
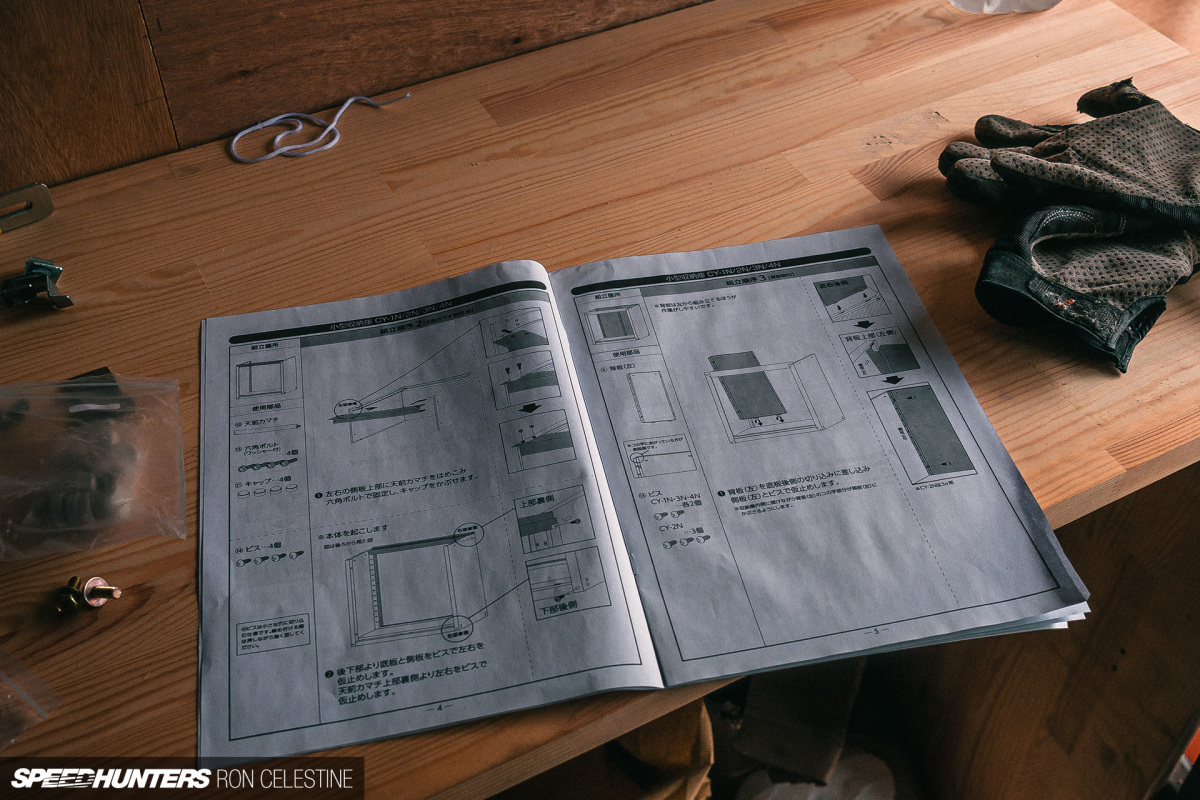
I even added a few shelves inside to try and maximize the internal space as much as possible.

This is where things get a little interesting. I received a lot of great ideas from the comments section in the last post and I was keen on implementing a number of them, but then the owner threw a slight curveball that put everything on hold.
Since getting Project Workshop to this state, the owner would stop by from time to time and always commented on how much she loved the changes I had made, and how much life it added to the place. “How would you like to use the other space next to this one?” she asked with a smile on her face. “You mean the space that has the large sliding doors that locks and is three or four times bigger than my current space now?” I asked. “Yes, and just like you did with this space, you can do whatever you like, just let me know before you do it.”
Stay tuned, because I think Project Rough can actually fit in this one…
Ron Celestine
Instagram: celestinephotography
OFFICIAL SPEEDHUNTERS SUPPLIERS


Maybe this space can be used for detailing work? Anything that doesn't require mass amounts of work and work that won't be on jack stands or out of duty for long periods of time. Im sure this has already been suggested.
Ya that's kind of what I'm thinking (though the exterior is a bit of a mess on Project Rough).
Having lived in Japan for 25+ years, 15 of which we've spent in countryside - the last 11 in our own home, here's some useful advice:
Old houses in the Japanese countryside, have little to no value. Look at prices, and do your research. It took us a few years, but eventually we found our home. A 300 year old Kominka, surrounded by 1.2 hectares of our own forested land a little over an hour's drive from Tokyo. We paid a lot less than most people imagine, for a grand old and very strong home, where we hear nothing but birdsong and the wind outside.
Since then, we've seen other friends do the same, and move from the city, to the countryside.
Some of our friends rented their country homes for 10-30 years (for little money), before they bought them for very little money. Some paid less than the cost of a brand new Kei car. In hindsight, they wish they'd bucked sooner.
I even know one friend who bought his family home, complete with farmland for just ¥500,000, in Nagano, minutes from a ski resort! There are beautiful little rural villages where the locals will give their homes away, to young couples - in an effort to reinvigorate their ageing communities. Don't get stuck in renting, when there are homes available for next to nothing. When you find your's, you'll know it's the right one.
Since buying our's, we've done a lot. Not just to the main house, but we've made other buildings, including a full workshop and a guest cabin / office, etc. and we also grow fruits, veggies, have a chicken coup, and soon (if I get around to finishing it) hopefully an aquaponics setup, so we can grow veggies and fish.
We still plan to do a lot more, maybe even make further buuldings after milling our own timber.
Japan has unique opportunities and possibilities such as these to offer, for a LOT less than you'd imagine.
So - Enjoy!
Ya that's basically what we are doing. The place we are renting is pretty big and the owner is a sweet older lady who wasn't living there for years. I've been repairing and fixing things here and there she is really happy for it. When we looked before moving, A LOT of those kind of property were so far gone that it didn't make sense.
That sounds idyllic! Kinda what my partner and I trying to do in the UK but definitely a lot more costly... But its all for the kids. Not the car. Honest!
Hahaha I believe it !
Always enjoy your articles and photography Mr C. Its kinda funny though, the differences between an engineer and a fabricator... Hahah!! And seriously, why don't you just up and buy the place? Cant be that expensive. When all this covid quarantine crap is over and done with, I would love to catch up over a beer one day. Cant right now, I'm stuck in Australia, in Lockdown Central.....
Hahaha cheers! I'm trying to become more of a fabricator with time. And it's a touchy thing here. You have to build a good relationship with the owners, and then they MIGHT offer the place to you, but there is no guarantee. I honestly wouldn't mind besides the road leading to our house is DUMB tight... Need to widen it up a bit lol. Ya y'all stay safe down there. Cases are starting to creep up here as well... *Sigh*
Now that you will have extra room you could set up a paint area, and dont forget a tire and wheel area, I now run track, summer, winter and allseason and I mix rim sizes for different aspect ratios even going 50 to 55 can make a big difference if your favorite drive gets a new pot hole that bends a rim, oh and if you can run a small tire/wheel set up for fun it can be a nice way to change gear ratios. But It helps to have a dedicated station/shelf that makes it easier to change things up, Also think of trying your own alignment set ups, I once I had a nice empty wall to use a laser, but a long straight edge with jack stands, and a level and blocks to get under works, Any way If you can set up dedicated storage/stations with sets of the tools needed it helps, I just spent 2 hours looking for lug nuts, for a tire truing rig I want to make, I have lots of lug nuts but my wheel stuff ended up in different bins, I could have been out driving. Any way thanks for writing this I will be building a new work place from scratch, if the paper work ever gets finished. So this is fun just imaging what I could do. I also like the zip tie trick I will be trying it.
Oh wow that's awesome! I was thinking about making a painting booth area but just thinking lol. I do need to make a storage rack area for the tires for both cars.
I have actually been working on an alignment project but that is for a different update ^^
Hi what about a corner set up with a draft hood or even a down draft that was large enough to spray a hood on stands it could have folding panel doors to adjust the shape and close it up to keep it clean, On my wish list is a full mask with air supply good organic respirators are only ok used with care, you cant really paint a whole car in a small space safely. Even just using rattle cans on the regular I do better when I get a good space set up with hangers etc. even outside I try to work under a canopy, and just for fun have you ever tried art cans like the graffiti artist use anyway painting is just such a huge topic, my biggest problem is I just have to spend more time at it, kind of like welding there is a lot to figure out to get a good durable job done.
Great update, keep it coming. It is also interesting with Miguel said in the comments.
Cheers! And ya, he does make some good points
"...I noticed that a school had the same tube style of lights (albeit LED) but with wooden covers to hide the units. This seemed like a brilliant idea for my garage,..."
Light, brilliant. Ha ha ha.
Hahaha I have my moments
i have couple of the same costco arcan jacks in the photos lol . pretty solid jacks very durable.
Hahaha good eyes. Ya picked it up a few years back and have been loving it
Keep up the awesome coverage! I think every car guy has dreamt of building out their own personal workshop!
Thank you! Yah I definitely have been for YEARS now ( def took having a garage in America for granted).
Great update and progress Ron! It's awesome to see some elbow grease and good thinking turn a space into something warm and productive for projects. How's the adapting from city to country life treating you? Have any of the neighbours enlisted your
help to plant any rice yet?
Appreciate it Joel. It has been fun and love the challenge / being creative to transform a space. Country life has been cool. I have pretty easy access to the expressway so I can get to civilization rather quickly lol. YES - you know well! Not plant rice but clean the local shrine, cut weeds, clean the local community hall.