
One lesson I’ve learnt as Project GT-R‘s lengthy engine work has progressed, is that wherever possible you should try to future-proof. And that’s precisely what I ended up doing when it came to upgrading my BNR34 Skyline’s fuel system.
In my last update, you might recall the original idea being to fit the turbos, upgrade the fuelling, install cams and head gasket, and then map the car. While the first part was done without any issues, there was just no time to do the rest. It ended in more delays, but looking back I’m quite glad it happened that way.

You see, the initial idea was to run R35 GT-R injectors, and they’re what I originally sourced from a friend who had upgraded the ones in his VR38. After that, I got in touch with Fuel Injector Clinic who supplied the necessary adaptors to fit them on the Tomei billet fuel rail, as well as space them correctly as they are a little shorter. FIC also sent over some connectors to wire it all in and that was that; the 570cc/min size would be just enough to cover my needs with the 1.2bar (17.6psi) of boost I’d be running. But then Ennio, who’s looking after my ECU mapping asked why I didn’t future-proof the fuel system, rather than having to change it all out again down the line.
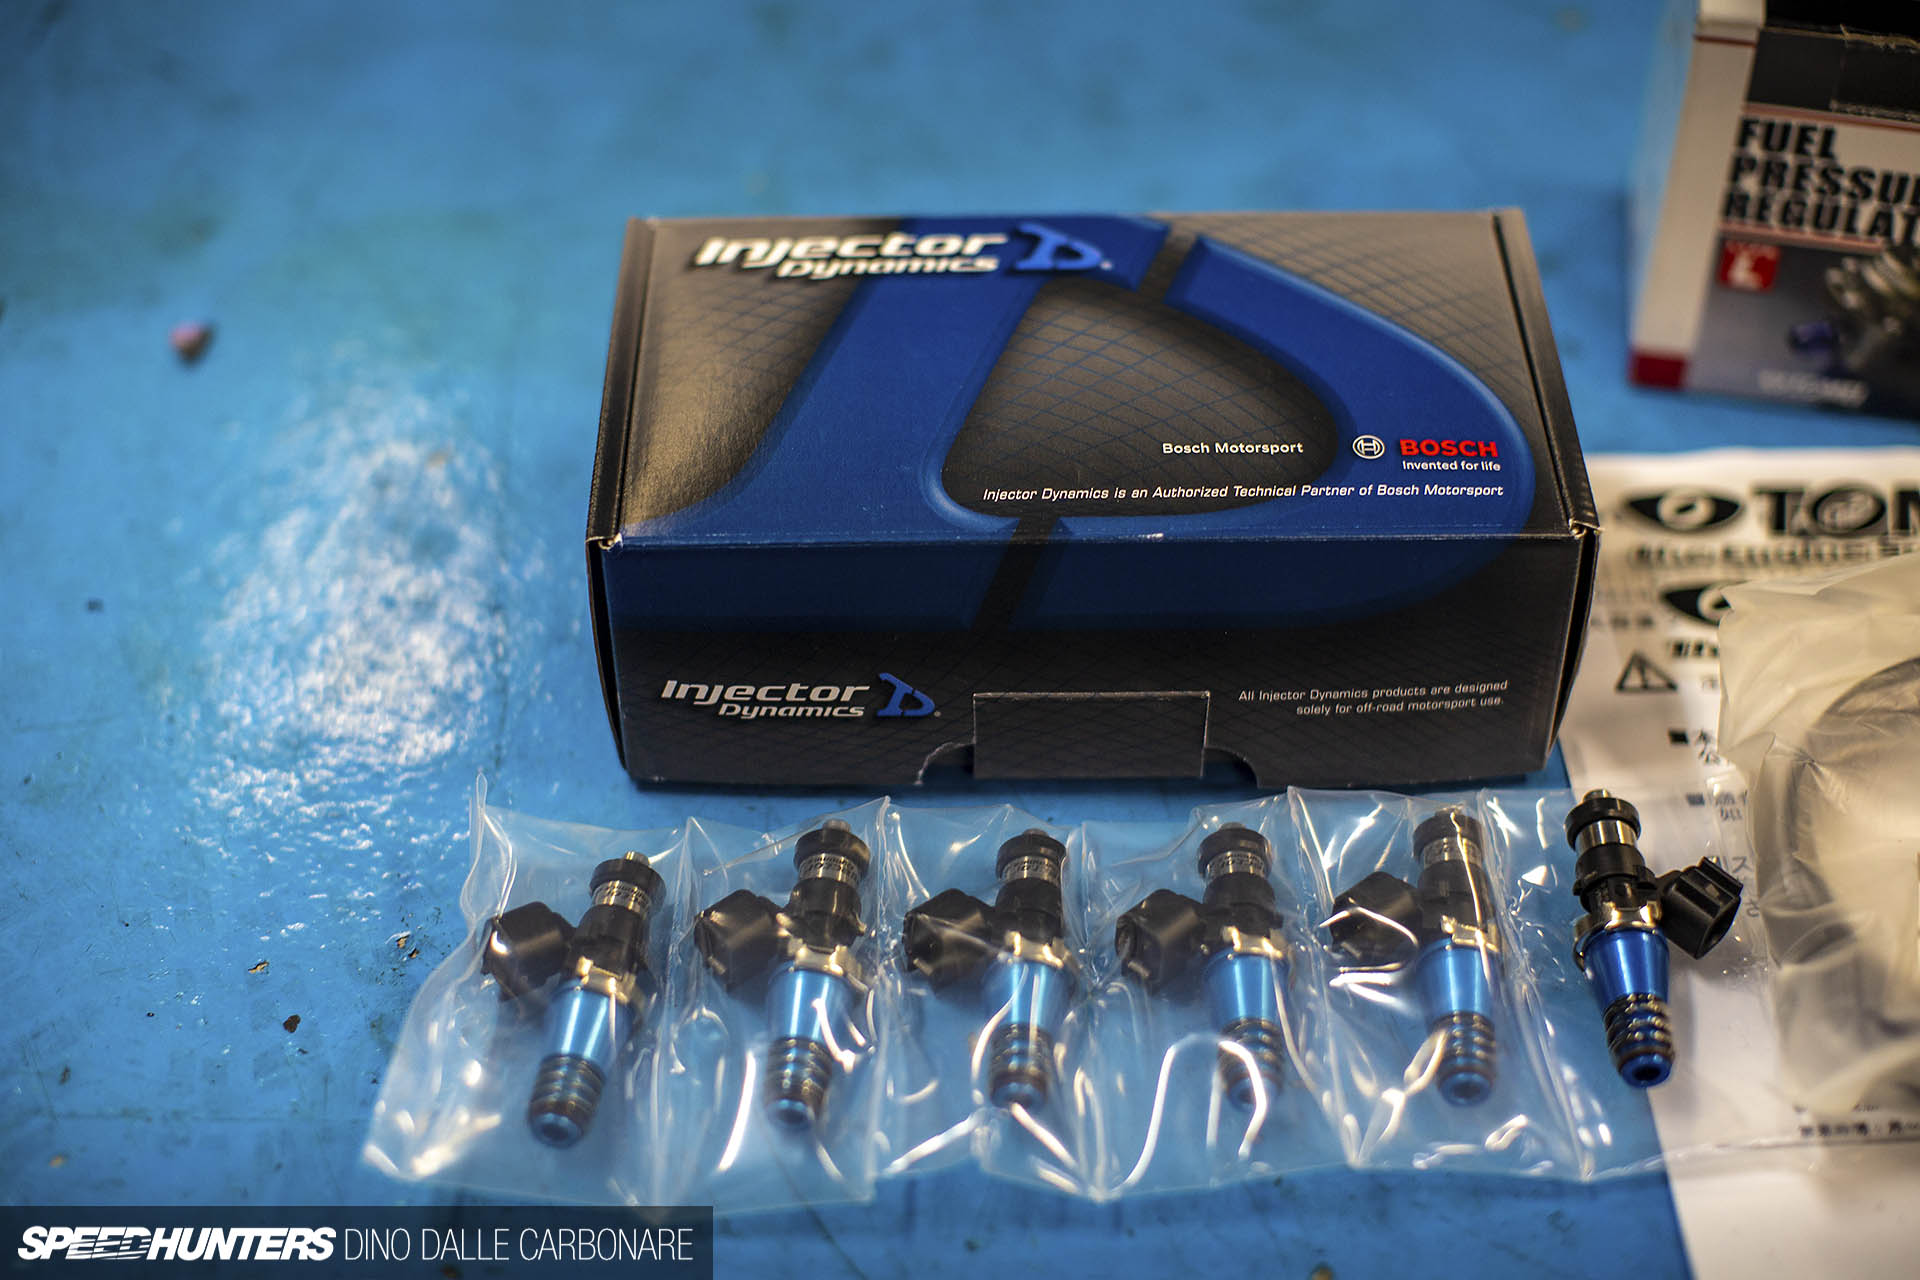
So that’s what I did; I got in touch with the guys at Injector Dynamics and picked up a set of their ID1000 Bosch injectors, complete with adapters to fit them to the RB26-sized fuel rail. As the name suggests, these can flow 1000cc/min, so almost double what the R35 injectors would be able to deliver. That’s definitely future-proofing!
But then Injector Dynamics went and released a new generation injector called the ID1050X to replace the ones I had just picked up. Figures, right?! I got in touch with them and they told me that since I hadn’t used my ID1000s they’d exchange them for the new ID1050X if I covered the cost difference. It was a total no-brainer, especially after hearing from Ennio that he’d already mapped a few cars with them fitted and they were amazing in their accuracy and speed.
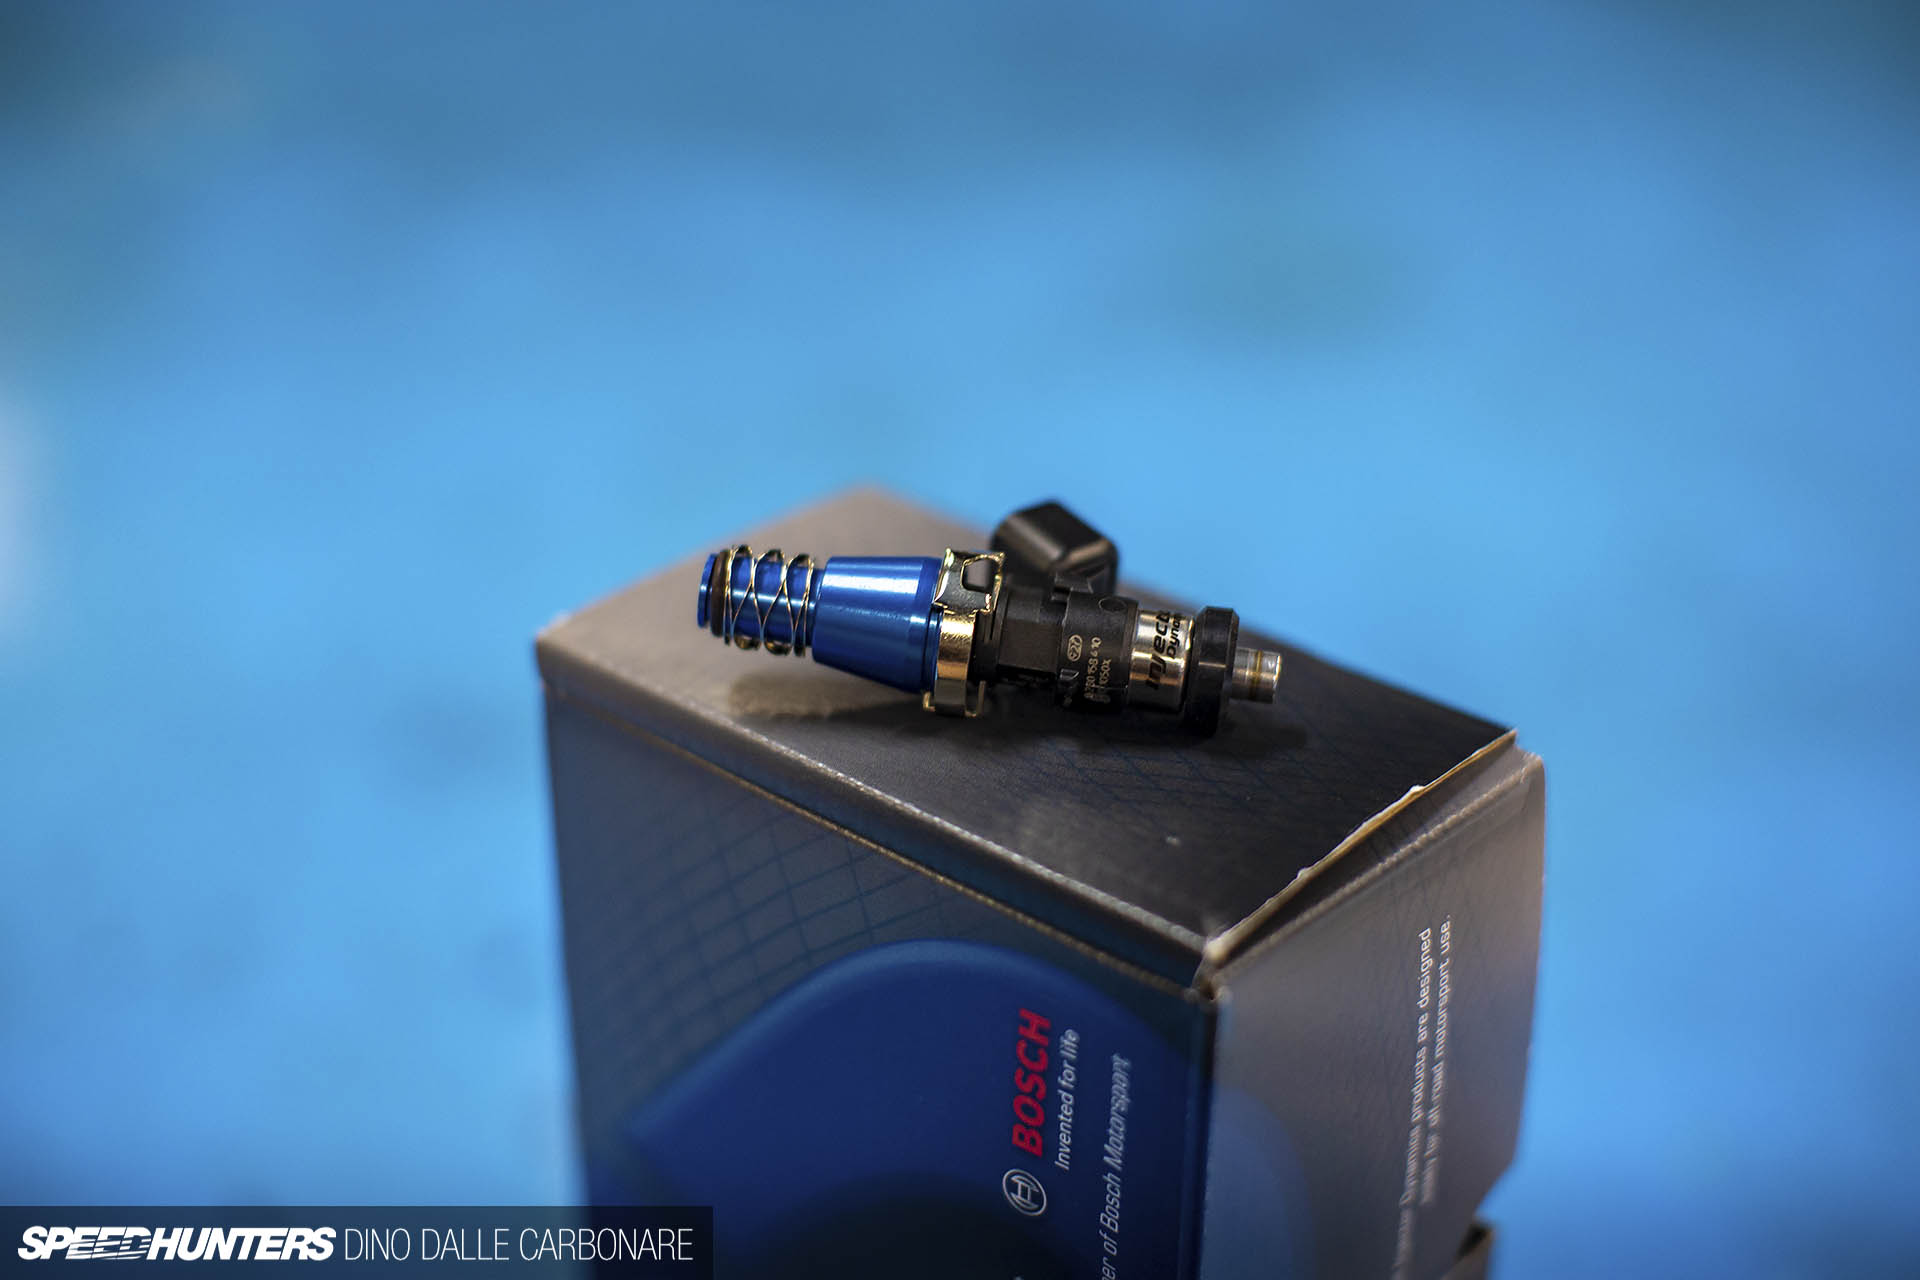
These are what showed up at my door a week or so later – proper motorsport injectors, not modified production ones. They have a ton of benefits like a 5% increase in flow (hence the extra 50cc/min) with no drop in low-flow performance, plus they are built with better materials and are more serviceable, so should last a long time. Their multi-hole design is also far better at atomizing fuel and they are so precise even at low duty that you will never suffer from that horrible ‘hard-to-start tuned engine syndrome’ that single-hole, large capacity injectors of yesteryear used to cause.
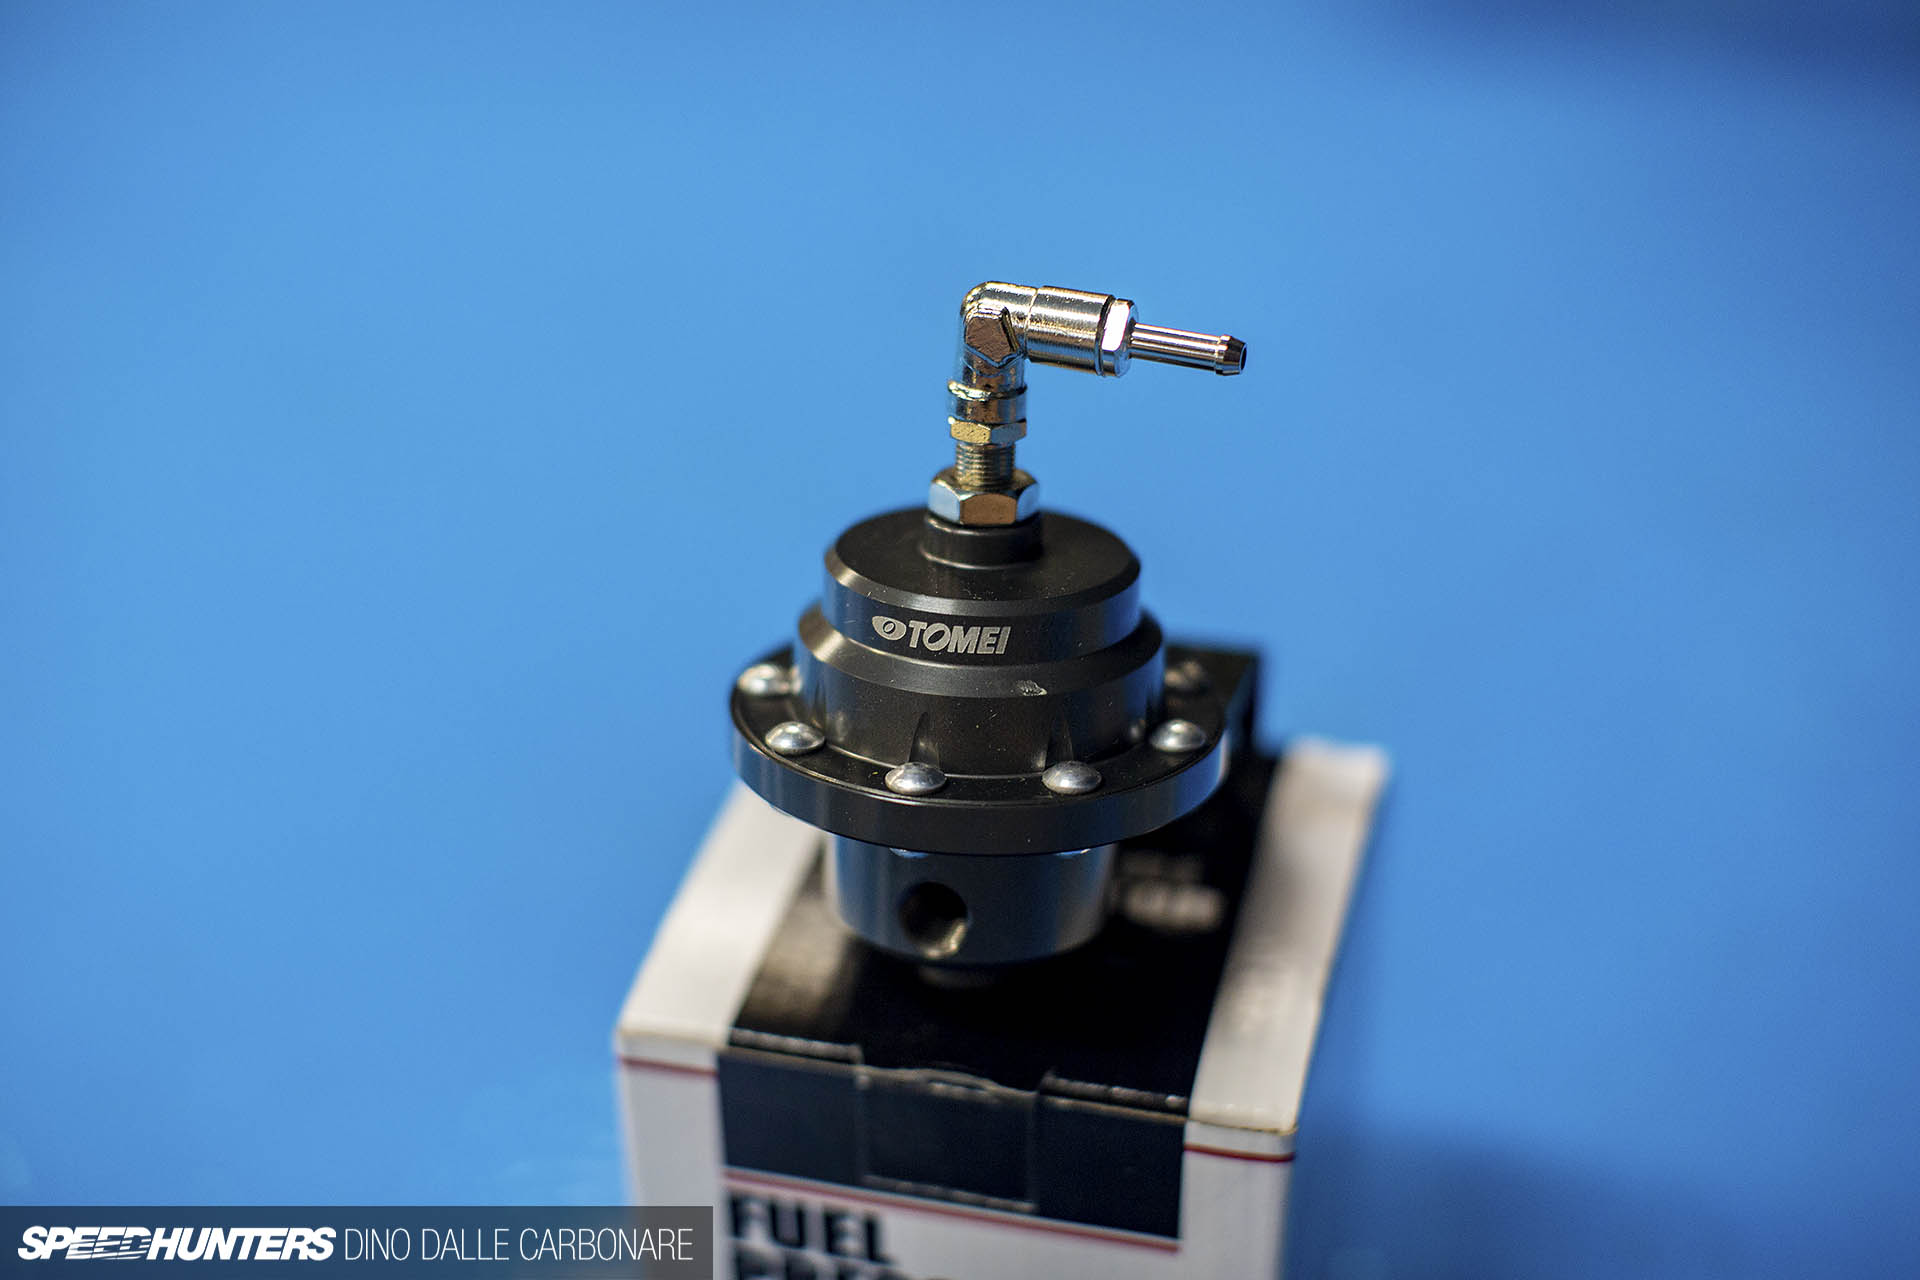
Another piece of the puzzle is a Tomei adjustable fuel pressure regulator. This replaces the stock item, and with an oversized diaphragm at its core will help stabilize the higher pressures that will be held in the fuel system.
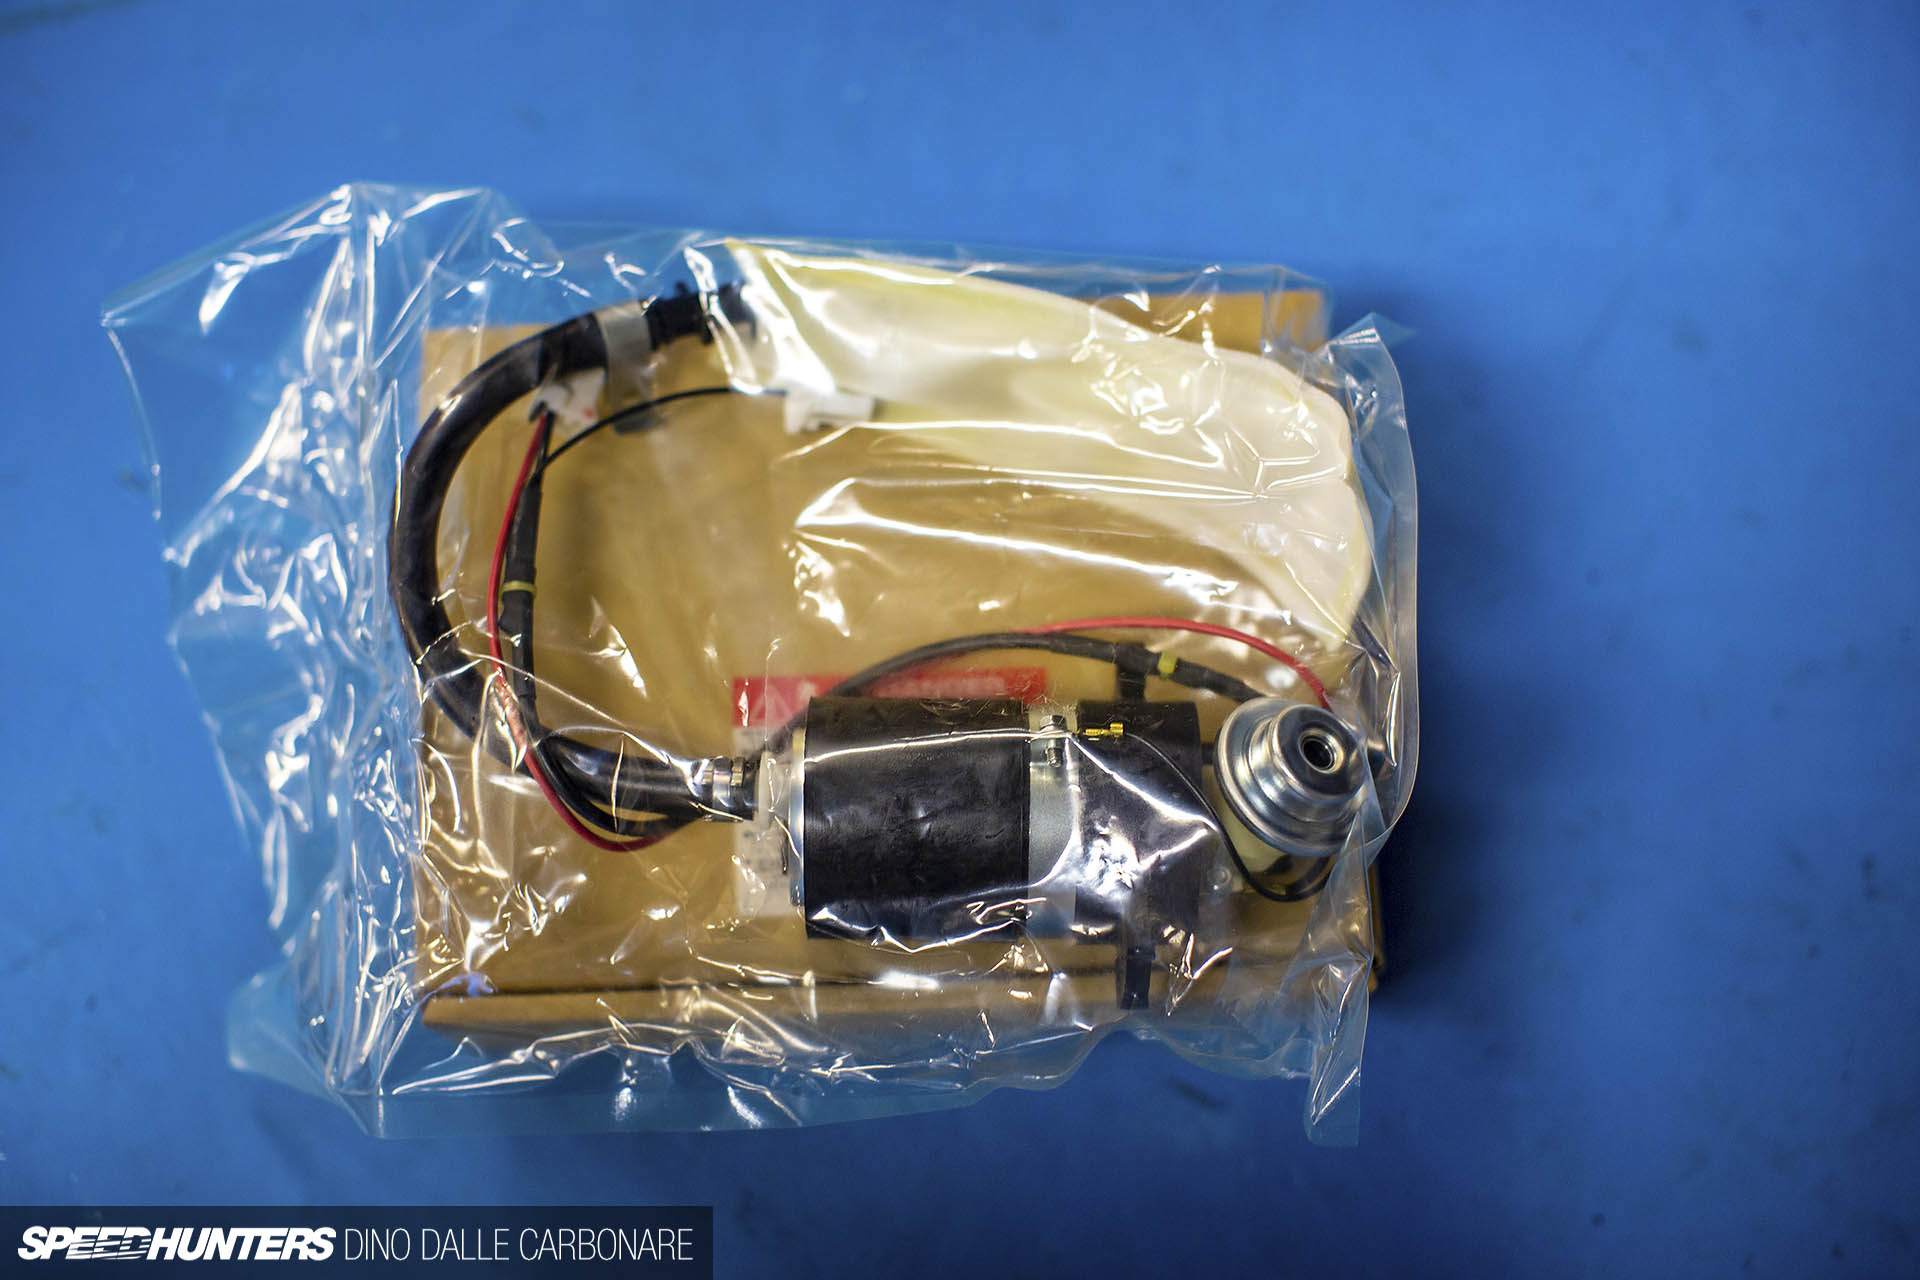
The job of supplying fuel from the tank is left to this drop-in pump from Tomei which is rated at 276lph. This will be spot-on for what I’m shooting for initially, specifically somewhere between 500 and 600hp depending on the components I add each step of the way. If I go to bigger turbos or a single turbo, this pump can be left where it is in the tank and be joined by additional external pumps and a surge tank.

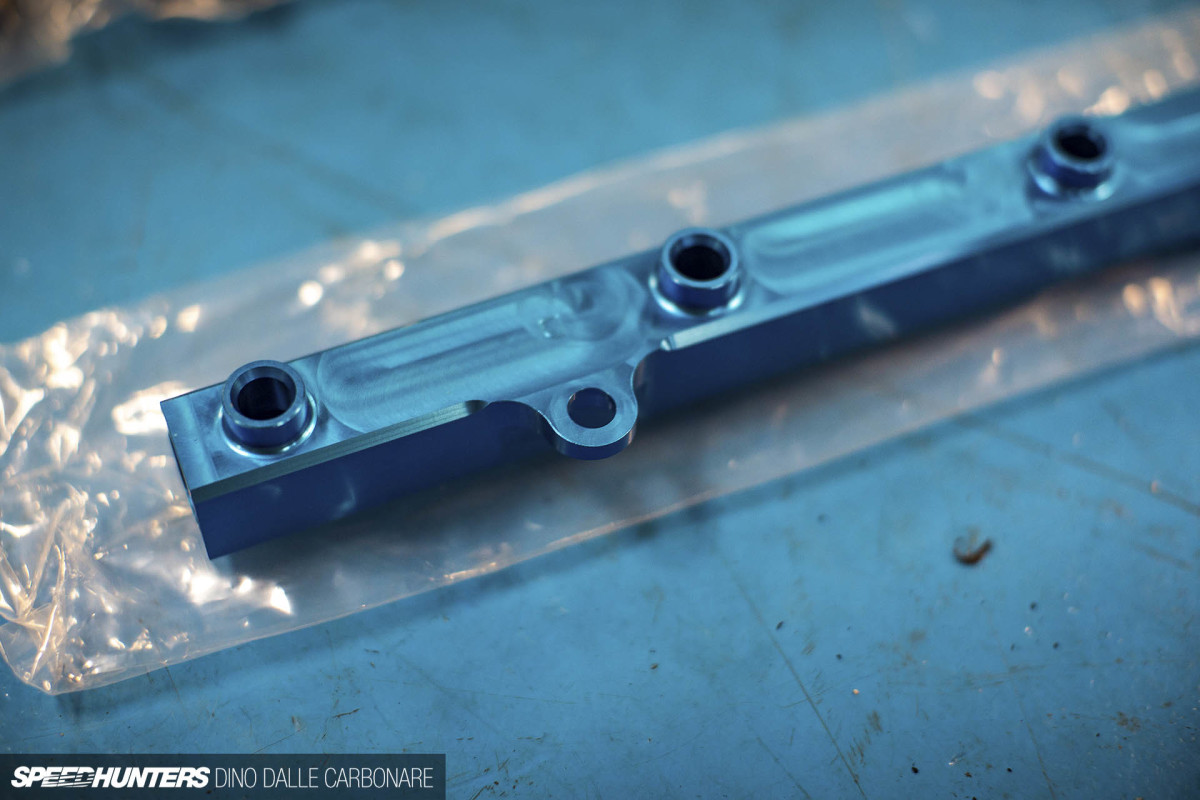
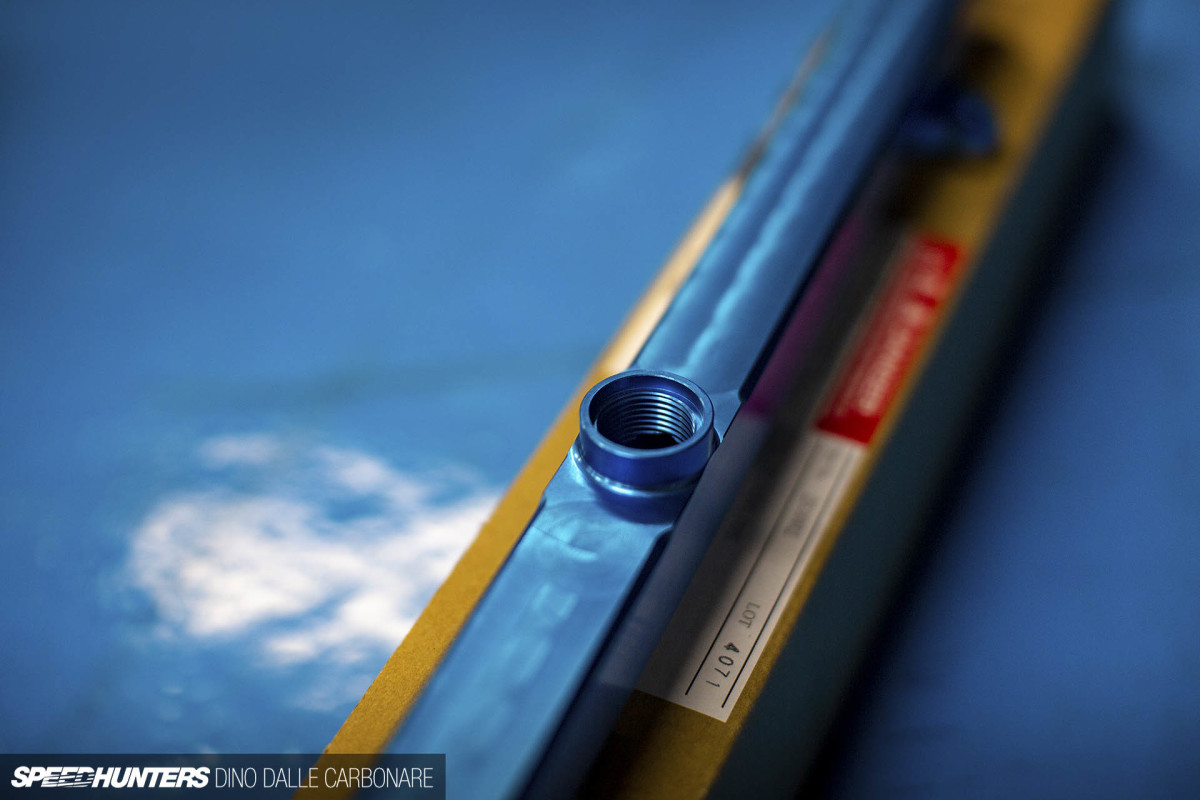
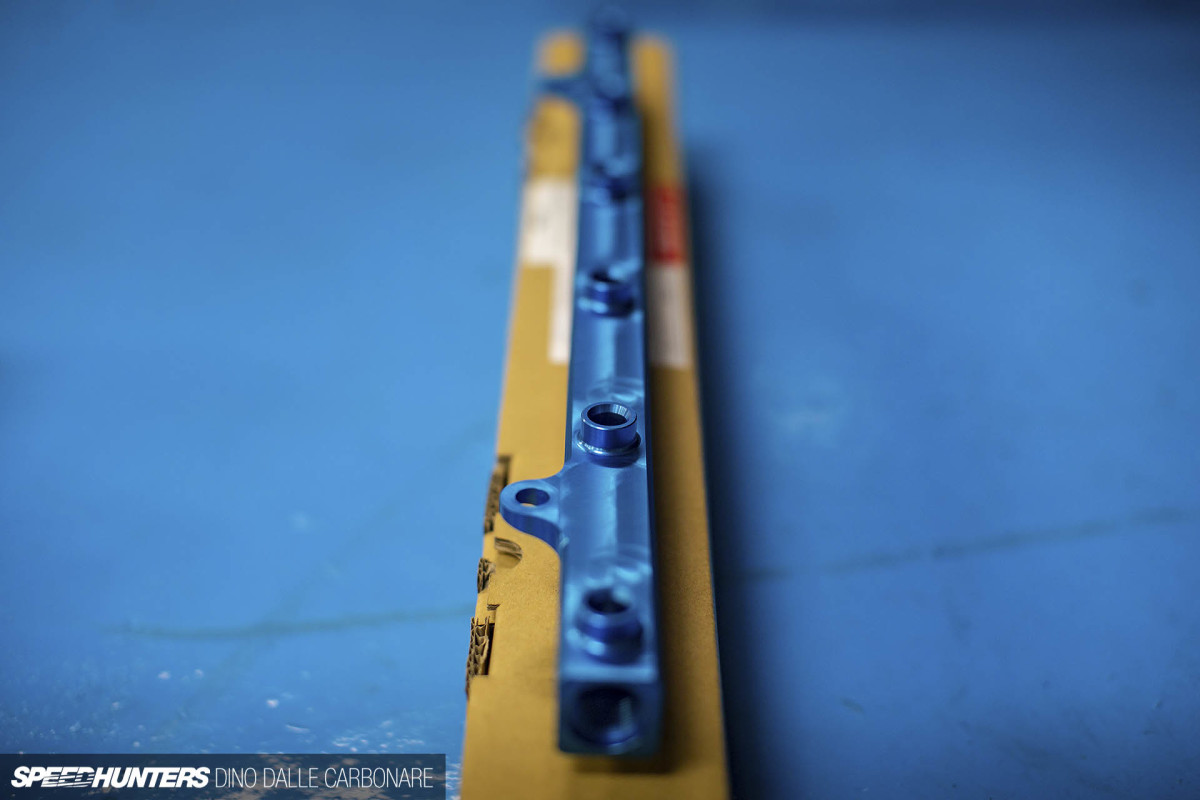
Tying everything together is the fuel rail, which along with the Tomei regulator are pretty much the only components of the upgraded fuel system you’ll see once everything is fitted. This is CNC-machined out of an aluminum billet and is blue anodised, a sort of trademark color for Tomei products.
Time To Fit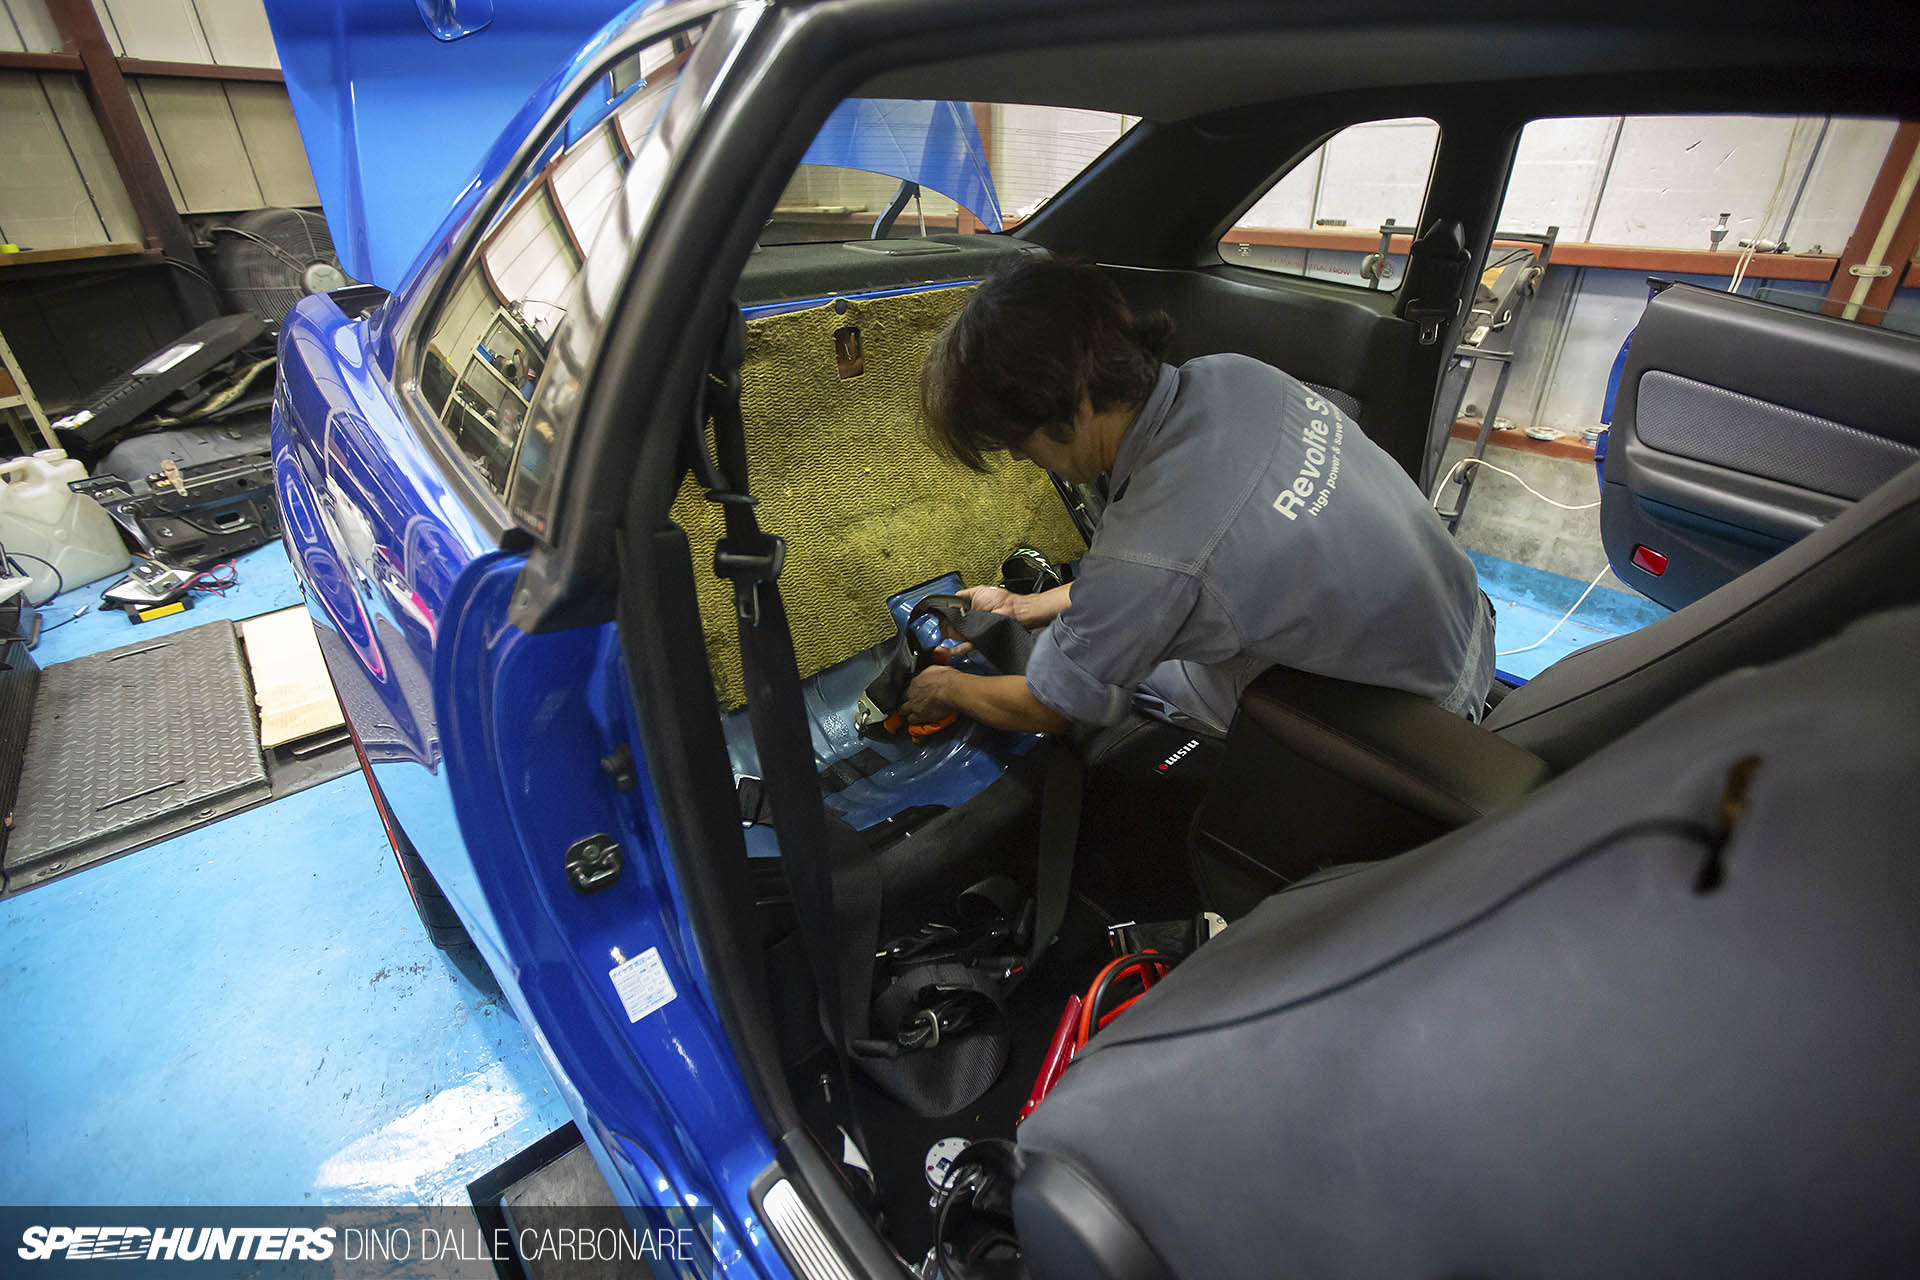
The first part of the job was getting at the fuel tank, which is a bit of a pain in an R34. First the rear bench seat and back rest were removed to expose the sound deadening.

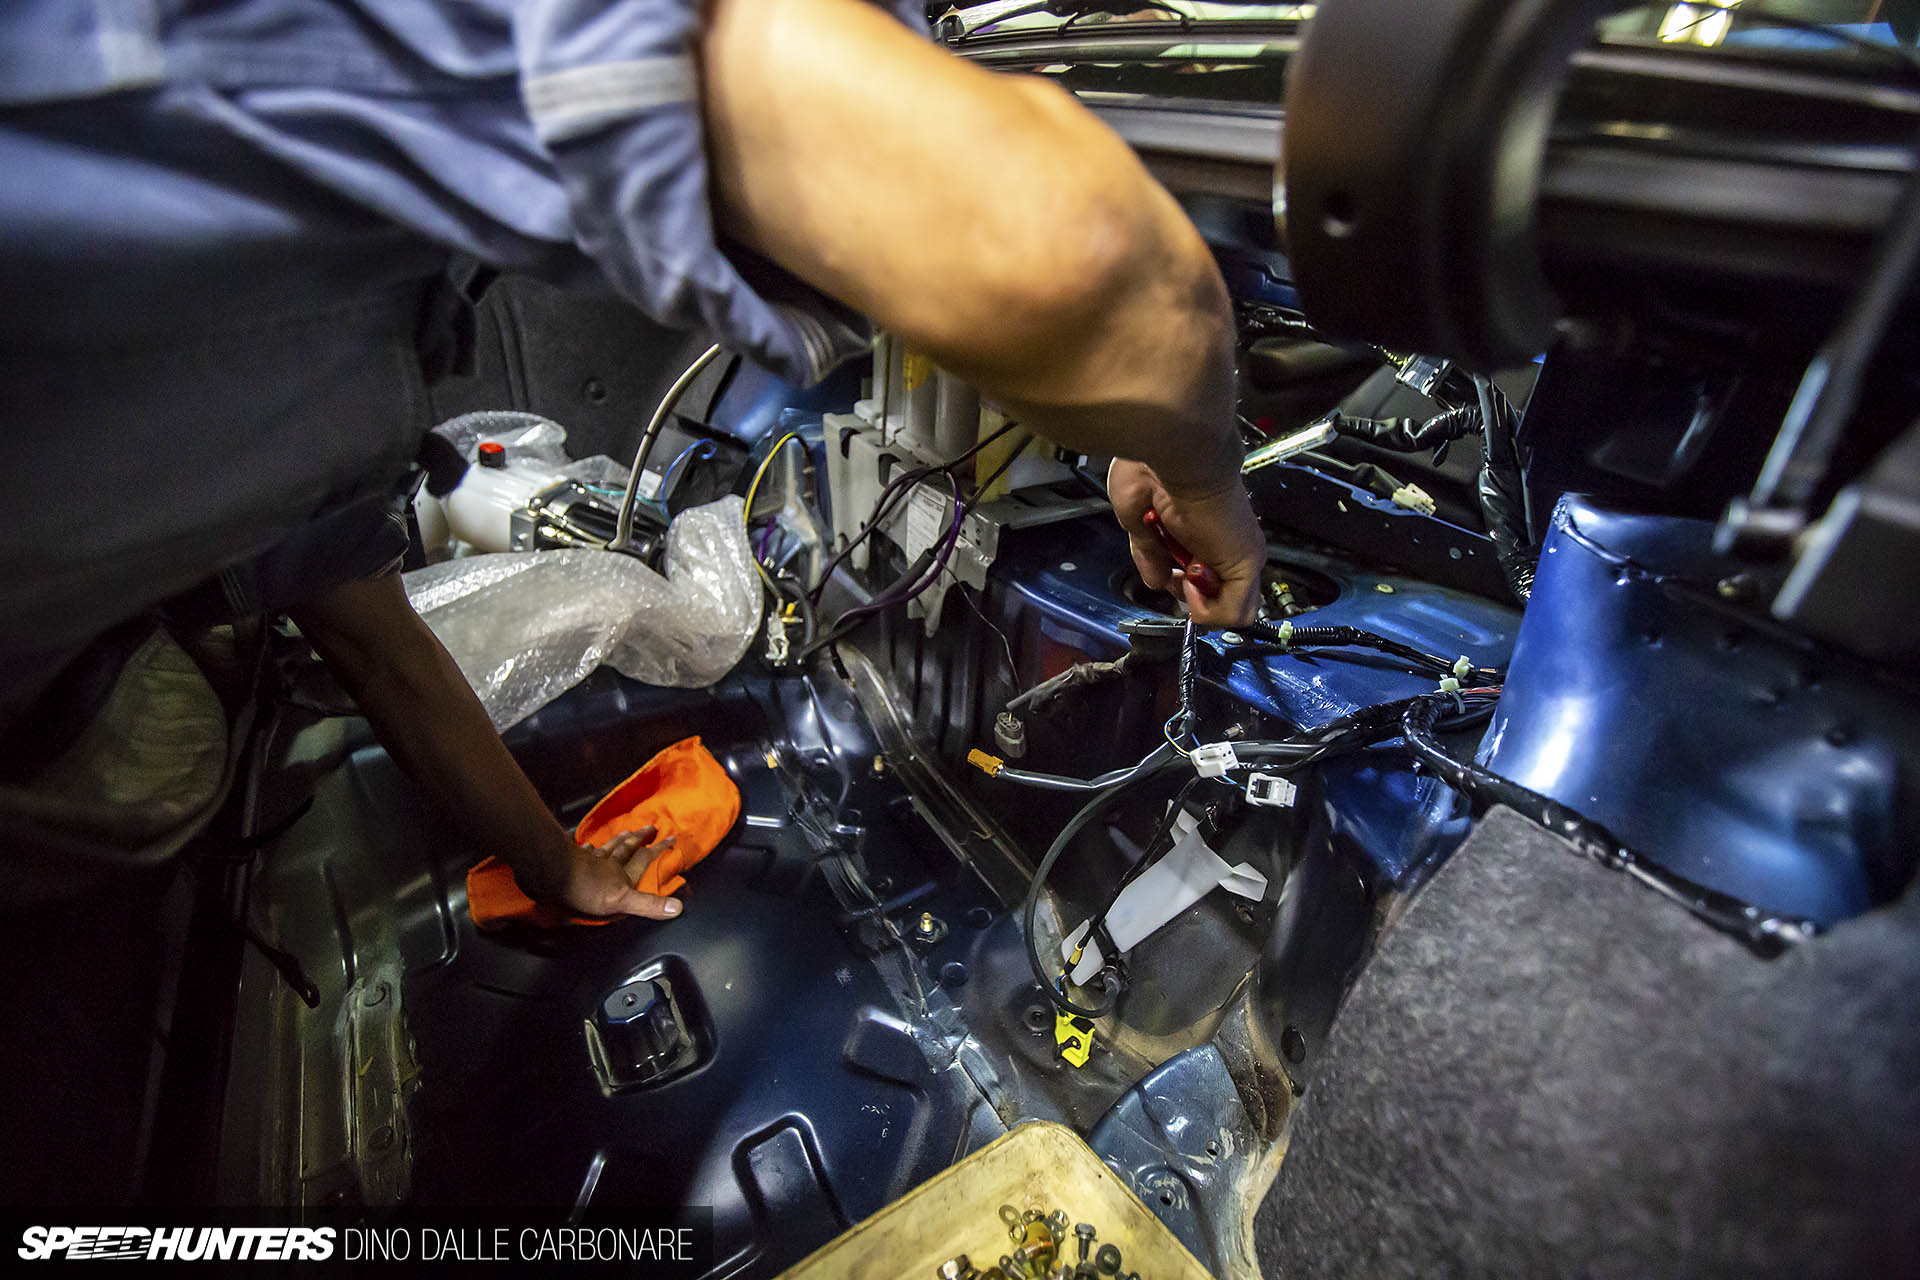
Basically you need to get beneath all the control modules for the Attesa and Hicas, so yes, they need to be removed. You’ll see that the KW HLS pump was already fitted as this stage happened right after Kawanishi-san had finished his installation. Of course, the KW hydraulic pump needed to be removed as well.
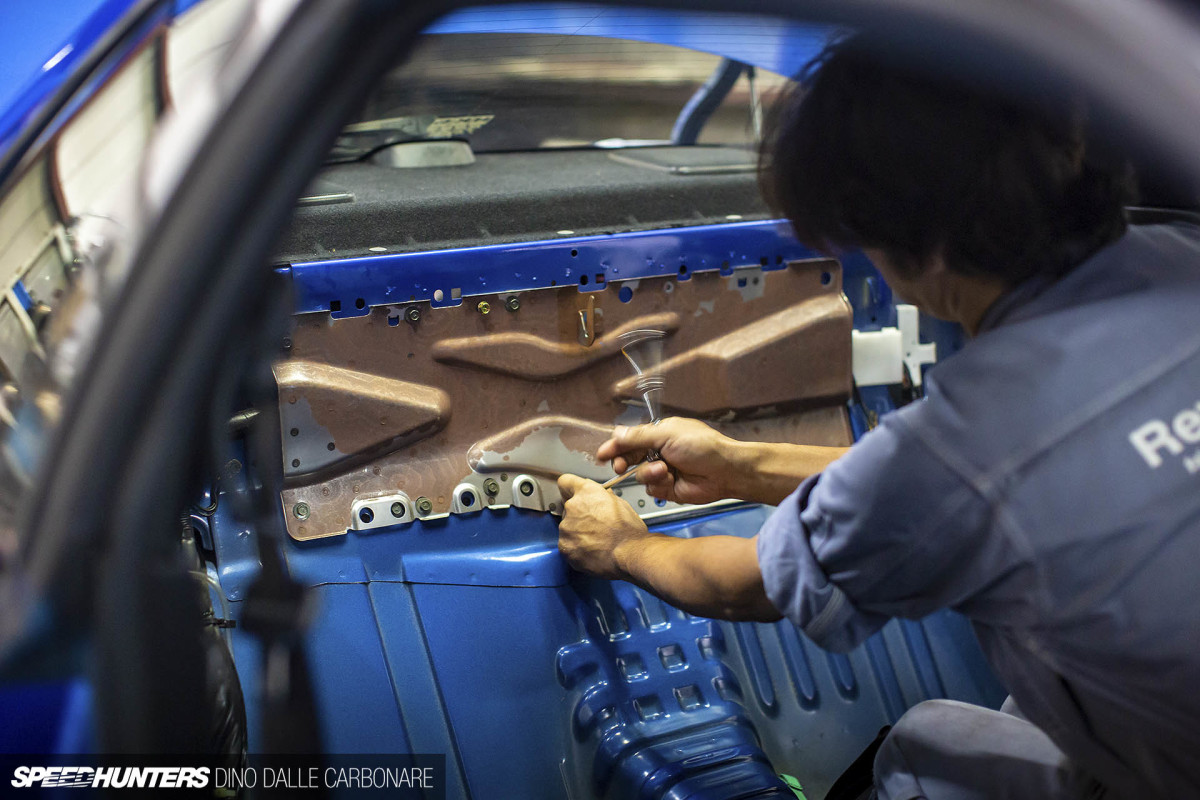
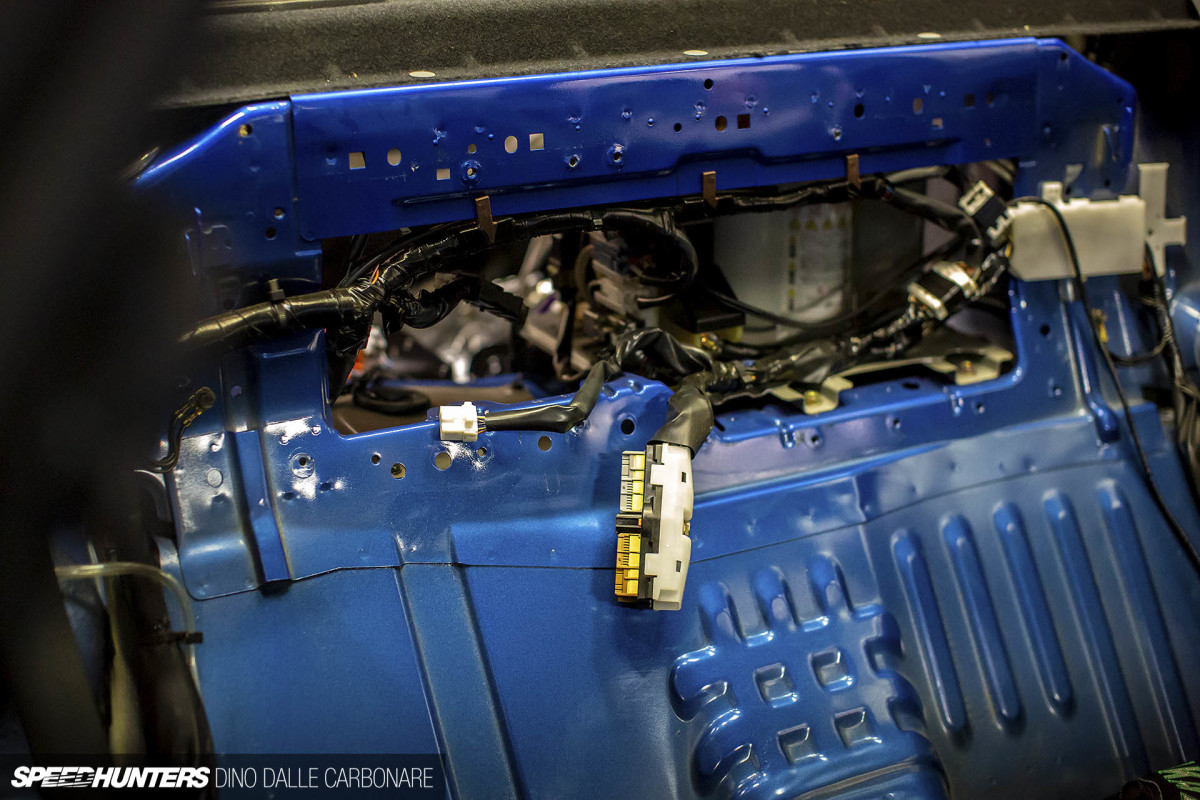
Behind the sound deadening is a small sheet metal panel which once removed gives you access to the mess of electronics back there. From this angle of attack it’s much easier to unplug the looms off the modules and unbolt the brackets that mount them to the body.
That eventually gives you access to the fuel tank itself (there’s an additional metal cover you need to unbolt), from which you can unscrew the plastic cap onto which the fuel pump is mounted.
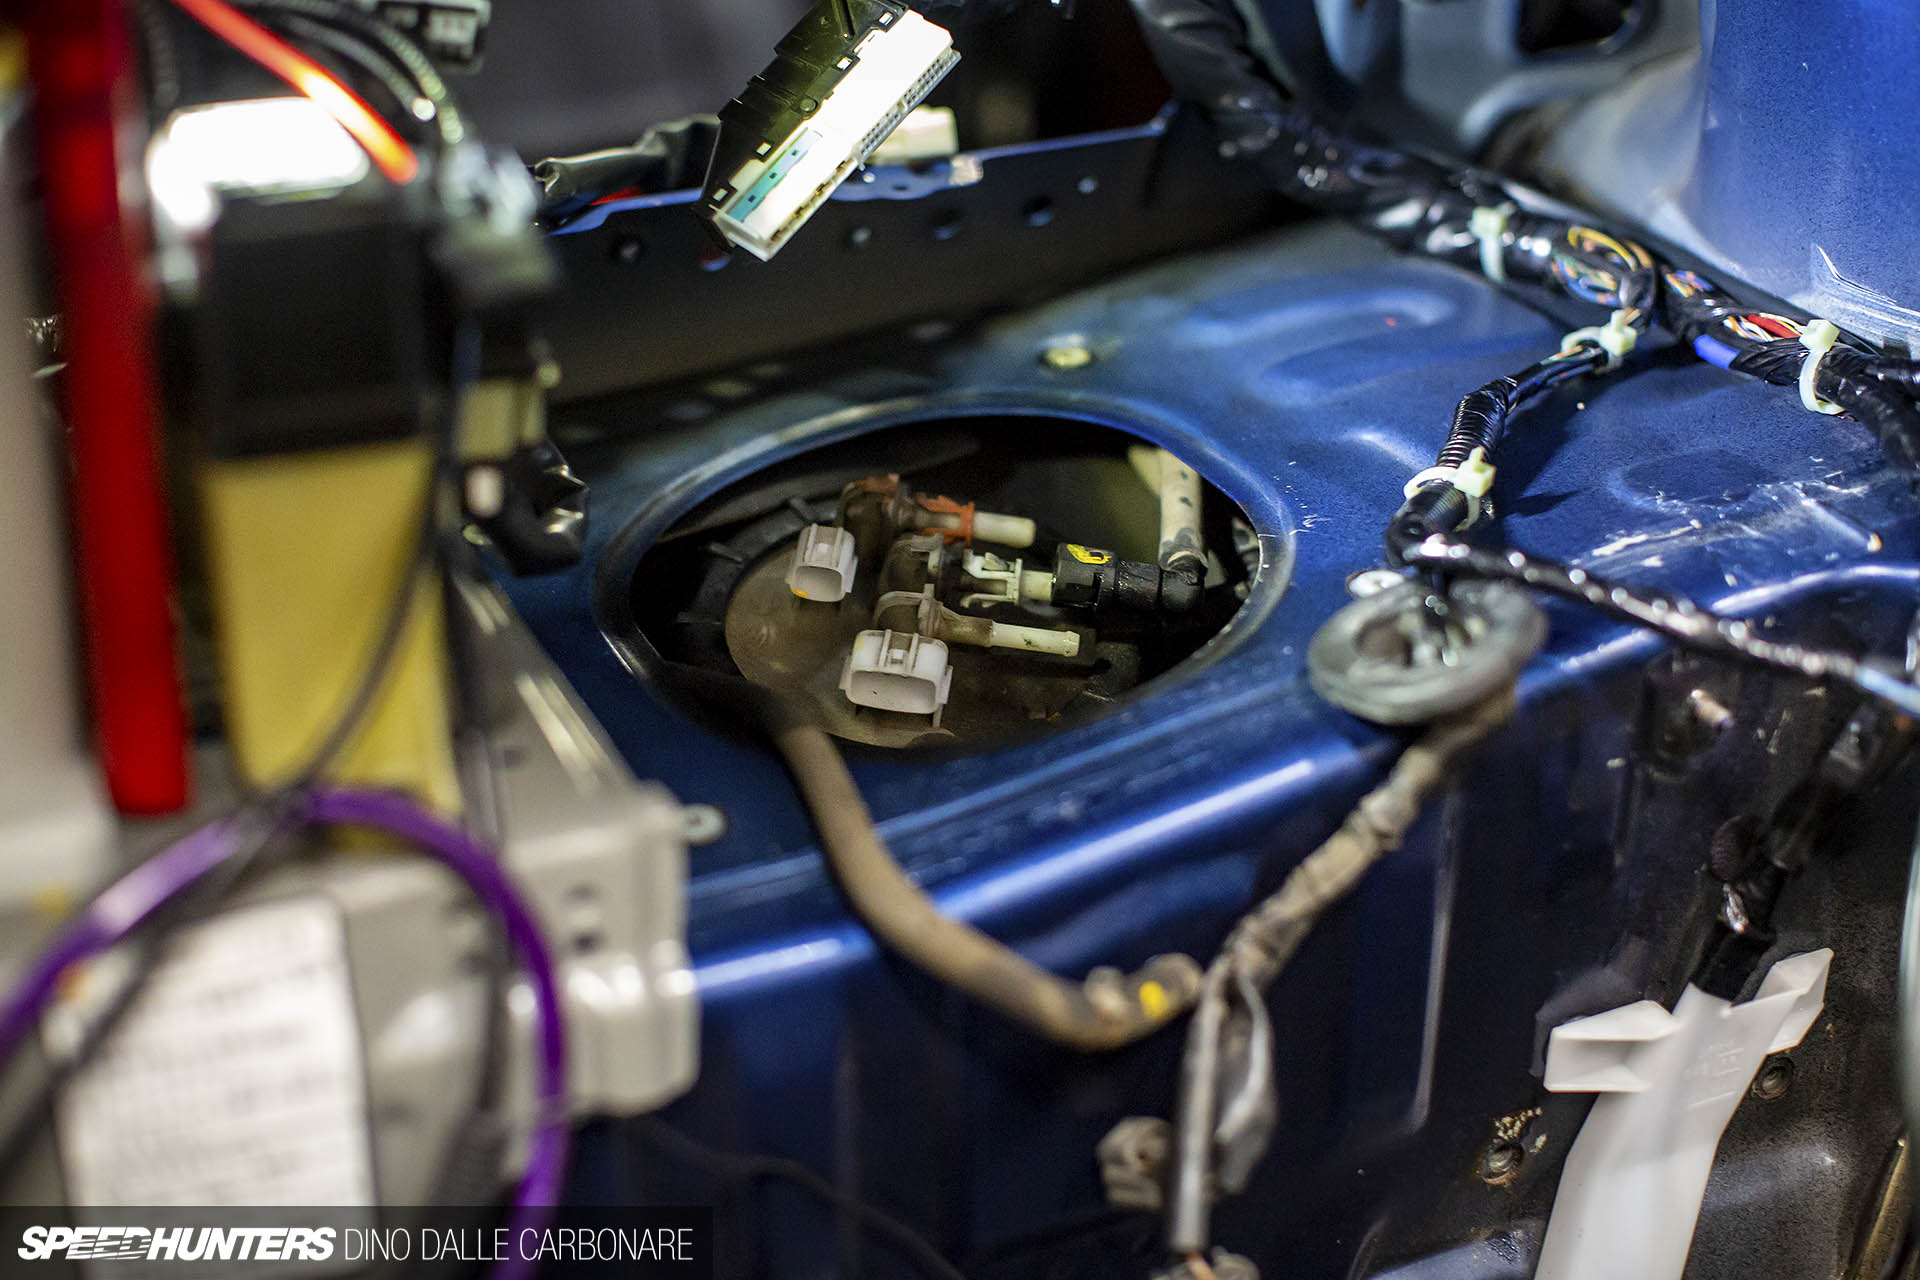
At this point I stepped away for a few hours, but when I returned the Tomei pump had been fitted inside the tank.
With the pump upgrade ticked off, I left Project GT-R in Ito-san’s trusted hands. He would spend some time that night on the wiring, and the plan was that I’d come back to the Do Luck workshop the following morning to help him fit the rail and injectors.
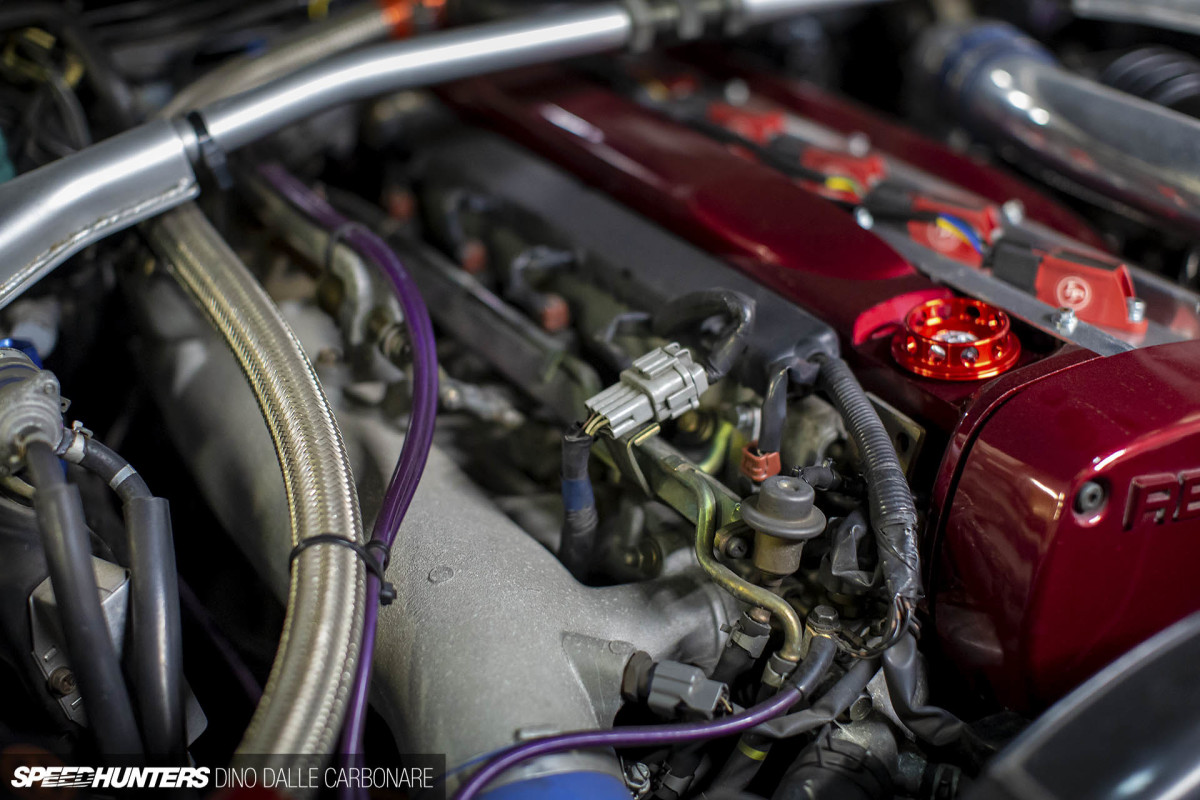
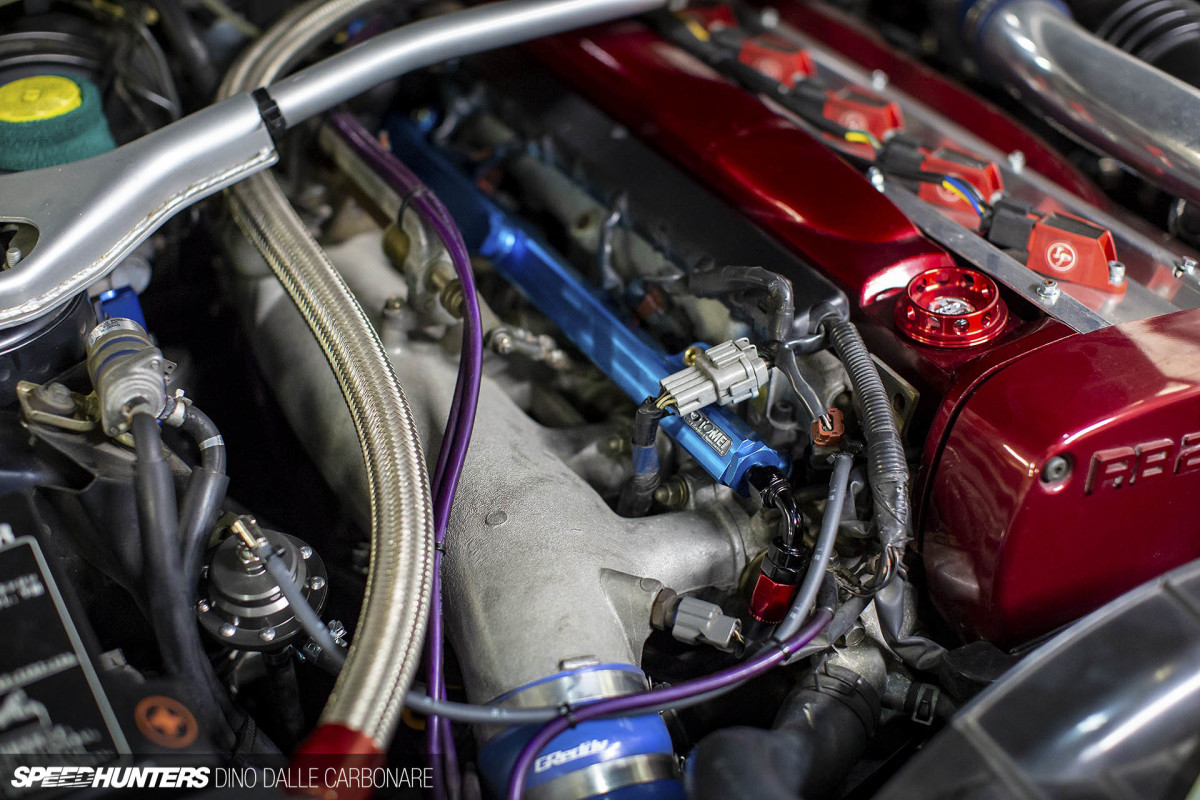
But when I arrived the following day this is what I found. It was all done; Ito had gotten into his element and after wiring in the six connectors for the injectors he decided to carry on with the rest of the install. So above is a before and after; you can see the new fuel rail and the position of the Tomei FRP.
Tuning For Drivability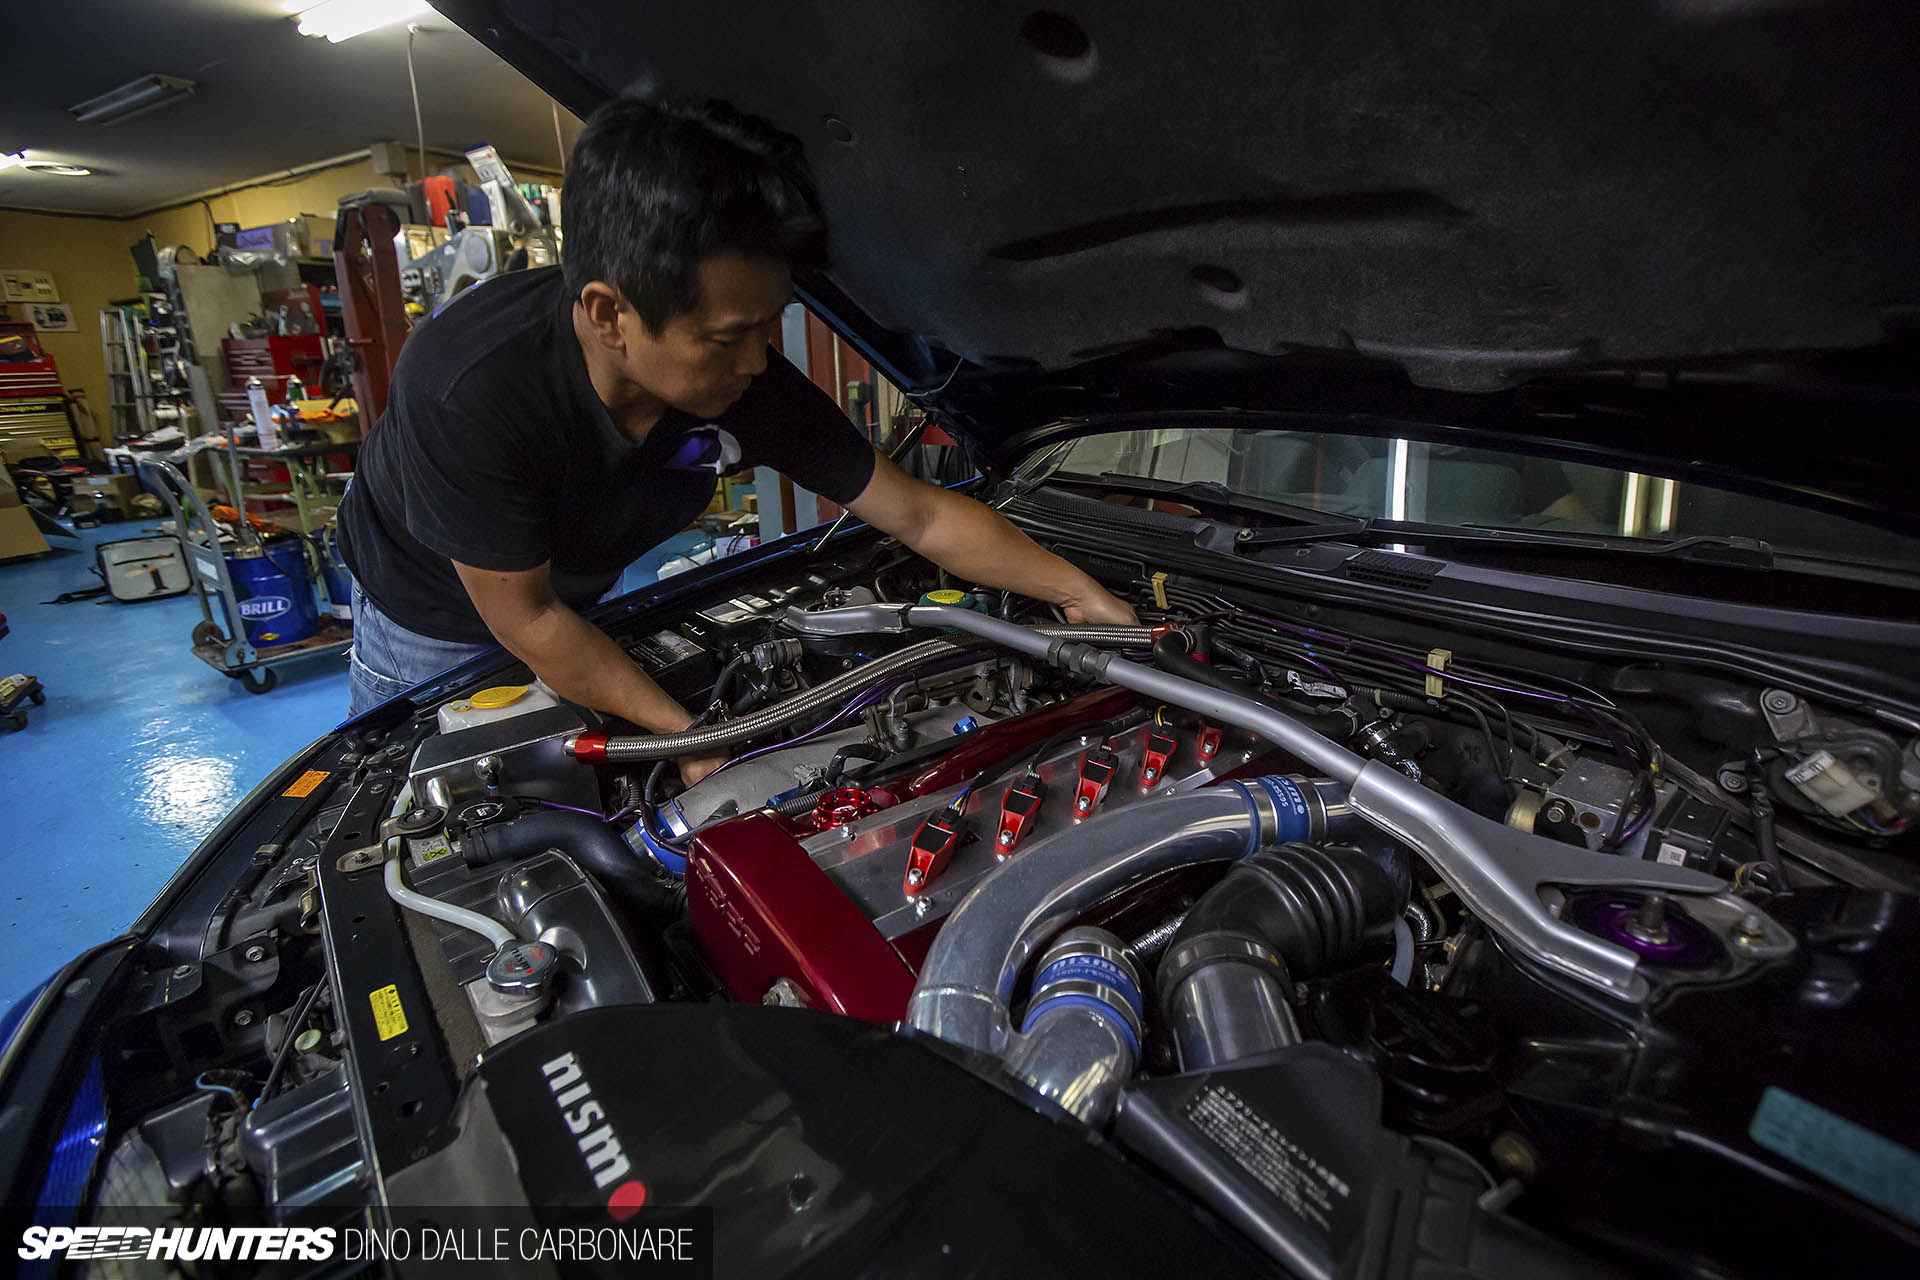
It was then a matter of double-checking everything before we attempted to turn the engine over.

The black and red anodized fittings and the black mesh fuel lines are cool details and hint at the color direction I want to go when the engine’s fully built and in its final spec.
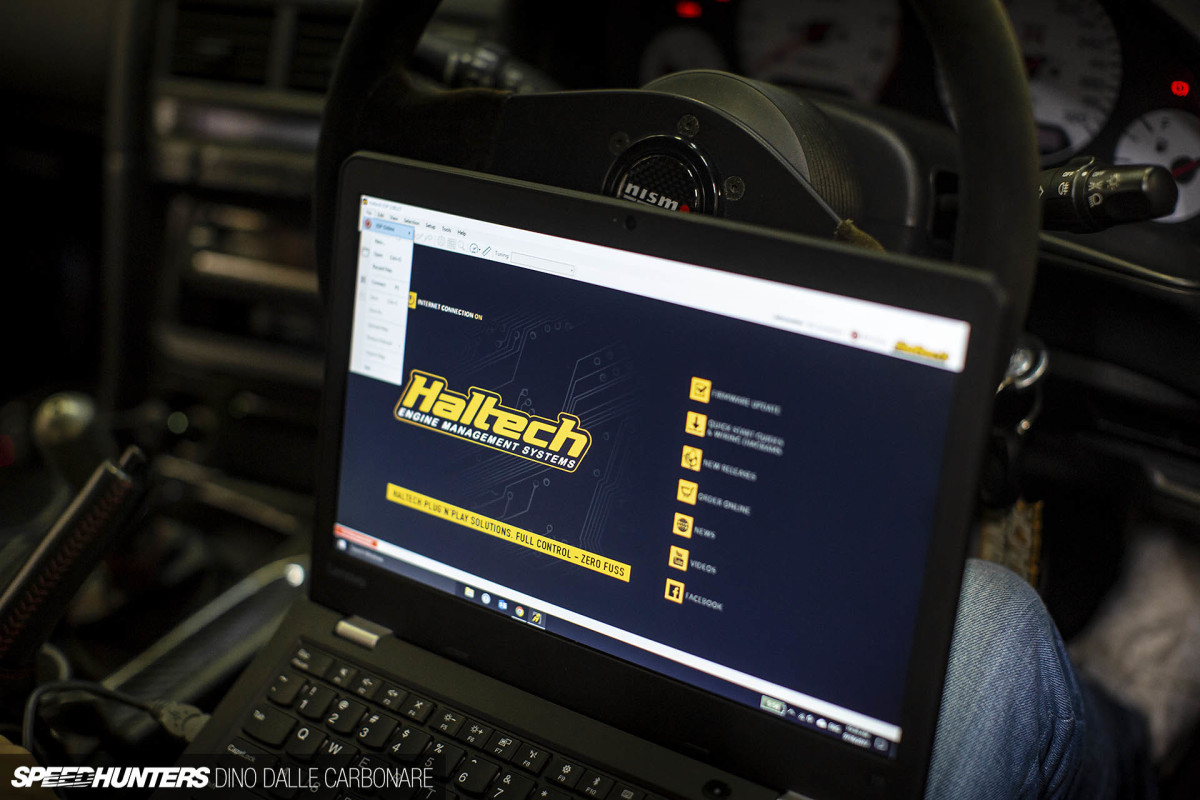
It was then over to Ennio who had to tell the Haltech Elite 2500 ECU that larger capacity injectors were being used, and also that they were of the high impedance variety. He then had to fiddle around with the fuel and ignition maps to ensure that it would be easy for the engine to turn over.
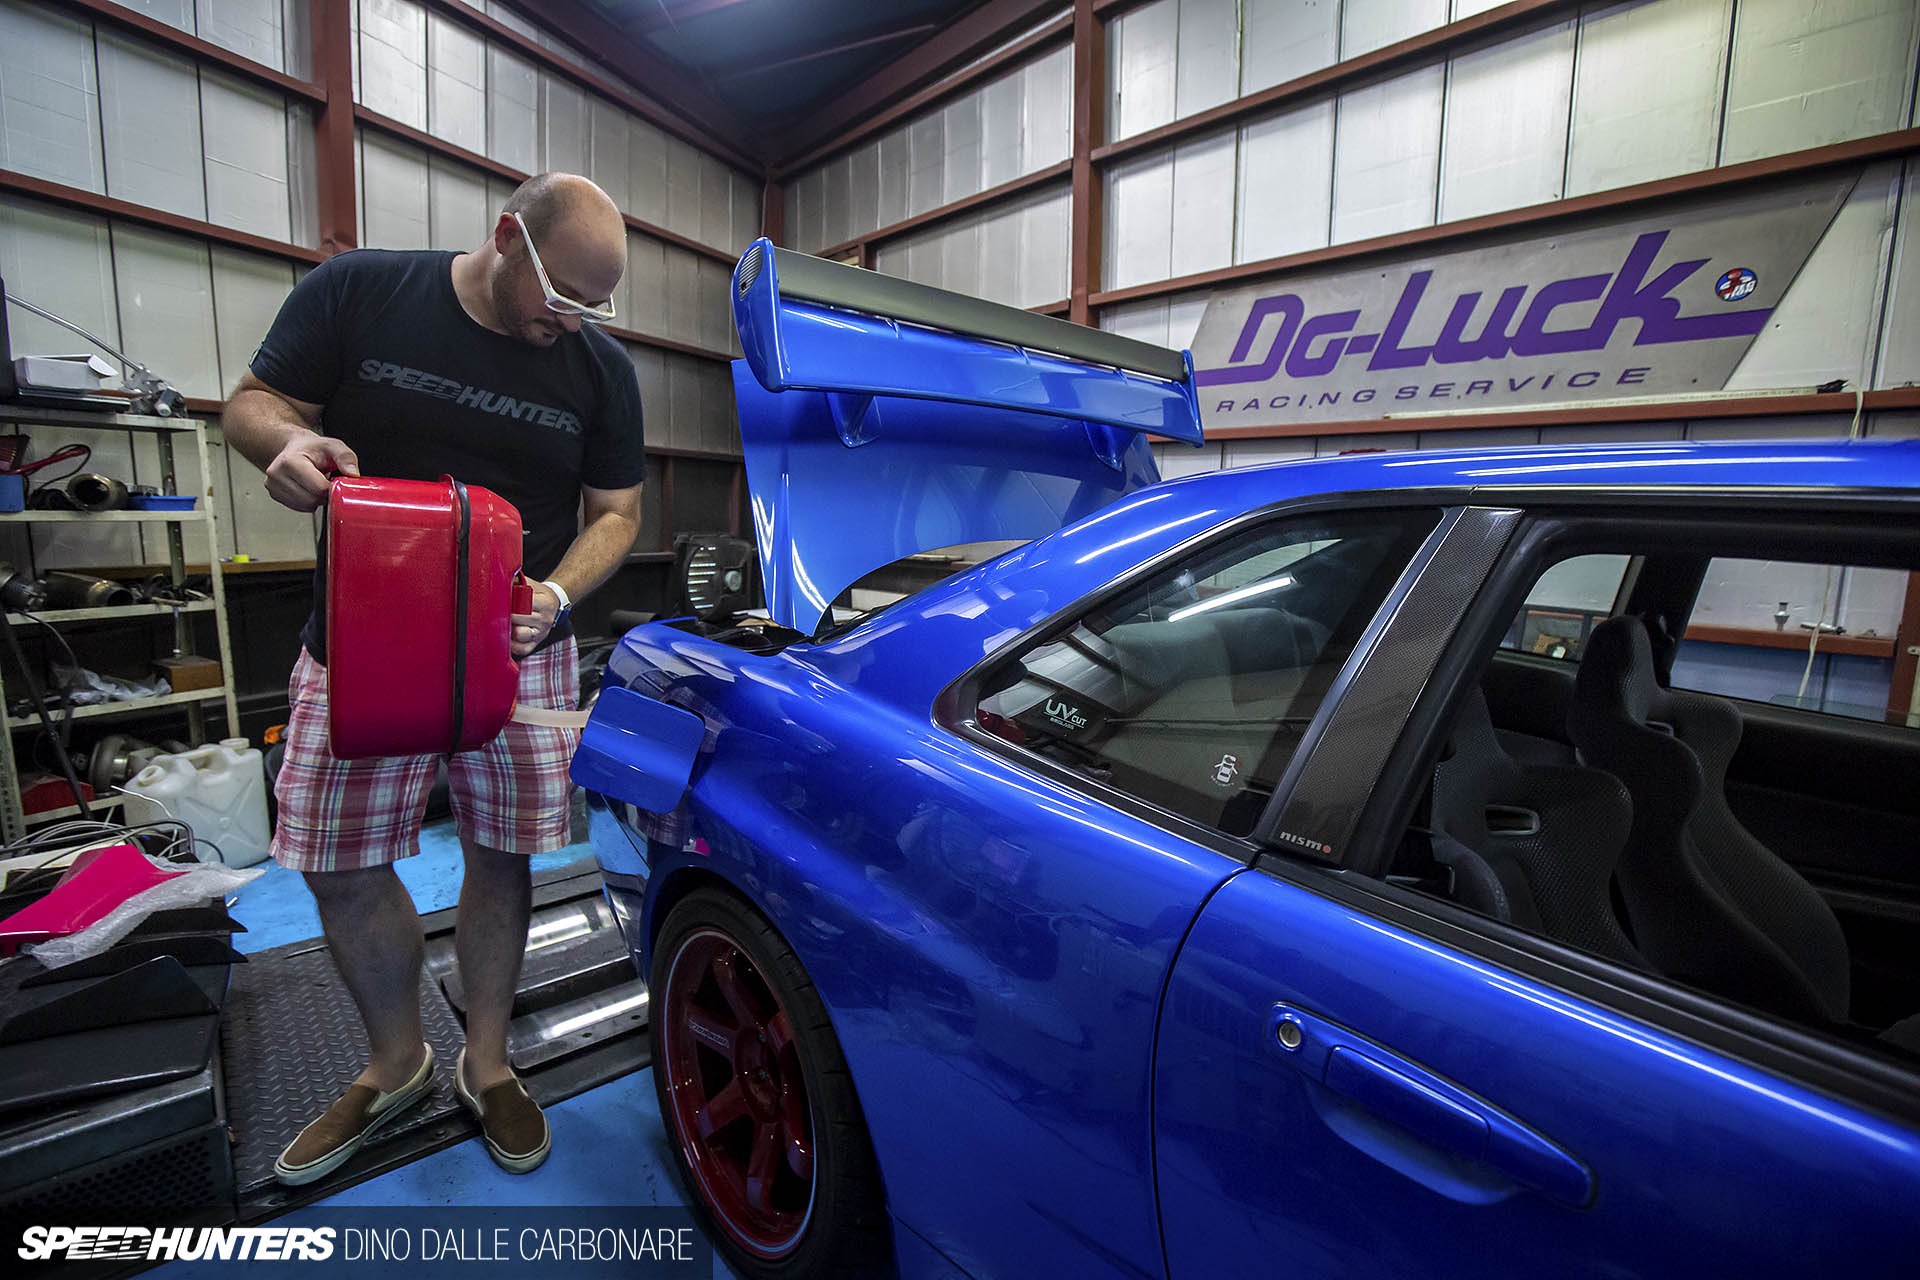
We then realized it would be a smart idea to make sure that there was some gas in the tank for the Tomei pump to suck up.
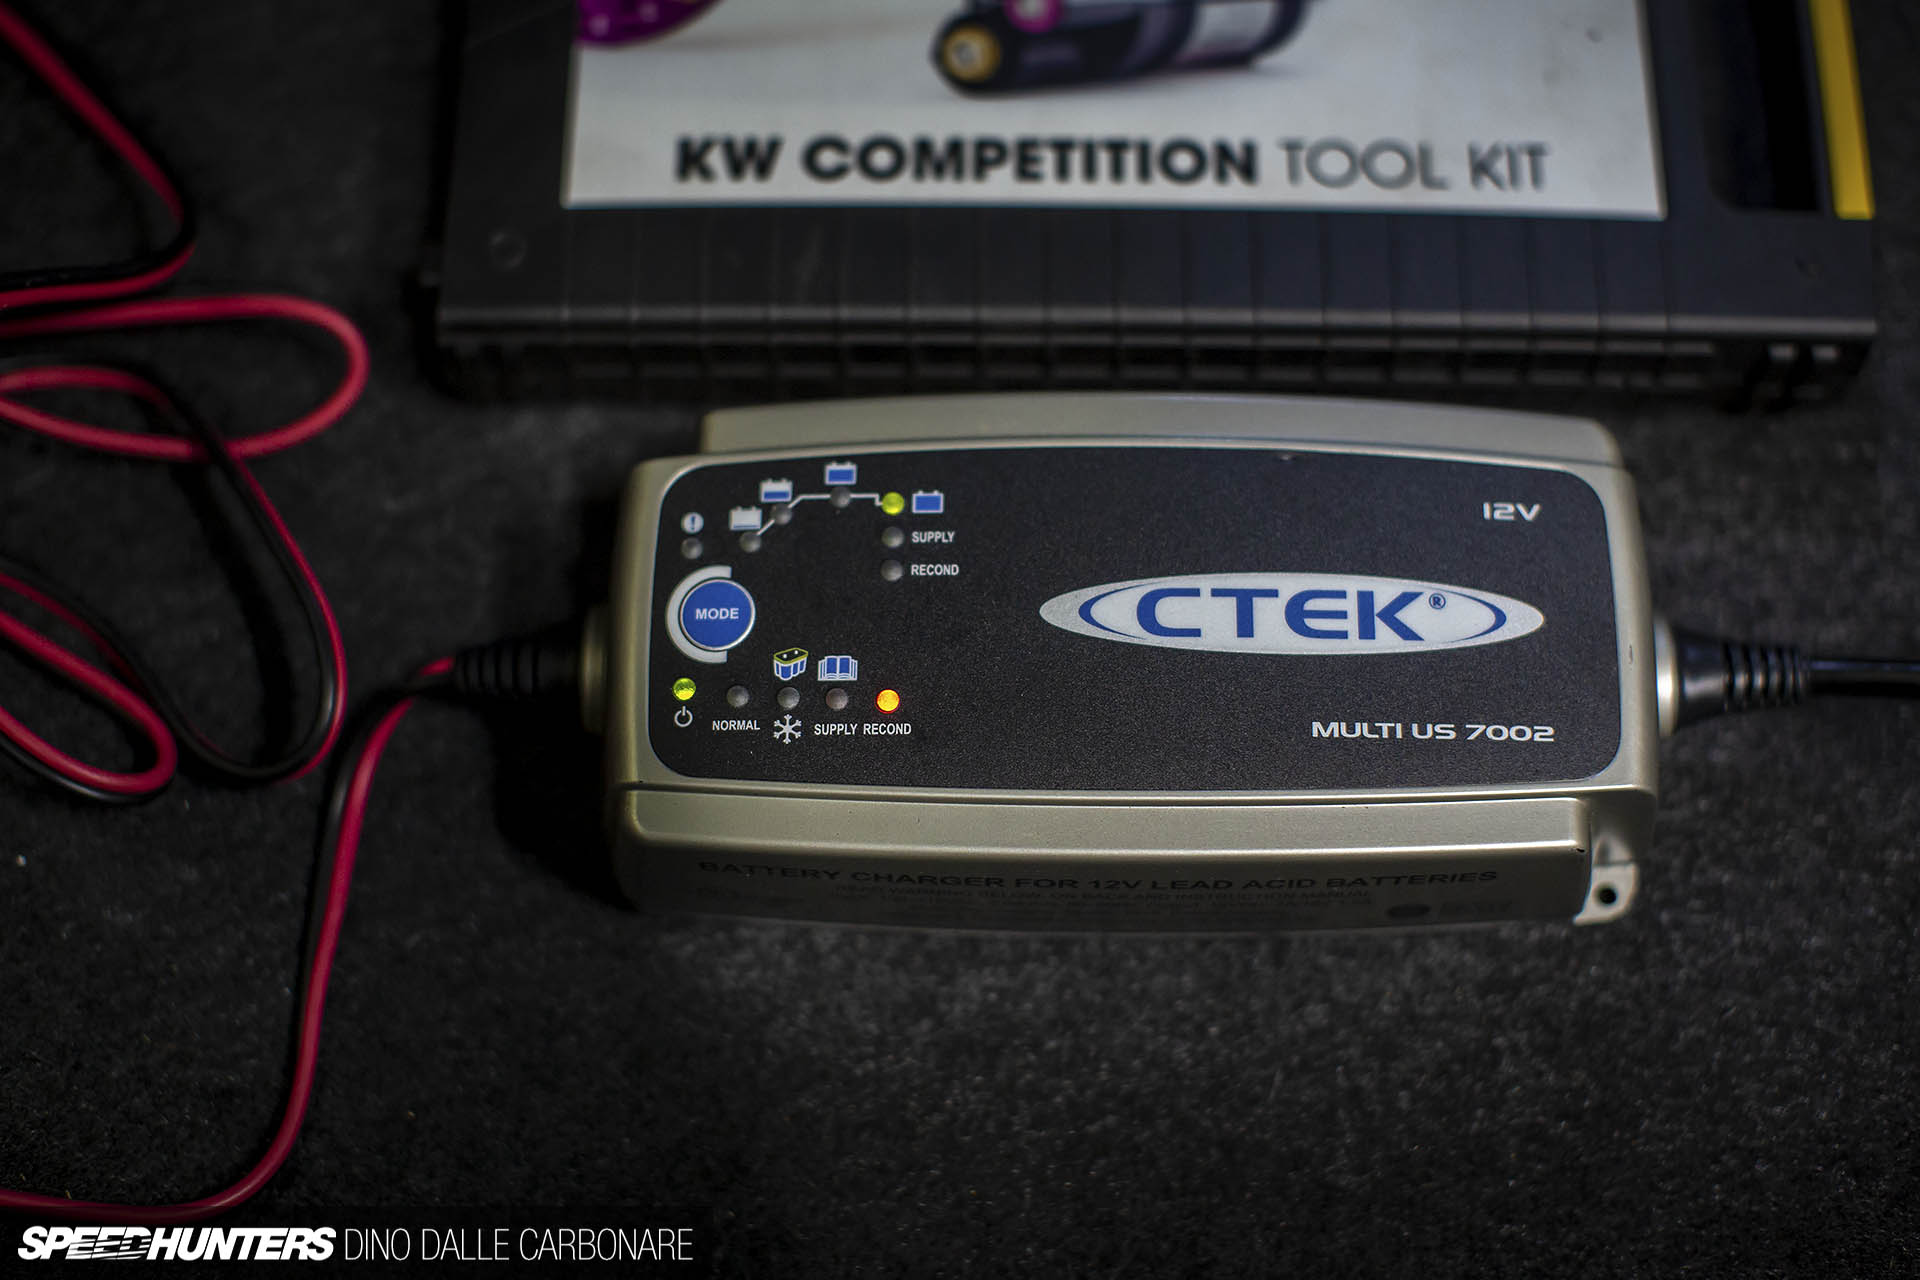
In the meantime, I had also been charging the battery as it was showing obvious signs of not holding good voltage. I left my trusty charger to recondition it overnight and hoped for the best.
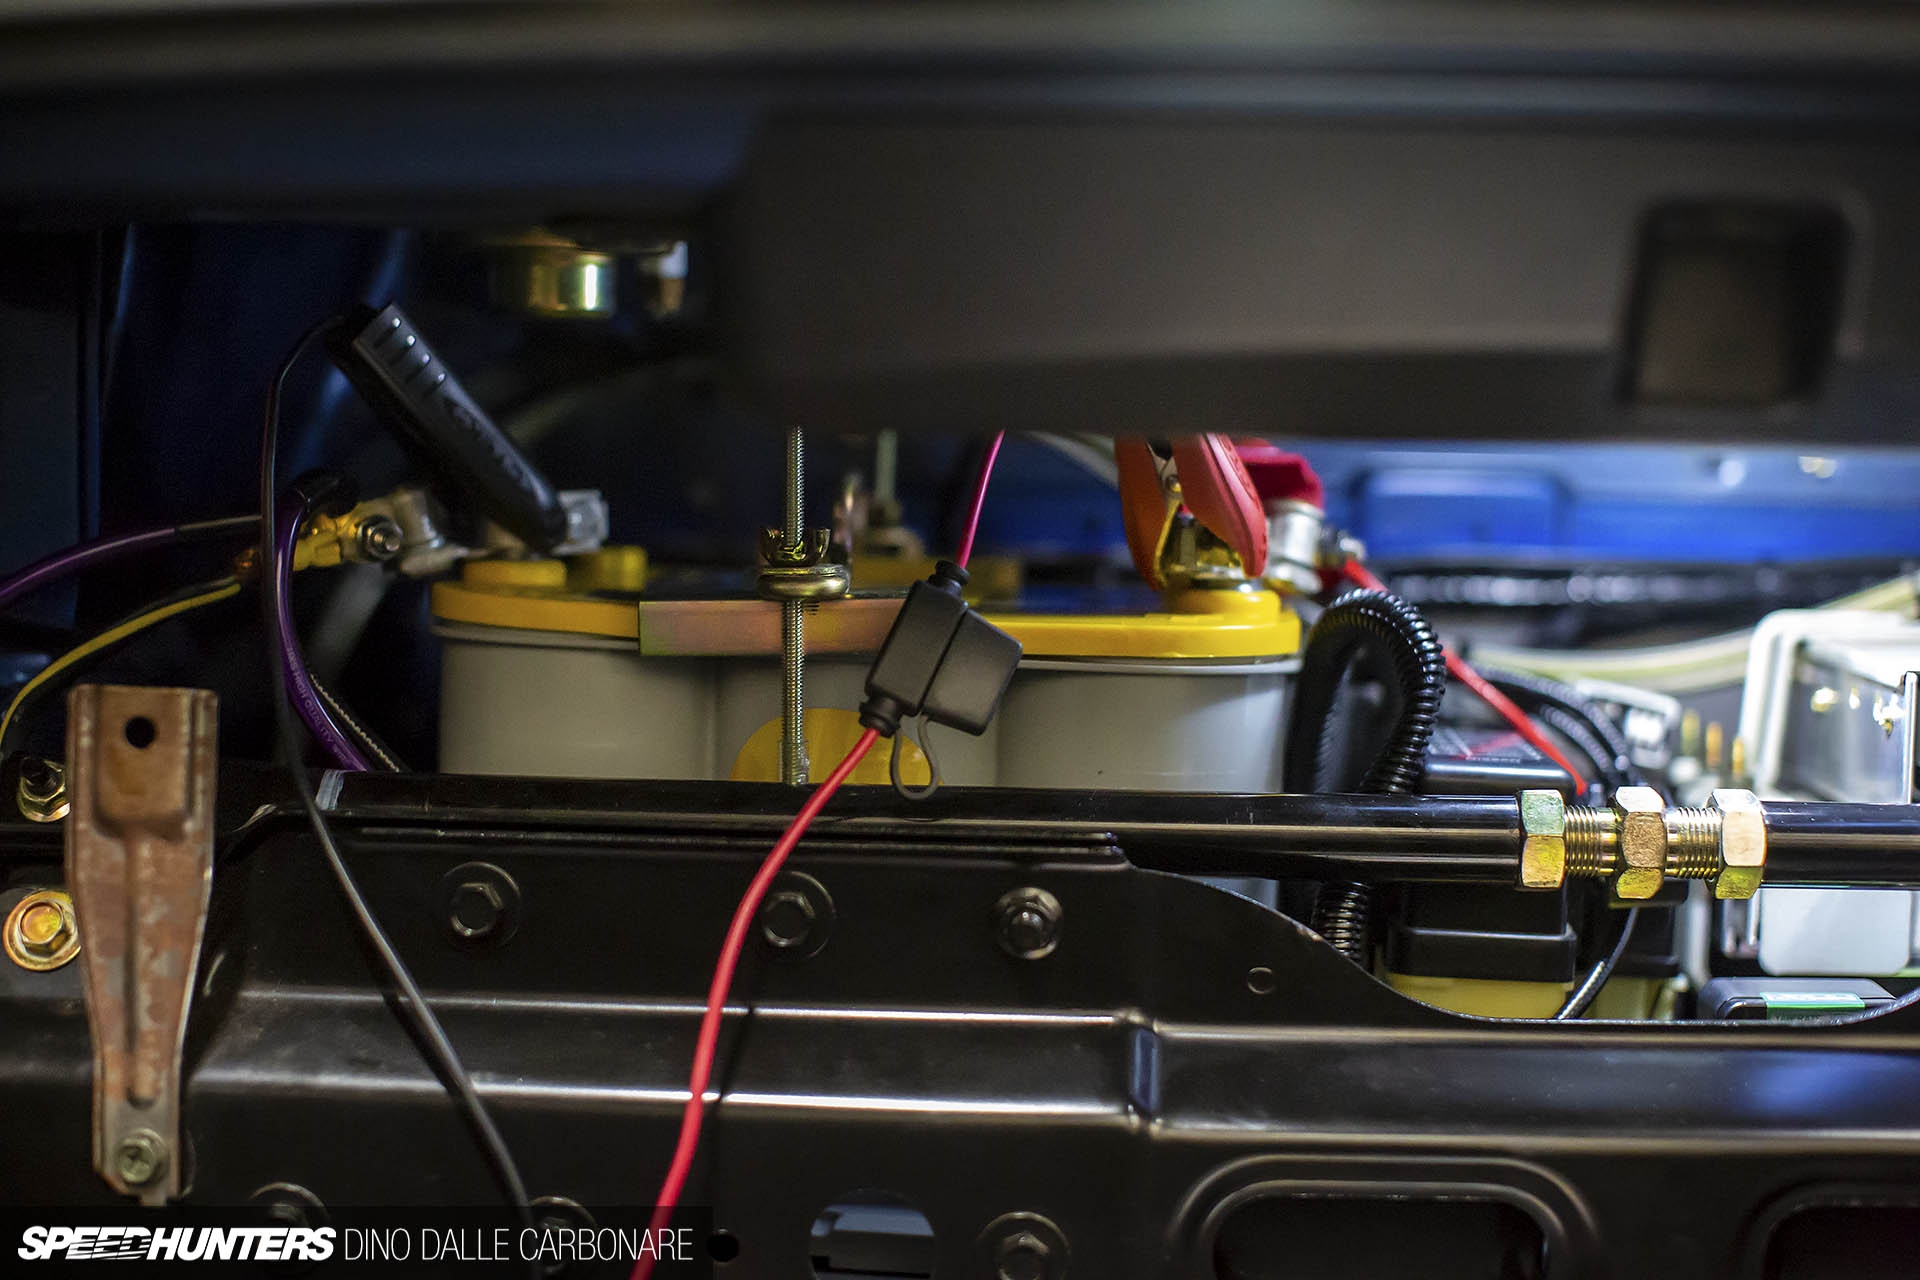
But this was pretty much my fault. You see, the car had been sitting for quite long stretches of time over the year and I did allow the voltage on the Optima Yellow Top to drop quite significantly a couple of times. I charged it all the way up on those few occasions that I needed to move it, but that had obviously contributed to some degradation in the battery.
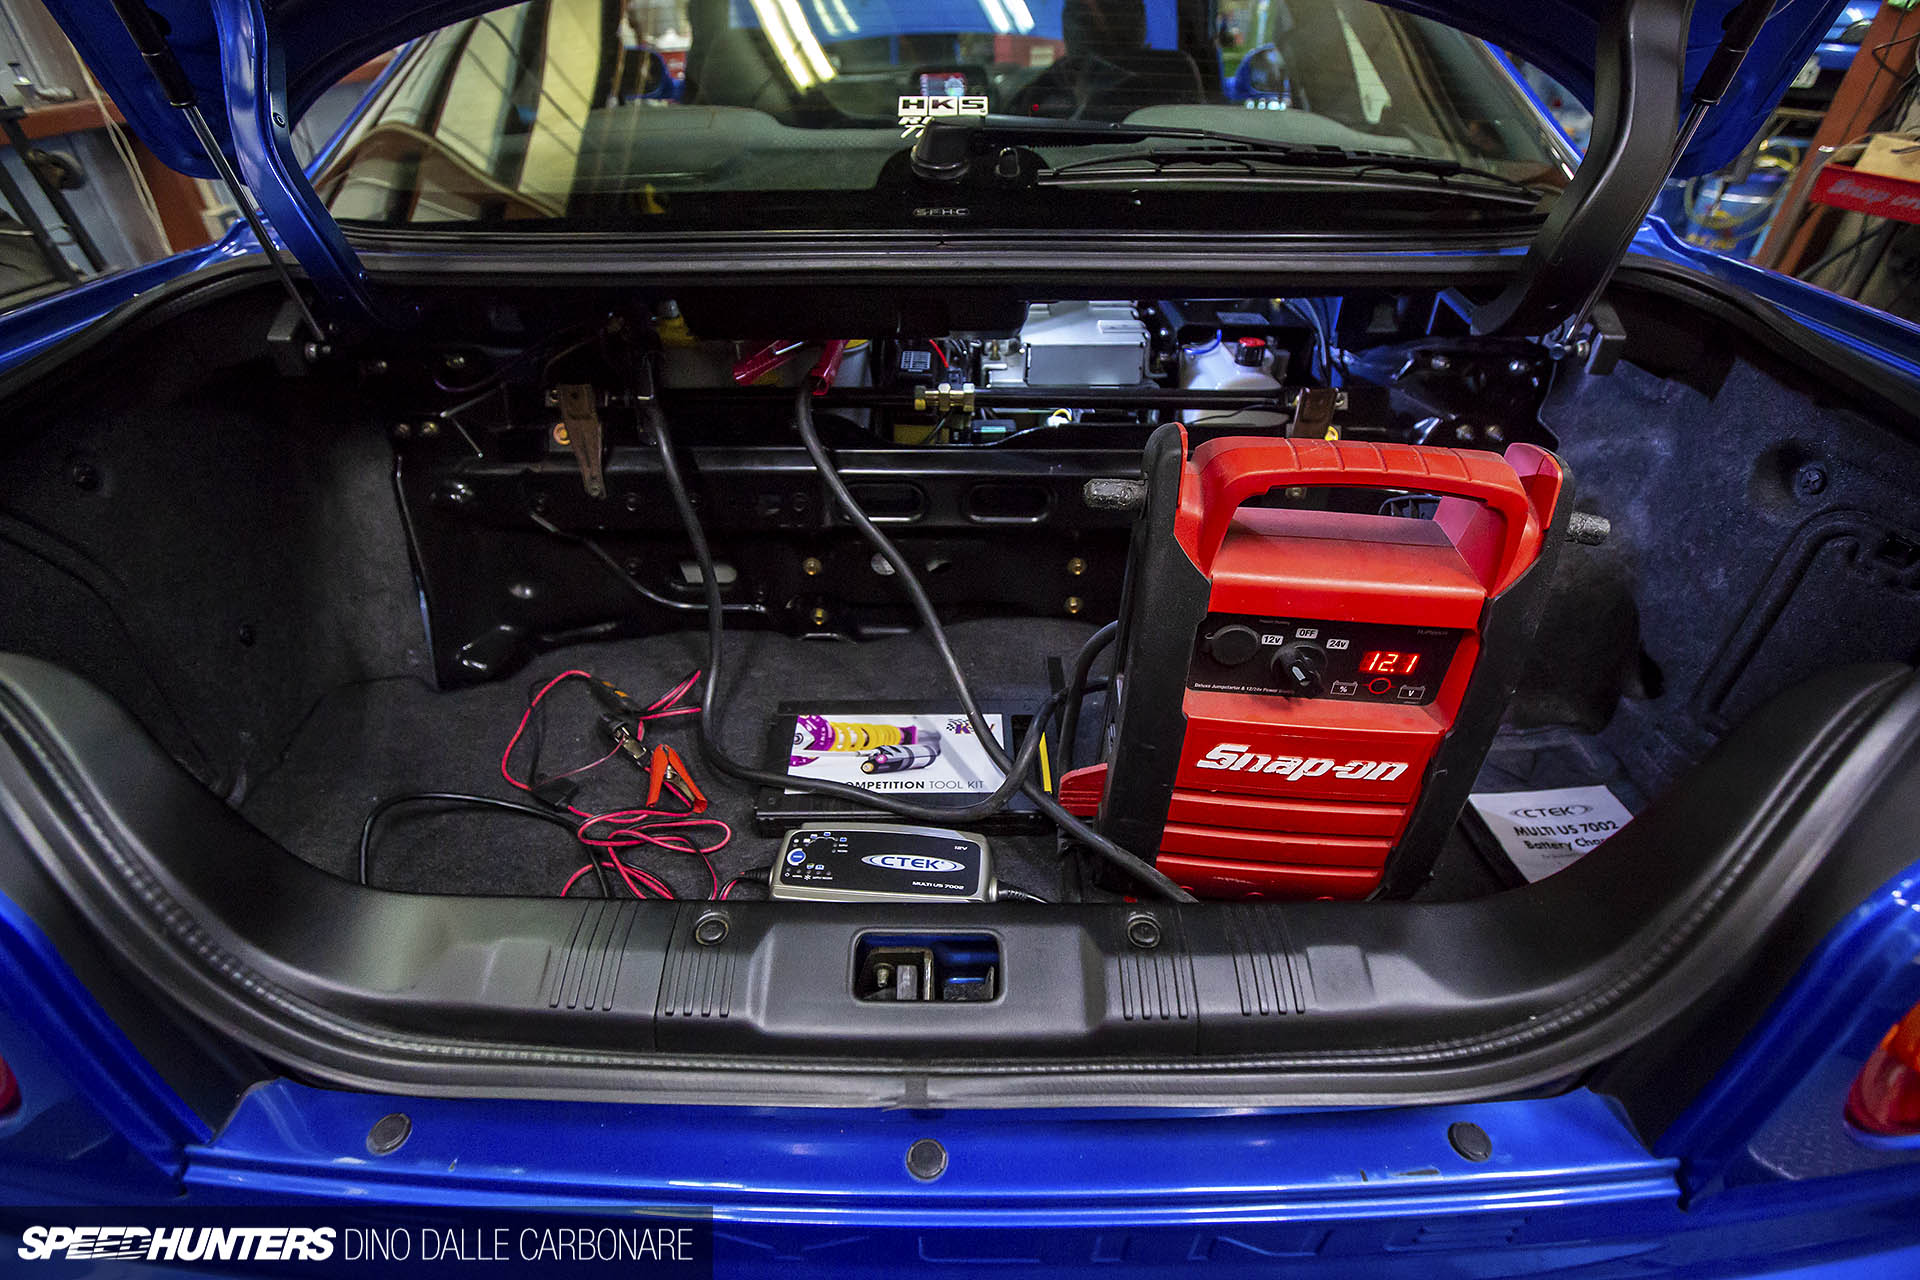
Given it was 10 years old, I figured it had done its dash; I swallowed my pride and ordered another one on the internet. In the meantime, Ito-san came to the rescue with the biggest battery booster I’ve ever seen.
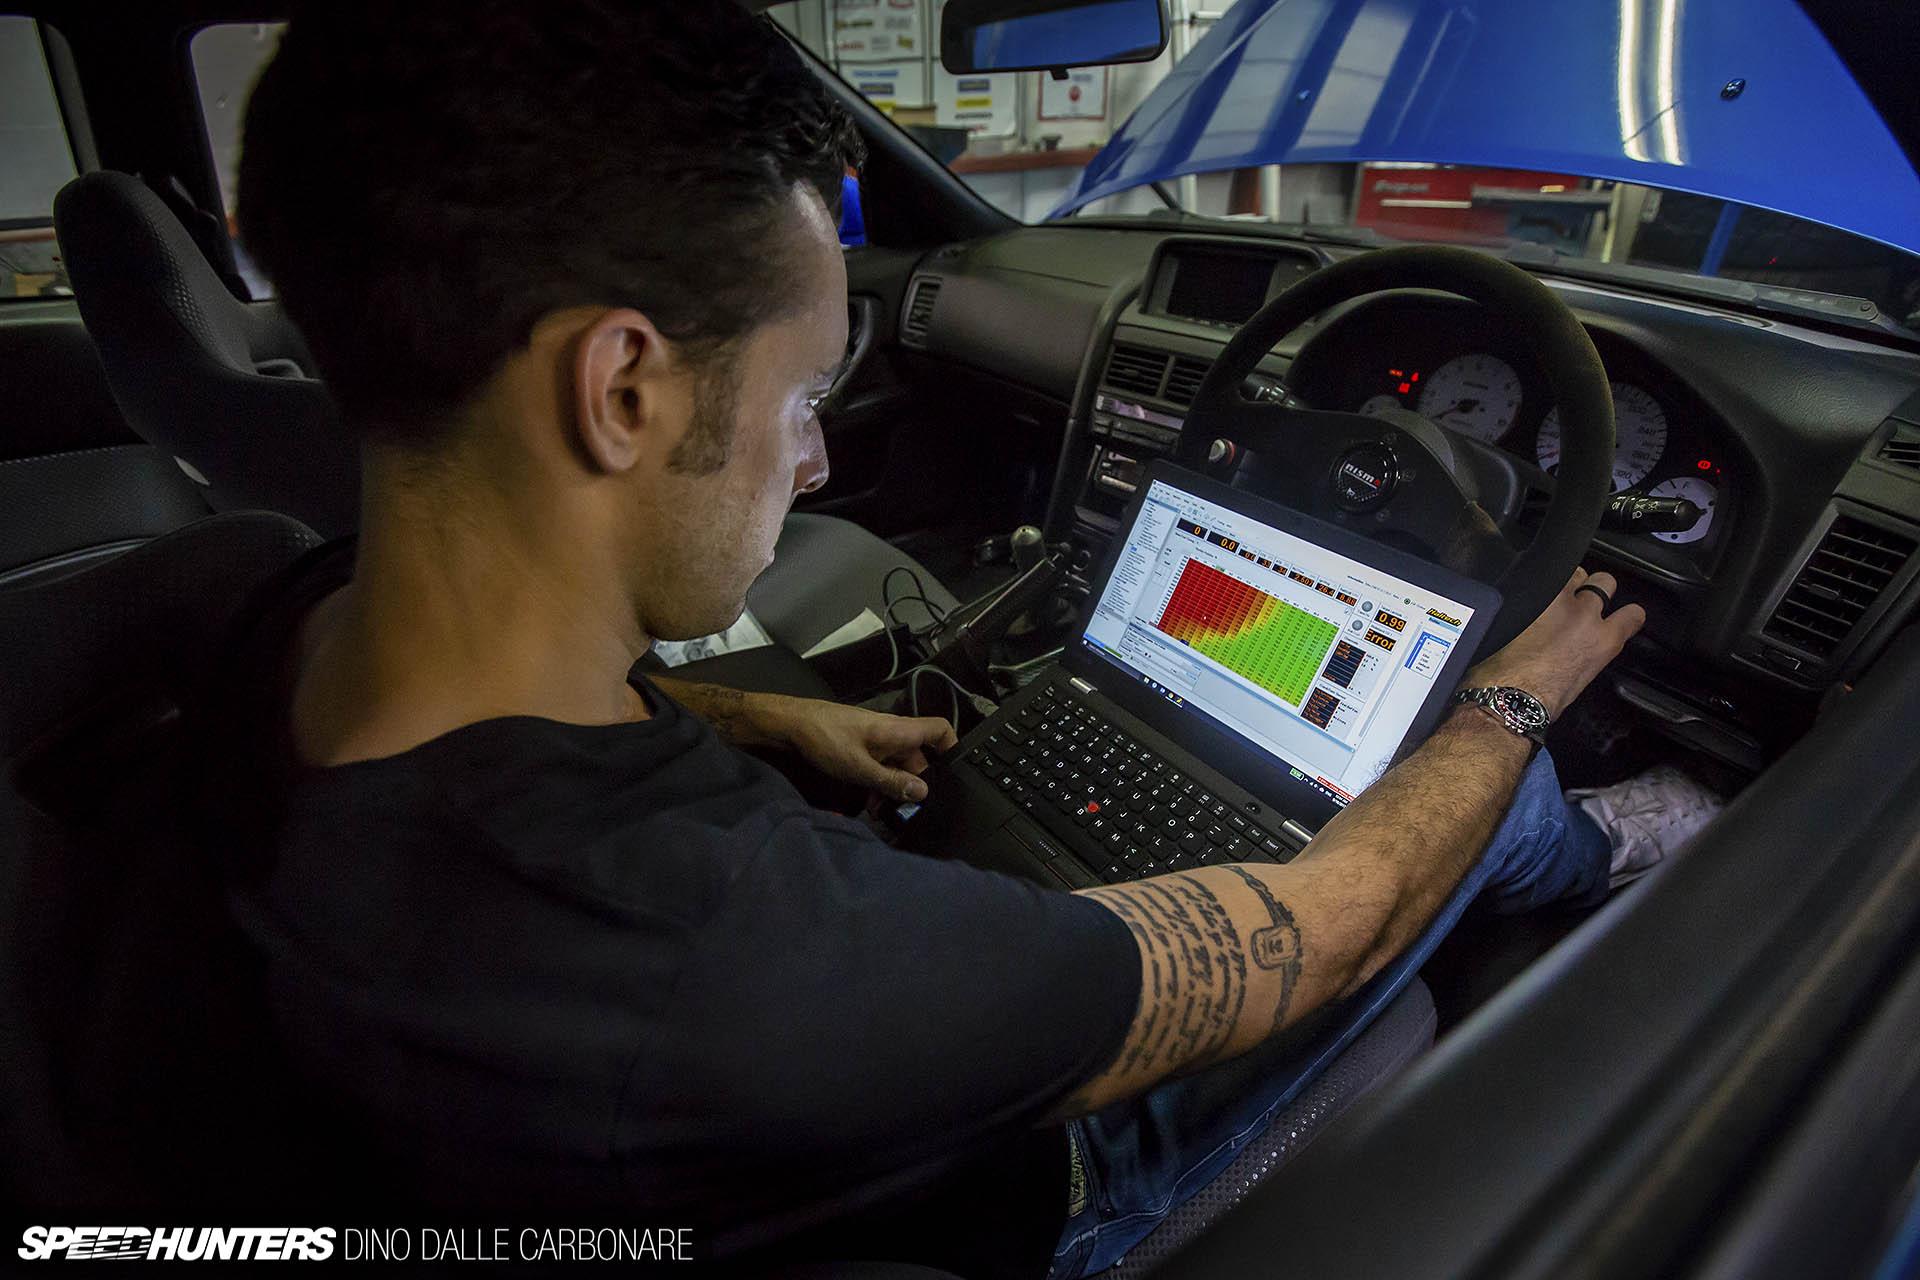
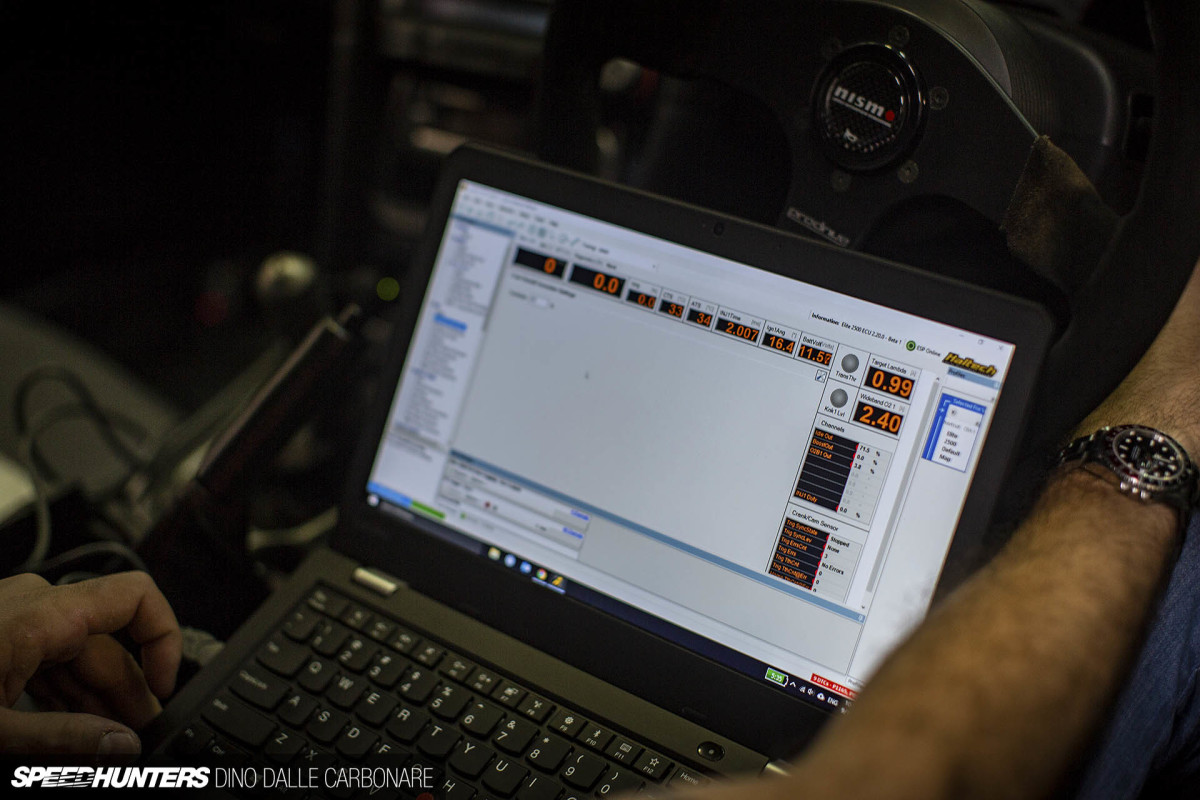
This supplied the right voltage to the system and Ennio was able to start the car, set a smooth idle, and rev it up a little to check things. We then took the car out for a run around the block to make sure it was drivable. While fiddling with the idle control the engine ended up dying a few times, but thankfully we had the booster in the trunk ready to get us going again. Although, it wasn’t a nice thing to happen on a busy four-lane main street in Yokohama!
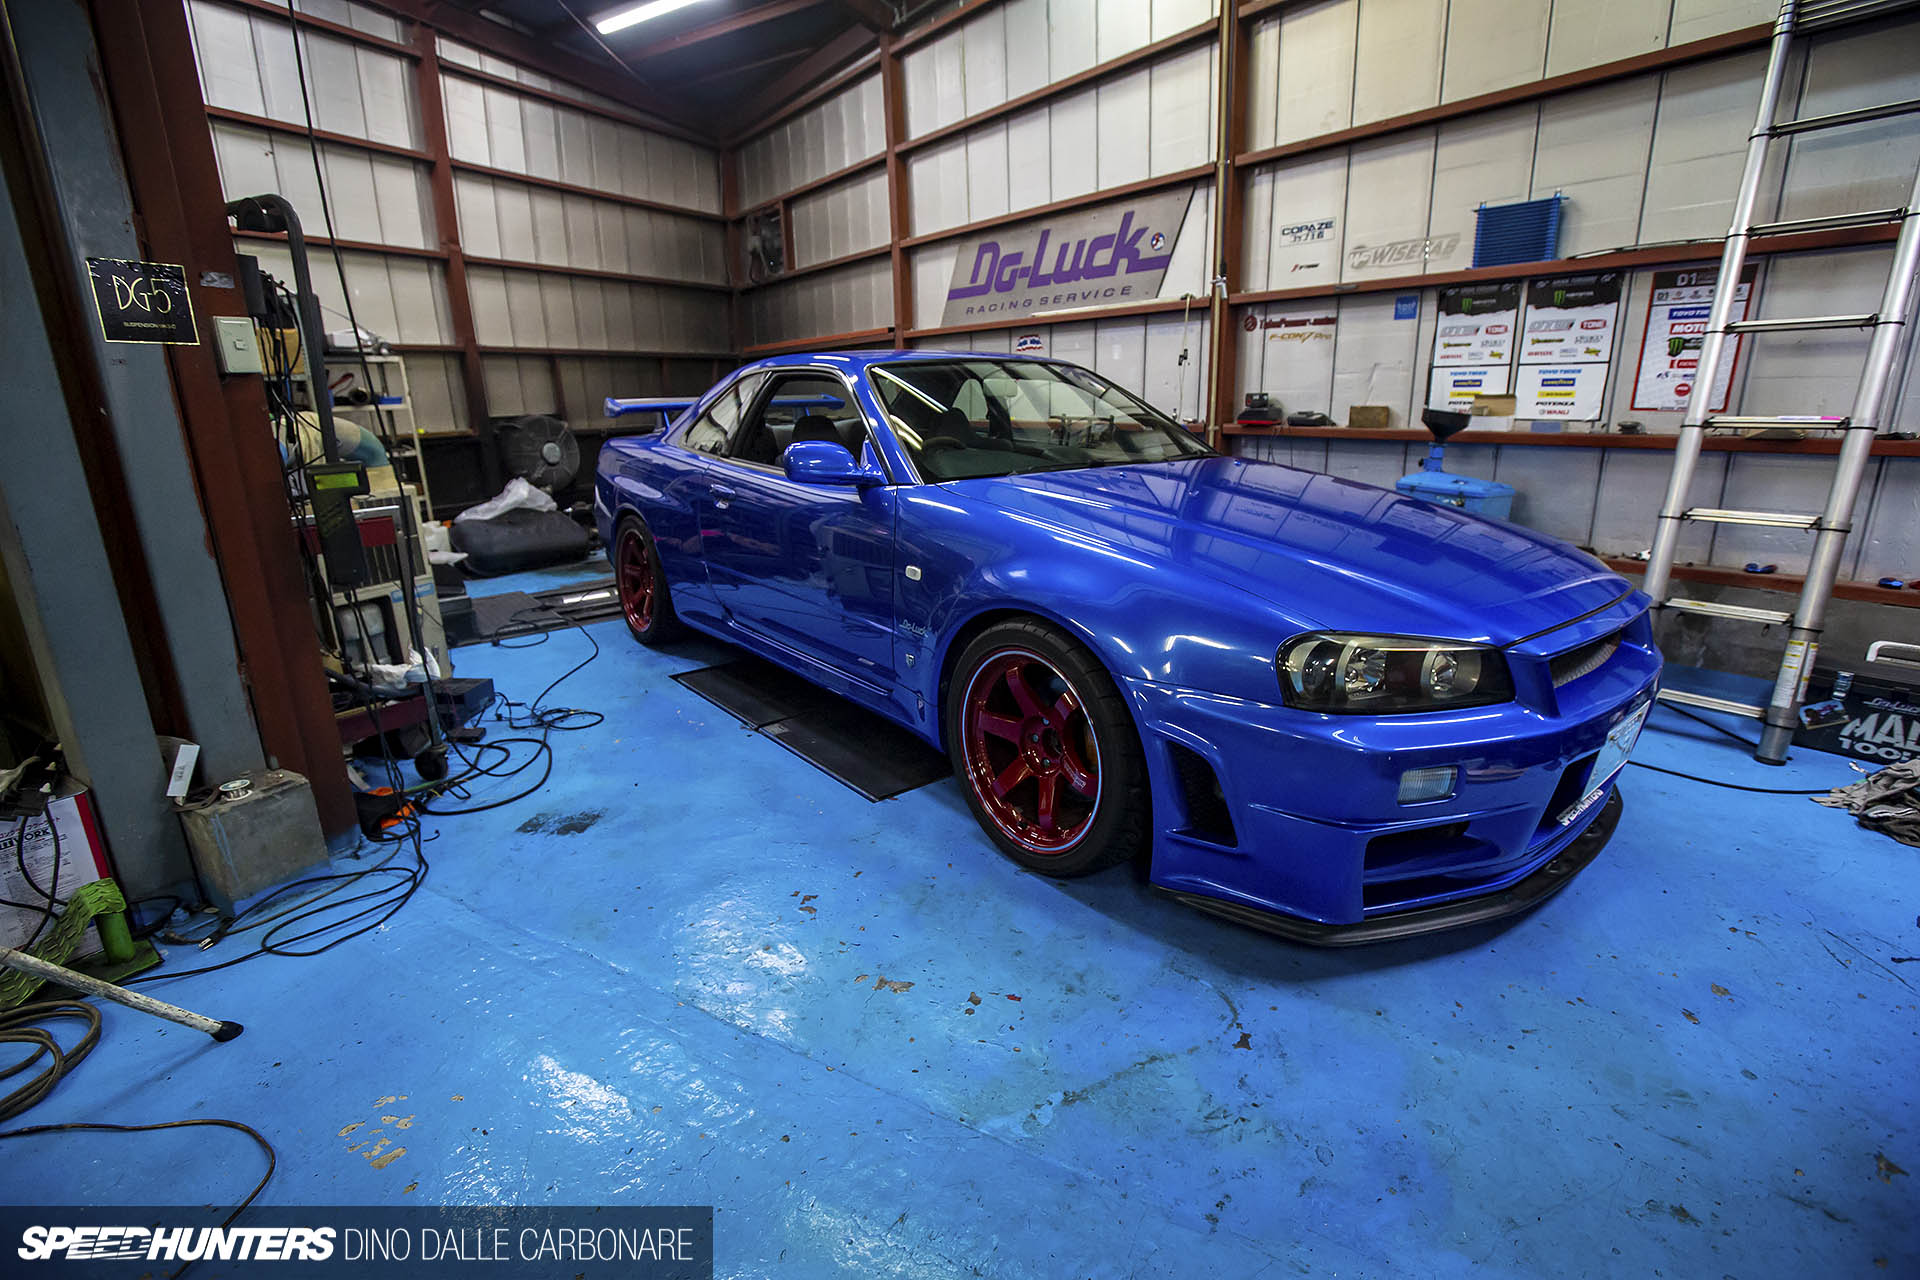
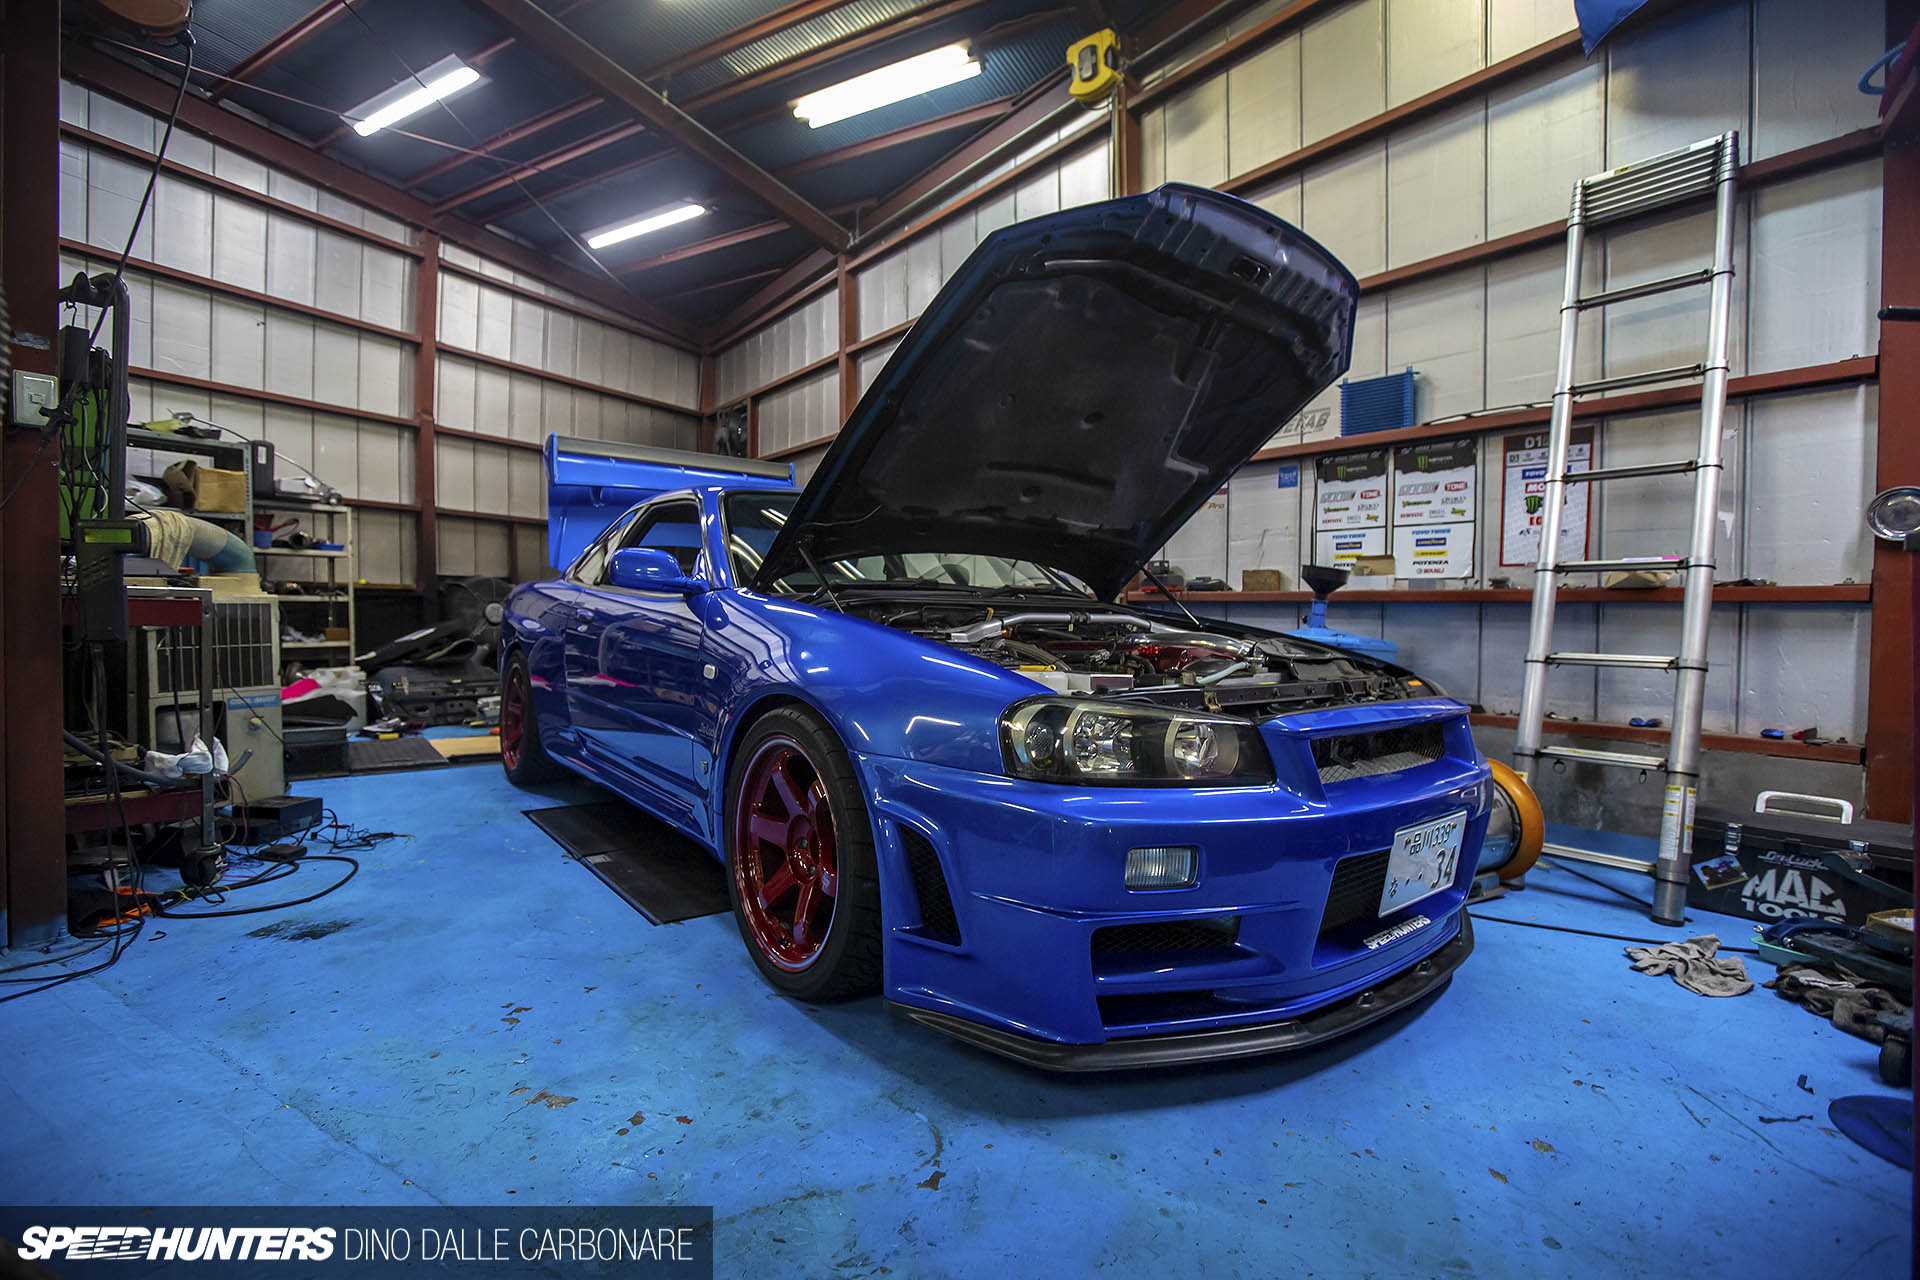
And this is how the car mechanically now sits – albeit with its new green wrap. I’m waiting for the magical ‘OK’ from Ito telling me to bring it down so we can take the head off, fit the Tomei 1.2mm metal head gasket, and the Tomei cams and pulleys. Then Ennio can really do his job and tune it for some numbers.
It could all be happening in the next month or so, so I continue keeping my fingers crossed. That said, there are still a few updates I’ve got to show you in full detail, starting off with another visit to Worx Auto Alarm.
Dino Dalle Carbonare
Instagram: speedhunters_dino
dino@speedhunters.com
OFFICIAL SPEEDHUNTERS SUPPLIERS


Looks dope! Can't wait to see it done!
Me too!
Great work from everyone - nice to see you dotting all the i's and crossing the t's
Sounds like it'll be amazingly enjoyable !
That's the goal
Nice thinkpad!
I think that computer ended up dropping off a car's roof, onto a spinning roller and being flung into the garage shutter lol
Nice! Awesome selection of mods mate - also so good to get a few updates!
If you haven't checked out 5th element carbon I'd recommend, they do a cf replacement for the heavy steel panel behind the seats that I've been eyeing up
Still the job done looks amazing and I'm betting you're over the moon with the improvements, I would be!
Oh my...what have you done, what have you showed me!? Much want but what I saw seems to be for the R33?
Pretty sure the two plates are the same but definitely worth looking at!
Wouldn't be surprised if they were. Will send them a message
https://www.facebook.com/commerce/products/1306208036156345/
I think thats what you are looking for, and not even expensive in my opinion.
Yes I've already found four things they make that I want now! And so the list grows once again... haha
Your updates read like the best build thread's out there and I love them for that. Please keep these coming!
Thanks Chris!
Cool to see some work getting done on the 34. I cant help but feel for Ito-san considering hes going to have to remove the freshly installed hot and cold side to do the head gasket, TT setups are a pain in the ass!
Yeah it will be a big pain. We should have done it when dropping the turbos in but time was too tight
Yes! This is the best week in a while, two Project R34 updates! So good to see, cannot wait for the next ones.
How on earth did I miss those shorts?
I only pull them out for special occasions my friend
Worx Auto Alarm!?

Bail! Bail! Get out of there!!
(According to poor Aki and his BNR33...)
Next update is from Worx Auto Alarm
I'm curious.
Is it common to see E85 in the pumps of Japan ?
No we don't get it here. It's due to an old law on alcohol and the gov protecting oil companies. Japan may look and sound like the future from an outside perspective, but it's brutally backwards on so many things
I'm surprised that a 276lph pump will do enough for that power level.
These days there's not really any need for surge tanks and multiple pump setups, a single Walbro 450lph with the high pressure return does basically anything, and when it runs out you just fit another one lol
Do elaborate more on this please. Why would you ditch a surge tank when running a 1+1 or 2+1 fuel pump set up to feed 6x 1000 cc/min+ injectors. This I like: http://www.radiumauto.com/MPFST-Multi-Pump-Fuel-Surge-Tank-P271.aspx
The GTR tanks are baffled well enough that you don't really need a surge tank unless you've got a track monster. The Walbro 465 (my mistake, not 450) flows 465lph at 40psi and with your ECU you can actually ramp up fuel pressure to achieve huge numbers with them (for a single pump). A friend's Chaser is at around 400rwkw with comfortable headroom on a single in-tank 465.
There is one with a low pressure valve (70psi IIRC) and a high pressure (120 or something) overpressure return. This means that when you hit the PSI value the internal valve opens and the pump stops pumping as a damage control kind of thing. The high pressure valve is the one that you want.
Also to note that ramping up the pressure increases the actual throughput of the injectors too.
Reason I'm saying this is that while surge tanks look cool, pump noise is not cool, and the guys who YEAH BRO NEED TWO 044s are either stuck in 2002 or are deaf and can't hear the noise that they put out.
On something with no internal baffles in the tank, then sure a surge is necessary. Same if you have 315 slicks and $8k coilovers and no interior and you're shooting for WTAC records.
But these days, handily, tech has moved forwards a lot so they're not necessary. Save your boot space
(I also believe GTRs have big enough hangers to fit a pair of pumps on the stock one, if a single 465 isn't enough for you.)
Also also note that I think the 34s still suffered from the long fuel pump circuits, you end up losing flow rate due to having the circuit run the length of the car. Run a dedicated fused power source from battery to pump to ground, with a relay from the ECU that activates the pump. The 32s definitely suffer from having shit wiring to the pump, think it carried over to the 34s but just make sure.
can't wait for the next update, this updates are really inspiring build and enjoyable to read.
Guessing this car no longer has a anti-theft system as I think the aftermarket PCM would toss that out the widow.
What shop does the Haltech tuning? I’m debating between that, powerFC , or something from mines or Tomei (H10 R33)
Anyhow, nice articles, keep em coming.