
One of the pillars of Speedhunters has always been automotive photography, and we have a large following of budding Speedhunters who enjoy getting out there, camera in hand and shooting awesome content themselves – the popularity of the IAMTHESPEEDHUNTER program is a strong testament to this.
What’s more, we often get queries in the comments section about the photographic side of things, so hopefully this information will be useful to at least some of you. For those who are more interested in the cars themselves at this year’s Ultimate Dubs then this will all sound incredibly nerdy to you, but I’ve got plenty of car-related content coming from the event as an apology.
If you’ve ever tried to photograph a car show yourself you’ll know that they’re sometimes tricky things to shoot well, especially so when they’re both busy and indoors, both of which the Ultimate Dubs show, which took place this past weekend in Telford, England is, for the most part. Not only do you have to contend with throngs of people enjoying the show, but you’ve also got low light and, worse of all, mixed lighting to deal with.
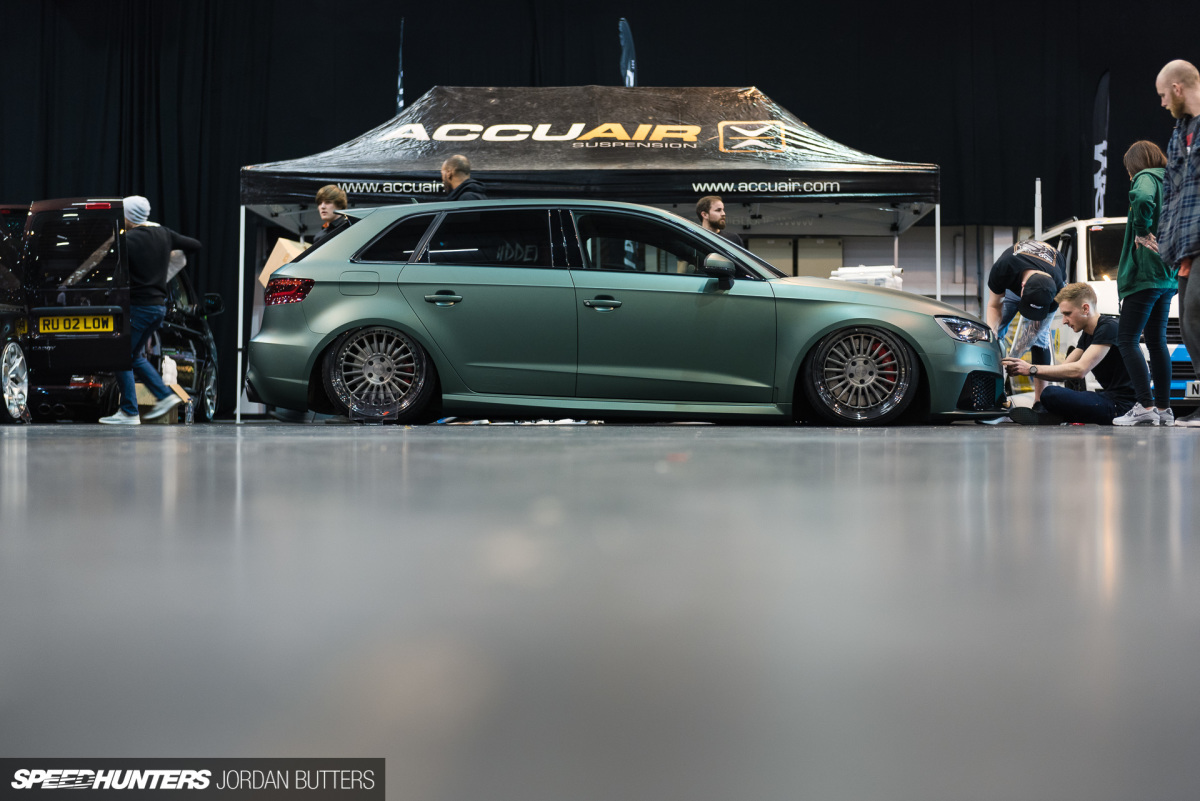
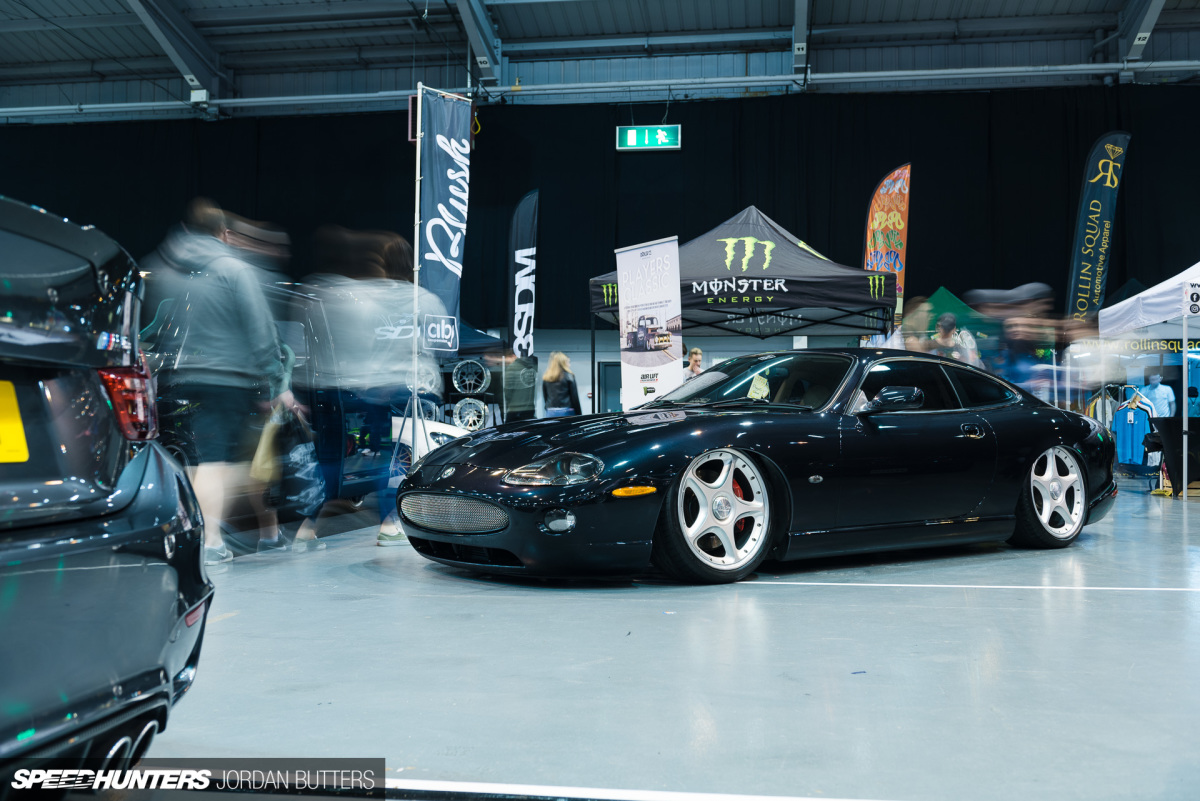
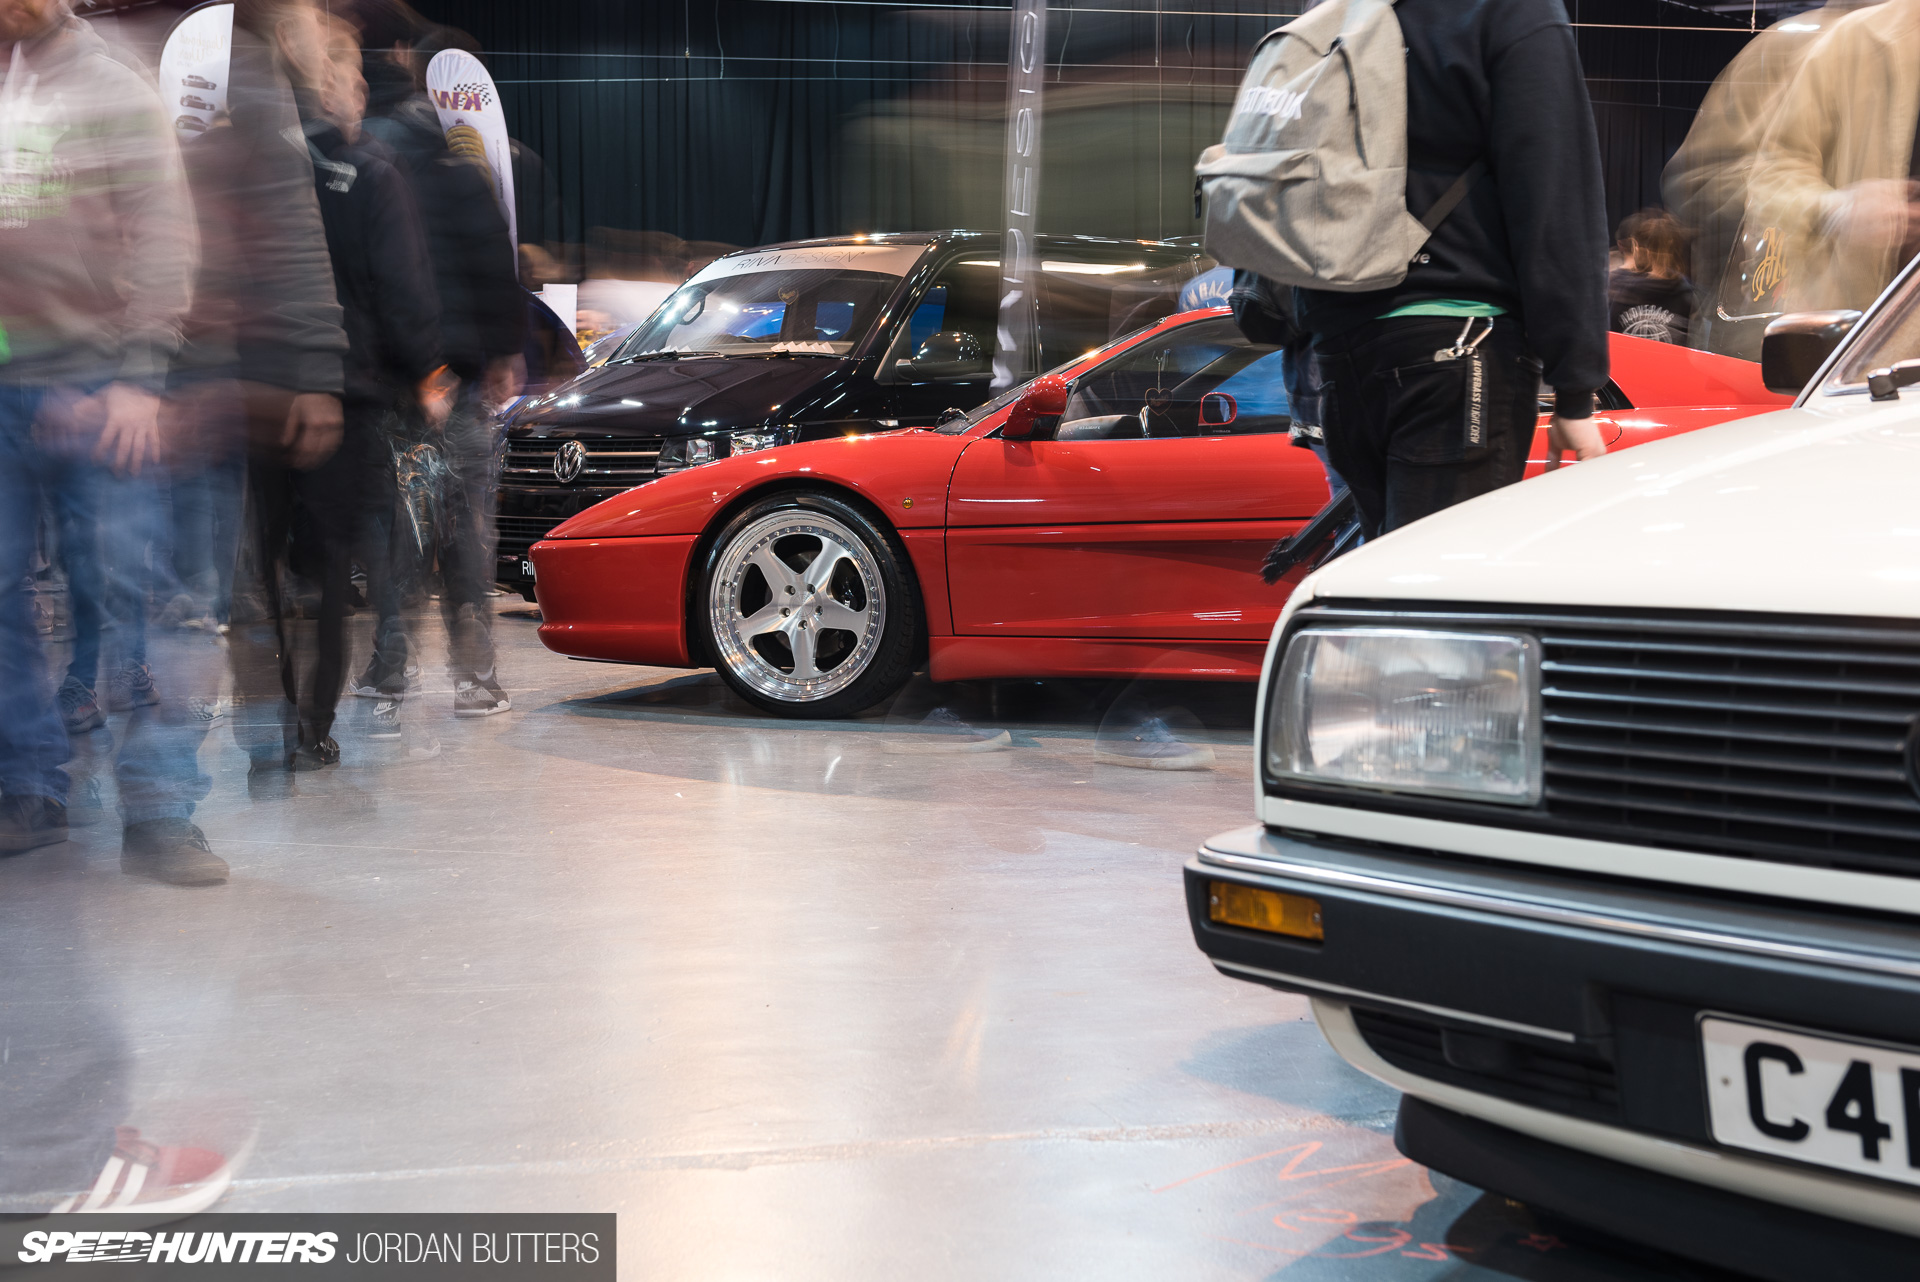
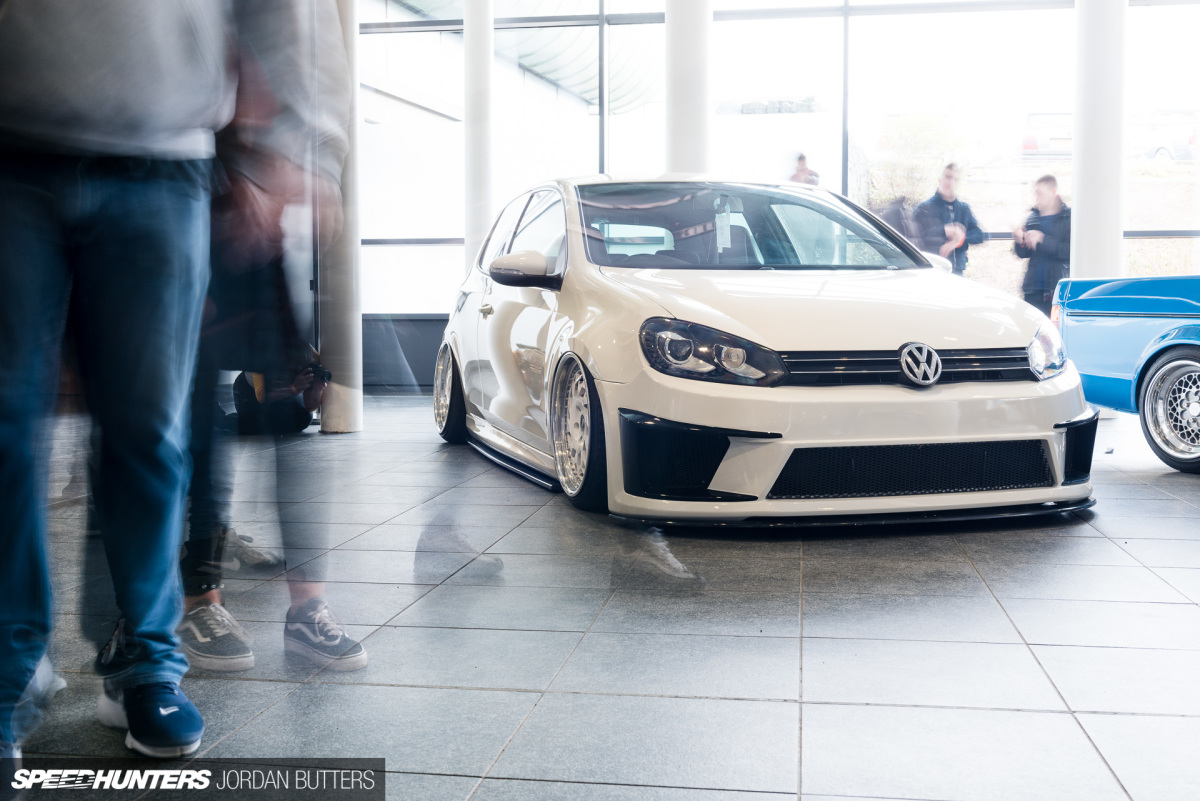
As you may have noticed if you’ve read my event coverage on here previously, one technique I like to use is to capture car shows using long exposures. This isn’t the be-all and end-all of car show photography of course, but I find this approach is an especially effective one for dealing with shooting busy indoor shows.
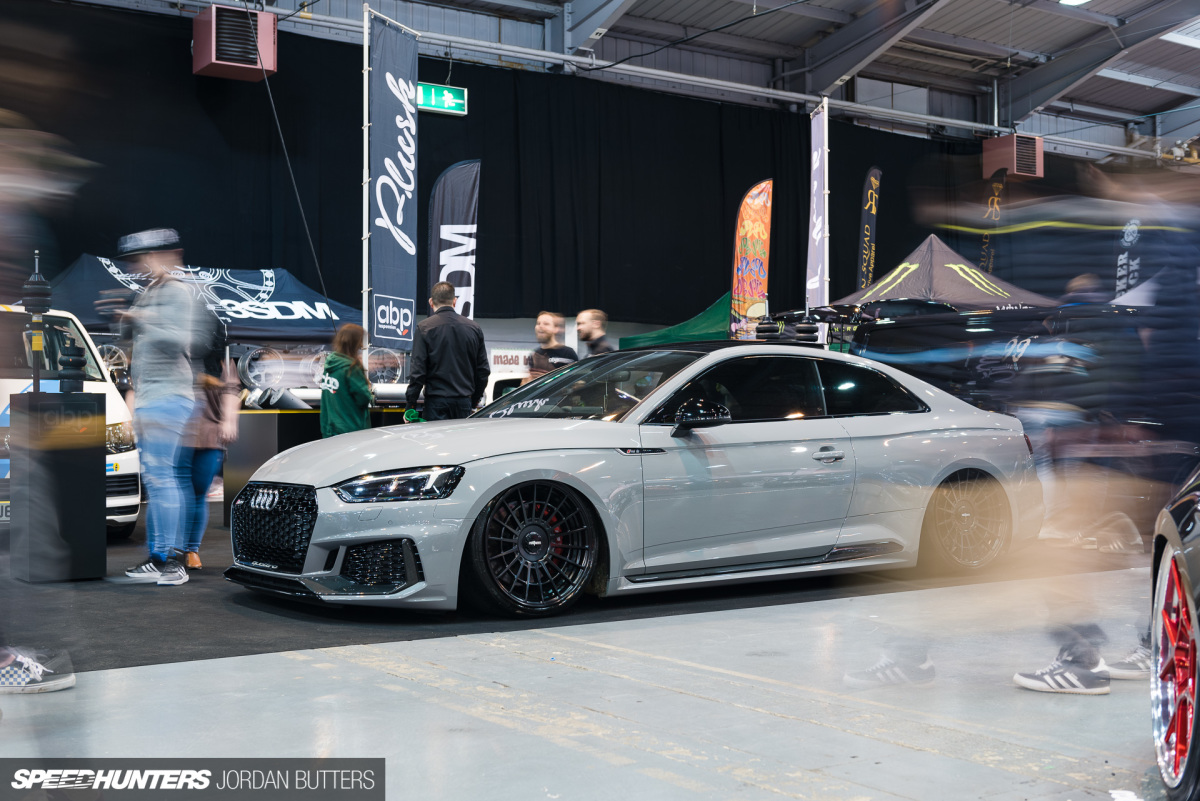
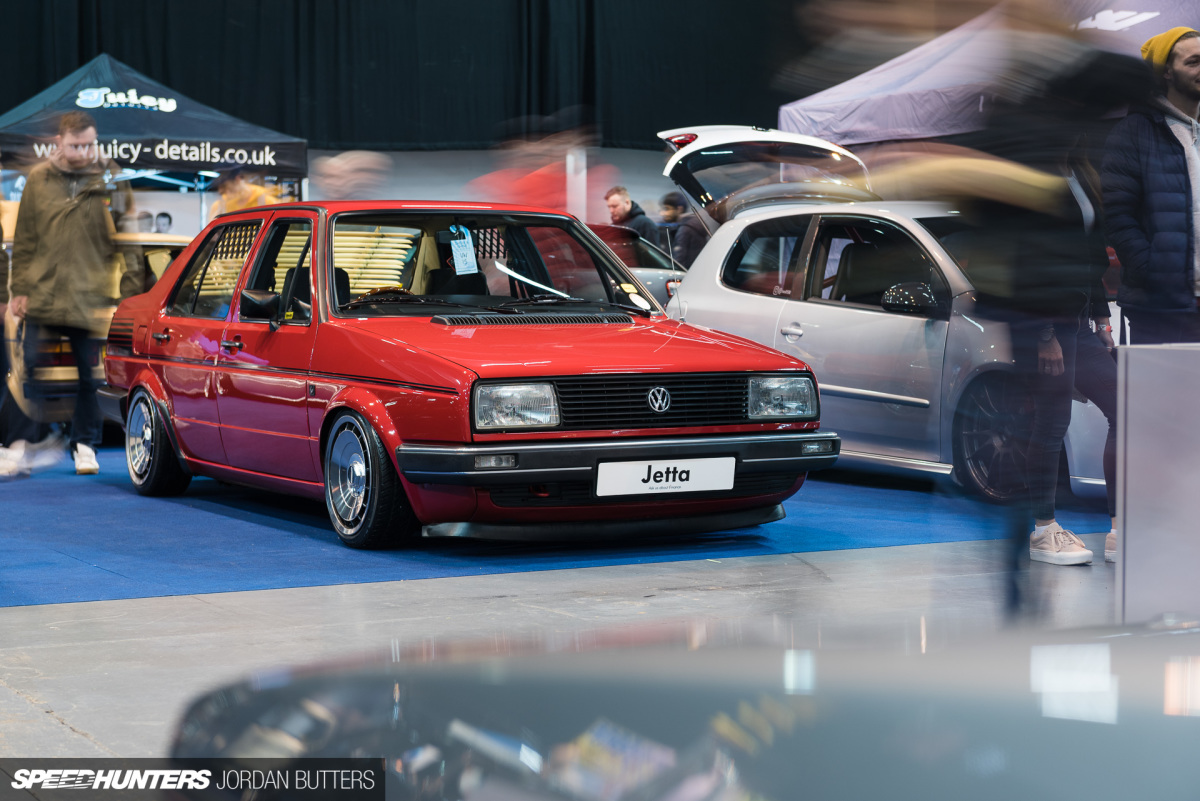
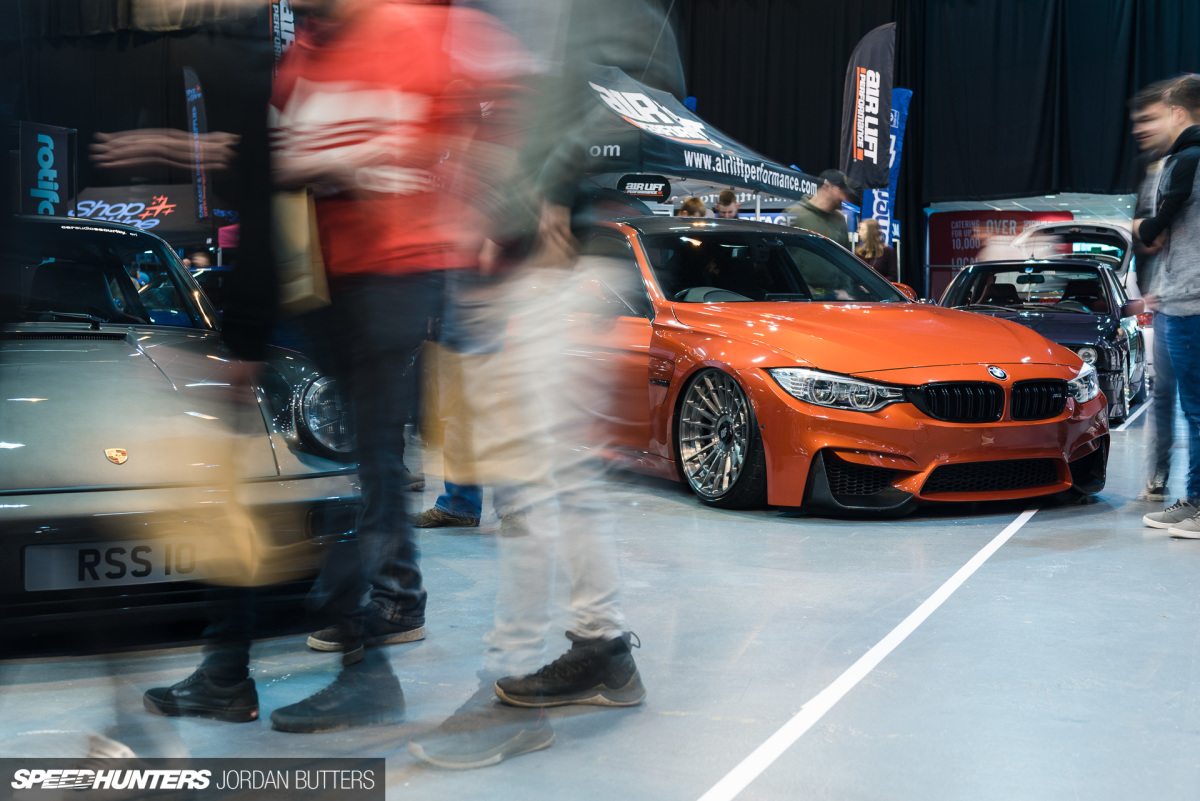
Not only do the low light levels allow you to use a slower shutter speed without overexposing the image, but the added benefit is that any moving organic fleshy matter (i.e the people) in the shot is rendered into a nice blur, leaving the stationary objects of interest (i.e the cars) standing out.
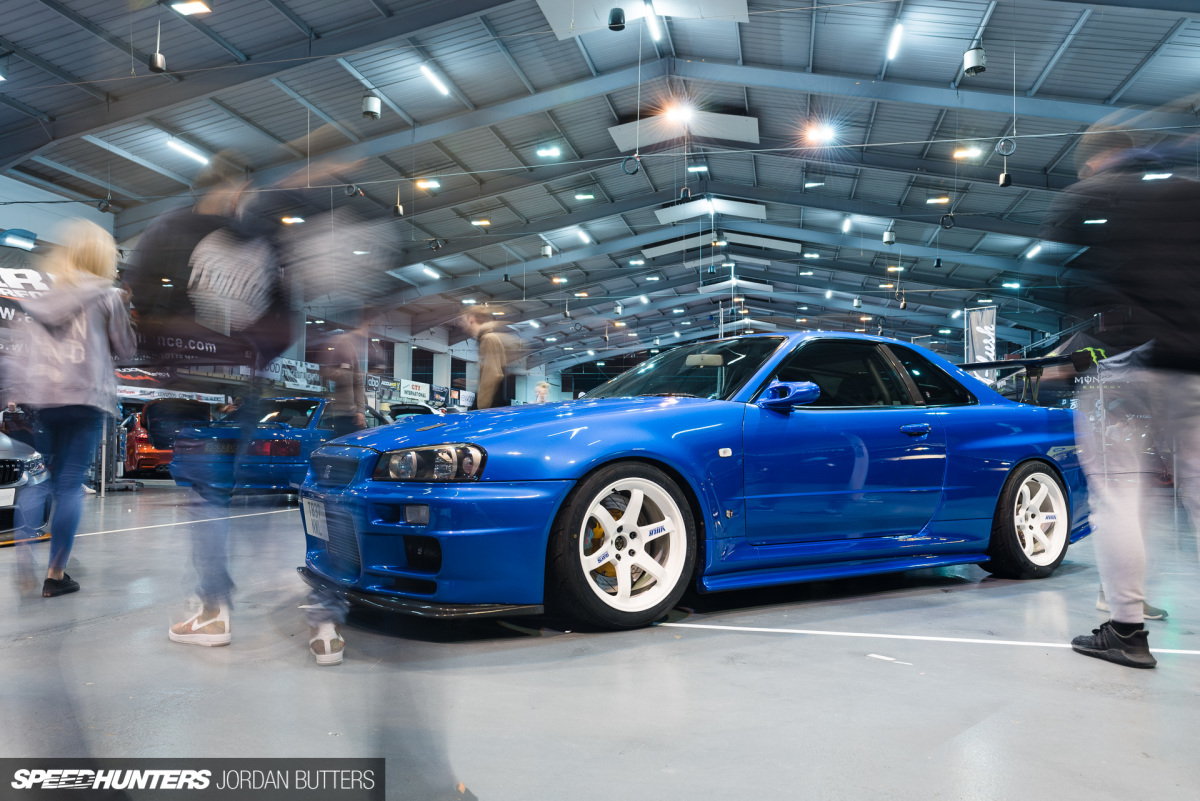
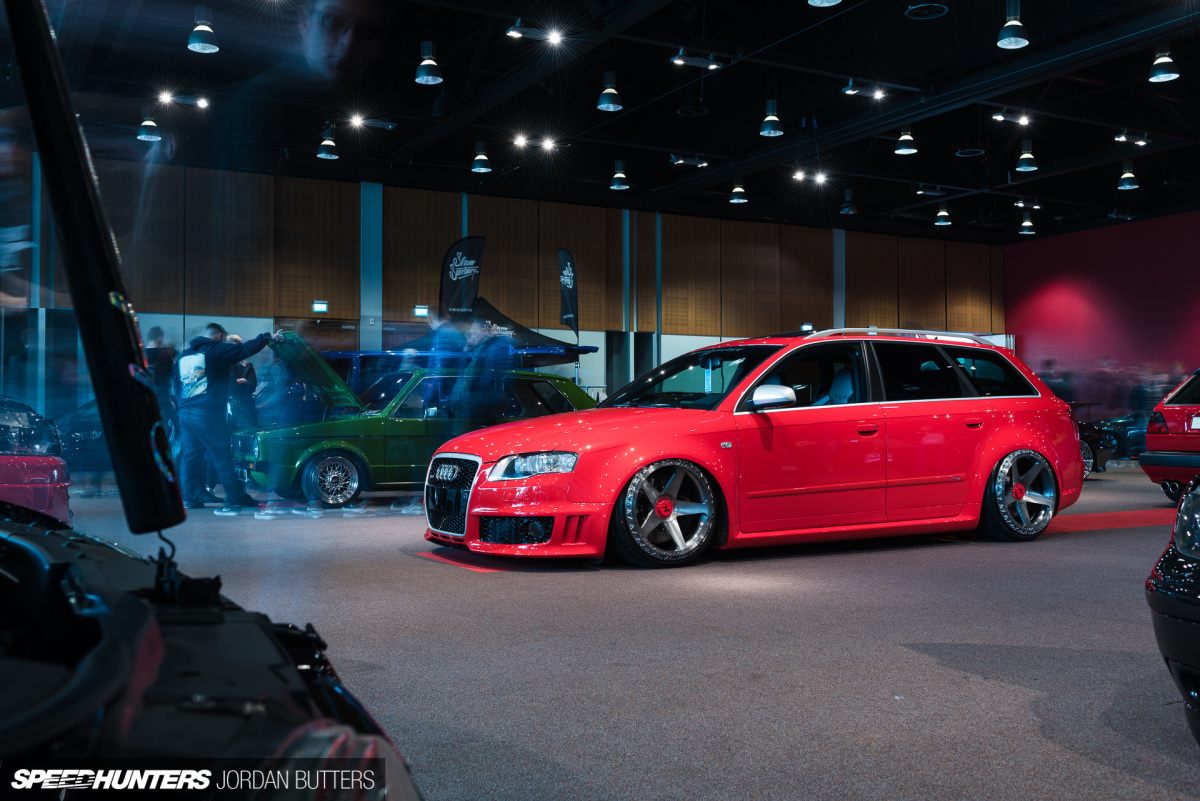
What I particularly like about this approach is that that, while you focus the attention on the cars, you still get a sense of how bustling the event was. The streaking shapes and colours of people looking around and moving past the cars not only makes static shows seem more dynamic, but also gives an indicator of how much attention a particular build was receiving.
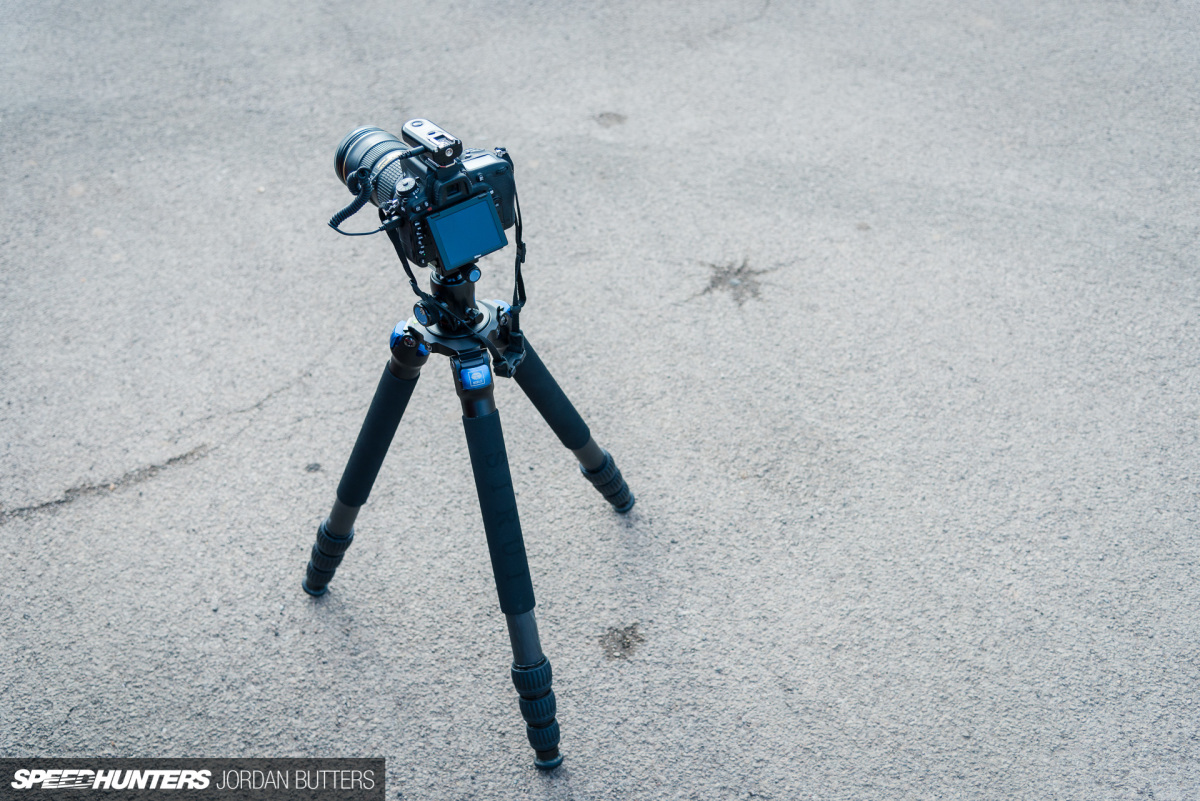
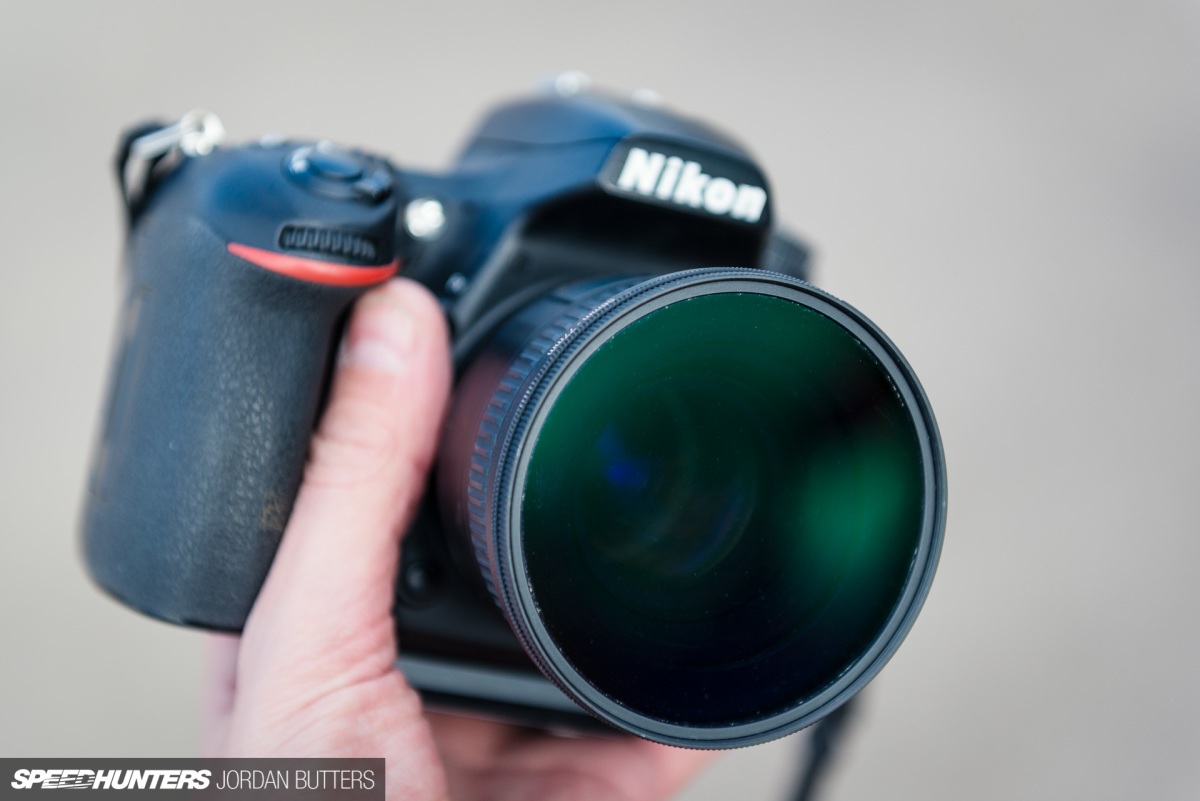
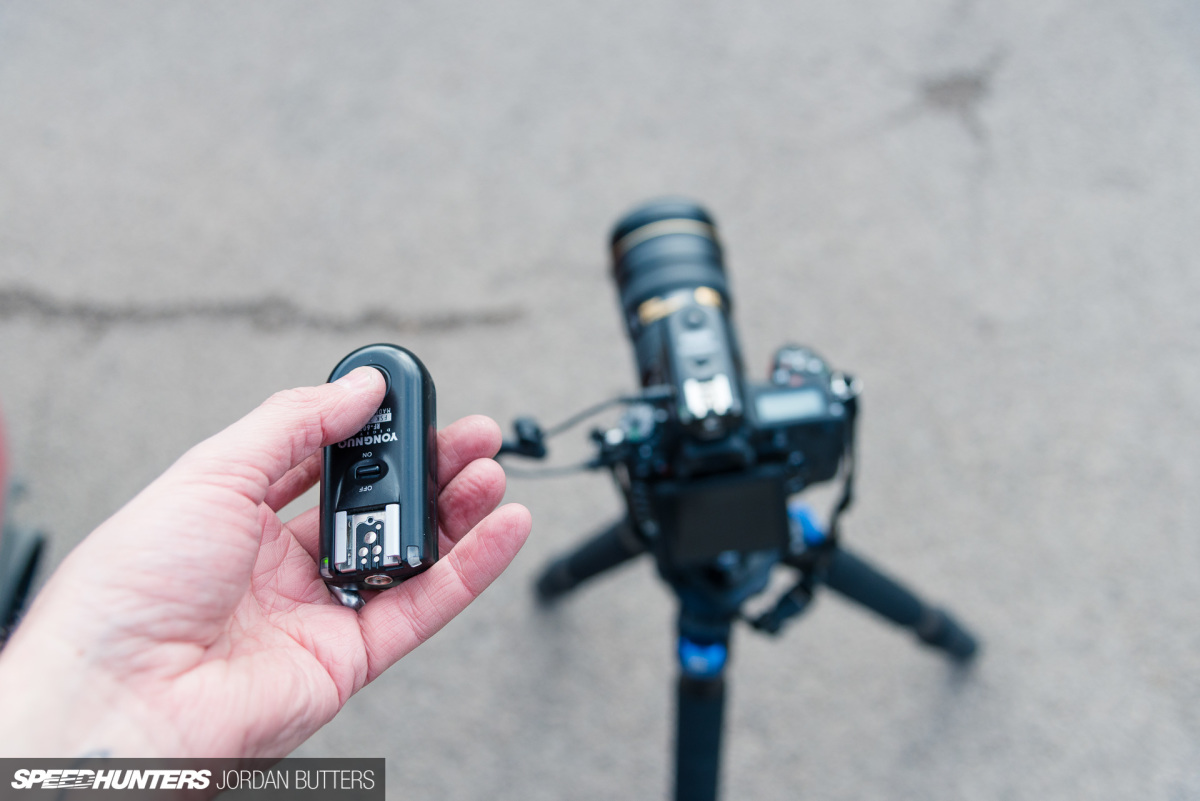
Of course there are some prerequisites if you want to try this for yourself – you need a camera that will allow you to control the exposure settings somewhat, and you need a tripod. The latter is essential, as although we want blurred people, we don’t want blurred cars, so we need to keep the camera perfectly still throughout the exposure. A circular polarising filter is handy too – this not only absorbs some of the light that reaches the sensor, allowing for longer exposures, but it also cuts down on reflections on the paintwork and windows. Finally, I like to use a wireless remote – you don’t have to wait poised by the shutter button this way, so people tend to keep moving past your camera.
So, how much blur is enough? Well, it depends on how busy the scene you’re shooting is, and how fast people are moving. I’ve found that a shutter speed of around one to two seconds gives an attractive level of blur – just enough to ghost those moving past, whilst leaving the general shape recognisable.
What settings should I use? I hear you cry. Depending on the light levels, selecting a low ISO (100 or lower if possible) and a wide-to-mid aperture (typically around f/4-f/8) should get you in the ballpark for an appropriate shutter speed.
I tend to use aperture-priority mode and adjust my ISO and aperture to get to to roughly this area but, frankly, an easier method would be to use shutter-priority and just pick the shutter speed you want and let the camera do the rest.
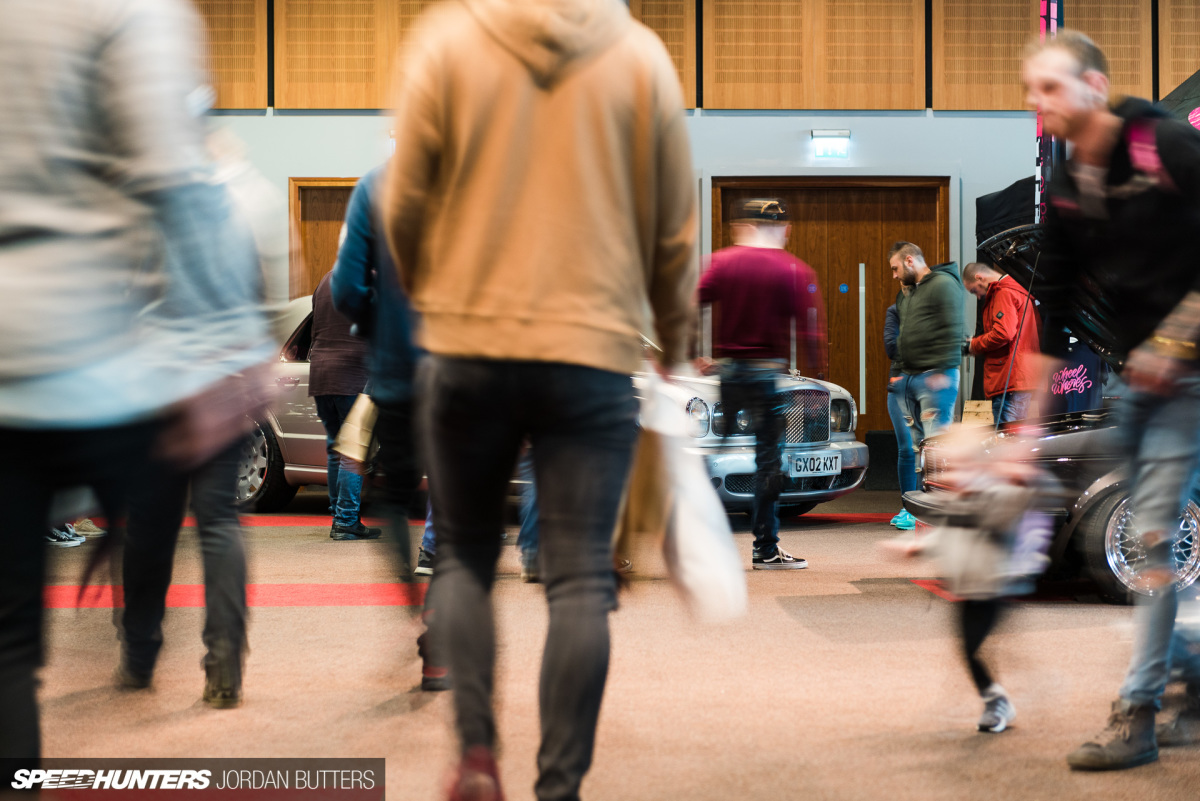
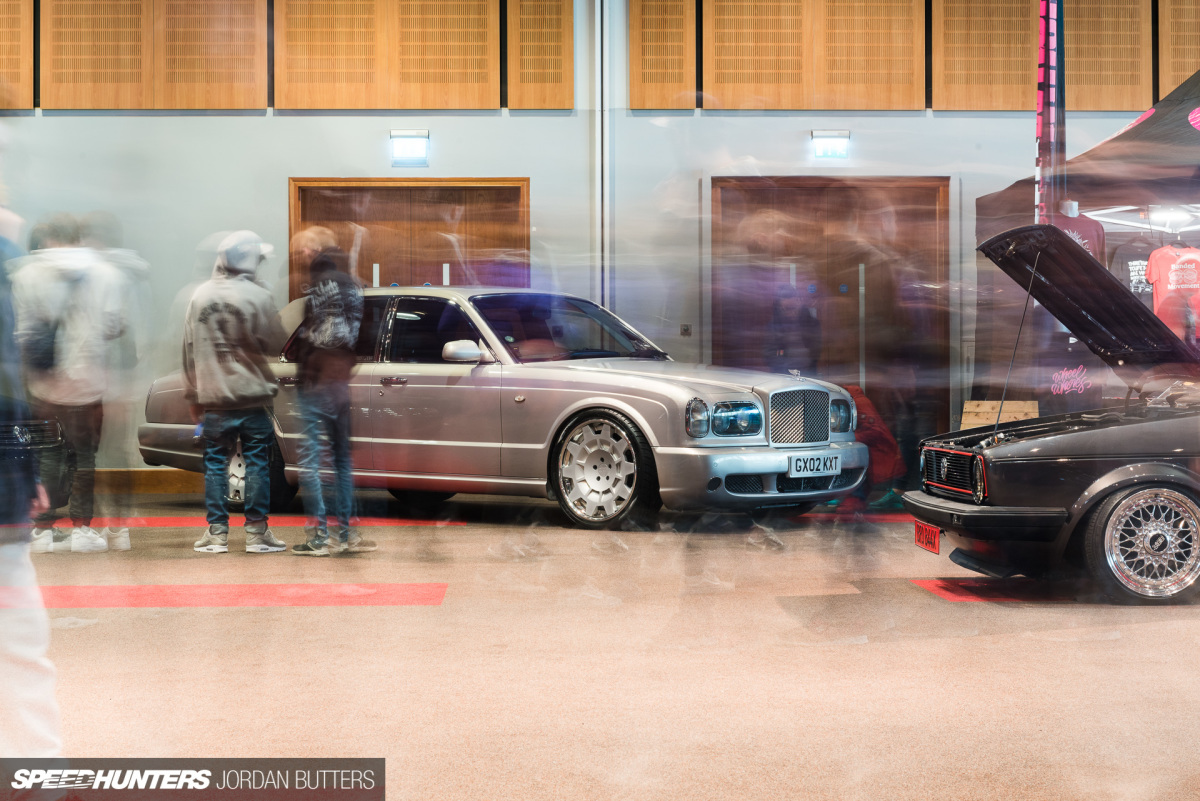
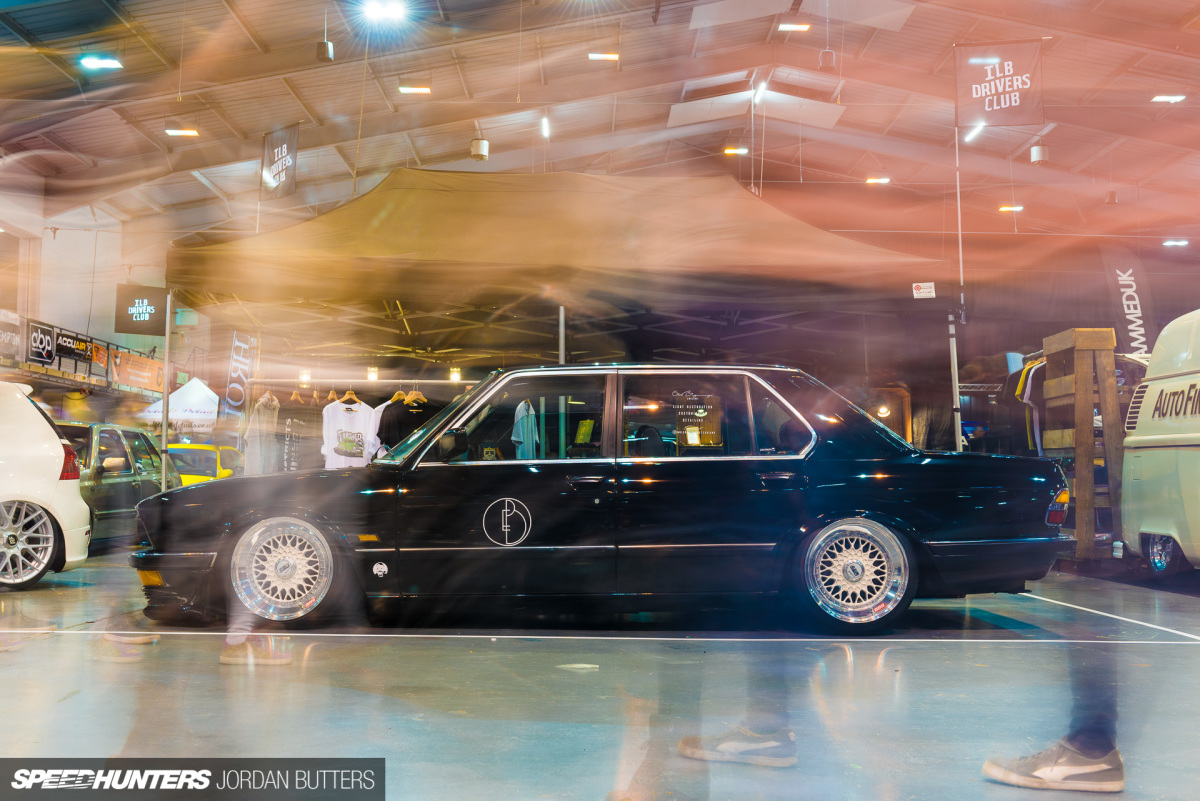
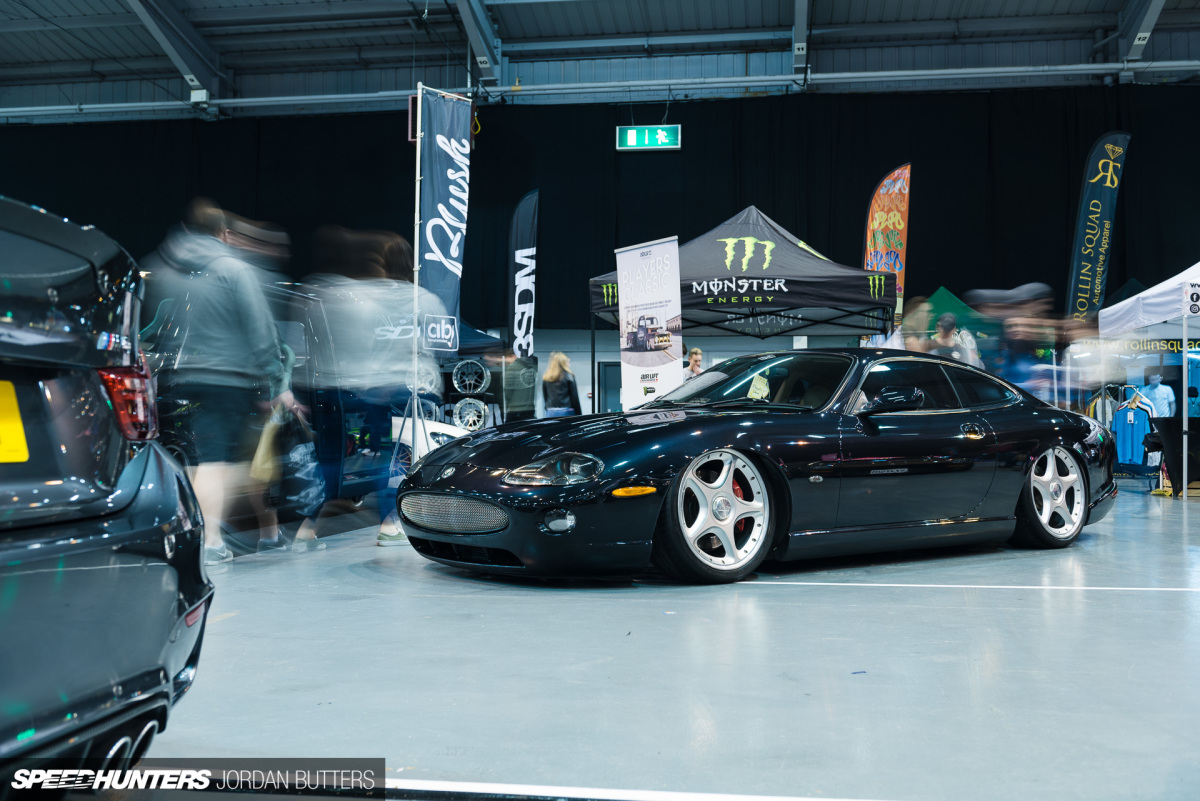
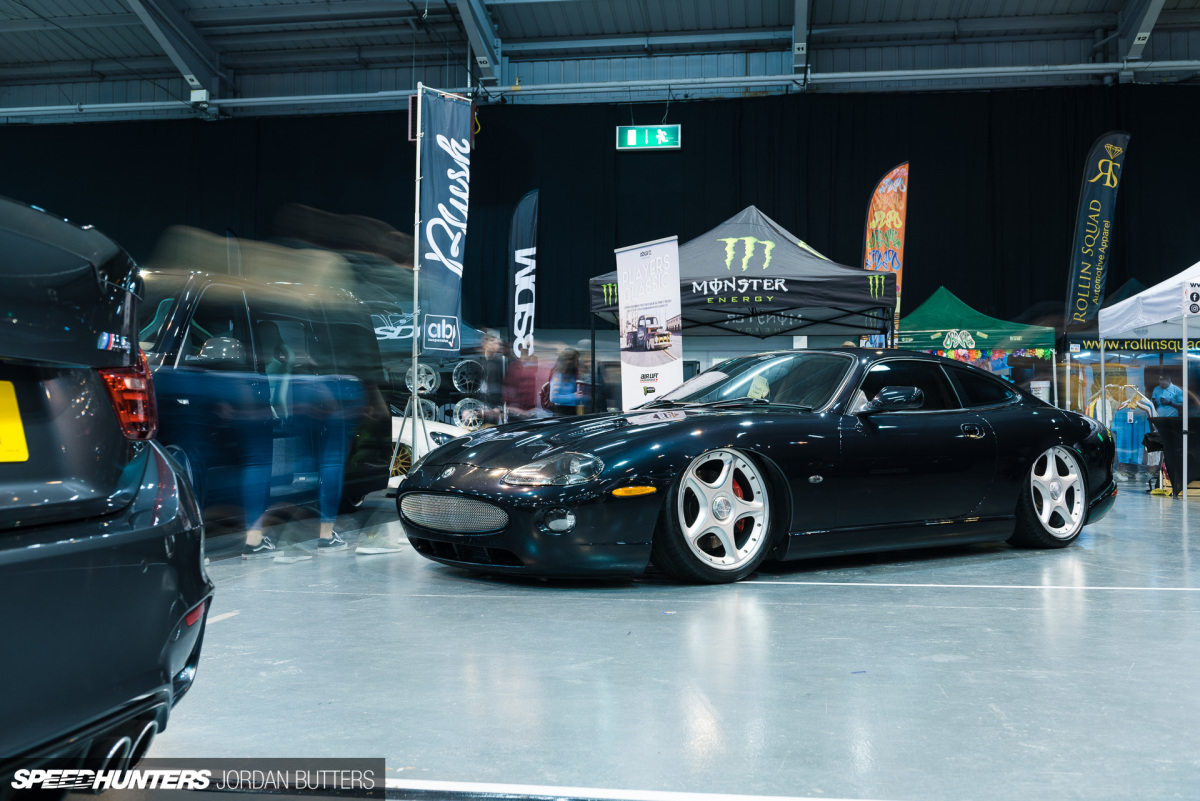
For busier areas with more traffic, stopping down the aperture will give you a longer shutter speed to cut through the crowd. Compare the two images above – the first was 1/3sec whereas the second image was ten seconds. You could go even longer to remove the streaks and blur further.
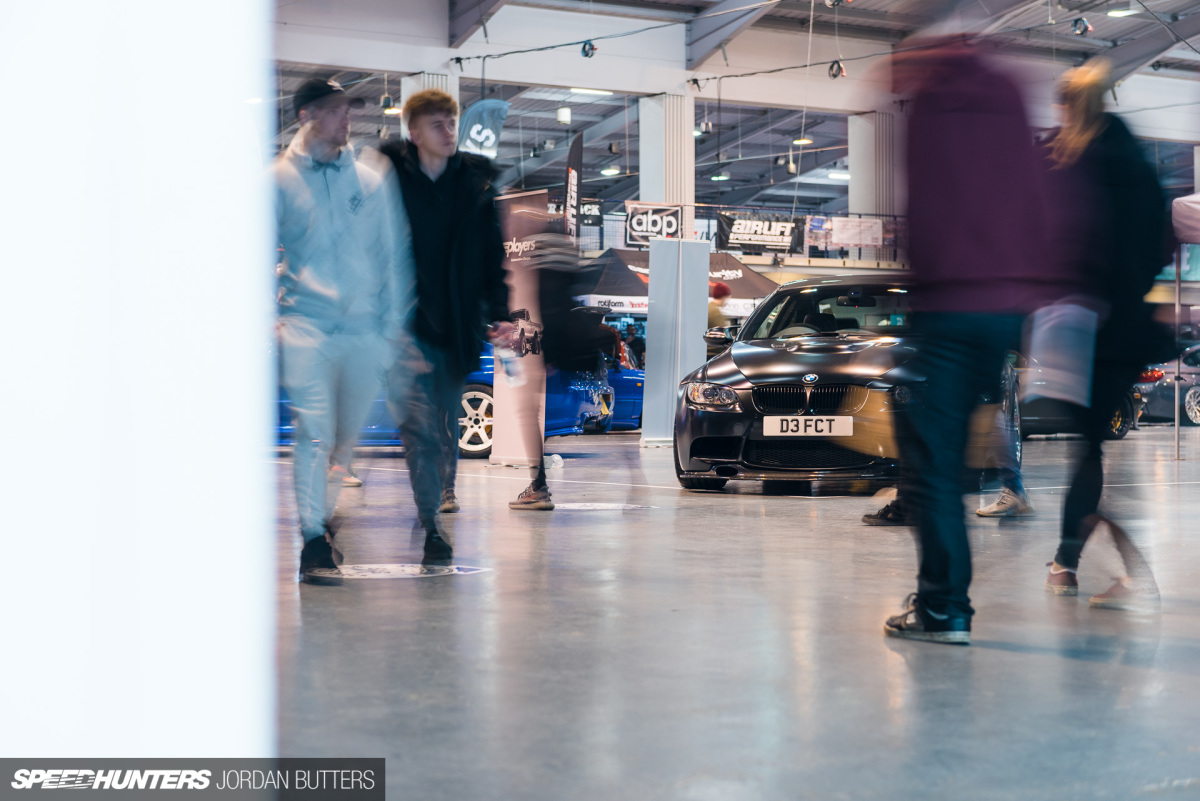
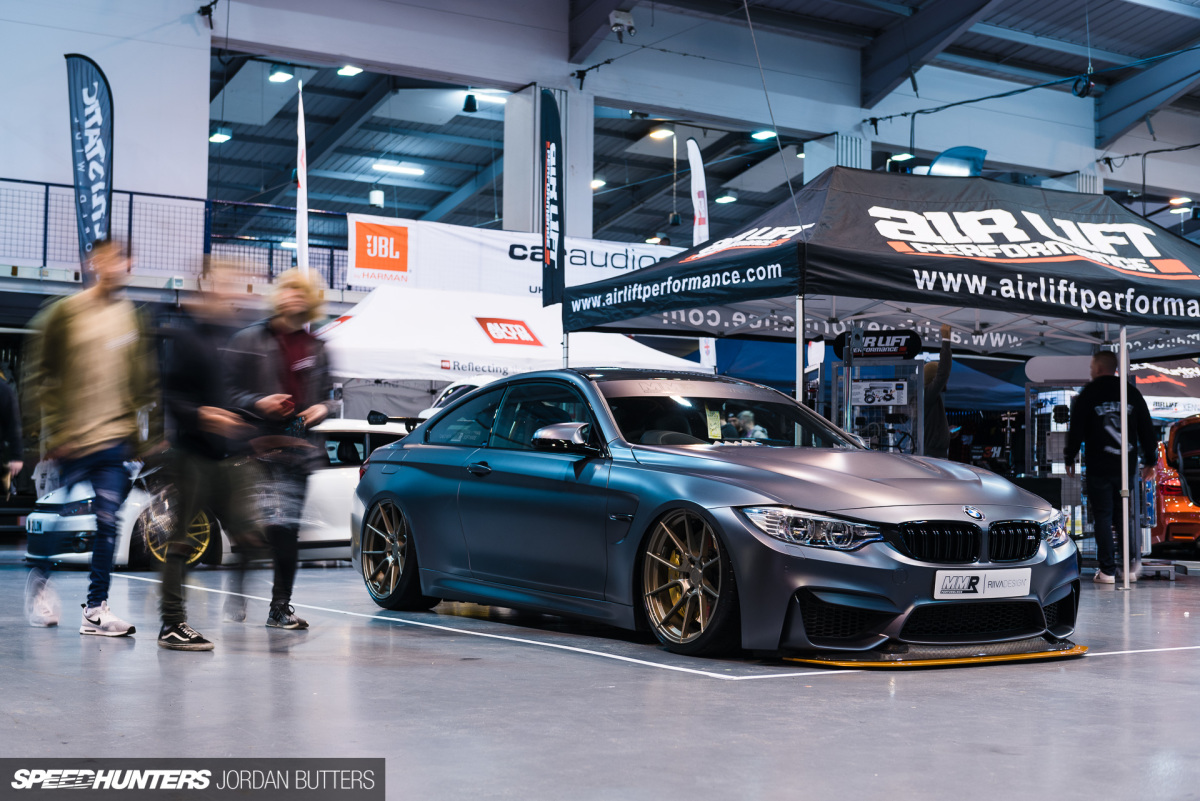
Timing plays its part too – I like to wait for a gap in the passing crowd so the car is relatively uninterrupted in part, whilst the blur of motion just stepping into the shot frames the subject. It can take patience as you’ll often find people kindly wait for you to take the shot before walking past – usually this is what you want but not if you’re looking for that motion blur!
Looking for colours and shapes in the crowd works well too – brightly coloured clothing leaves nice streaks of colour. I love it when it happens and it compliments or contrasts with the car. If you’re dressed in bright colours and it looks like I’m following you around at a car show, now you know why.
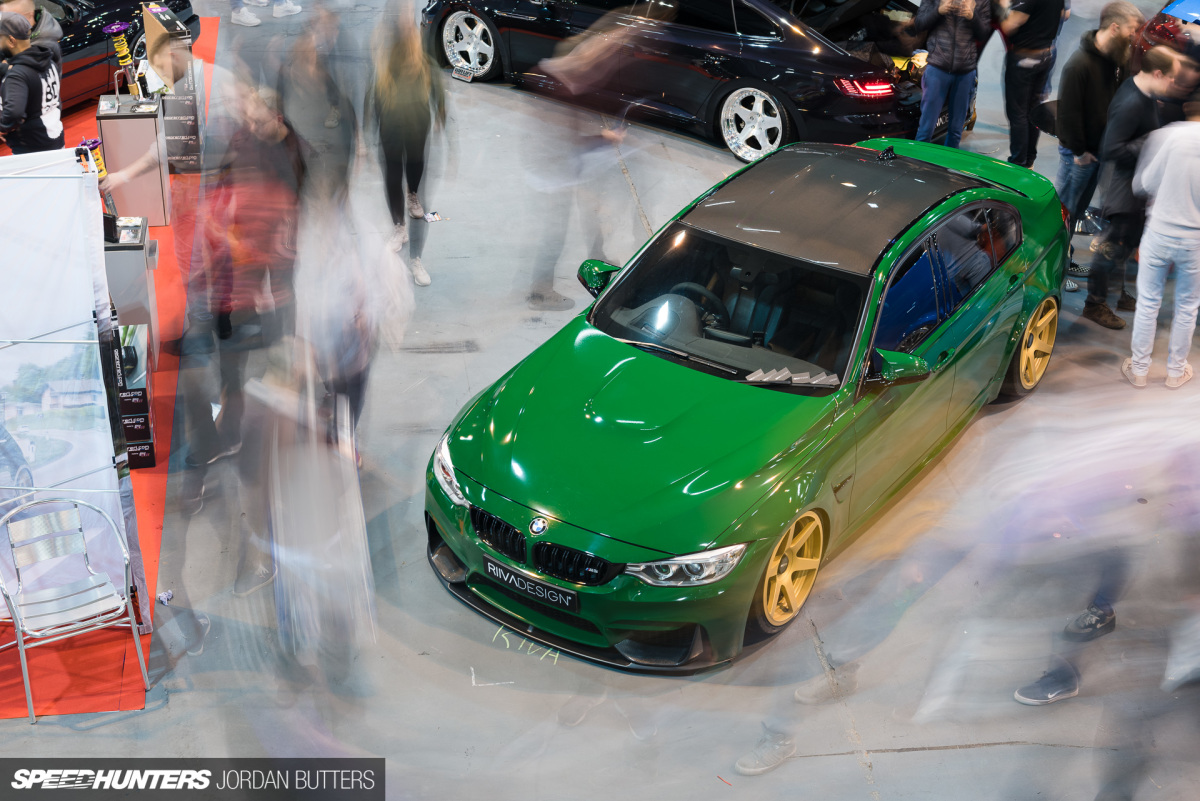
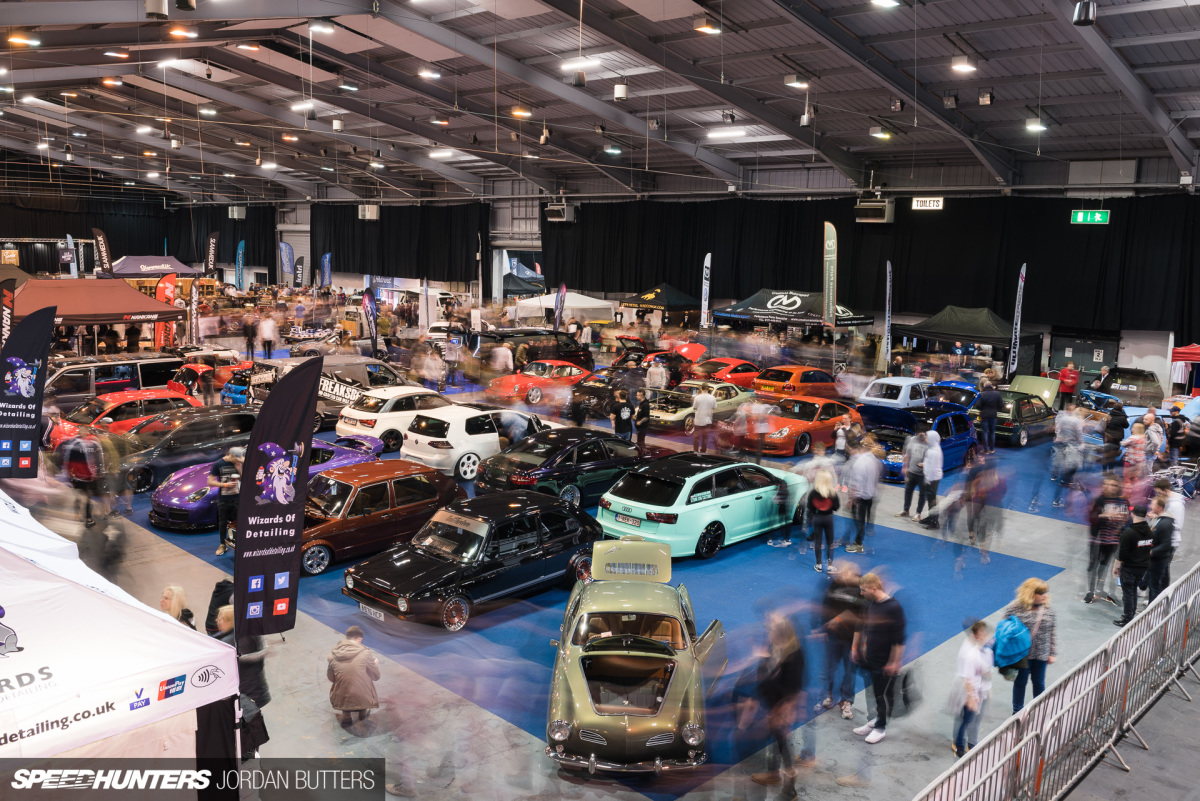
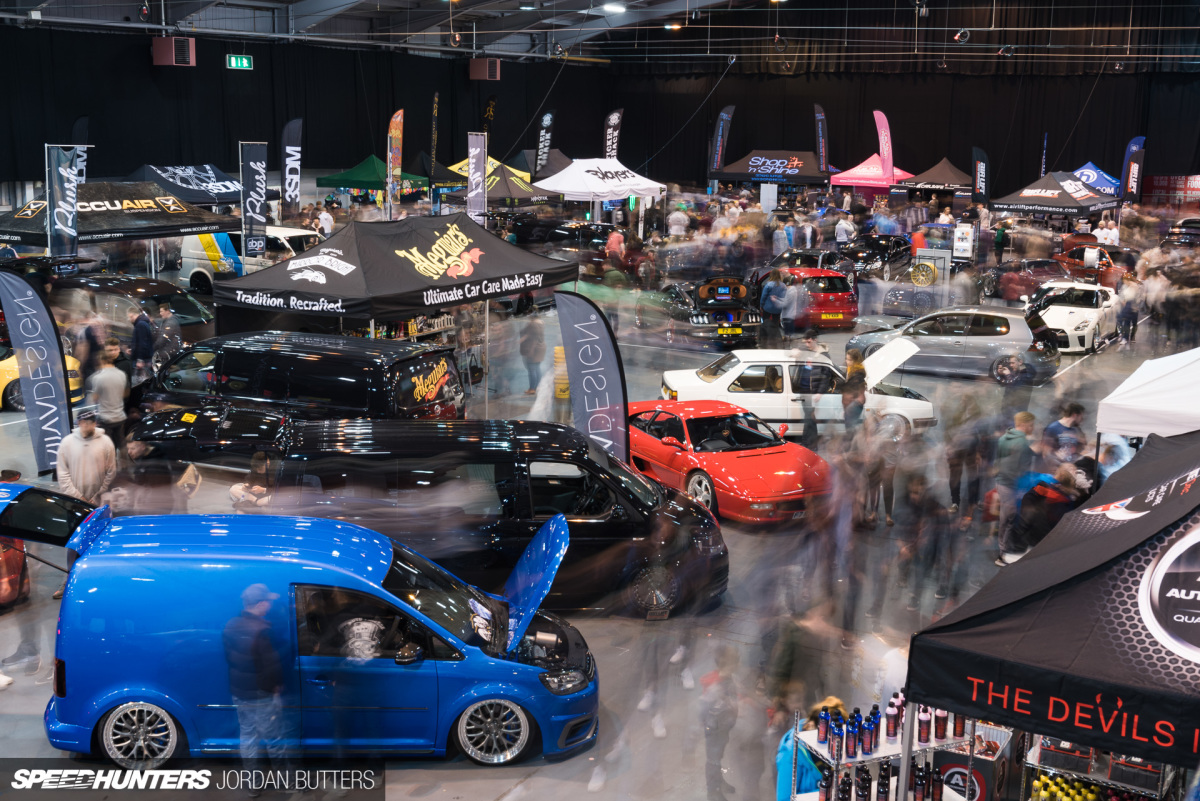
People following a certain path or route around a car can create interesting shots too, especially if you can elevate your position to look down on the scene.
Mix It Up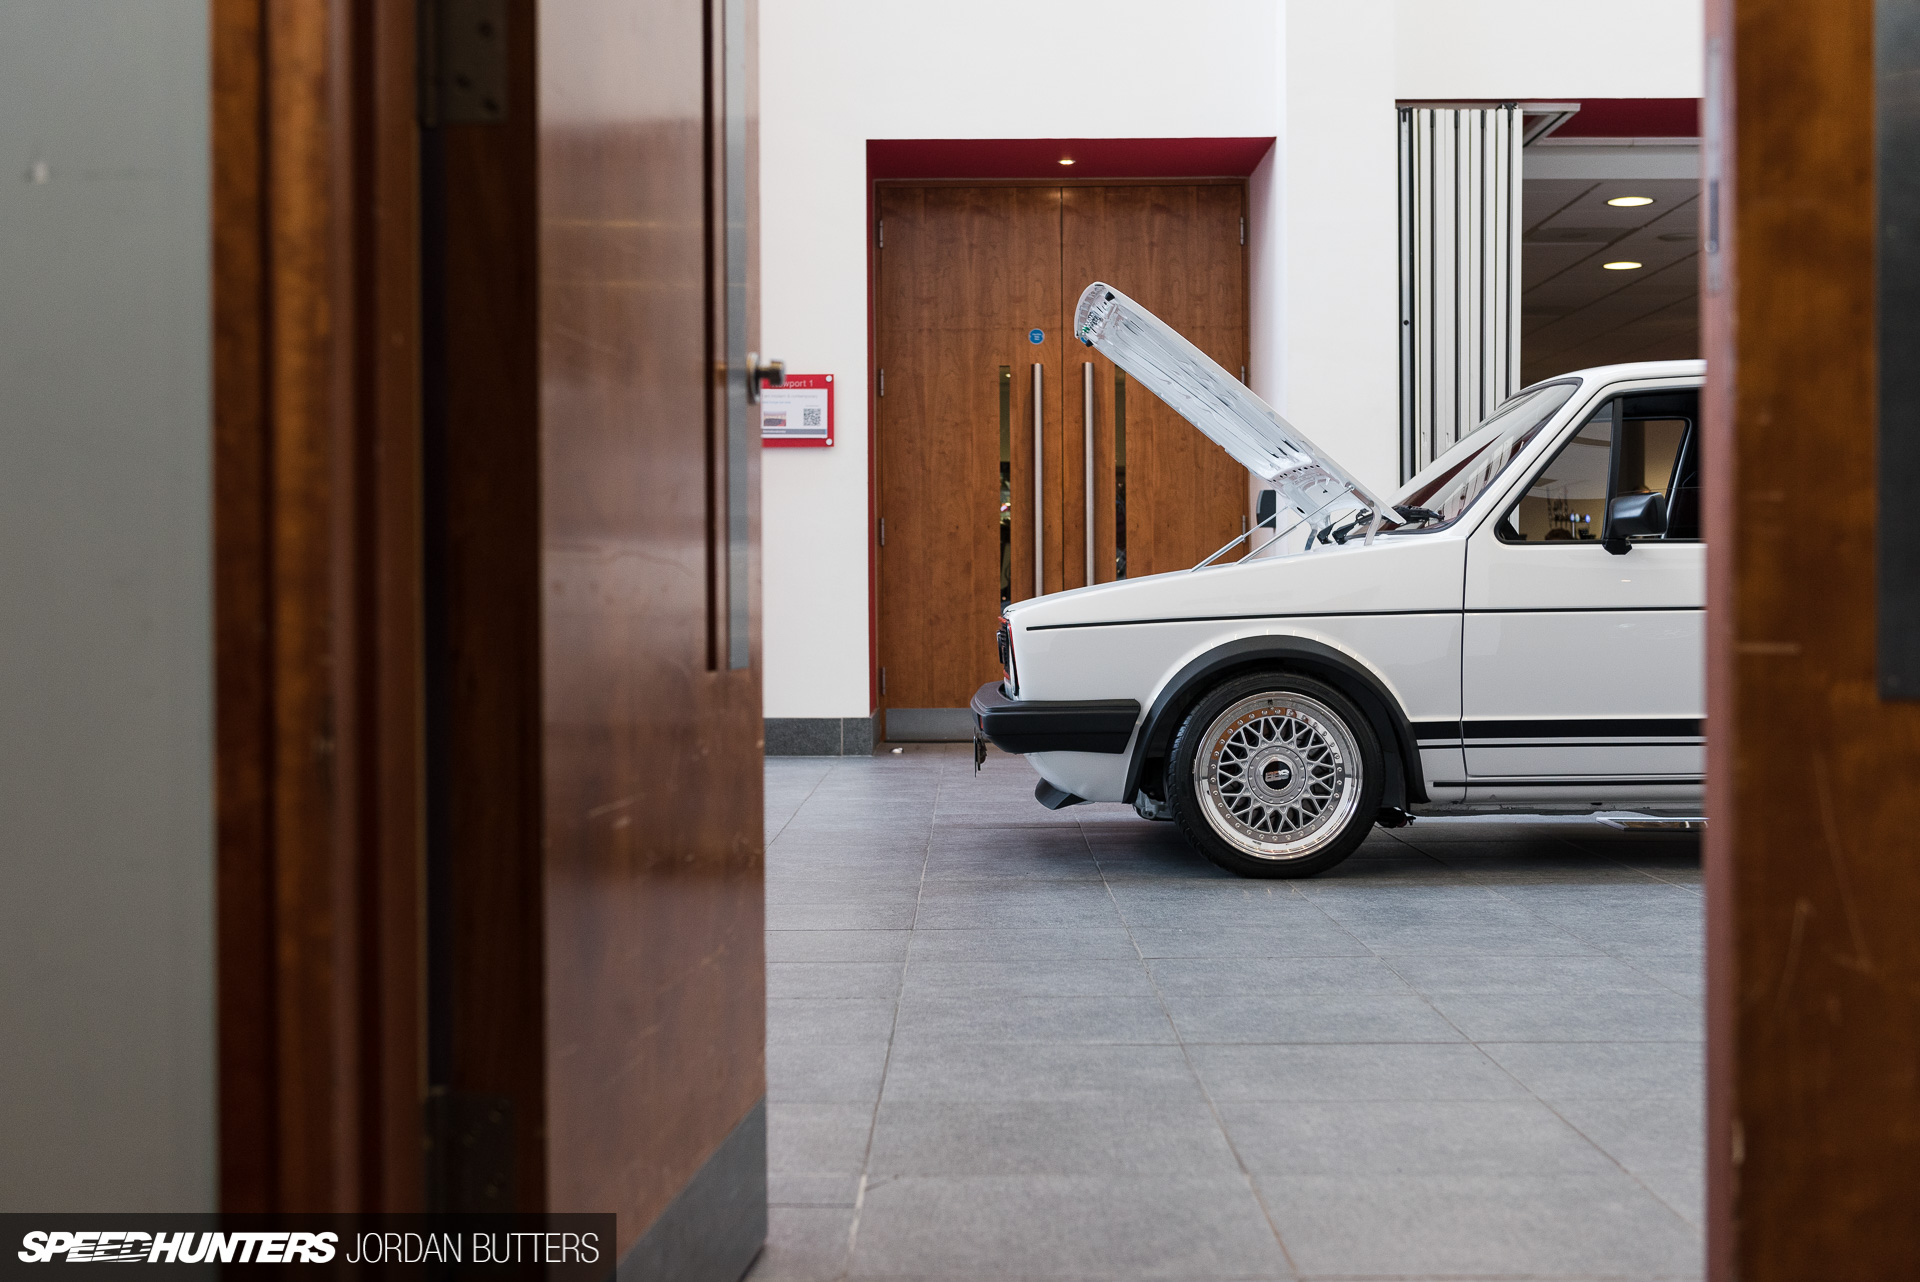
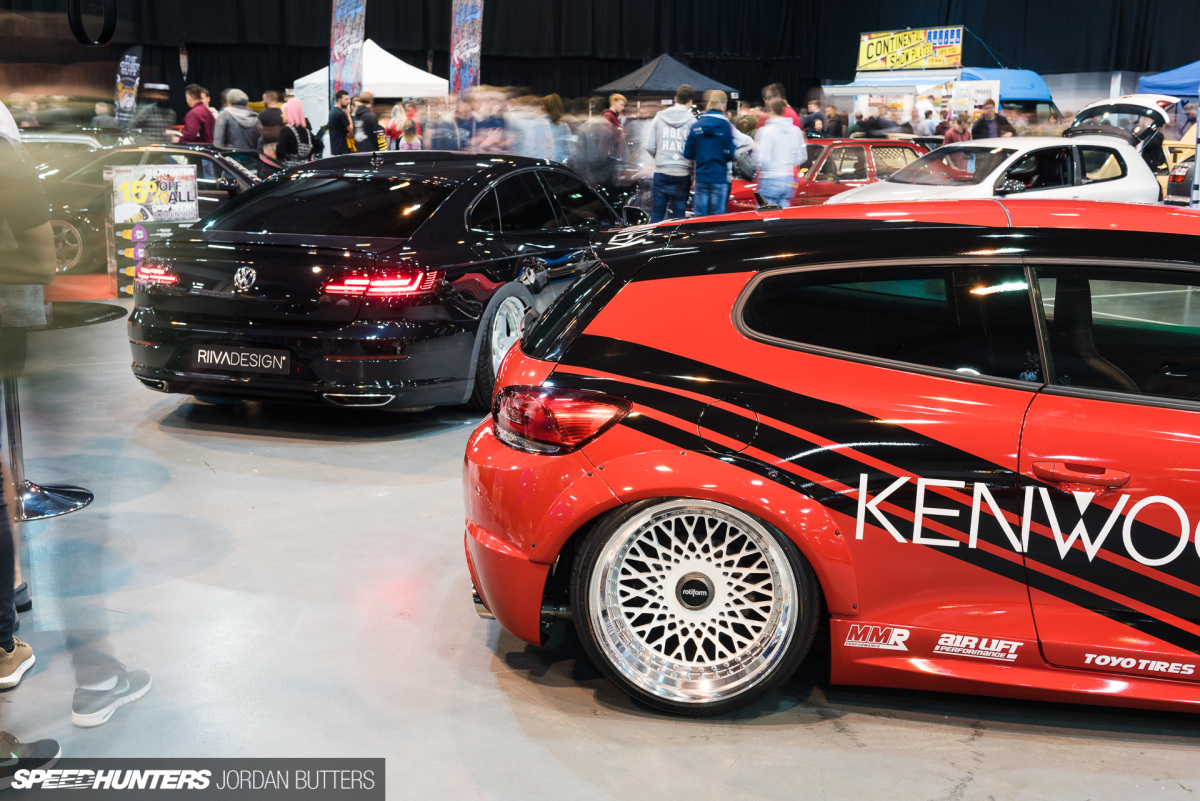
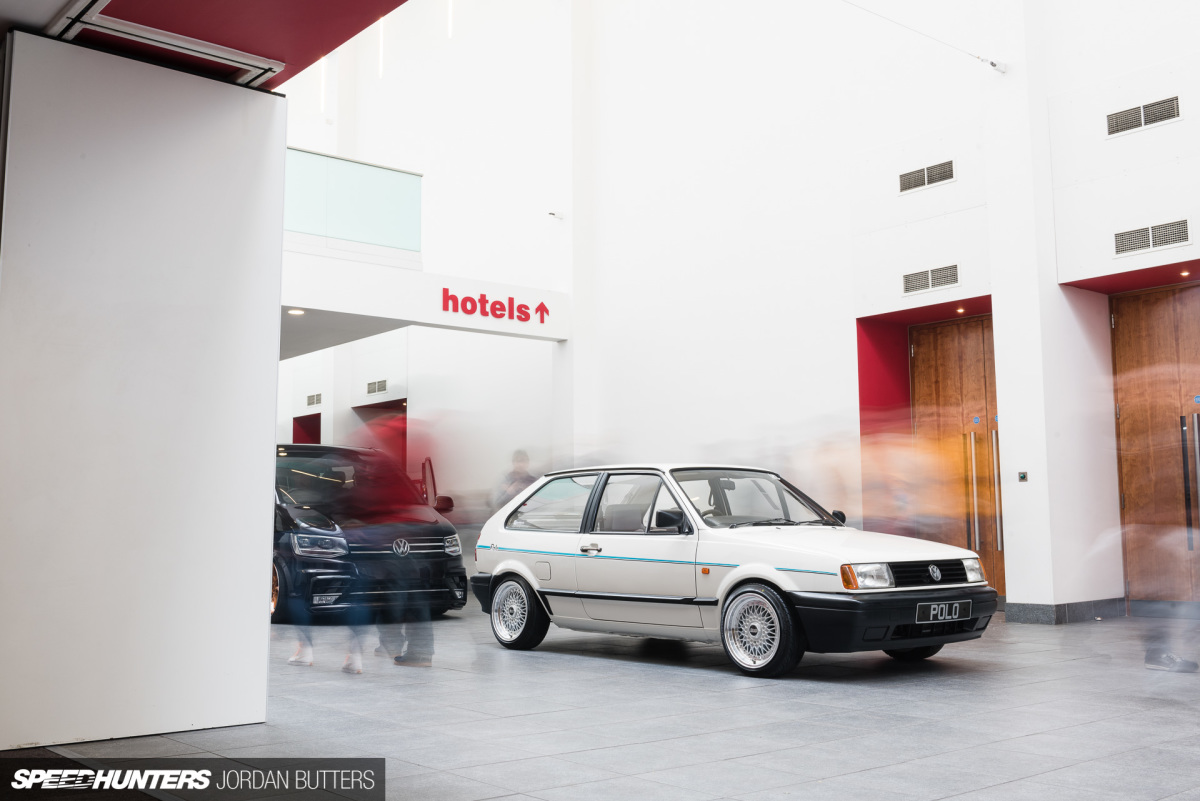
That’s not to say that long exposures are the only way to shoot shows, however. There are plenty of differing approaches to try out, such as finding unique compositions, or ways to frame your subjects, either using the environment, or other cars.
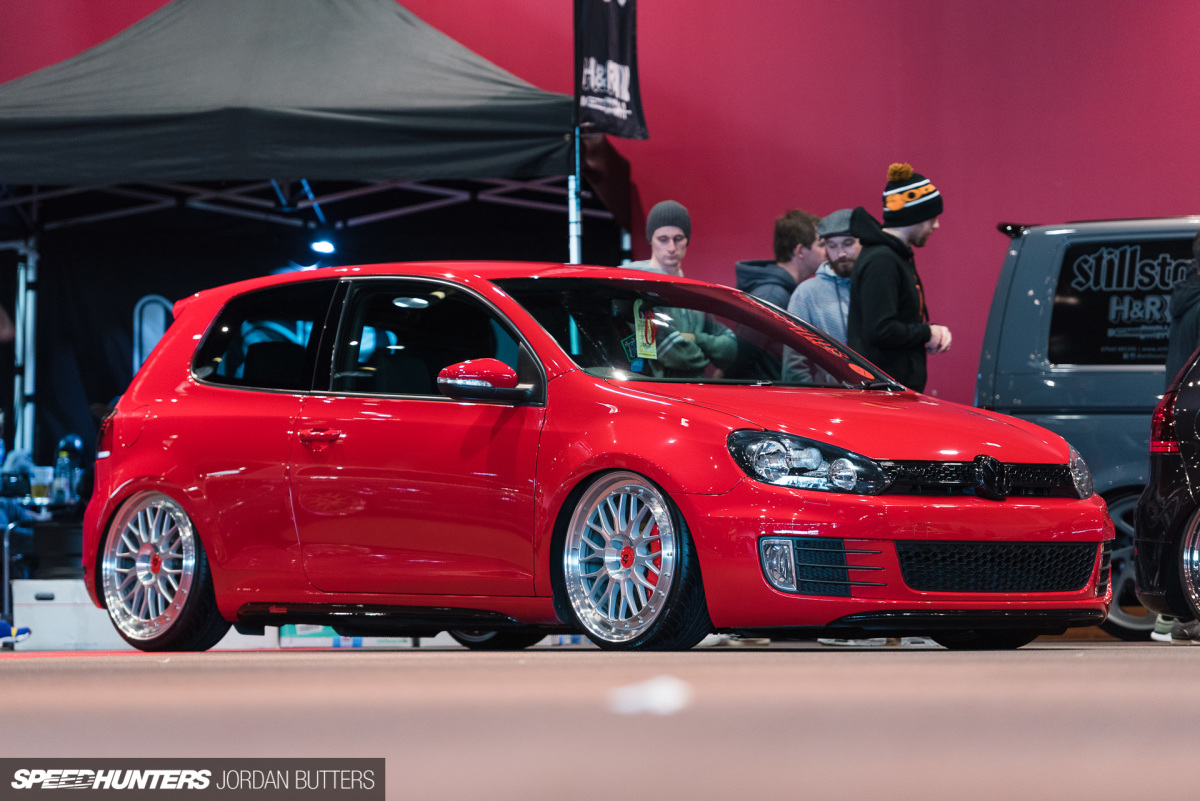
Another approach is using longer telephoto lenses. As most people tend to shoot shows on wider focal lengths, using a longer lens can make your images stand out. The crux is that you need patience to get a clear shot of the whole car, so I find this approach best suits either the very start or end of the event when crowd numbers are lower.
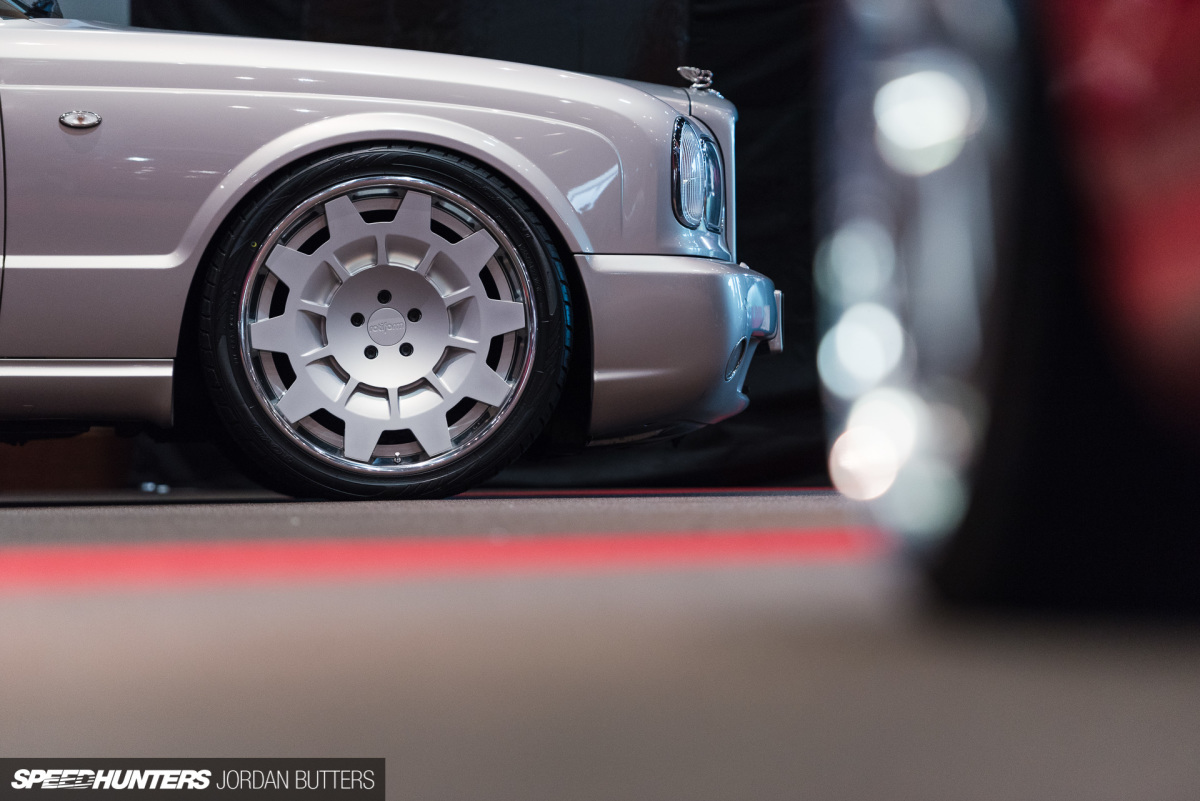
Alternatively you can always go for a tighter crop to focus on details and mix up your compositions.
Without a tripod, and in low light you’ll find that you need to increase the ISO substantially – essentially this controls how sensitive the sensor is to light. In older models of digital SLR it used to mean excessive noise, but newer models have come on leaps and bounds.
I always say it’s better to have a noisy, sharp shot of something than a blurry, clean shot, so don’t be afraid of bumping up the ISO to get the shot.
I tend to do a few laps of an event using one technique, and then change lens/ditch the tripod and do another couple of laps with a different approach before maybe changing tack and doing one final lap, say, focusing on details, or capturing people rather than cars.
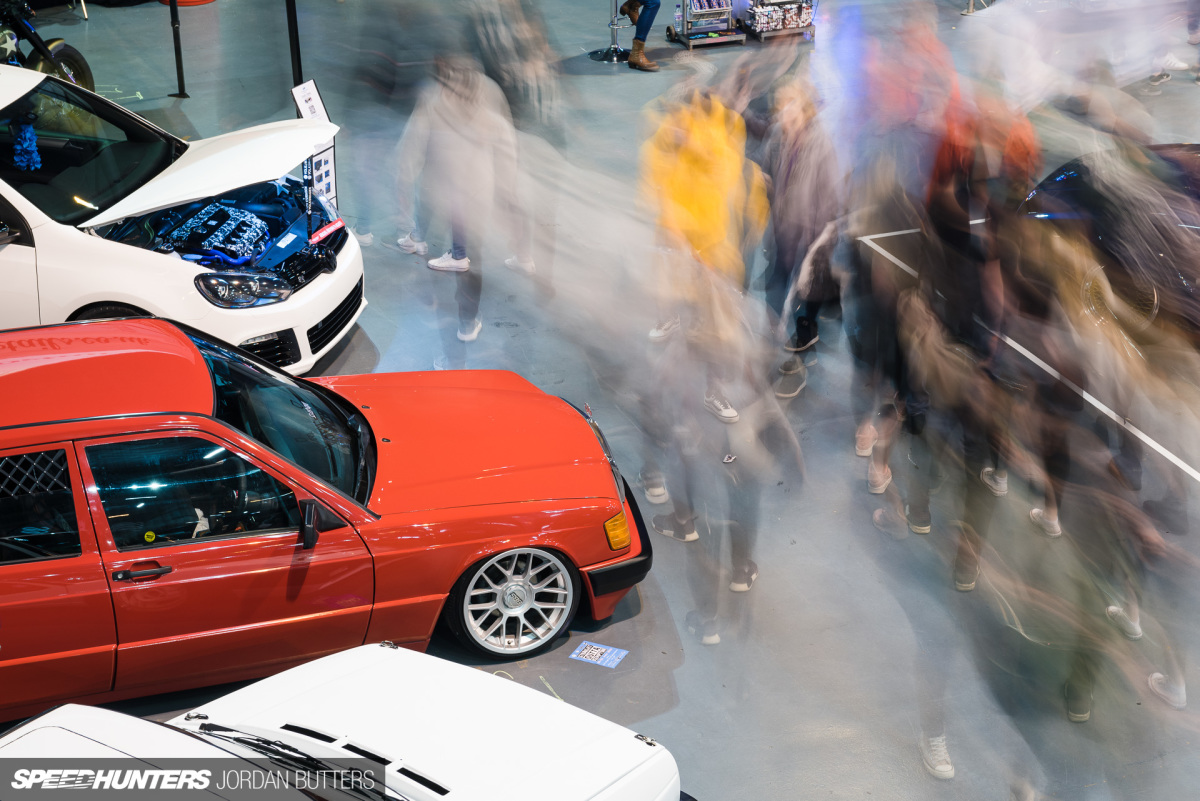
Remember to vary your shooting angle and height too – it’s very easy to leave your tripod set to one height and shoot everything from a 3/4 angle, but in doing so your images can become samey and predictable. Where possible, find a high vantage point and shoot down on the event.
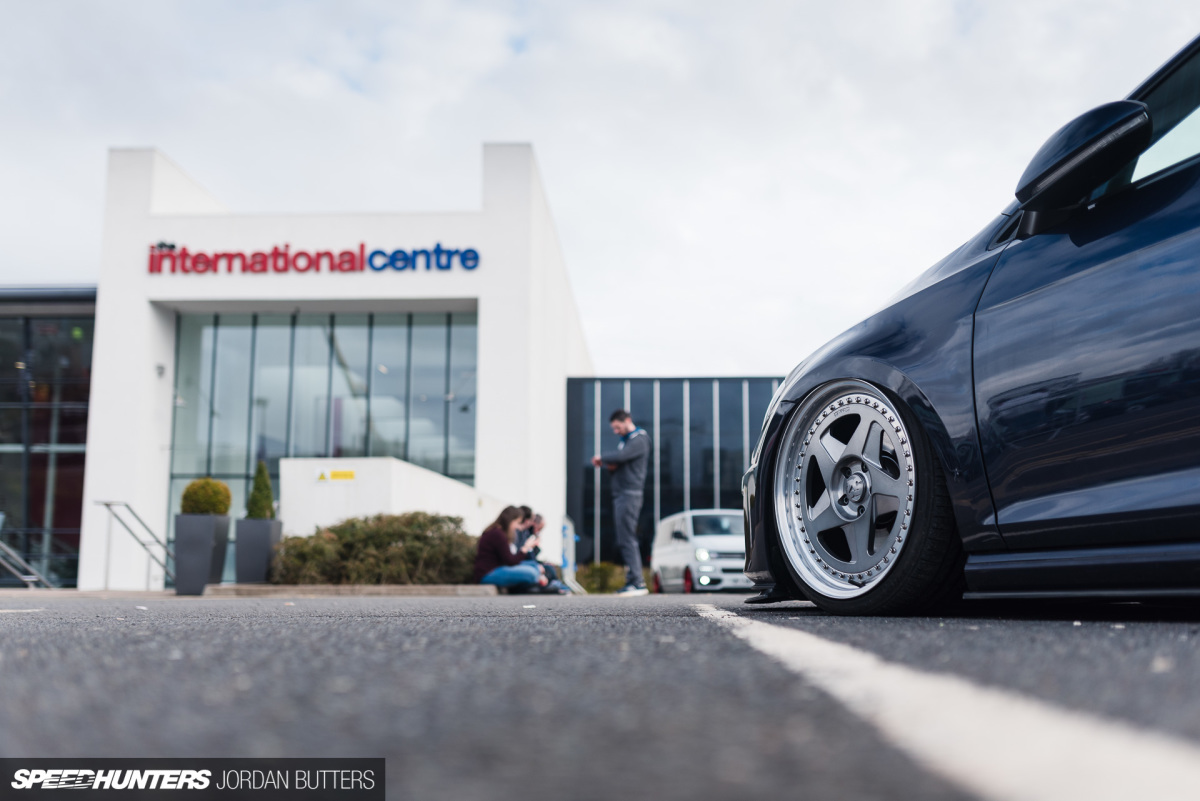
Or, place your camera on the ground and shoot a worm’s-eye-view. This approach works well with longer focal lengths and can help steady your shots if you don’t have a tripod.
Processing Power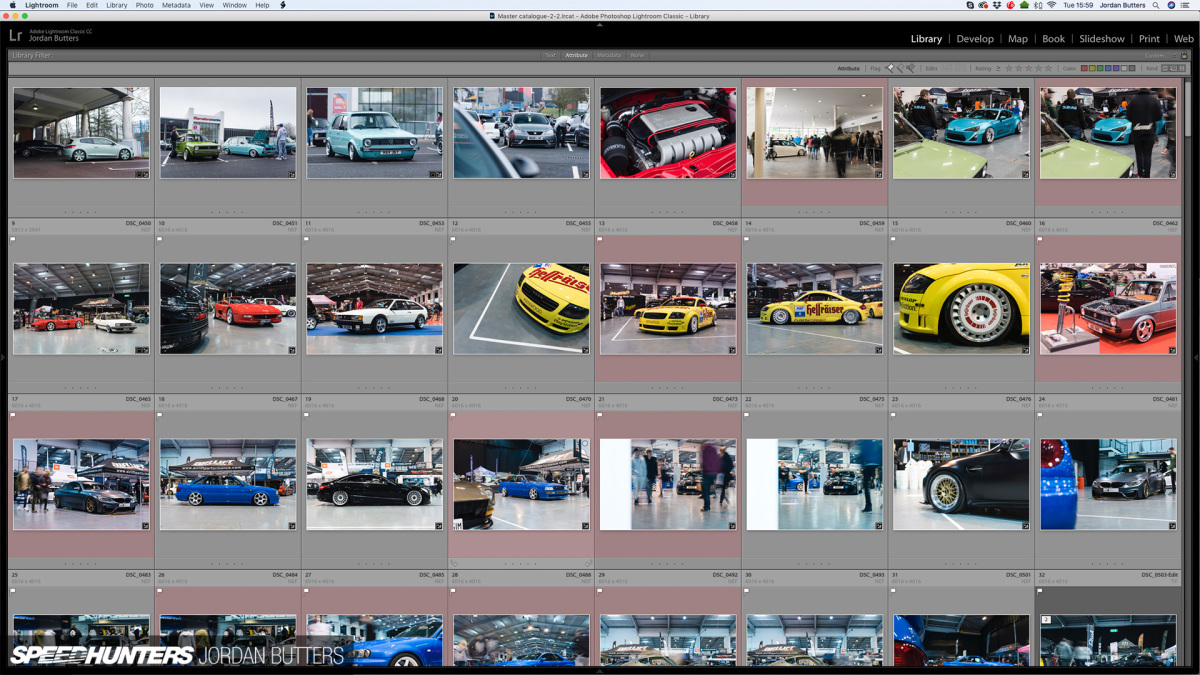
When it comes to editing, I tend to have a basic preset which gets my event images pretty close to where they need to be, except for a few minor tweaks which I do image by image in Lightroom.
Remember me mentioning the circular polarising filter above? Here’s what it does. The two images above were taken from the same position with the polariser rotated differently each time.
This is one of the few times where I’ll do some extra editing to a show image – by taking two exposures with the polariser rotated differently and then blending the two in Photoshop using Layer Masks, you can kill most of the distracting reflections in a car’s paintwork.
With indoor shows, you’ll probably find that your biggest enemy is White Balance and mixed lighting types, for example when a car is parked near both tungsten and fluorescent lights, or where it’s lit partly by daylight and partly by warmer or colder man-made light.
Although with excessive editing you can try and correct these colour casts, I find that simply going with the most dominant light temperature in the image gets good results. If you’re accustomed to Lightroom or Adobe Camera Raw then using the White Balance preset menu allows you to choose the lighting type. Remember, the ‘right’ White Balance isn’t always the most aesthetically pleasing. The image above is using the Tungsten preset, which is a bit blue/purple, but I like the effect here.
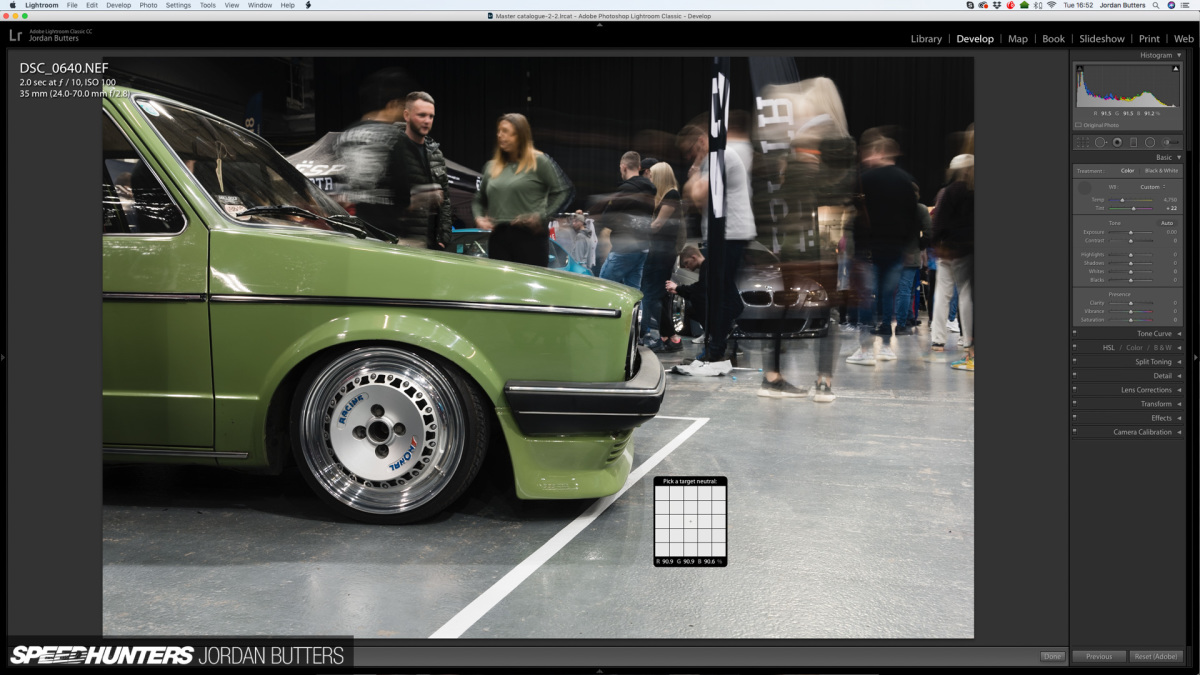
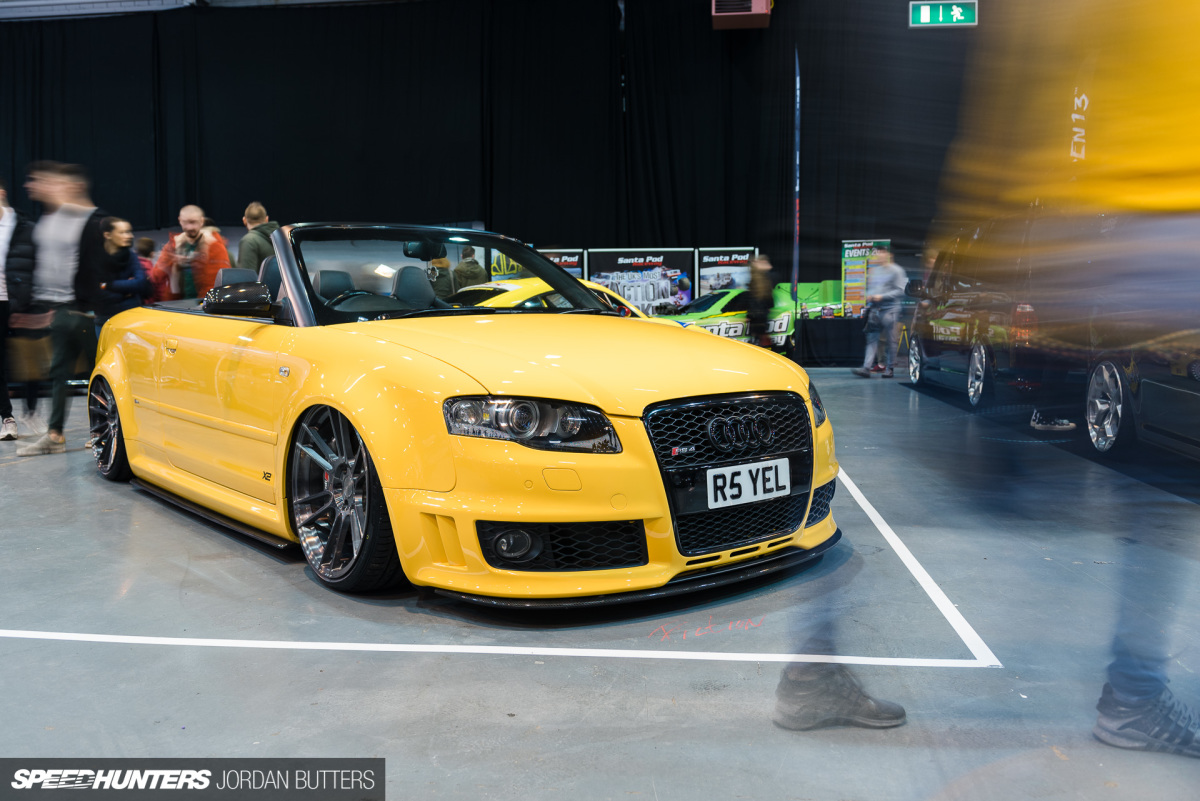
The method I often take is to use the eyedropper tool to pick the White Balance from the image. At Ultimate Dubs this was easy, as most cars were hemmed in by white tape on the floor. As I know the tape is white, grabbing the White Balance from this means the lighting temperature should be close enough.
In lieu of such convenience, then find a known neutral area (white, grey or black), like a numberplate, or sticker, and take the White Balance from that. In the image above the White Balance was grabbed from the numberplate in the bottom right corner. Easy.
Hopefully some of you have found insight this useful. If you’ve any photography-related questions relating to this guide, or any other topic, let us know in the comments below.
I think it’s past time that the photography guides made a comeback…
Jordan Butters
Instagram: jordanbutters
jordan@speedhunters.com
OFFICIAL SPEEDHUNTERS SUPPLIERS


The article was amazing!
A minute pause in our day is in order to pay tribute to how EPIC that Jag is!
that Jag is glorious, except for the gearbox that's built from thin glass
Haha!
I've never been able to do the long exposure thing at shows because people often stop. Didn't occur to me that a trigger might alleviate this problem.
The only thing this guide is missing for show photography is dealing with annoying stanchions
It does sometimes take a few attempts to get a shot with nice motion, but you can't always avoid lurkers. A remote helps no end as you can just wander away from you camera a bit and people tend to keep moving.
You just have to shoot around them or ask if they can be moved.
Yeah that's what I often do. Or of they are slack enough and I have a wide enough lens I'll lift them with one hand shoot with the other.
if I'm feeling ambitious, I'll try and photoshop them out.
when you were talking about setting your white balance, you don't set it at the show but adjust it in post? Sadly this is something that I forget to do a lot of the times and our event centre has horrible lights. Everything comes out green. I've found it easy enough to do in post but I'm doing it one photo at a time. How are you batching them out with one preset?
As Paddy said – if you shoot in Raw you can set it afterwards. I have my in-camera White Balance set to 'Daylight', because most of my work is done outdoors (and I forget to change it for indoors). But shoot in Raw and you can decide while you process.
As for batch processing White Balance, if you use Lightroom you can create an 'import preset' which is automatically applied to all images you import, which can include a preset White Balance. Hope that helps.
I usually set WB to Auto, shoot RAW and can adjust it comfortably in post. In Lightroom, you can copy your WB settings from one photo and paste it onto others.
Could you post and example of your presets in Photoshop or Lightroom? Could be interesting to see
While I don't really have a problem giving the recipe away, it's actually pretty basic – I set Daylight White Balance by default (most of my work is outdoors so this usually saves time, although not for this event, obviously), I turn on Lens Profile Corrections to fix distortion and colour fringing, I add a touch on contrast with a tone curve and a touch of clarity and sharpening, and finally around +10 Vibrance. That's the basic import preset, and from there I'll tweak each set of images to suit the aesthetic I'm after.
That Arnage though...
Please, tell me you have more.
I wanta deuce coupe so badly. I saw a GTI in Montana Green on Borbet A's at the market the other day; really got me pining for a vw.
any chance of a feature on the bently?
I'll do some more digging!
Thanks for the tip, I did it with my Samsung Galaxy S7, with the help of a friend, who was waving his hand in front of the camera.
Nice! Now grab a camera and find a 1:1 subject.
I love these photography articles. I say keep 'em coming. For the guys and gals just getting into photography, there's always a new door being opened. Even for the folks that know the settings of their camera very well and can see techniques through photos, they're really good about sparking creativity for those readers as well
Thanks Allen, glad you enjoyed it.
I started trying this technique a few months ago. I love shooting car shows and meets now.
It certainly beats the stress of waiting for a gap in the crowd!
Good picture!
I create something like this
Nice framing Ivan!
very nice article, I use some of those techniques. On of the problems I found shooting indoors is when there are windows on the building or excessive reflection from the lights.
There's not much you can do about that Rui – a CPL might help dull those awkward reflections.
Sure beats the days of shooting a bag full of film rolls and PRAYING they don't get ruined at the lab. Great article!
Hi Jordon. I’ve been to car shows before, using the long exposure method and I have to say my photos aren’t as lit as yours are. How do you get your photos so lit as if you used an added light source. I’m not sure if the lighting at ultimate dubs is brighter but I just can’t seem to get my images at ISO 100 - with exposure bar at zero on a tripod as clear and bright as yours. A lot of the photographers seemed to be using a flash. You don’t seem to be using a flash but your photos are nicely lit. Am I missing a trick here? In anticipation of your reply, just want to say thank you.
Hey Len, no additional lighting here. Of course ambient lighting varies from location to location – most of these were around 1-2 second exposures at between f/4 and f/8 at ISO 100. That's with a CPL filter too which absorbs around 1.5 stops of light.
If you're relying on your camera's automatic metering then it could be getting confused, especially if you're photographing a bright or dark car that occupies most of the frame. If this is the case, I'd suggest either using exposure compensation (the +/- button) to brighten or darken the exposure, or switching over to manual mode – once you find settings that work, you can stick with them (as the light doesn't usually change much in indoor shows). Hope that helps.
Thanks for the reply. I will keep trying and experiment with exposure compensation.
This is a great article, it made me comment a SpeedHunters article for the first time (not that i don't like the others, but i really liked this one)! I am a fotography enthusiast and really liked the trick of the long exposure shots, it really camo the people and make the car pop out! Great work and please do more of these.
Awesome shots, the timelapse effects are really cool.