
Finishing Up The Engine Bay
“Geez, you pretty much did a frame-on restoration on this thing!” said Shane Scott, the Application Engineer from AERO who had come to install the new Trailhunter livery. The thought hadn’t occurred to me, but when he put it that way, I realized just how much work my friends and I had put in over the past several months.
After installing a fresh Comp Cams valvetrain and a heavy duty copper radiator from CSF, I had a few details left to address in the Trailhunter’s newly renovated bay.

Installing a factory-sized radiator freed up space on either side for larger batteries. I used 4Plus battery trays and the biggest Odyssey batteries I could fit.
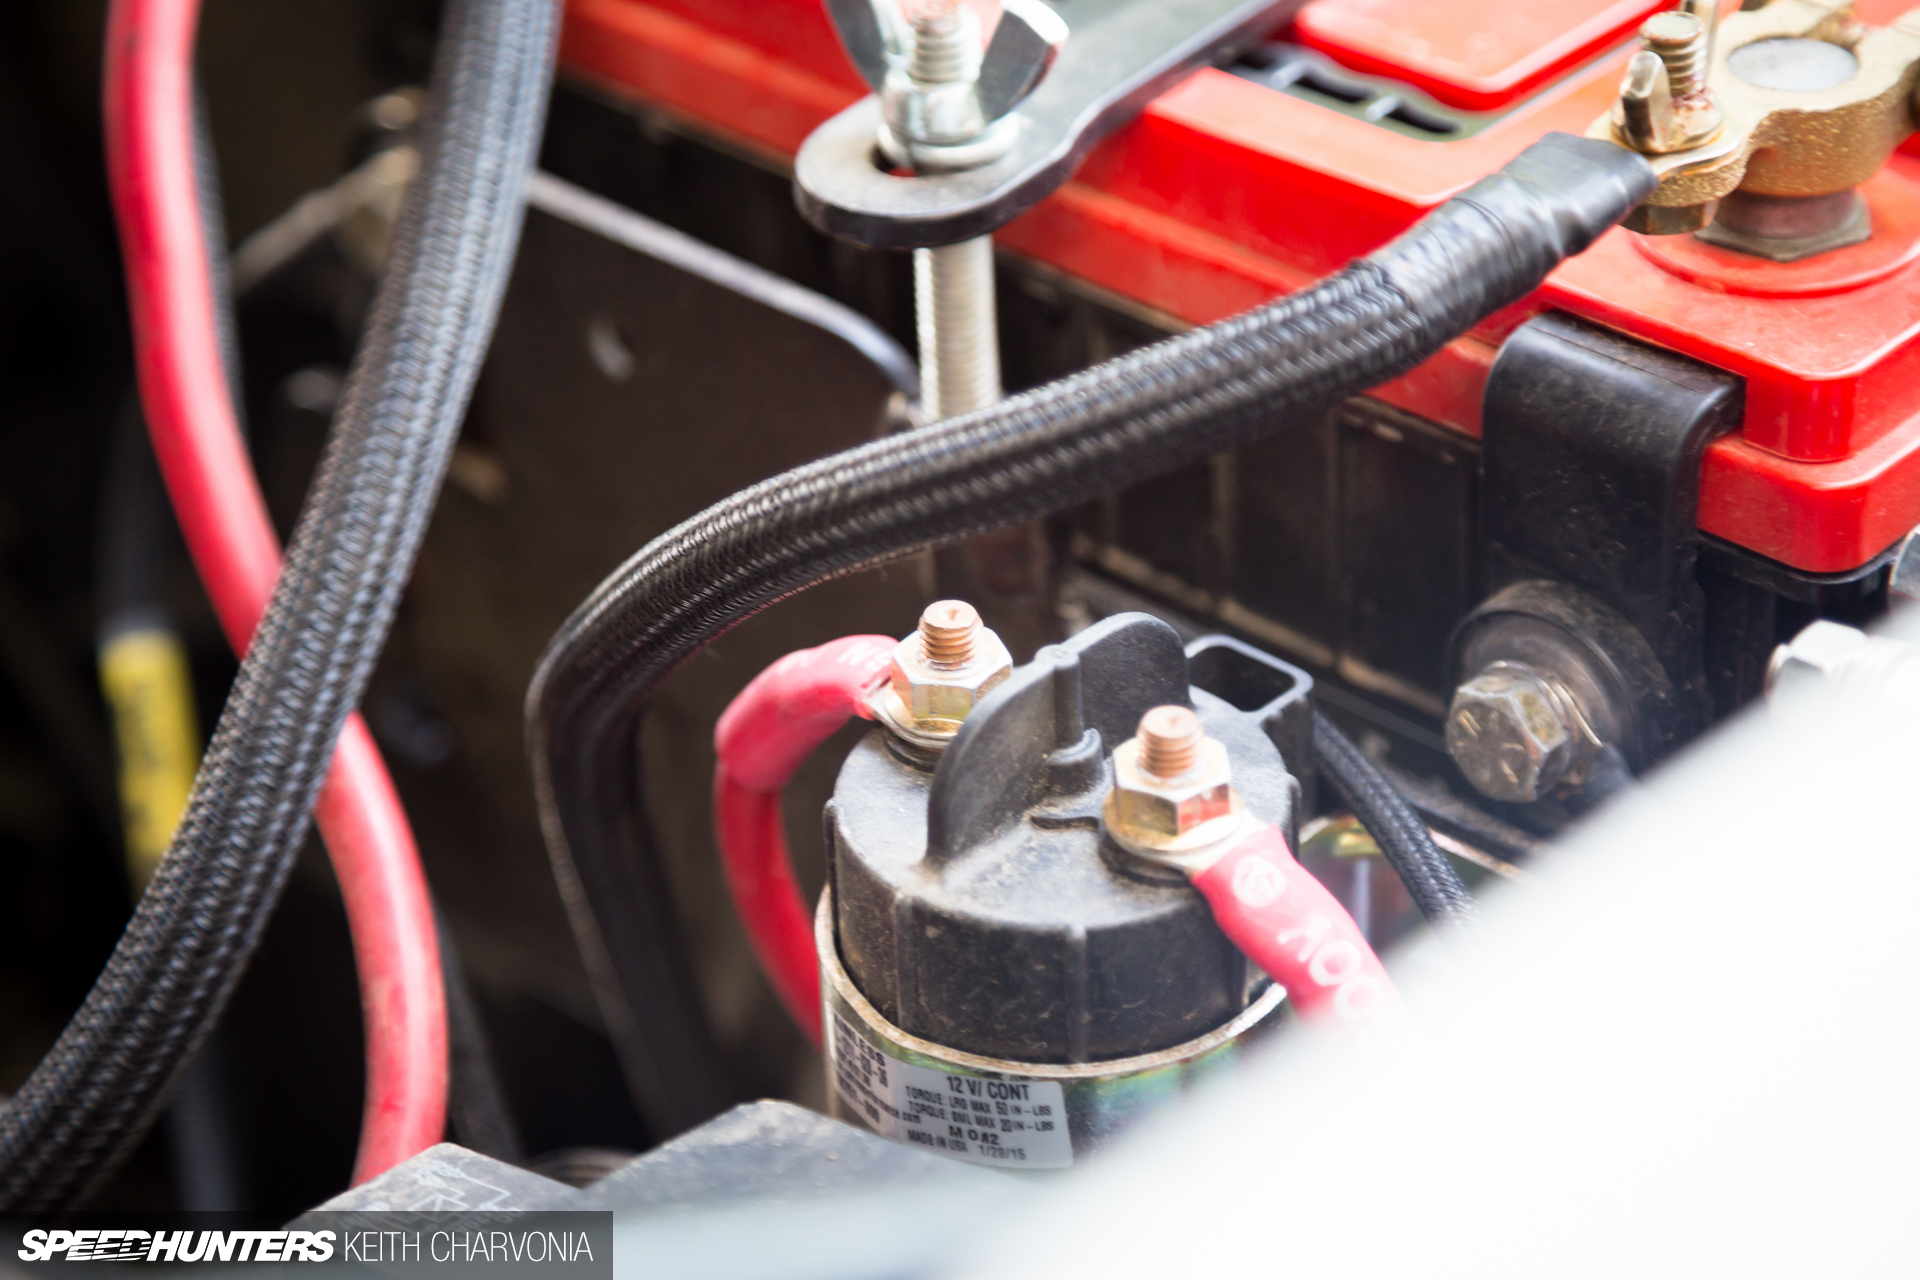
The 4Plus battery trays even have provisions for the battery disconnect solenoid that came in my Painless Performance dual battery wiring kit.
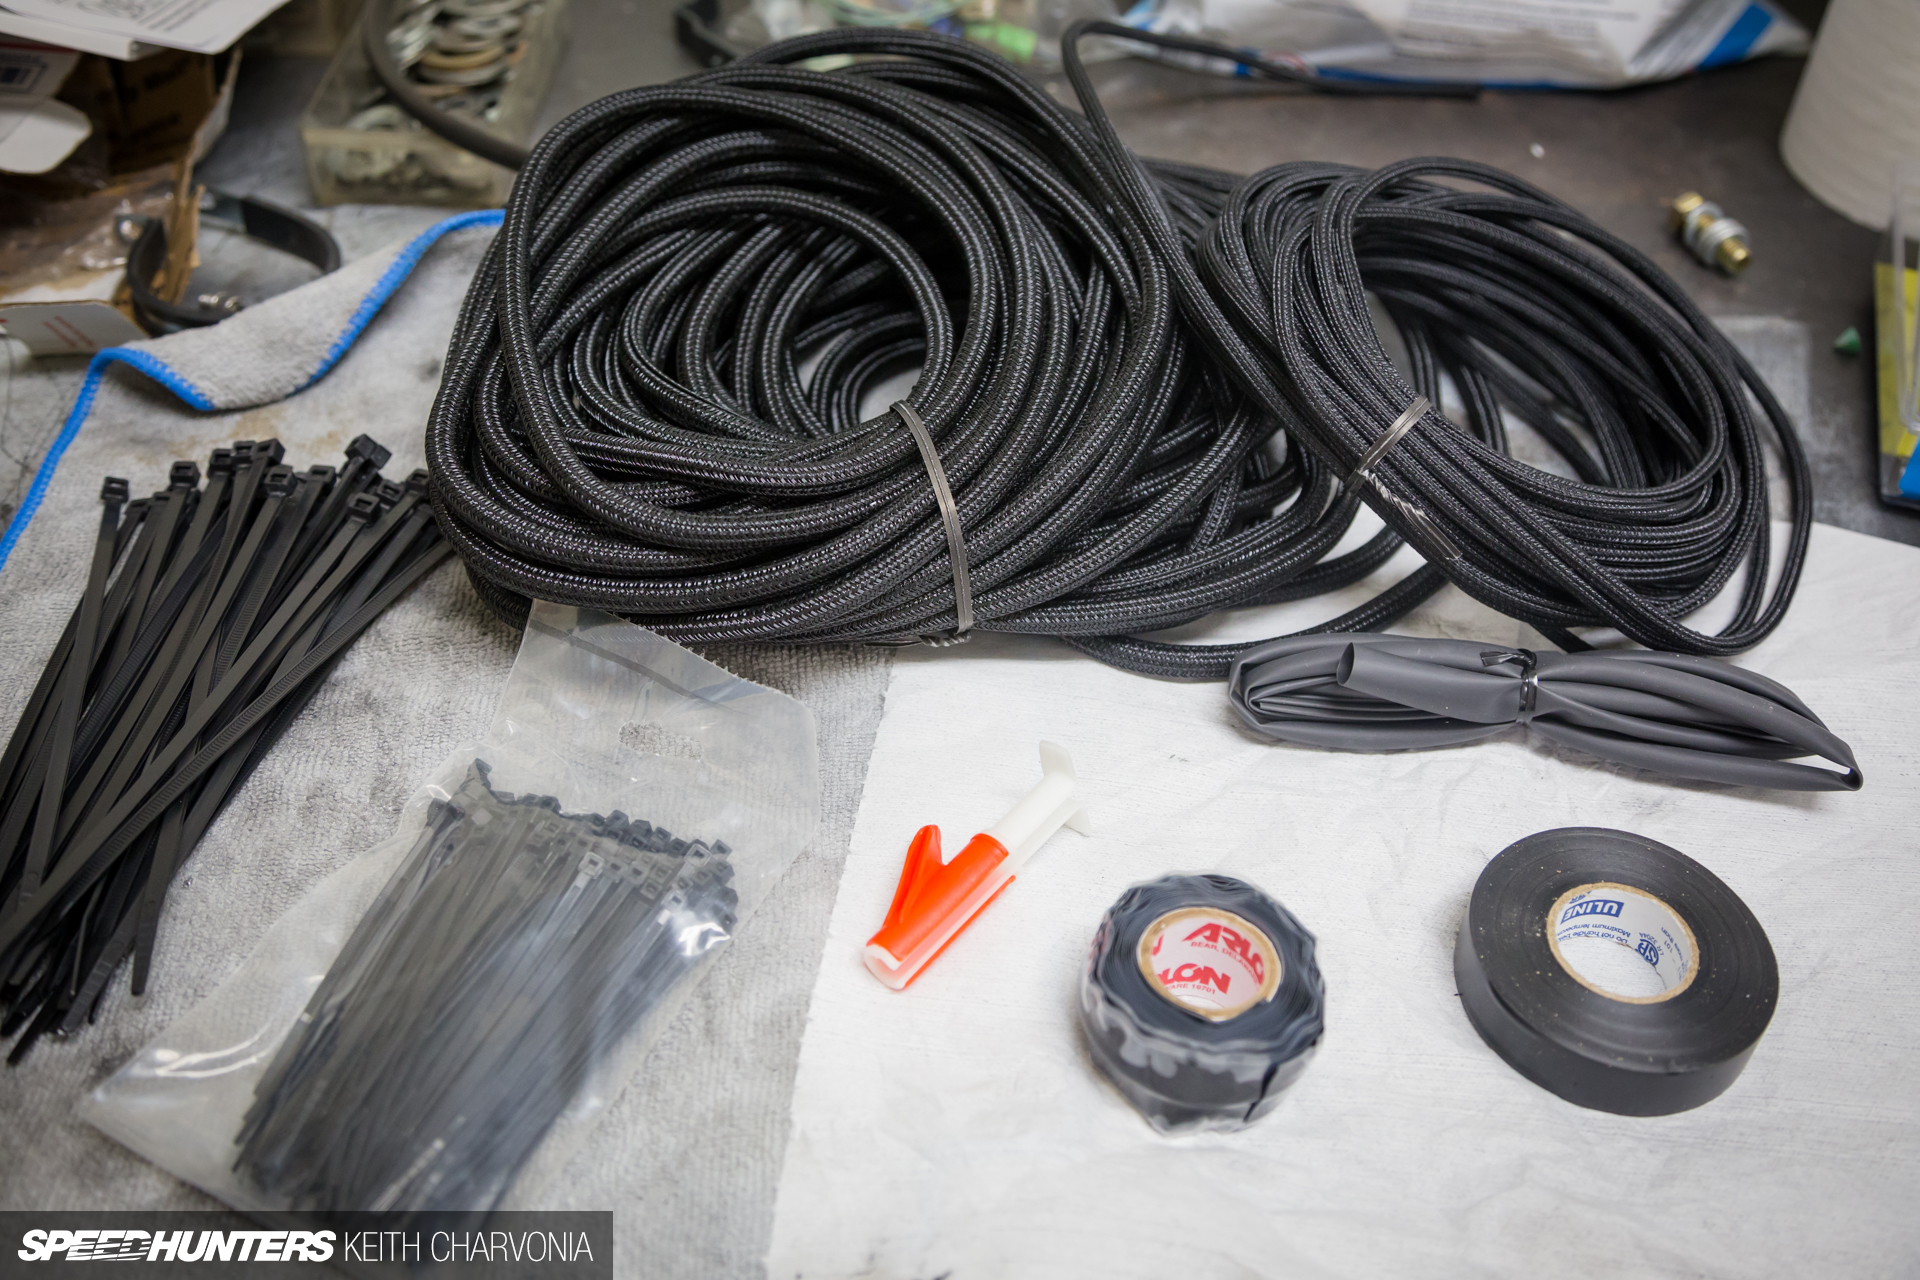
While I was ordering from Painless I also got a loom kit that included everything I needed to clean up the wiring under the hood.
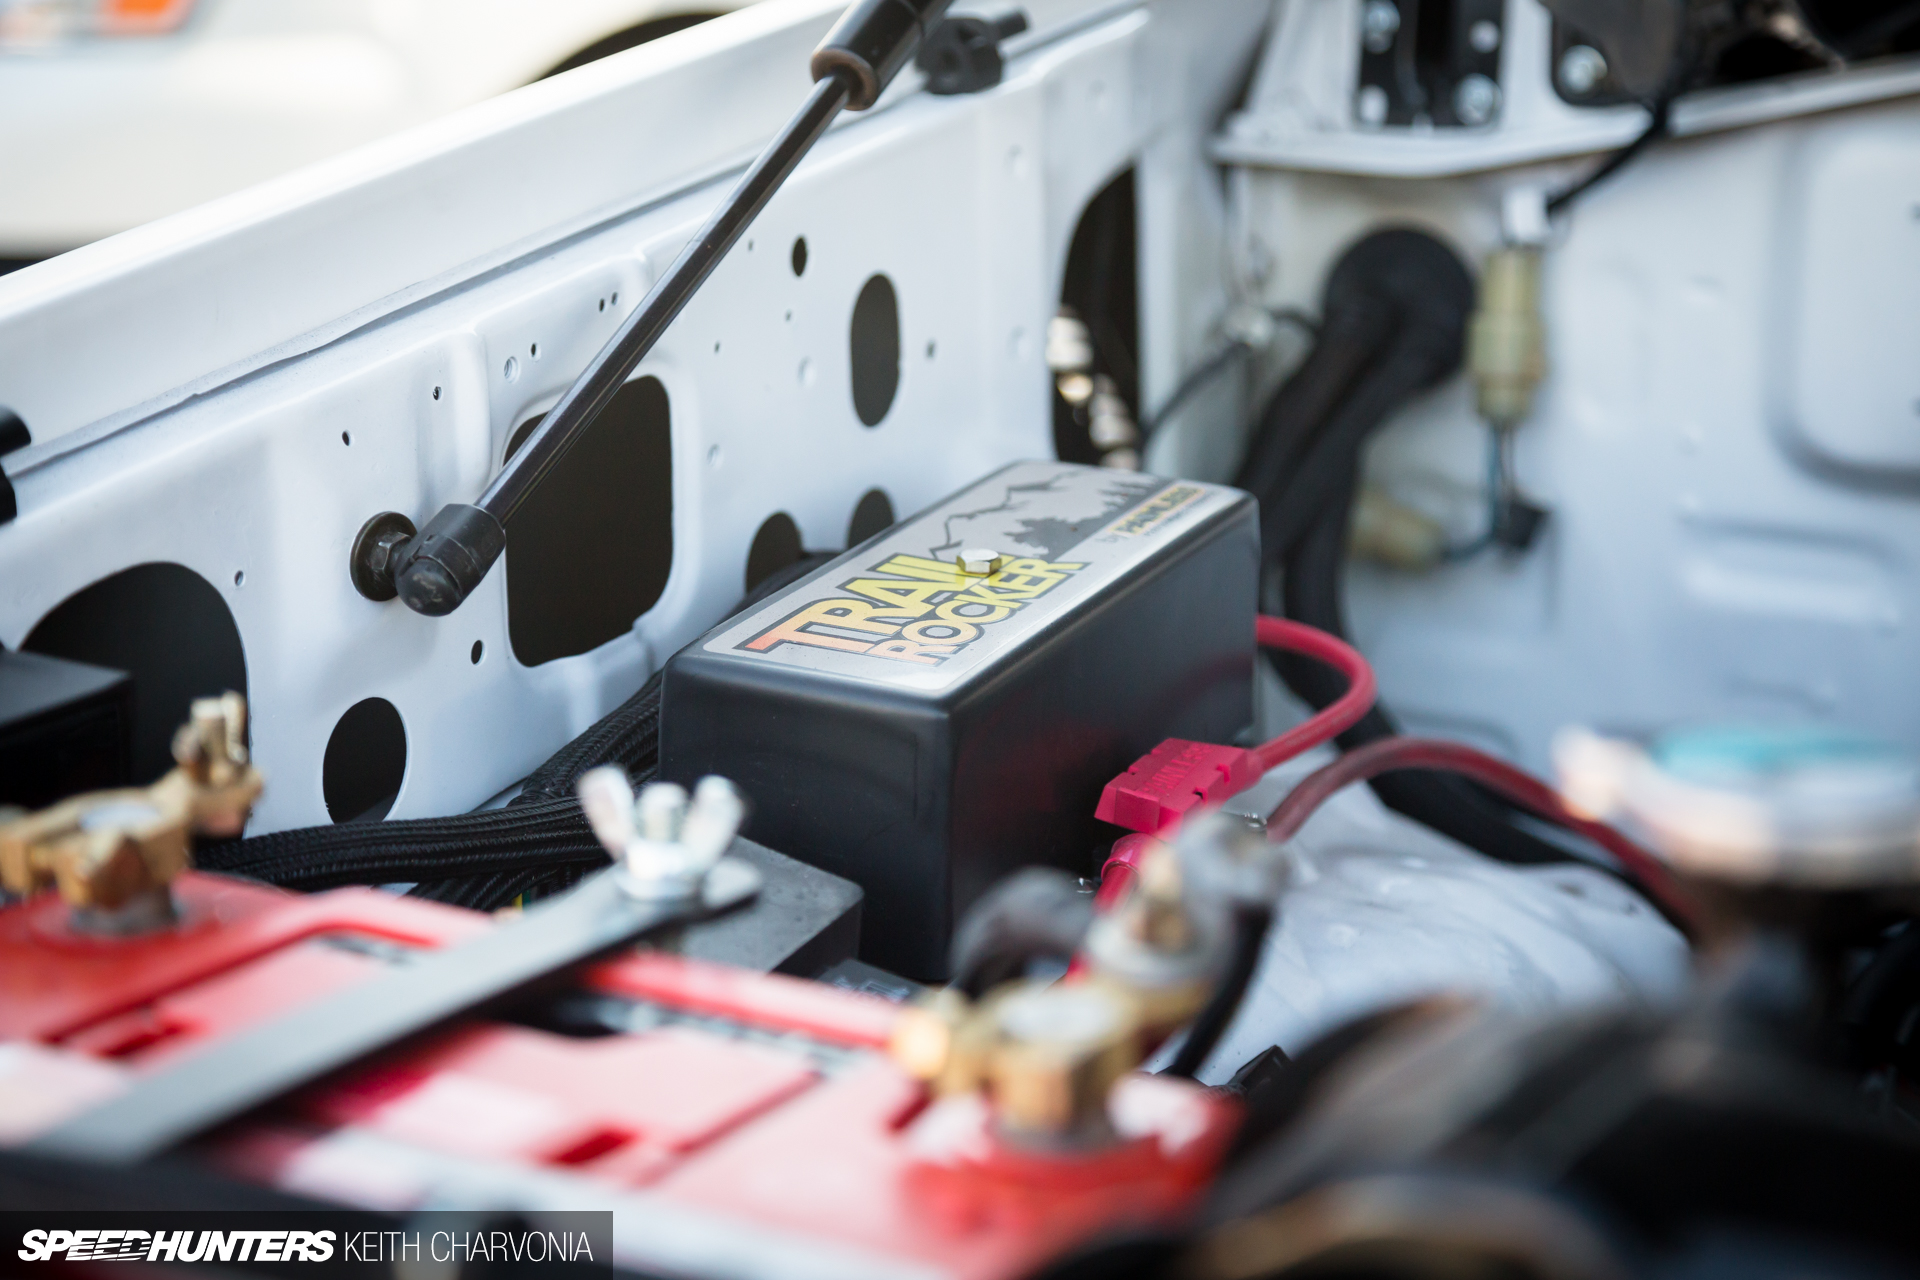
I also installed Painless’ new Trail Rocker accessory control system. You basically wire up one big fuse/relay box and it can control up to seven accessories. This plugs into a switch bank that we will see installed under the dash later in the story.
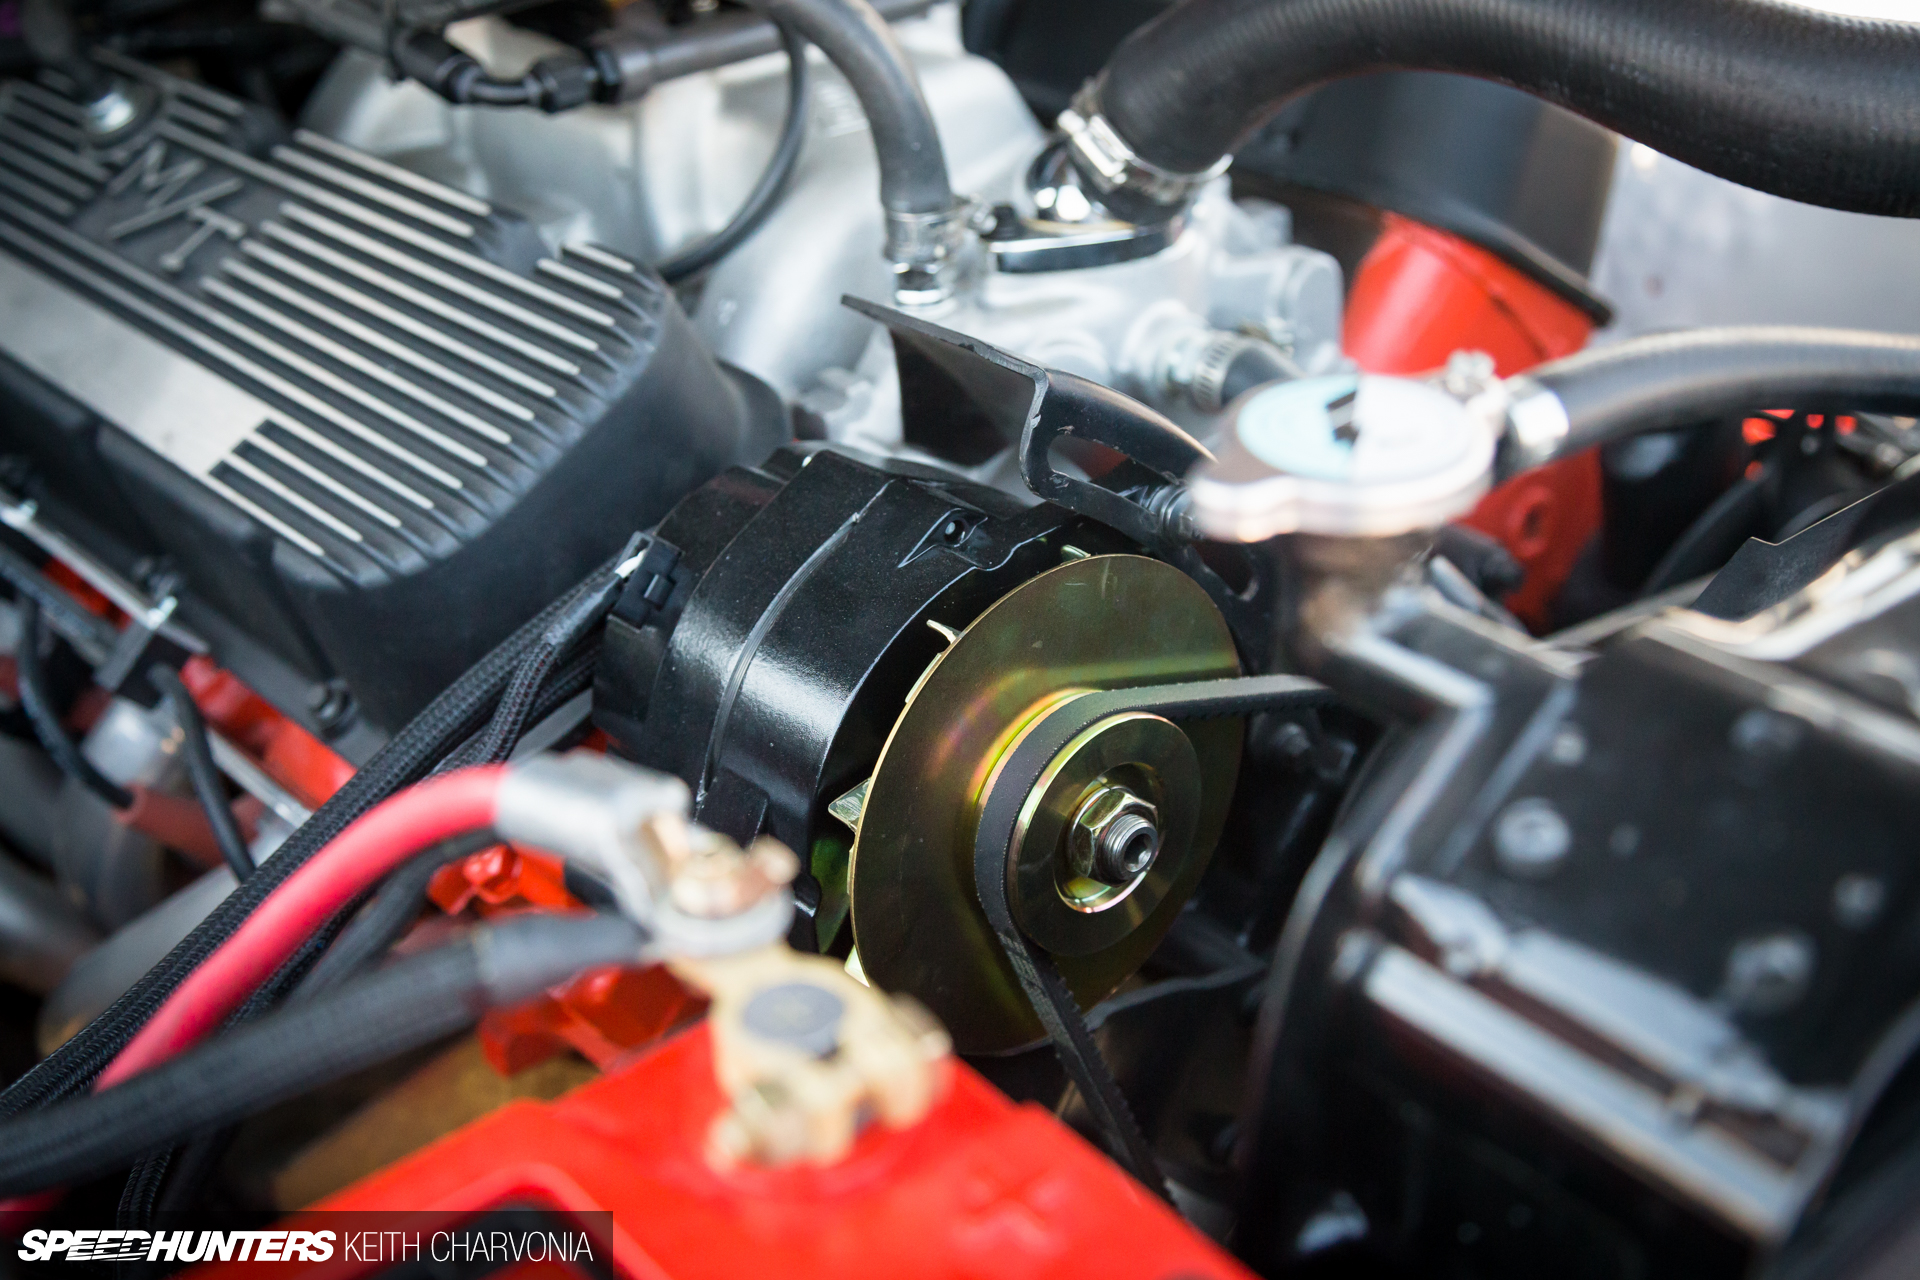
I knew the tiny stock alternator wouldn’t be up to keeping those big Odysseys charged, especially when adding the demands of auxiliary lighting and a winch. I picked up this beefy Powermaster alternator instead.
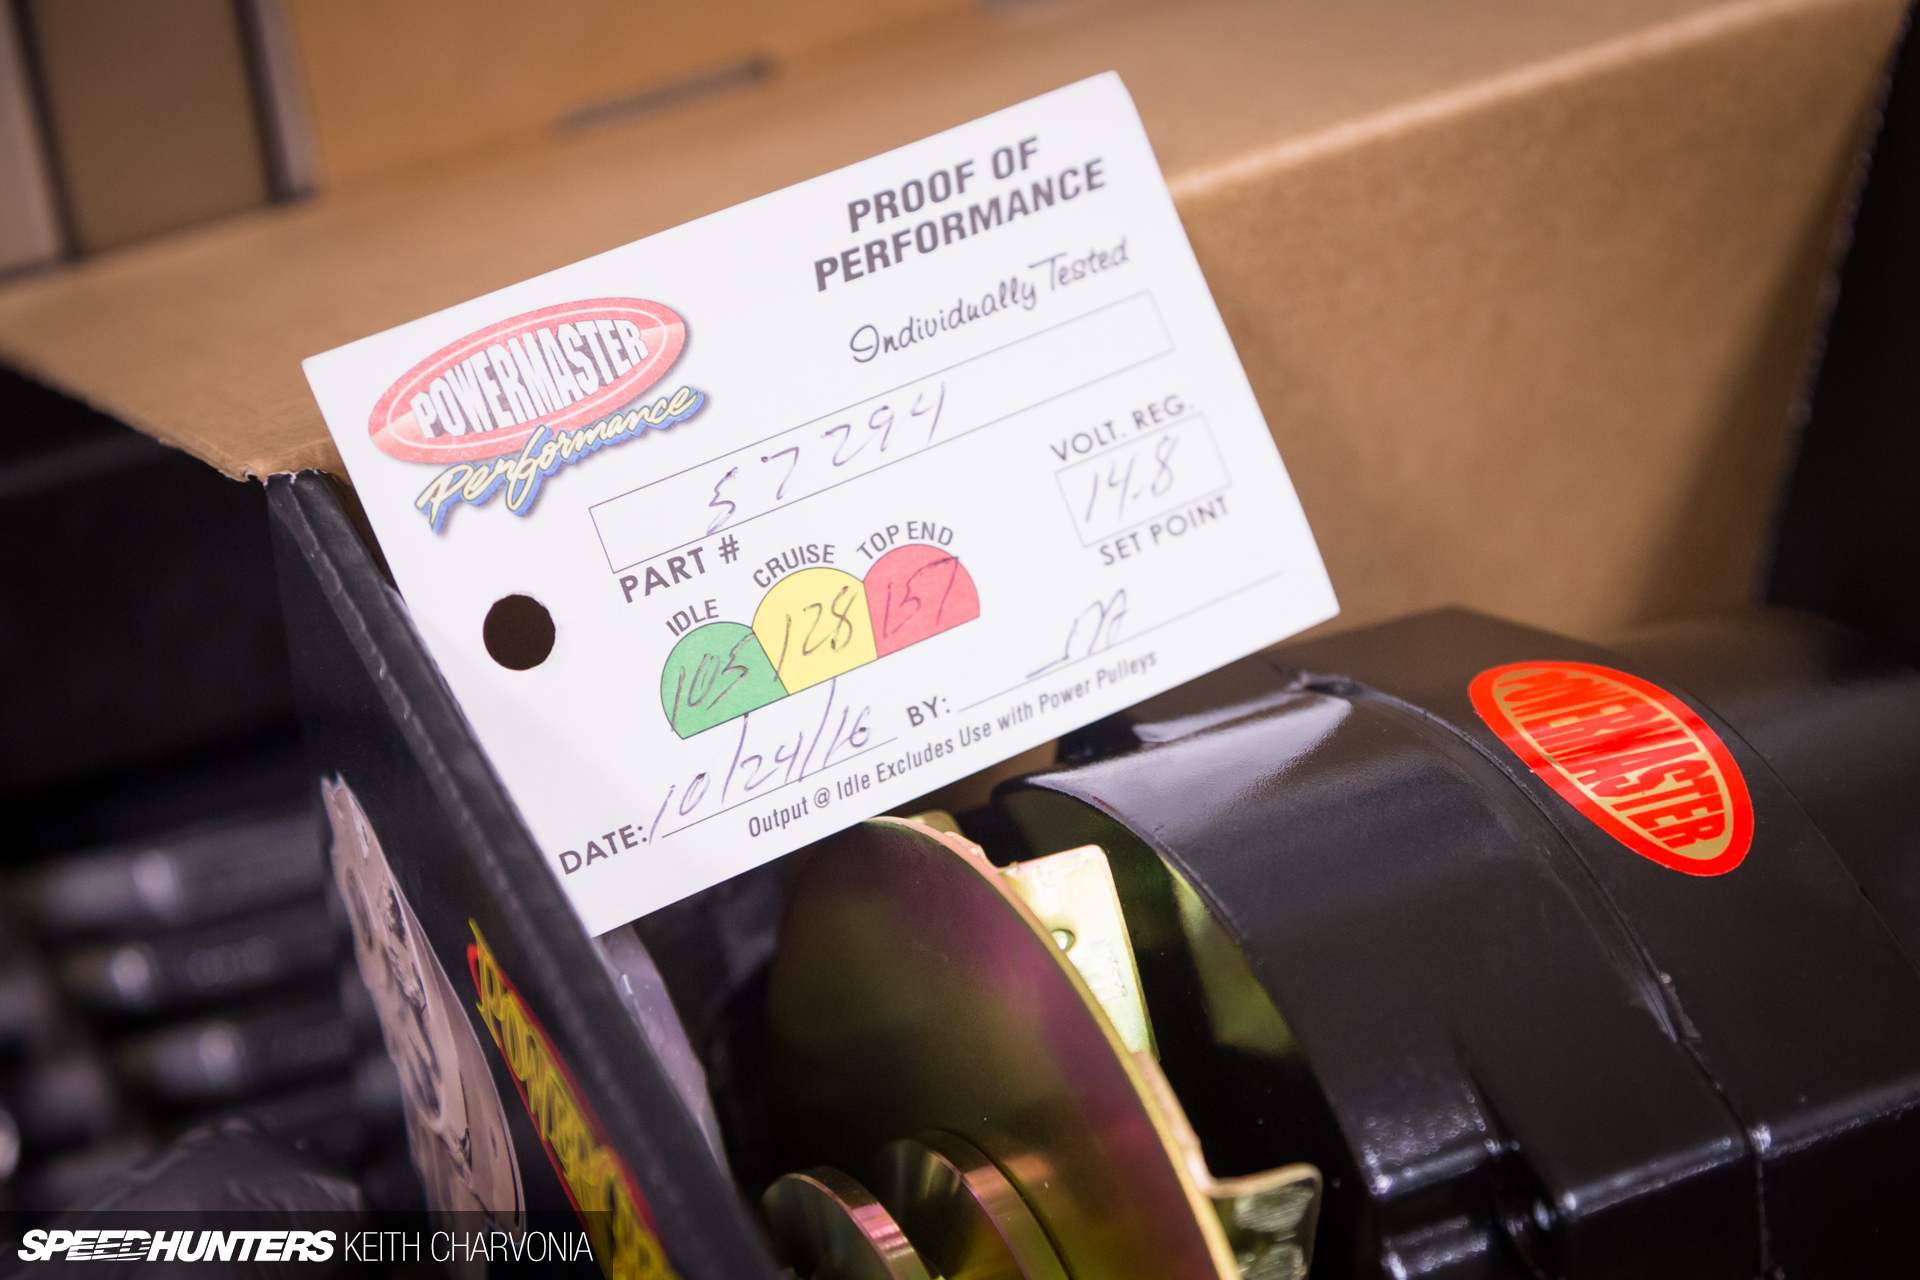
It’s always nice to see that a product like this has been bench tested. The new Powermaster alternator even came with a handwritten card showing the actual output.
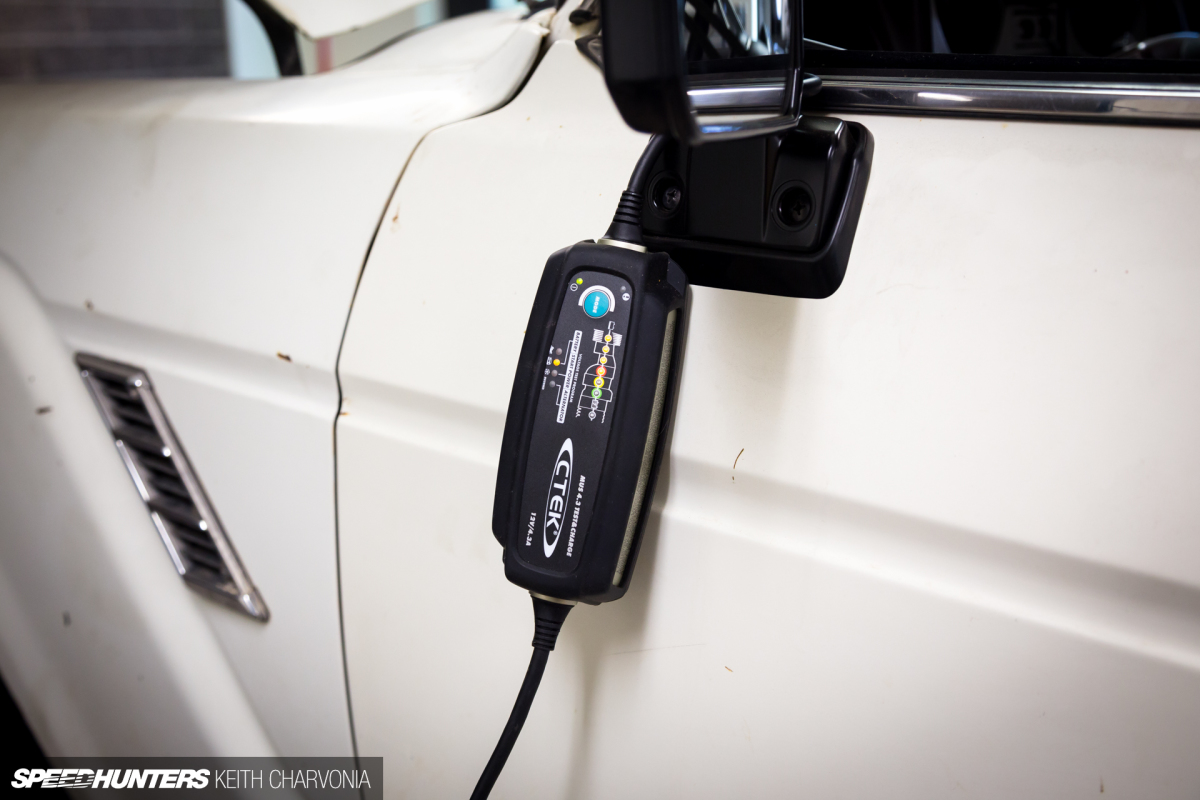
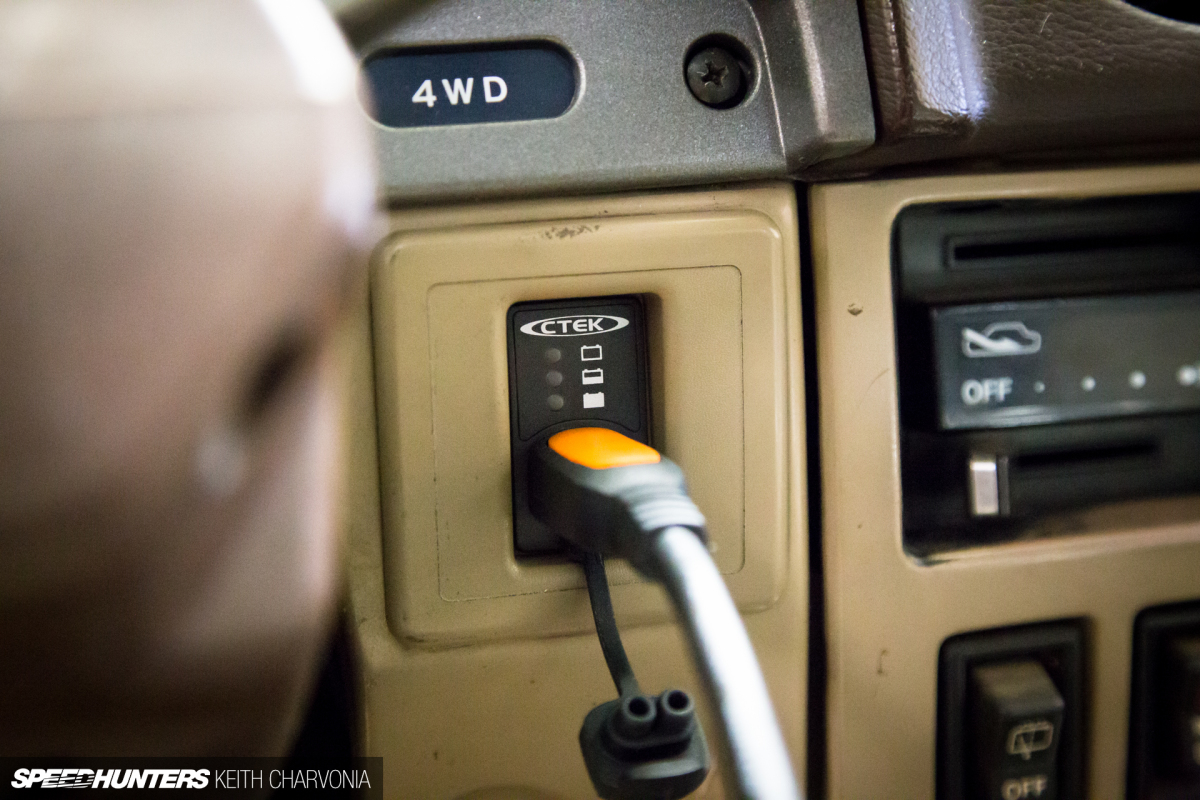
The only thing left to do before firing the engine was to top off the dual batteries with my CTEK charger. I’m still loving the in-dash charging port; the status LEDs are a super easy way to keep an eye on the voltage.
New Interior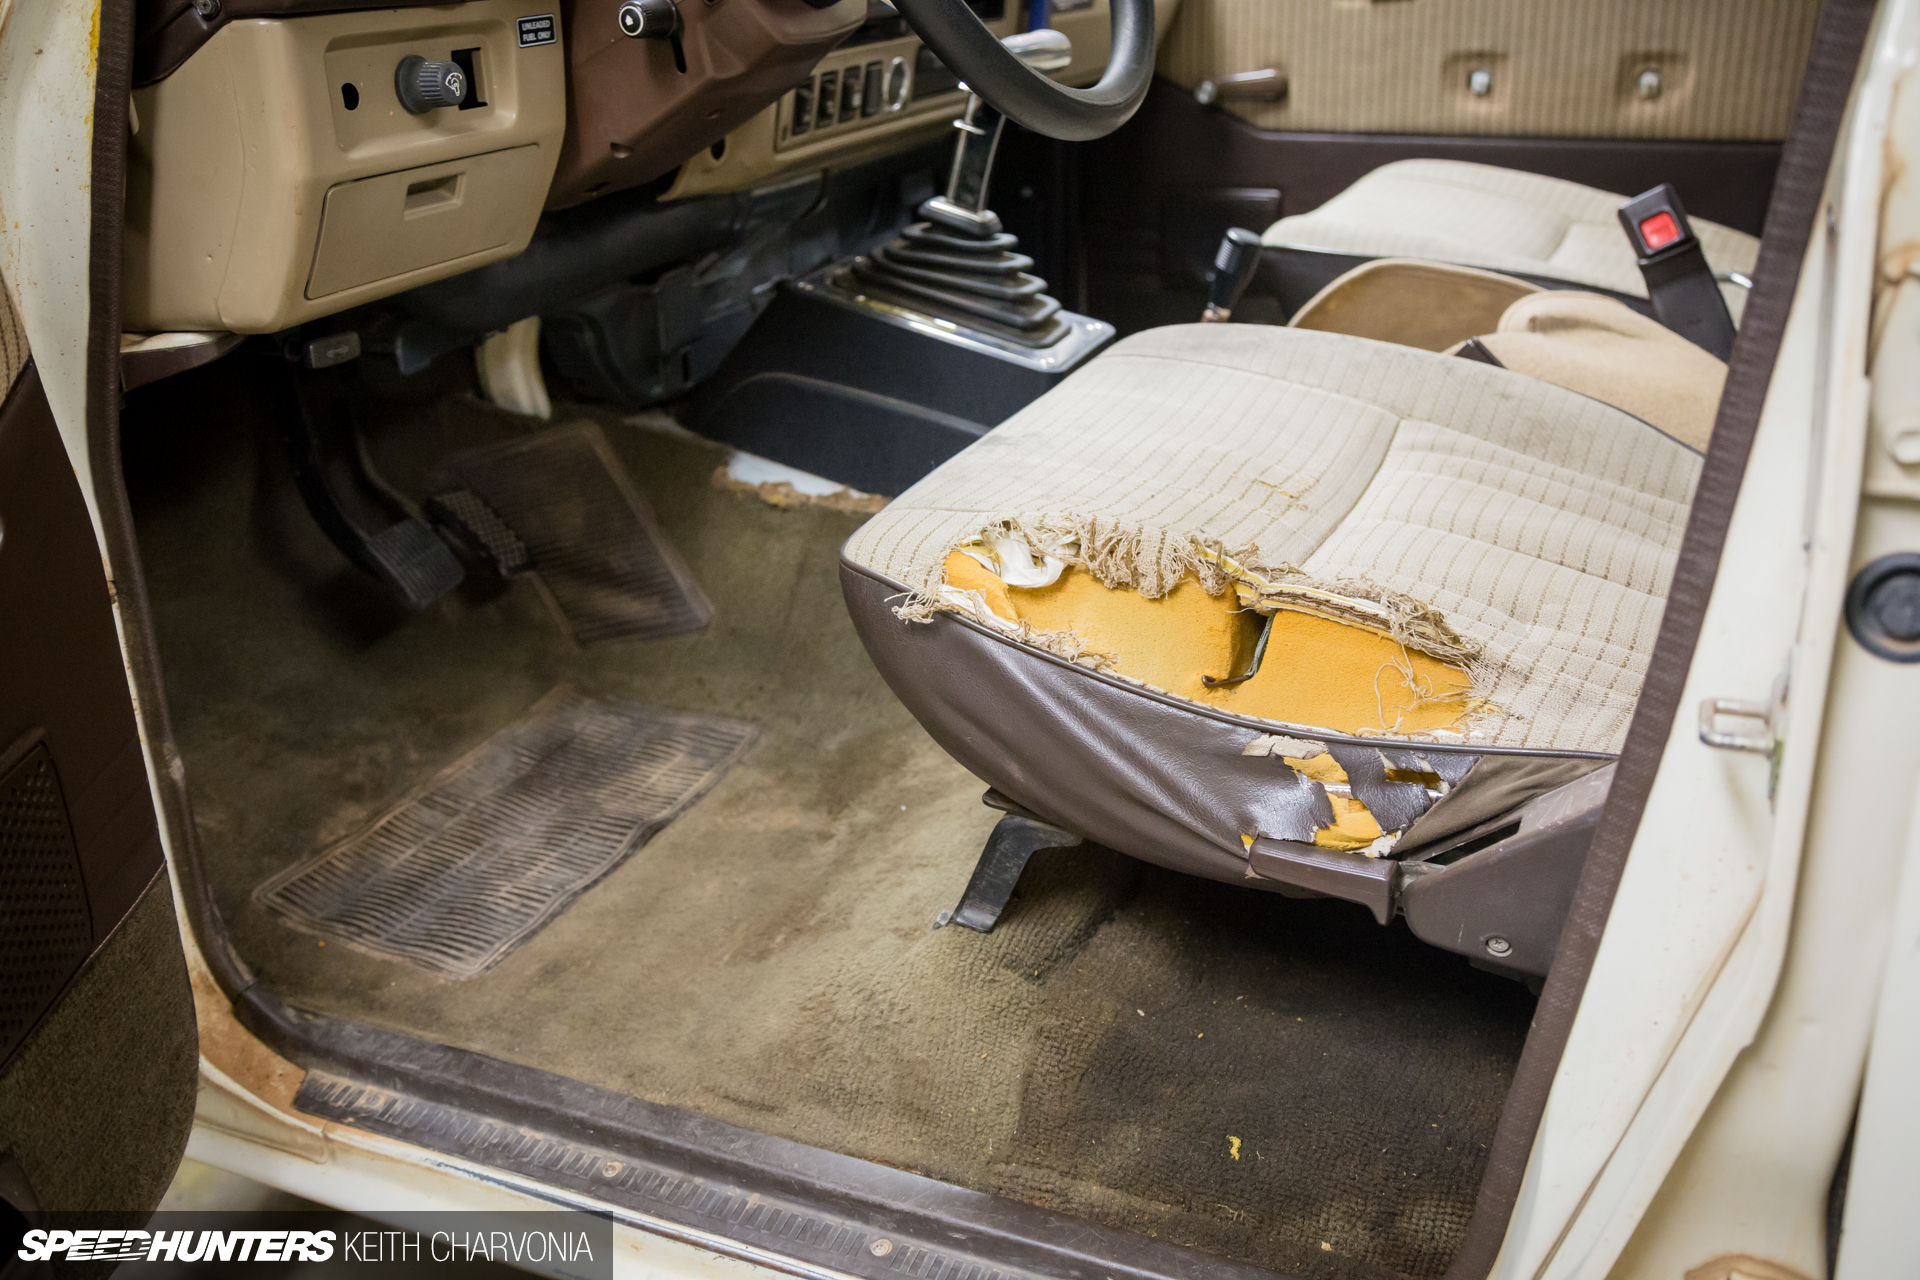
With the engine bay now complete, I turned my attention to the thrashed interior. I scored a nice set of original seat covers and door panels on eBay, and the rest would be taken care of by my favorite upholstery shop.
Lui Contreras of Country Auto Upholstery handled the interior in my Kaiser several years back, so I had zero hesitation to drop off my FJ60 and ask him to call me when it was done.

I had this Eastwood sound deadener left over from a previous project, so I threw it in the back and asked Lui to cover the entire floor before he custom tailored a new carpet set.
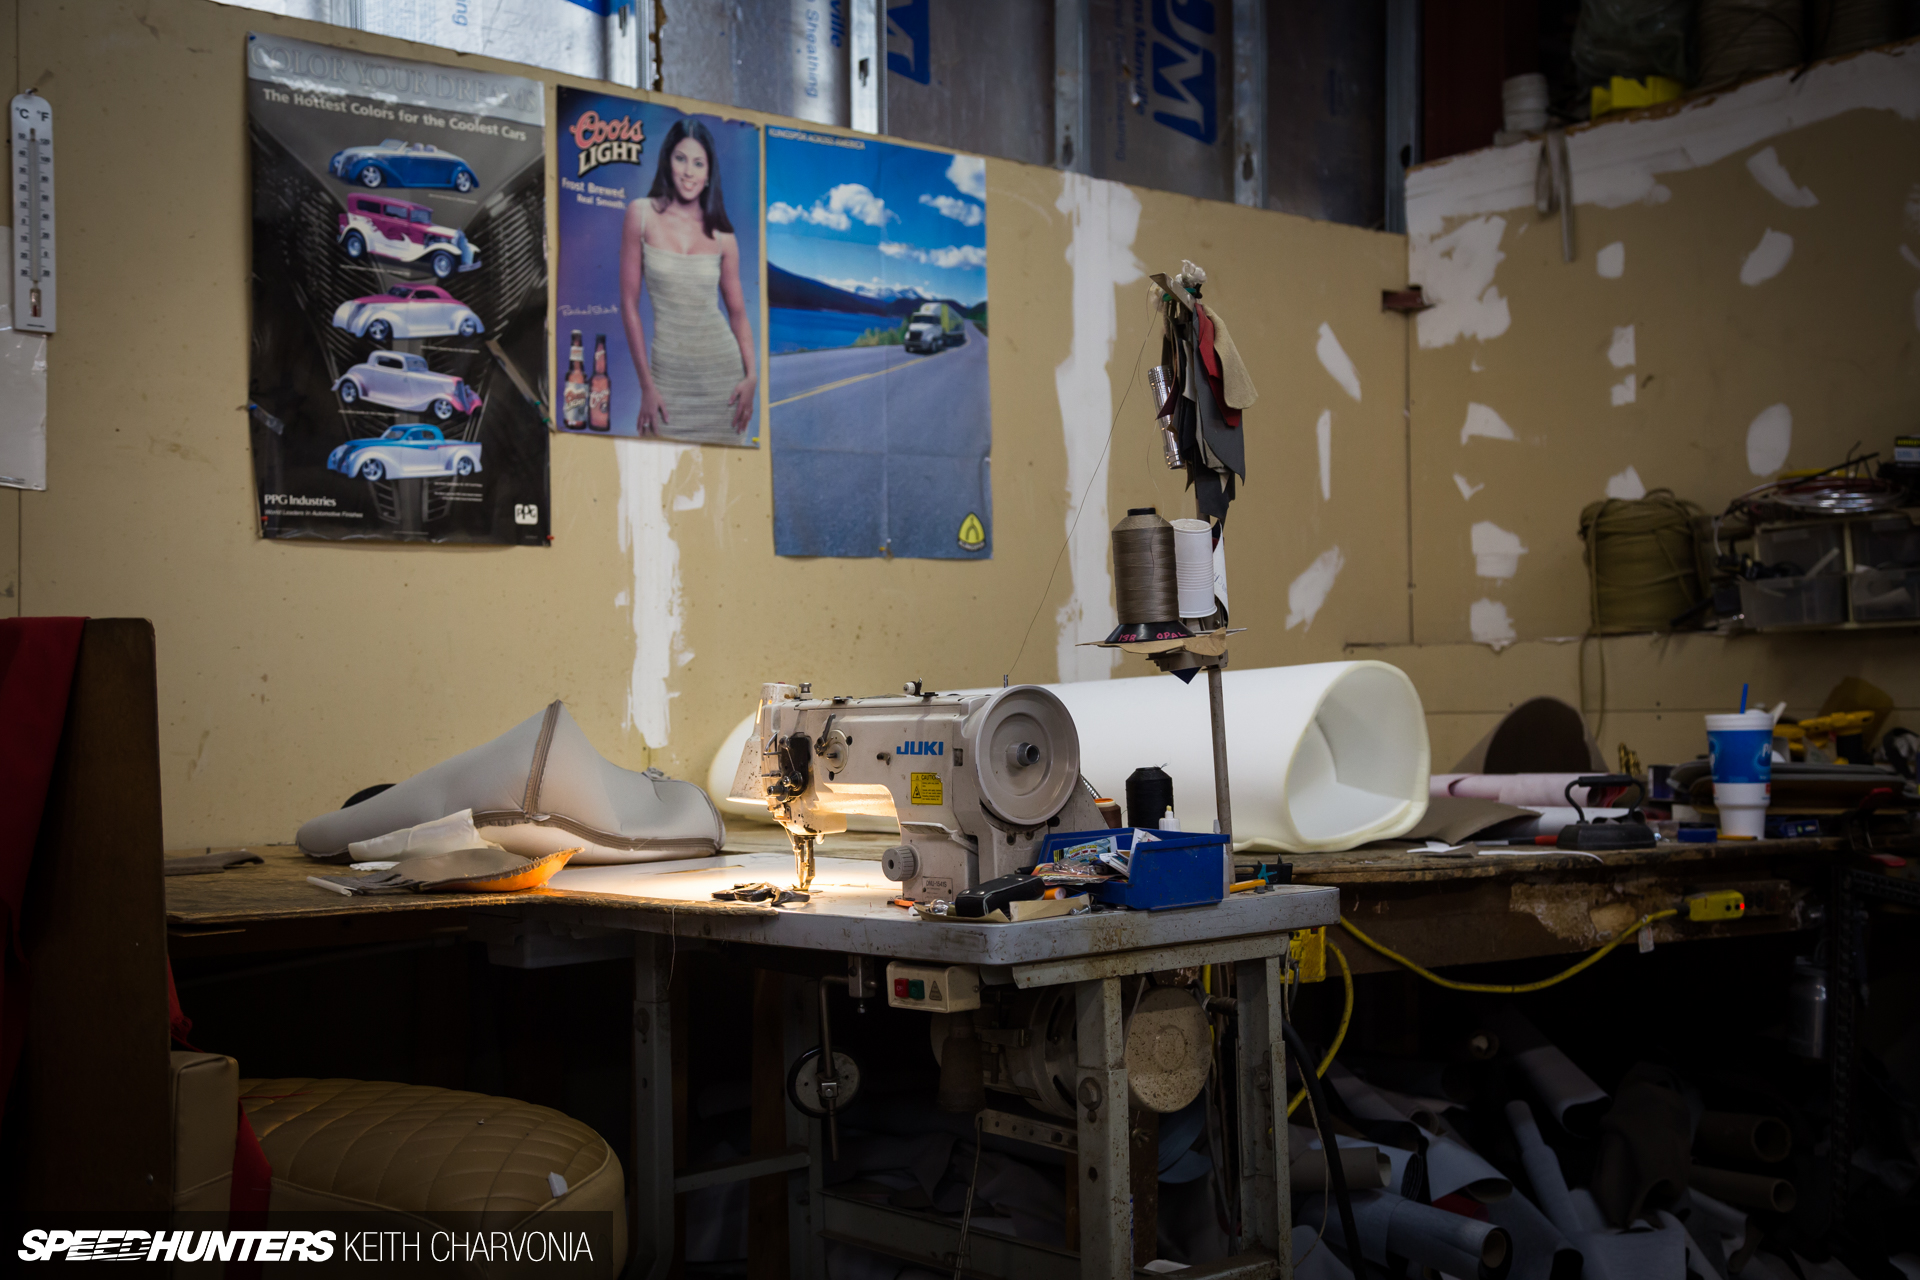
I love the vibe in a real working shop like Lui’s. He cranks out so many nice cars with that Juki sewing machine.
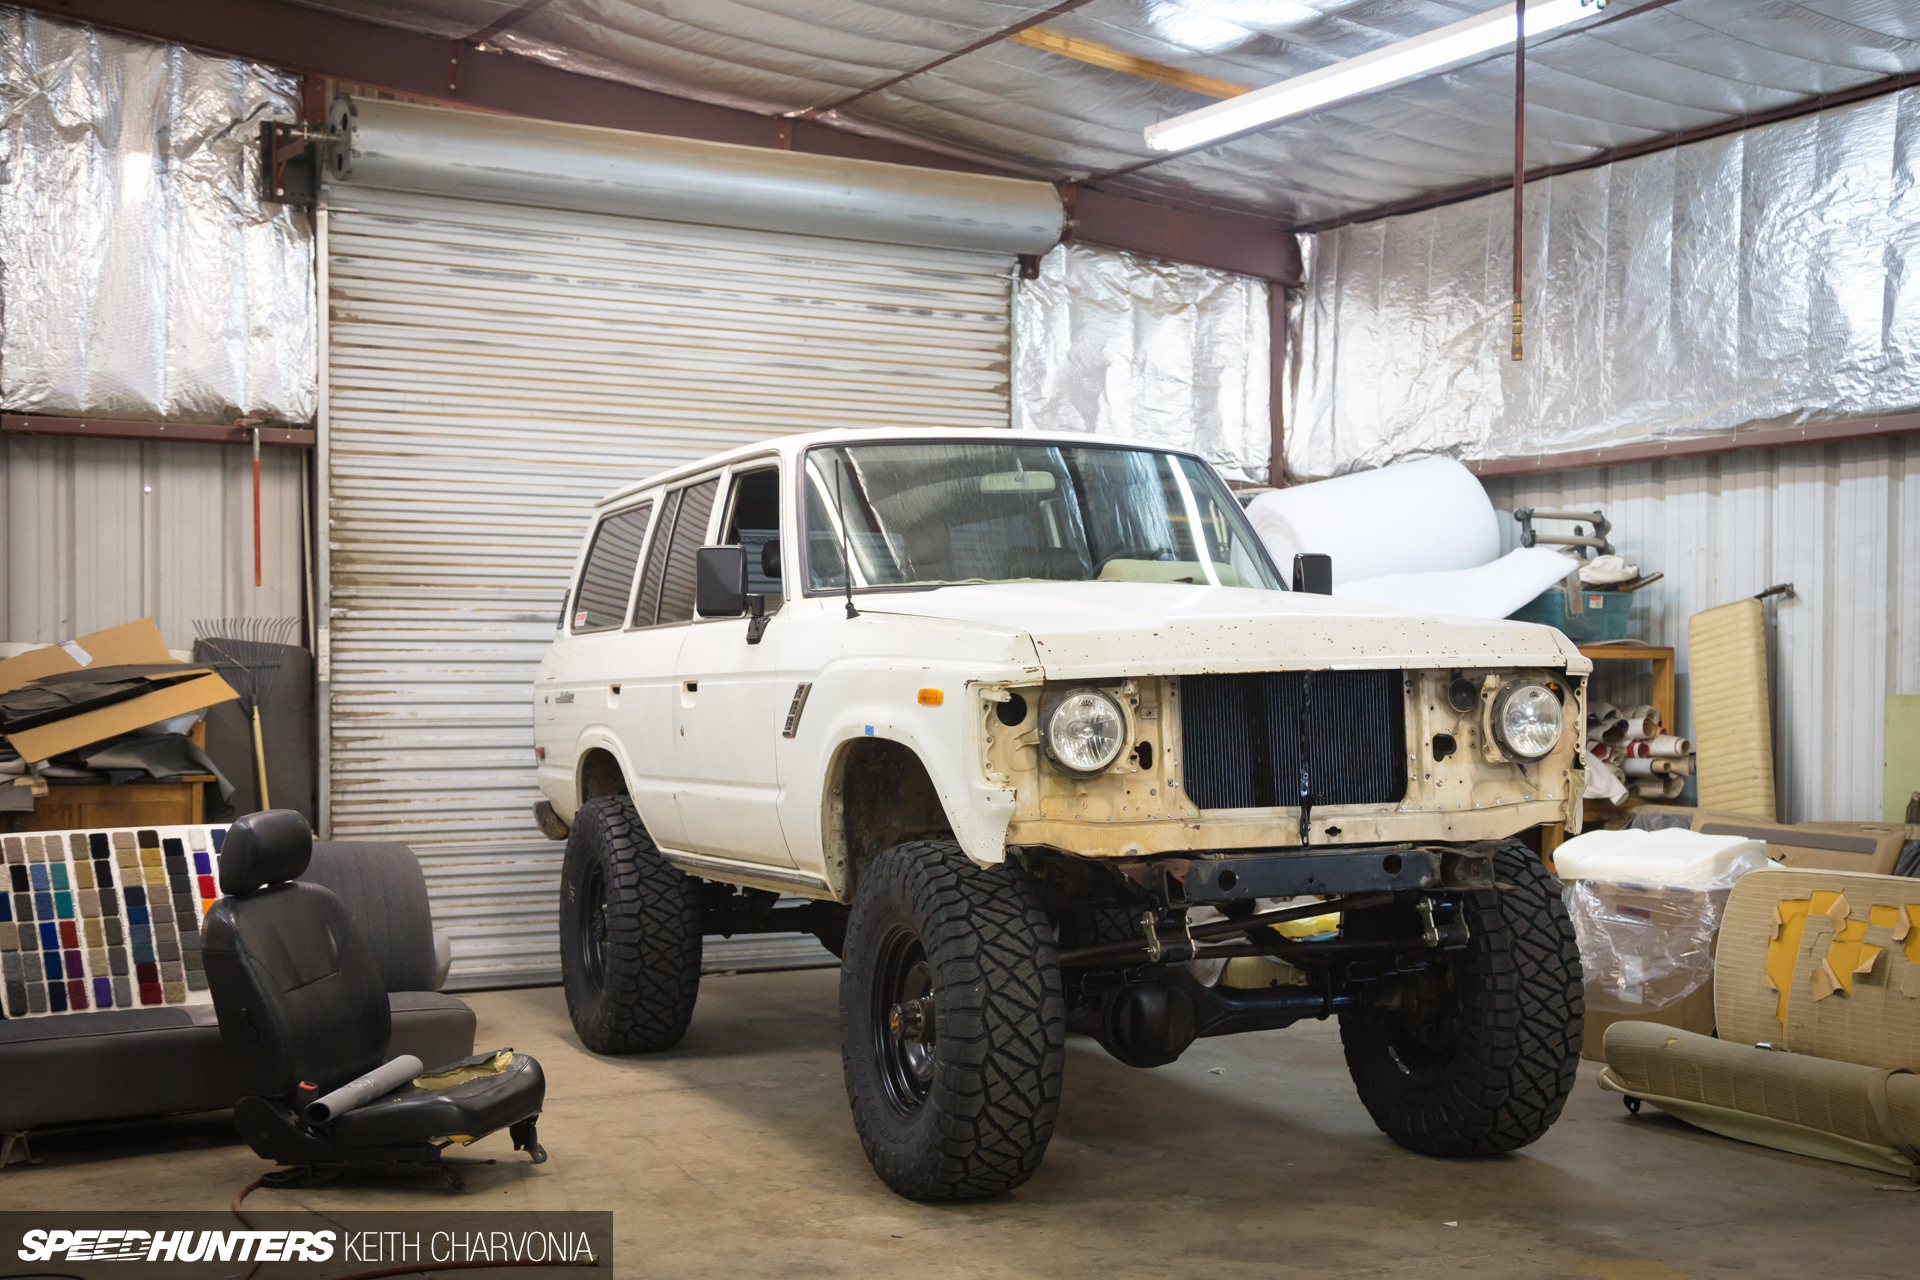
I took one last look at the Trailhunter and headed home to wait for Lui’s call.
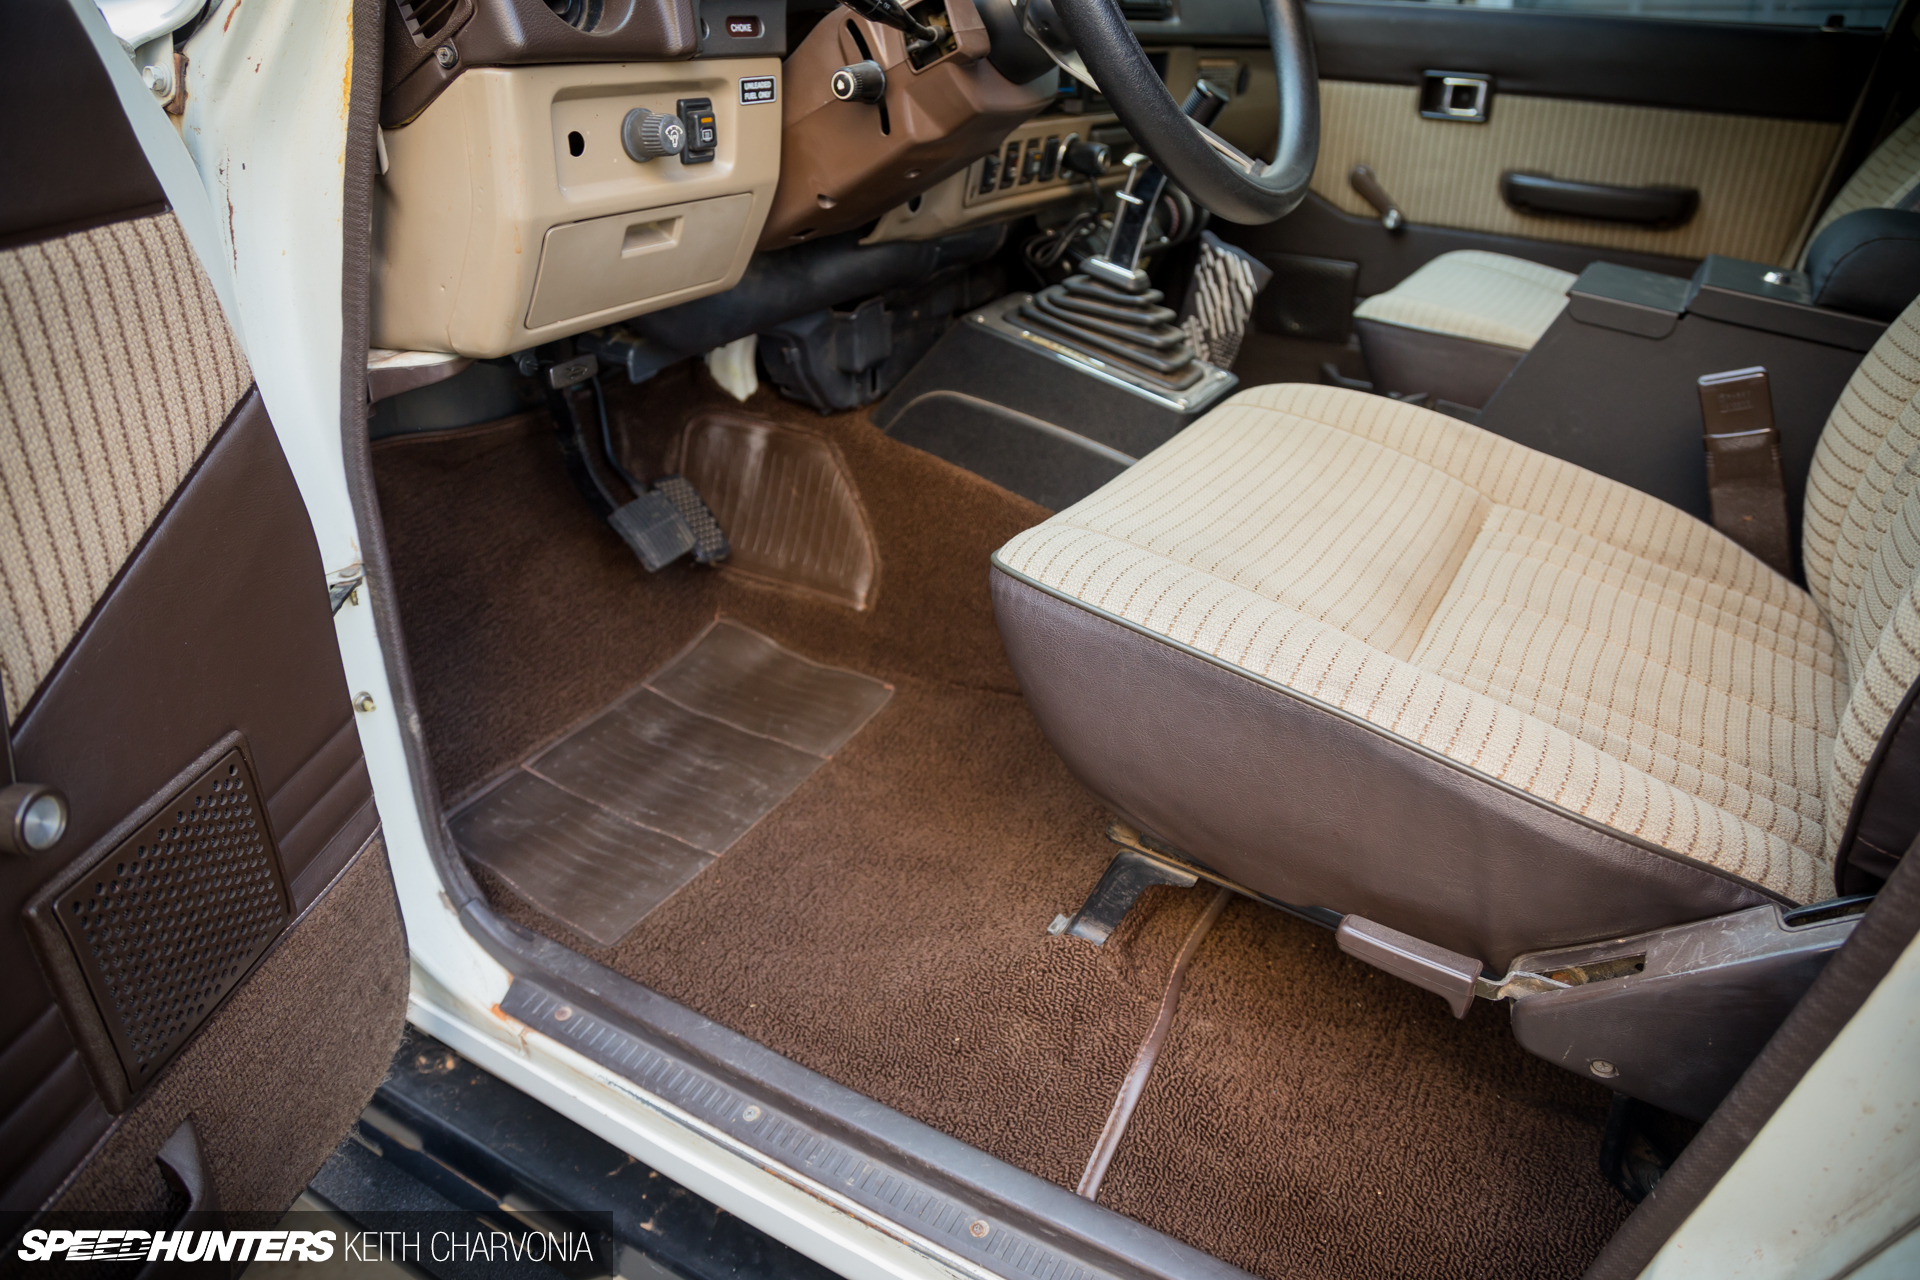
A week later, my interior was done. Country Auto Upholstery had installed custom carpets, plus the original, un-torn seat covers I brought, and I would handle the rest from there.

Along with the seat covers, I picked up a much nicer set of door panels from the same guy on eBay.
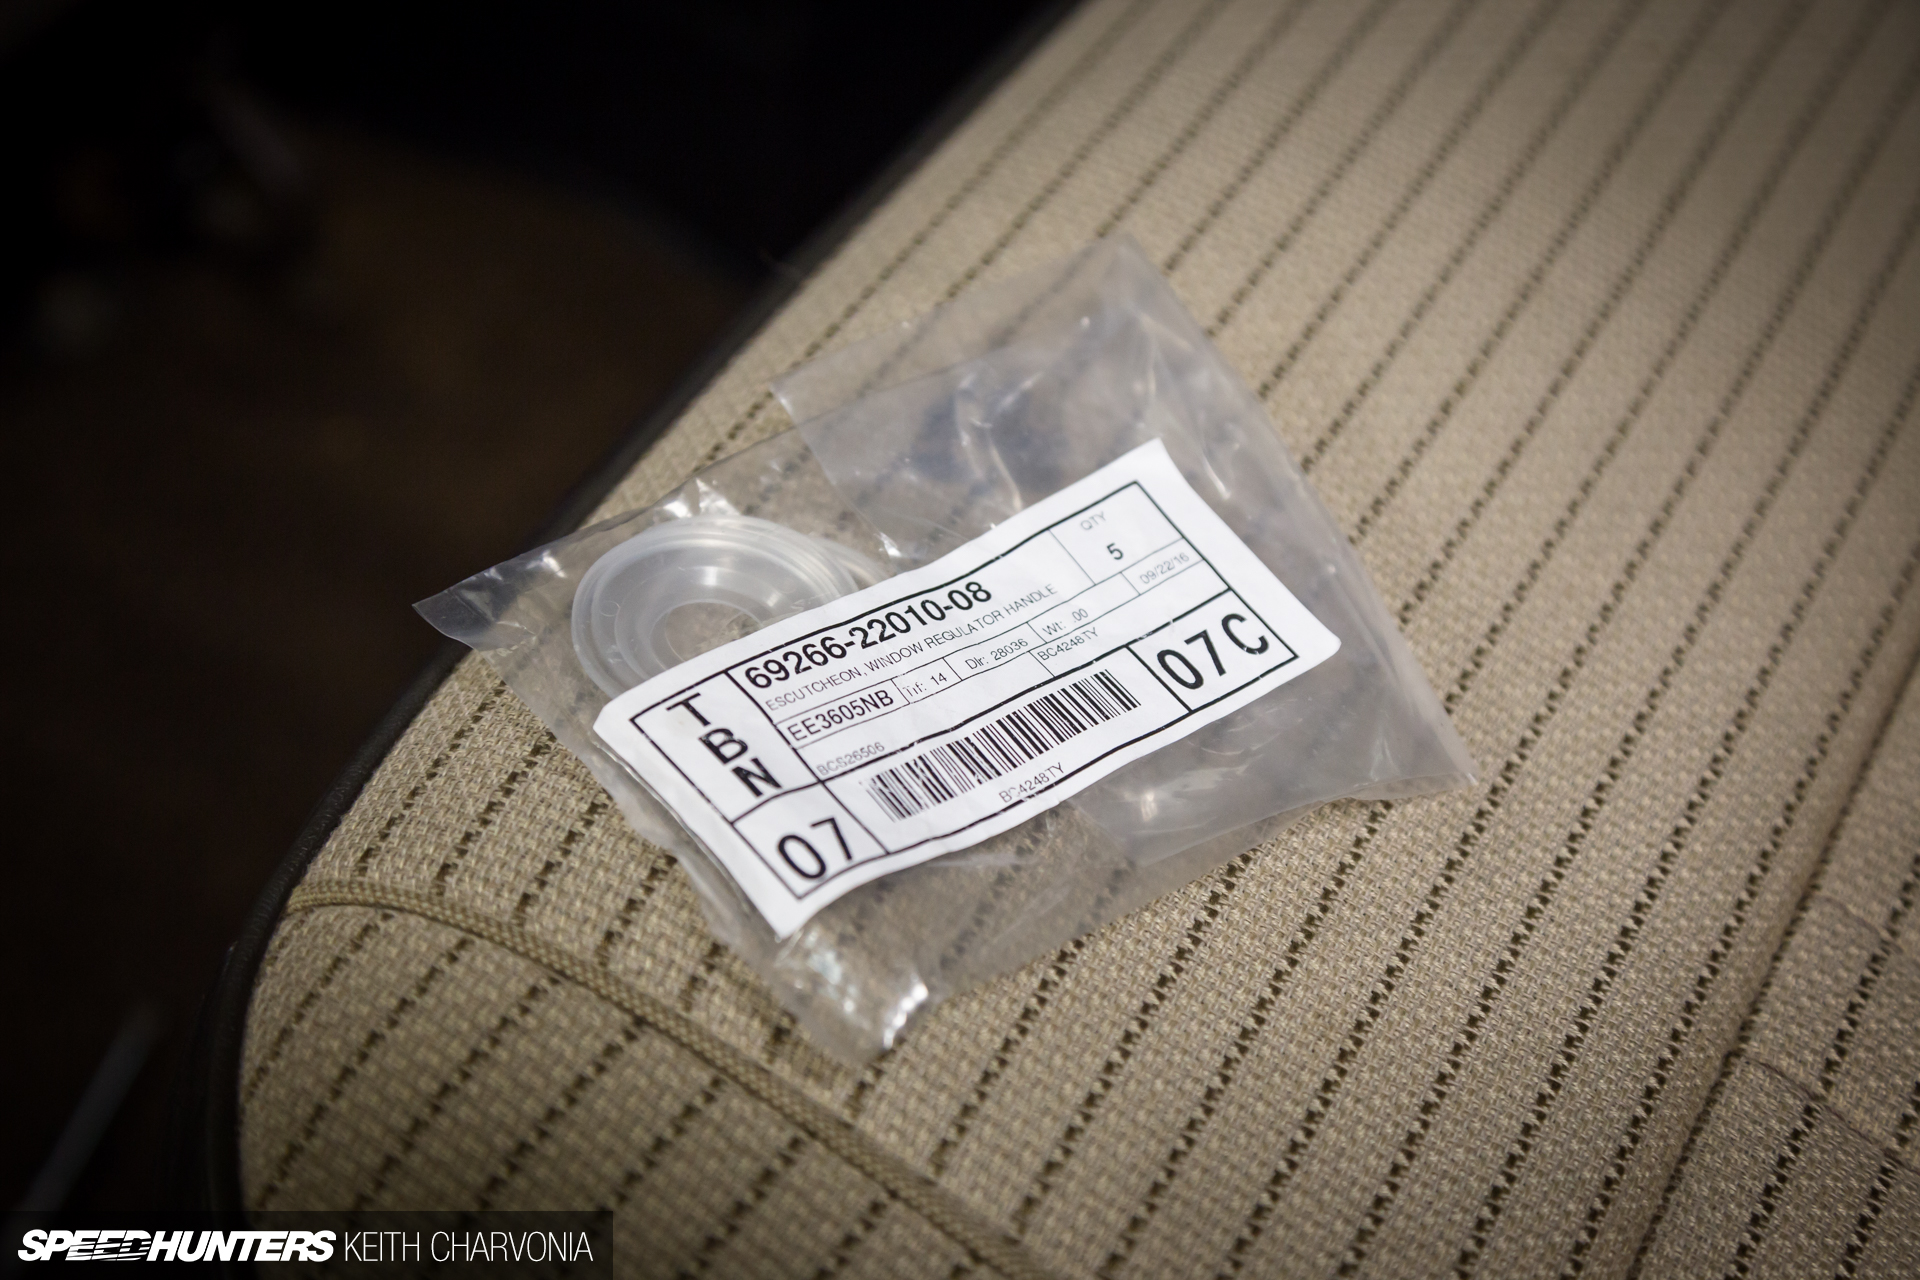
You can still order the correct escutcheons for the window cranks direct from Toyota, so why not install a fresh set?
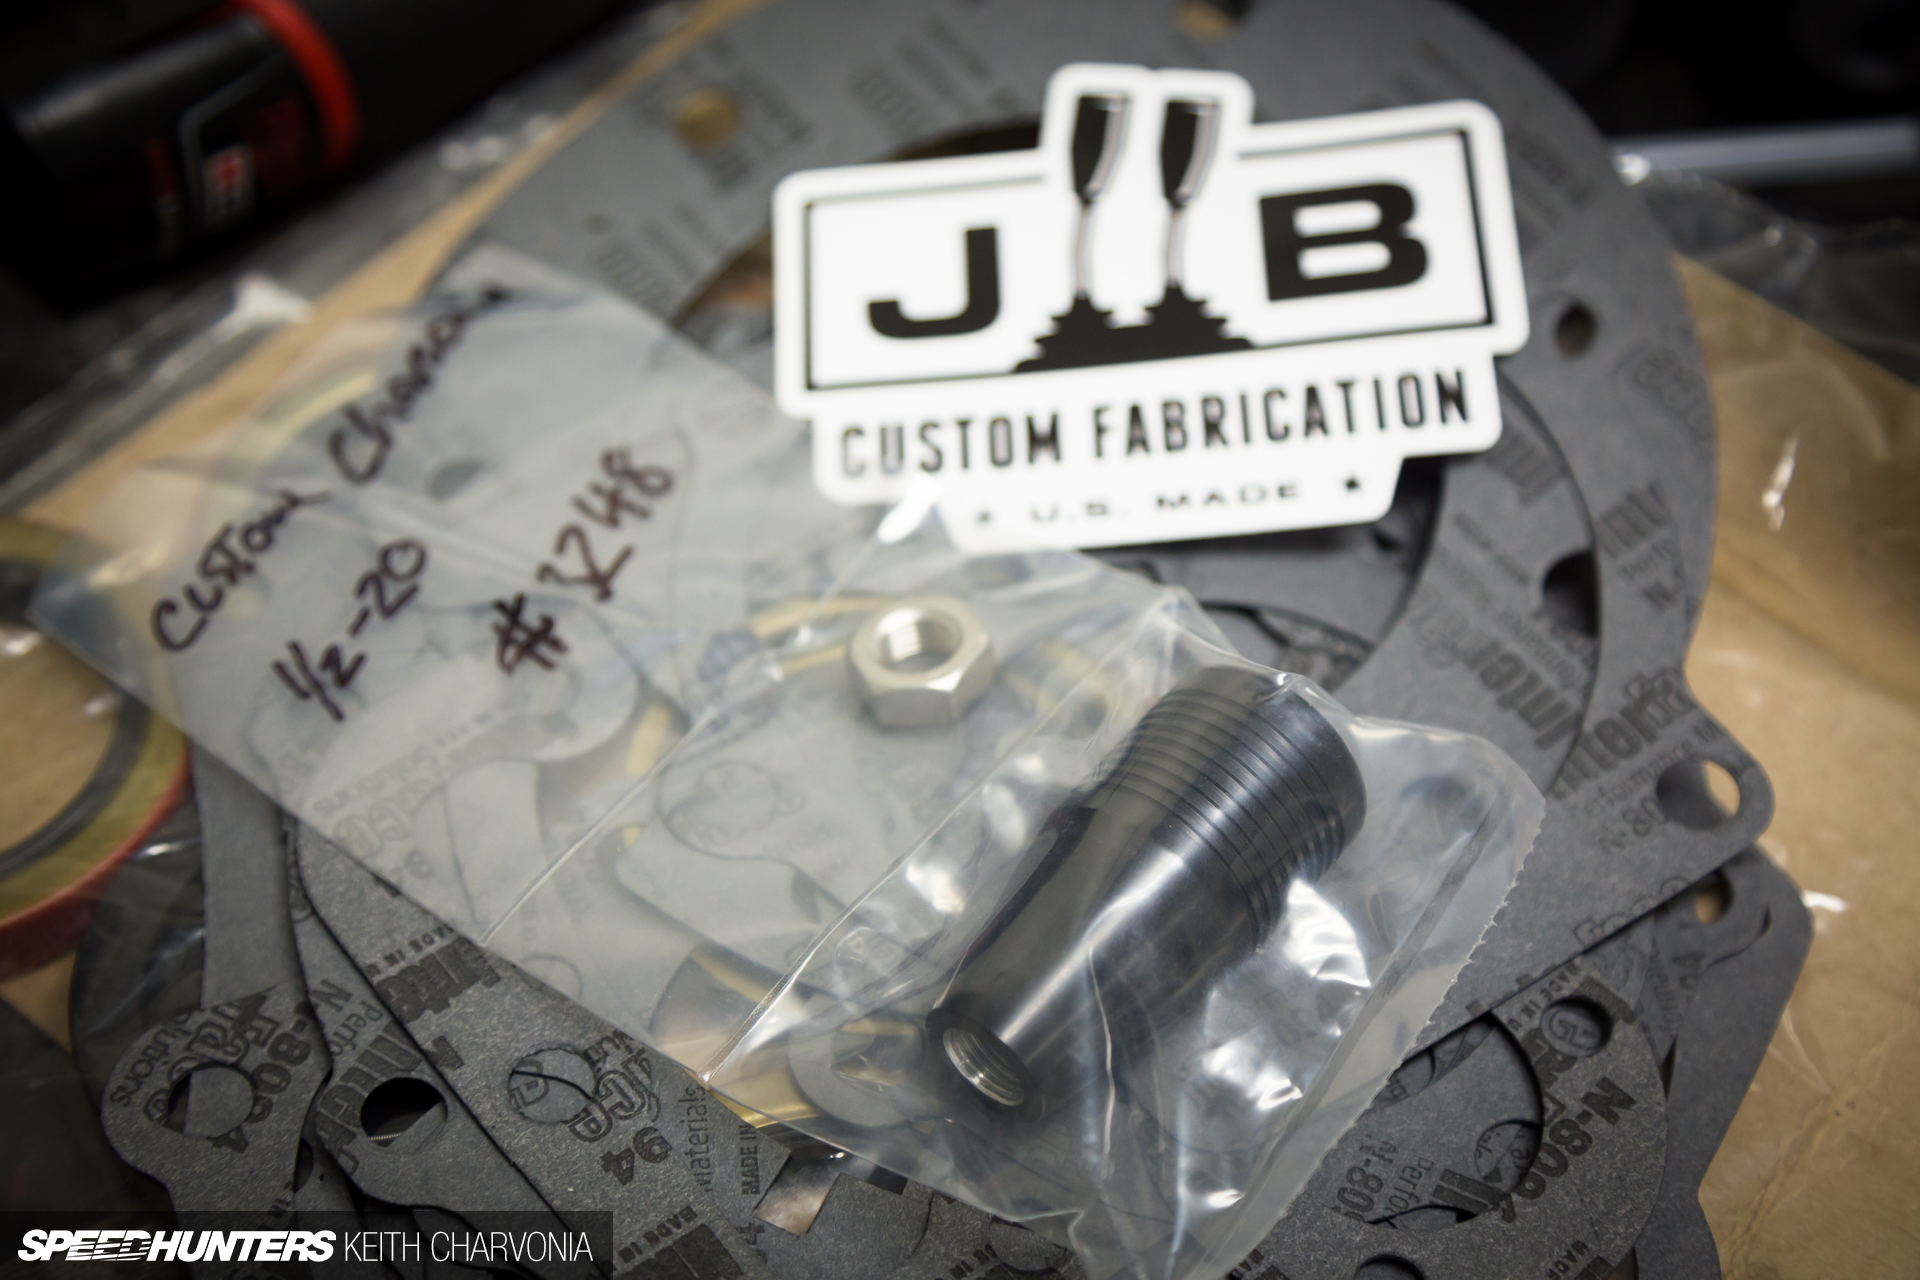
I already installed a black anodized billet shift knob on the t-case shifter, but I wanted one to match for the automatic shifter too. JB Fabrication quickly machined a matching knob with the correct thread pitch for my TH400’s shifter.
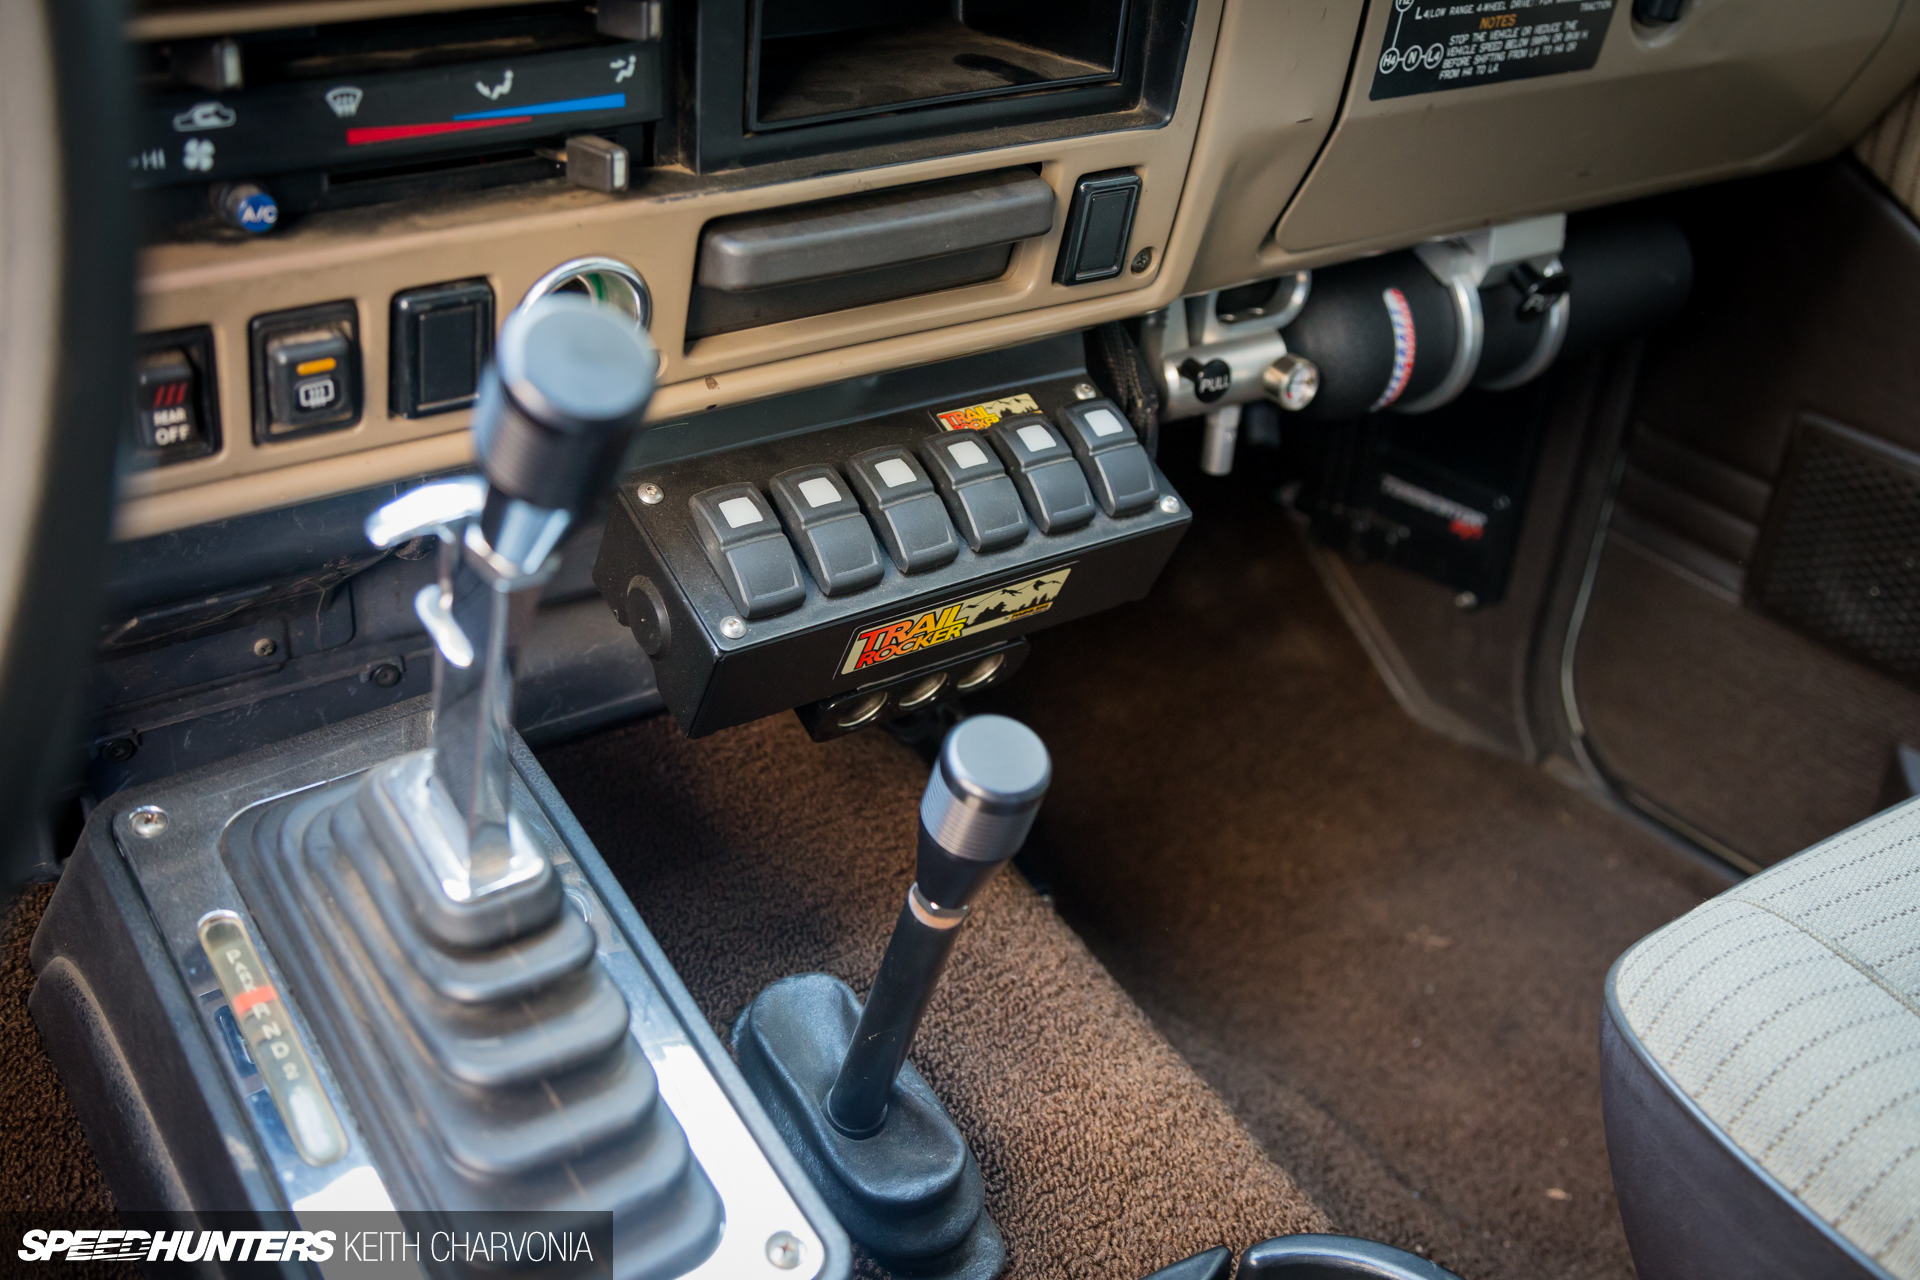
I mounted the Painless Trail Rocker switch panel and spun on the new JB Fabrication shift knobs.
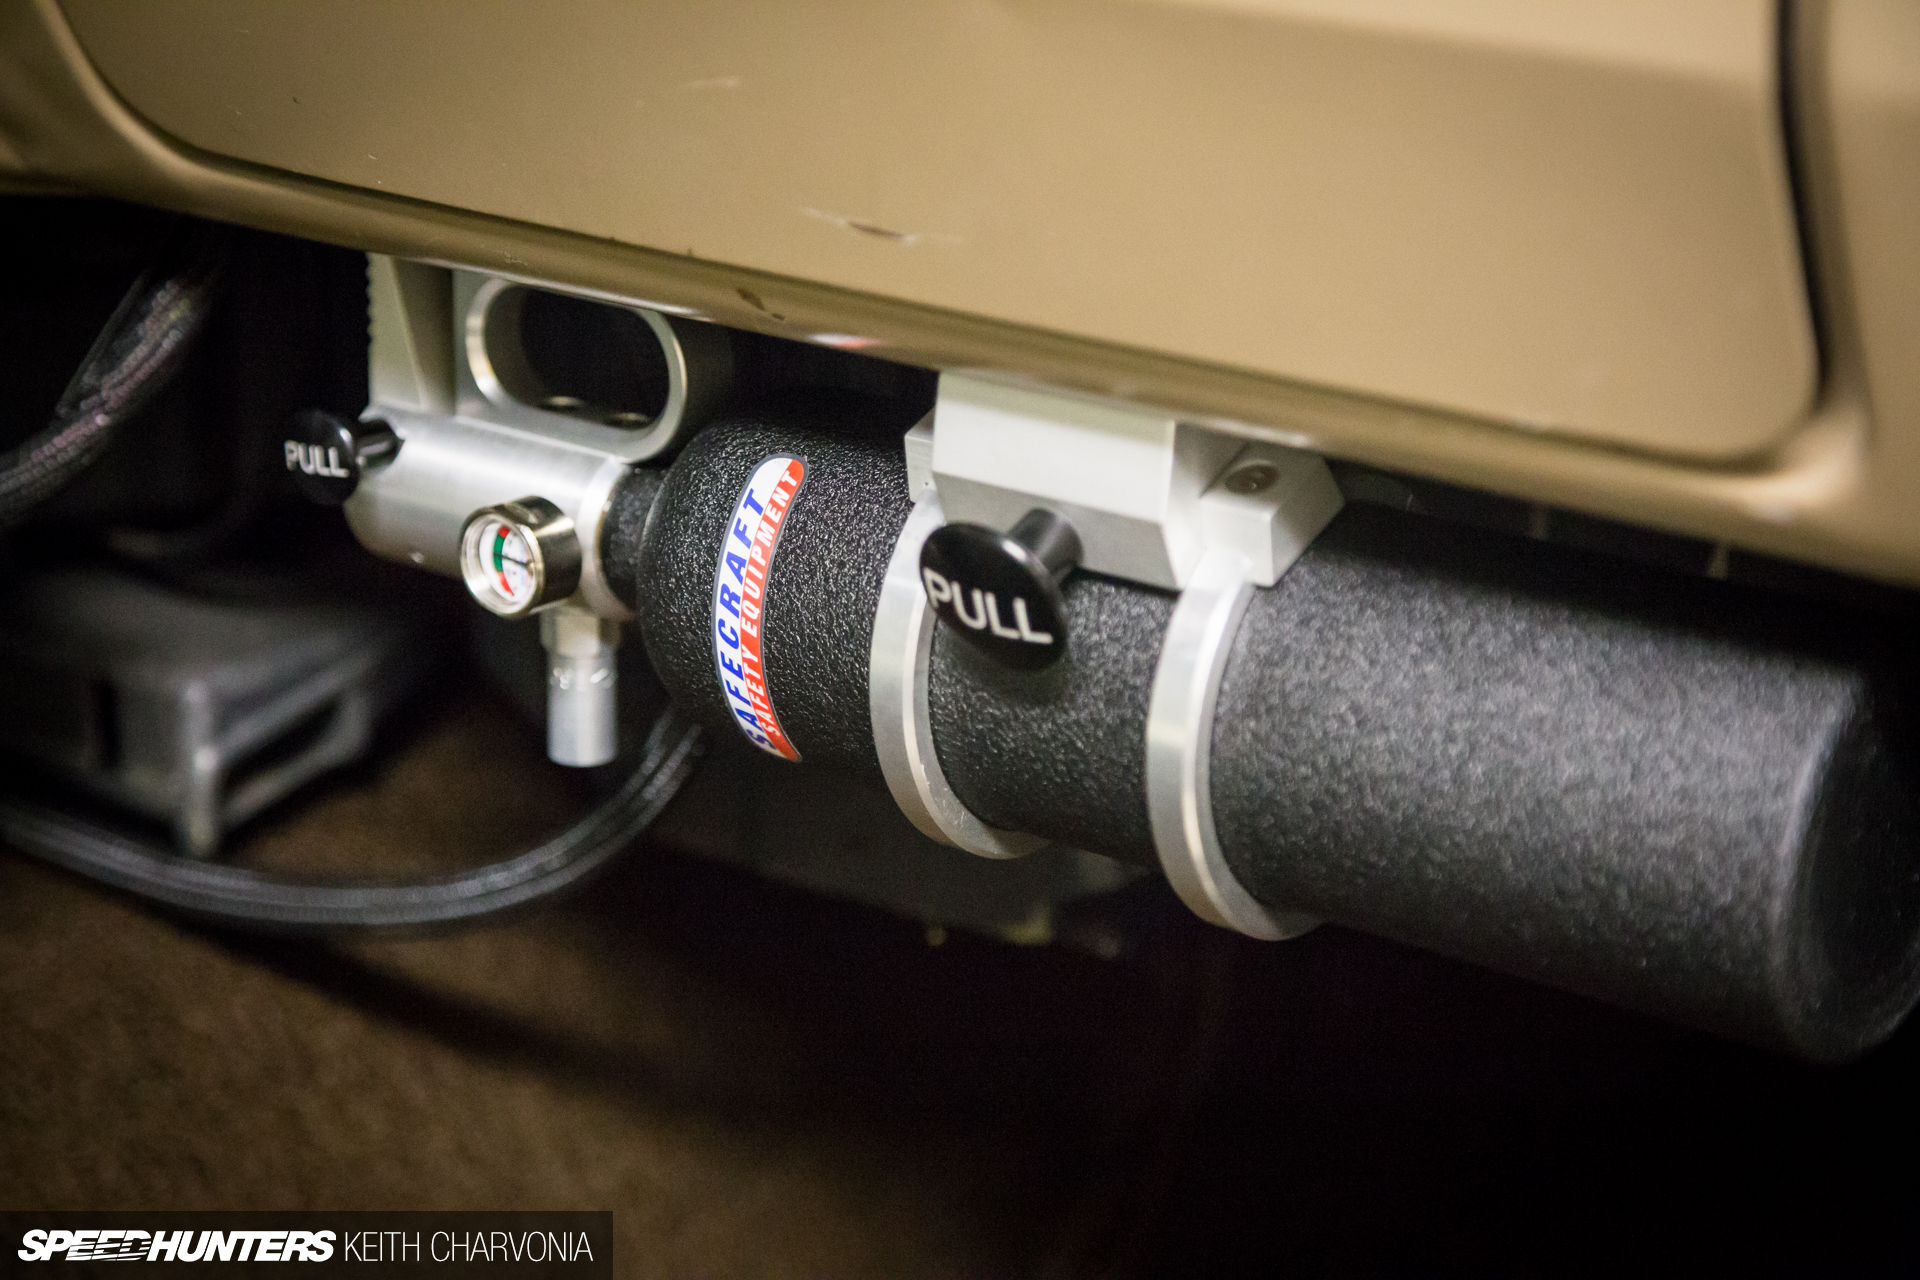
Next to the Trail Rocker switches I found the perfect place to install a Safecraft fire extinguisher. I went with the tough wrinkle black powdercoat finish, but hopefully I’ll never have to use it, and it will just be a nice accessory that’s on stand-by.
The Last Of The Dirty Work
So far we’ve cleaned up the engine and the interior, but the suspension and frame of the Trailhunter were still a muddy, greasy mess. I started out by cutting off the u-bolt threads that were too long before pulling all the leaf springs out for a refresh.
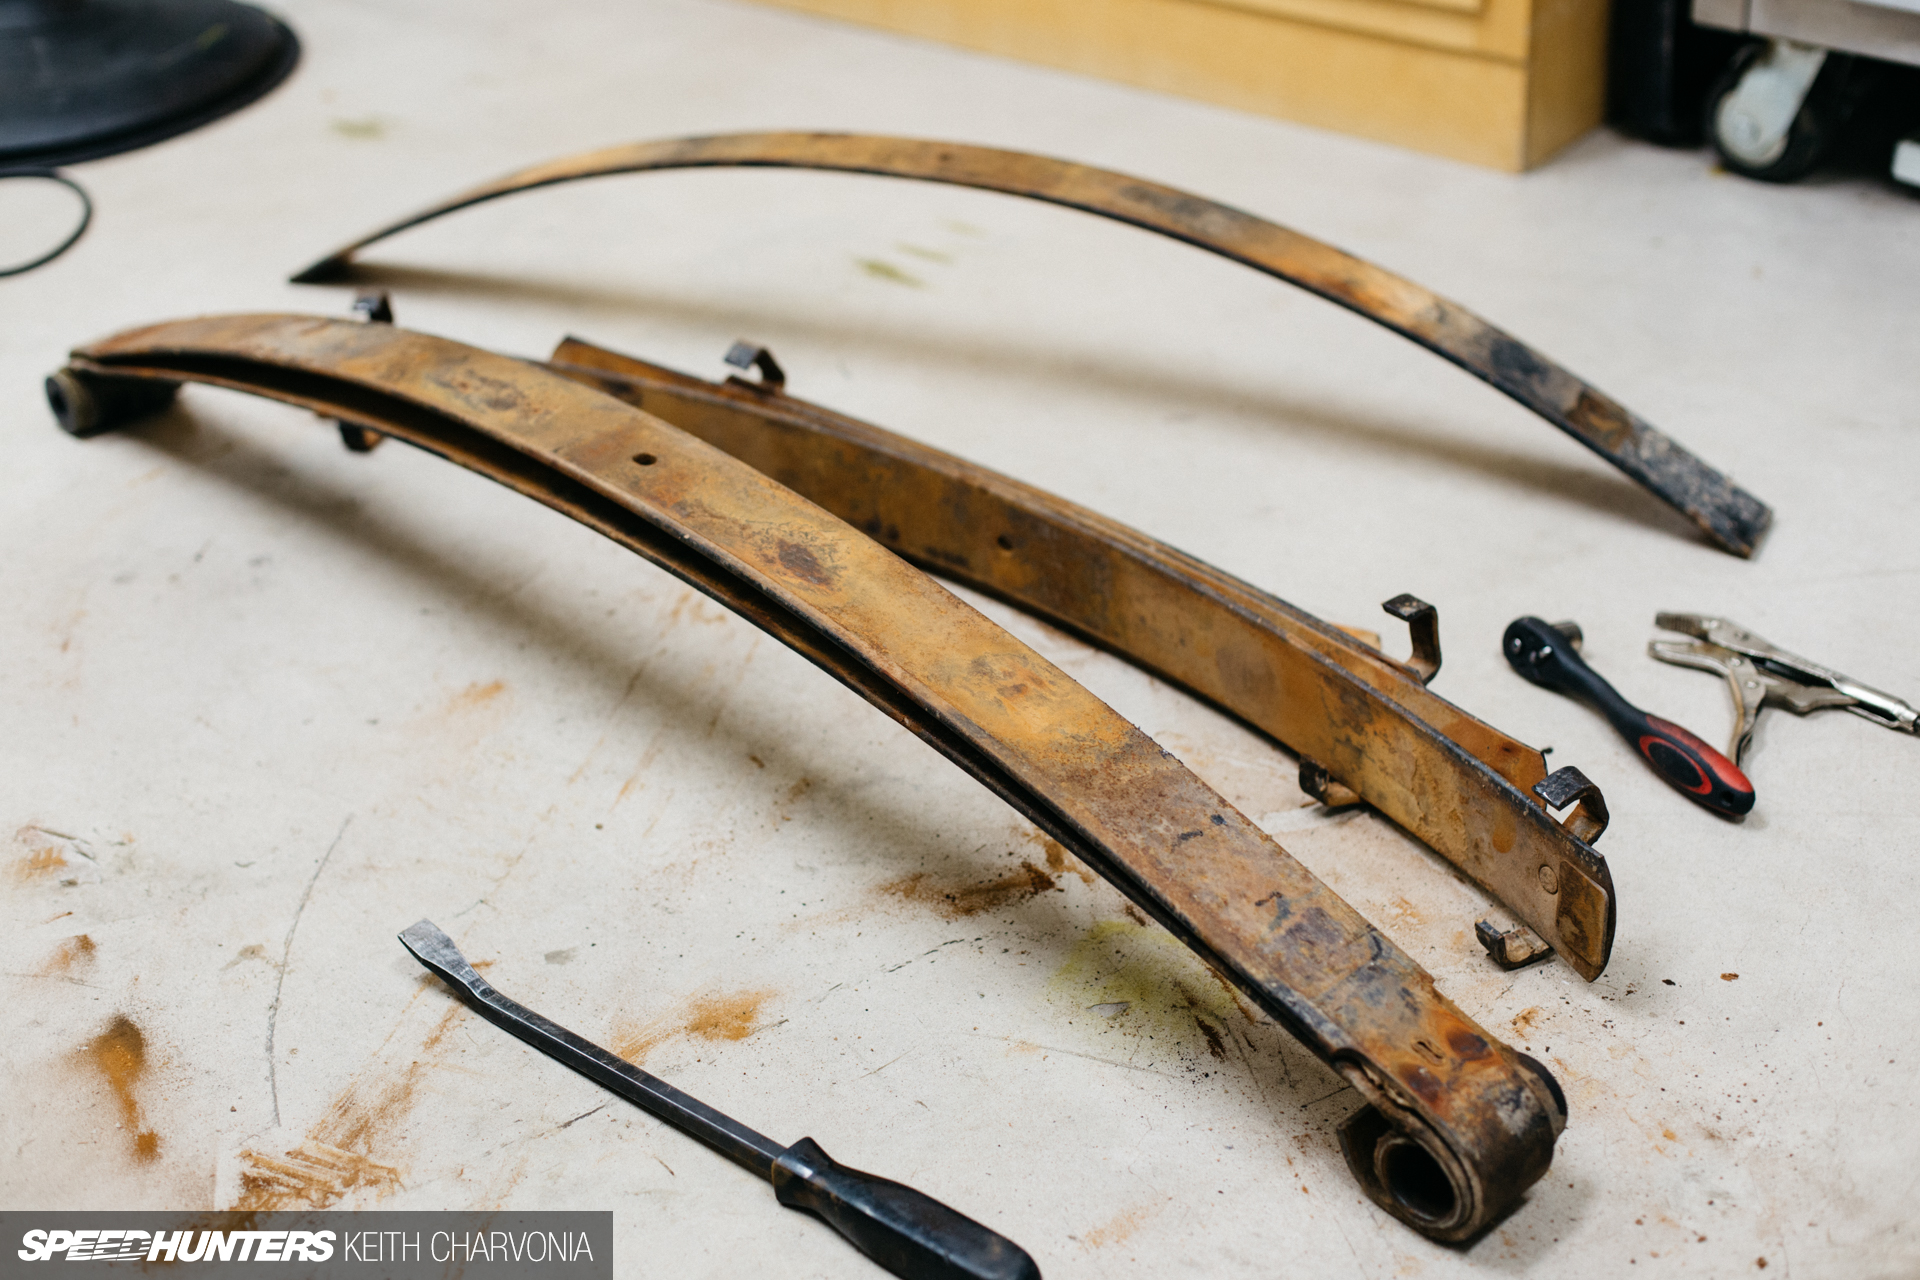
After unclamping each pack I hit all the leaves with a grinder to remove the dirt and rust.
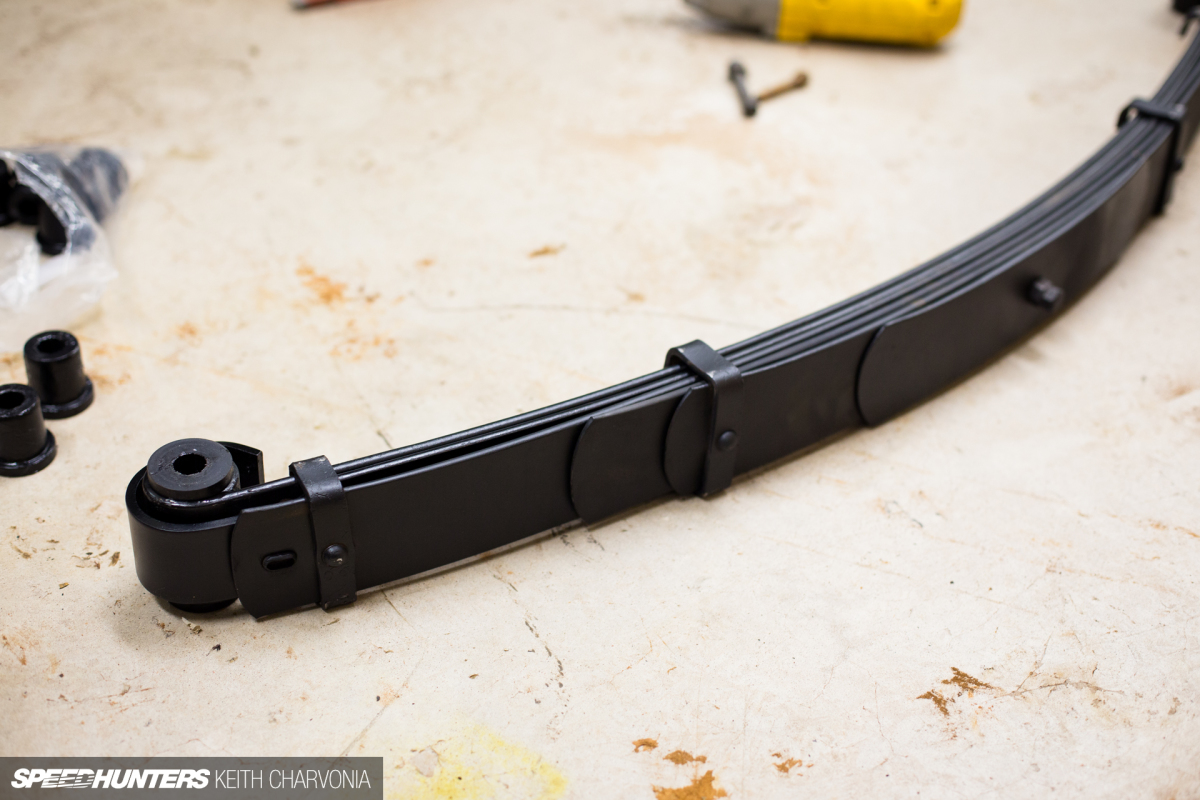

A quick coat of black spray paint and some new urethane bushings had them looking like new again.
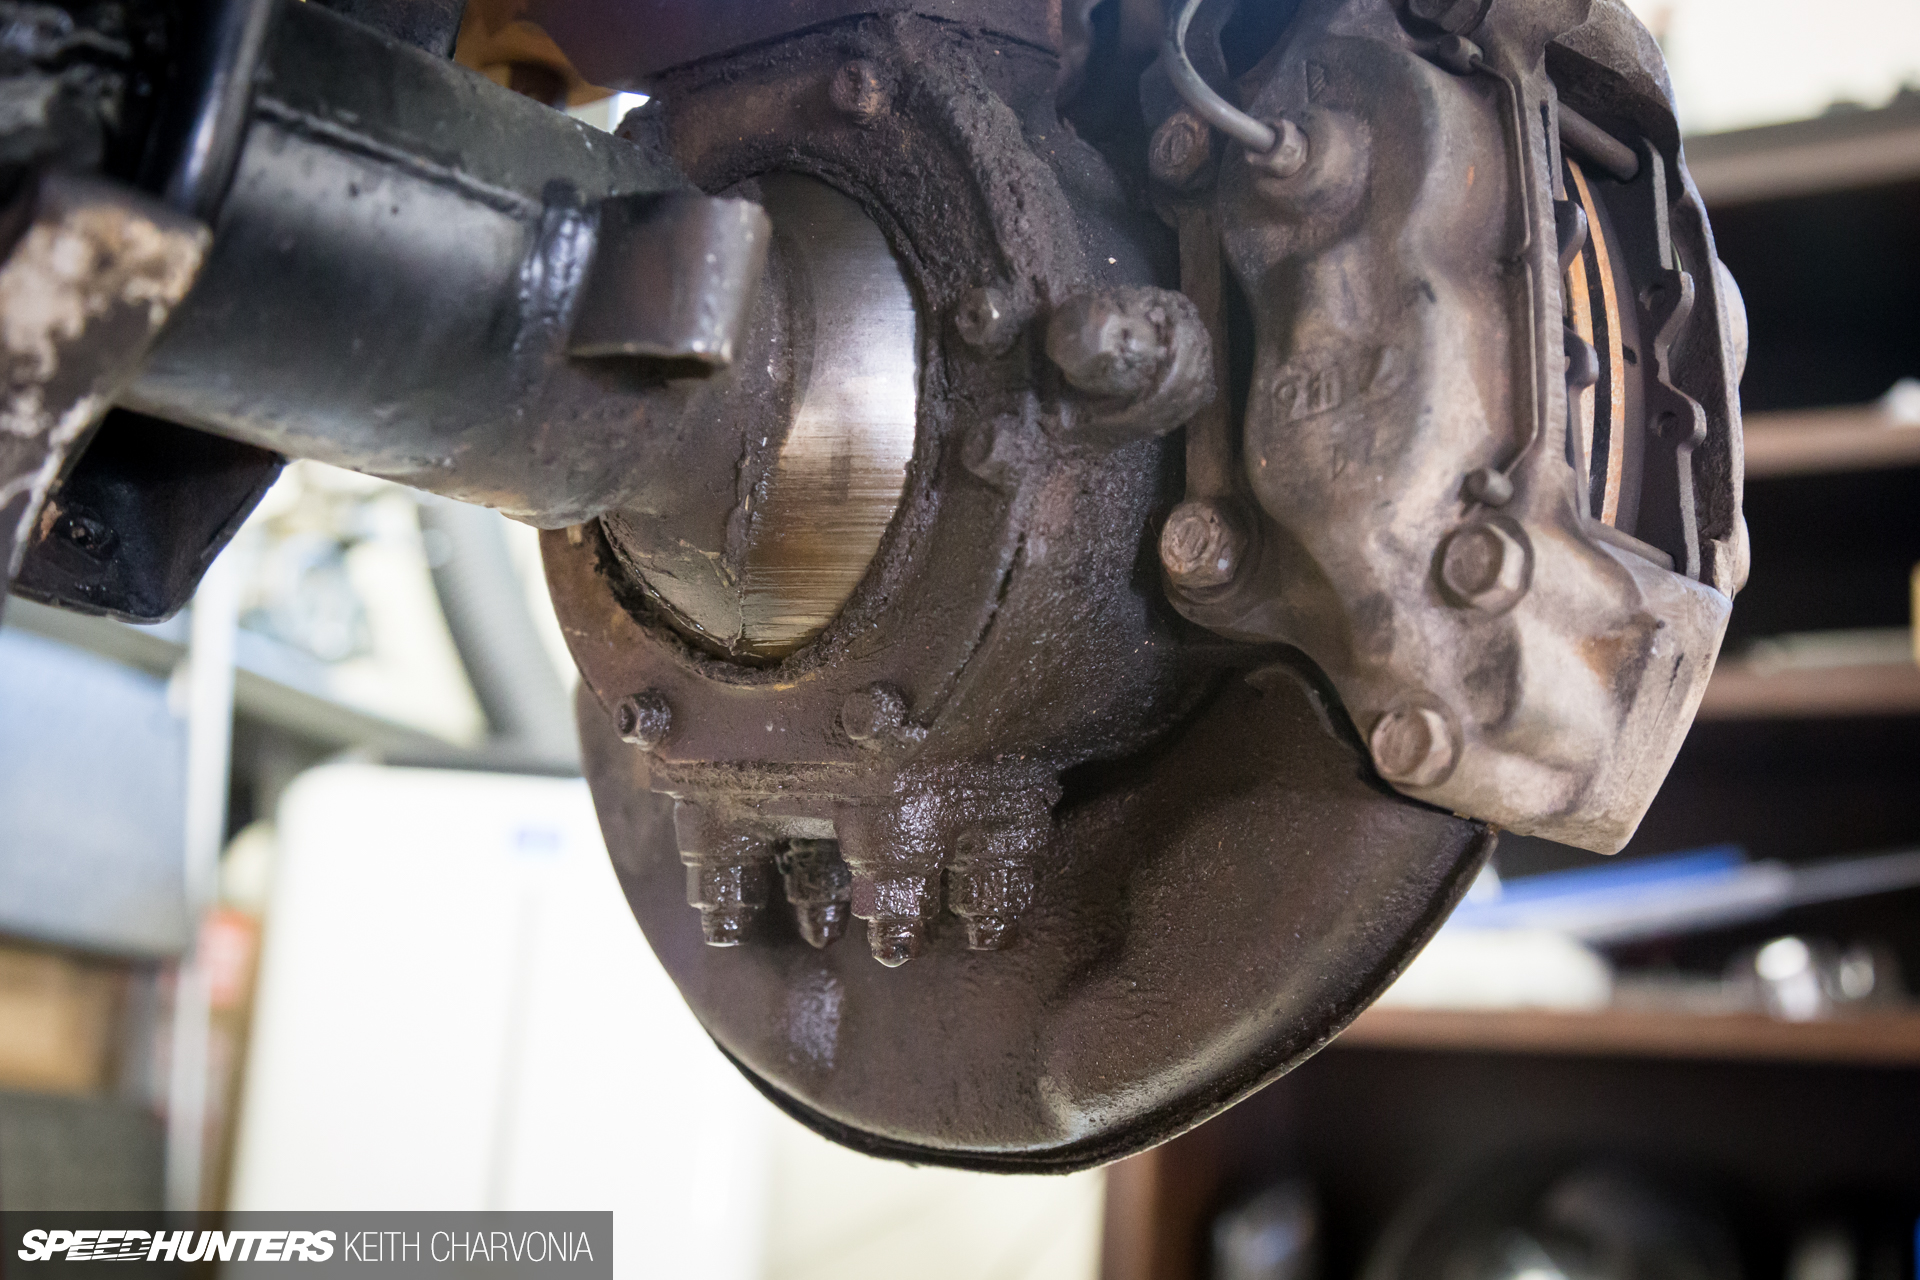
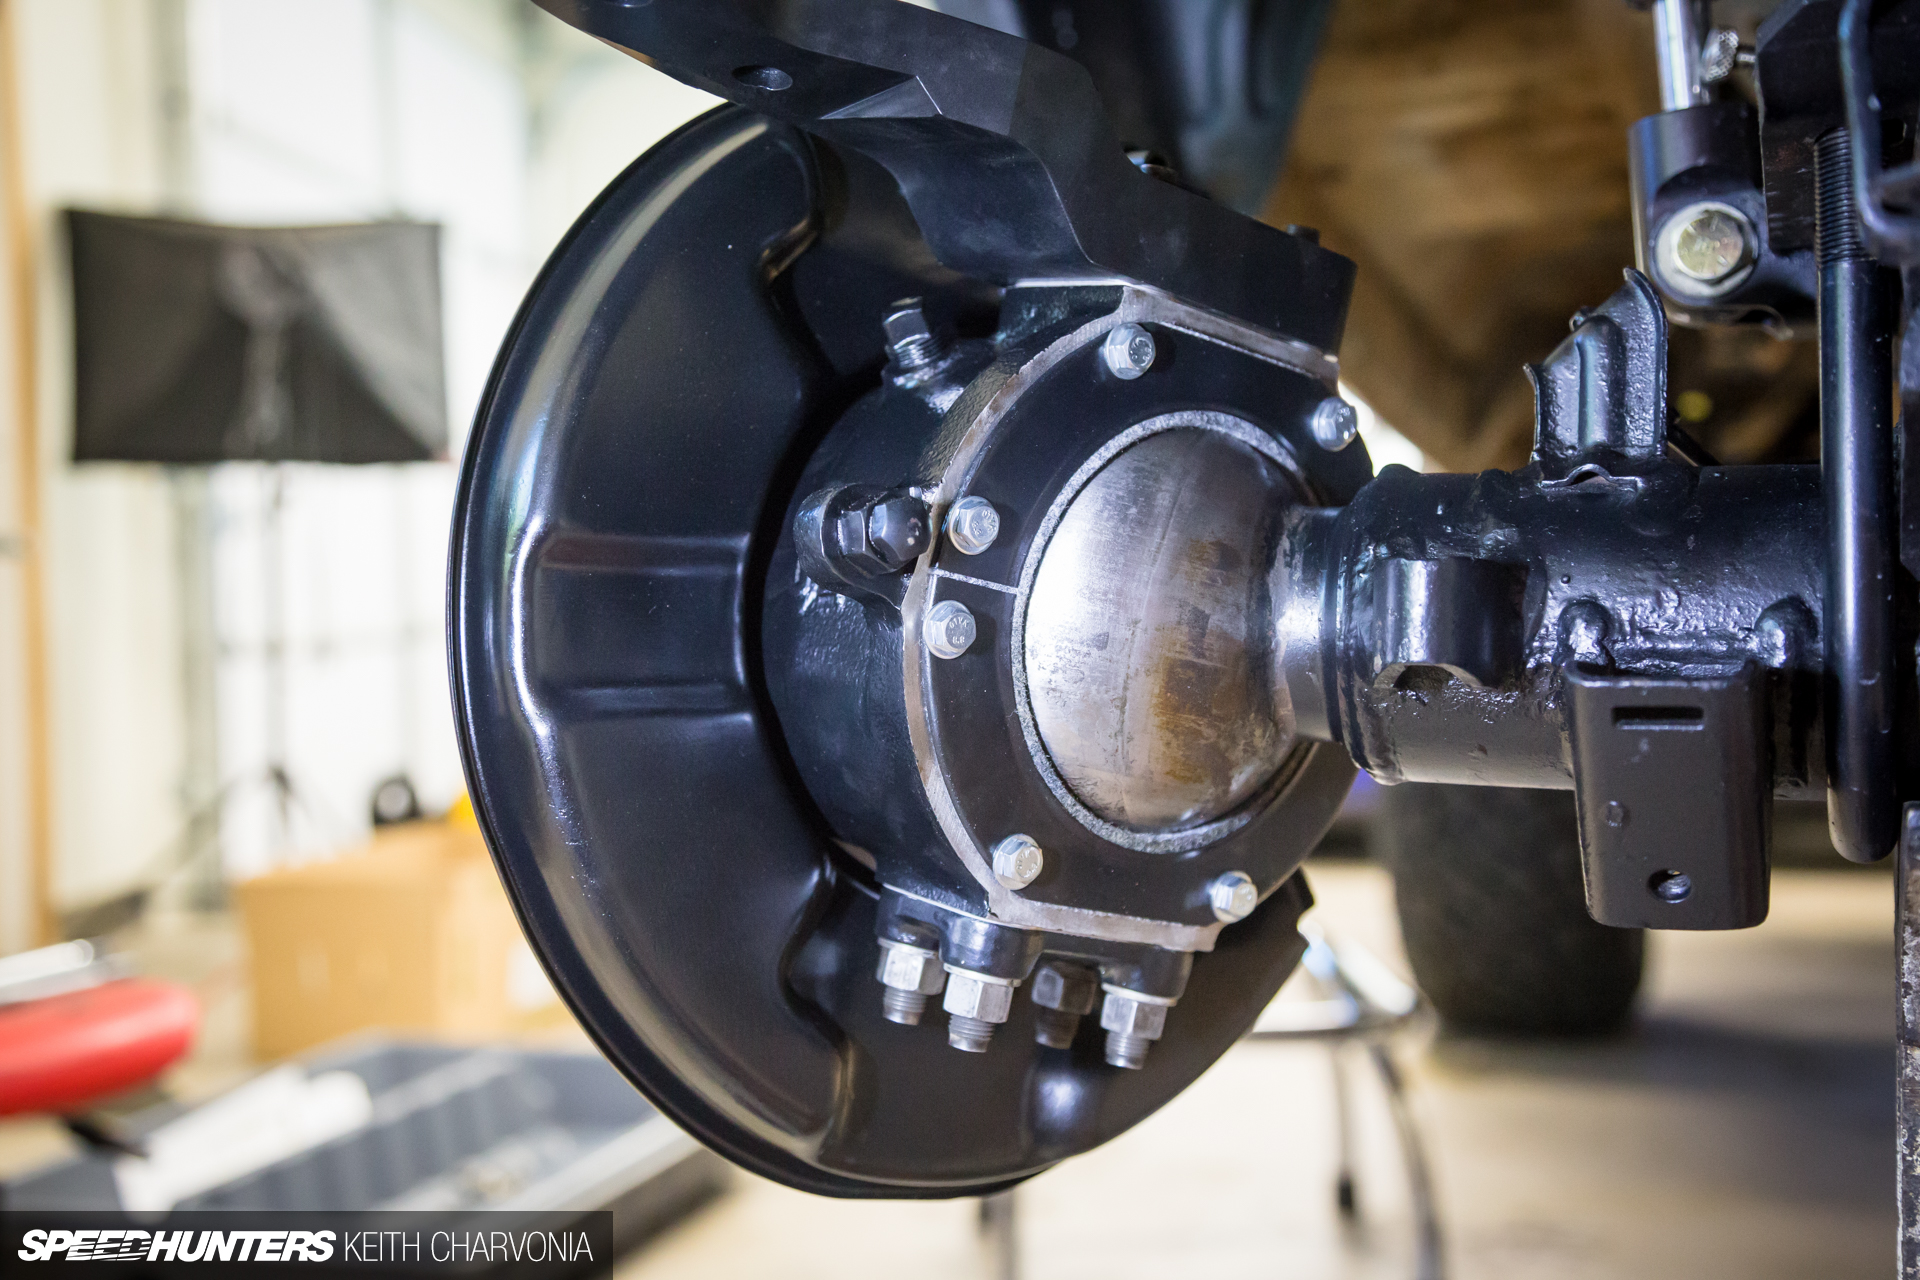
The front knuckles were leaking all over. At first I thought it was grease that had melted in the hot Arizona sun, but I soon realized this was gear oil that had made its way past a leaking seal. This called for a complete tear-down.

The aftermarket hubs used the smallest Torx screws I’ve ever seen, which easily stripped out when I tried to remove them. A small sledge took care of that.

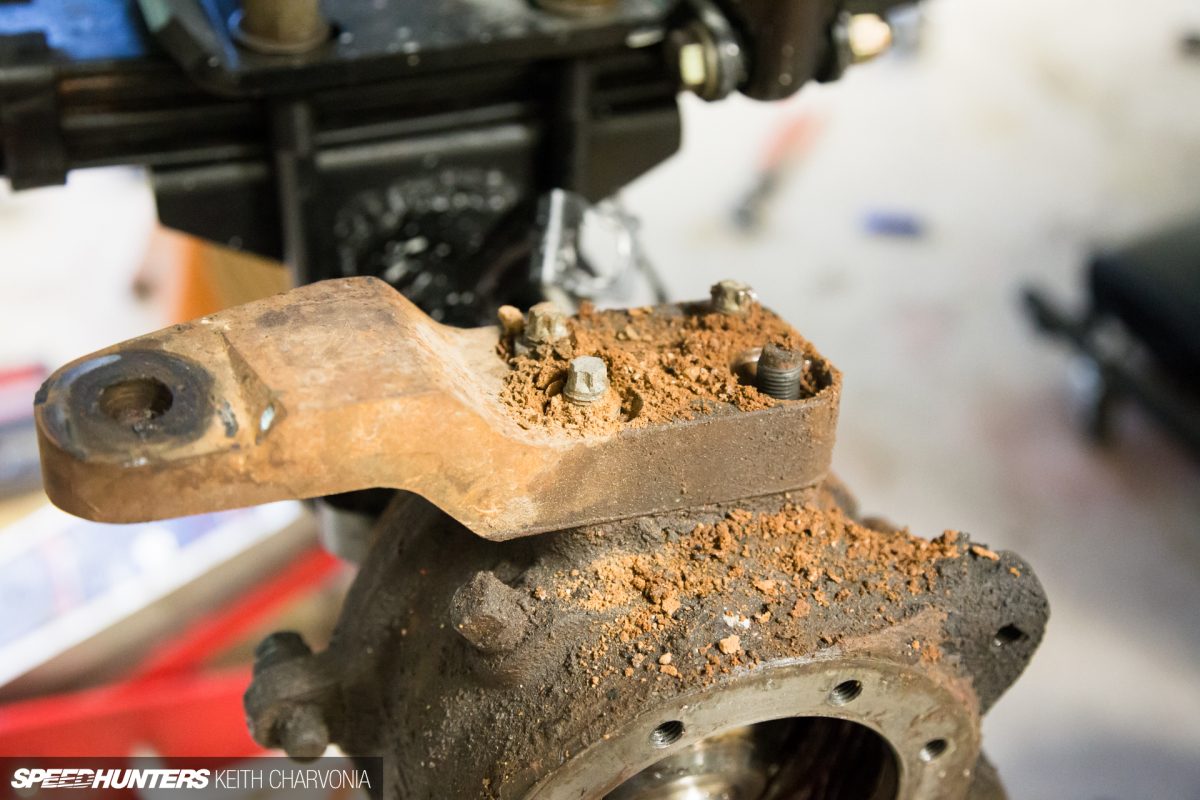
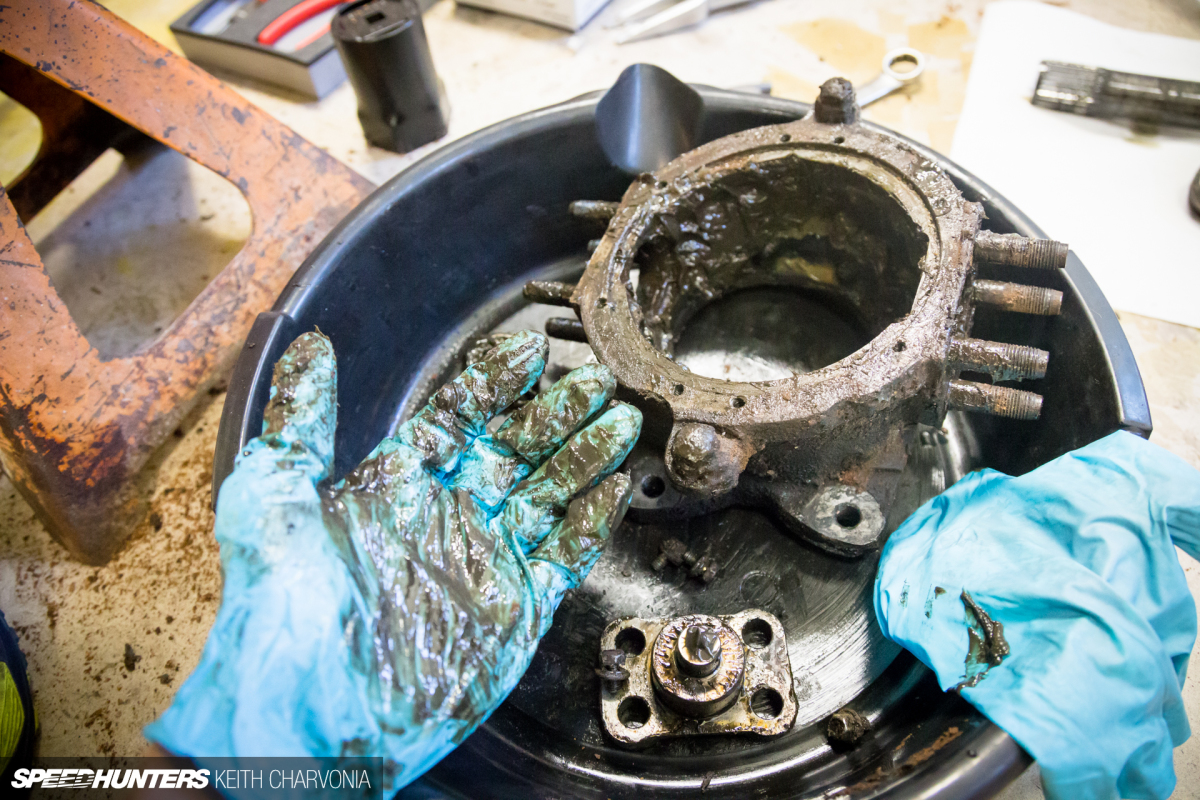
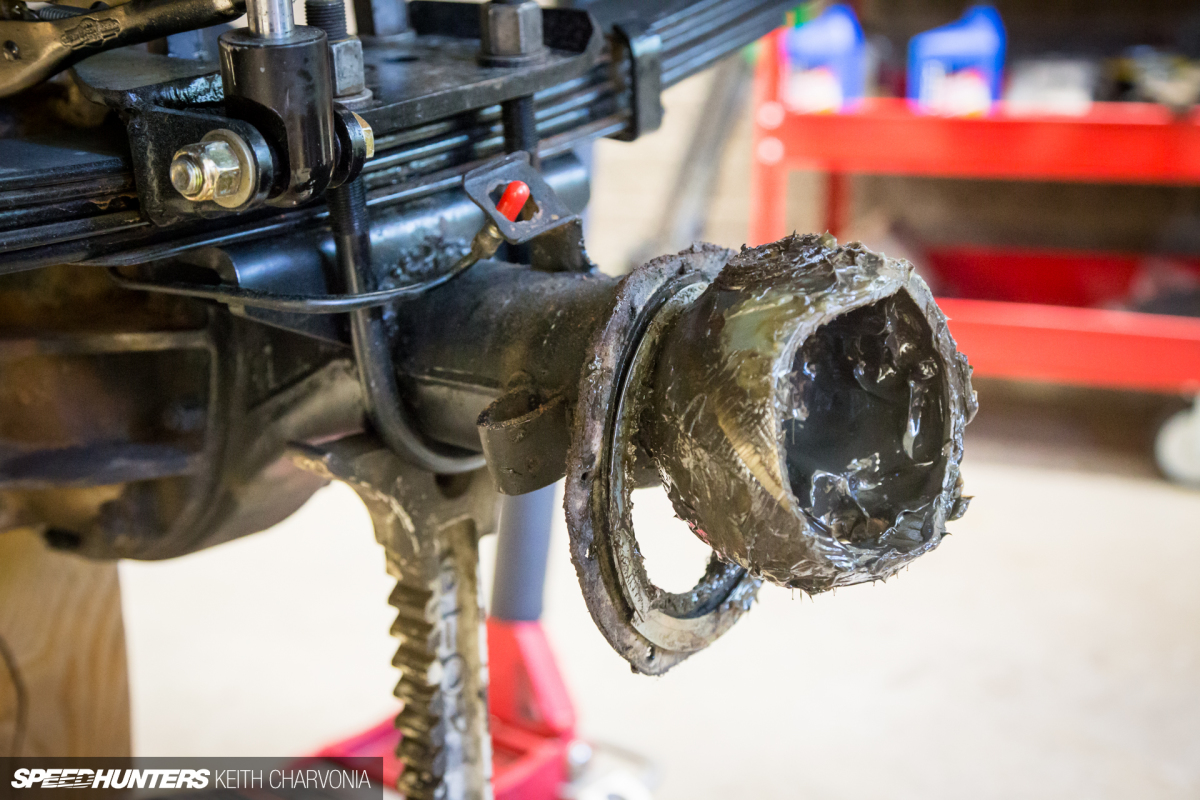
Disassembly was straightforward, other than dealing with the dirt and grease.

Then it was just a matter of more cleaning and painting to make it all like new.
I ordered all the new seals and felt wipers to remedy the leaks that had caused such a mess in the first place.
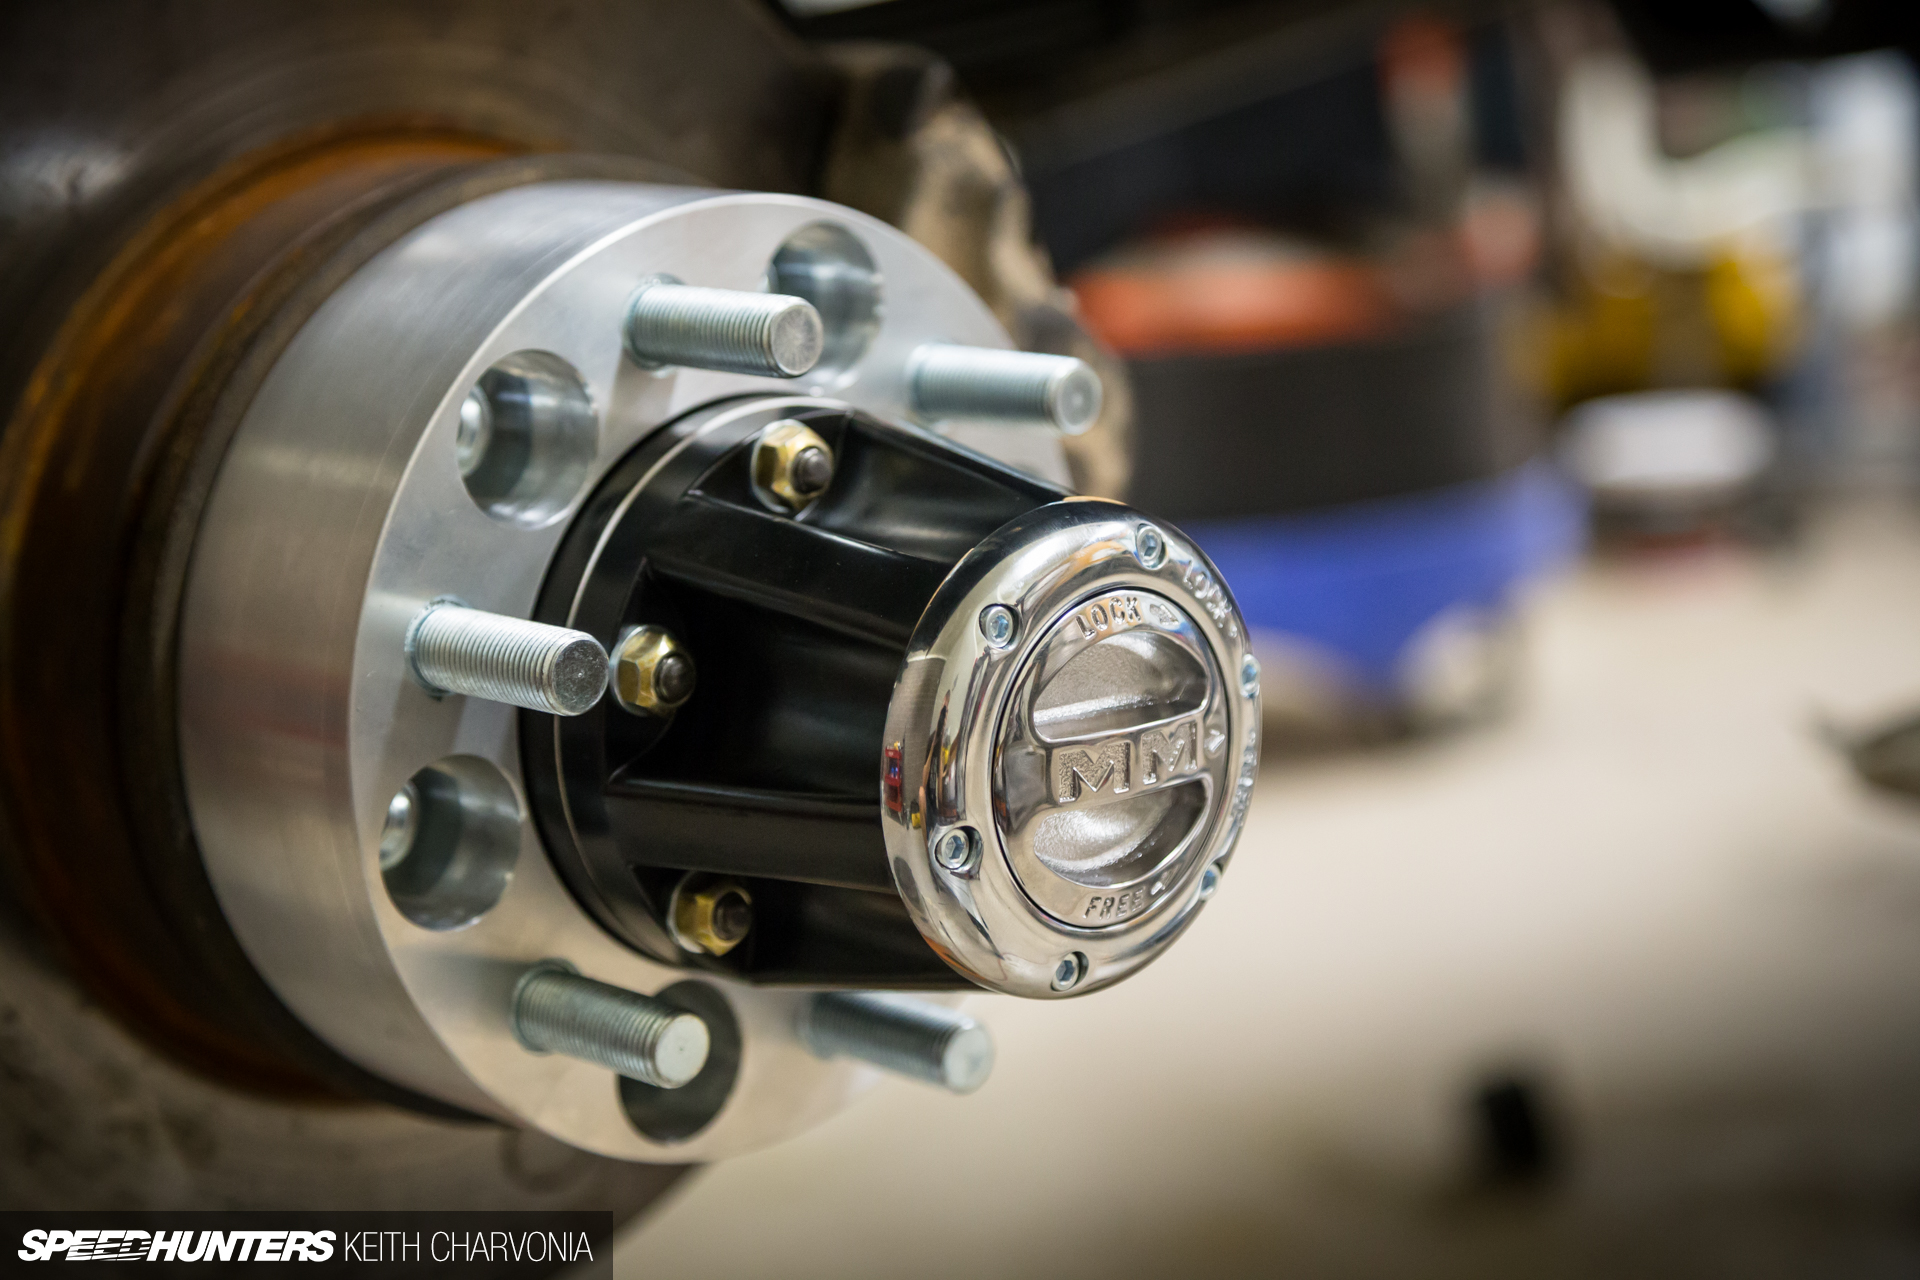
A set of Mile Marker hubs replaced the ones I had to remove with a sledge hammer, and I also added wheel spacers from BORA (Bulletproof Off Road Adapters) to match the width of my 14-bolt rear axle. These are much safer than the old two-piece adapters I previously removed.

Moving to the rear axle, I removed the 14 bolts that held the diff cover in place and let the old oil drain into a pan.
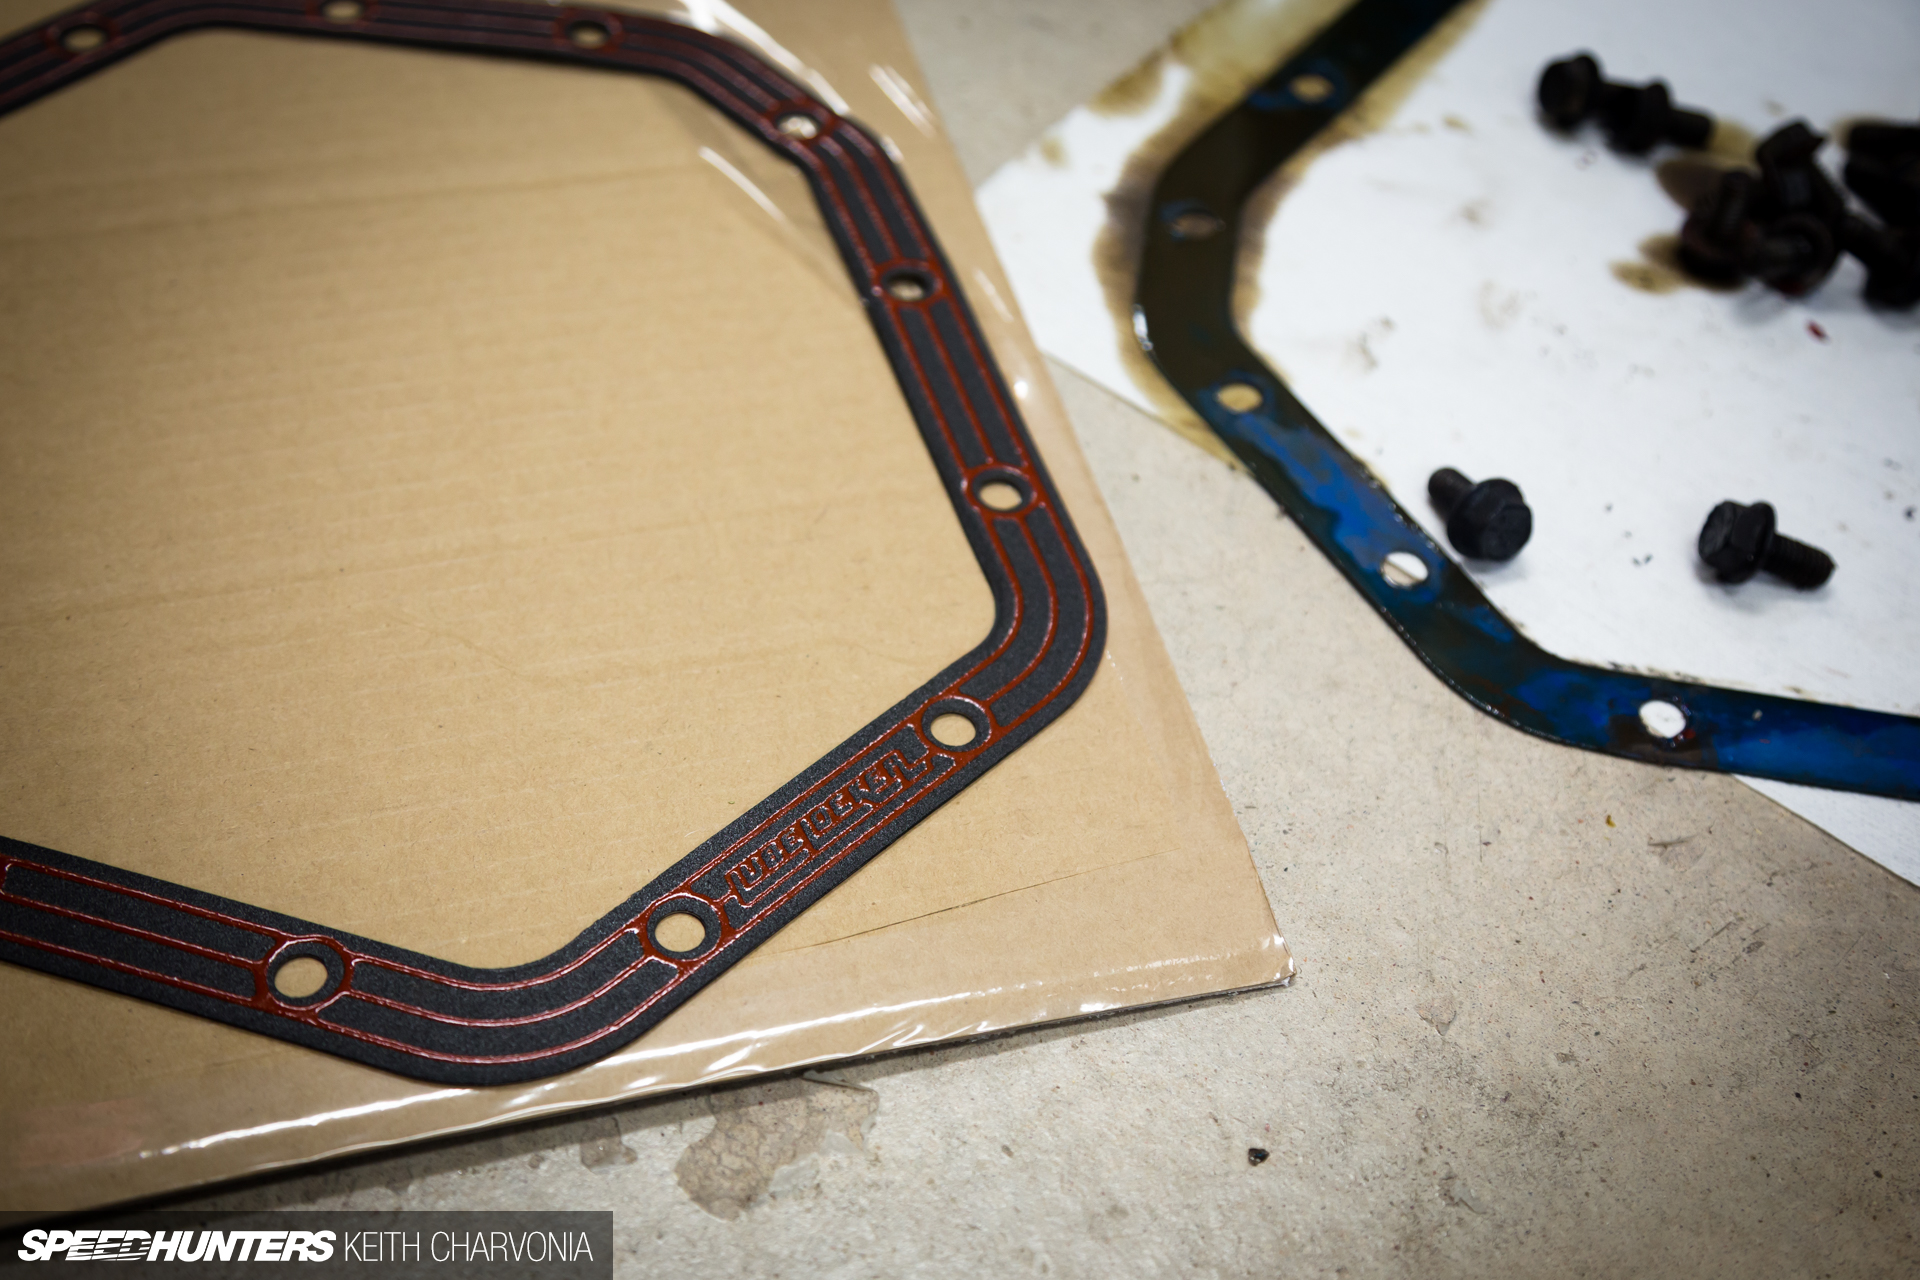
The rear diff cover also leaked, so I installed a high quality Lube Locker gasket and buttoned things back up.

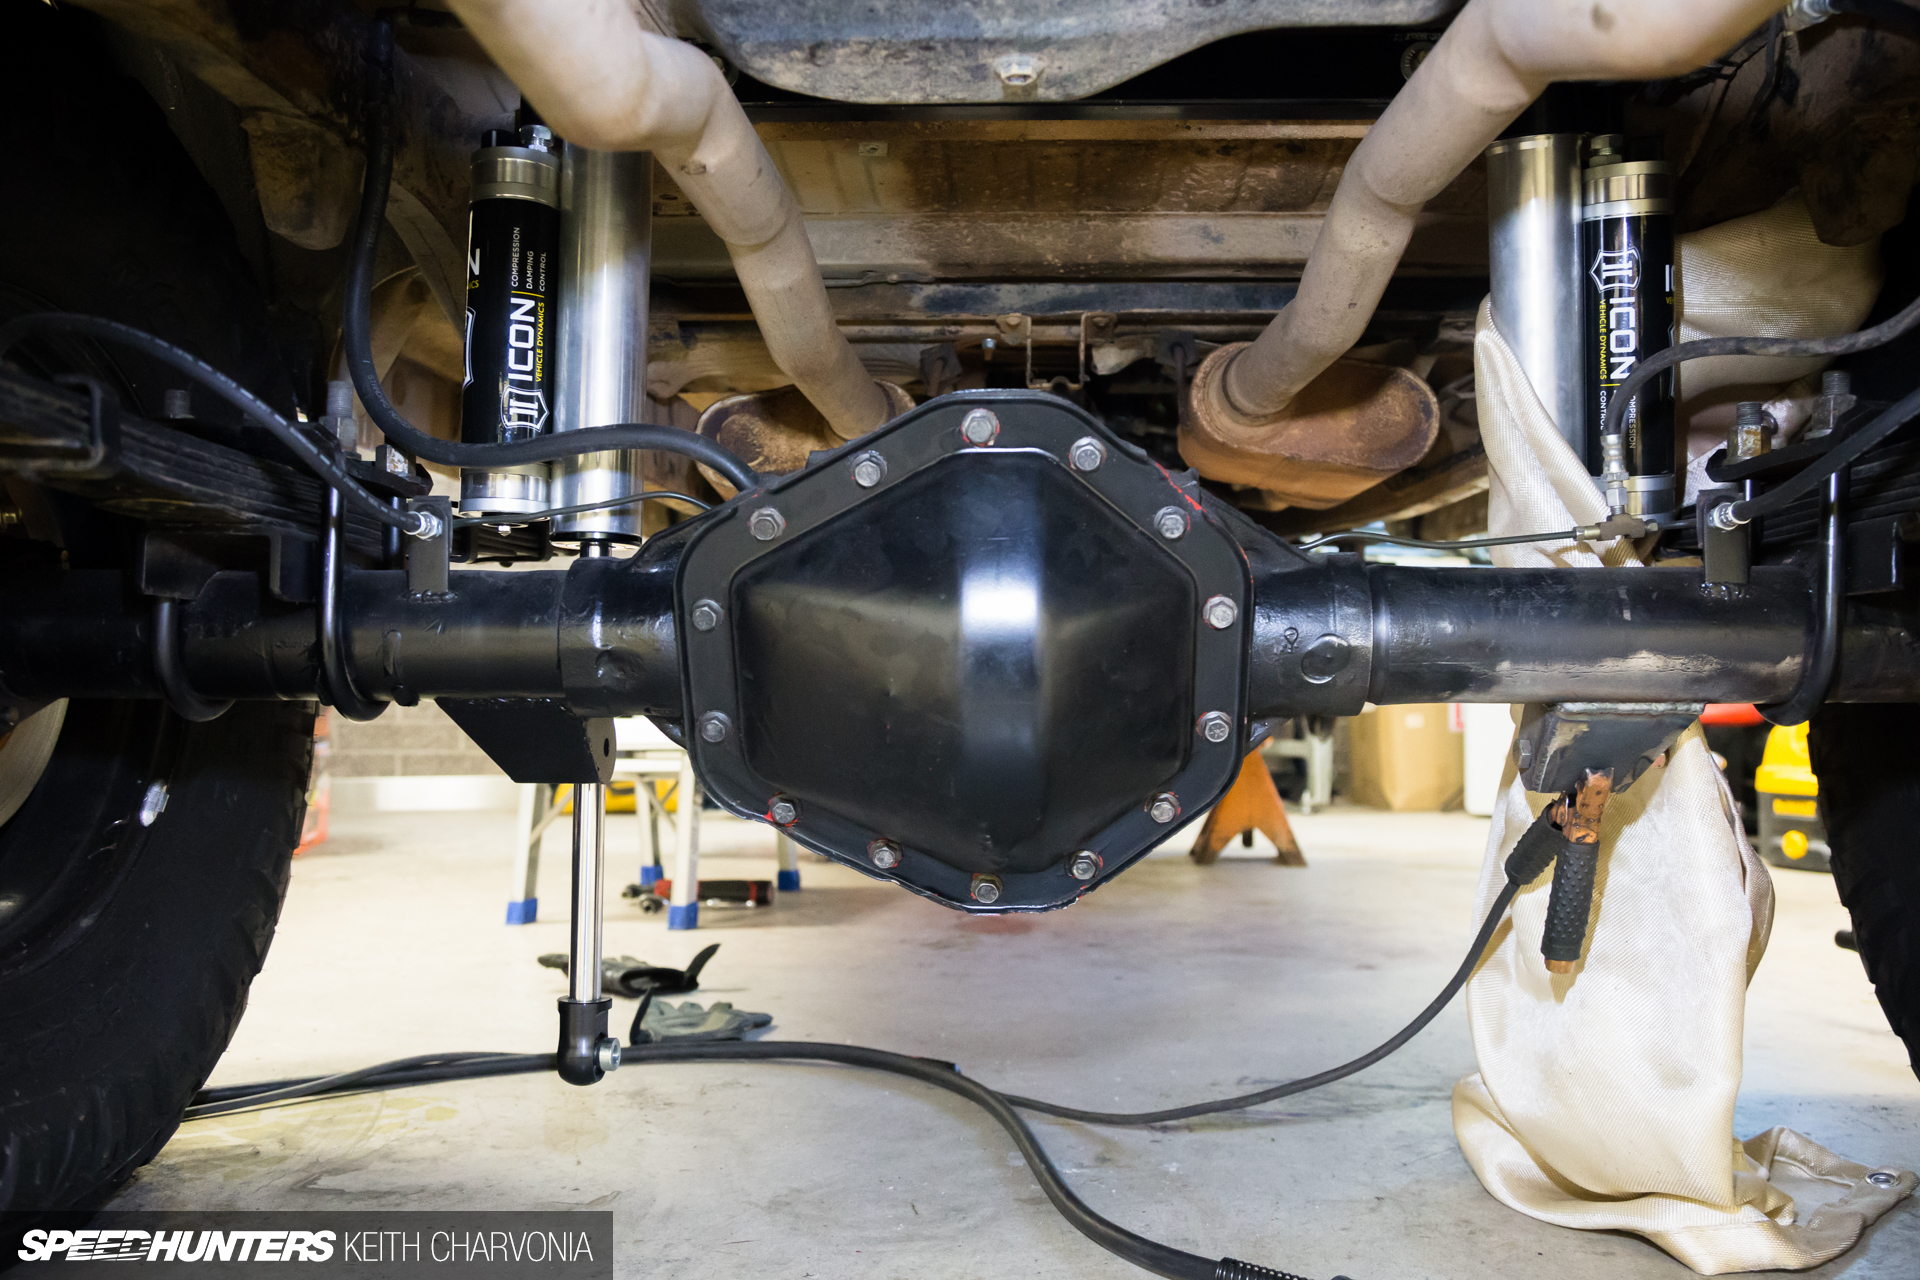
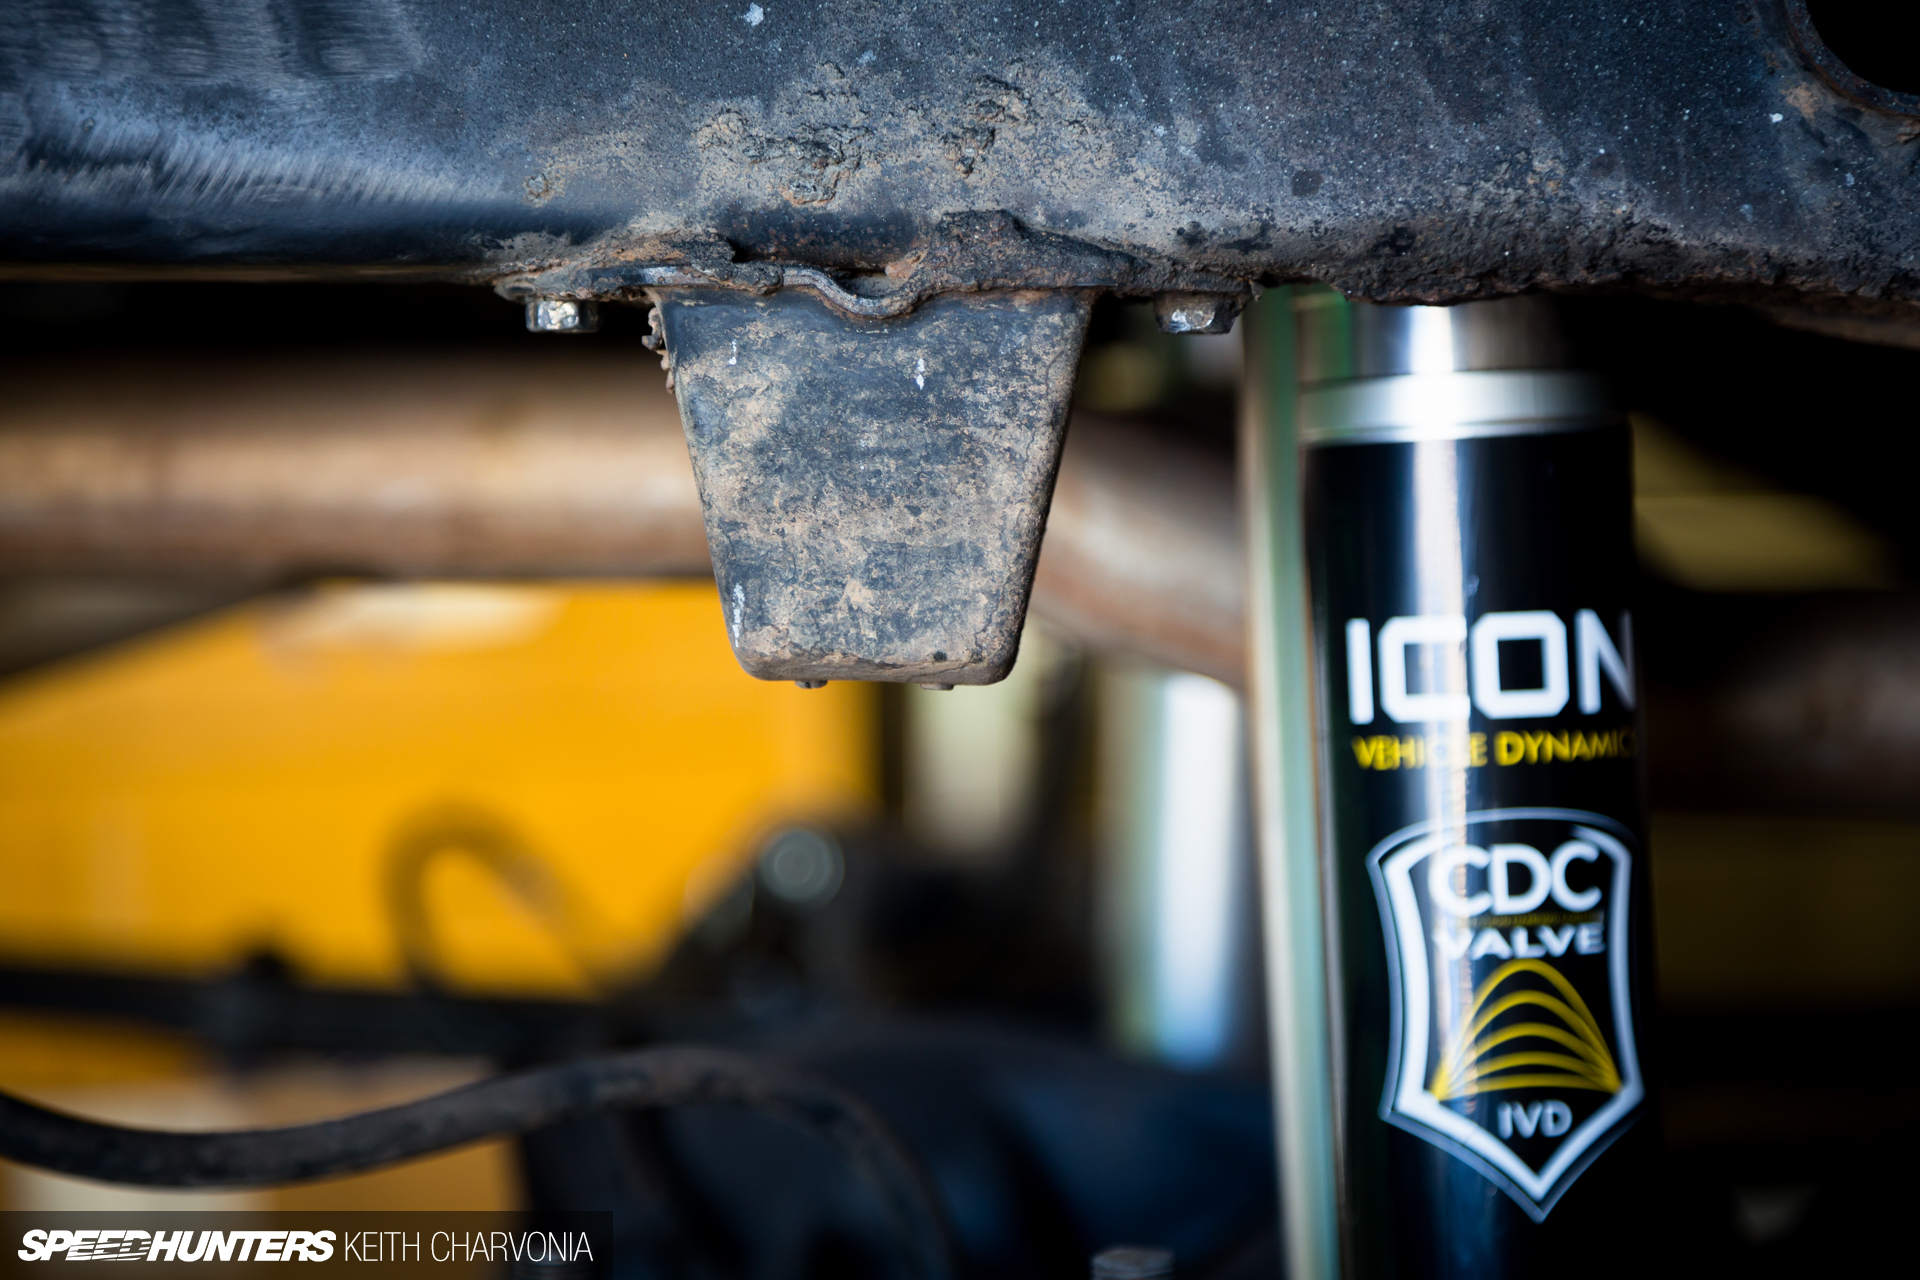
It was nice to be done with the gear oil mess of the front and rear axles, because there was much more rewarding work to be done. Icon sent a set of 2.5-inch external reservoir shocks with 14 inches of travel front and rear.
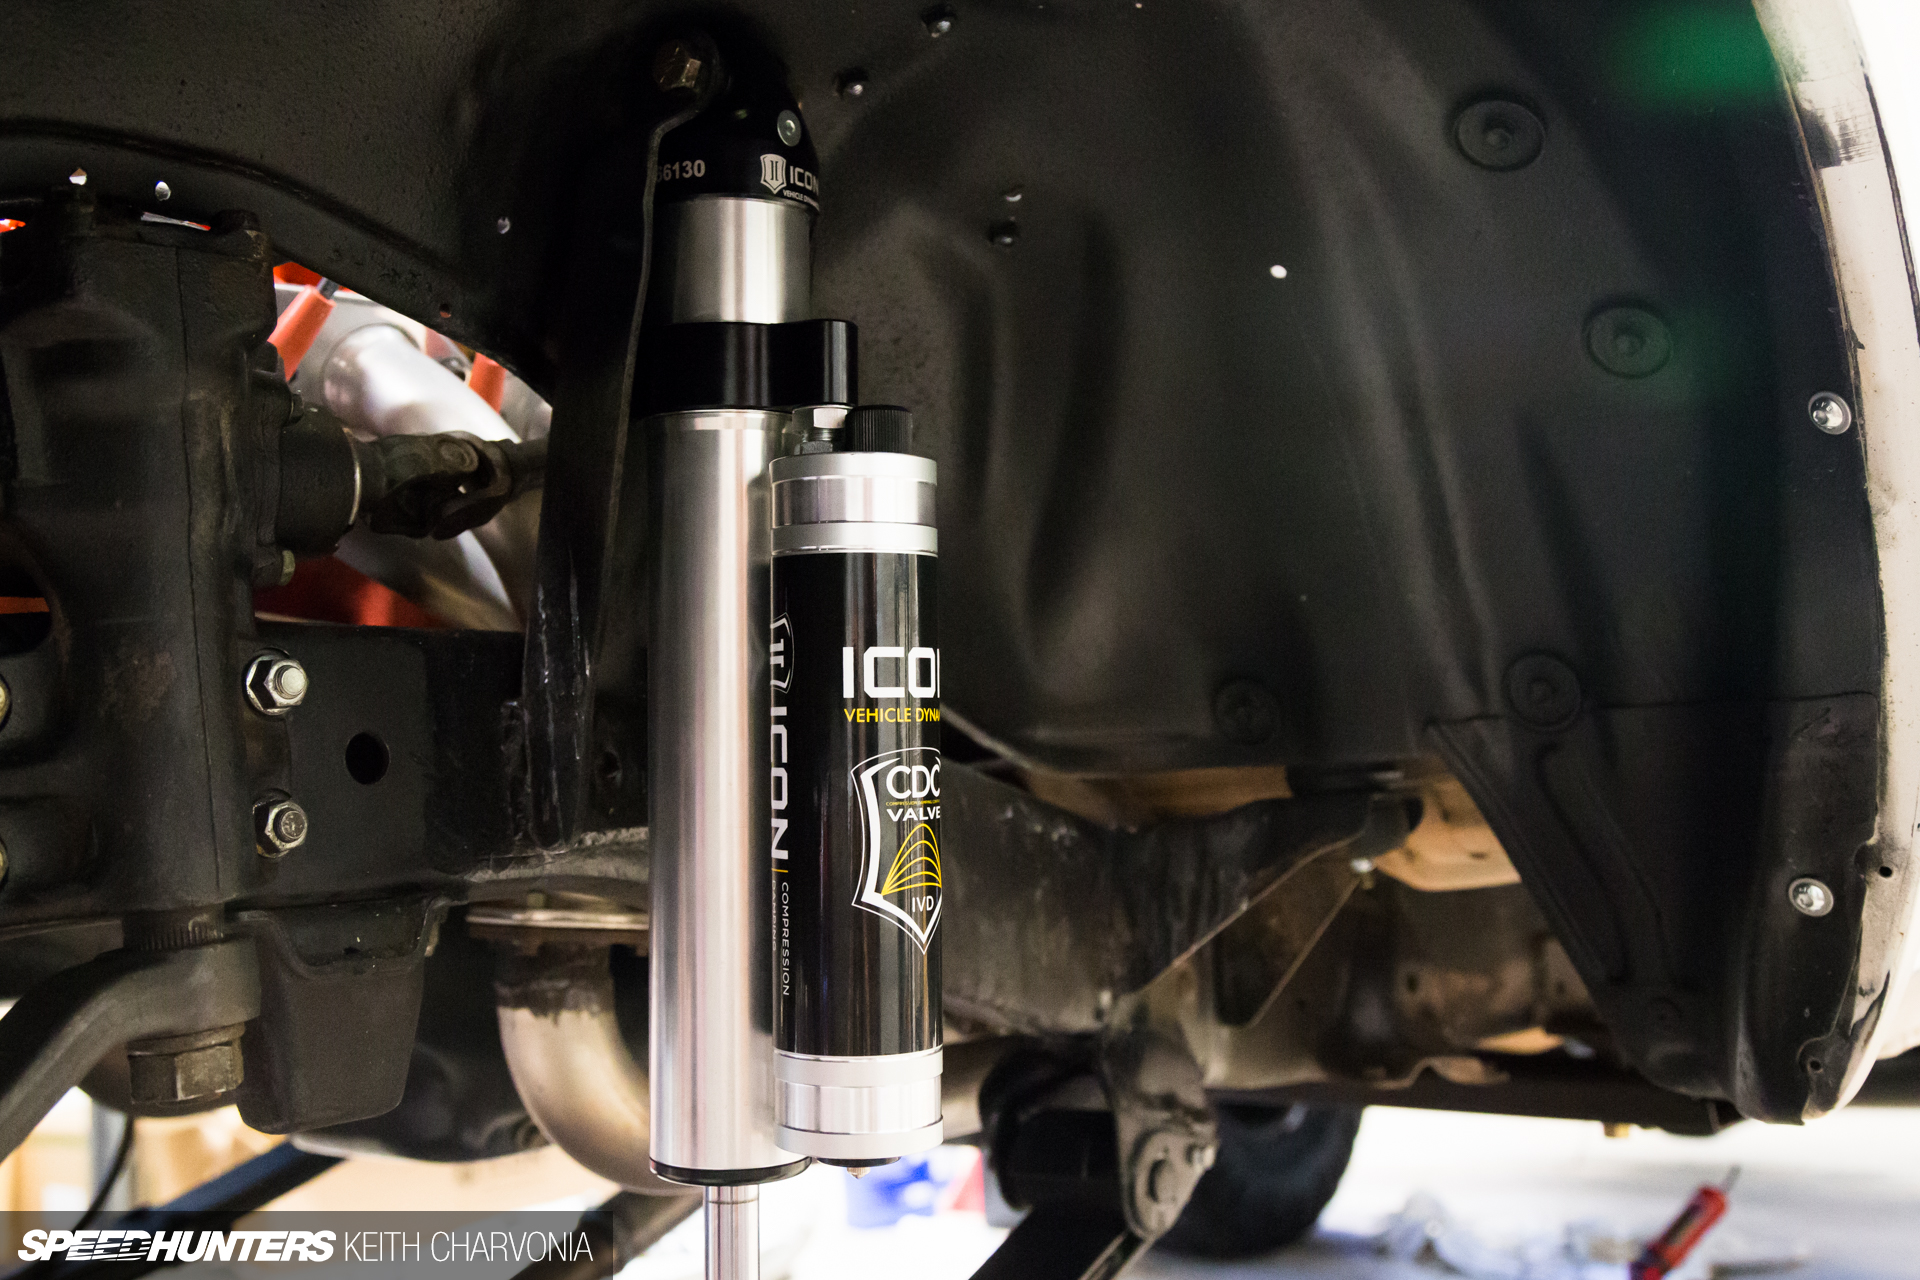
Fortunately the front shocks bolted into my existing Ford shock towers, because I really was not looking forward to building new mounts. The only minor adjustment required was to clock the reservoirs around to the rear of the shock to clear the tire.
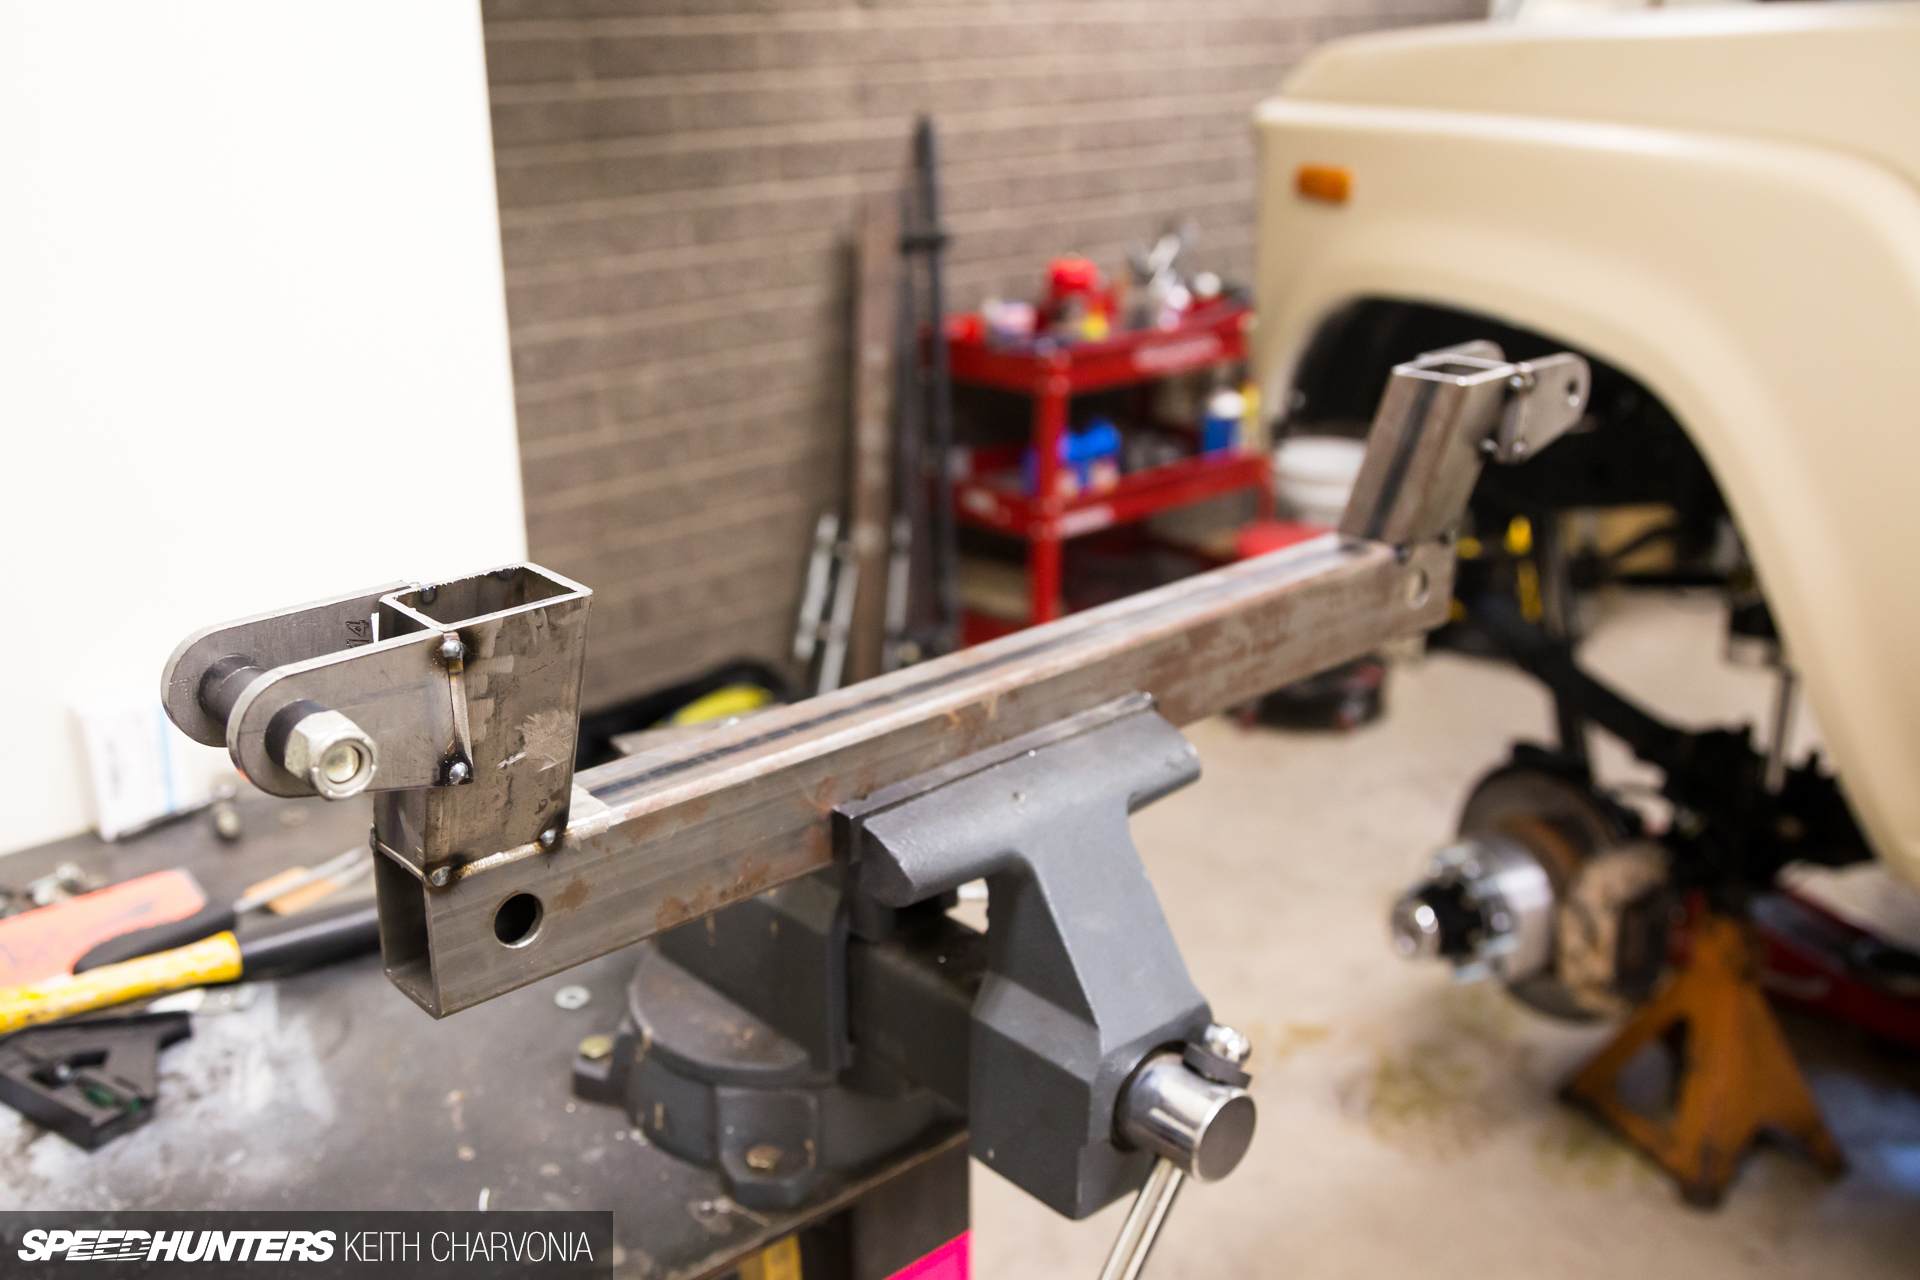
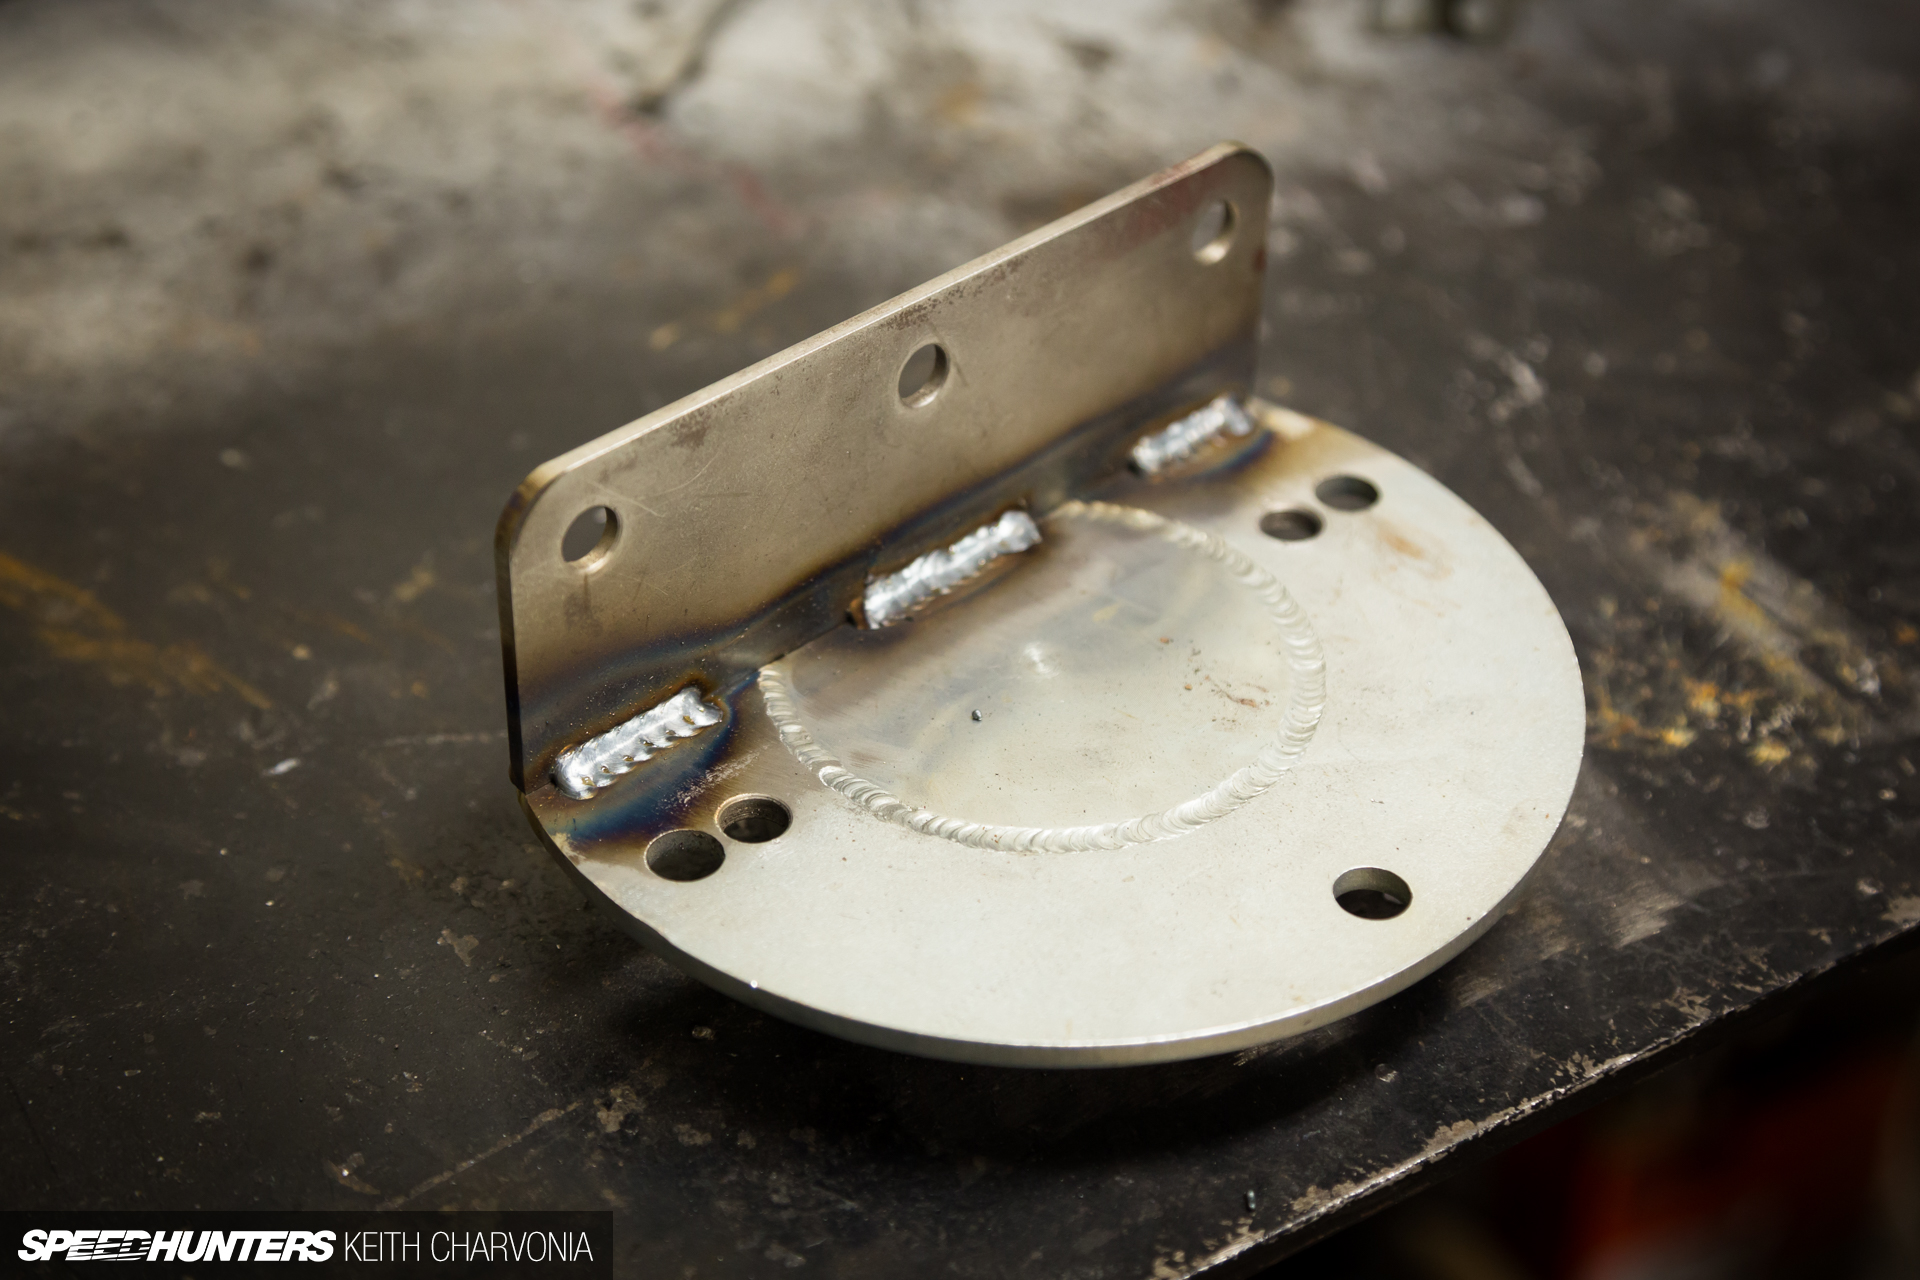
The rear shocks would require more work though. I made this upper shock mount that bolts to the existing crossmember, but puts the shocks all the way up against the floor. This gained me valuable up-travel for the long Icon shocks.
With the upper mounting points established, I measured things up and fabricated some simple lower mounts.

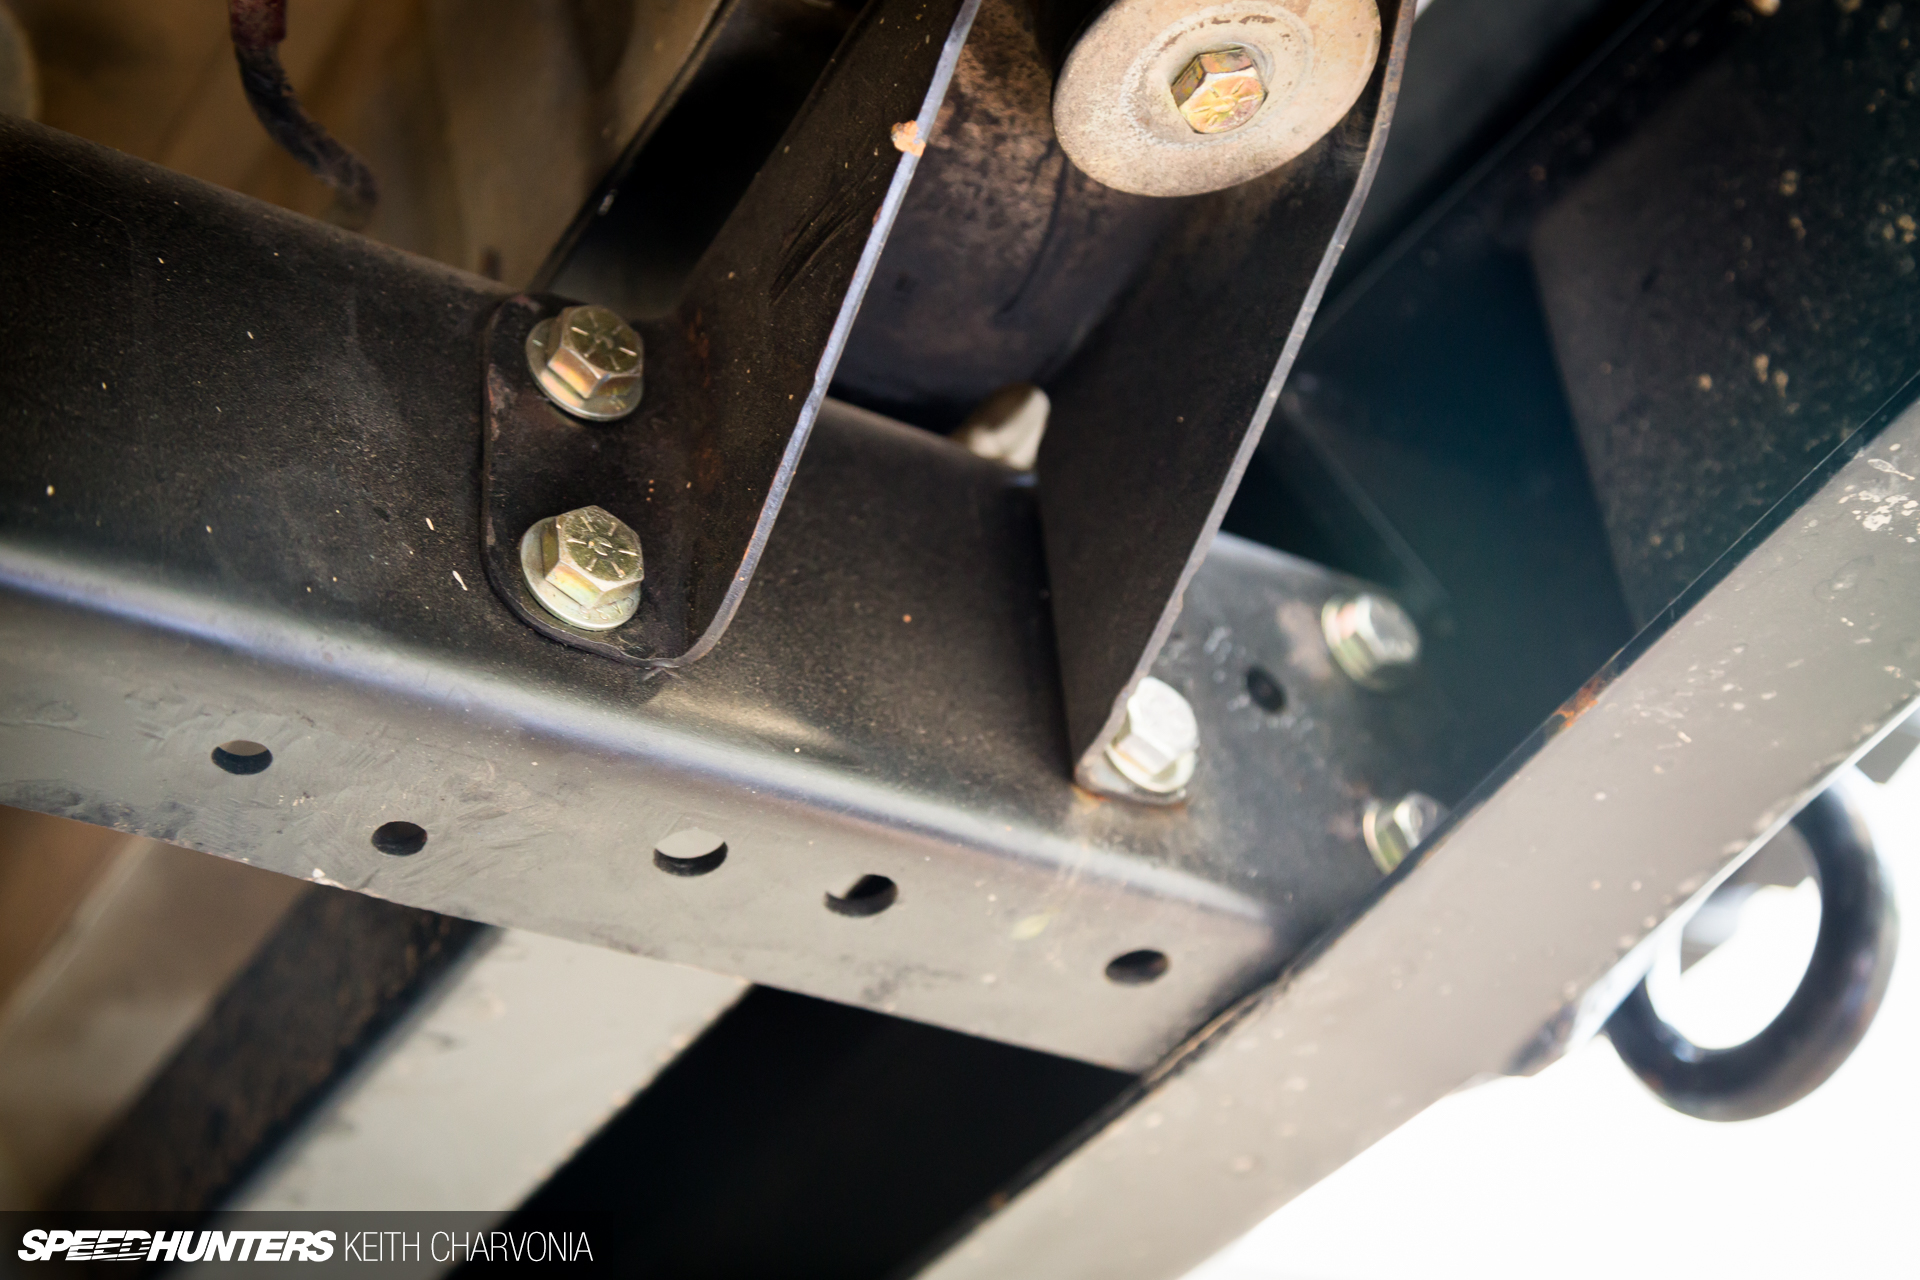
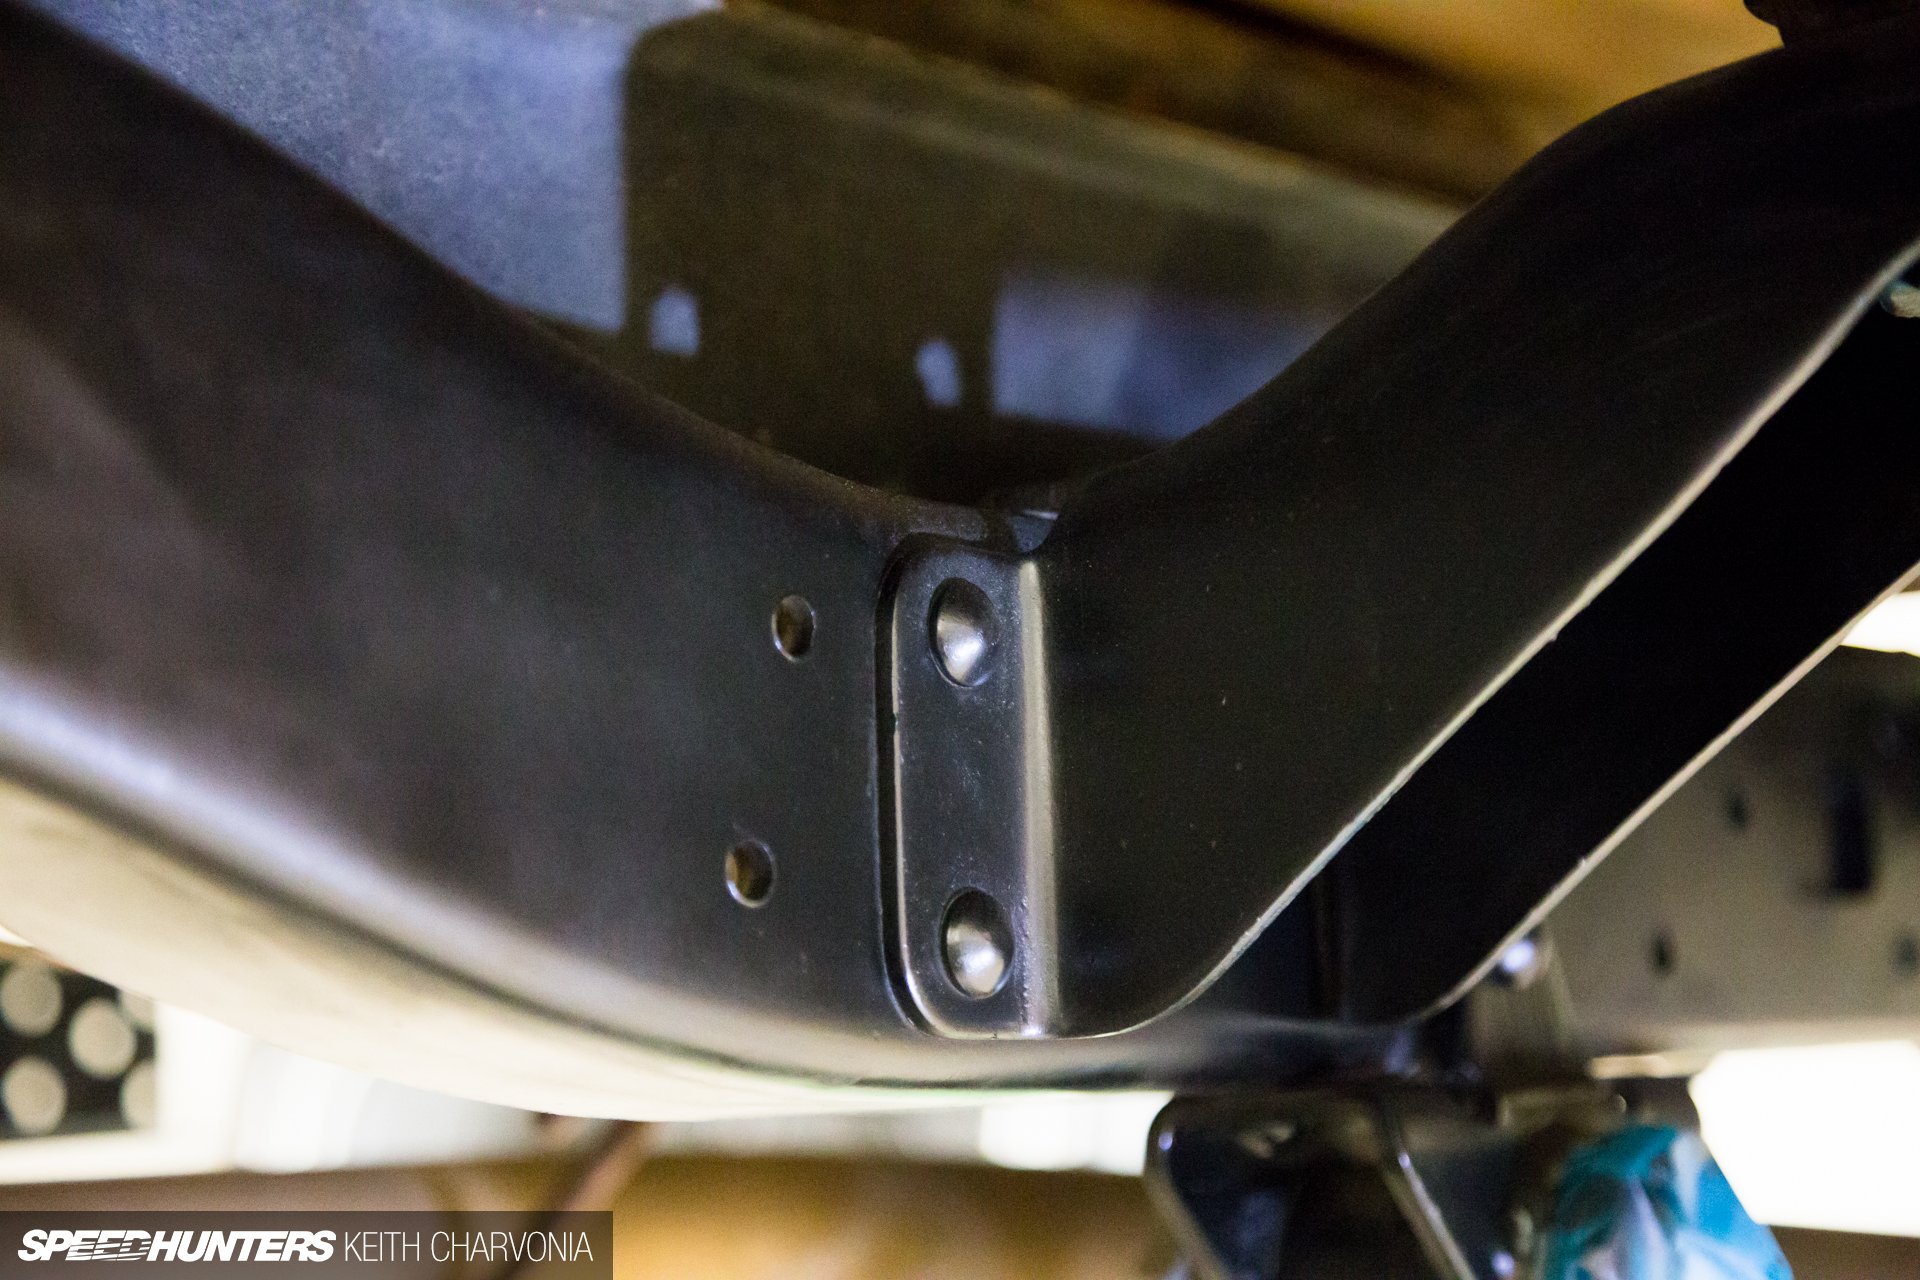
I went with 4Plus rock sliders to protect the body. This is usually the first mod I do on an off-road truck, and the lack of armor was holding me back from tackling more difficult trails.
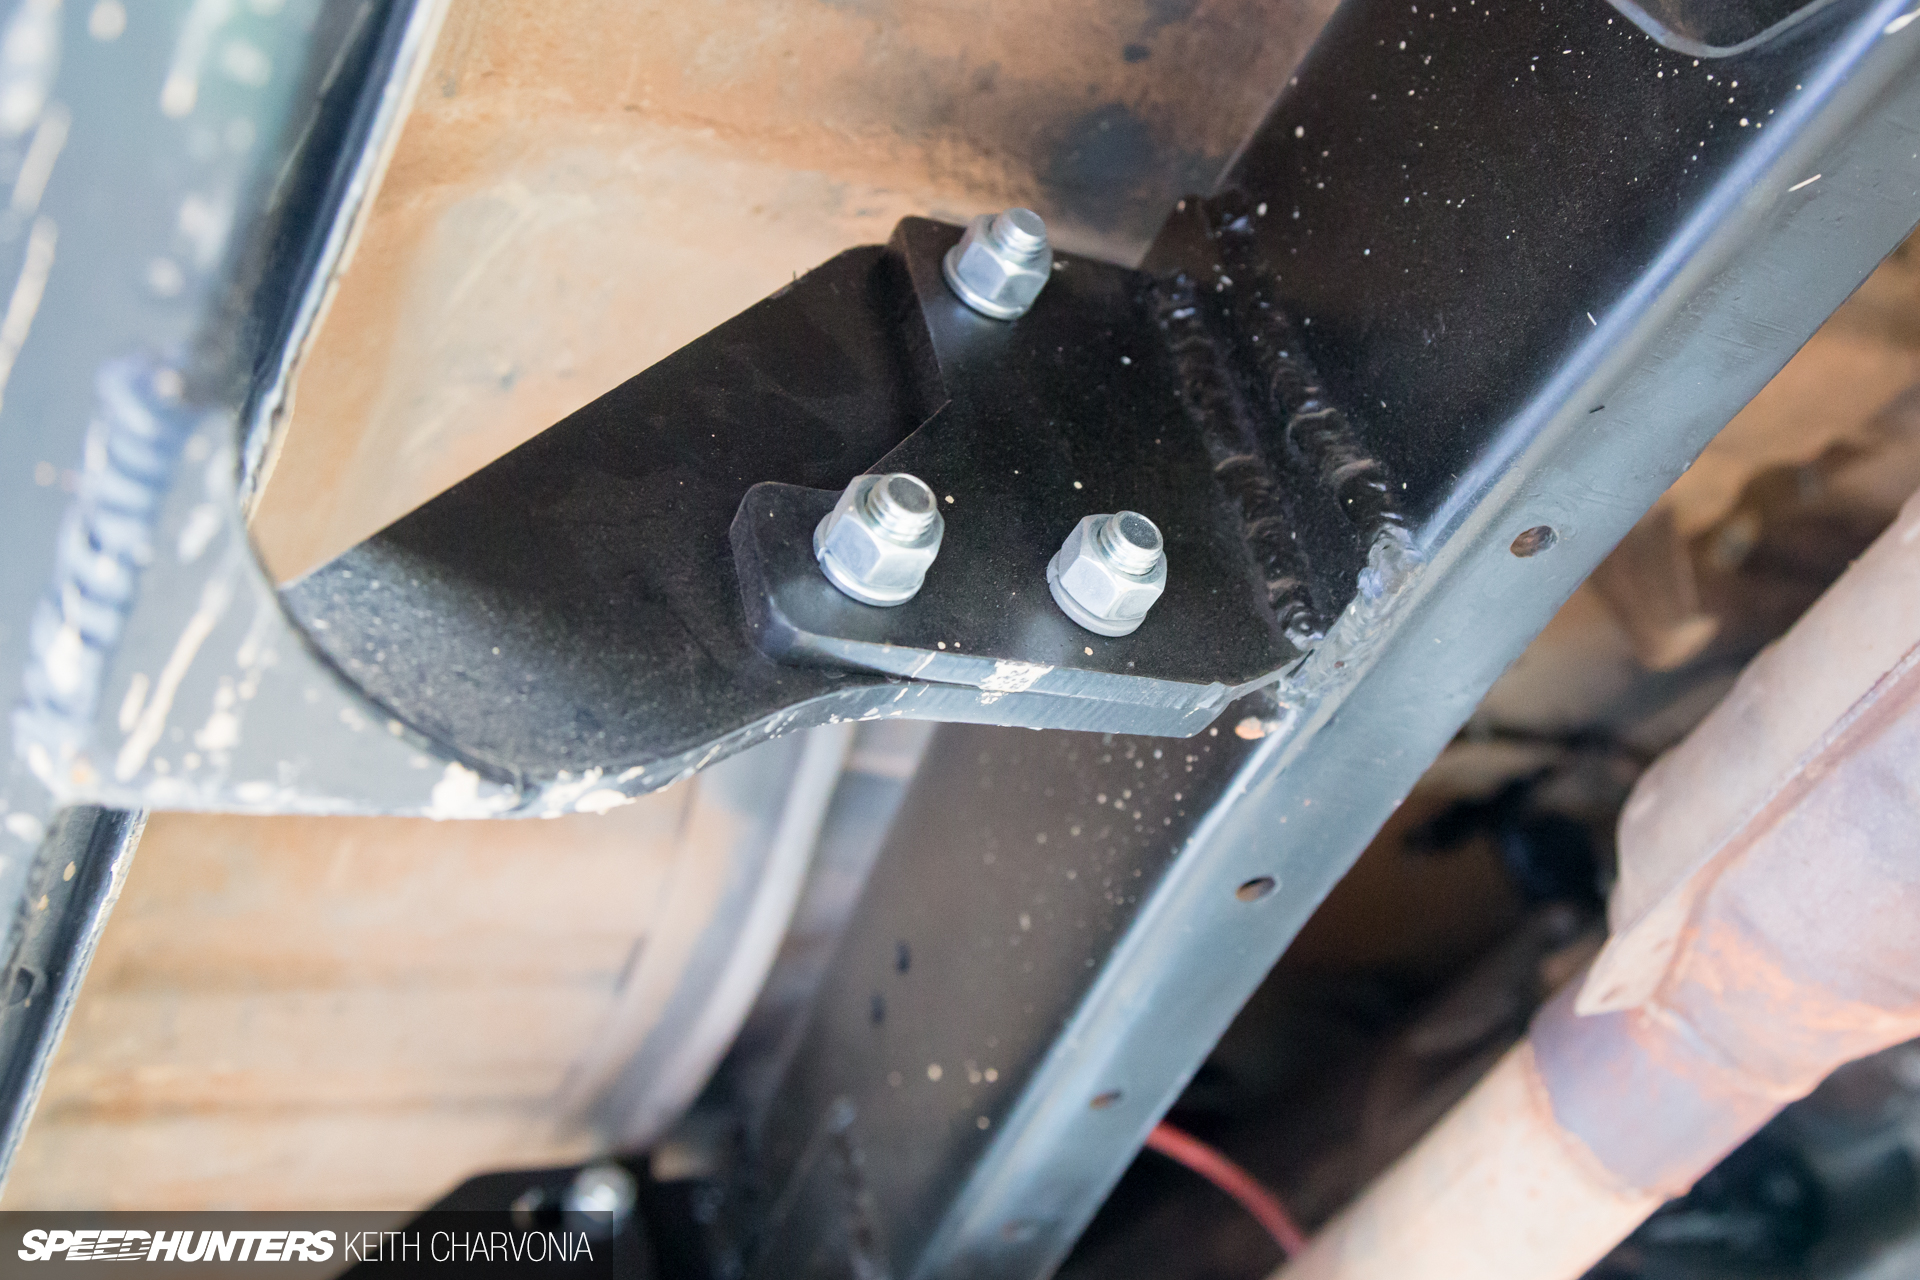
4Plus provides beefy half-inch thick steel mounts, which are welded to quarter-inch thick plates on the frame rails. The Grade 8 hardware is adjustable thanks to slotted holes.

The 4Plus rear bumper would require some prep before it could be installed.
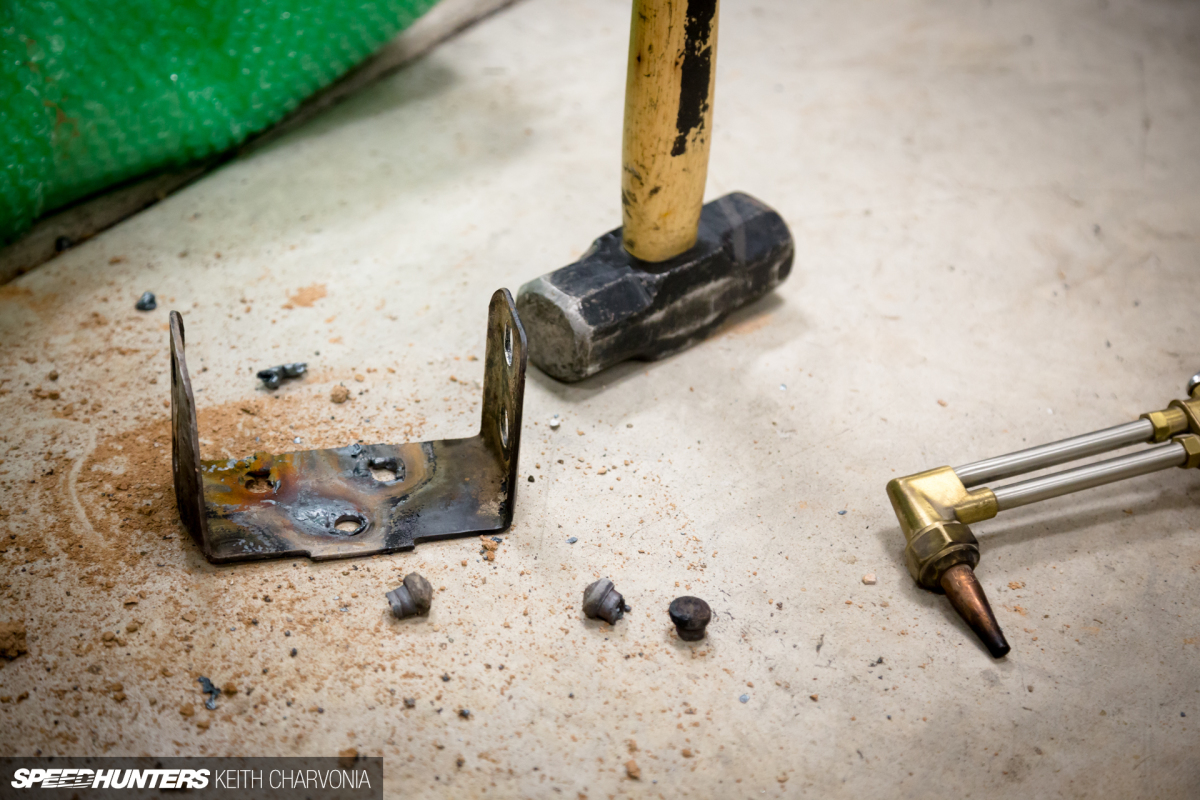
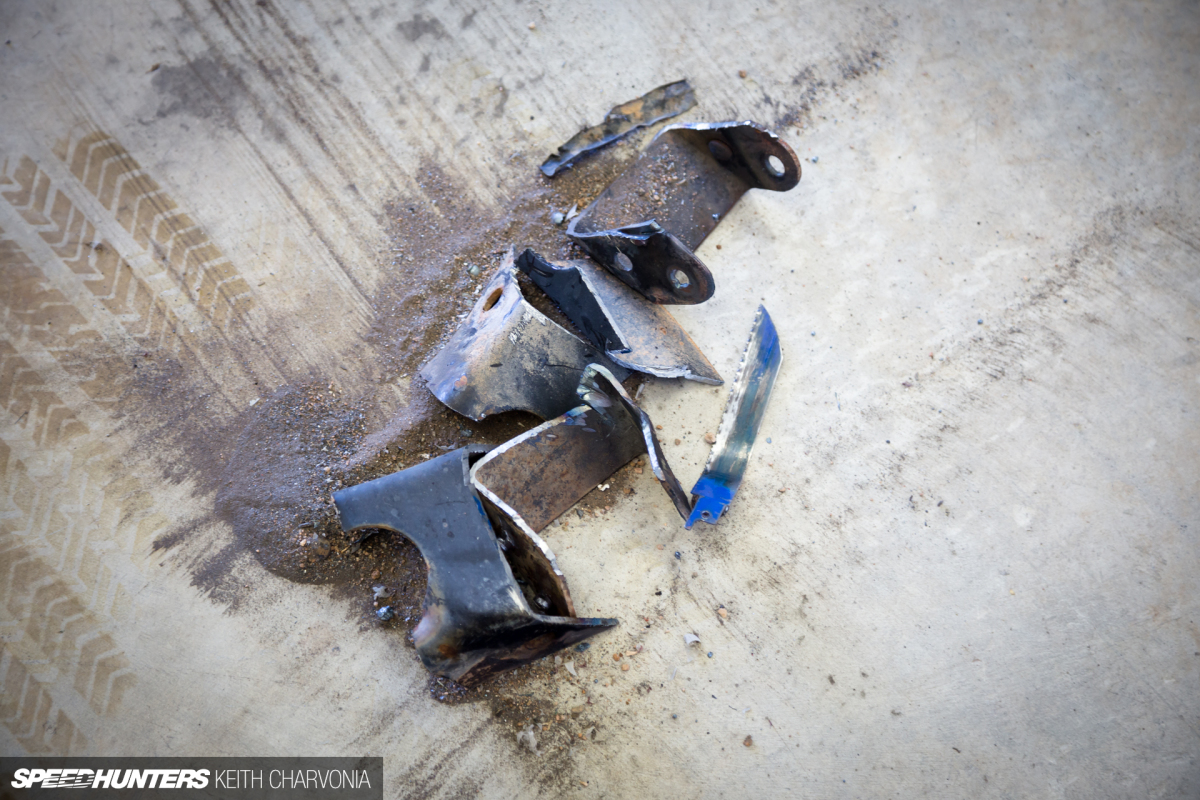
My friend and I used an oxy acetylene torch to burn out the factory rivets and remove the stock rear mounts.
The new bumper was held in place with more Grade 8 bolts.
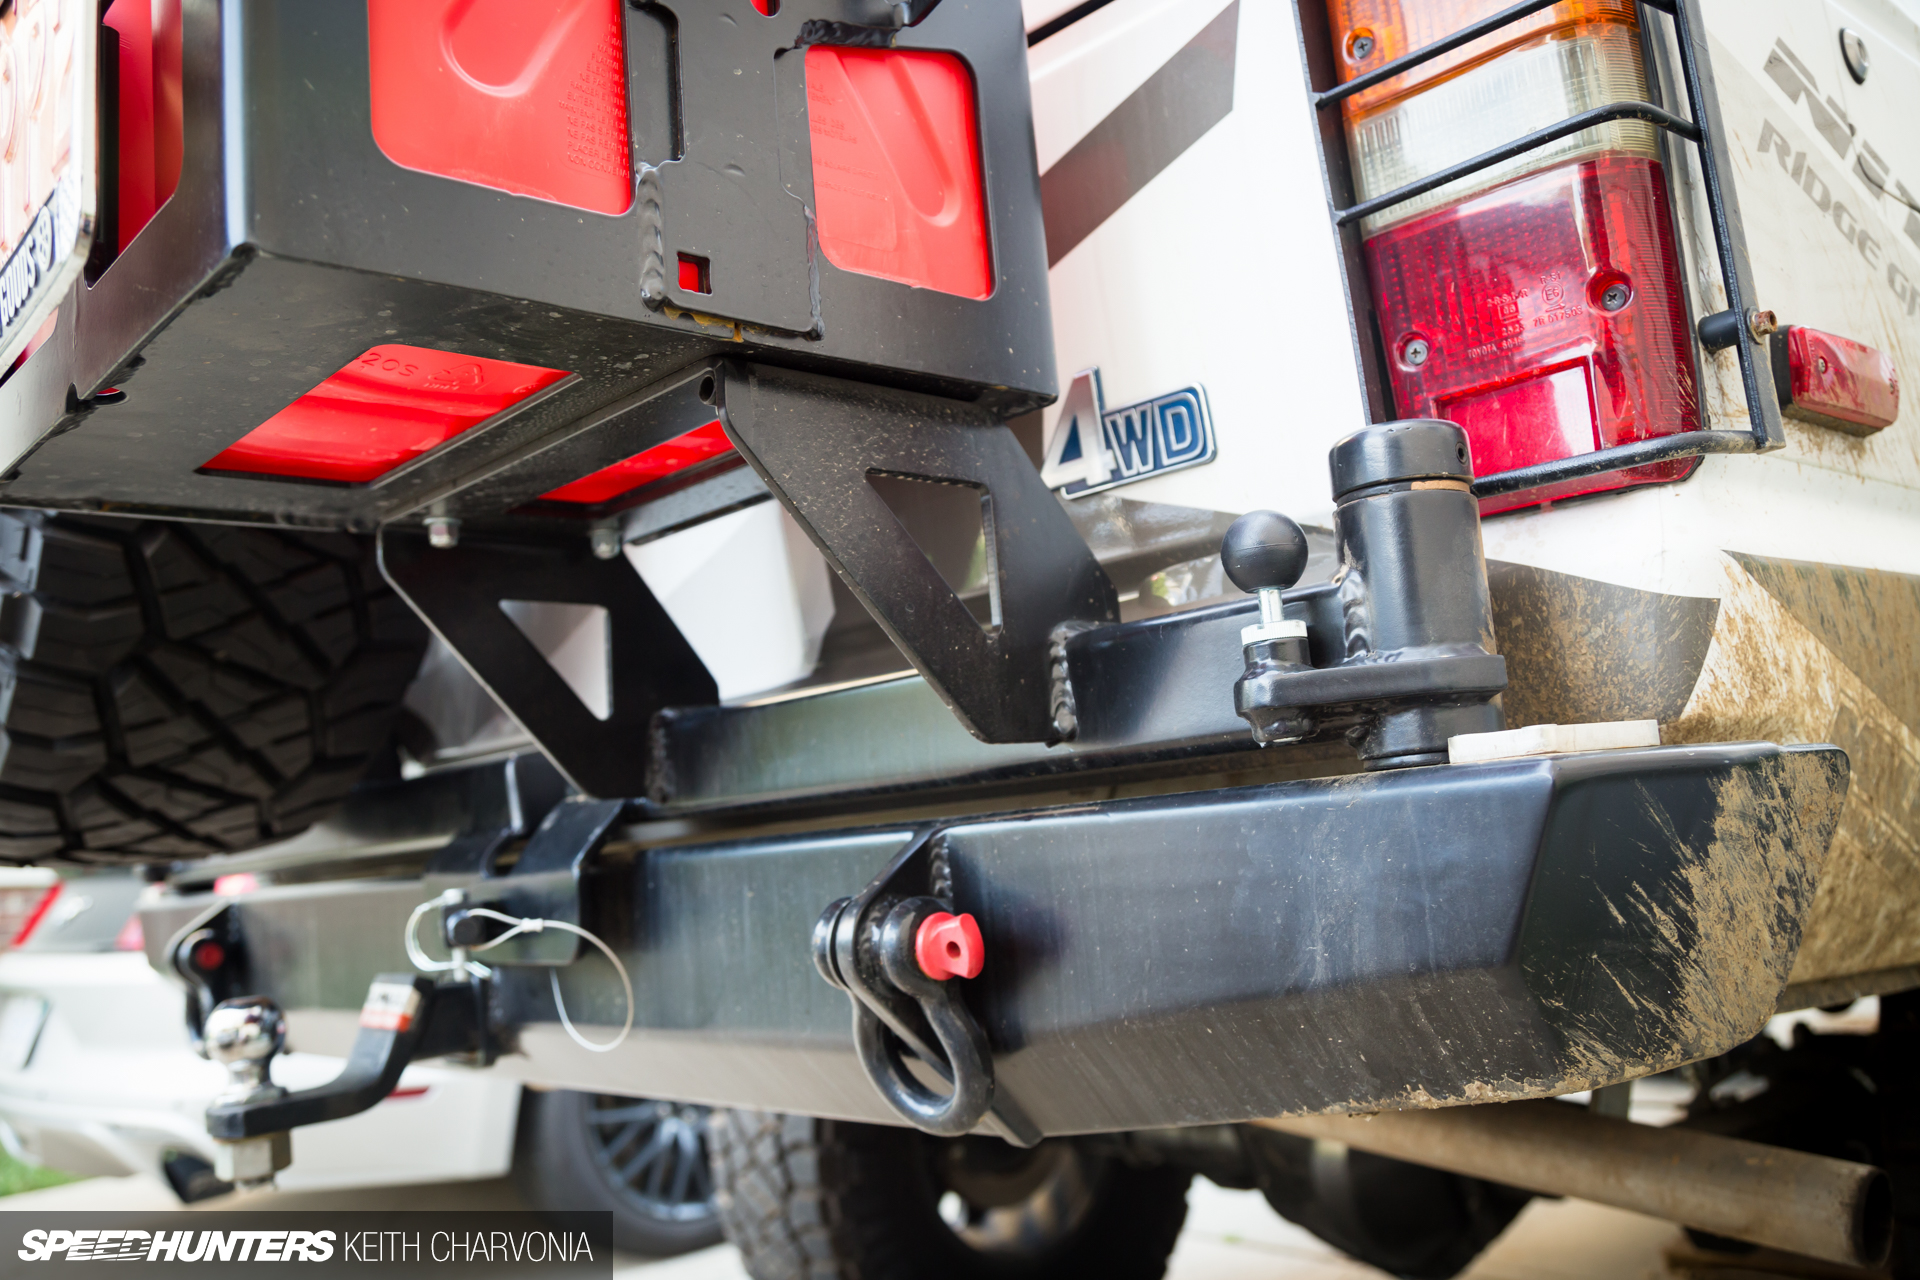
I love the functionality the 4Plus bumper adds, with a spare tire swingaway on one side and a gas can rack on the other, a built in hitch and tow points, not to mention a huge upgrade in protection from rocks.
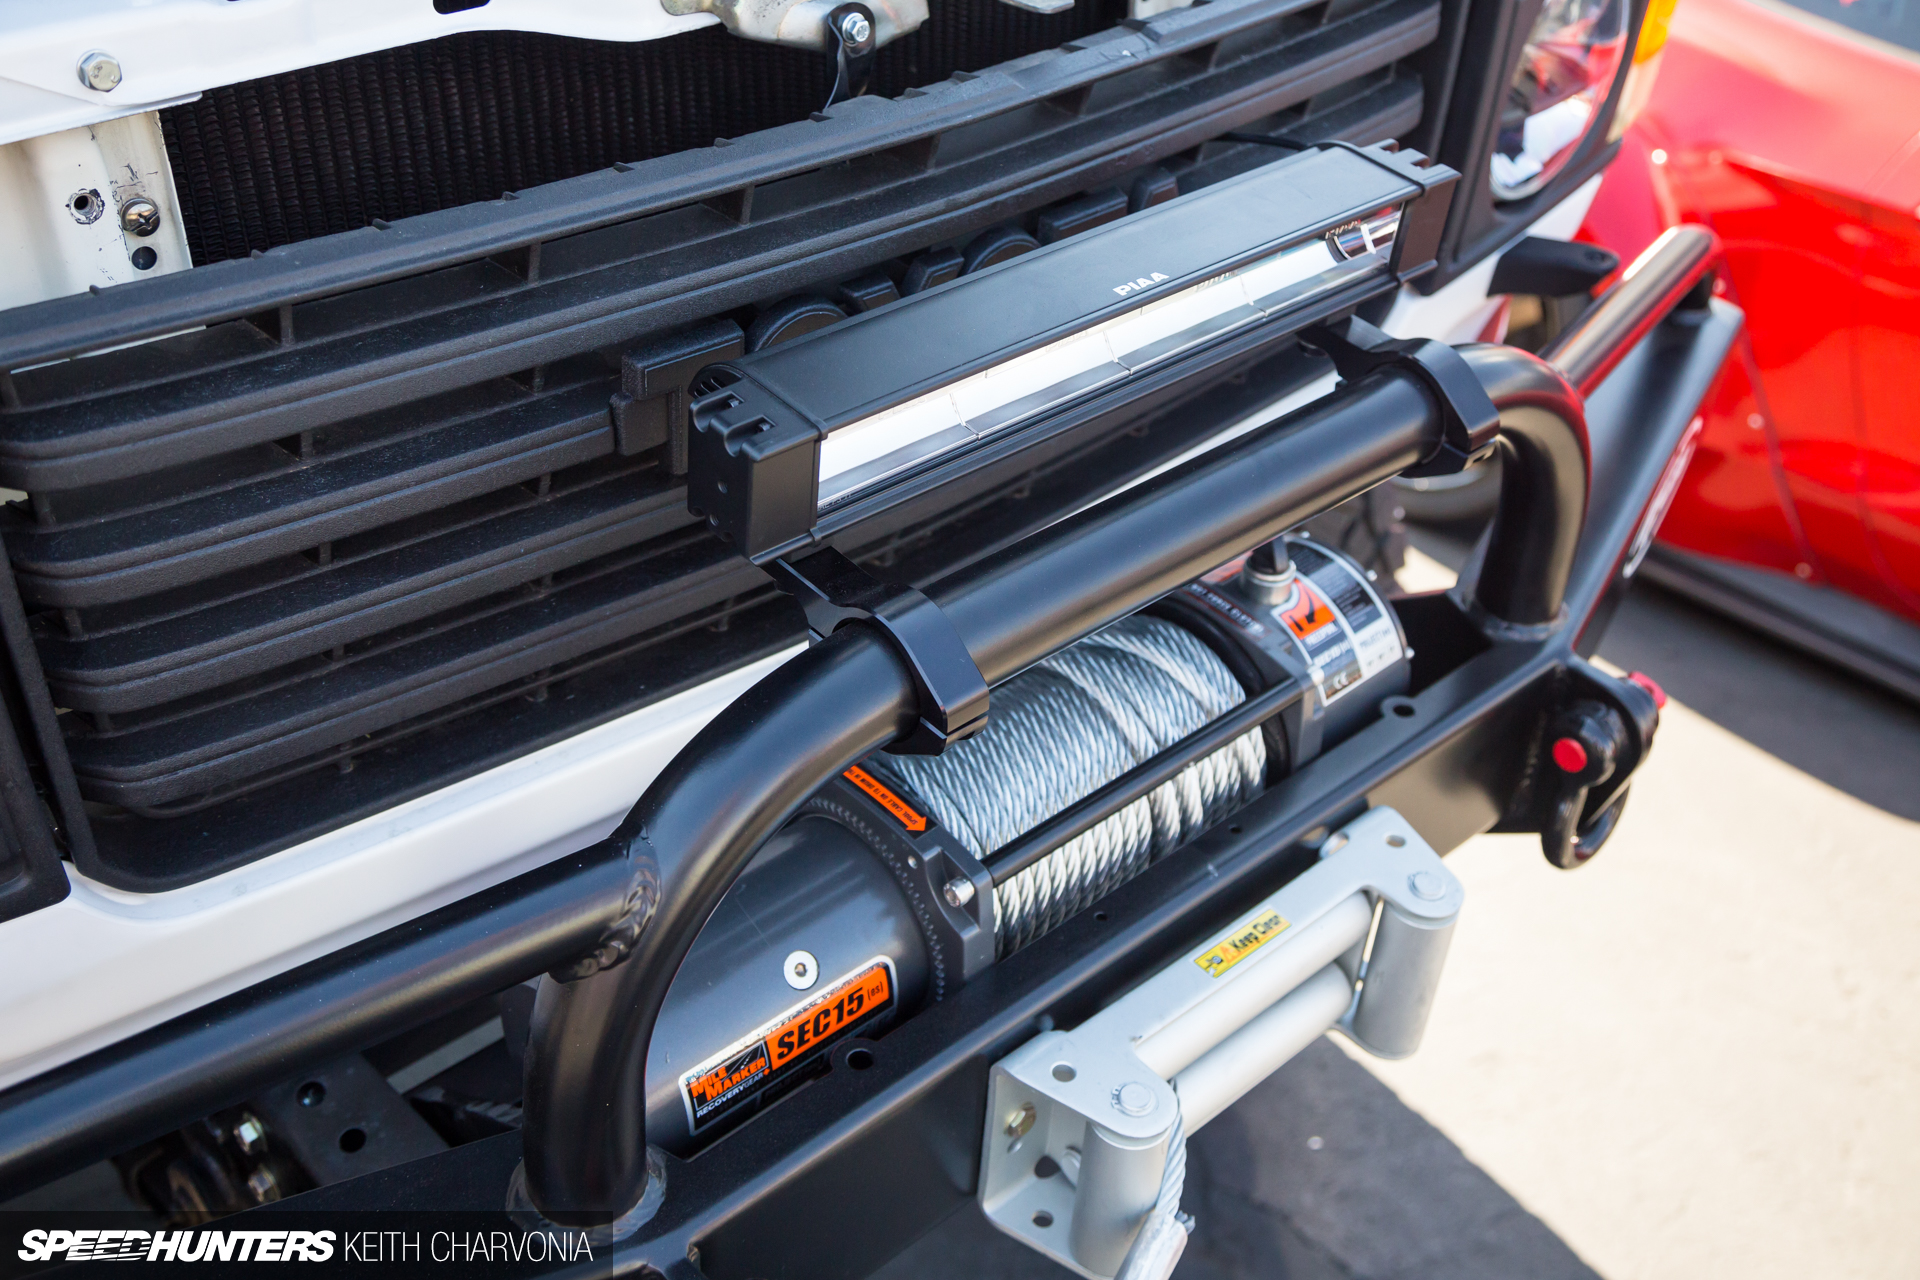
The front 4Plus bumper required similar work to install, but it really makes the front of the FJ. Now I had a home for my Mile Marker SEC15 winch, two more recovery points, and I could install a PIAA light bar.
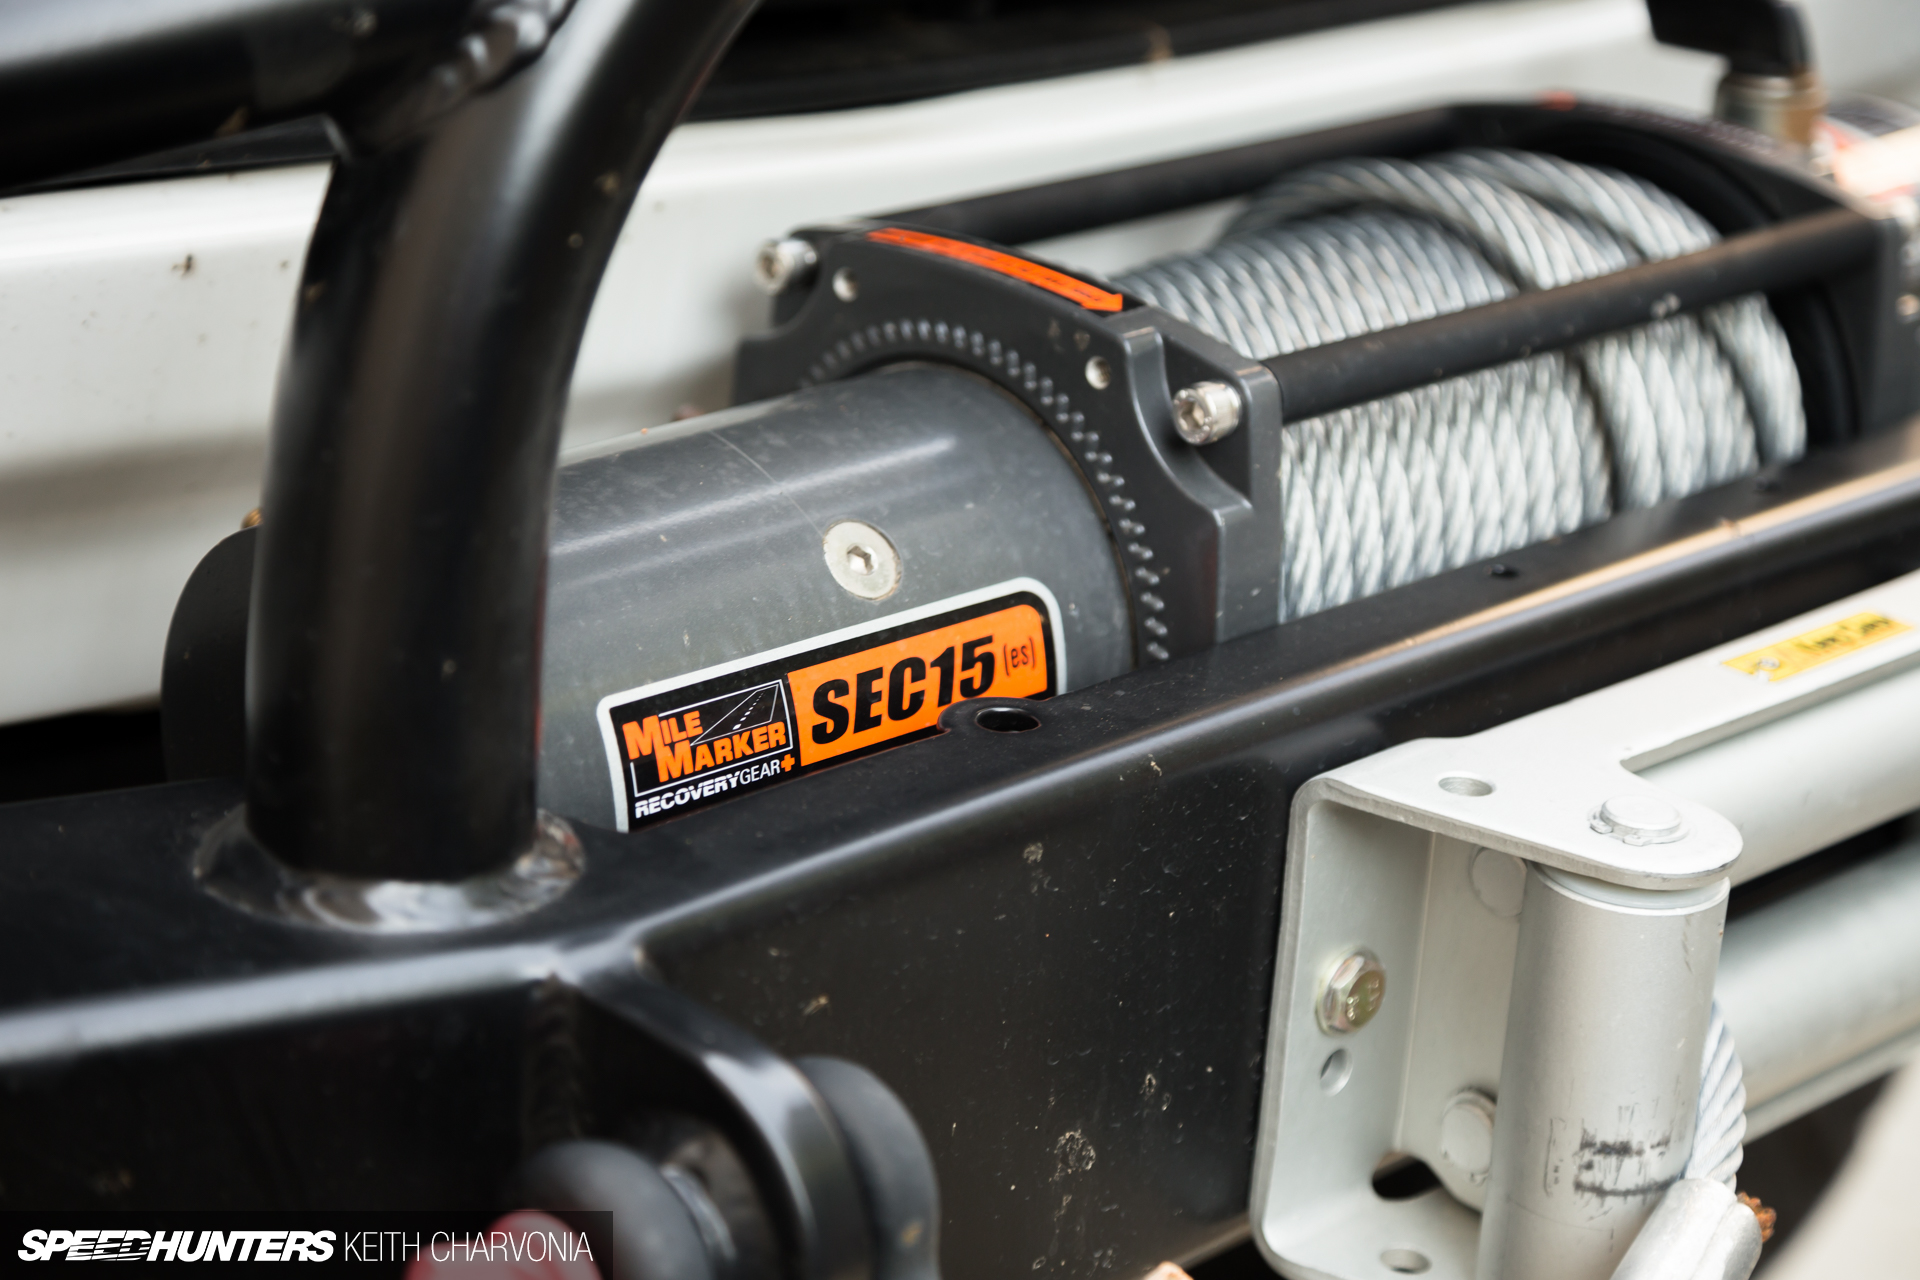
I still have a bit of work left to wire up the Mile Marker winch, but this will be very nice to have on the trail, giving me more confidence to tackle tough obstacles and knowing I can always winch myself out.
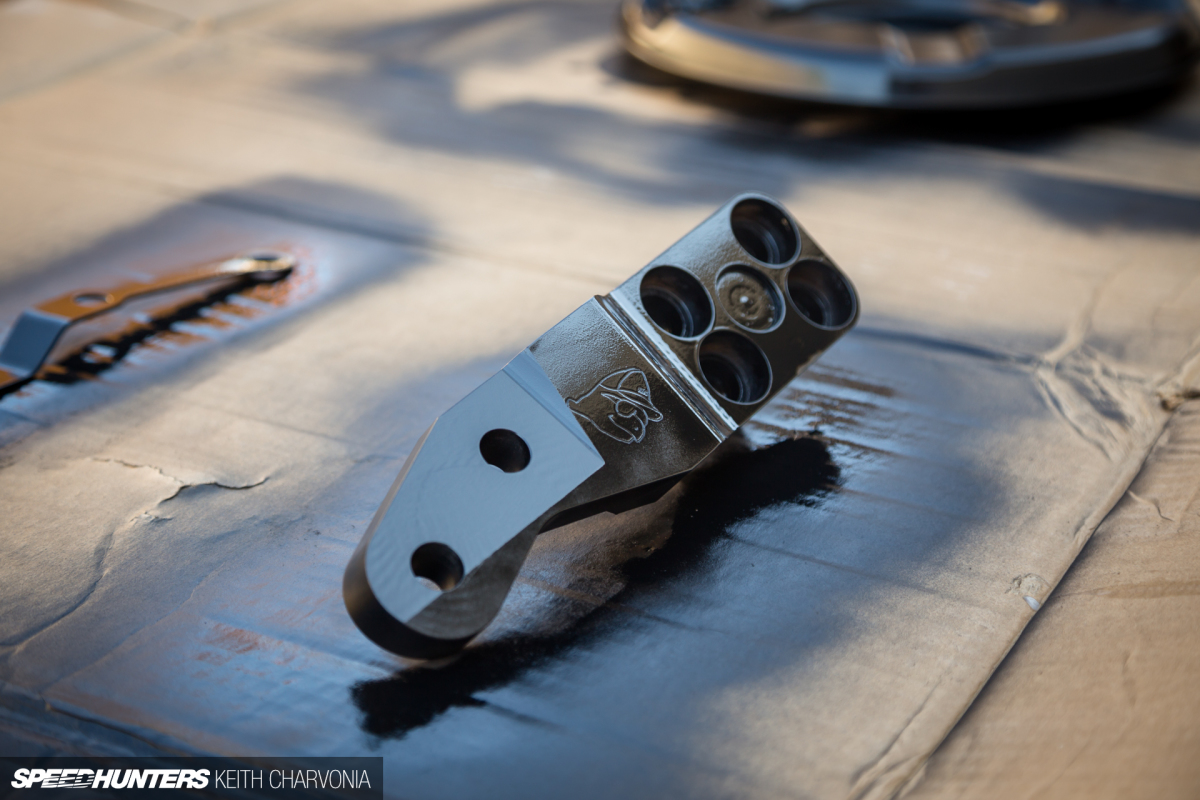
The hard rubber factory bump stops were no match for my fresh Icon shocks, so I ordered up a set of four SPC Performance JounceShocks. These will be my last line of defense from hard hits that bottom out the suspension.
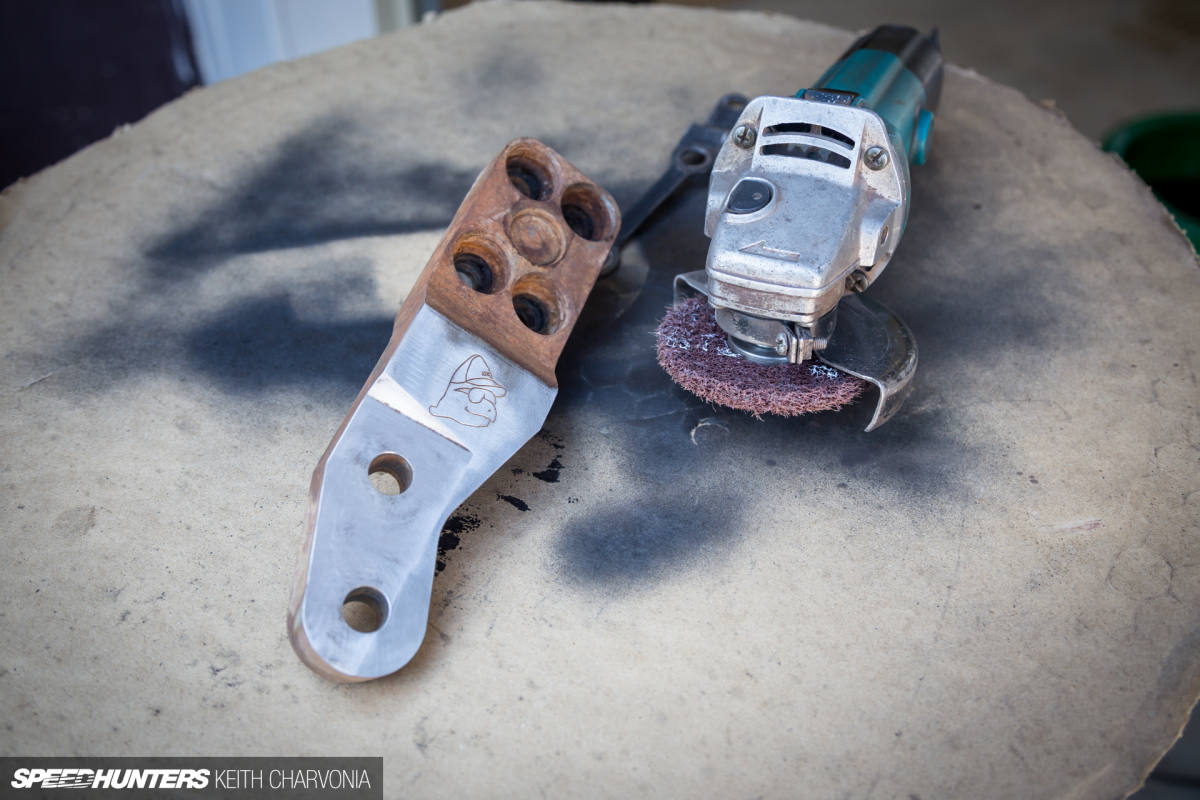
I used a mount SPC offers, but added a bracket to the side so it would bolt firmly to the bottom and side of the frame.
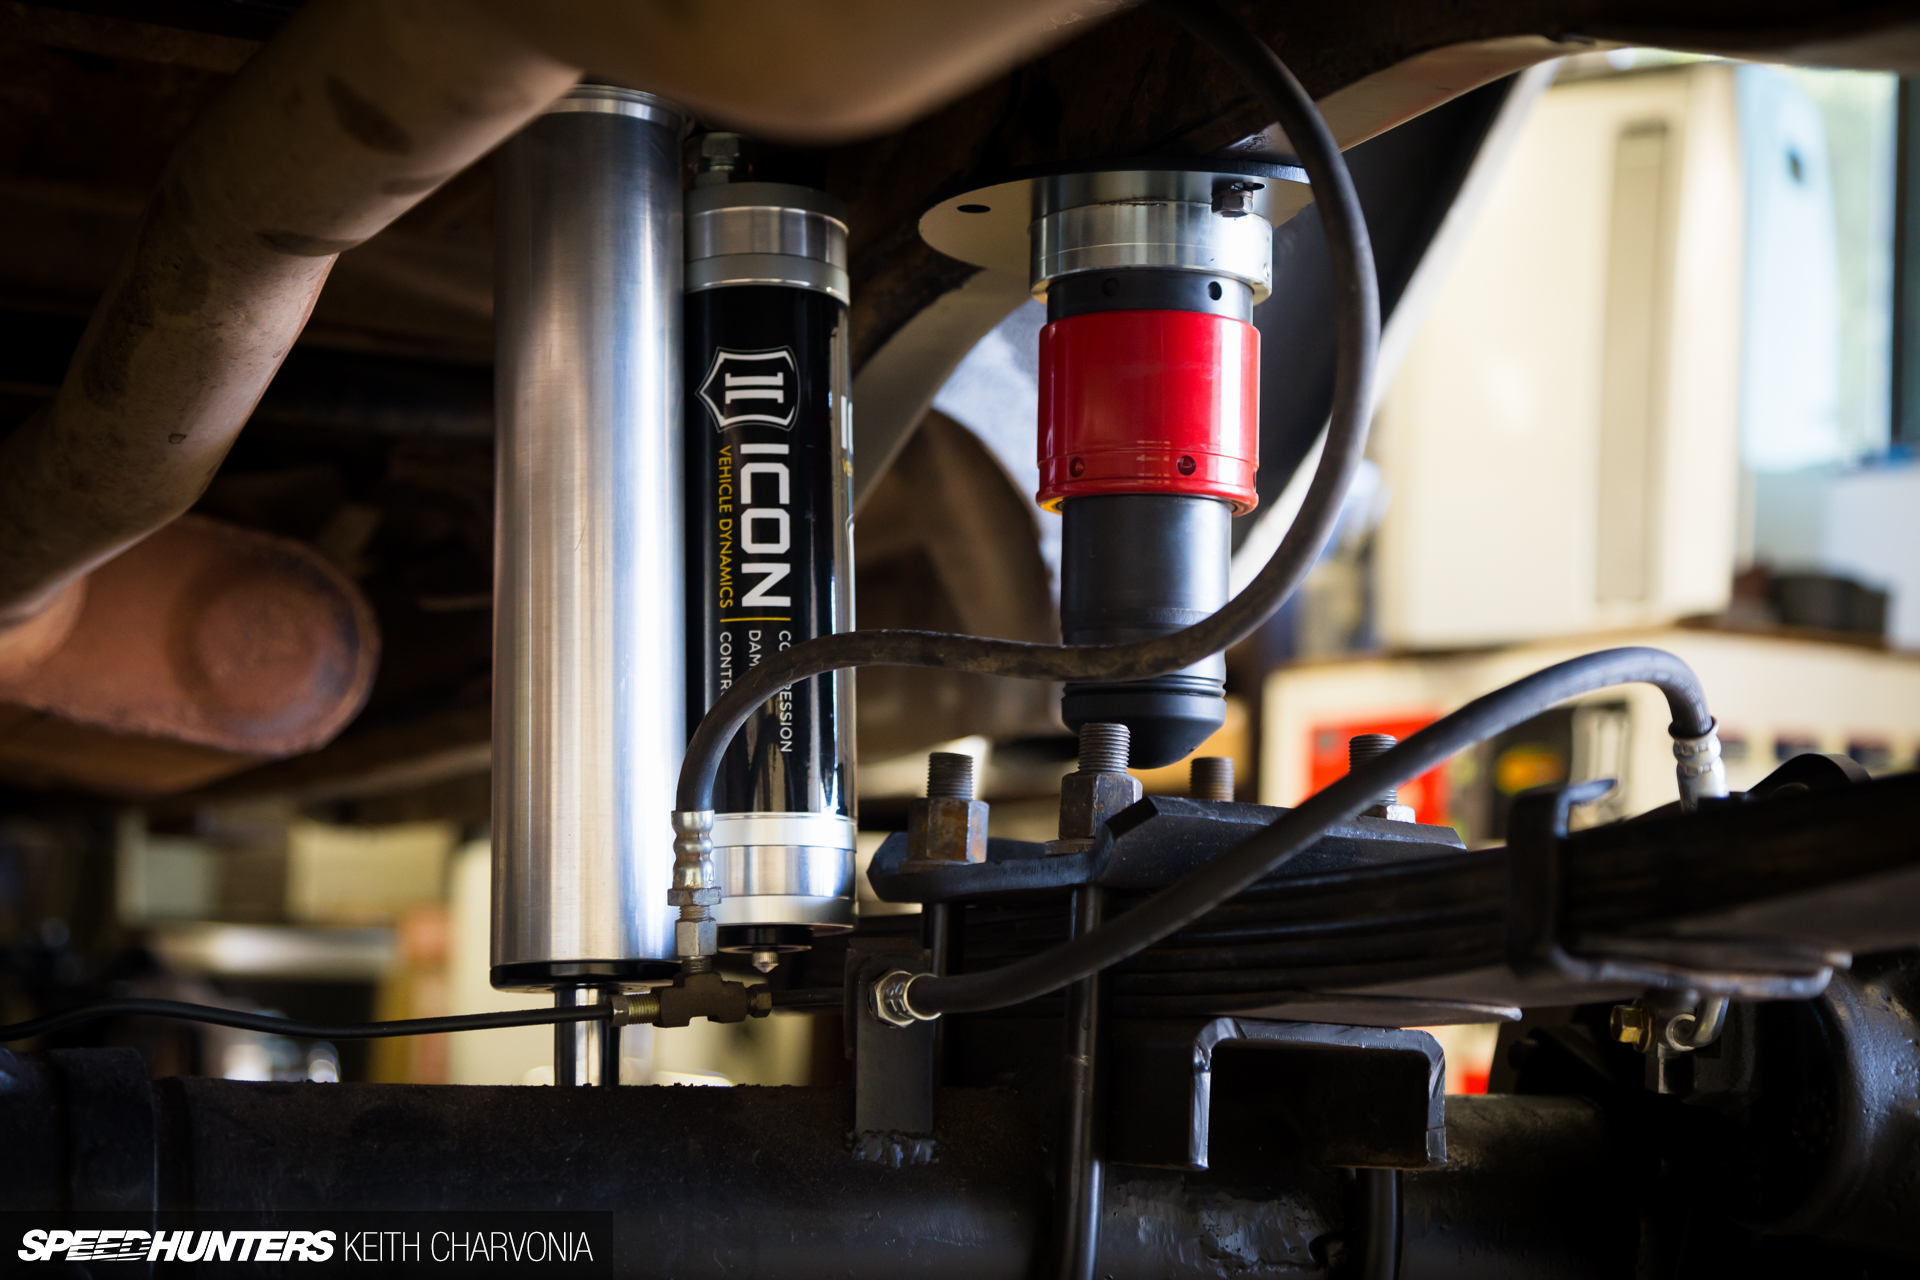
Now I can fine tune my Icon 2.5 shocks, and also tune the JounceShocks with nitrogen pressure to get the best travel and ride possible. I can’t wait to dial in this new setup.
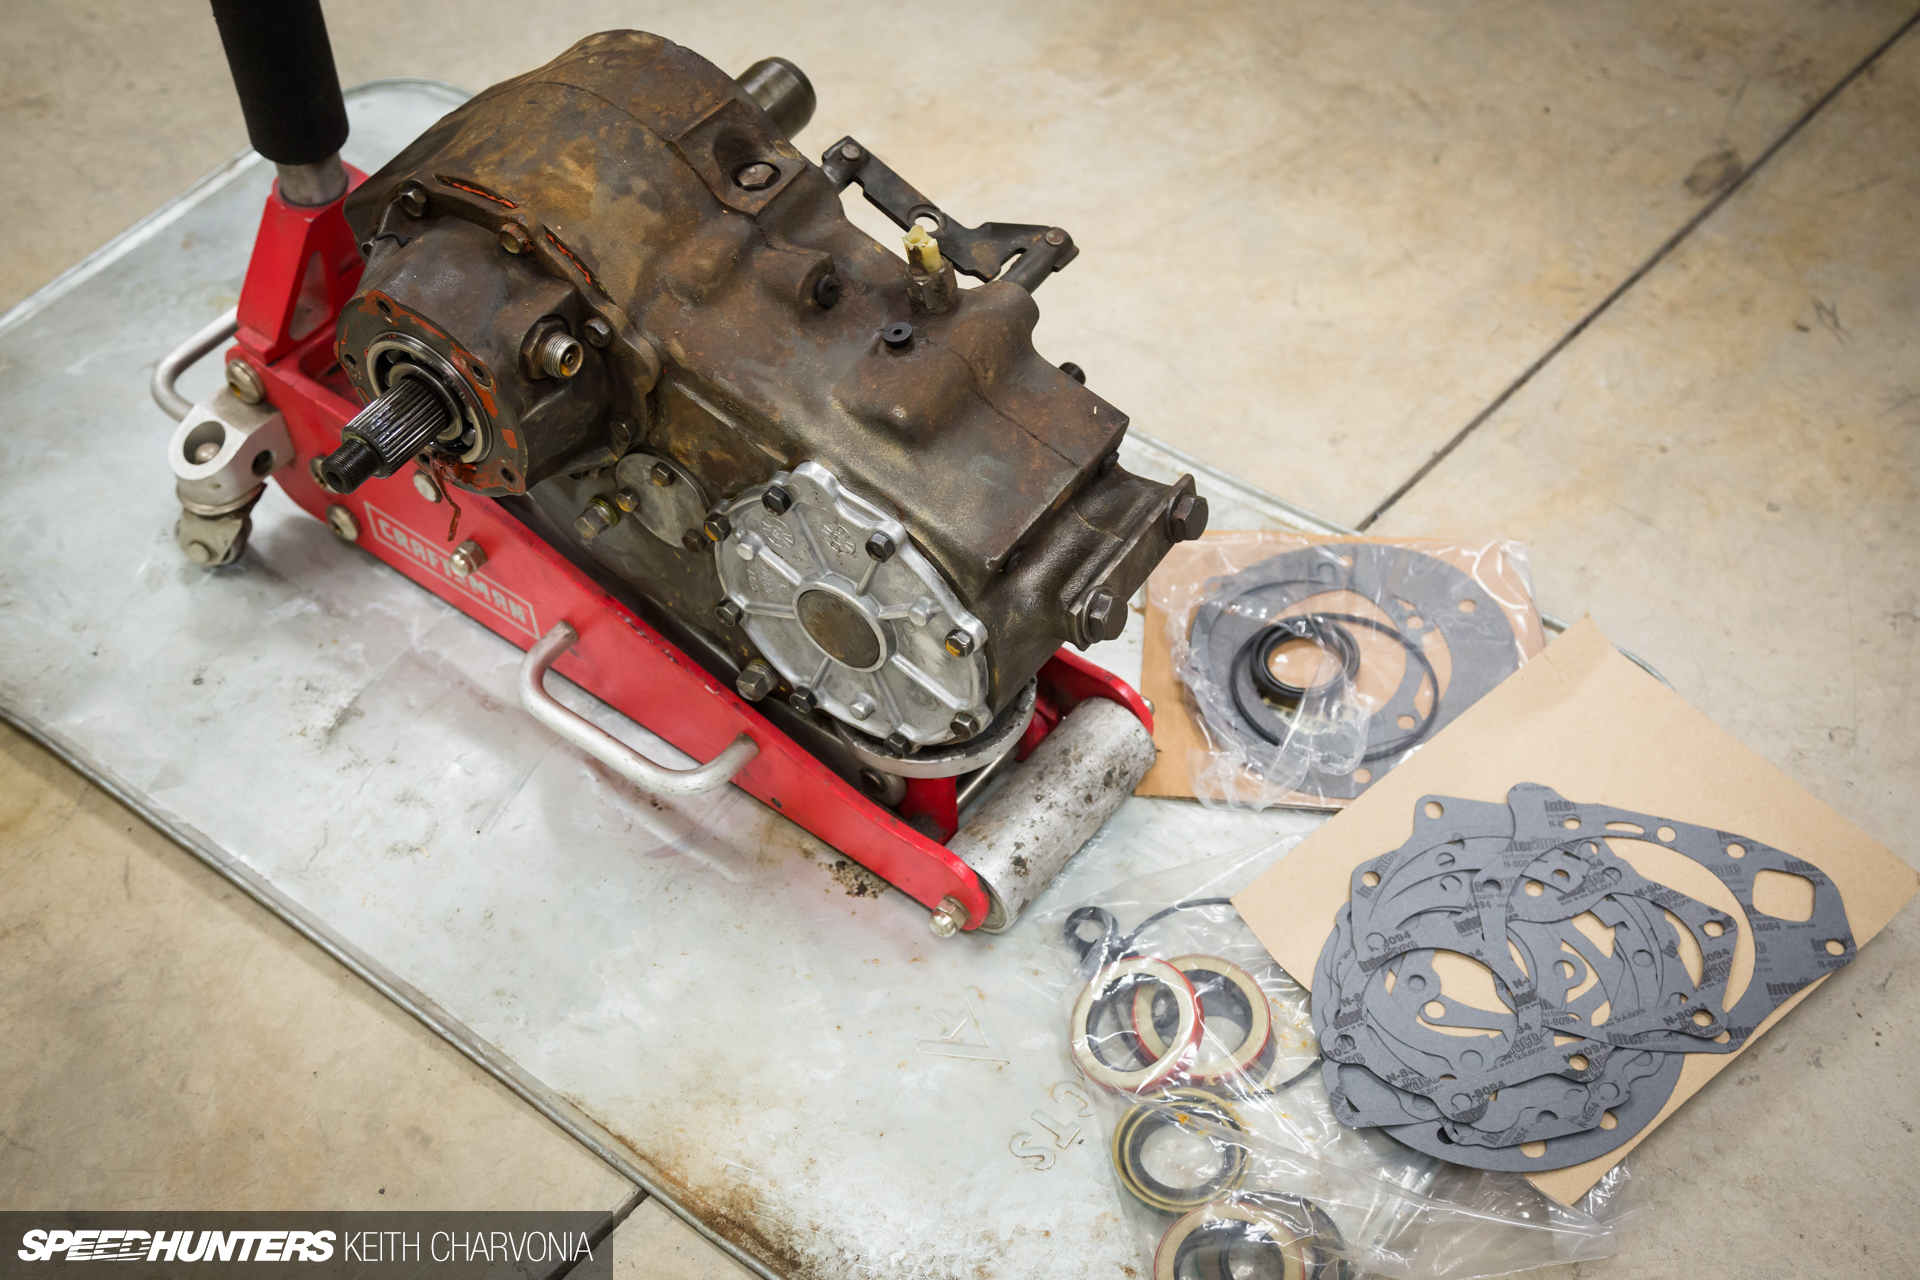
The last messy task was to pull out the NP205 transfer case and completely reseal it.

While the t-case was out, I went ahead and boxed the ends of this crossmember made by the previous owner. I just hated looking at the jagged cuts and the gear oil that was leaking inside the rectangular box tubing.
With that done I cleaned the dirt off the frame rails and crossmembers and applied a nice coat of POR15 chassis paint. POR15 is the standard for rust protection, and produces a nice finish without a lot of fuss.
Bodywork & AERO Paint Film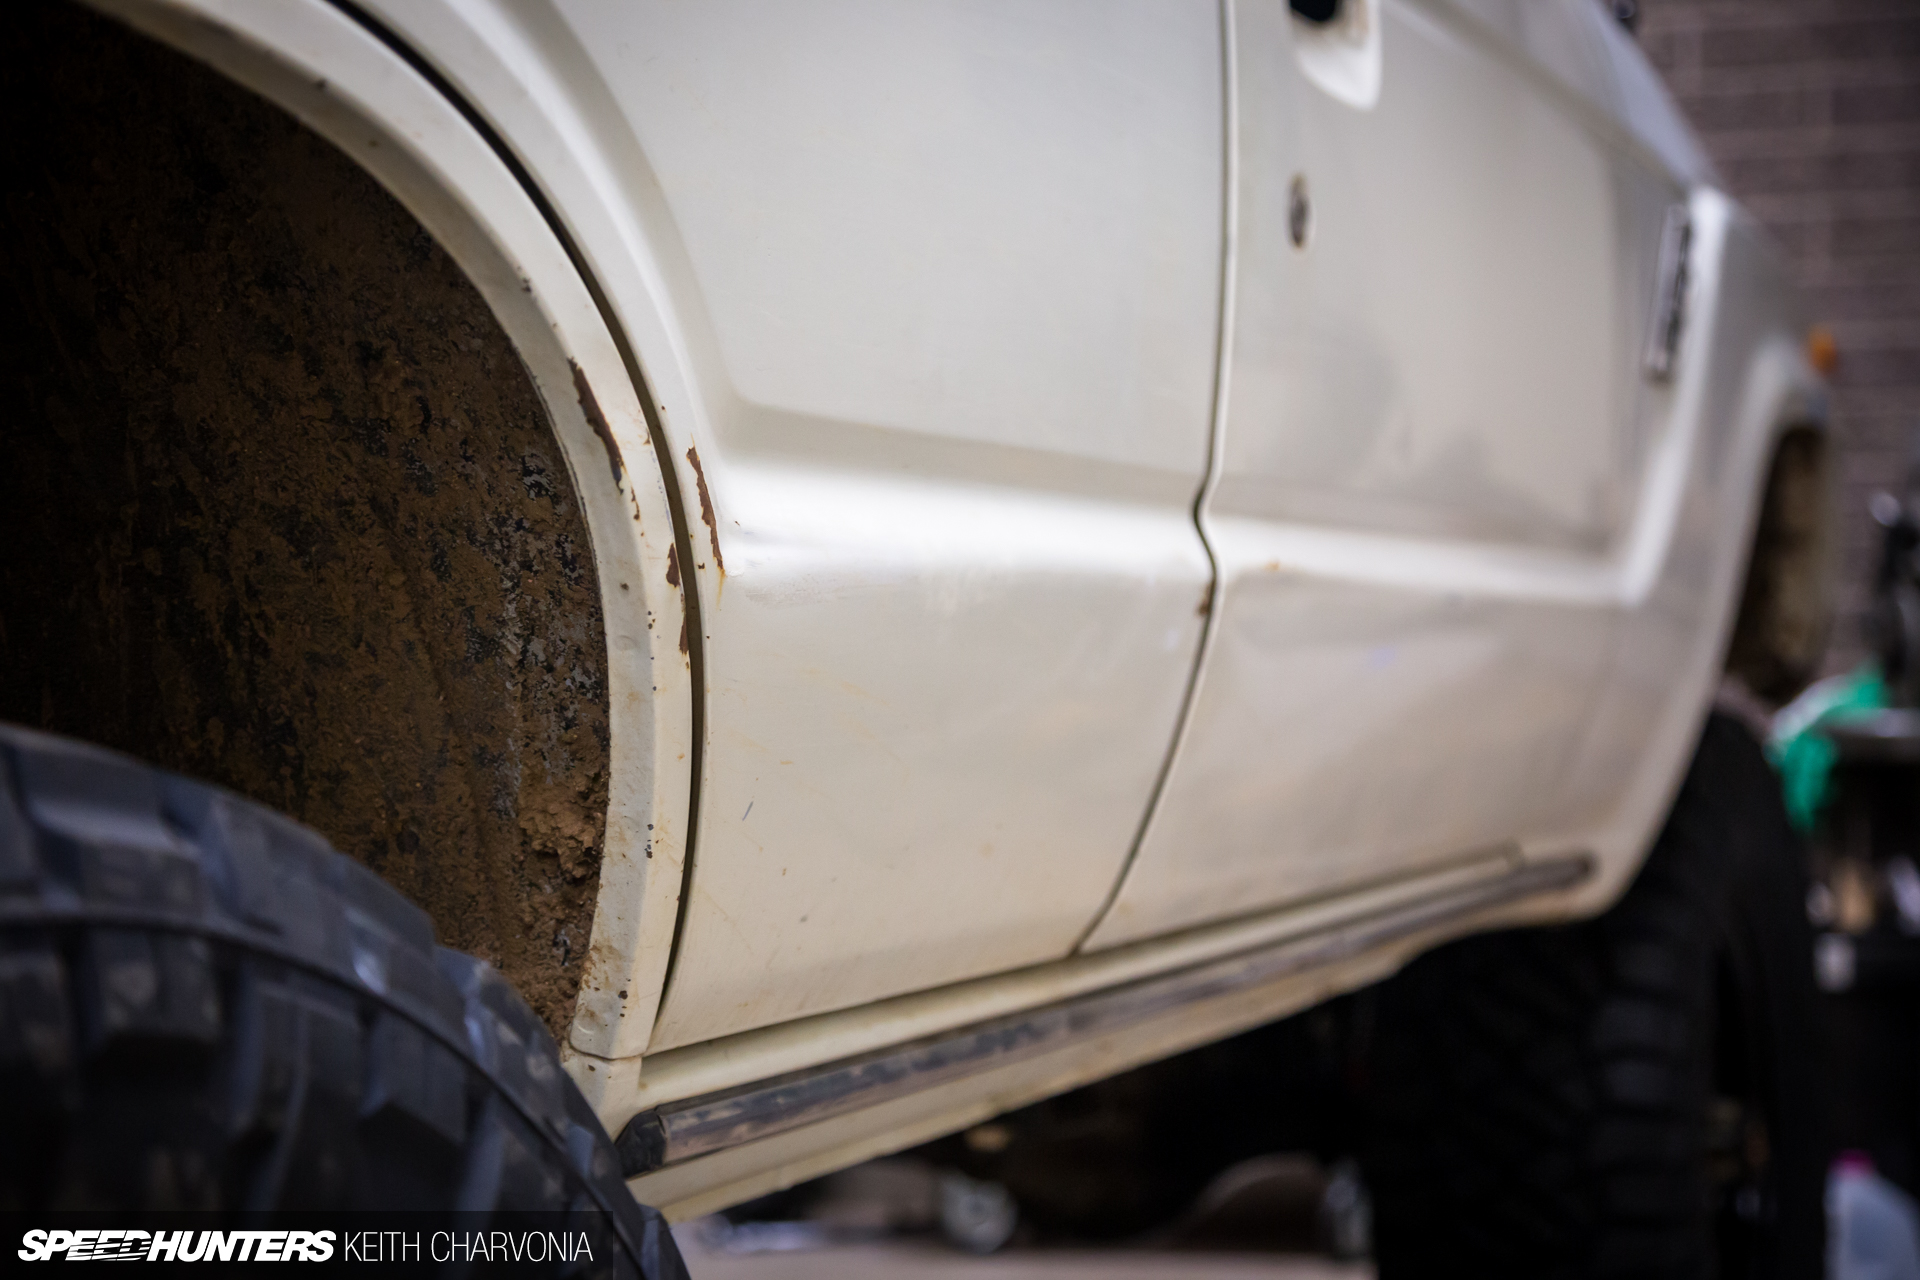
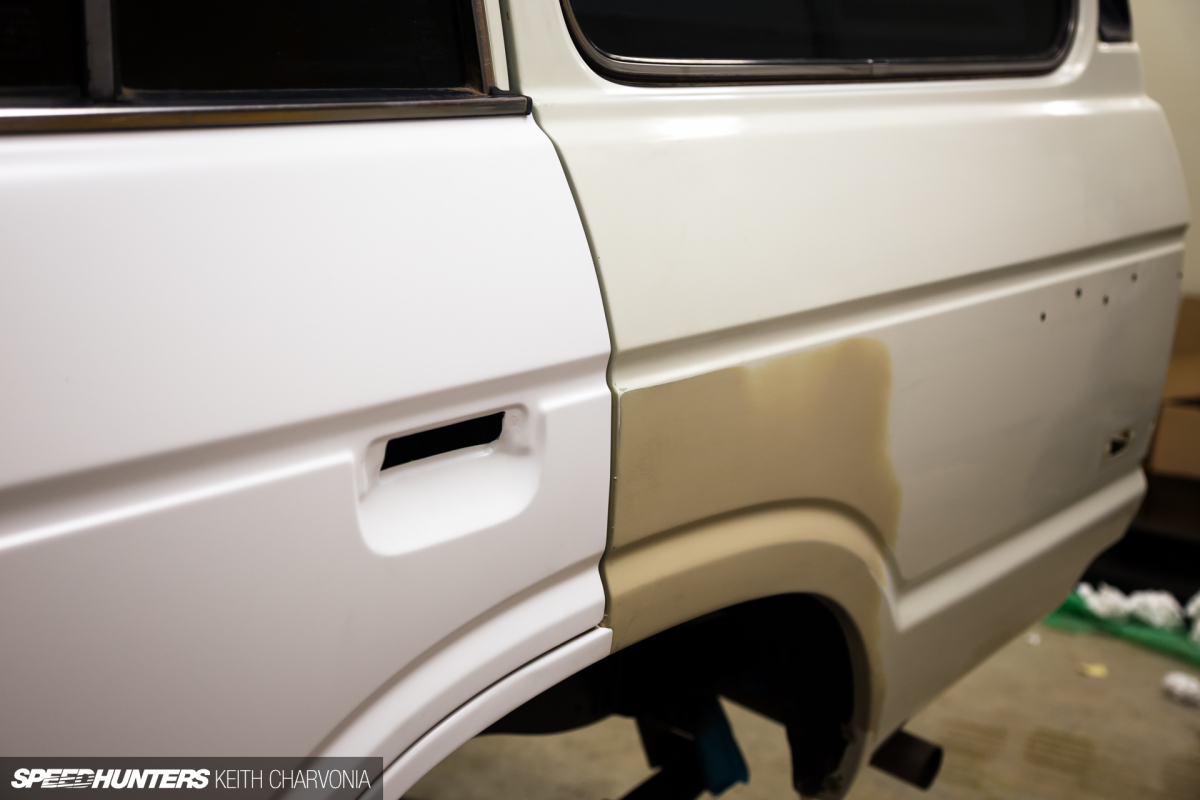
The Trailhunter’s doors and quarter panels were pretty beat up from a life of off-roading by its previous owners, so I decided to ask my friend Colin at Elite Auto Creations to spend a weekend on it. The body didn’t have to be perfect, but I wanted it to be fairly straight before we moved onto the next stage.
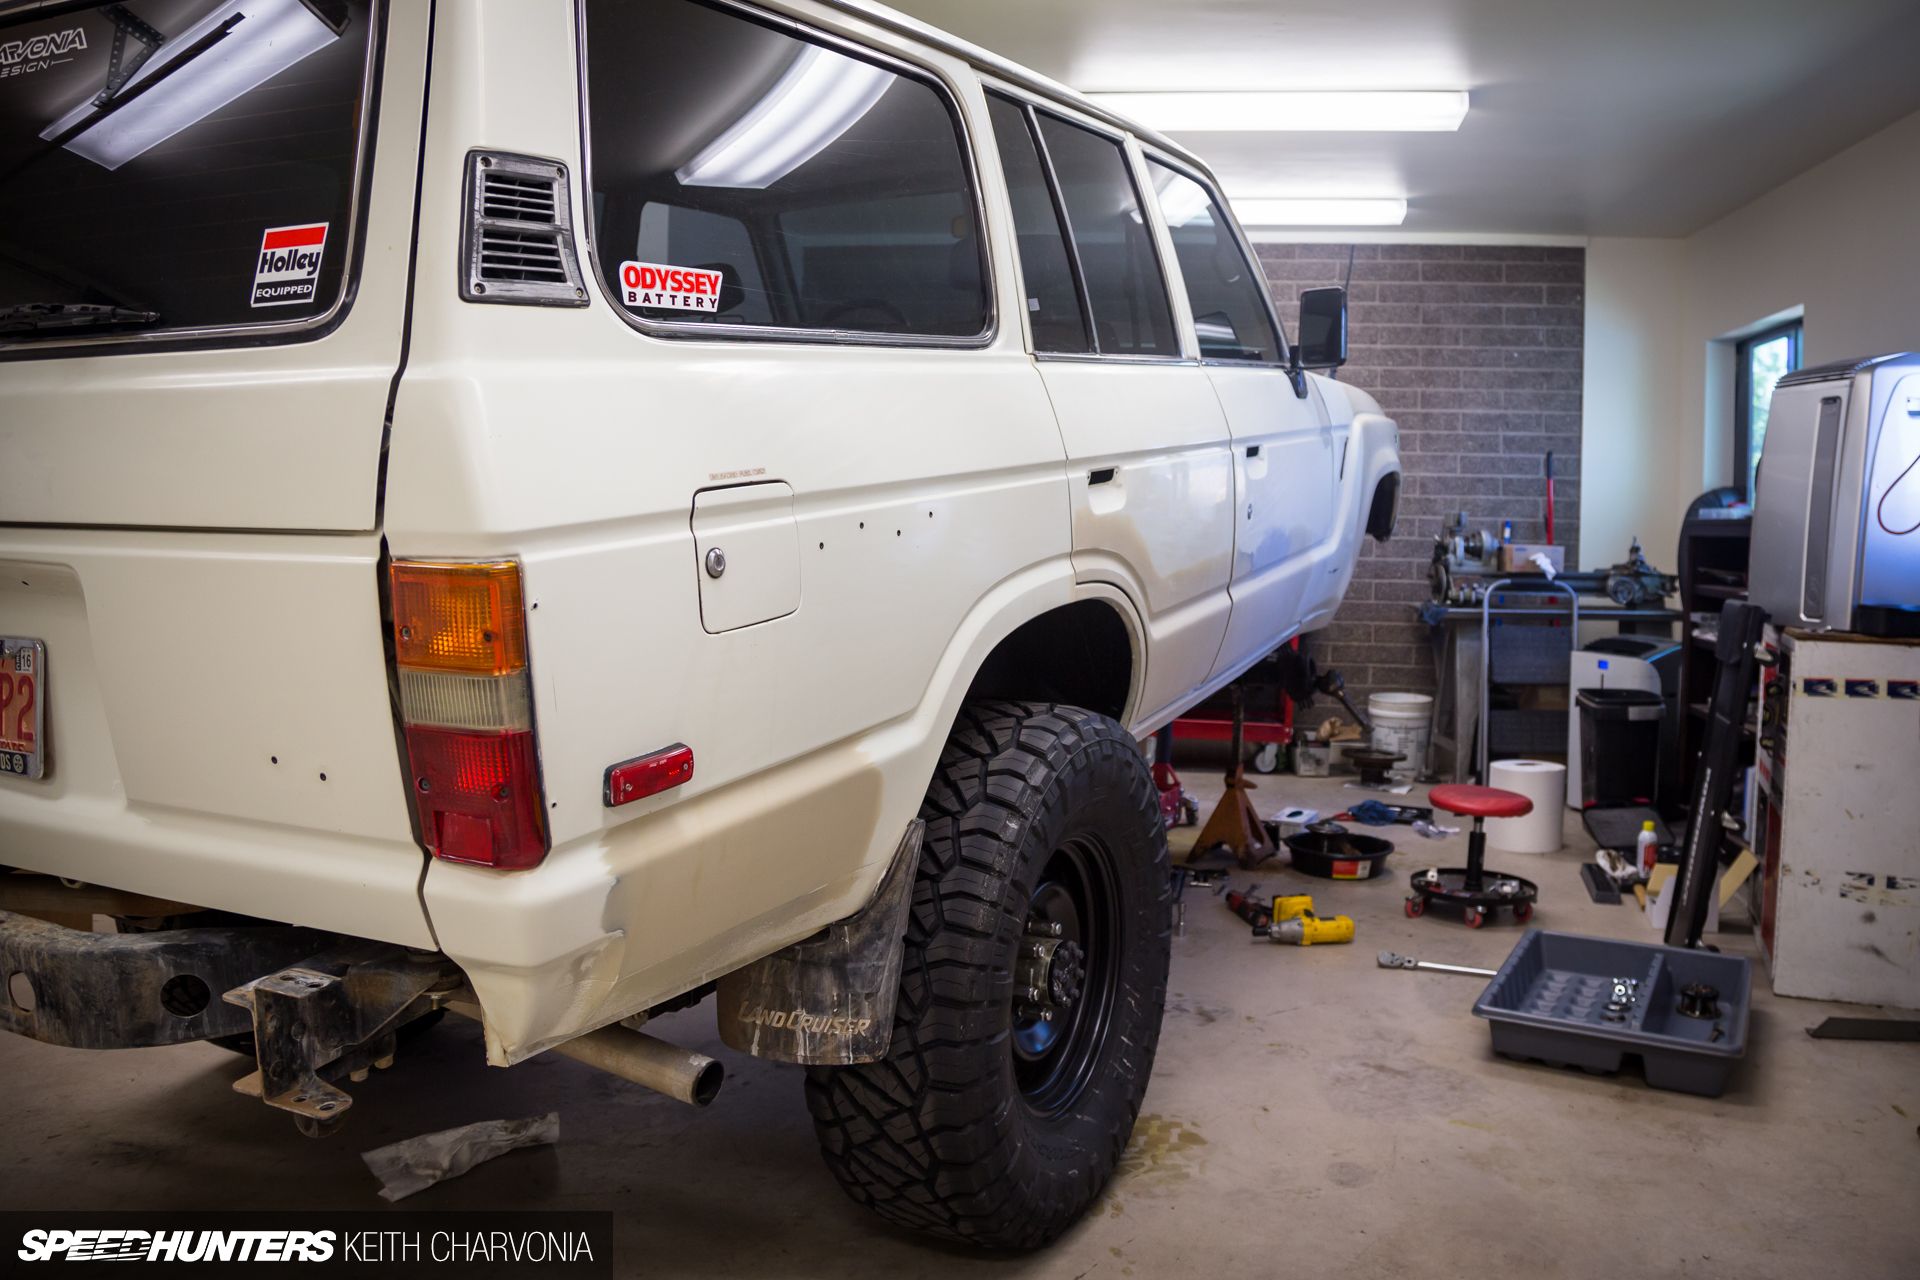
As you can see he fixed up the worst of it, then spot-primed each area that needed bodywork.
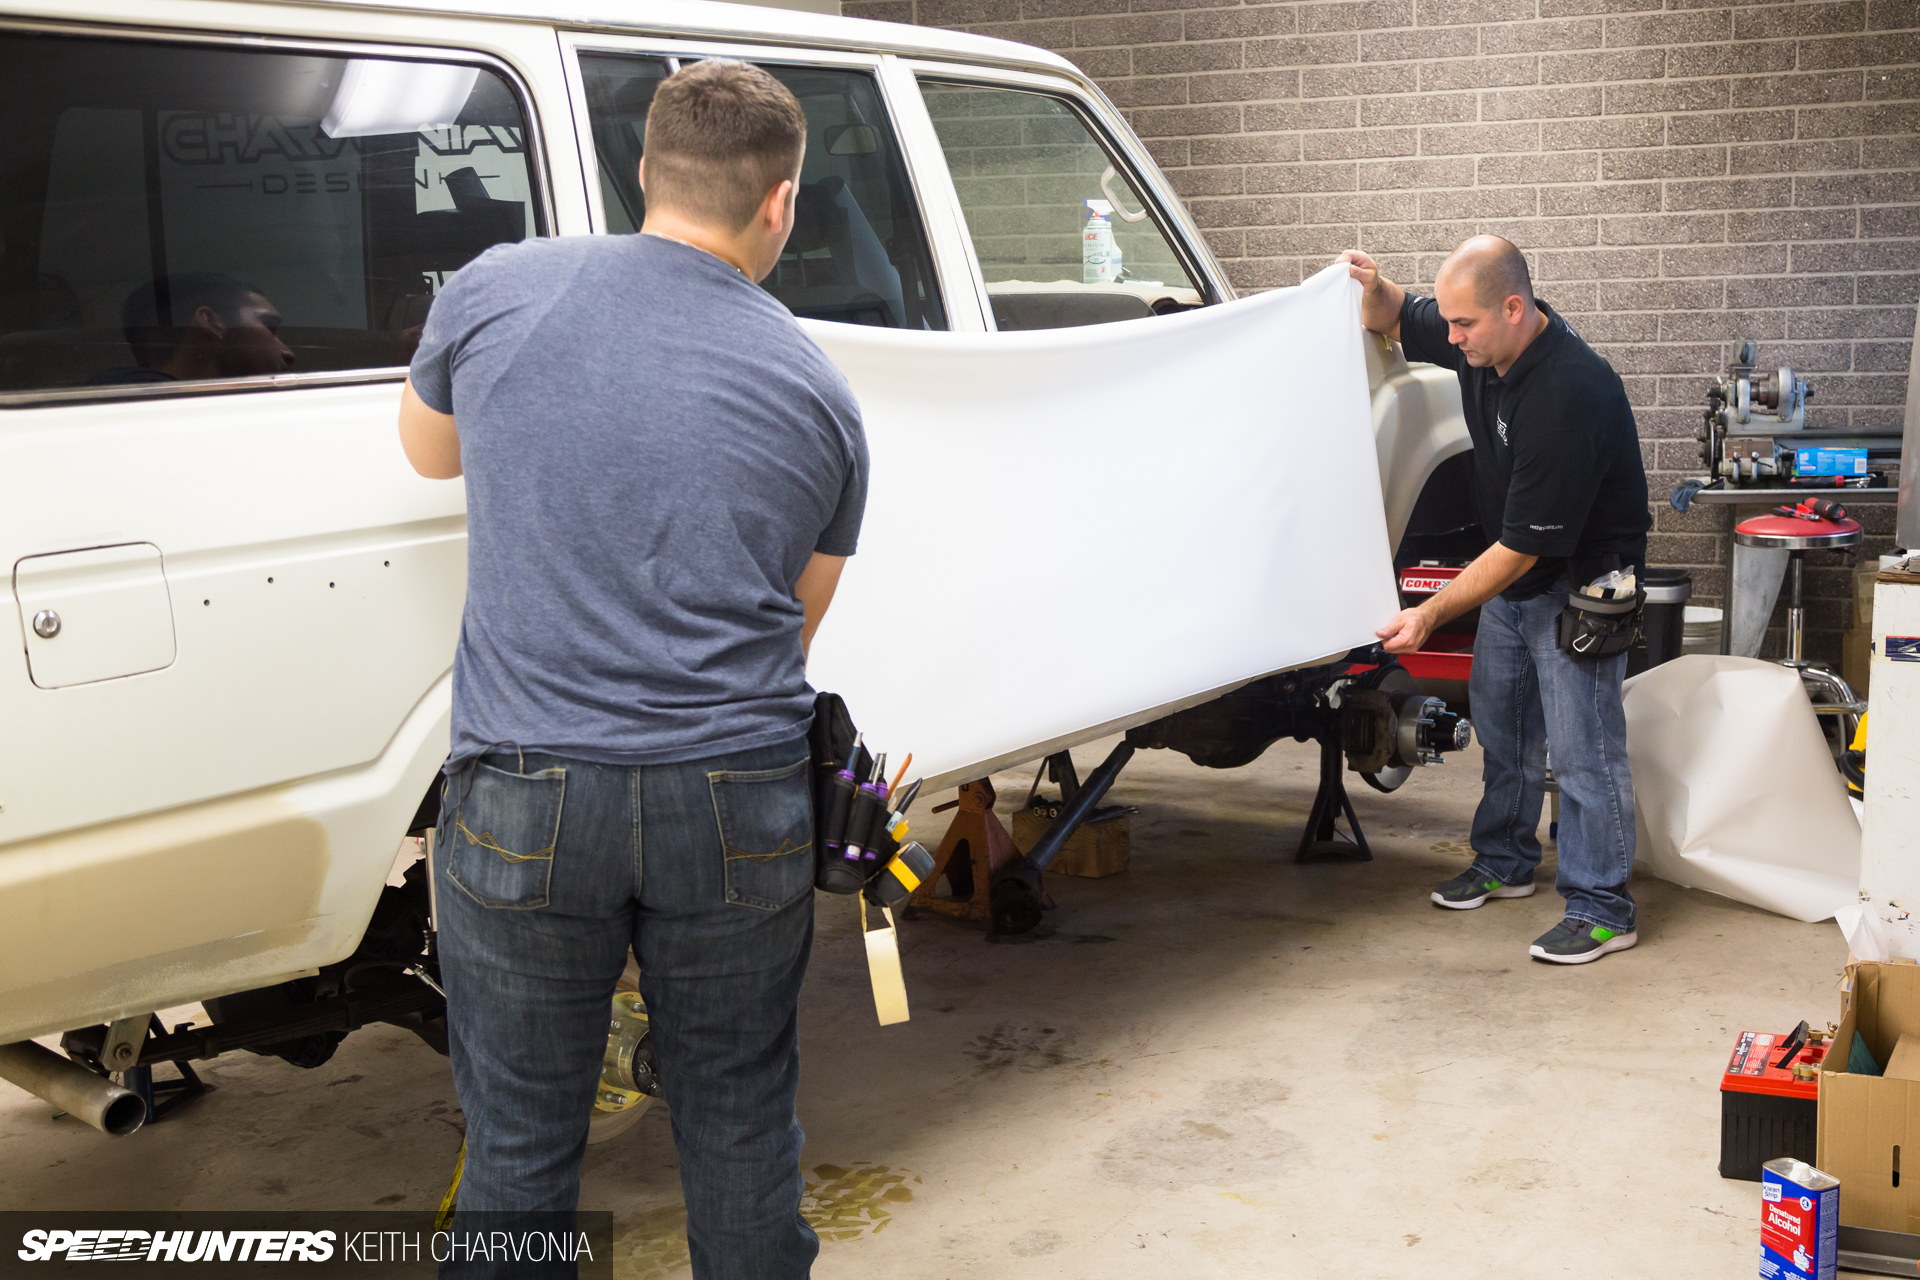
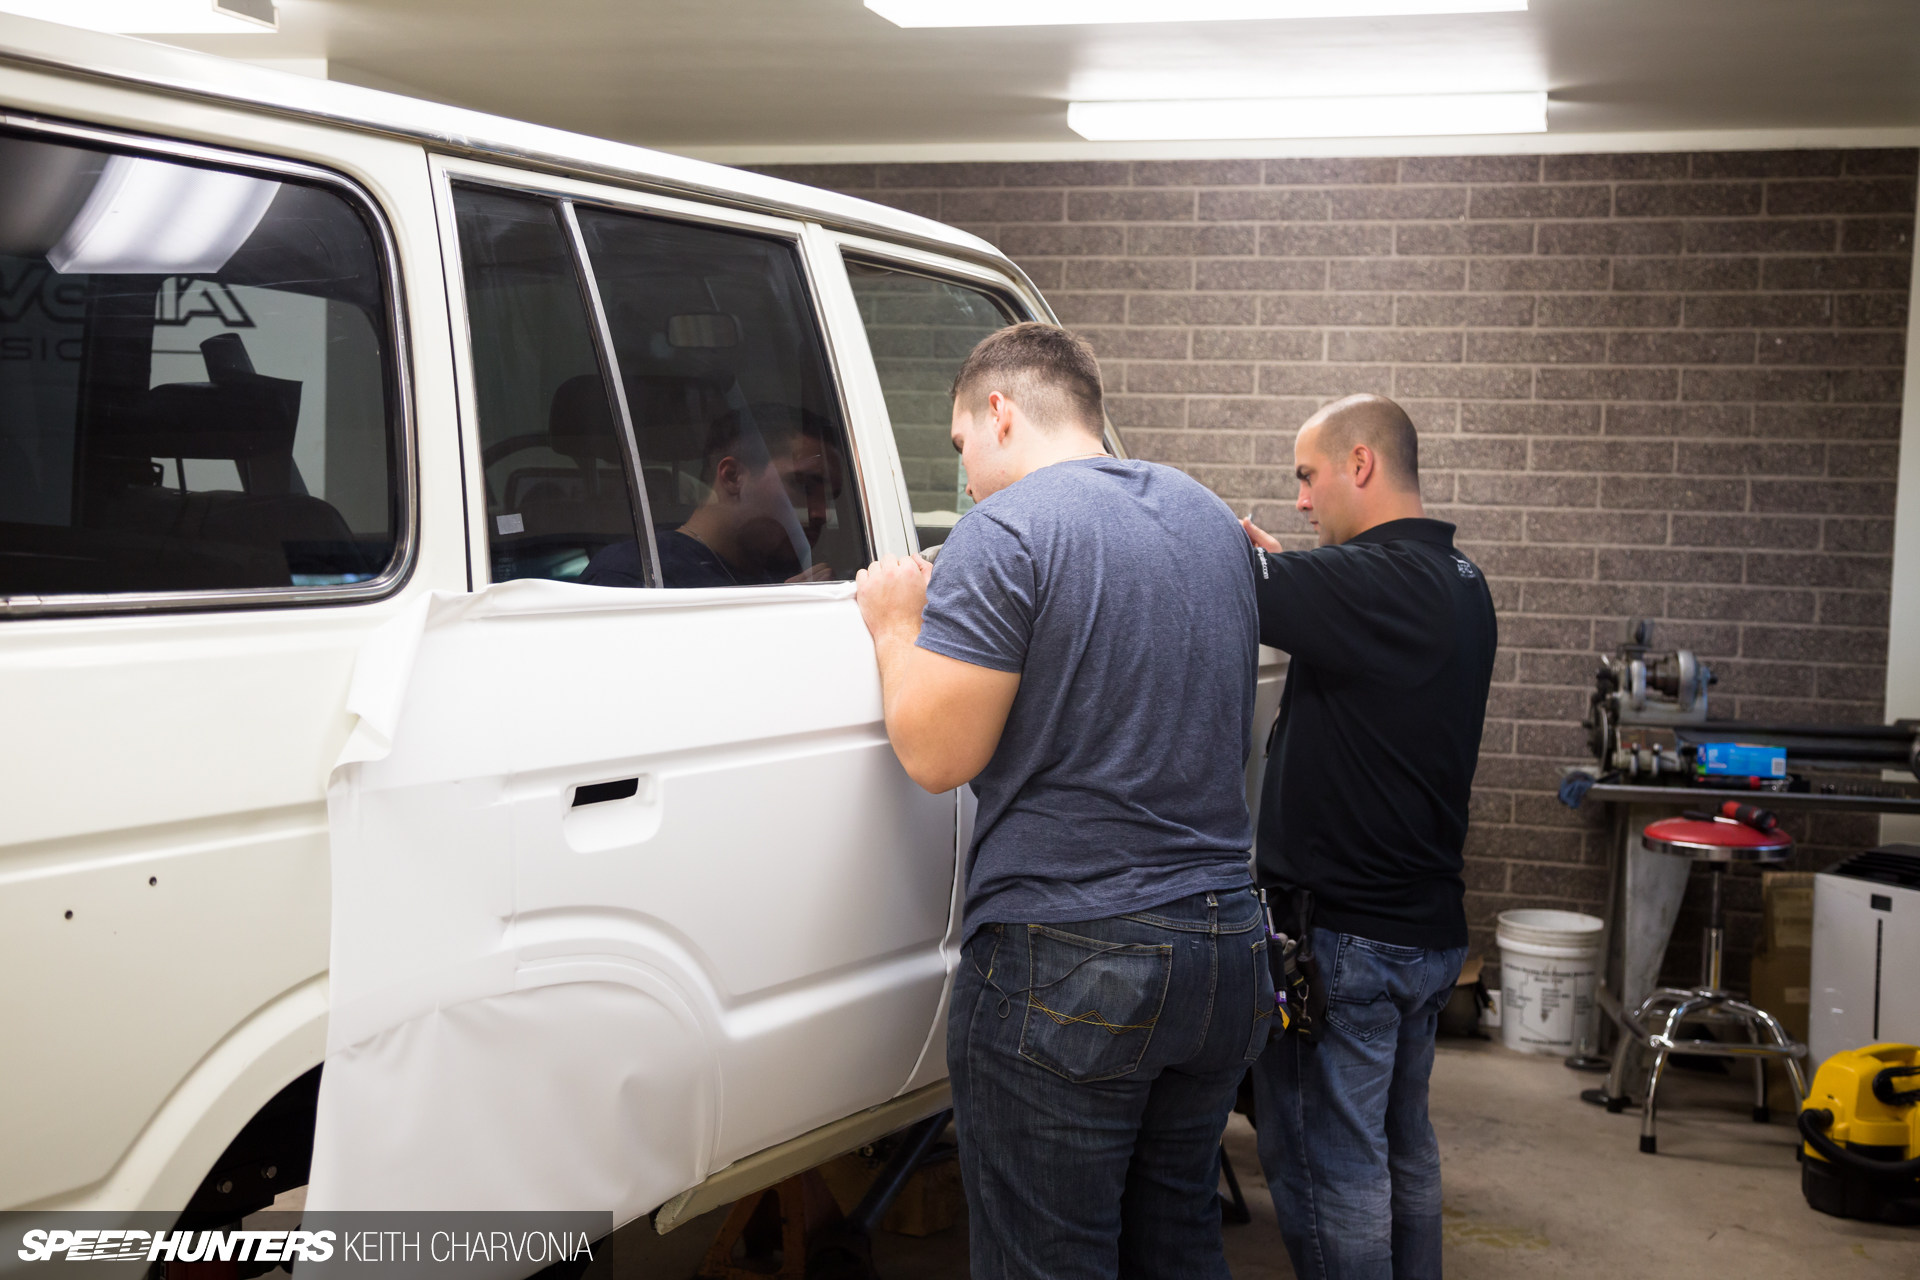
This was necessary because AERO Advanced Paint Technology would be installing a new livery. There was no way I was going to ask them to install their film over wavy body panels! Here we see Shane Scott form AERO, along with Alex, a second generation wrap installer who was eager to lend a hand and learn how to work with a new material. It was awesome to watch these two masters of their trade working on my Land Cruiser.
I went with AERO for a couple of reasons. Firstly, I really didn’t want to spend a bunch of money painting my FJ60, only to watch the new paint job get destroyed every time I took it off-road.

Secondly, AERO’s paint film is also better than a conventional vinyl wrap because it’s much more durable.

You would typically find this type of film on Formula 1 and IndyCars, but we thought the Trailhunter was a good vehicle to test the durability of AERO in a harsh off-road environment. AERO’s testing has including things like pointing a sandblaster directly at the film to see how long it would last, so I think it should hold up to the trails just fine.
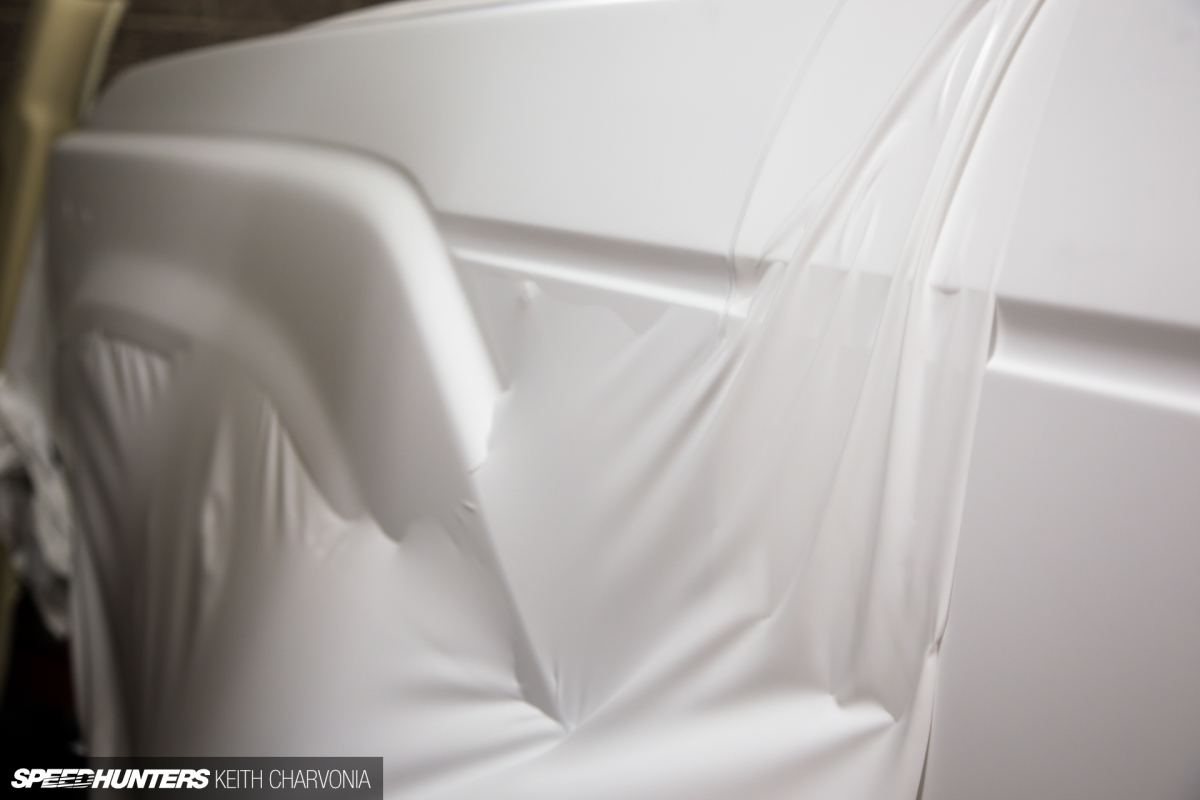
It was a beautiful sight to watch the Trailhunter transform back to bright white, covering up all the primer spots and dingy paint.
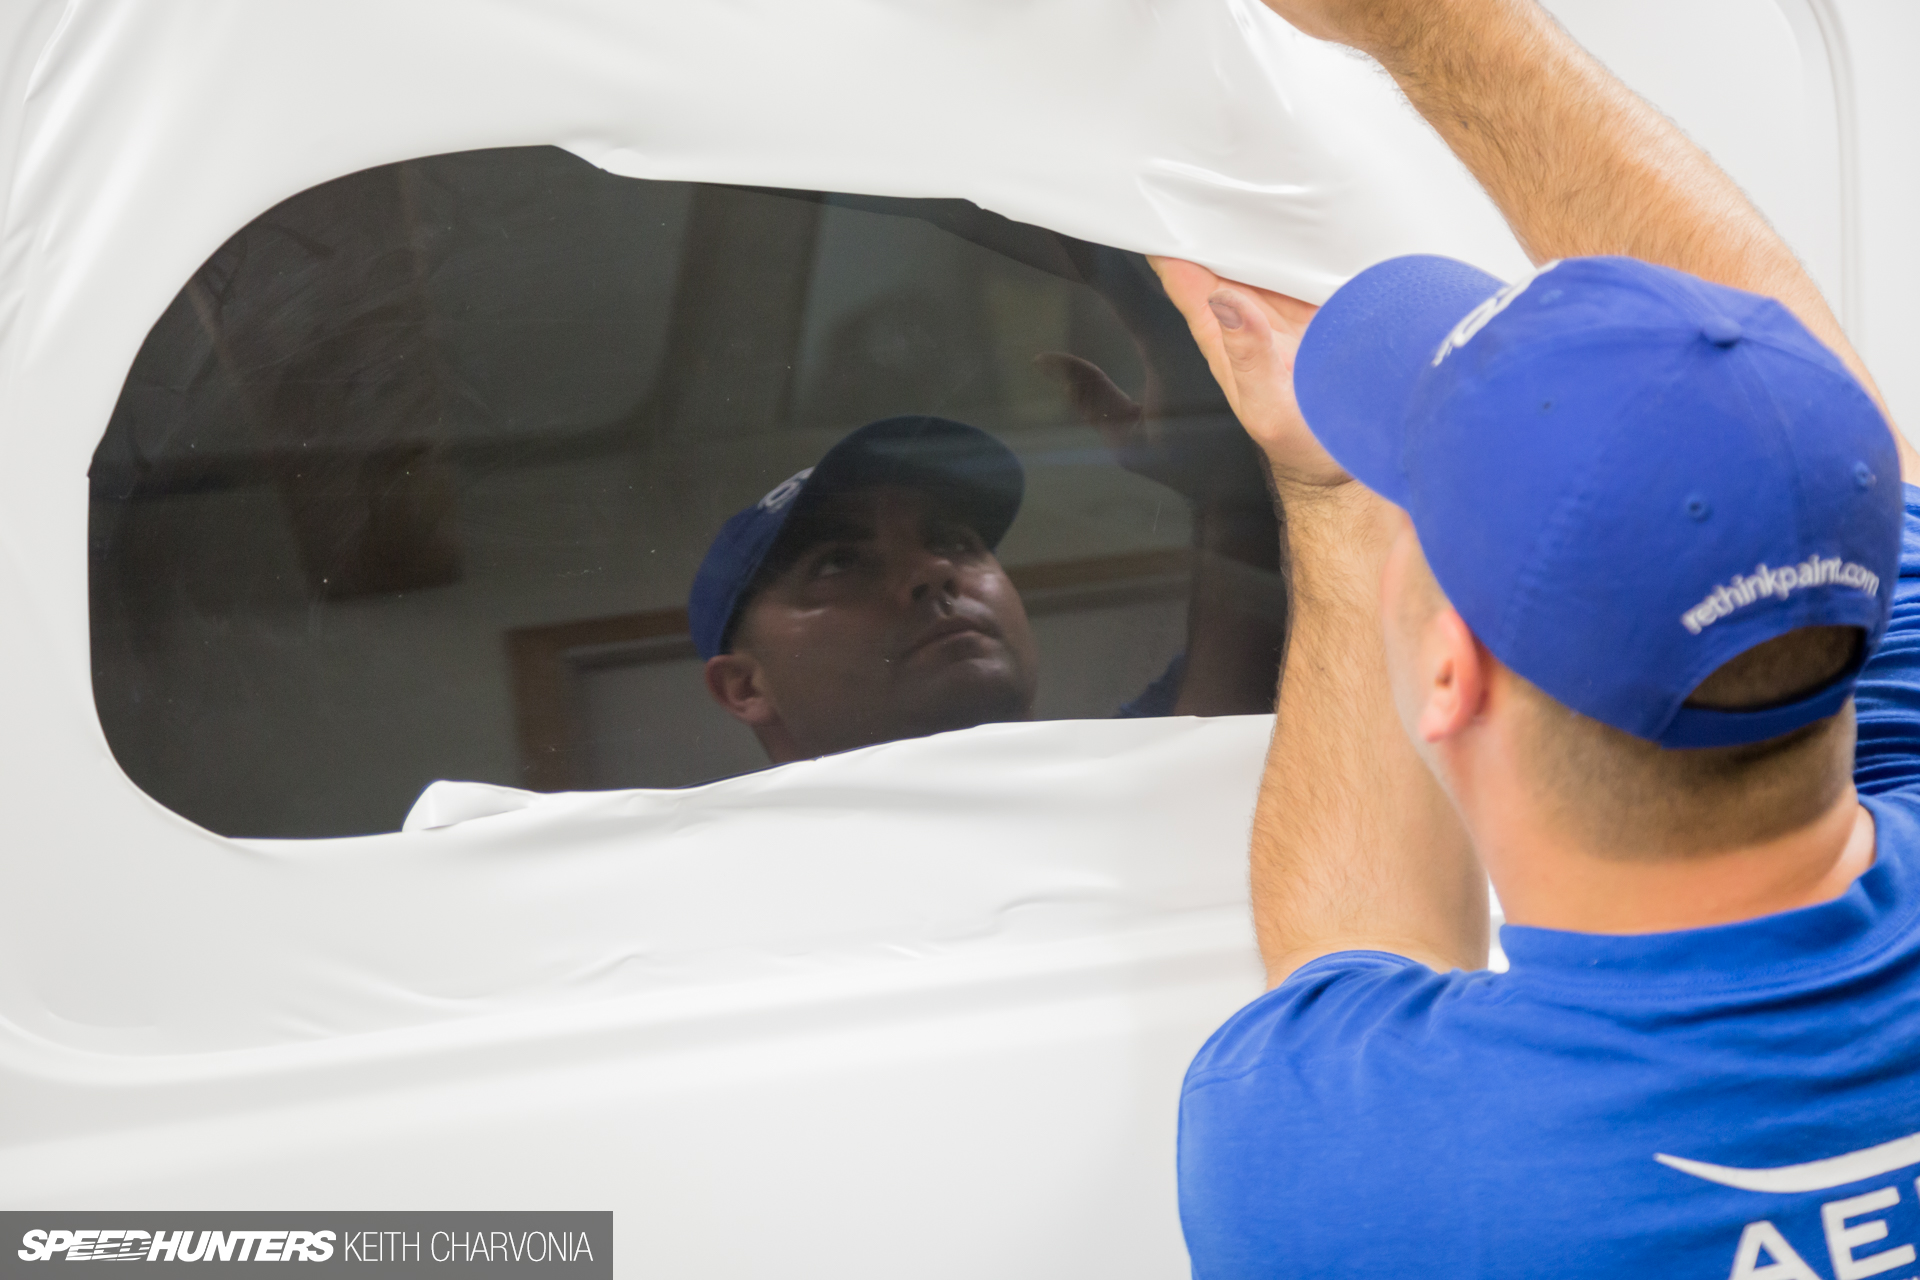
Shane is no ordinary installer, he works in product development for AERO, so as he installed the matte white-painted film he was also gaining valuable insight into how it performed over the top of 30-year-old paint.
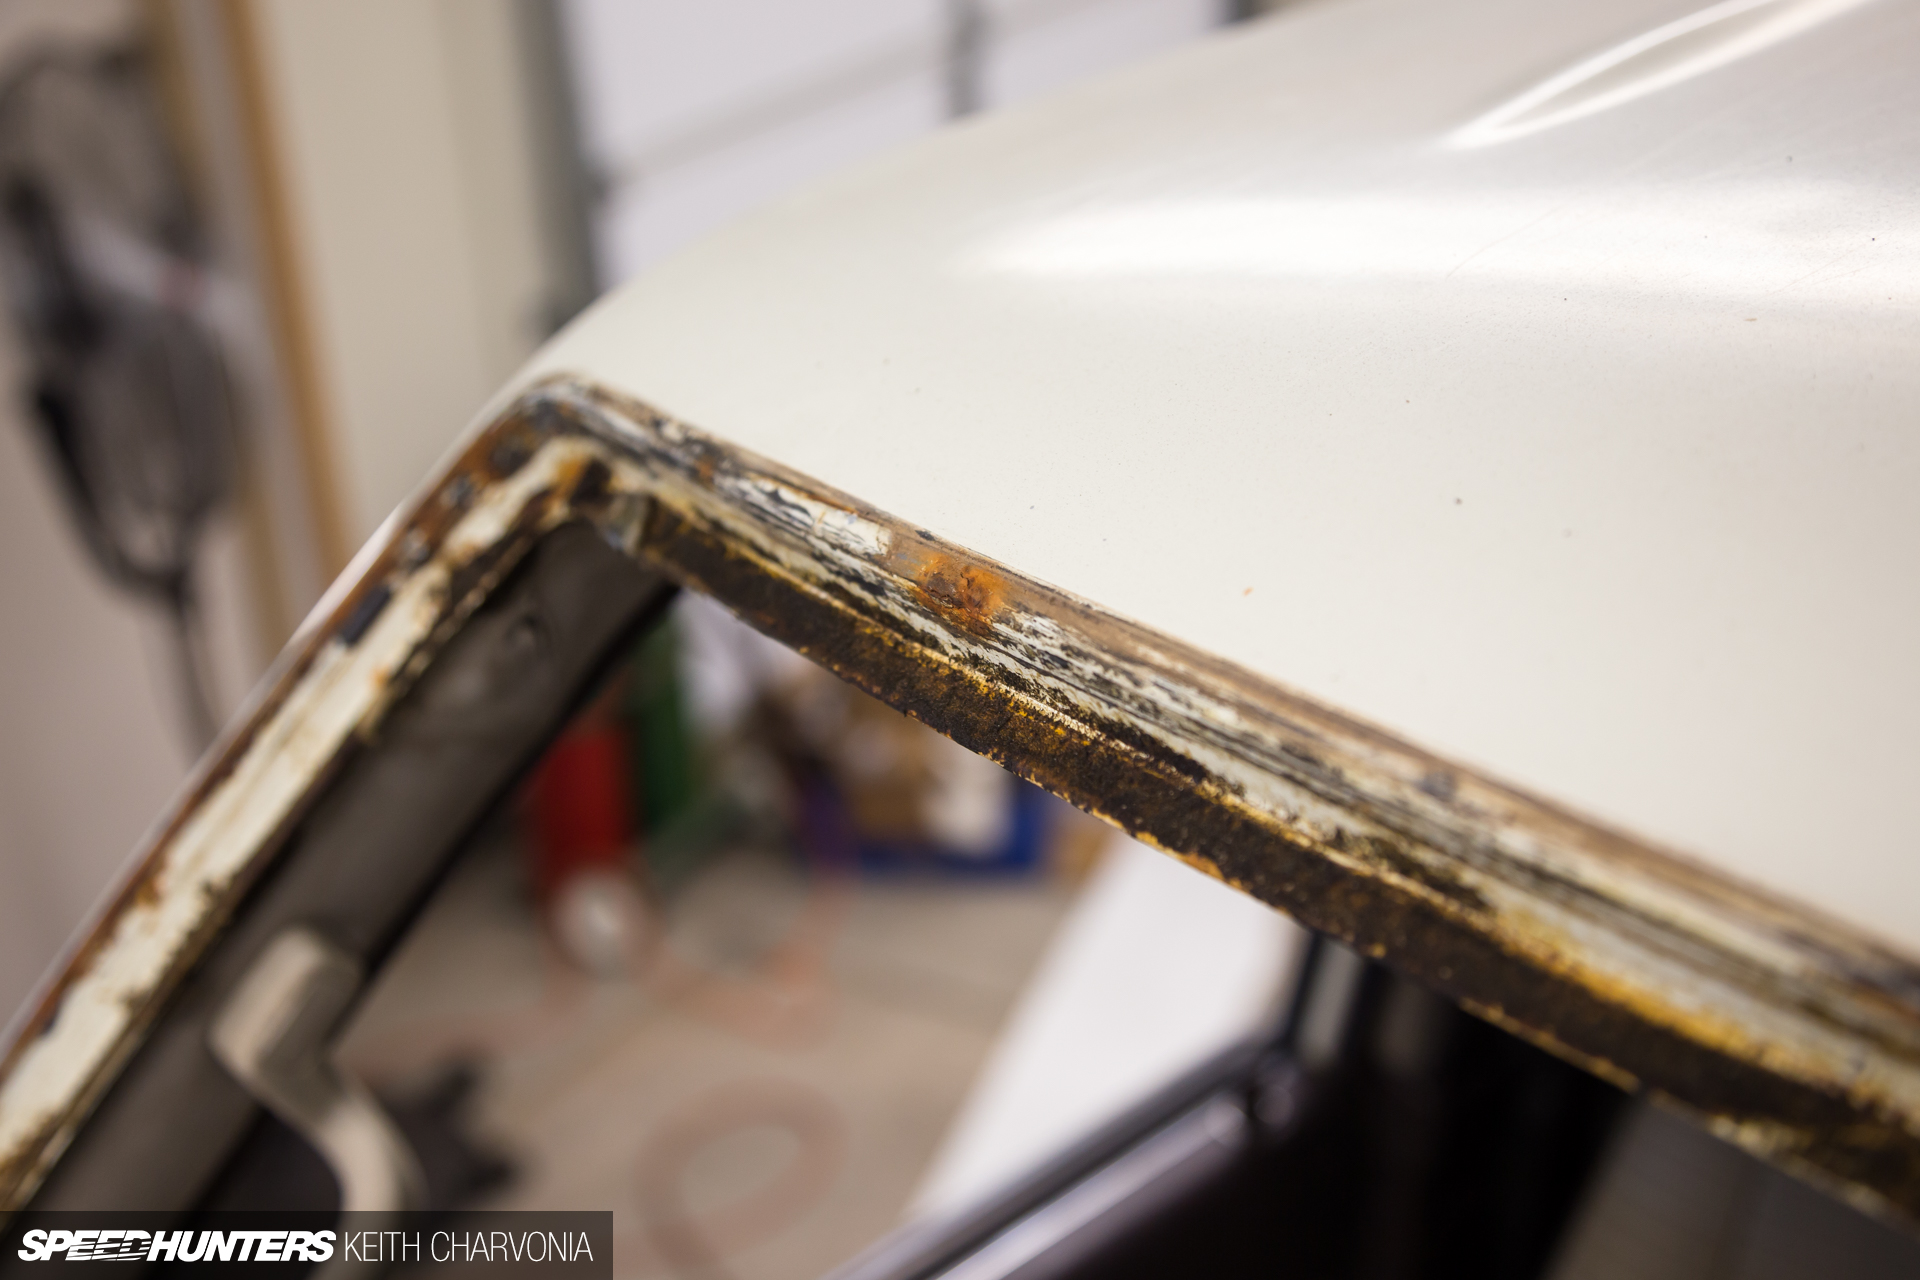
We made the decision to pull the windshield to make the installation as nice as possible, but were stopped in our tracks when we found a bit of rust under the rubber seal.

Fortunately I had some POR15 Metal Prep on hand, which can treat rust and prevent it from spreading in the future.

We found other areas to work on while I treated the rusty spots and the applied a coating of POR15 black paint.
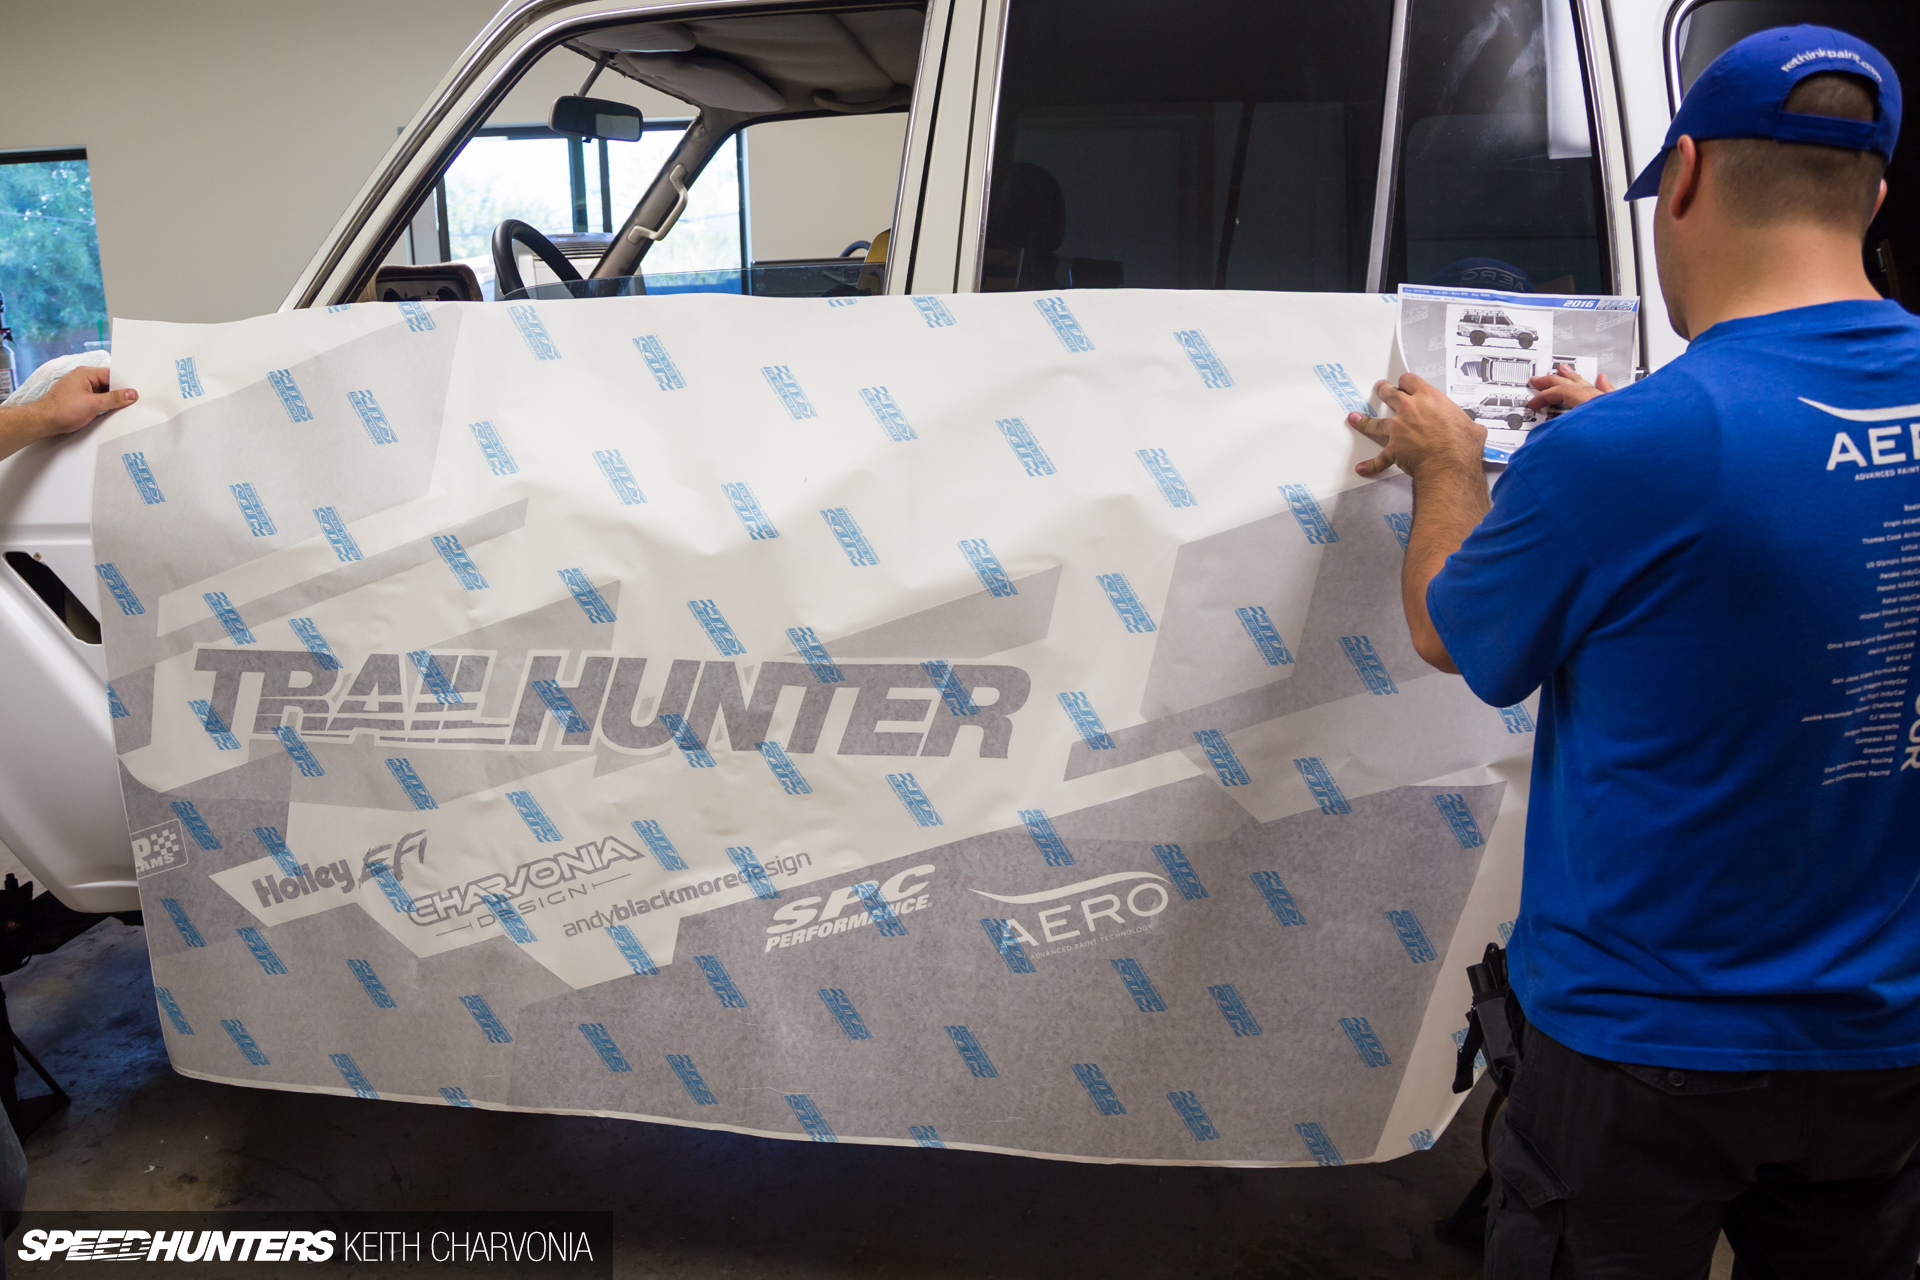
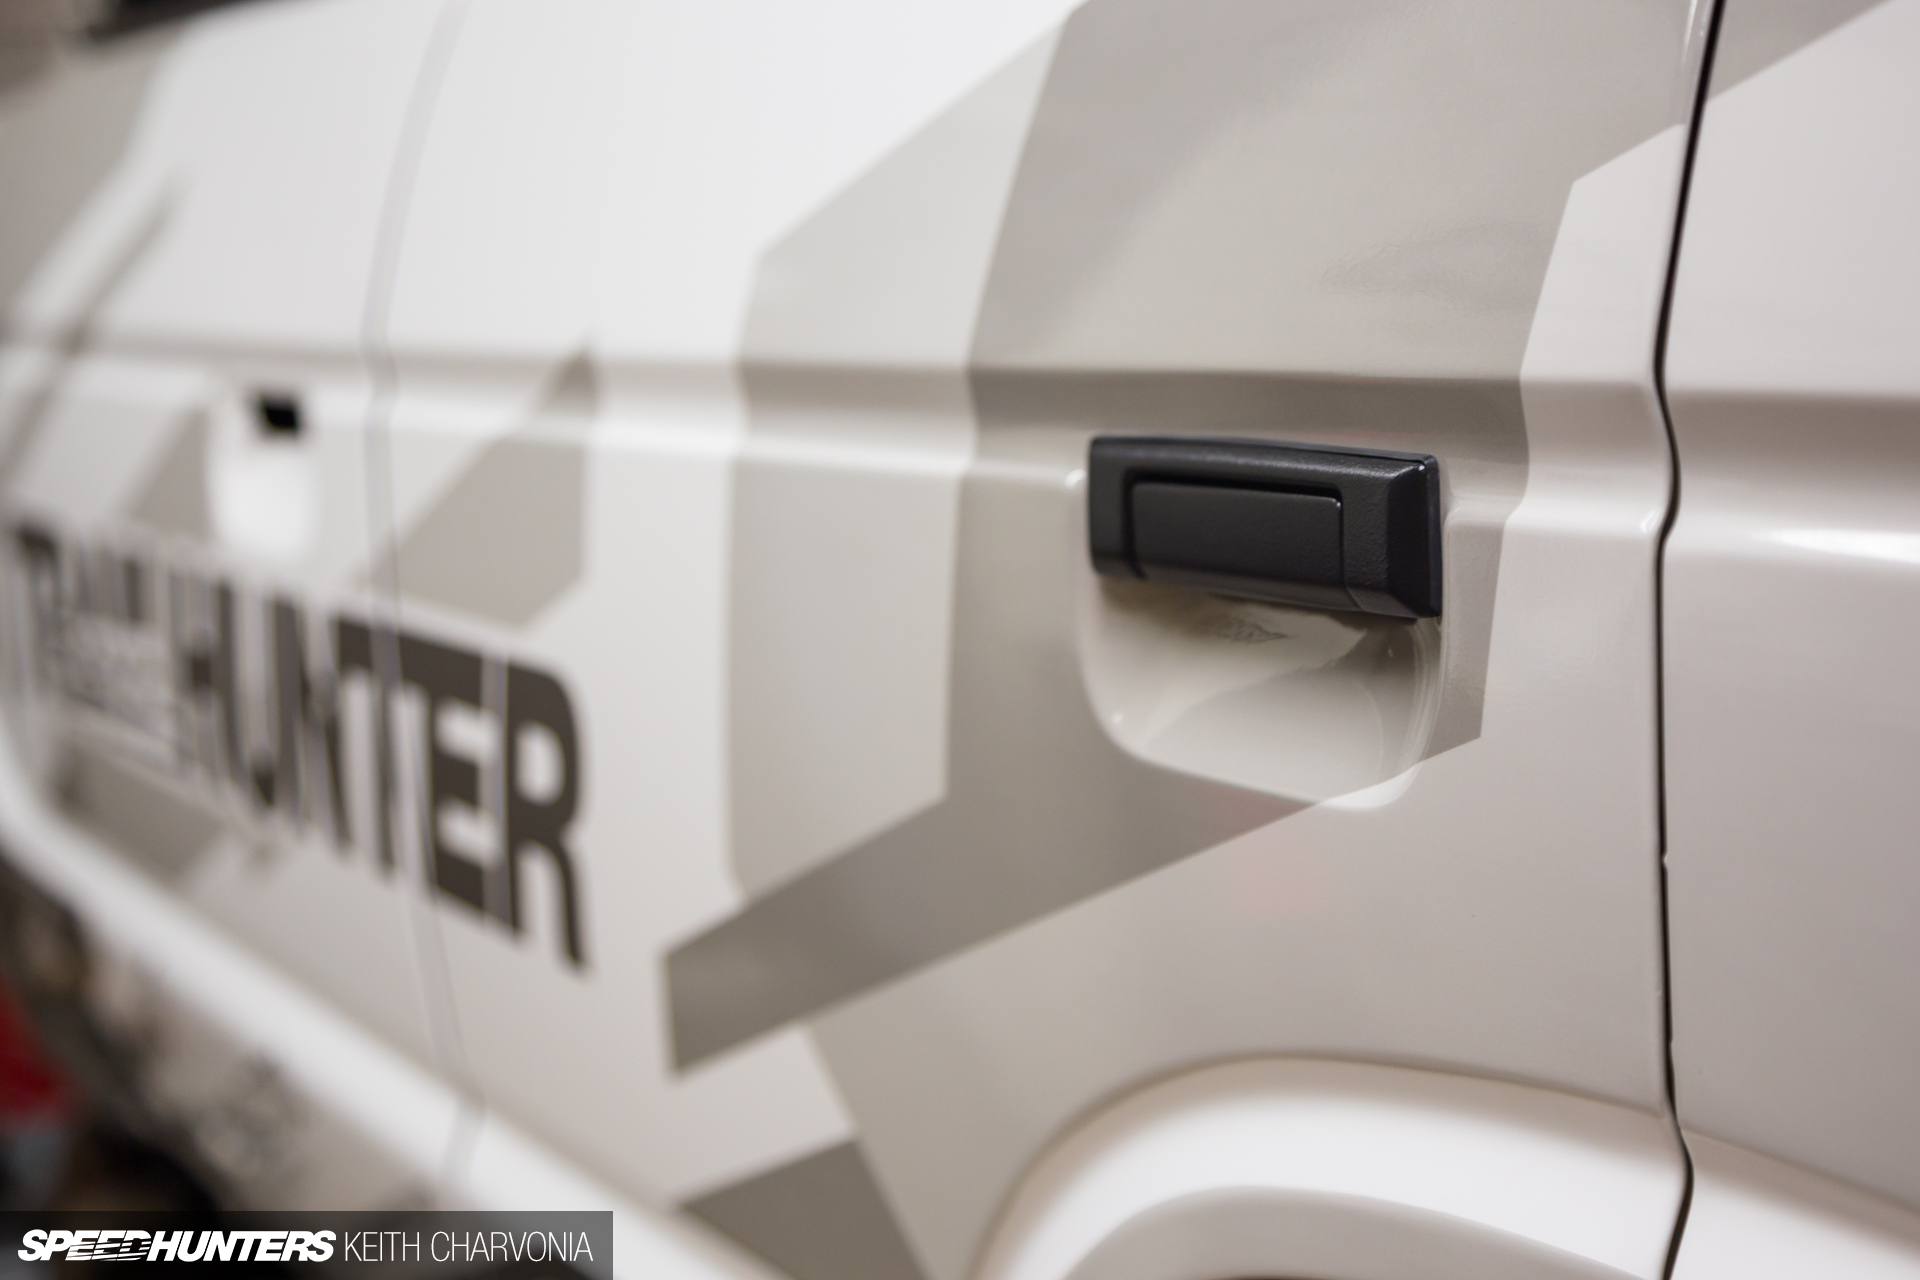
With the white base applied, we could move on to the exciting part, and that was applying the Andy Blackmore livery.

If you recall, Andy also designed our Scion Tuner Challenge-winning FR-S, and has been a longtime friend and collaborator with Speedhunters, even lending his expertise to projects like the RTR-X and the Hoonicorn. It would be an understatement to say that I was honored to have him work on my simple off-road truck.
I had sent some trim pieces off to be powdercoated in a textured black, and now I was finally able to refit them.
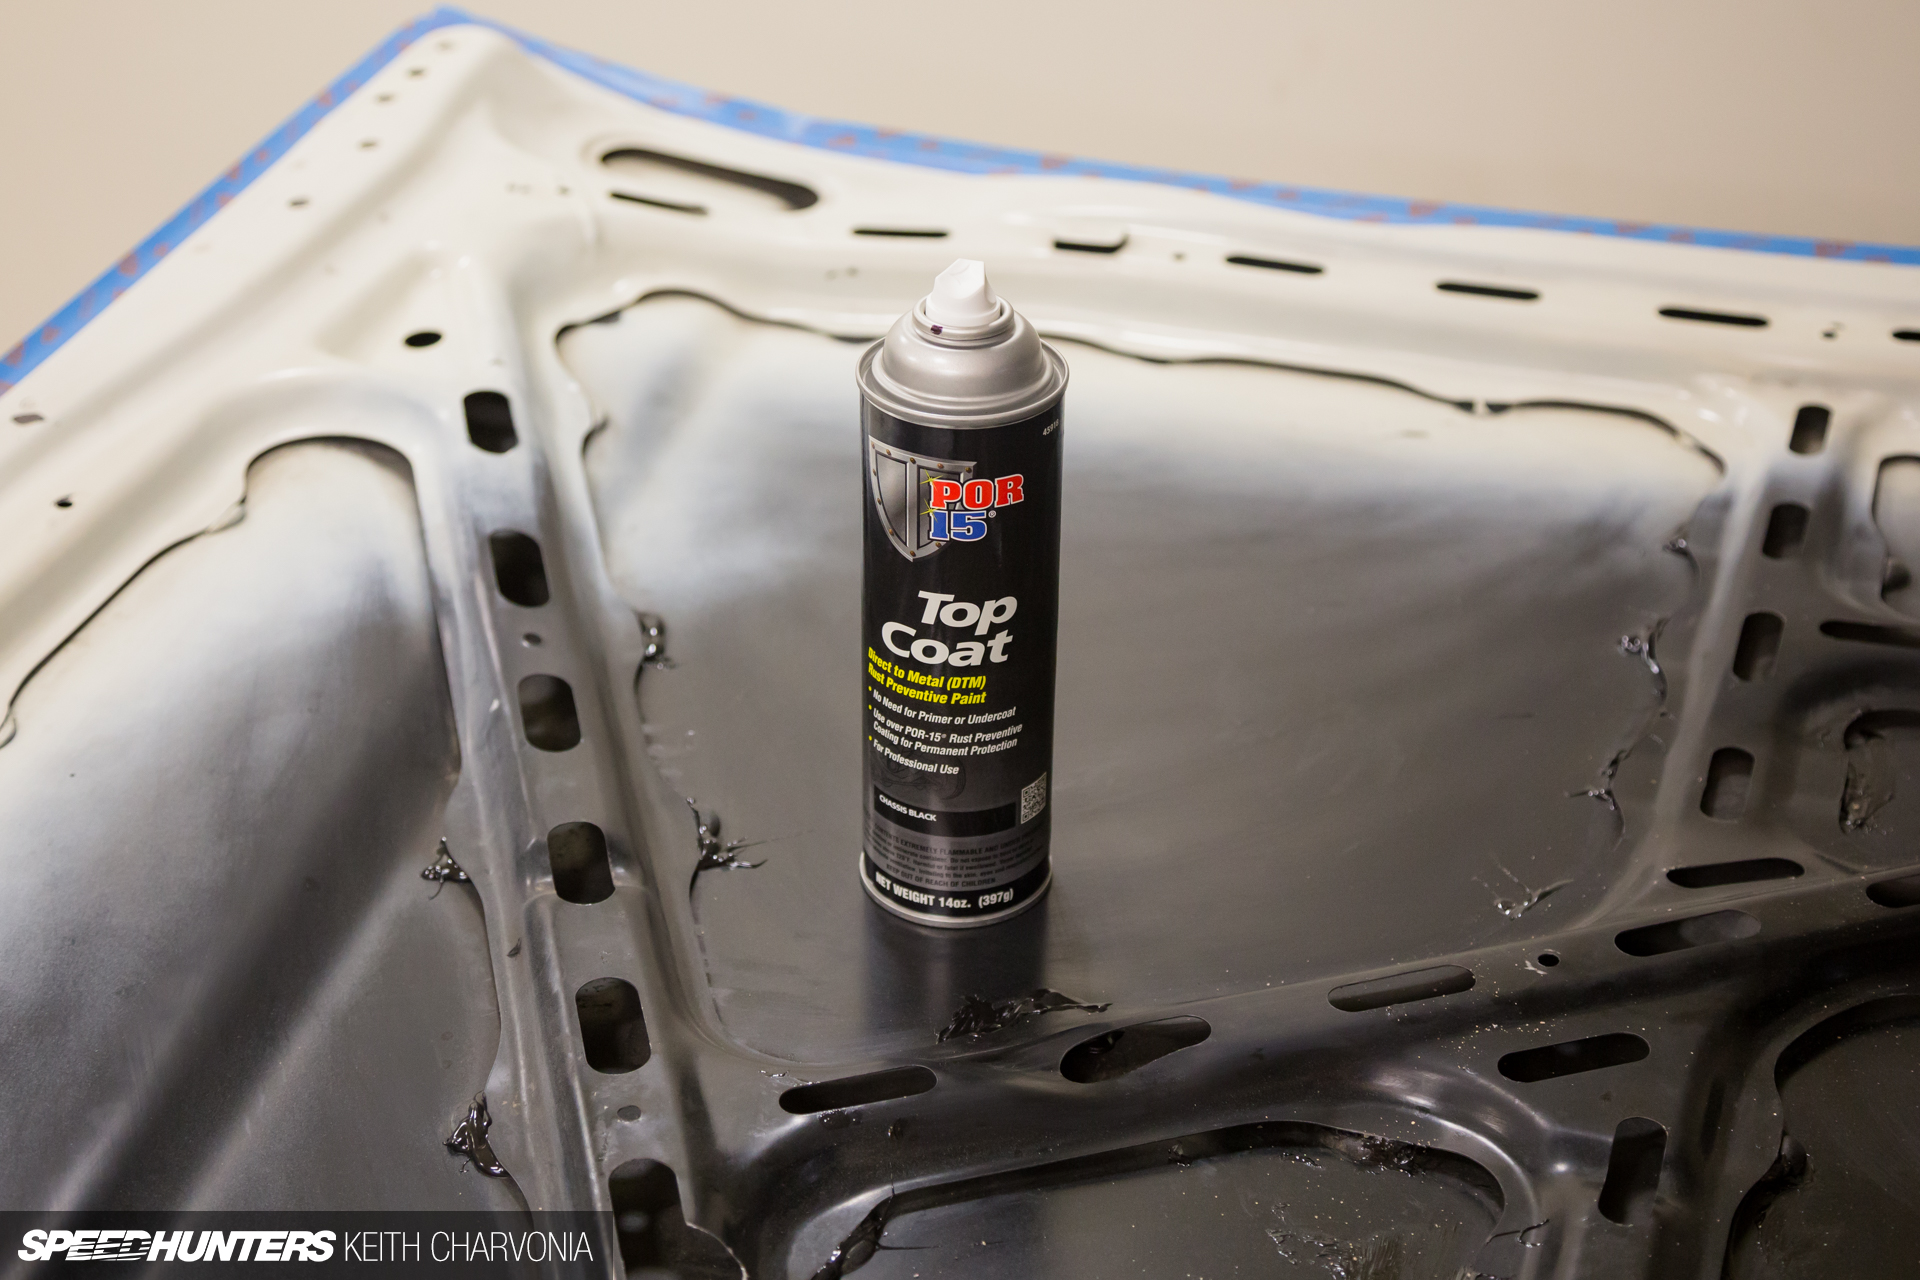
Once Shane and Alex had wrapped the hood, I flipped it over and tried to make it look like new again. I first painted the edges and the structural ribs…
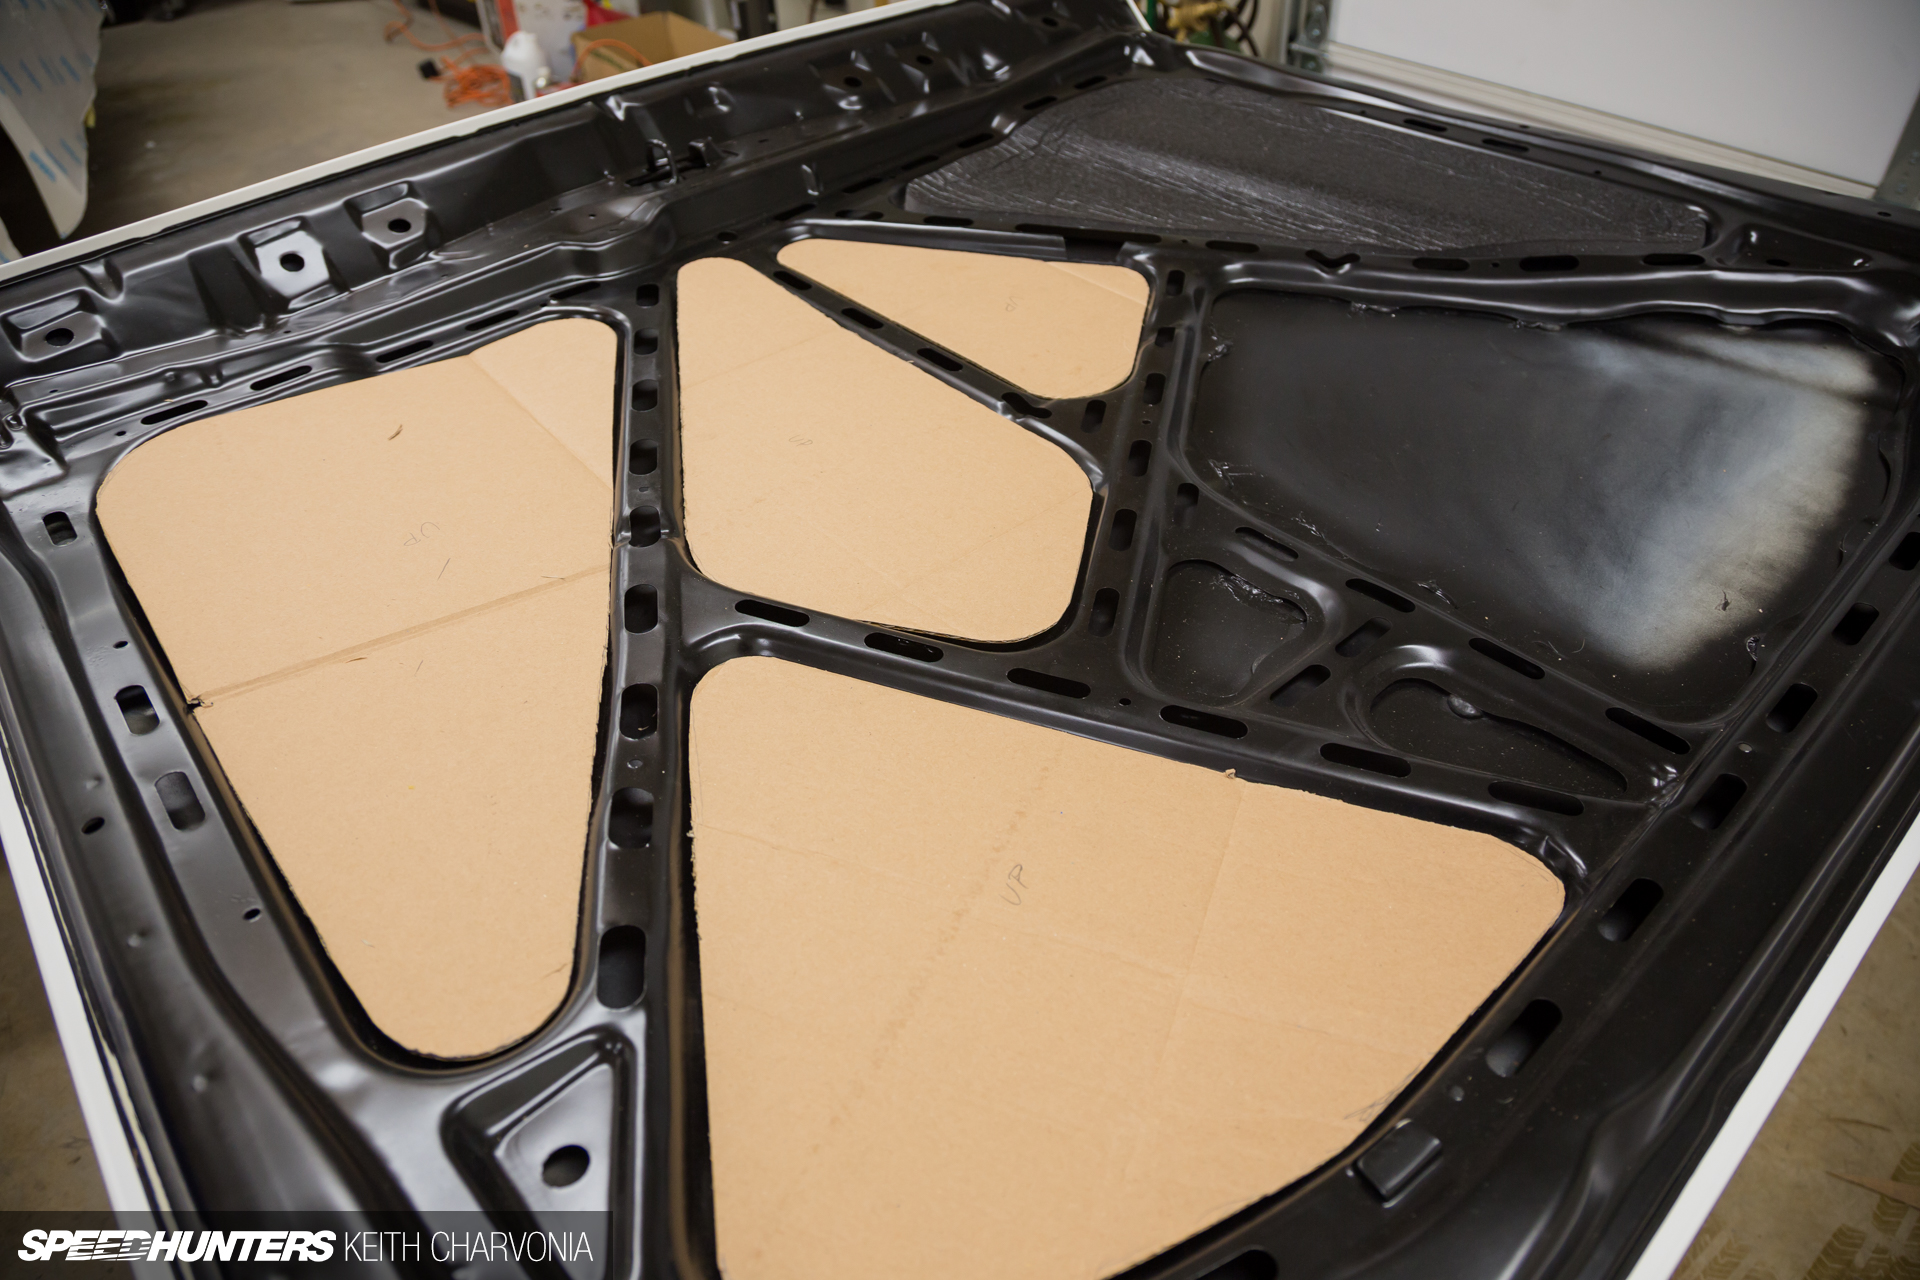
Next I made cardboard templates for each of the recessed areas. My hood insulation was shot, so I bought some adhesive-backed sound deadening and gave this idea a go.
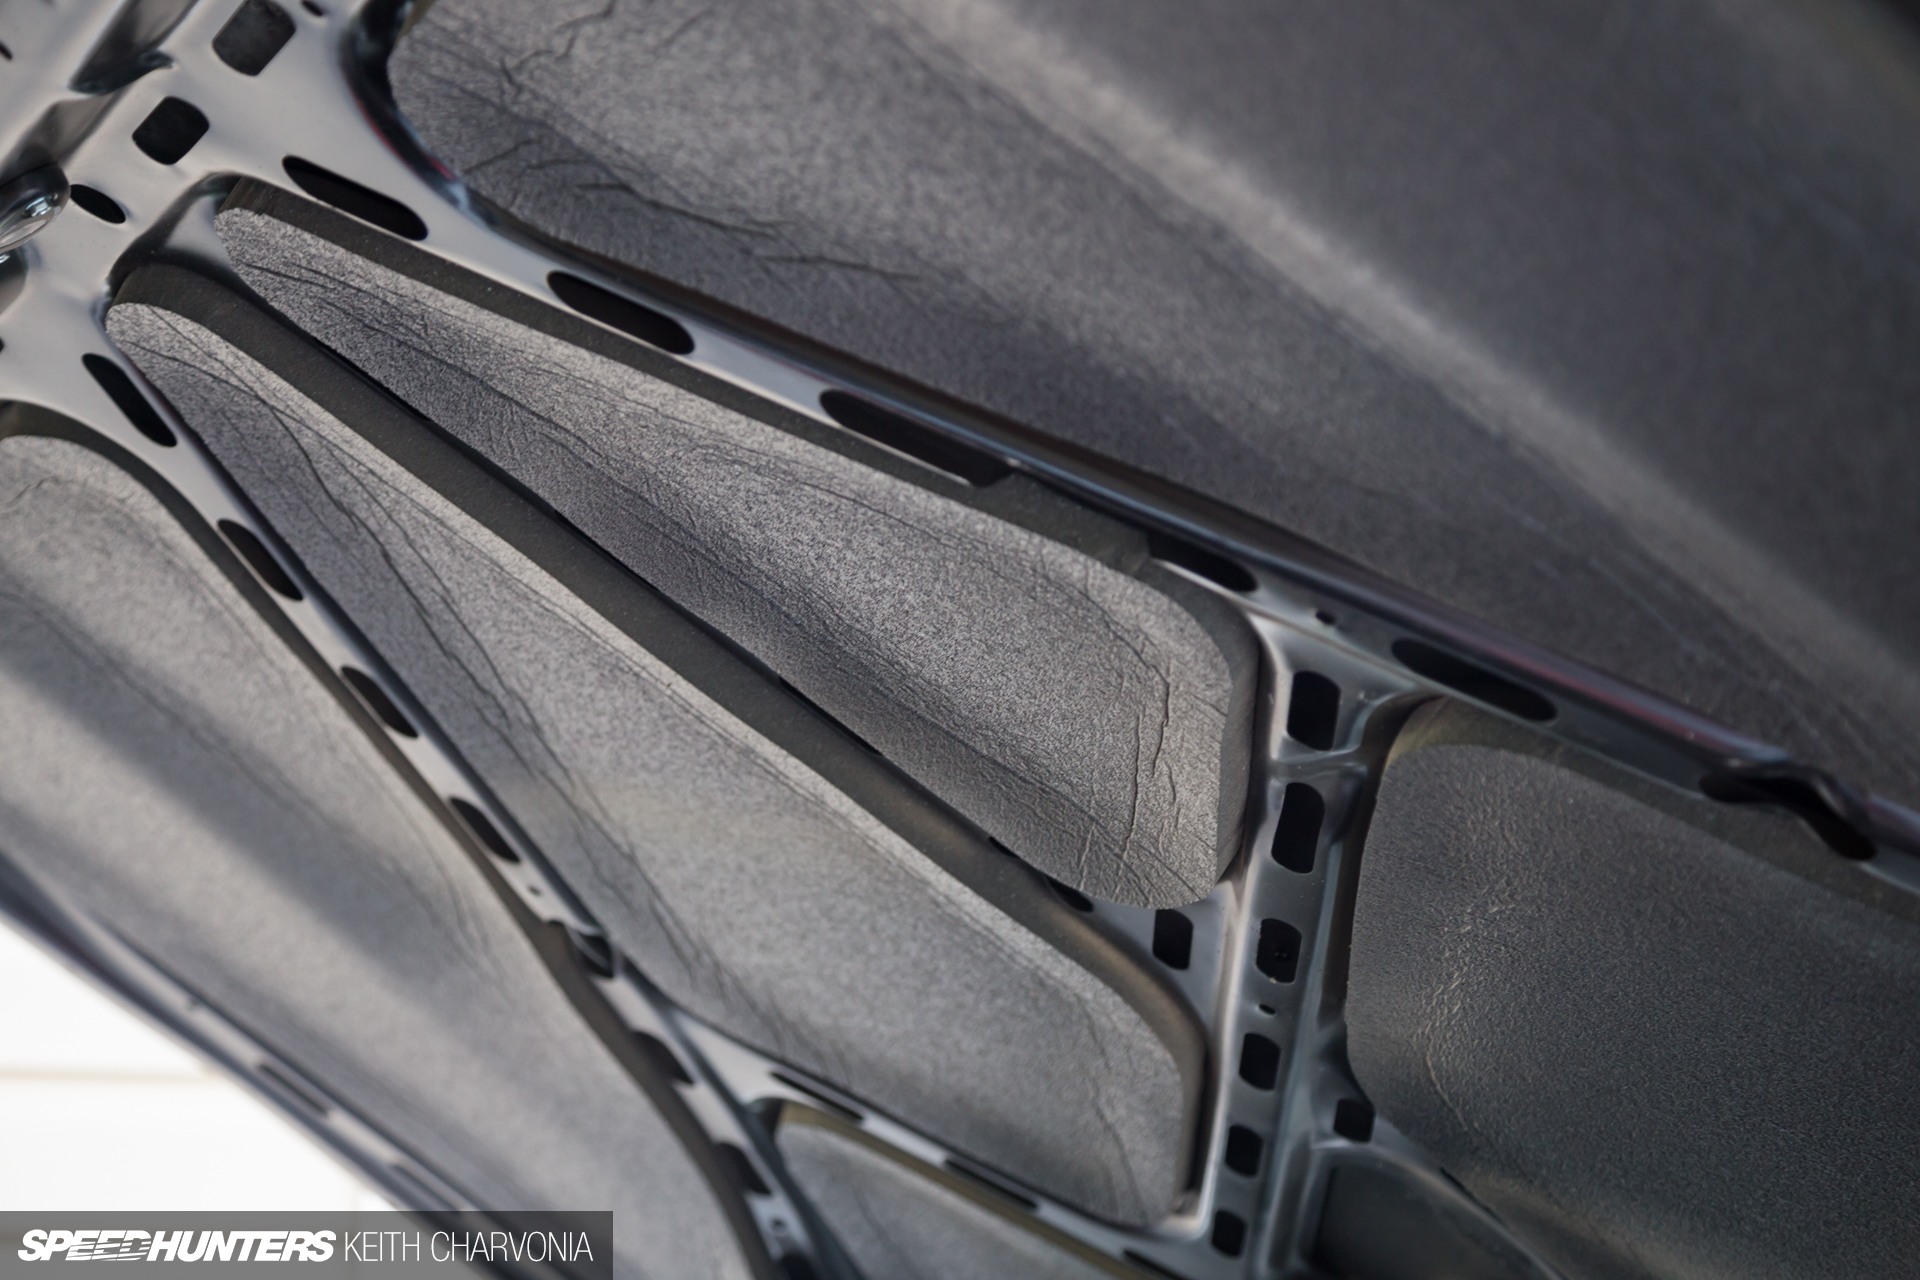
I used a sharp razor knife to carefully trim the insulation, then stuck it to the bottom of the hood. I’m pretty pleased with the result!
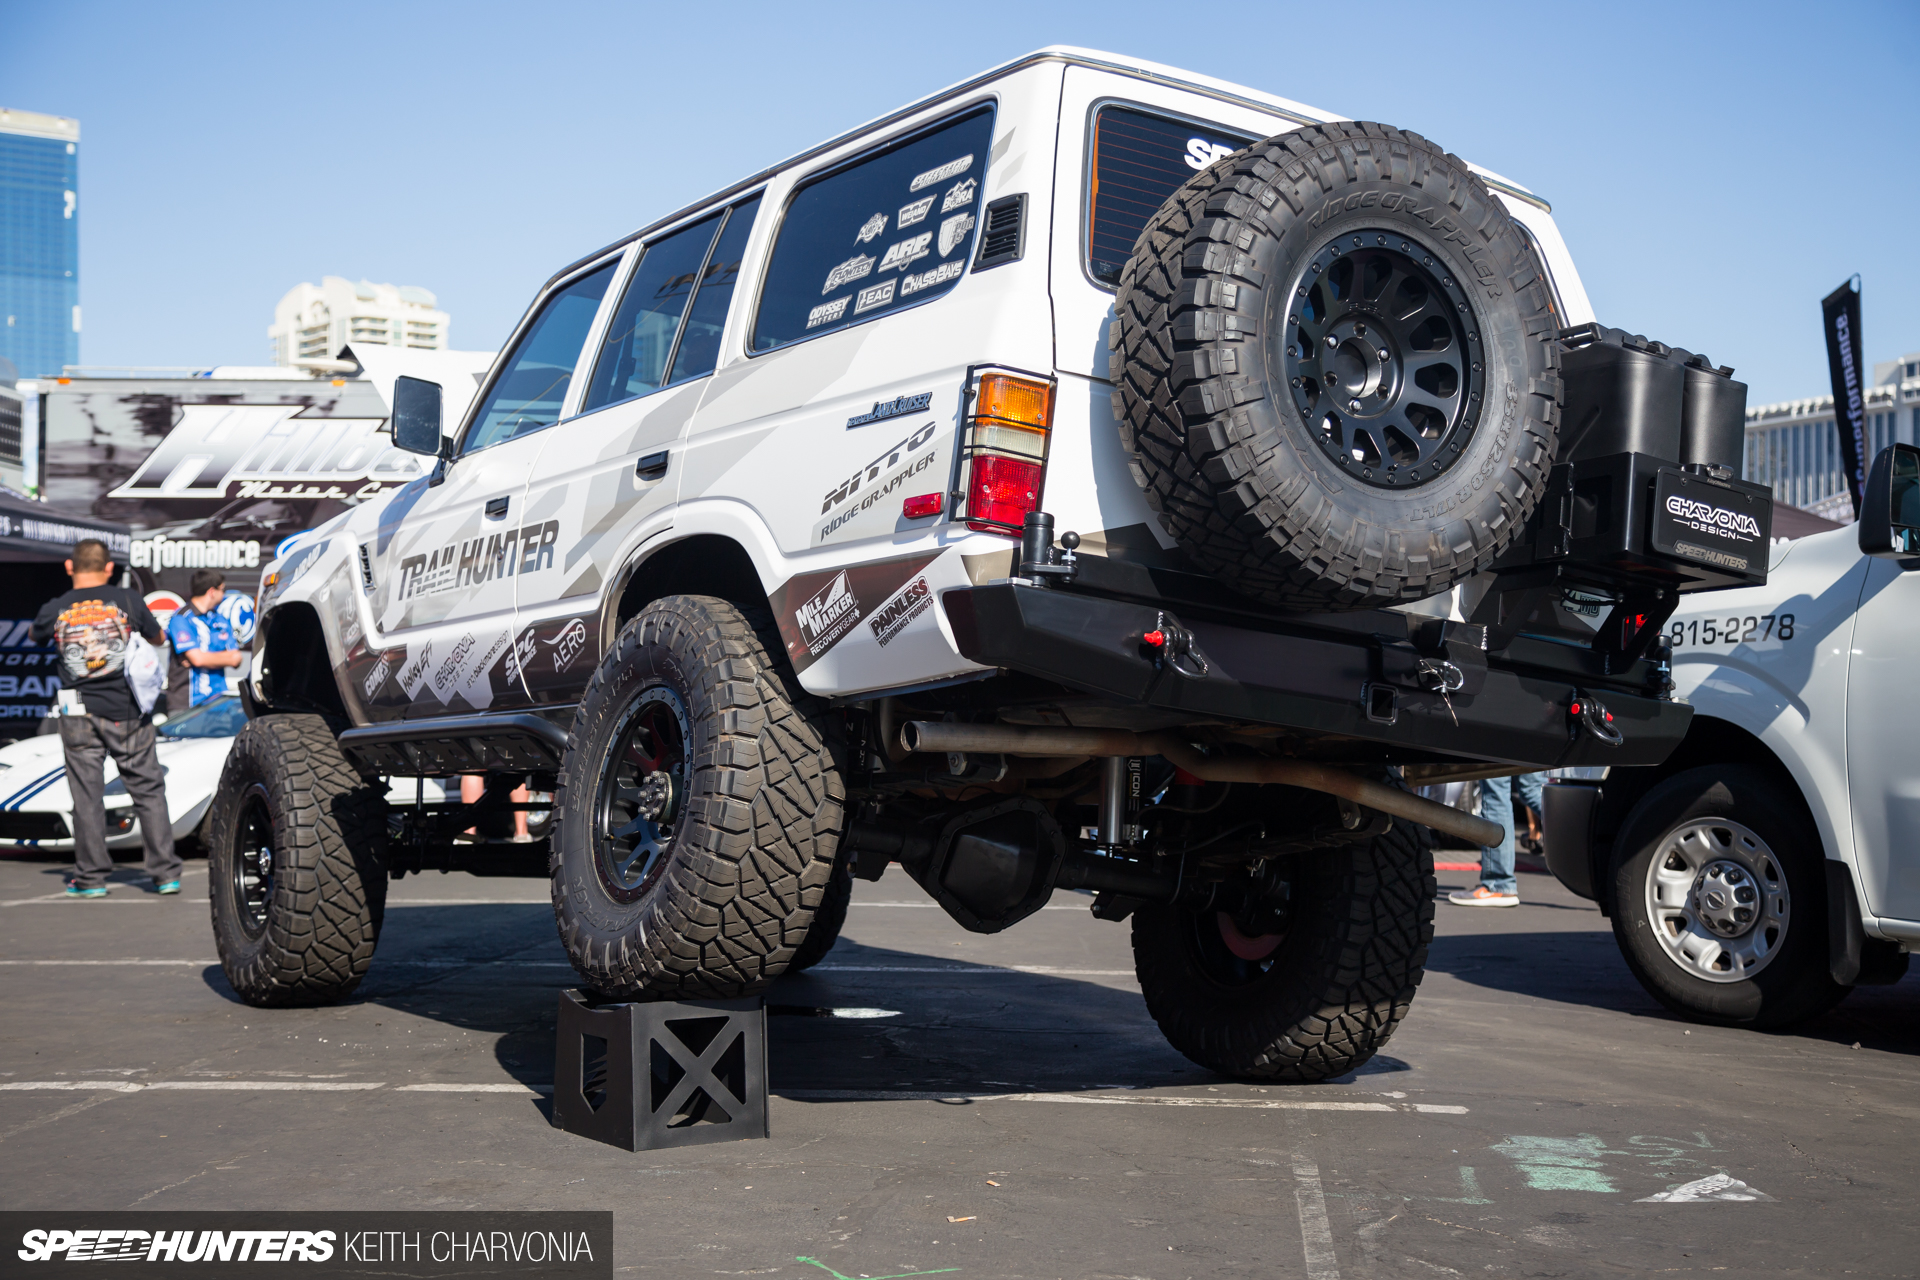
The thrash was finally over. Finally I could show off the results of tons of effort by friends and sponsors at the SEMA Show, where it was displayed purposefully on its new Fuel Off-Road wheels. Save for an embarrassing transmission leak caused by a combination of a bad o-ring and overfilling the trans at the eleventh hour, I’d say it was a success.

To be honest, I’m glad that’s all over with because this is why I really built this truck. I recently took my family out to the Uwharrie National Forest with the North Carolina Land Cruiser Club and we had a blast. Stay tuned for more stories about using the Trailhunter on the trails!
Keith Charvonia
Instagram: SpeedhuntersKeith
keith@speedhunters.com
OFFICIAL SPEEDHUNTERS SUPPLIERS


brilliant build. Love old school land cruisers. If I had a bit of extra cash, I would've done the same on a nissan patrol y60
Shane is awesome! I've seen him work before, and he is an artist.
Also, Jim McGuire is a genius! Did you get the antenna in the roof sheet?
Yes both are great guys. I didn't know about the antenna that would have been sweet!
Next time you talk to Jim ask him about the tag that came on the tubi exhaust he has on his superamerica. It's an awesome story.
A lot of good inspiration to get back to work on my jeep project thanks!!
Holy crap! Such an awesome build.
Came out great. Any more big plans?
Keith, nice pictures! How did you like Uwharrie? I live about an hour from there and want to take my Avalanche out there soon.
I loved it. Very nice trail system with the lake right there and good camping facilities. There are trails ranging from easy to difficult, so whatever your rig's capability there should be something for you.
I love reading this build. Your attention to detail is amazing. I would seriously love to see this rig in person and I am still awaiting the ability to purchase Trailhunter decals. I will be hitting Uwharrie this weekend. Not sure how the trails will be with the expected rain the rest of the week. Keep it up and know that you have a permanent reader in me.
Awesome, enjoy Uwharrie! I'll probably be back out there for Logan's Run in September.
If you email me
I'll send you a Trailhunter decal.
When are you guys going to sell Trailhunter decals ??
Email me and I'll send you one!
Awesome! Just sent the email, thanks !!
Damn, that livery is so fracking sick, like it amazes me. Though one thing, I think you should do an exhaust for that car because the stock one looks quite wimpy if you ask me. i say straight pipe it and have it end just in front of the rear tires and exit to the side, on both sides.
The exhaust is next in the list. The previous owner just did something cheap to get it running but I don't like the way it's routed and I think there's more power to be had with 3" pipes.
Uwharrie? Is this the first time a Speedhunter has been in NC?
I wonder if my LX470 would be welcome in NCLCC...
Of course! You can see what the club
is up to here:
https://forum.ih8mud.com/forums/nc-olde-north-state-cruisers.54/
Let's hope its not the first time in NC. I doubt it though, because the RTR was developed/built locally here at ASD. There's also one of the highest concentrations of pro Motorsport teams and companies on the continent.
Definitely not the first time to visit, but in the first resident I suppose. I actually came here to work for Mustang RTR and Vaughn Gittin Motorsports, which is the same
crew and shop you're referring to.
So you've moved from Arizona? I'm local to you then, and also in the industry.
Do you ever go out to the Charlotte C&C? So cool that there's a local Speedhunter now!
Not yet, but I will eventually.
If you could get a tour, a feature on The Drive Shaft Shop would be up nearly everyone's alley here I think.
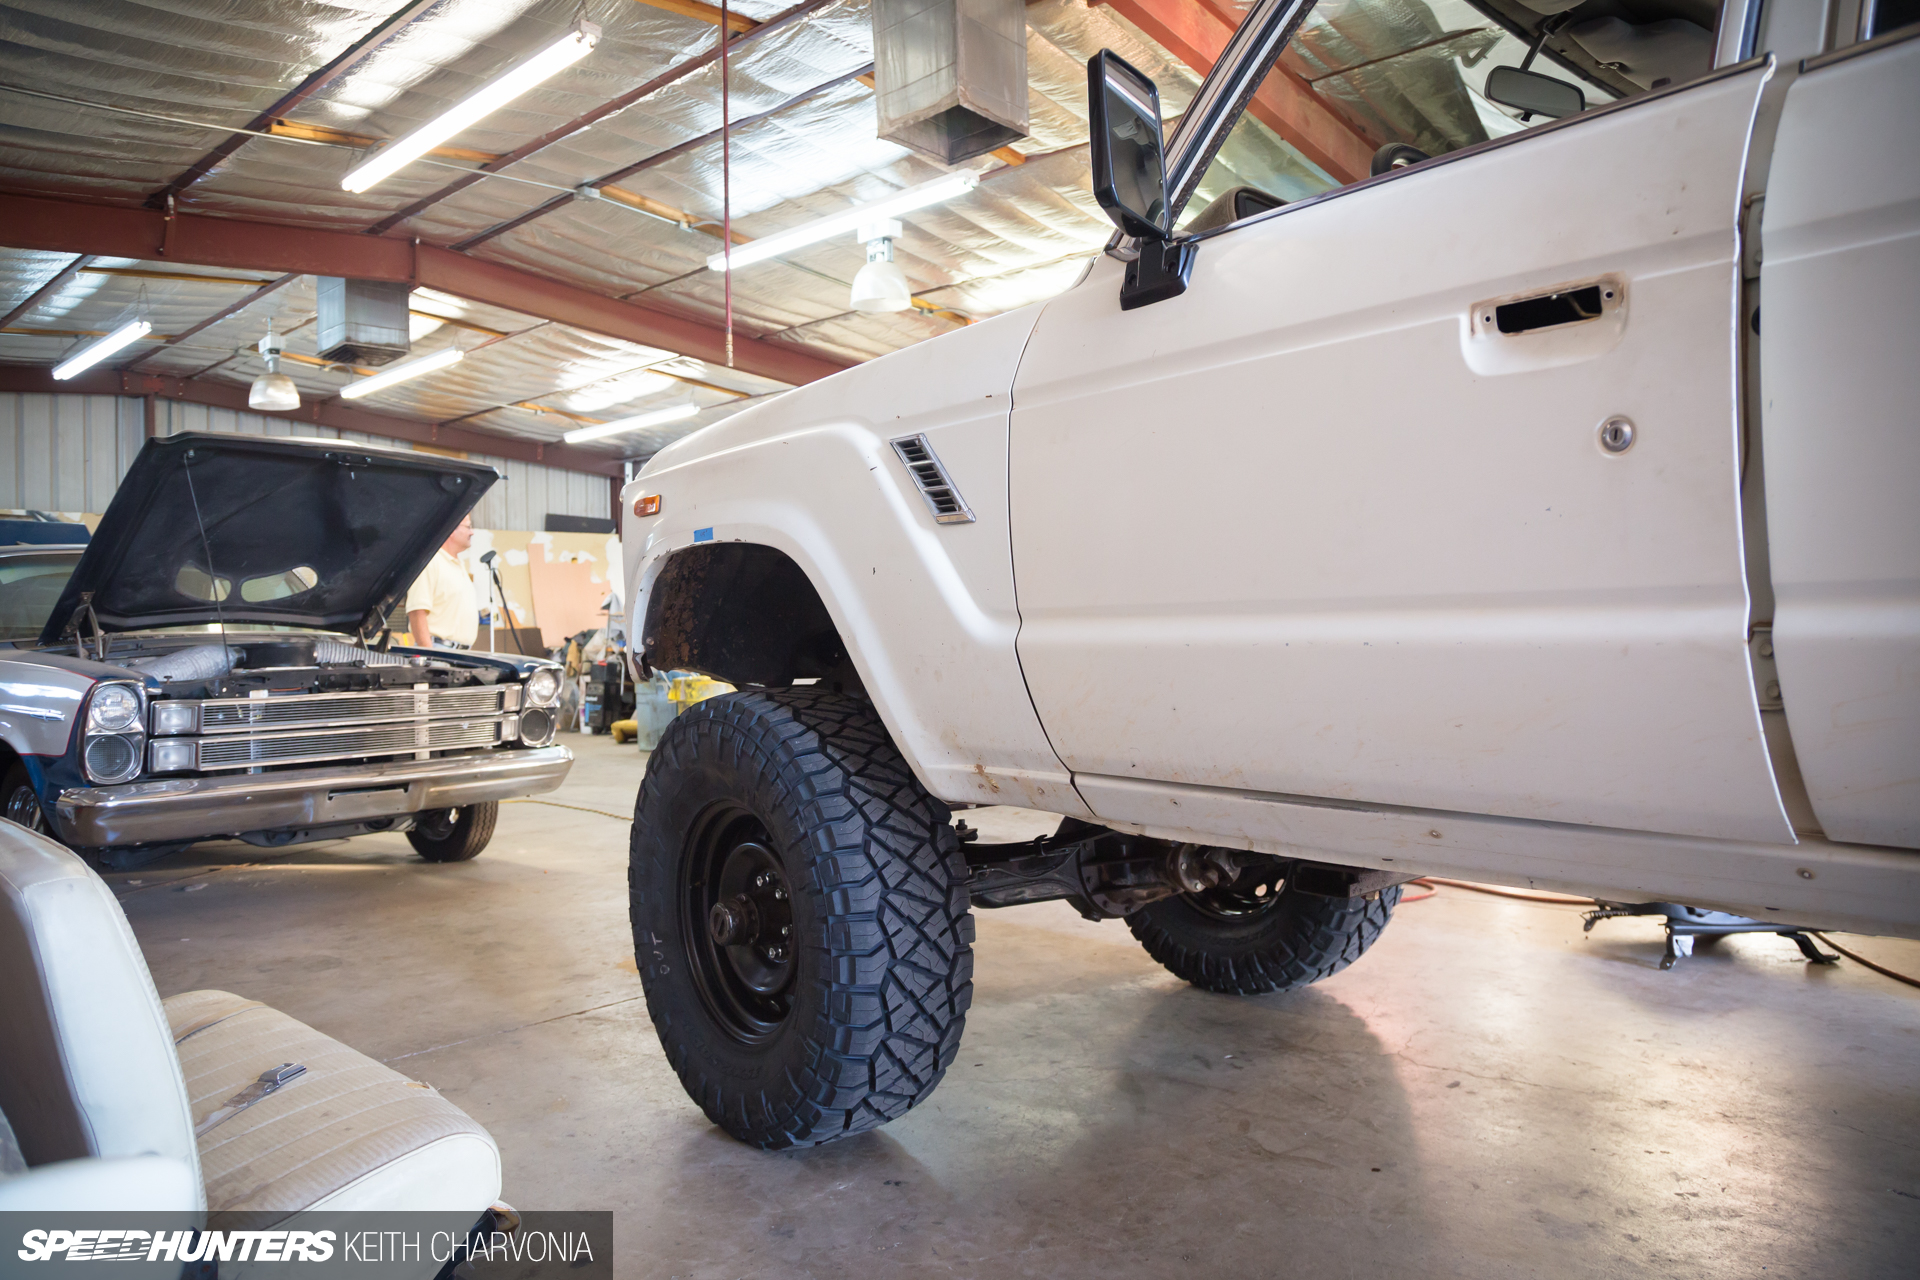
Keith, I need an entire post of nothing but those FJ40s parked in front of your car in the opening shot. Like asap... please, haha!
"Secondly, AERO’s paint film is also better than a conventional vinyl wrap because it’s much more durable."
would really like to read a direct comparison of the two in the future!
There is quite a bit of info on AERO's site. Definitely worth checking out.
I'm so jealous right meow.
Let's go wheeling!
now thats its done, its time to do mini trucker things with your mini trucker friends haha
Funny thing is the turbo just showed up yesterday.
Sooooo where's the Trailhunter merch!?
Shoot me an email and I'll send you a decal.
Well Done Keith. Hell of a slog. But you have an awesome trail truck. I just finished my LS3 86 Streeter in May and your diffuser is sitting proud on the end. Thanks for your help and I hope you enjoy some killer trails with the fam bam! - Peace from AU.
Hey Ben! The car looks great, so nice to see it done.
Wished I'd known you were down our way Keith. Any pics from your trail ride?
I took a few but probably not enough to publish a story here. Maybe next month at Logan's Run.
I'm not entirely keen on offroad mudding or trailing on a personal level, but this is definitely one of my favorite builds to follow.
Appreciate it!
Saw this beast at SEMA. Kinda cool seeing its reveal before it was posted here. Great job.
should swap in a manual