I feel as if I should start this story with an apology. This time last month I was certain we’d have the car up and running by now, but unfortunately that’s still not the case. I think that sometimes I’m just so eager that I get a bit ahead of myself – I’ve never been an overly patient person. Especially when I put these stories together and look through all of the progress we’ve made, I get so worked up and start feeling even more impatient!
With old cars nothing is ever as simple as bolting A to B or fitting this with that and getting it right straight away. But would it be as fun if everything was ridiculously simple? Is it really that unfortunate that things aren’t always easy? Or are the challenging parts what make a project as a whole so rewarding? Quite often the phrase ‘If it were easy, everyone would do it’ crosses my mind.
This phrase is also pretty relevant to the next part of this story: rewiring the car. This was definitely a task that I was going to leave up to a professional auto-electrician to undertake…
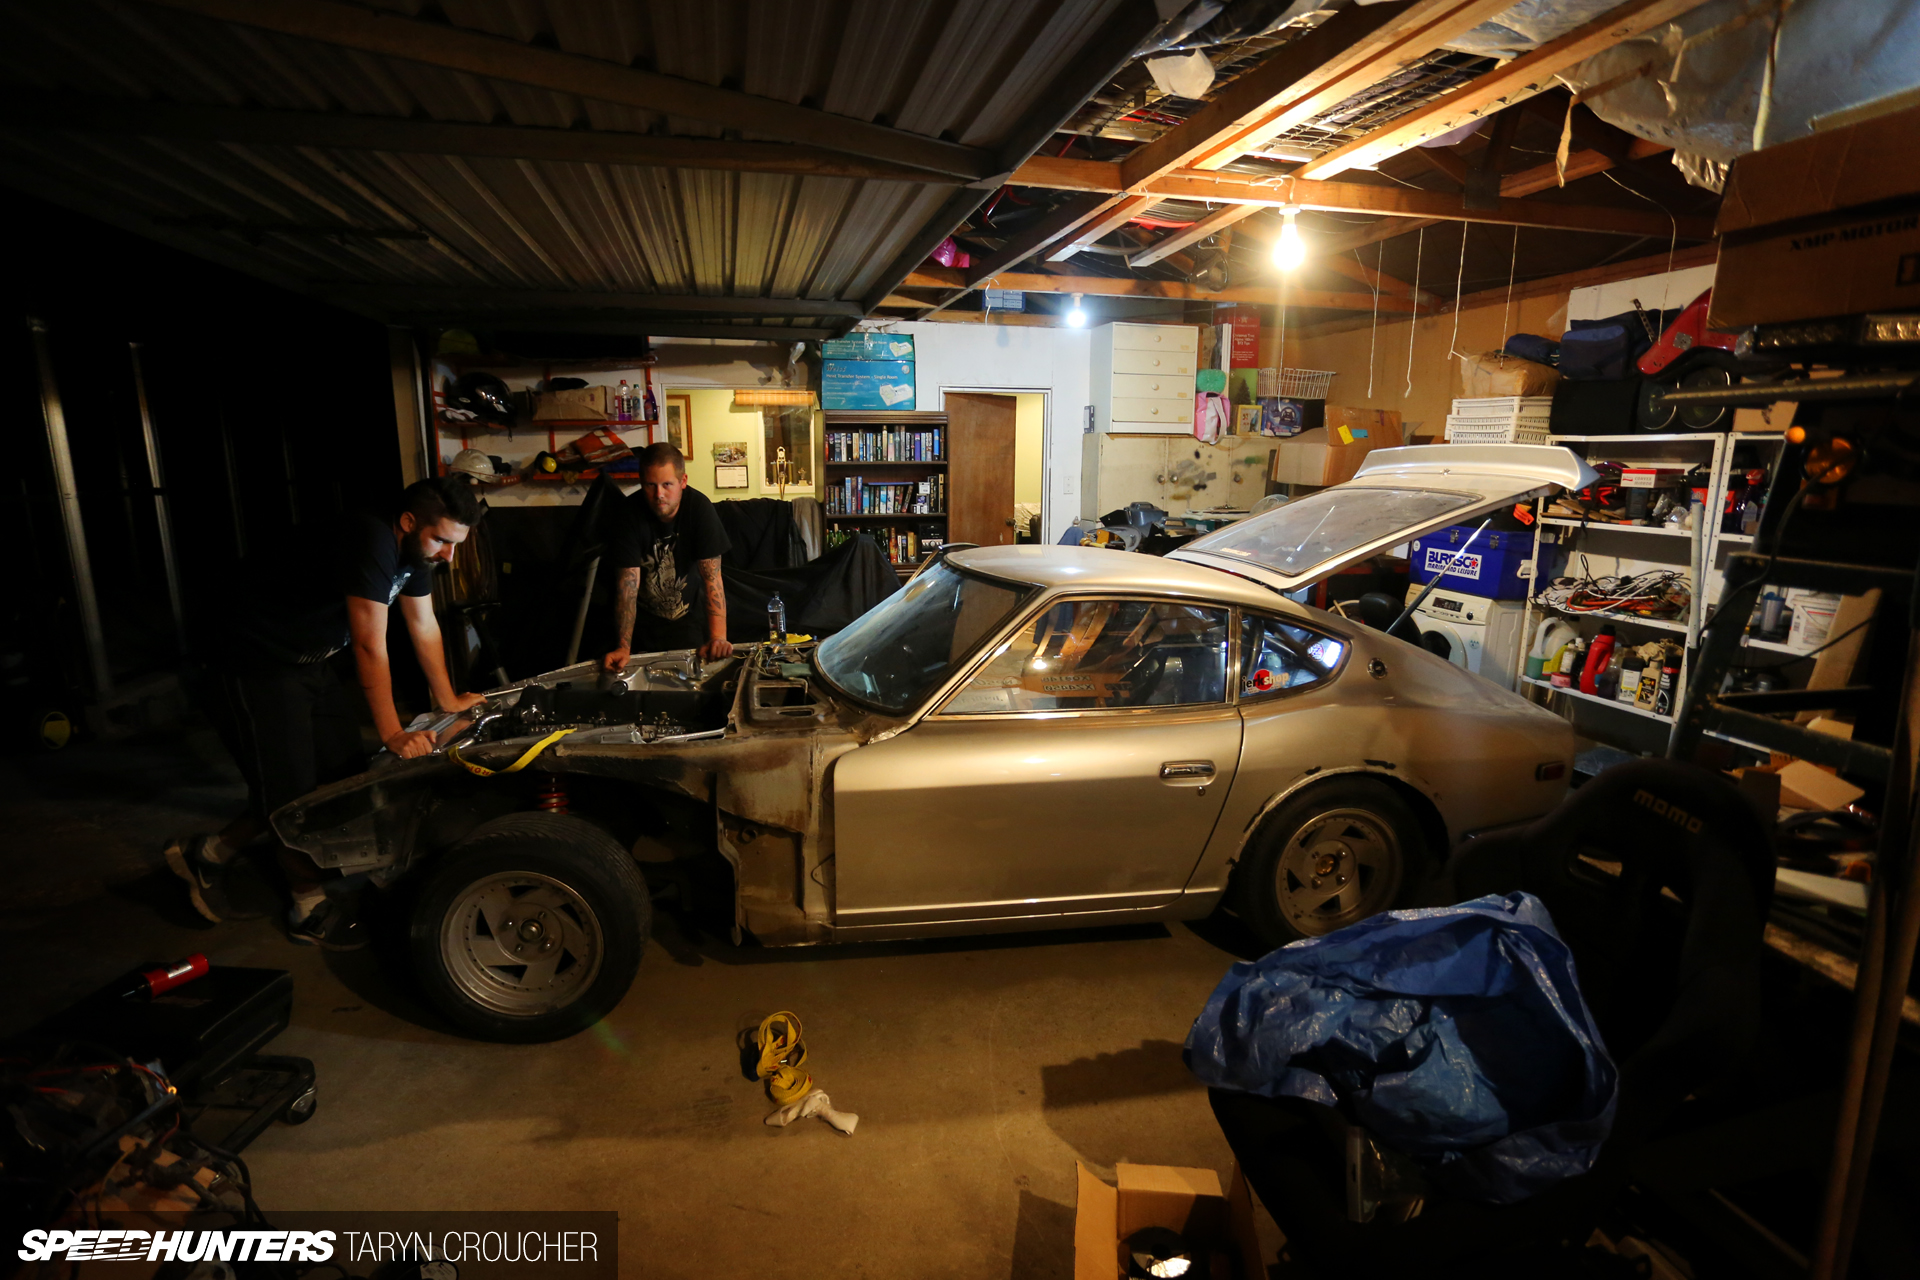
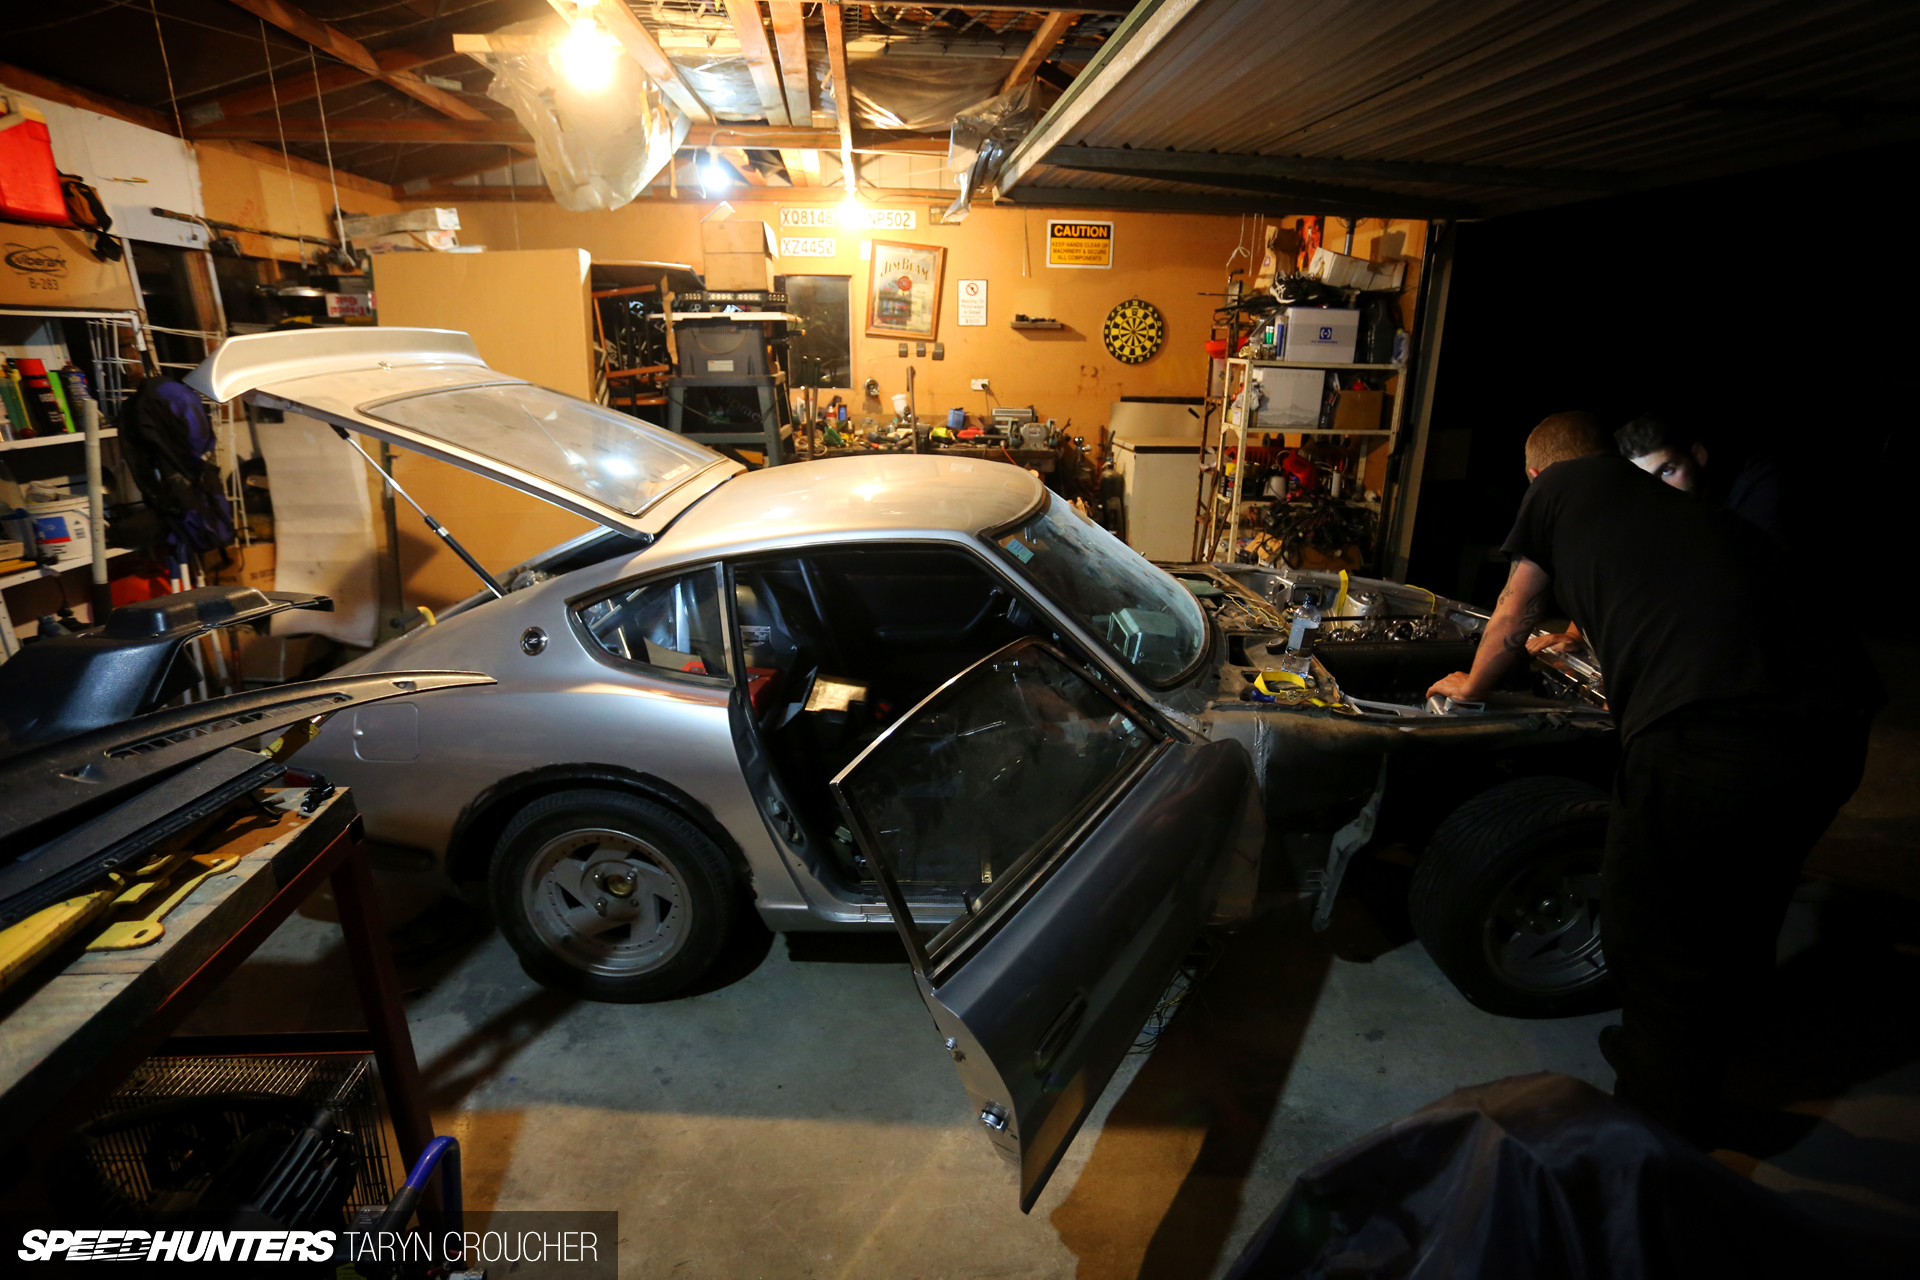
… so a few weeks ago we trailered the Z over to our friend Michael Thorley’s house so that he could completely rewire the Z from headlights to taillights. Mike does the rewiring for quite a few well-known cars in our D1NZ drifting series, so I knew he’d be the perfect guy for the job.
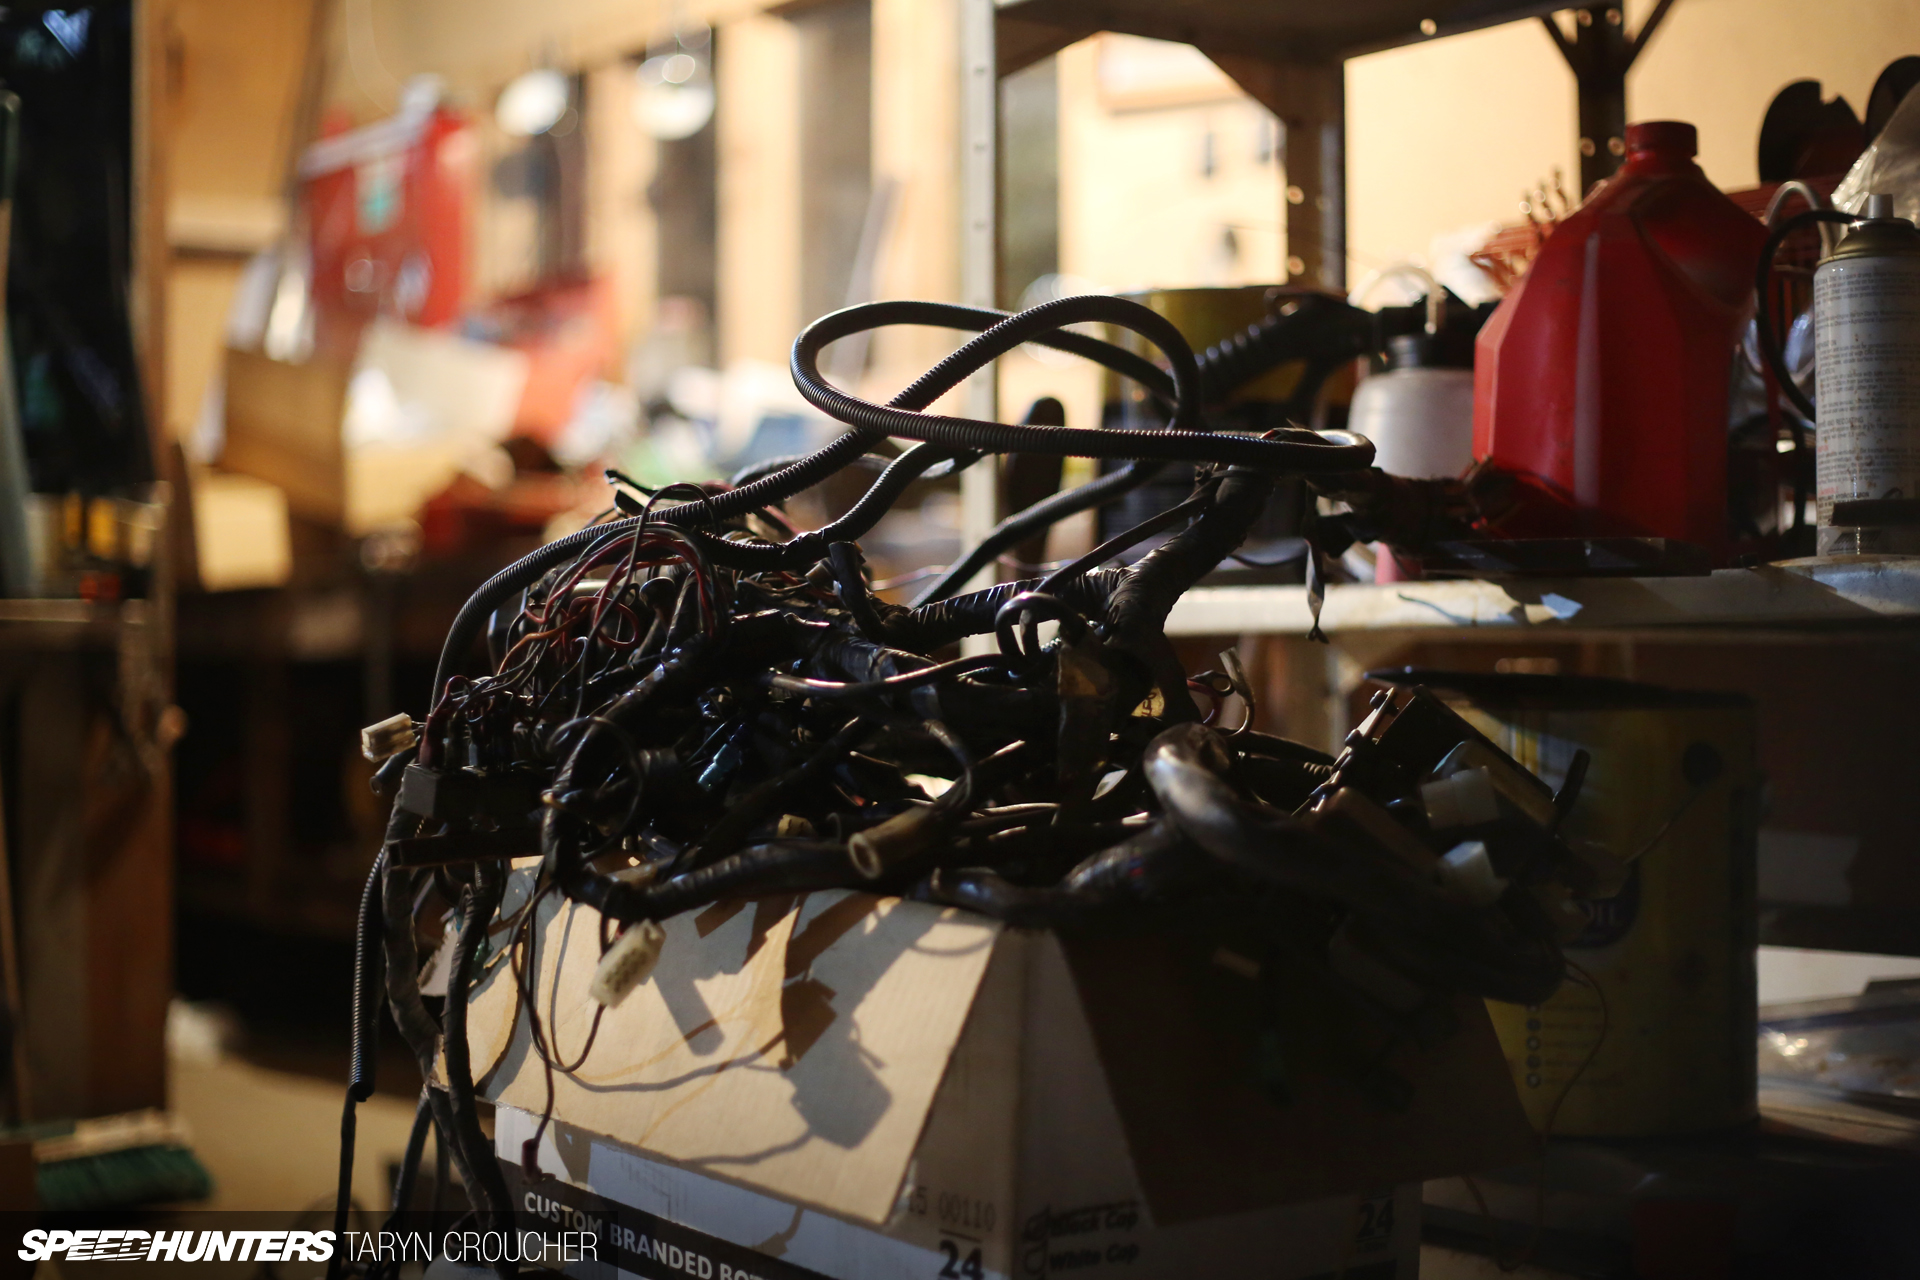
Mike got started by pulling out all of the old wiring so that he could start afresh. It was so satisfying getting rid of all the worn, tatty-looking looms – especially considering how much this box weighed! There was also a lot of wiring from the old EFI system that was no longer needed, which we were able to get rid of. Once these were out of the picture we could start from scratch; that way we could fully eliminate any problems that the 30-year-old wiring might have potentially caused down the track. With the Z having gone through two decades of modifications and ‘quick fixes’ (as I discovered a few months ago!) this definitely seemed like a smart move.
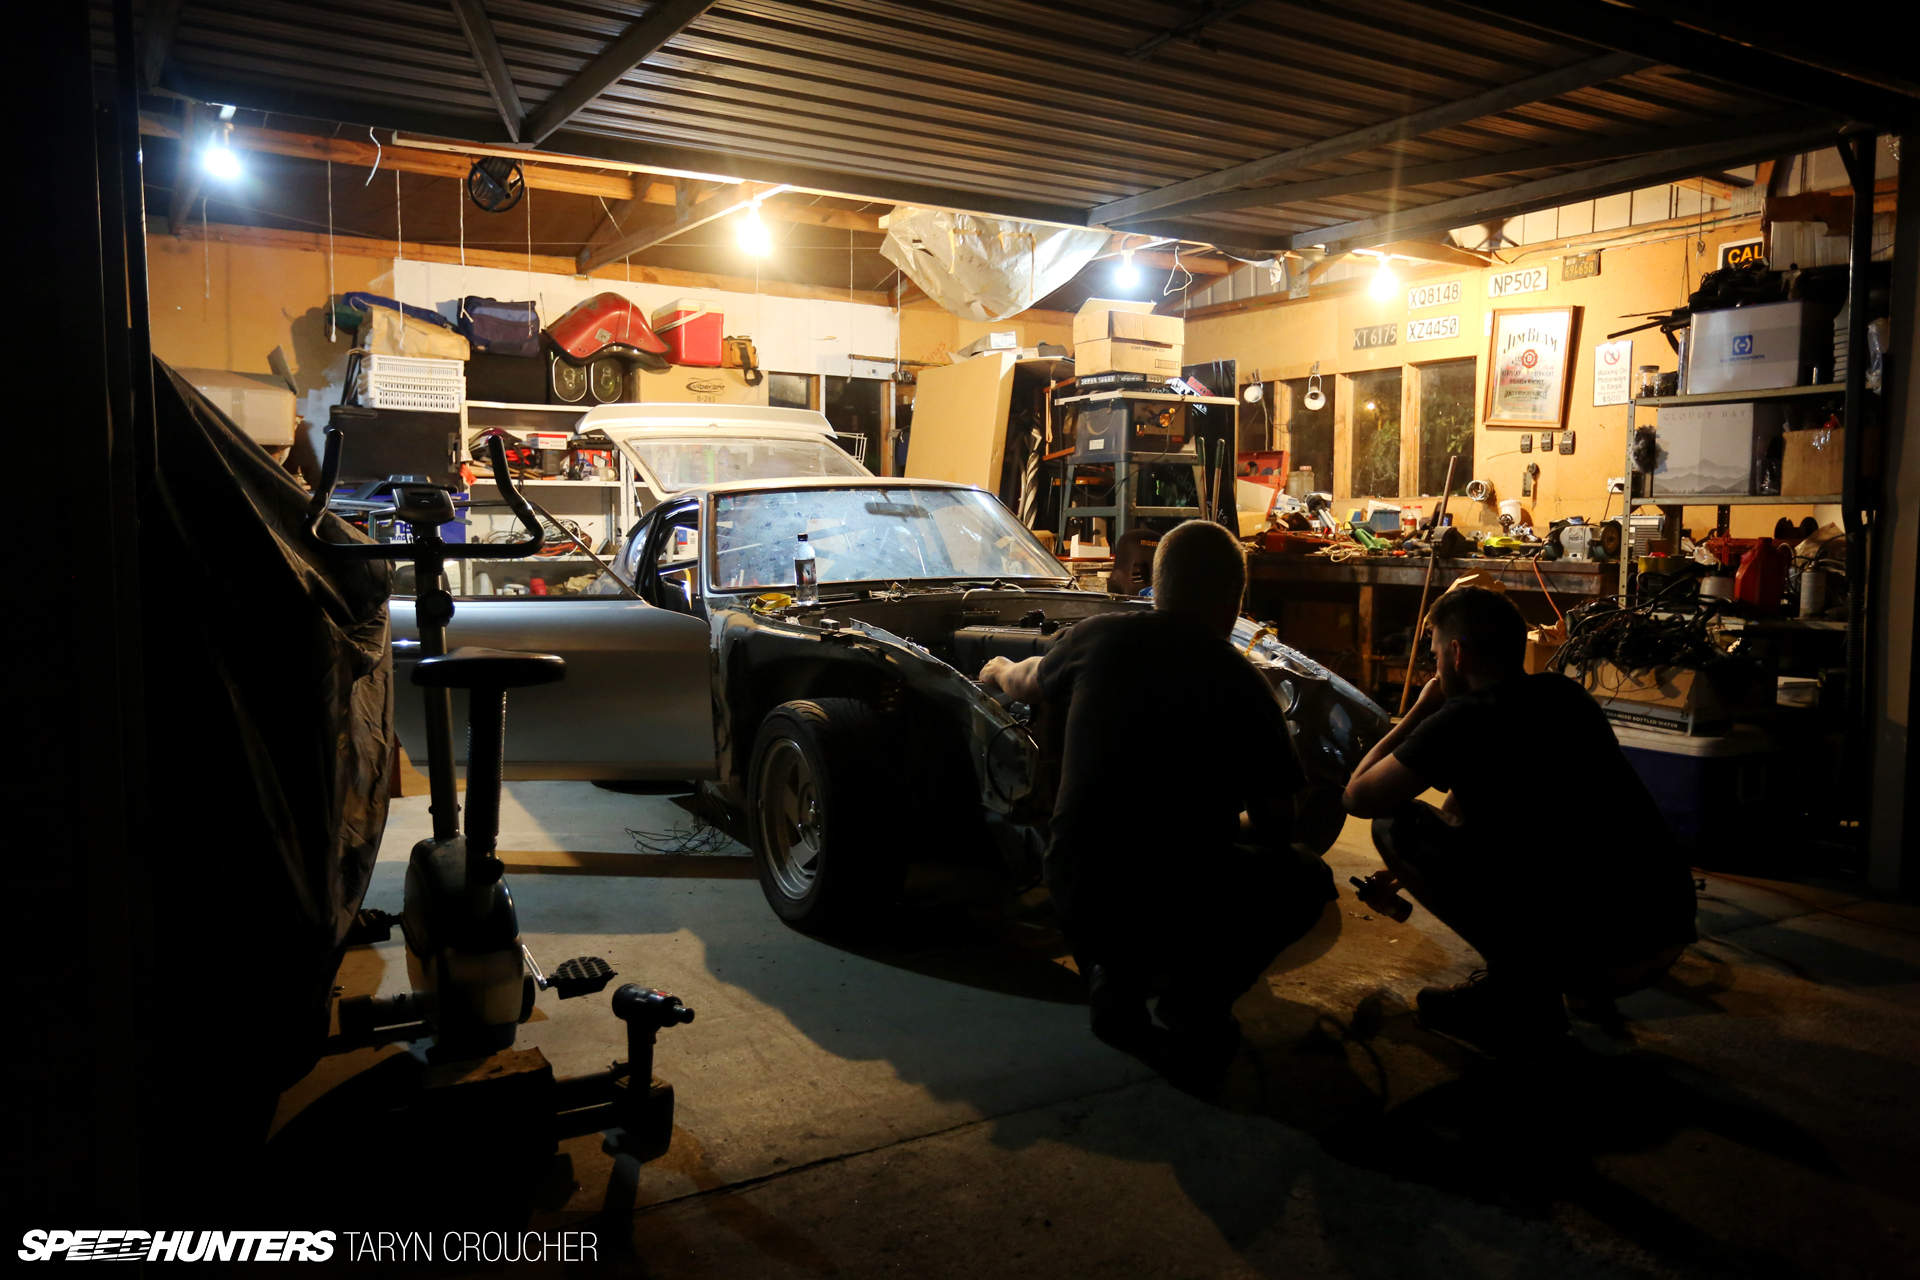
First we had to figure out the best way to run the wiring through the now shaved and detailed engine bay without creating too much mess or distraction from the star of the attraction…
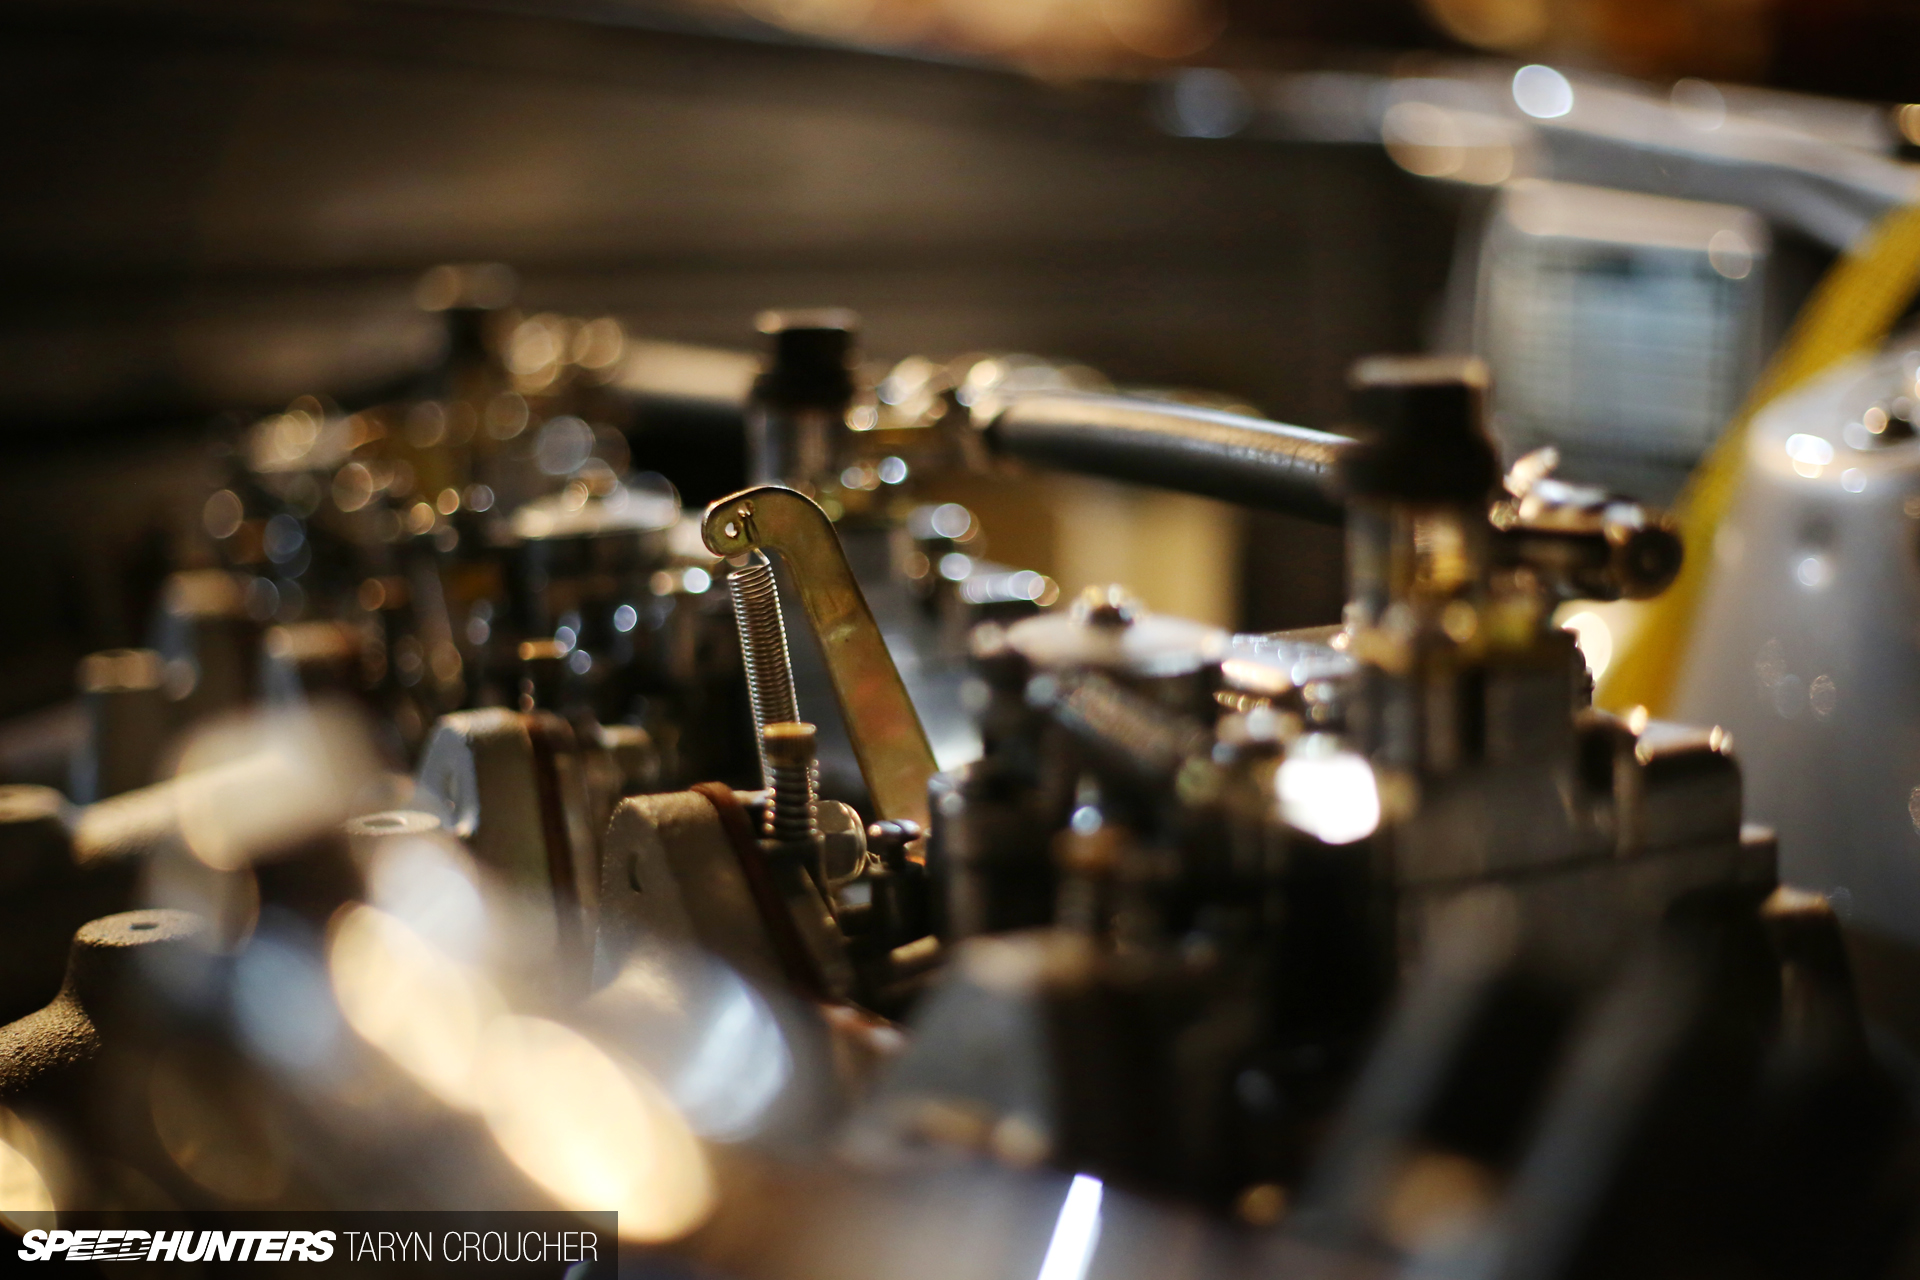
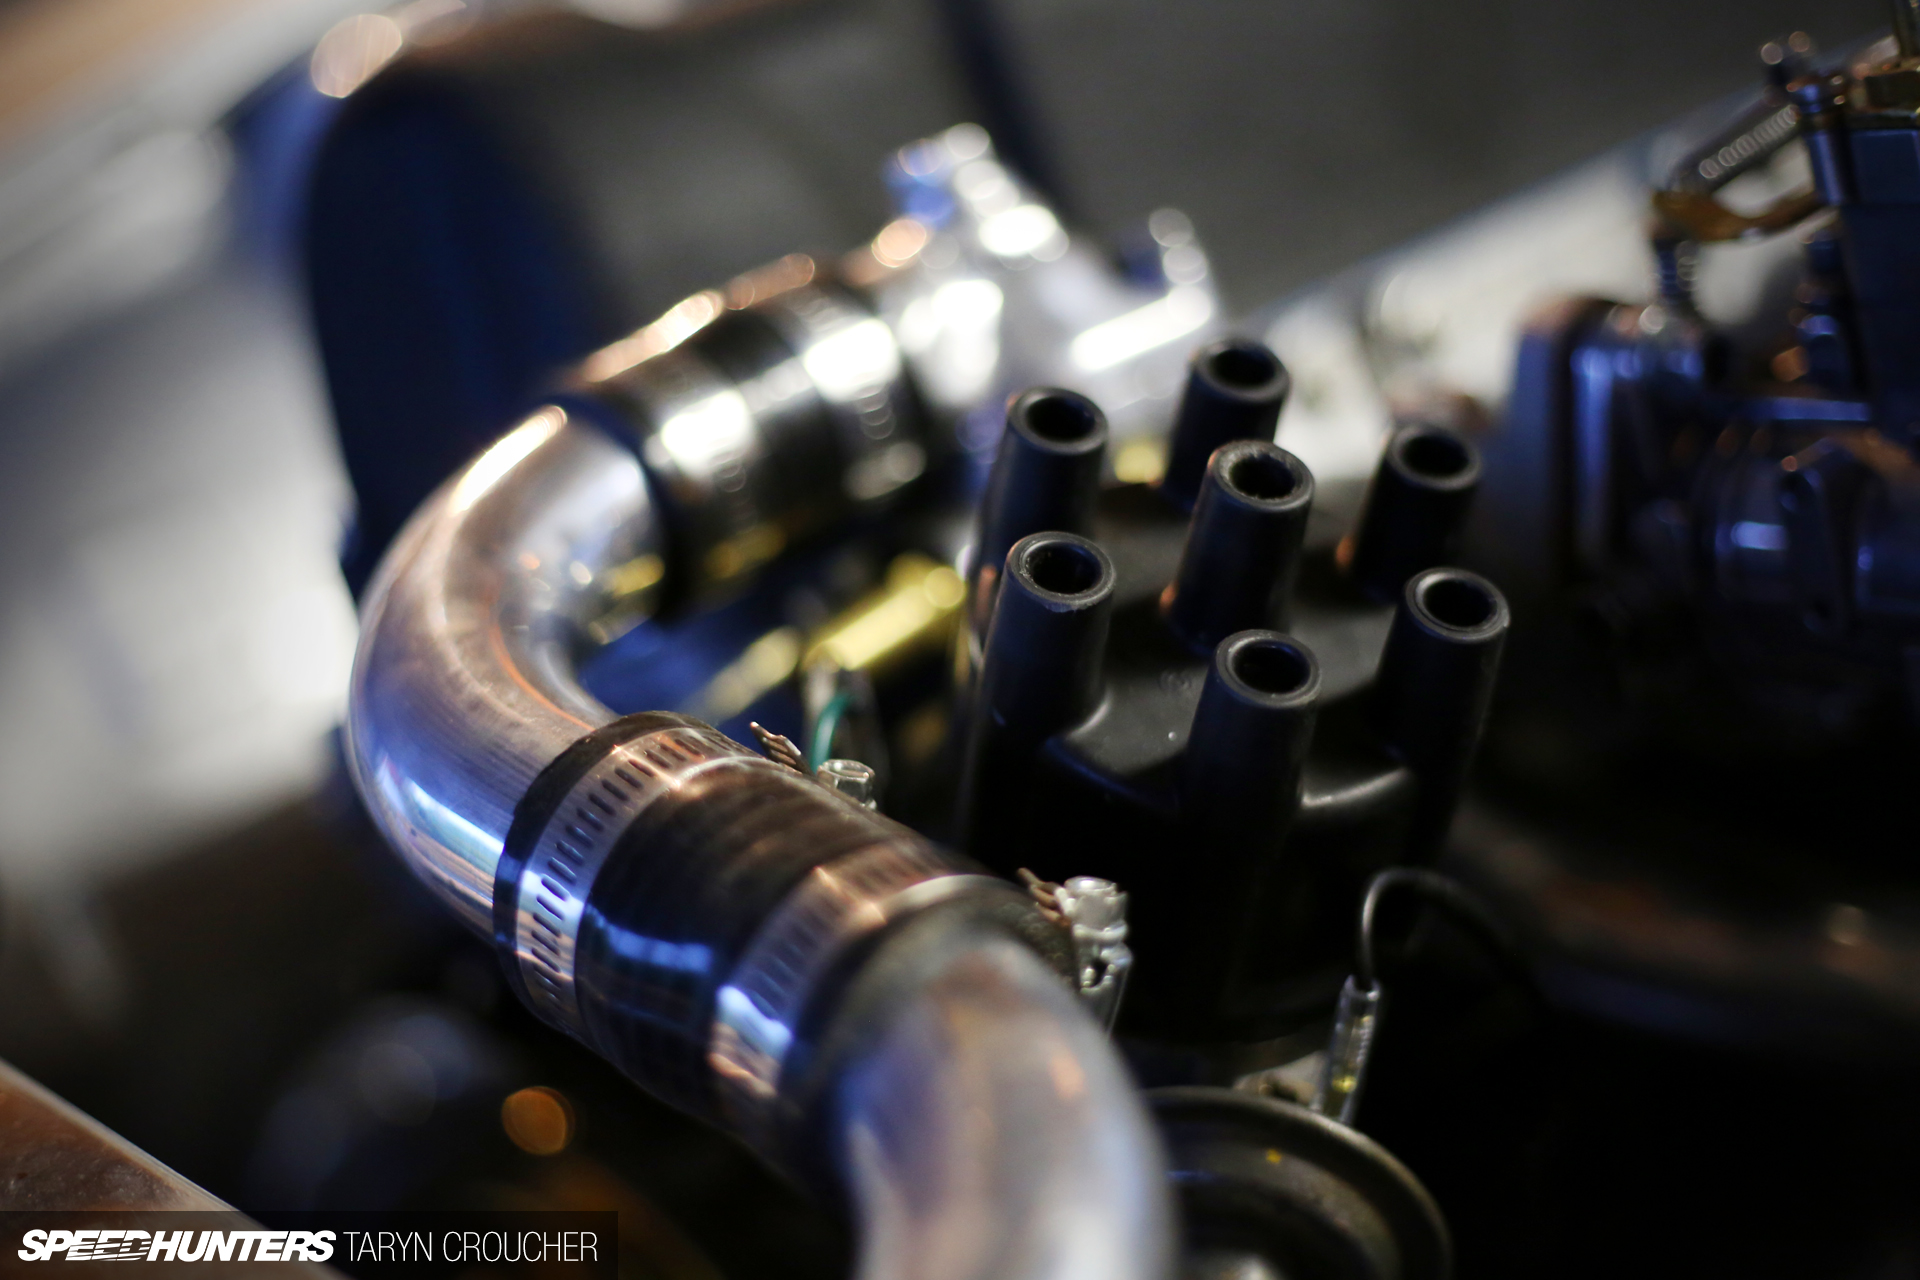
… the freshly rebuilt triple 40mm Mikuni-fed L28 motor.
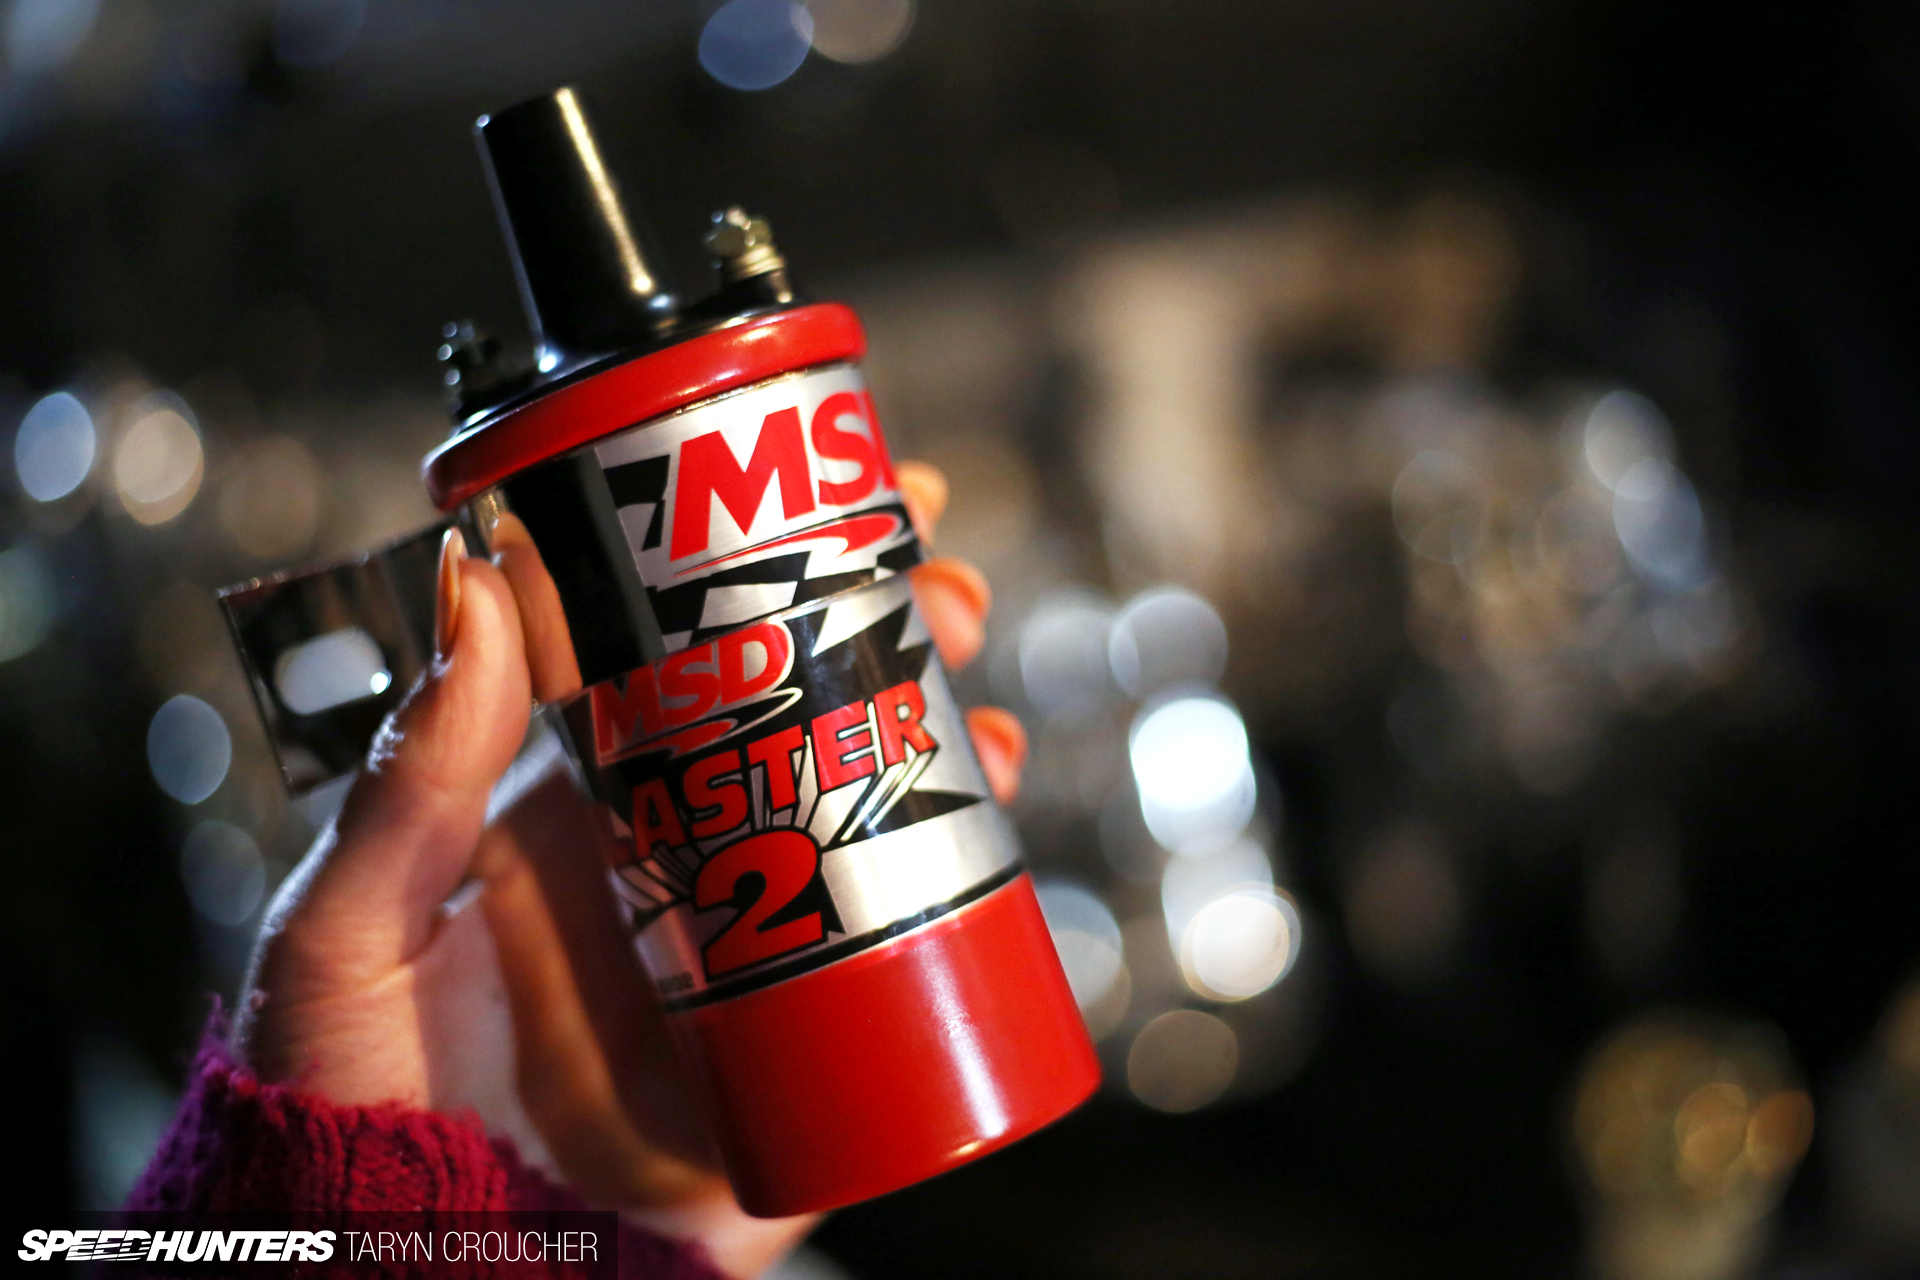
In recent weeks I’d already gone out and bought an MSD Blaster 2 coil and a 280ZX distributor…
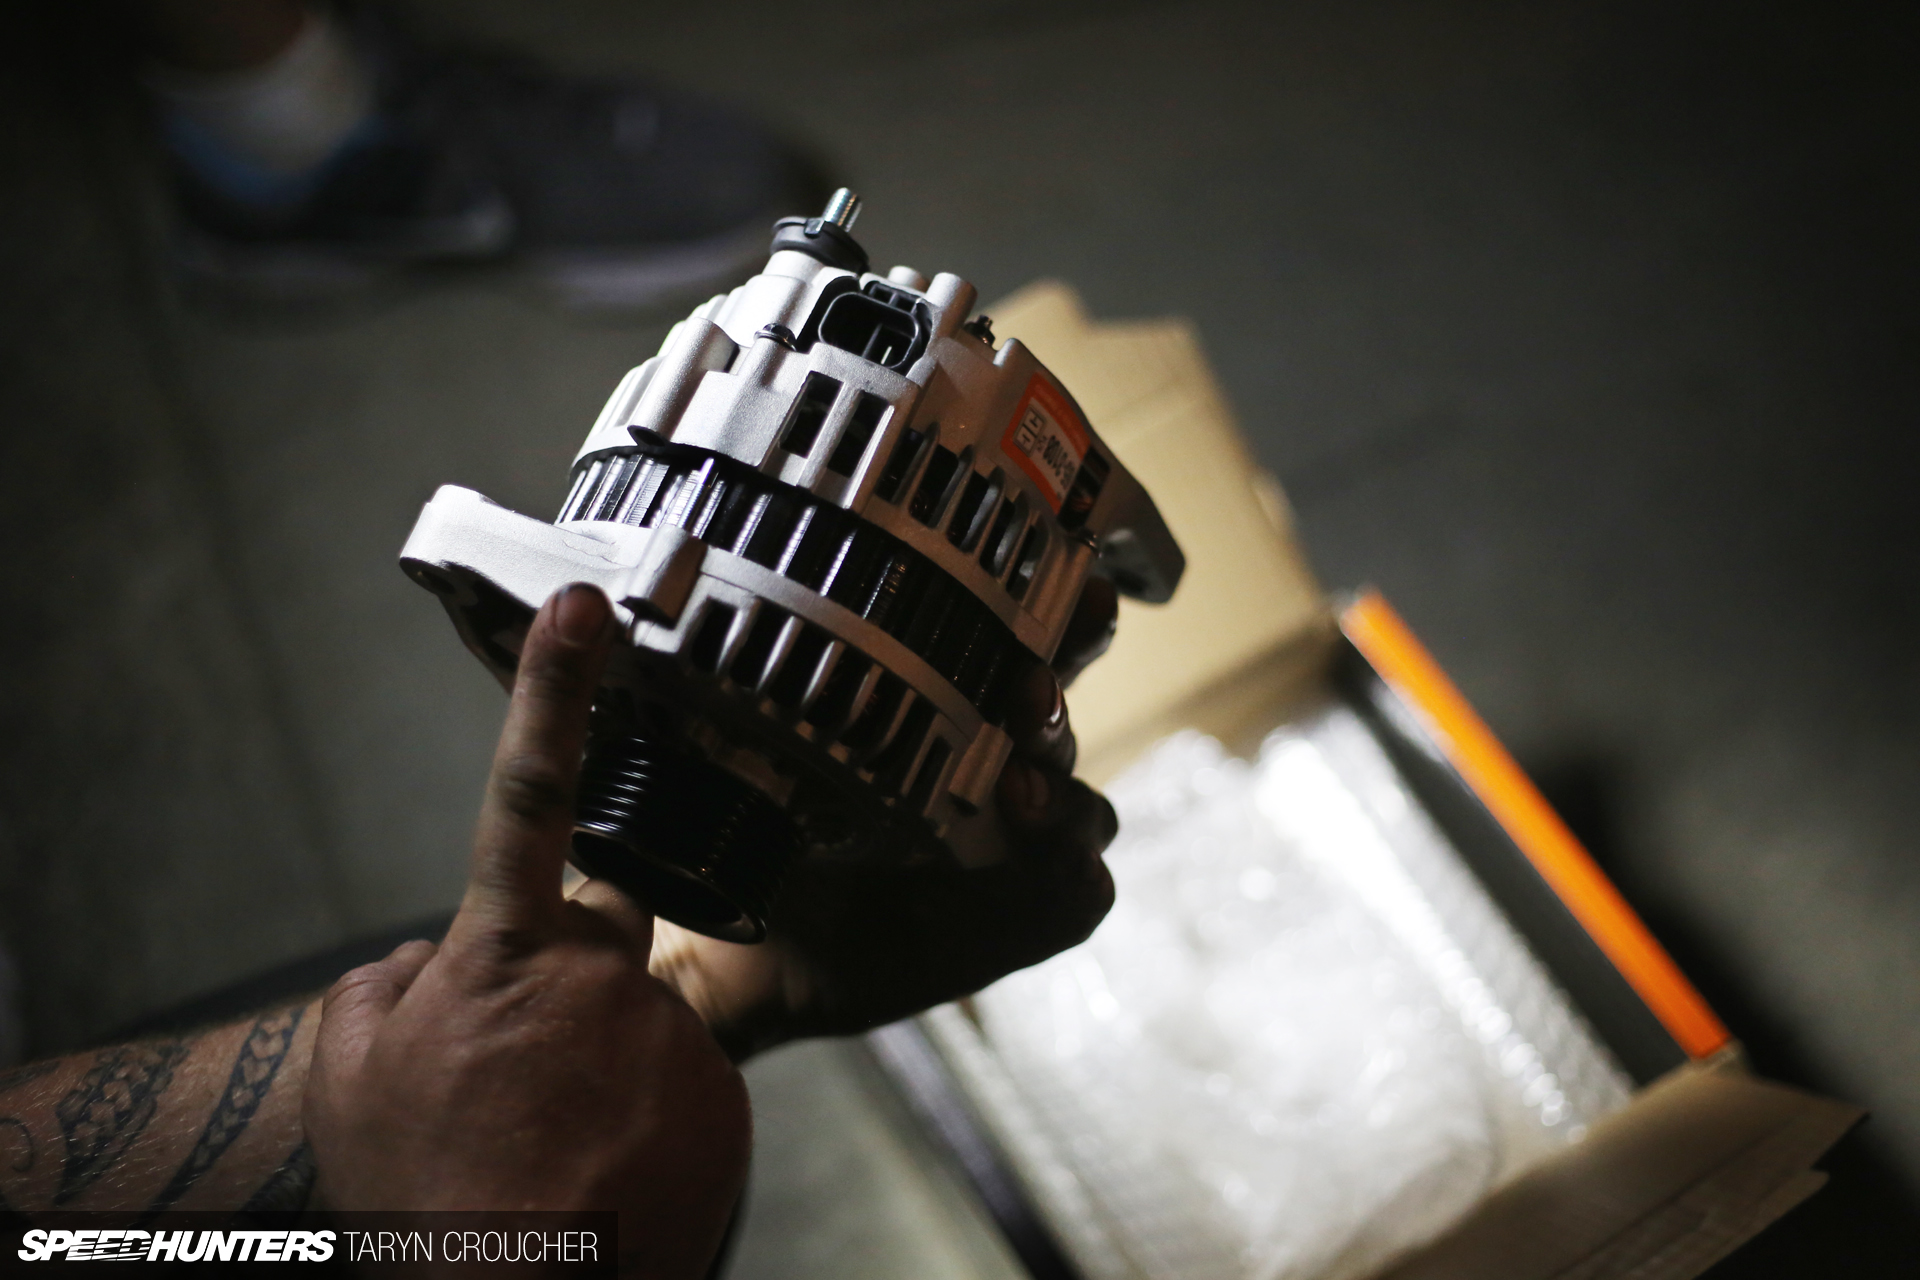
… and purchased a new alternator – but the pulley offset was wrong so I’m currently waiting on the new one to arrive. The old alternator was charging intermittently, so not replacing it would have really defeated the purpose of rewiring the car. After all, reliability is the ultimate goal from all of this!

When I say fully rewired I mean the wiring for all of the interior too, including everything under the dash, gauges, indicators, light switches. Even the old glass fuses are getting replaced with more modern fuses in a new fusebox.
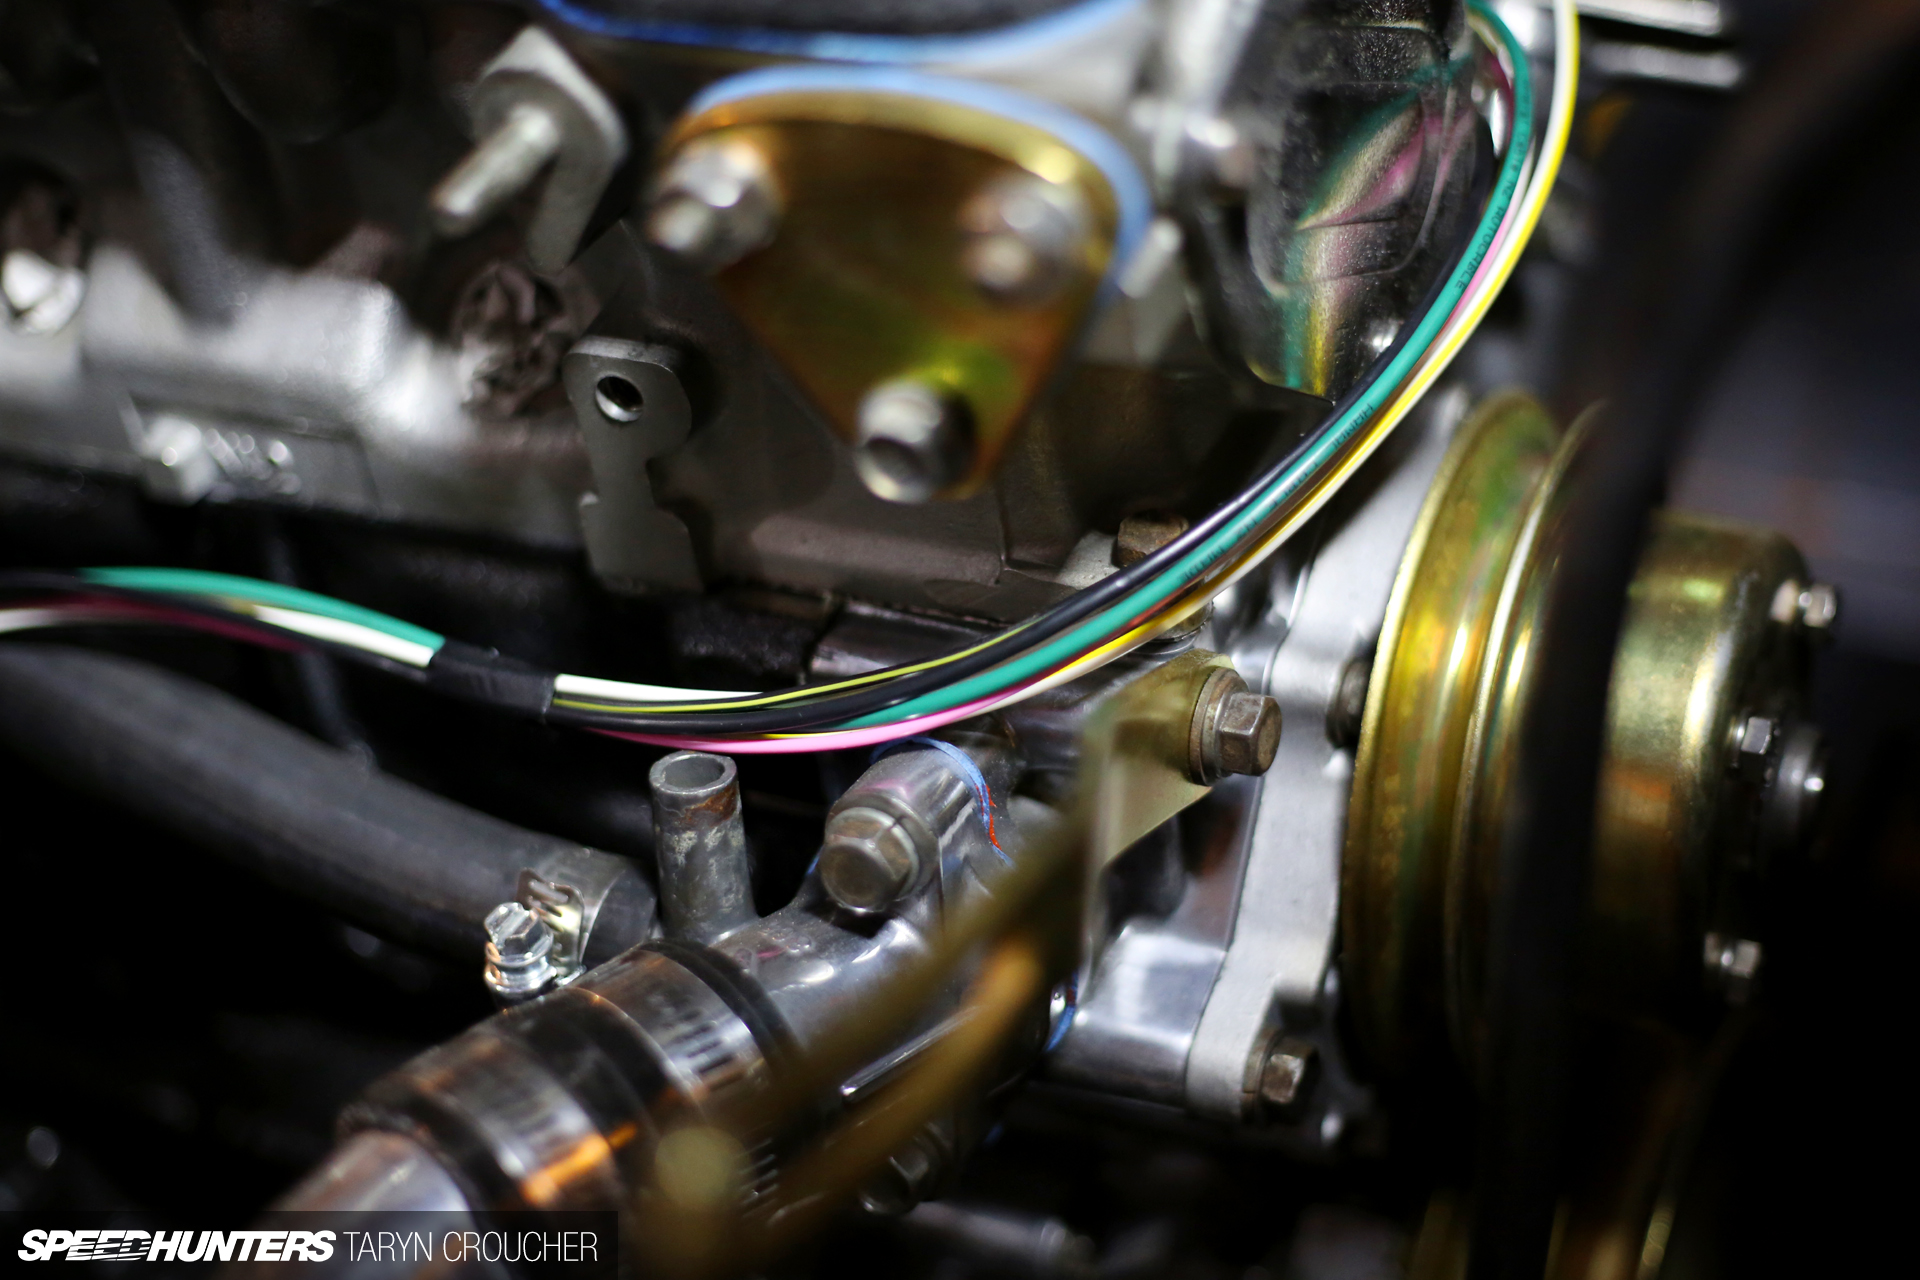
Perhaps a few of our readers might be able to shed some light on this for me, but I’m still unsure whether I need the coolant bypass line that runs from here to the thermostat housing, or can it be blocked off? Most Zs I’ve seen don’t actually have this and the research I’ve done so far hasn’t really given me a helpful answer.

While we left Michael to get the rewire underway, there were a few other things I had to address while we waited to get the Z back home again…
New goodies from around the world
… the first was to unpack a brand new set of 15×9.5-inch Fatlace F/ZER02 wheels. As soon as I saw the design for these earlier in the year I knew I’d have to acquire a set for Project Z. Inspired by vintage designs from the AME Wheels catalogue back in the 1980s, Fatlace and AME recently collaborated to redesign a new range of wheels, and the F/ZER02 is one of the products that resulted from this. The feeling you get when the courier van containing your wheels pulls up outside can only be compared to the childish excitement of waking up to discover that Santa has delivered you Christmas presents!
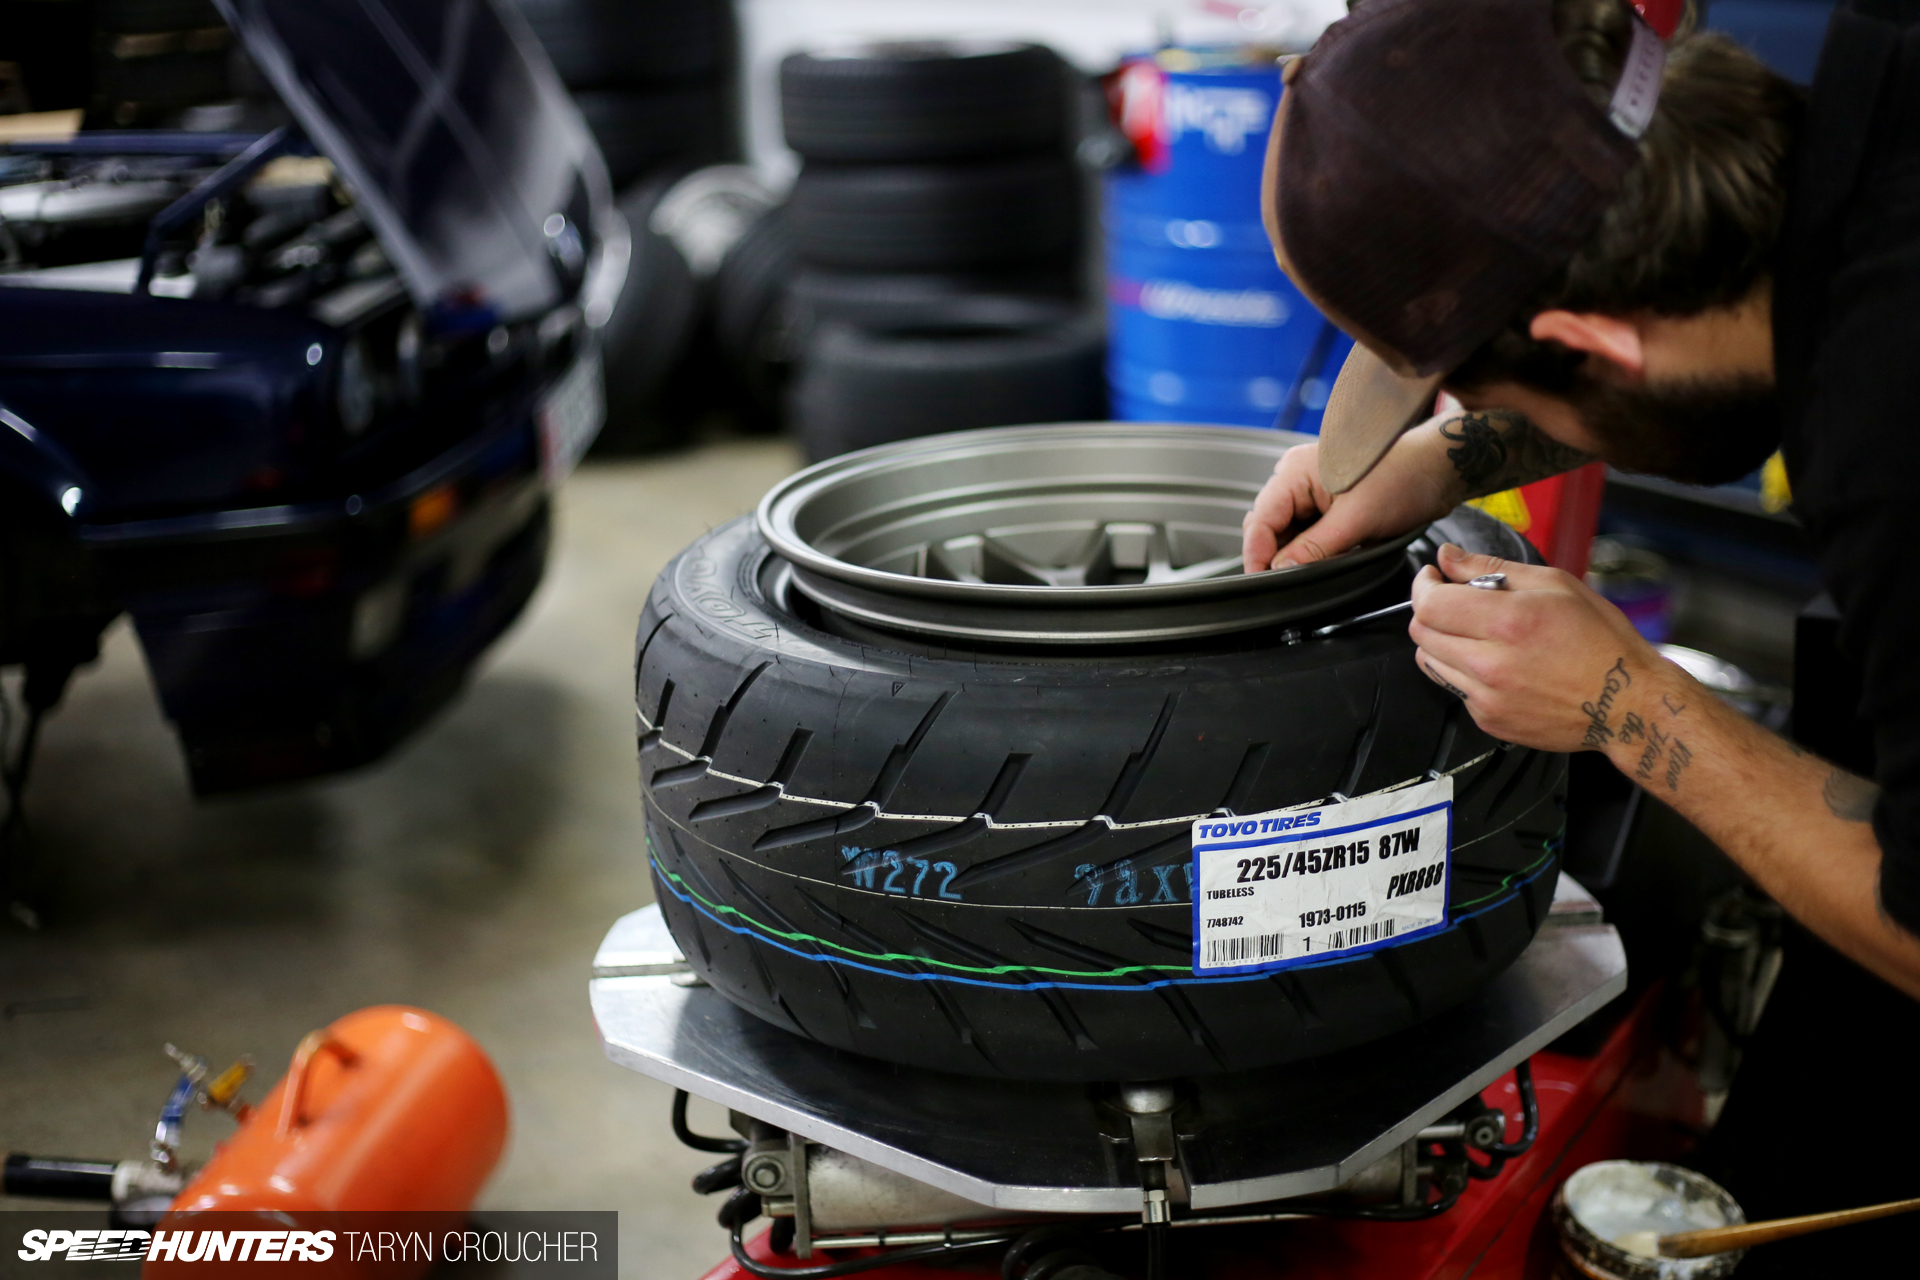
I took the F/ZER0s straight down to my friend Zach at Precision Wheels, who was able to order me in the tyres I wanted…
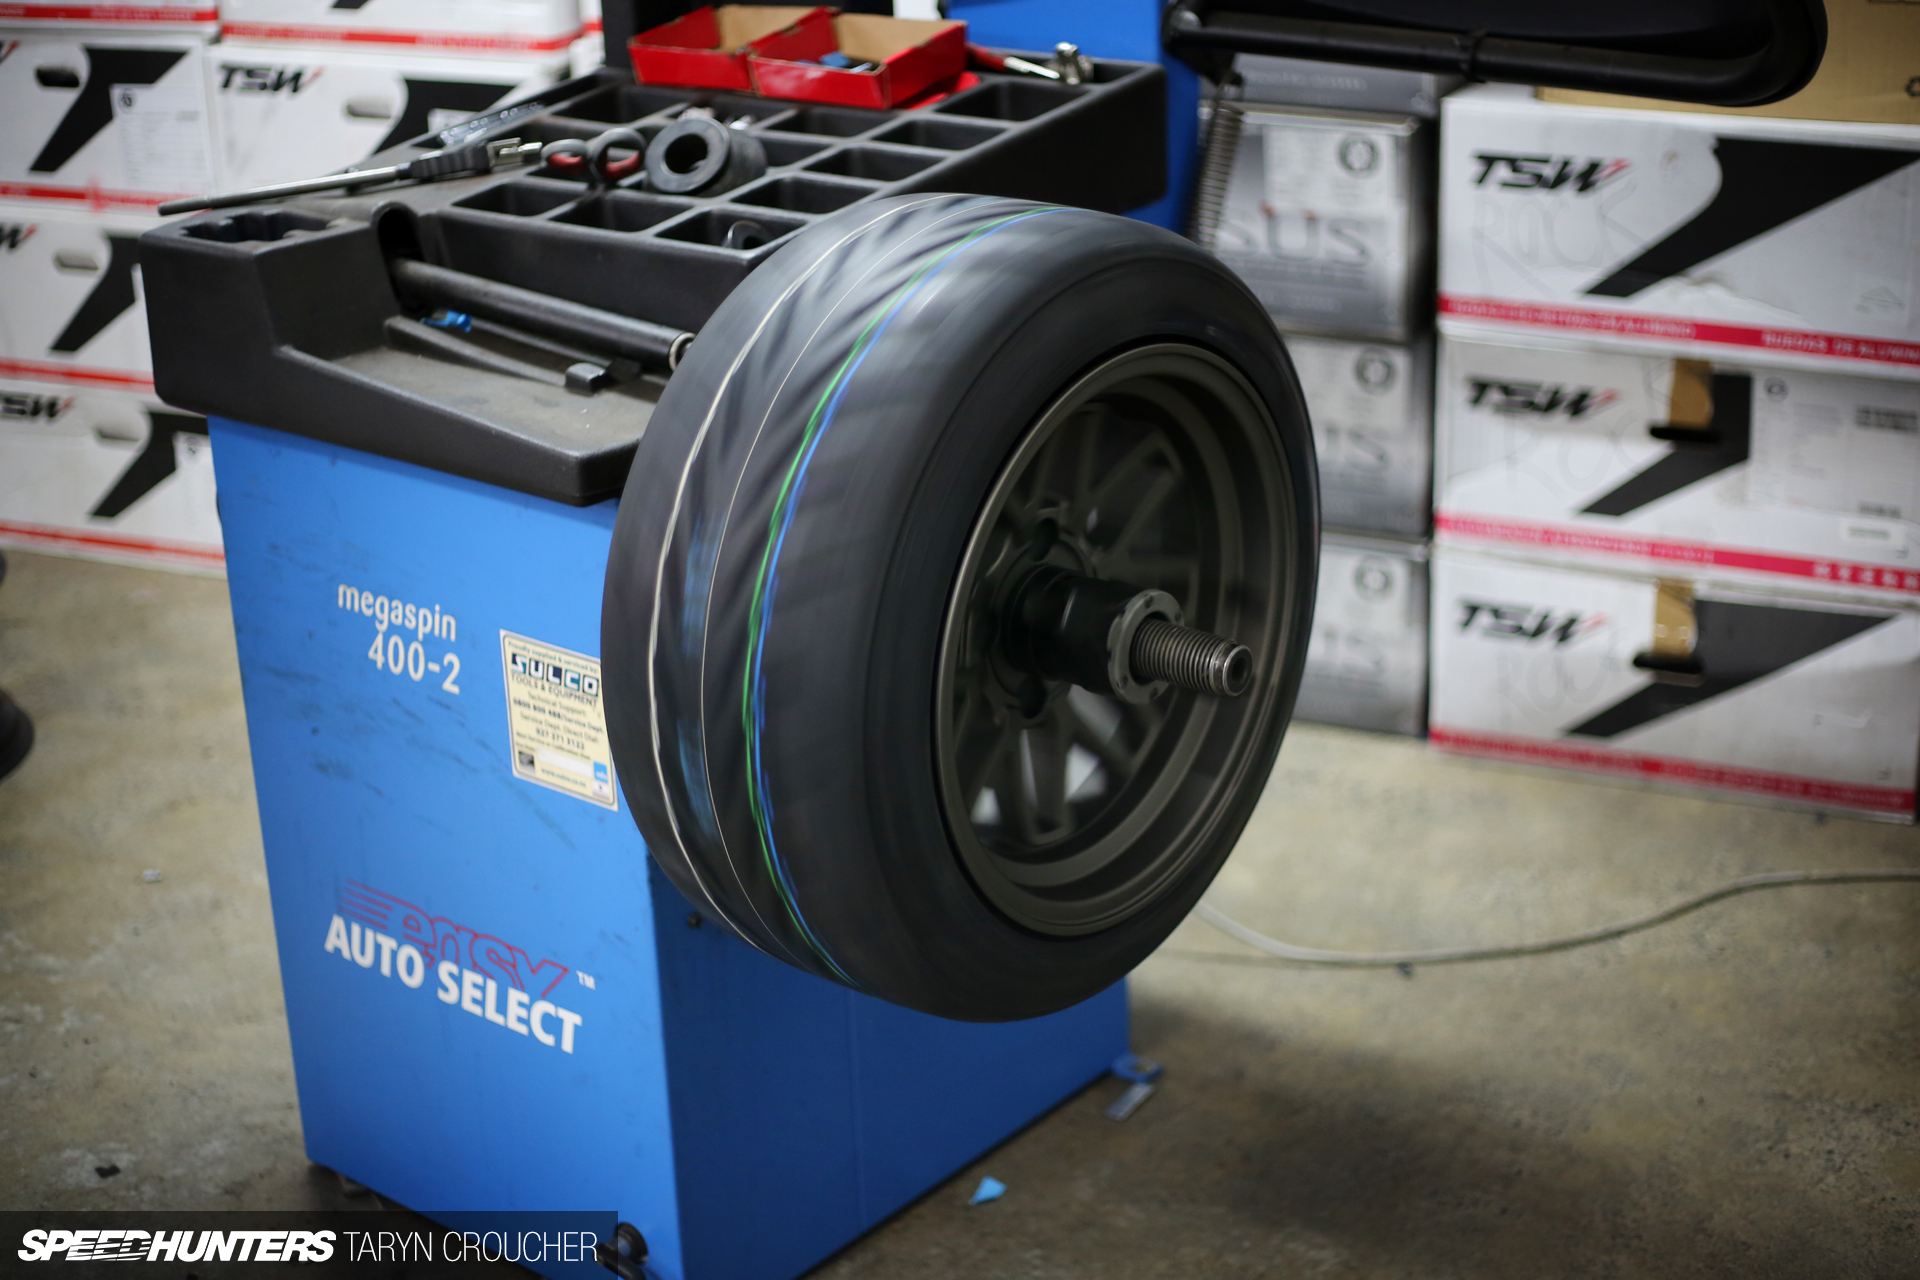
… and mount and balance them all in one day. Zach is an all round good guy who also happens to have a pretty sweet beard, so I know he’s trustworthy.
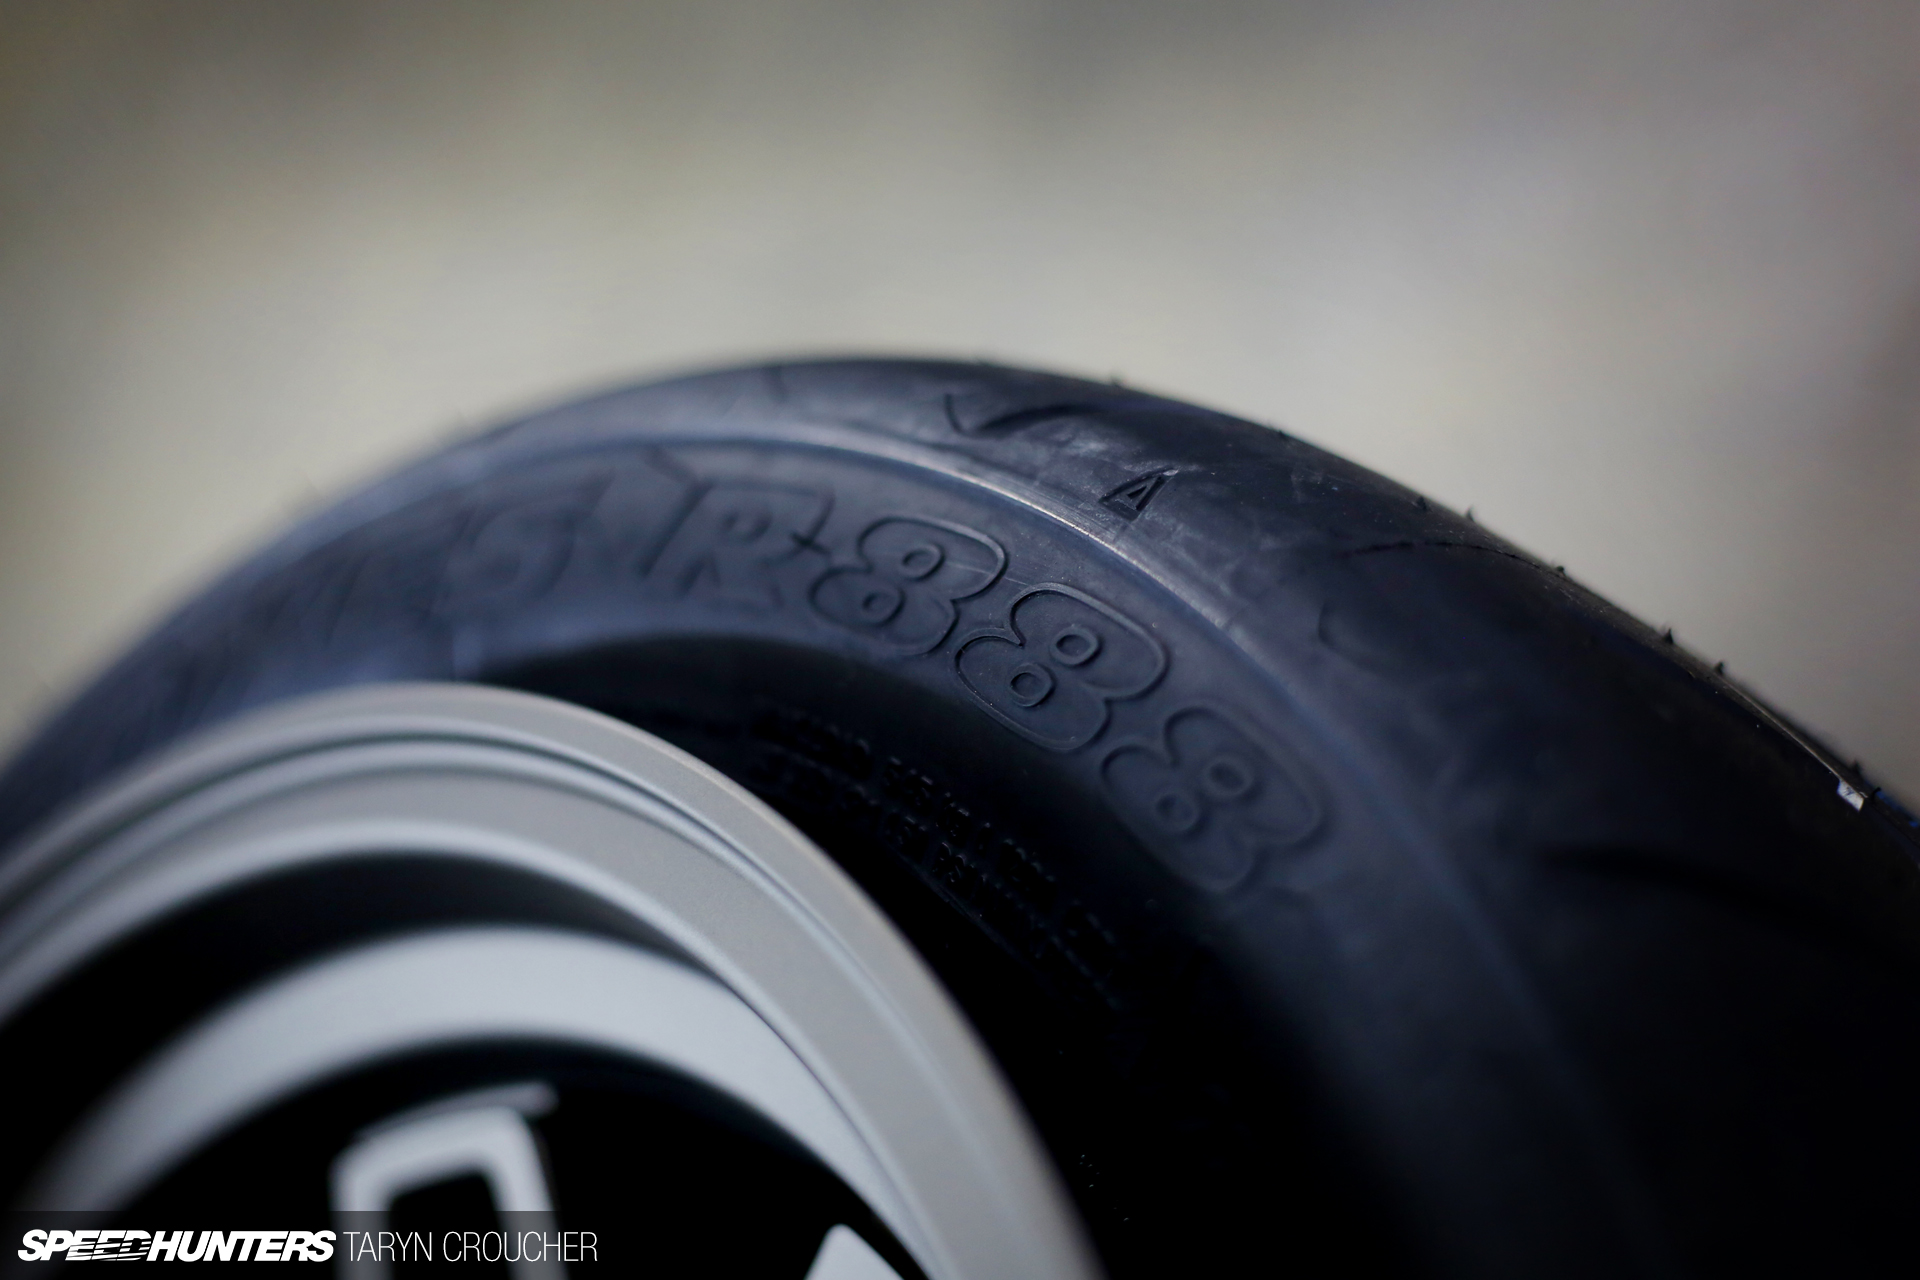
Seeing as these wheels are going to be a second set mainly for track day use I decided to go with 225/45 Toyo Proxes R888 semi-slicks, mostly because of their functional purpose but also because they look pretty badass. With the AME’s matte granite finish and chunkier tyres, they should give the S30 a whole different look and I can’t wait to see it.
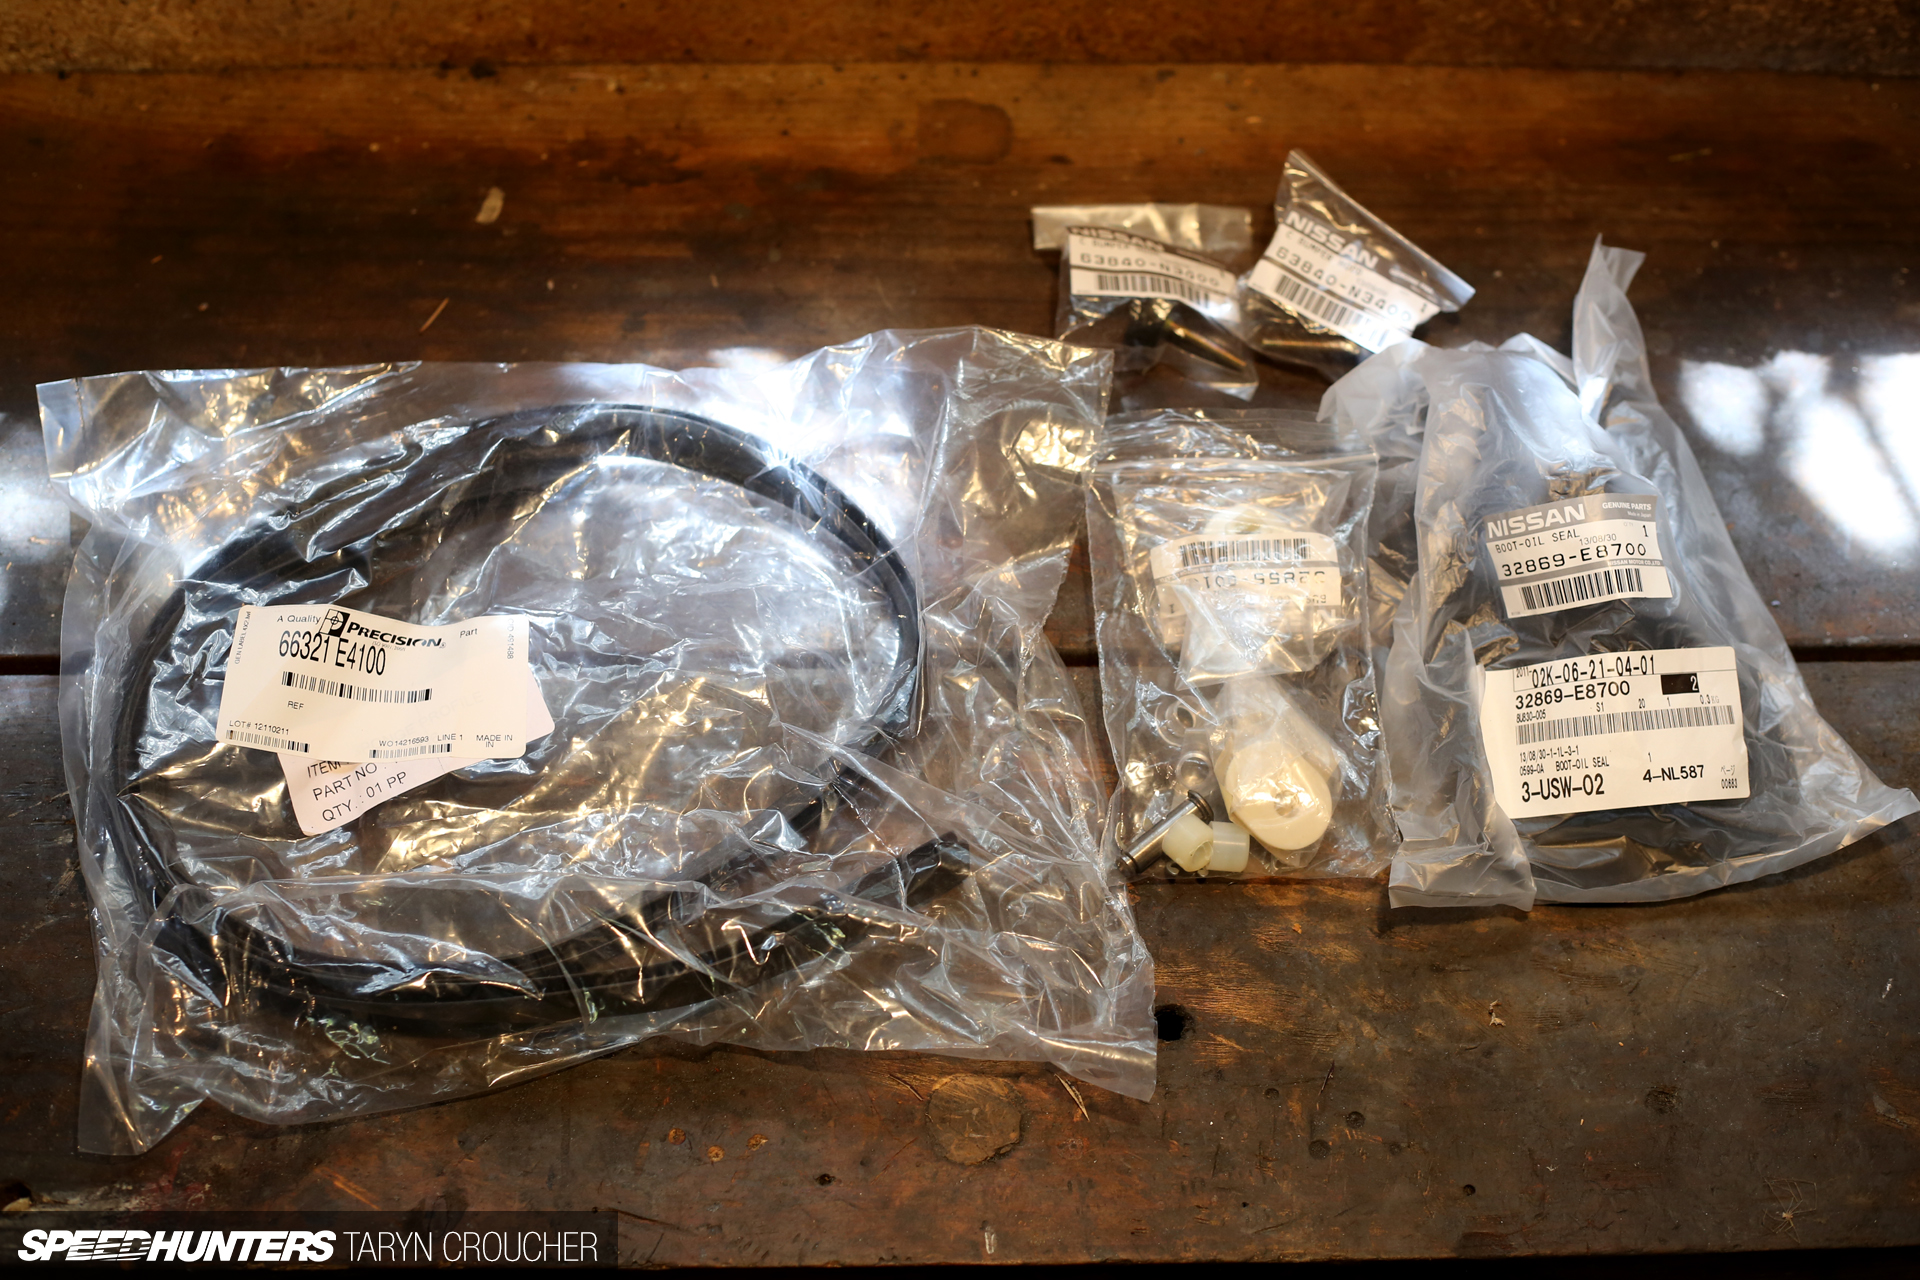
As I mentioned in one of my previous posts, the more new parts we buy for this car the more all the old bits stand out and look old and crappy. Z-car parts aren’t as easy to source in New Zealand as they are in Japan or the United States, so often when we’ve figured out that something needs replacing it’ll be a few weeks until the replacement part actually arrives on our doorstep. To make things worse, often the shipping costs are more expensive than the parts themselves!

Here a a few examples of old crappy parts needing replacing: the original inner gear boot was so old that the rubber was hard and cracked and falling to pieces. I couldn’t bear to put something like that back into the car!
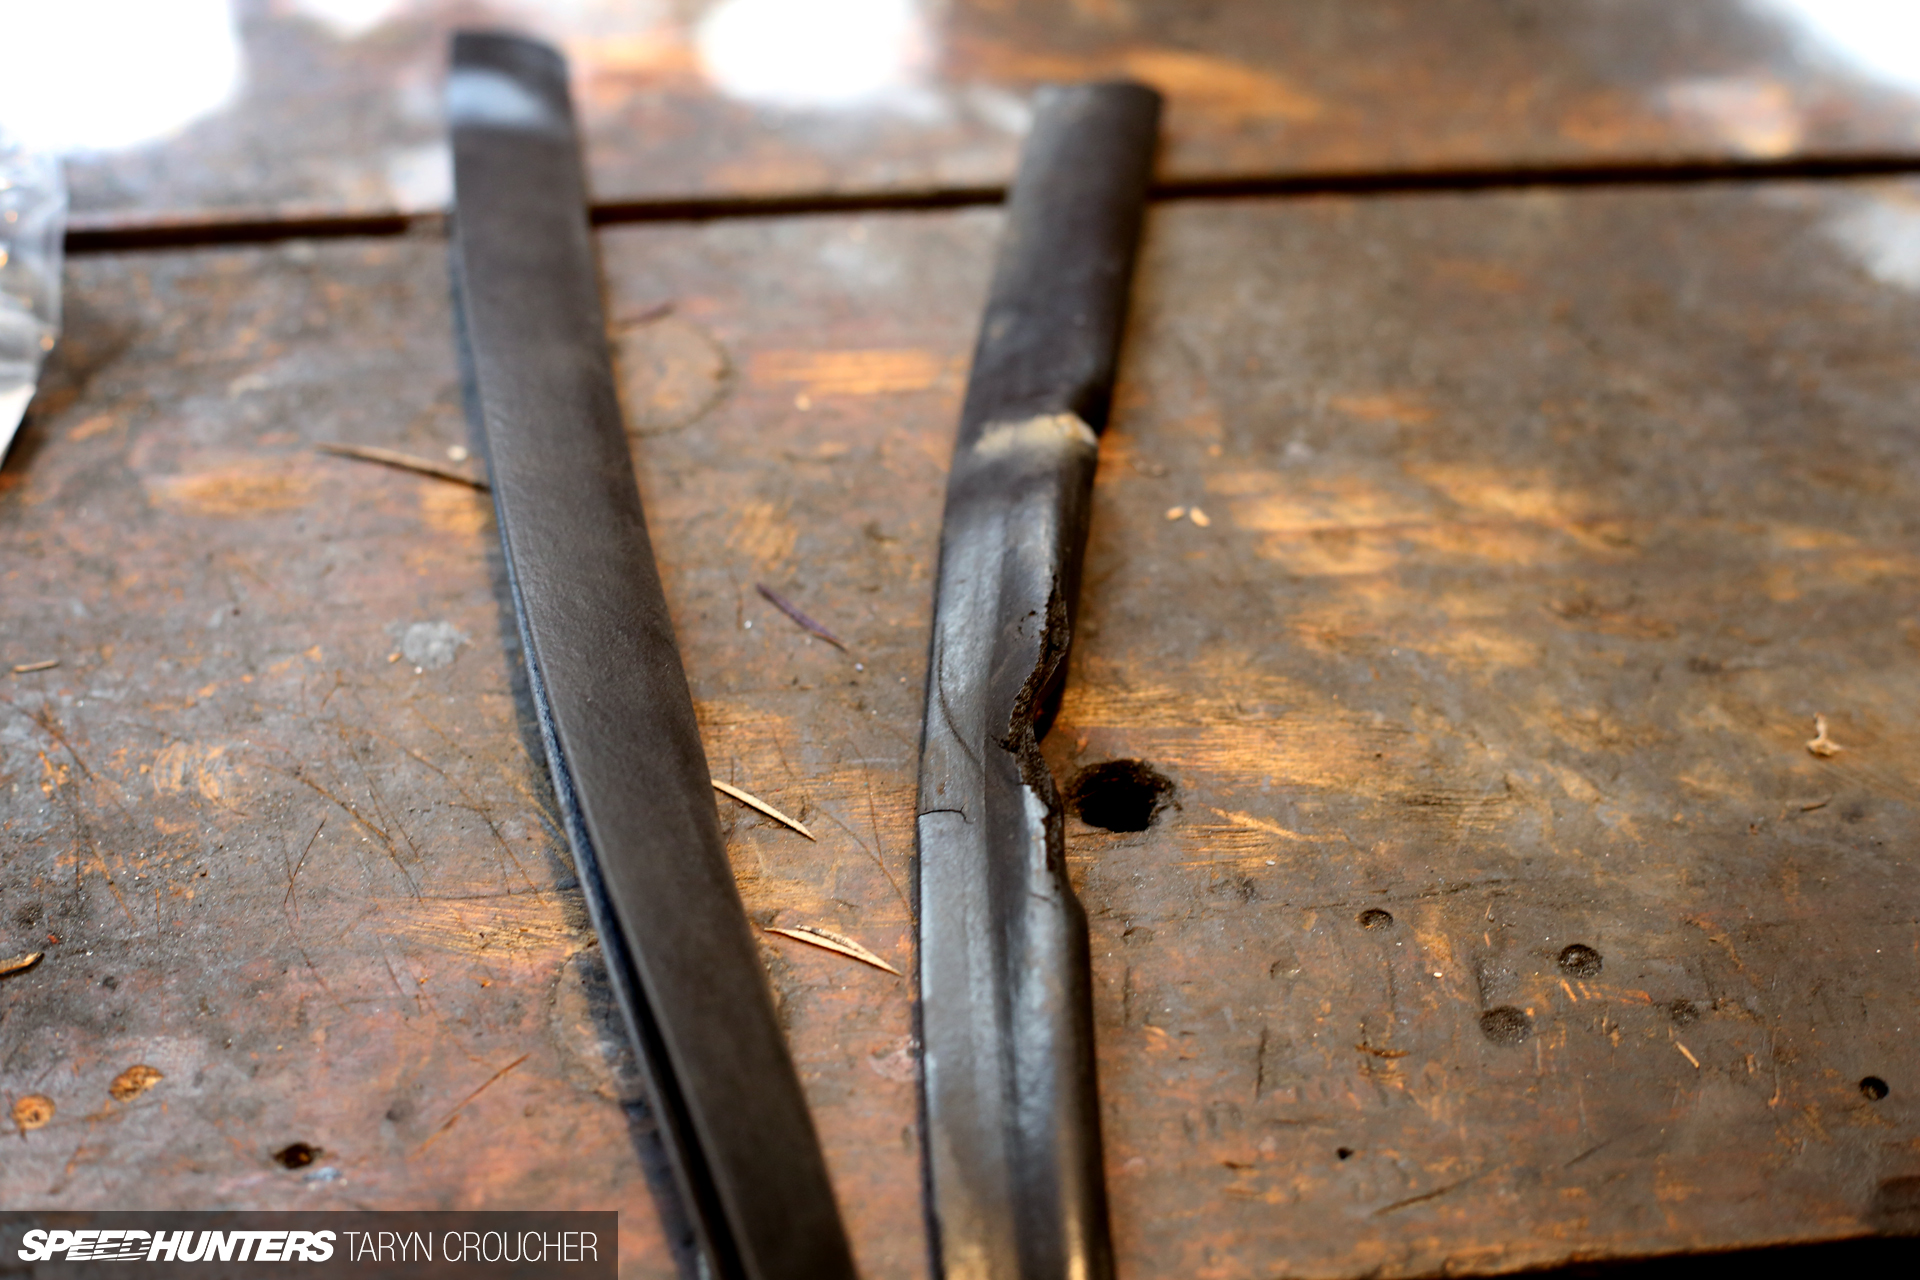
The weatherstrip that sits between the bonnet and the top of the firewall was also worn and a bit dead-looking so this has now been replaced too.
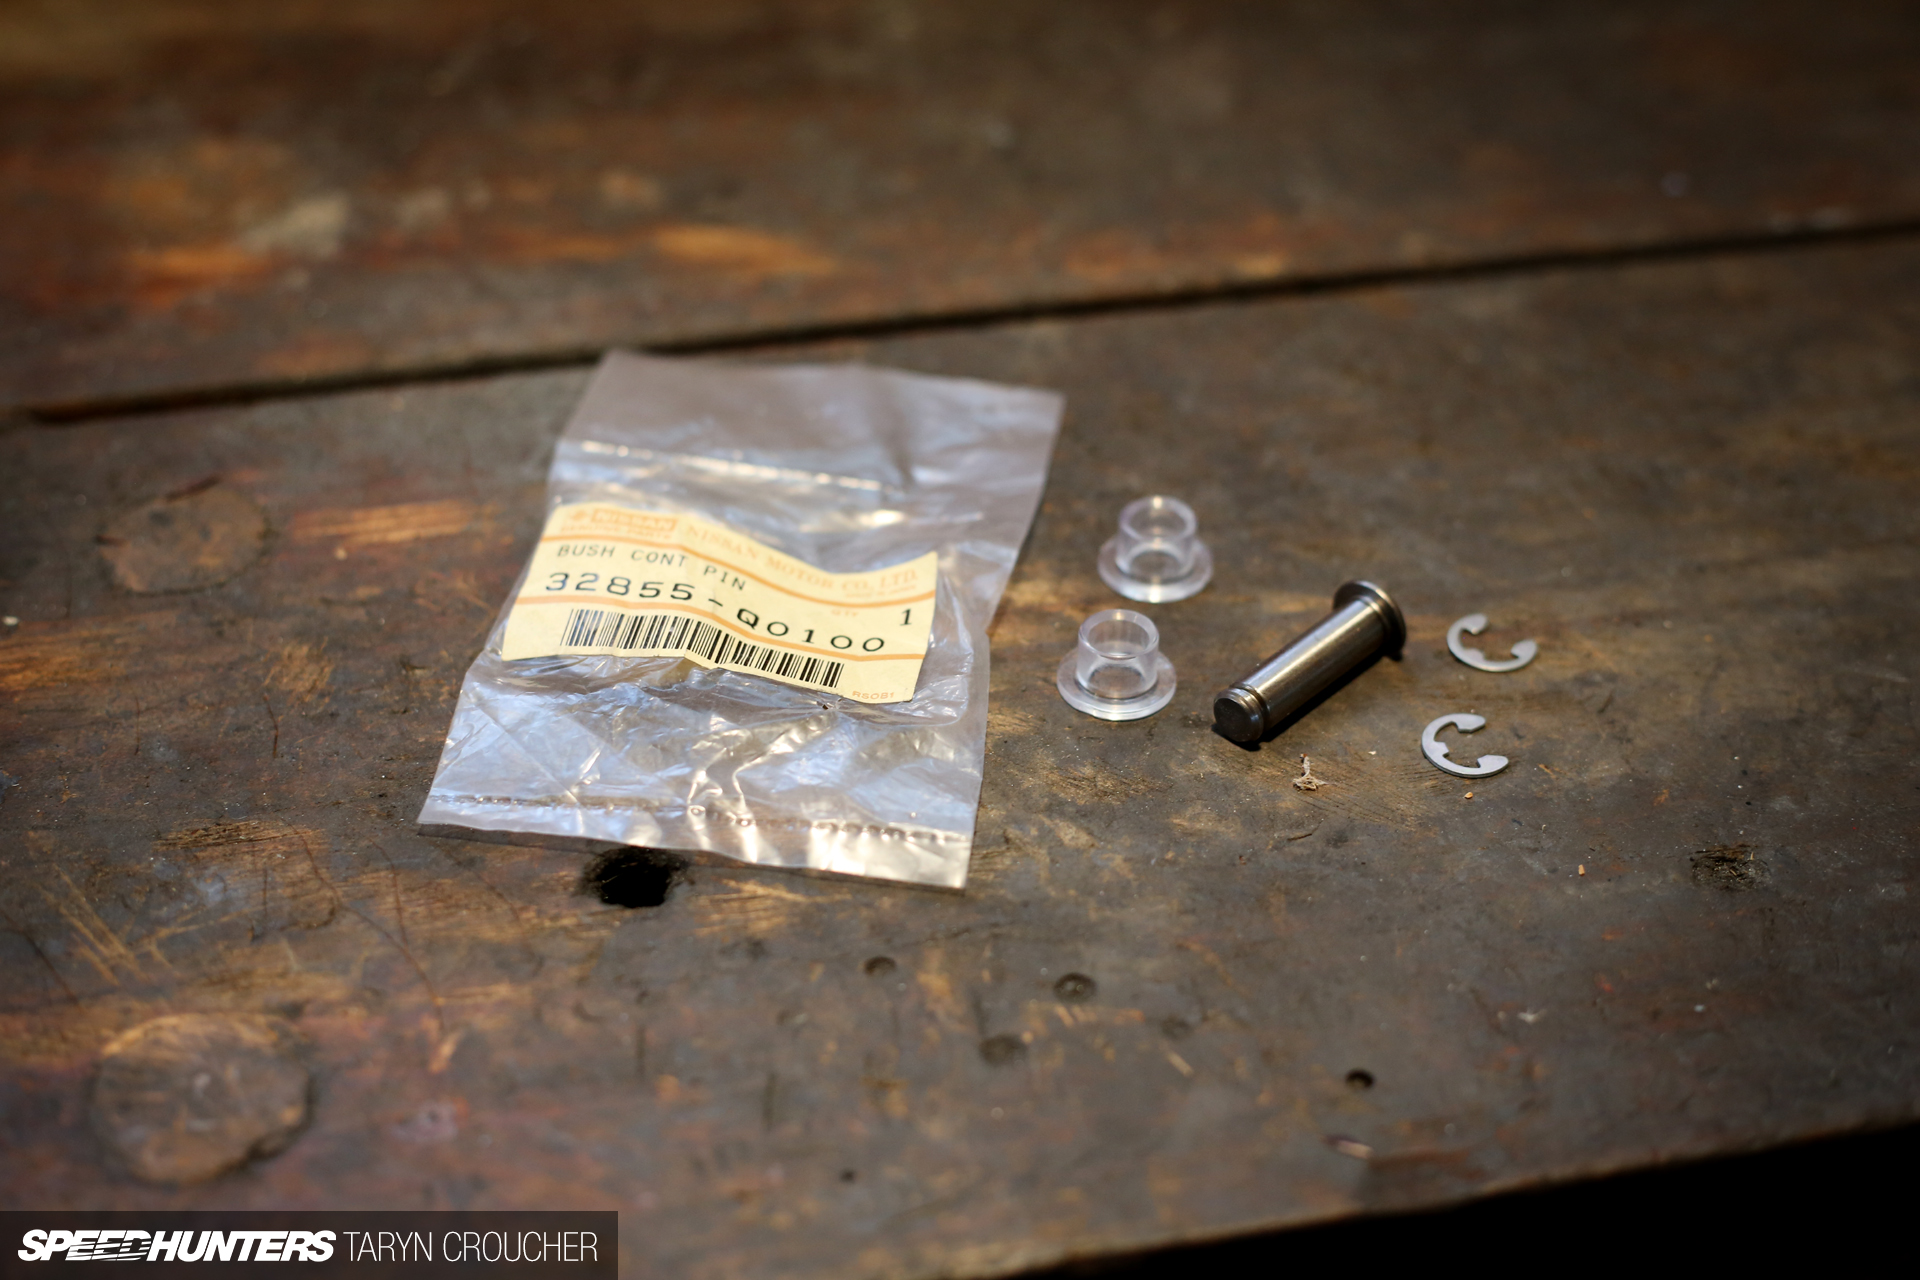
Although not a visual change, I was surprised at how much of a difference new shifter bushes and a new shifter pin made. The gear shifter had a lot of slop in it before and it feels much nicer and more direct now.

Here you can see the new bonnet stoppers or ‘hood height adjusters’ as they’re called, next to the old ones – you can see the old ones were starting to corrode and had lost the rubber off the top! Parts like this aren’t really a big deal when you look at them individually like this, but I know they’ll make a world of difference when they all finally come together.

One thing that can’t be so easily replaced however, is the original dash. The old vinyl is covered with cracks and I think most people I know with an old Z-car have the same problem. I’ve been trying to figure out a cost effective solution to getting this fixed for some time now…
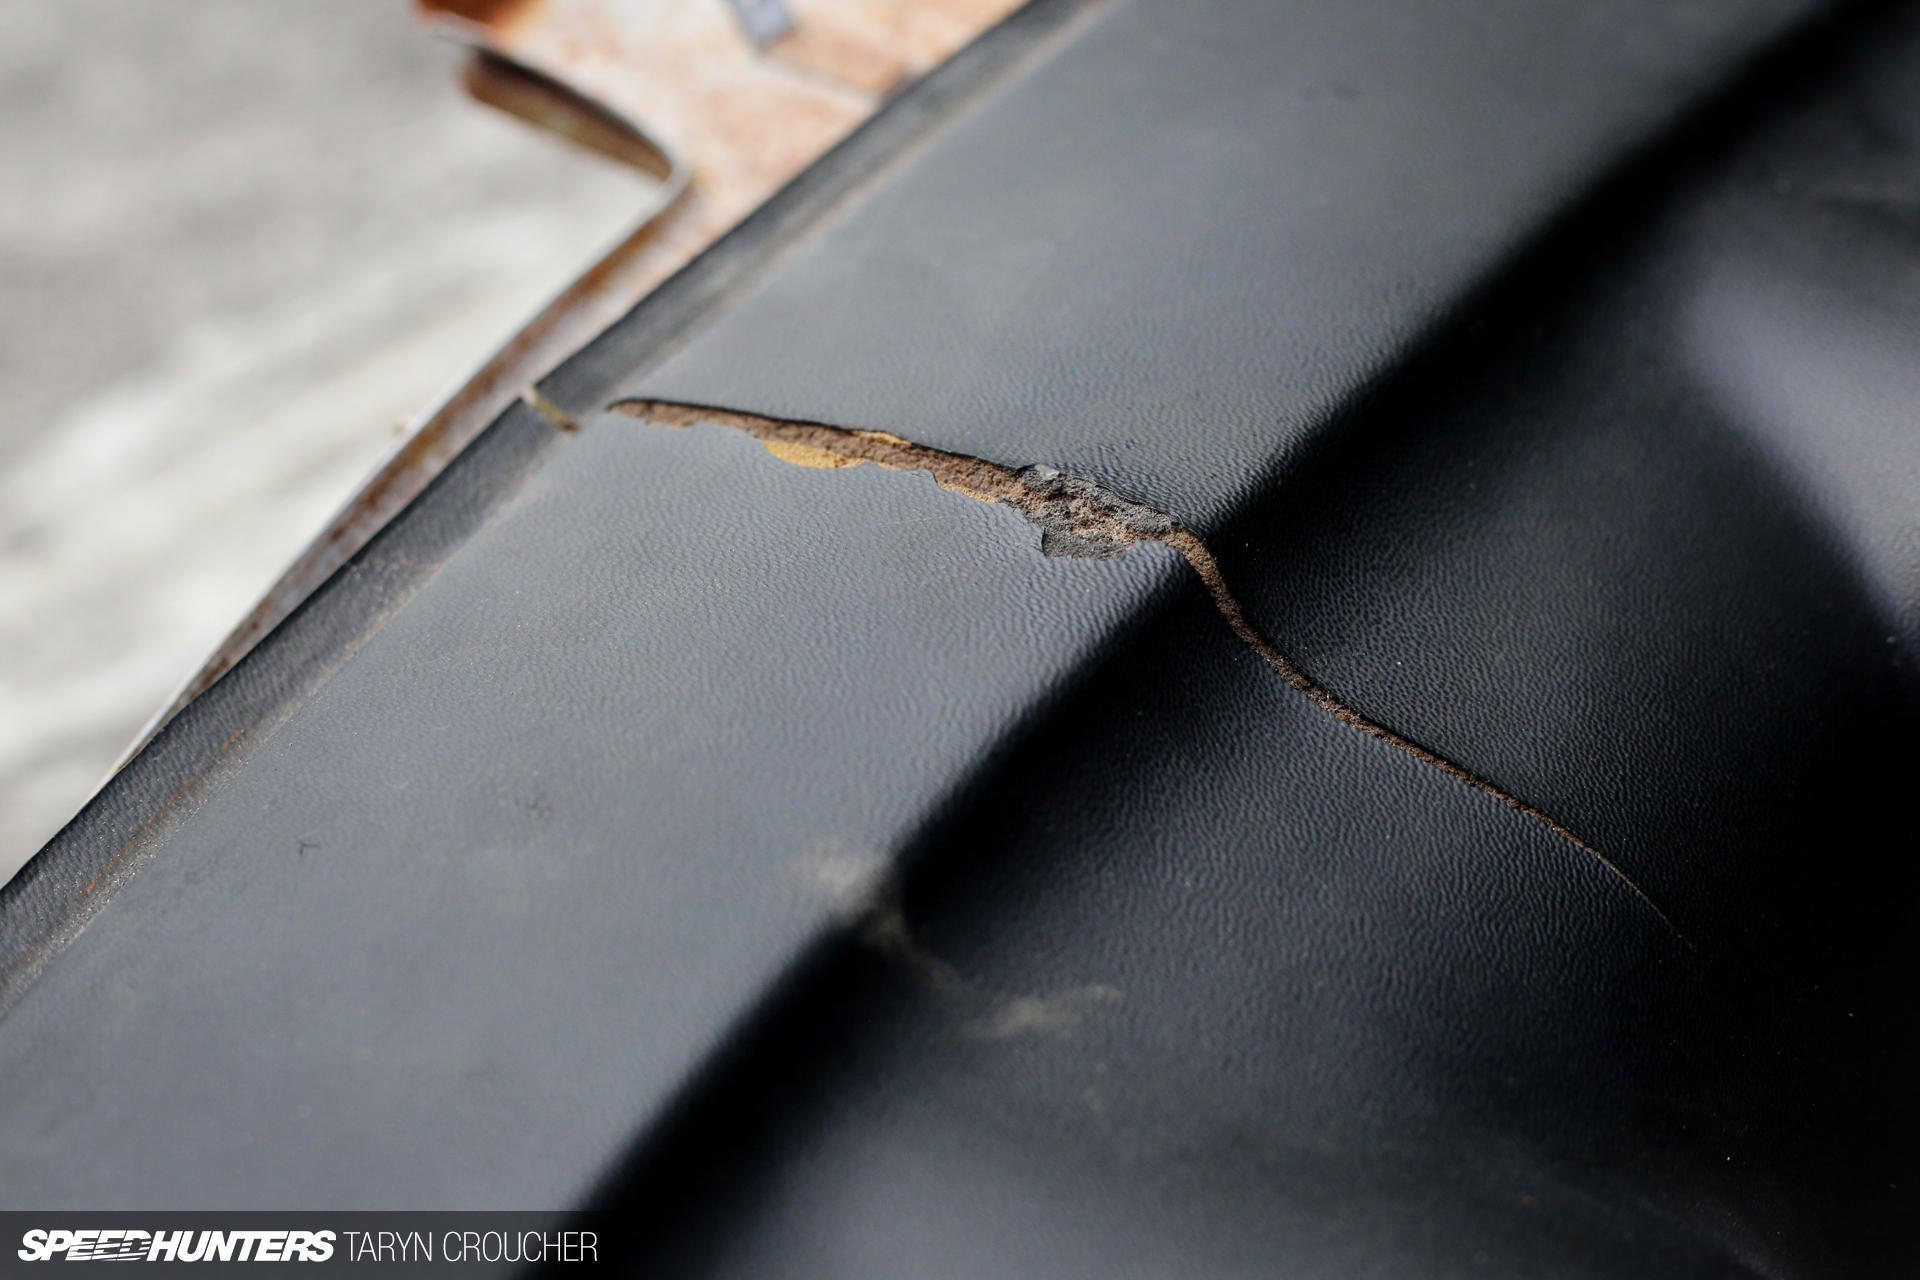
… but unfortunately I don’t think one exists. It looks like we’ll have to fork out the extra cash and get it properly refurbished to bring it back to original factory quality. A friend recently had his dash restored and this cost upwards of $1000 – ouch!
Last weekend the Z found its way back home to our garage once again…
The prodigal G-nose returns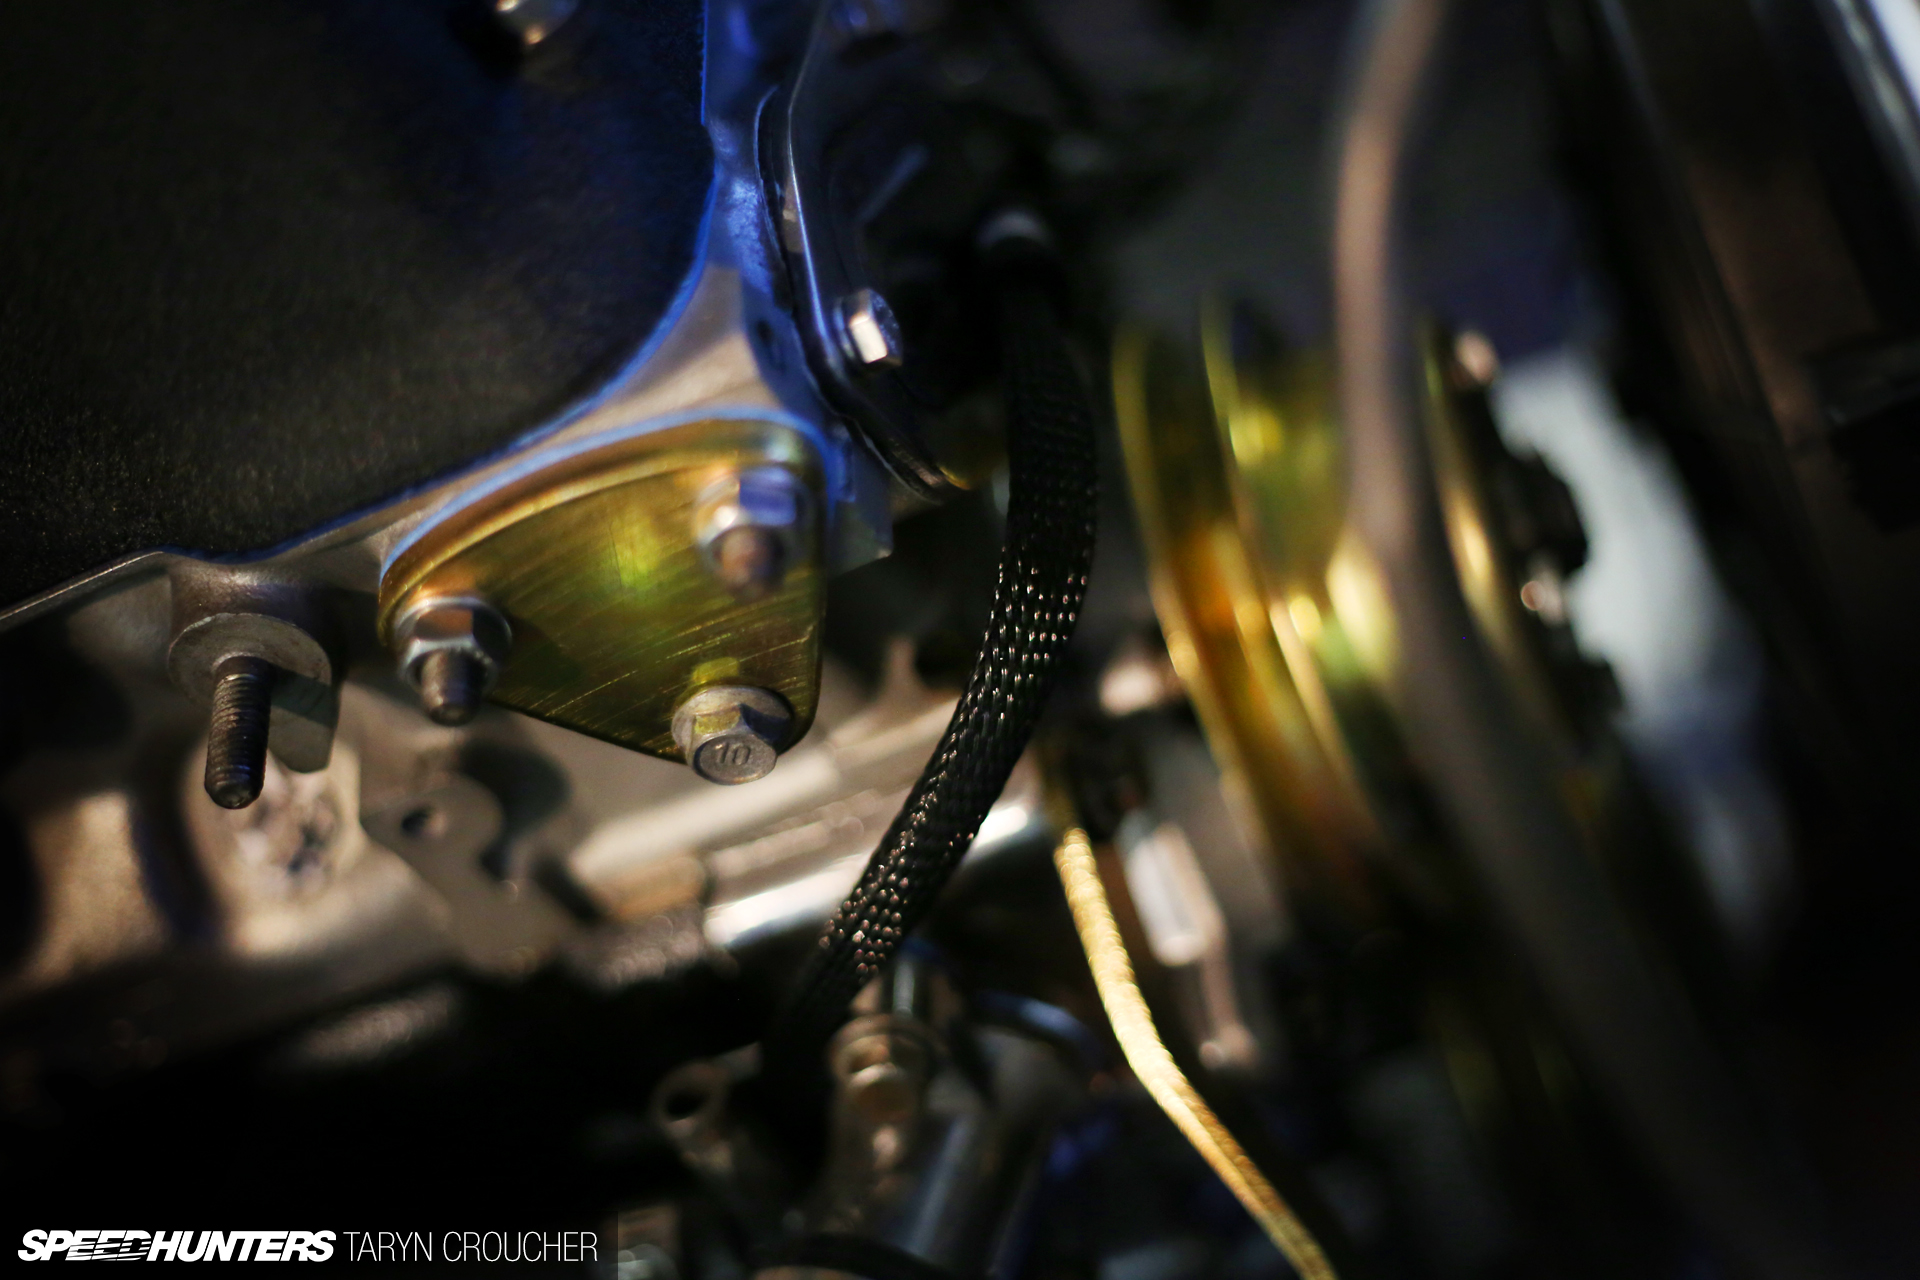
… where we were able to do a final inspection of Michael’s handiwork. The wiring is discreet and camouflaged in braided sleeving – it’s so discreet in fact, that there’s not really that much of it to take photos of. We’re not talking over the top show-spec quality, but it is clean, functional, and simple with nothing too distracting – exactly what I wanted.
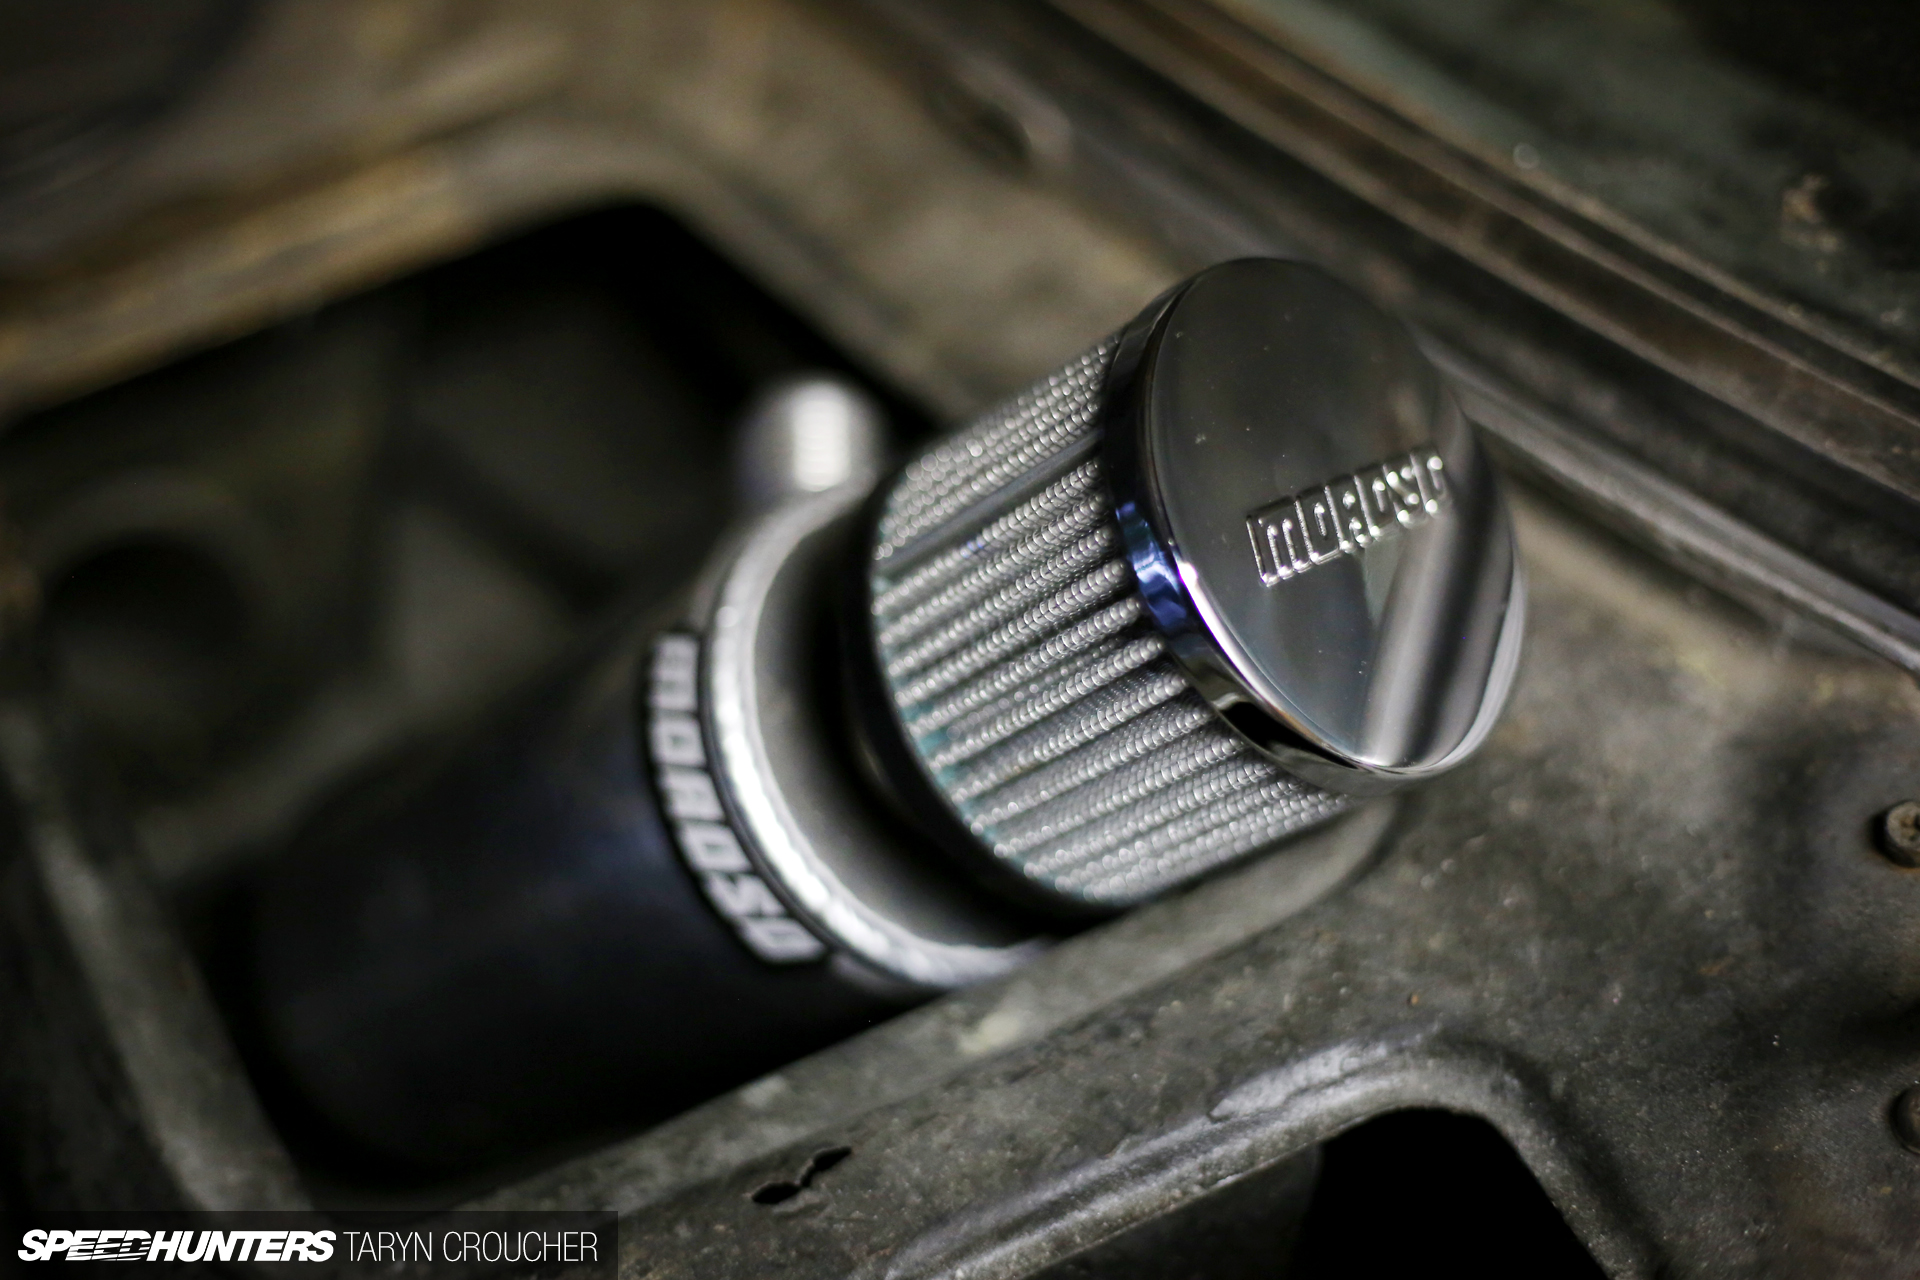
The catch can for the crank case ventilation still needs to be mounted too – although we can’t really decide where to put it without ruining the aesthetics of the engine bay.
Then once the new alternator and ignition leads arrive, we’ll be able to sort out the ignition timing and hopefully start her up.
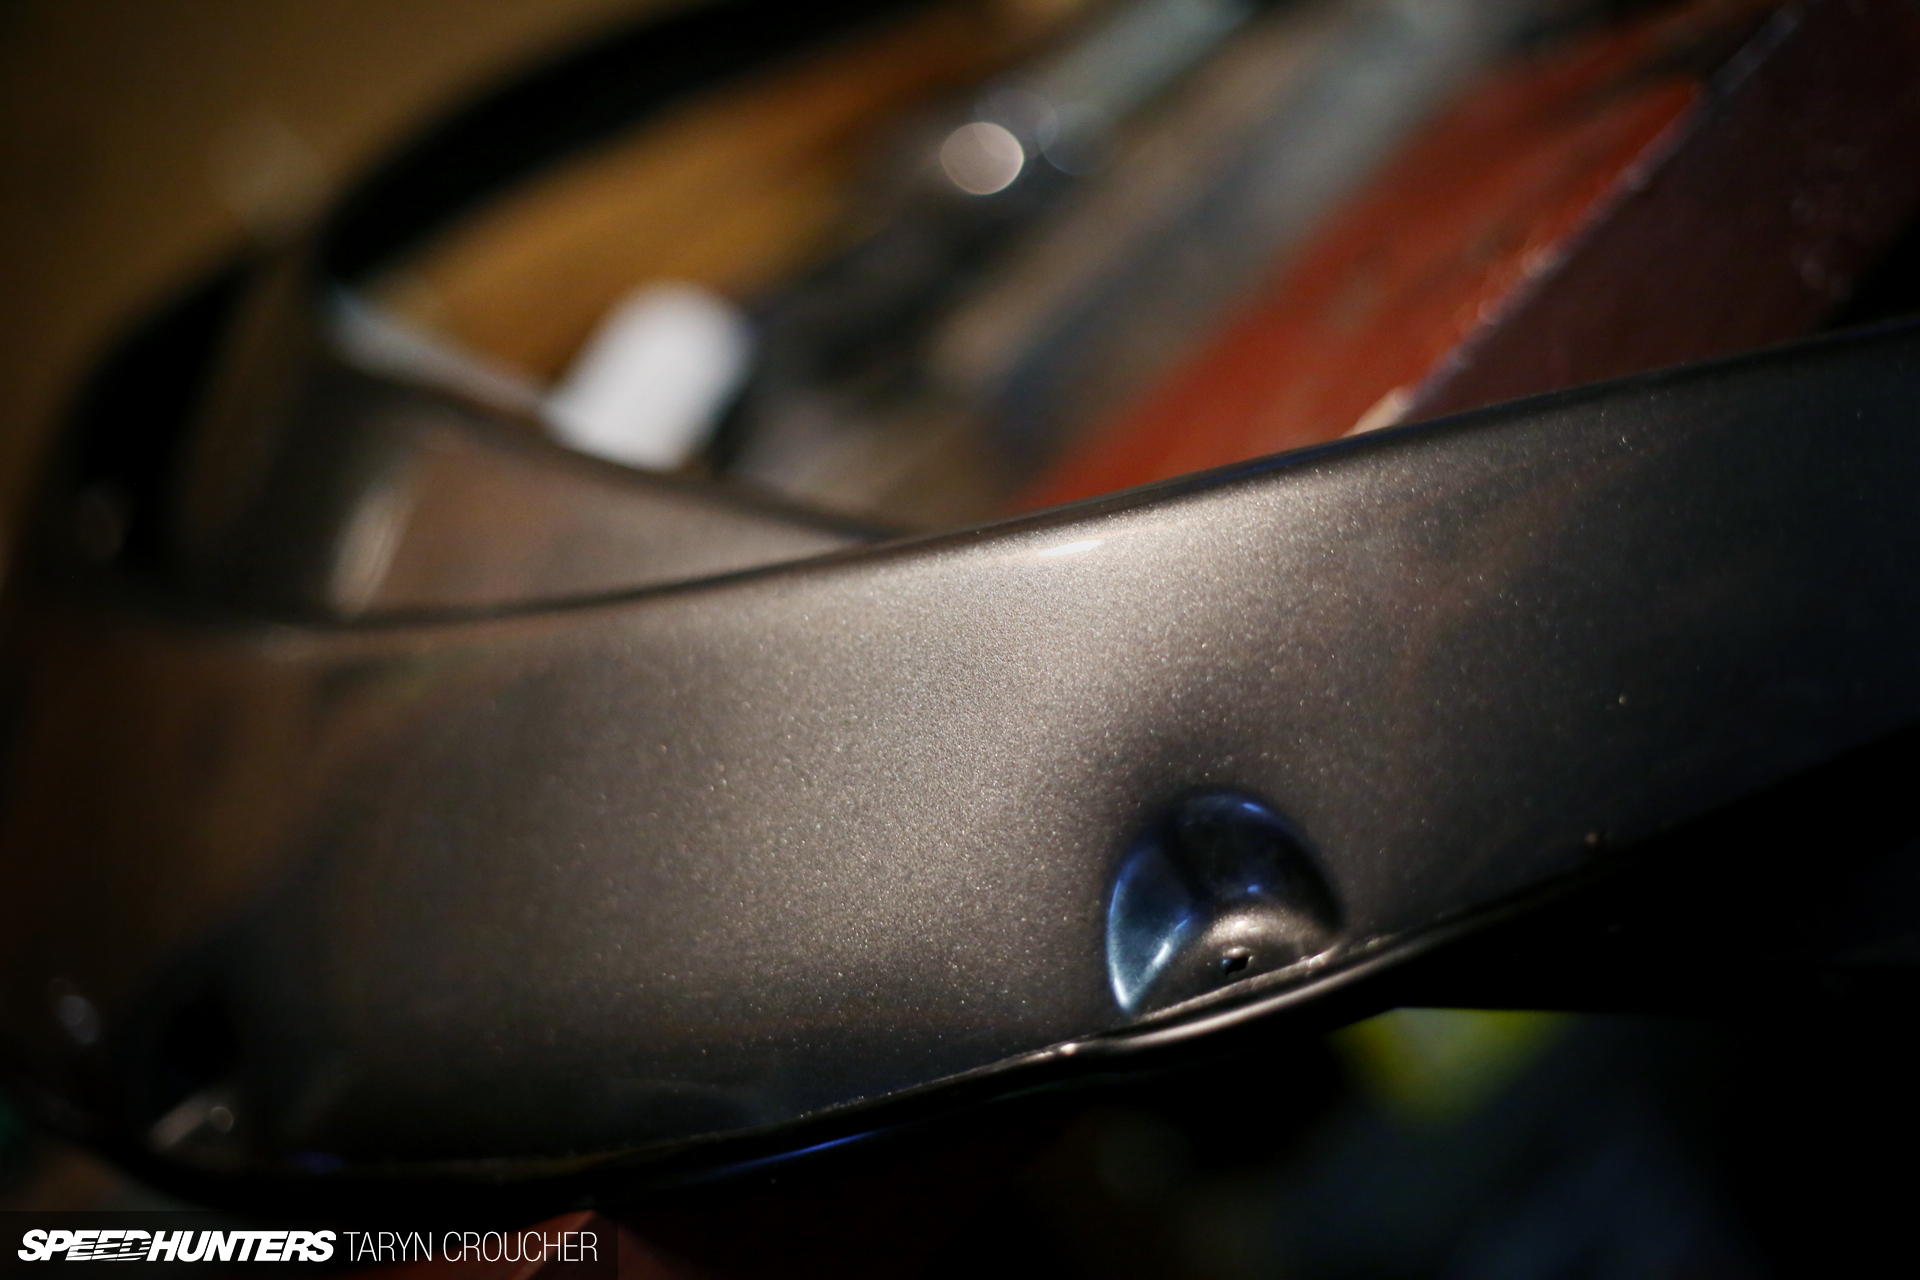
The rear flares have just come back from being freshly re-painted and are ready to be screwed back on now too.
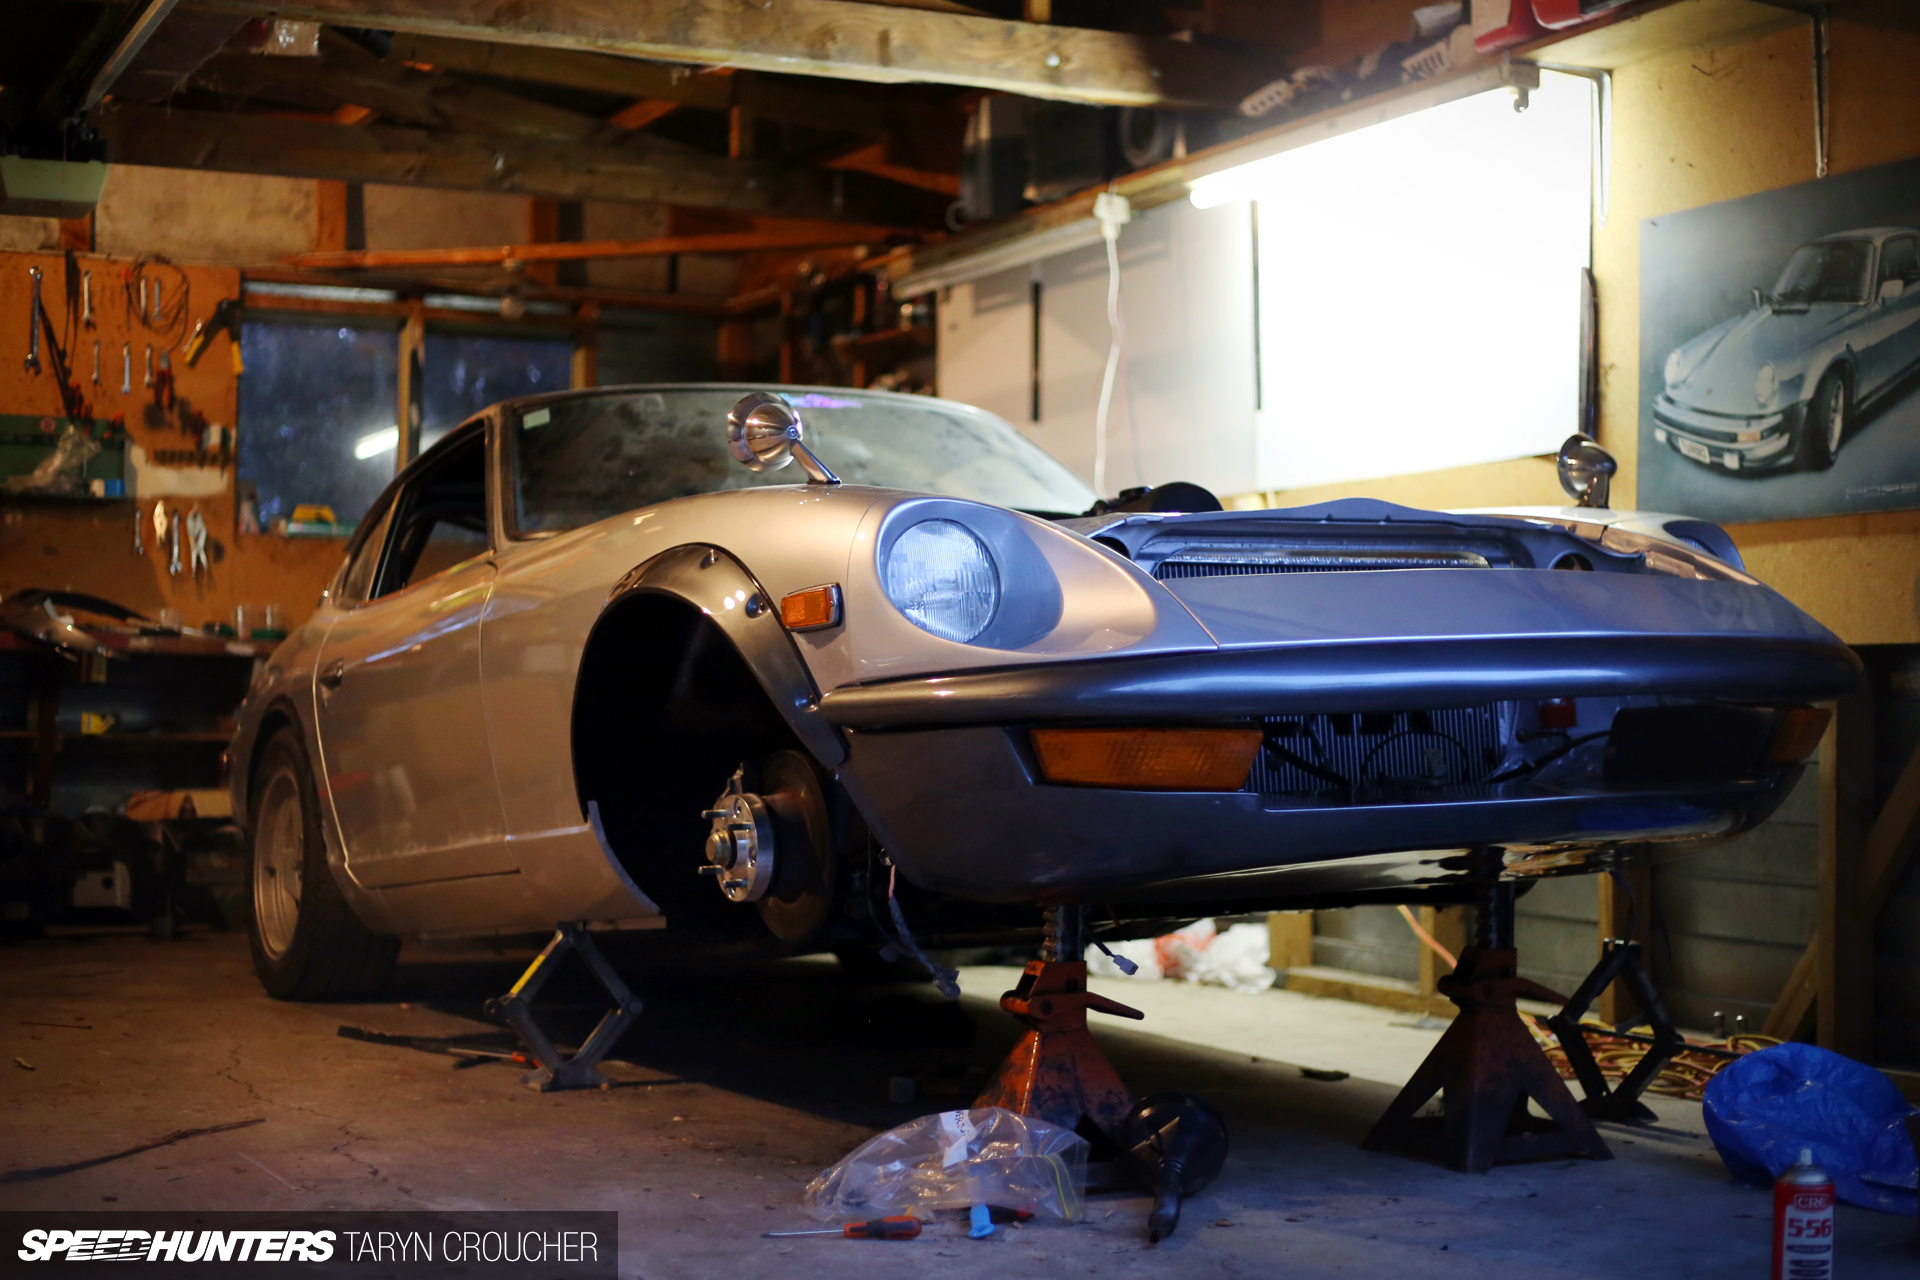
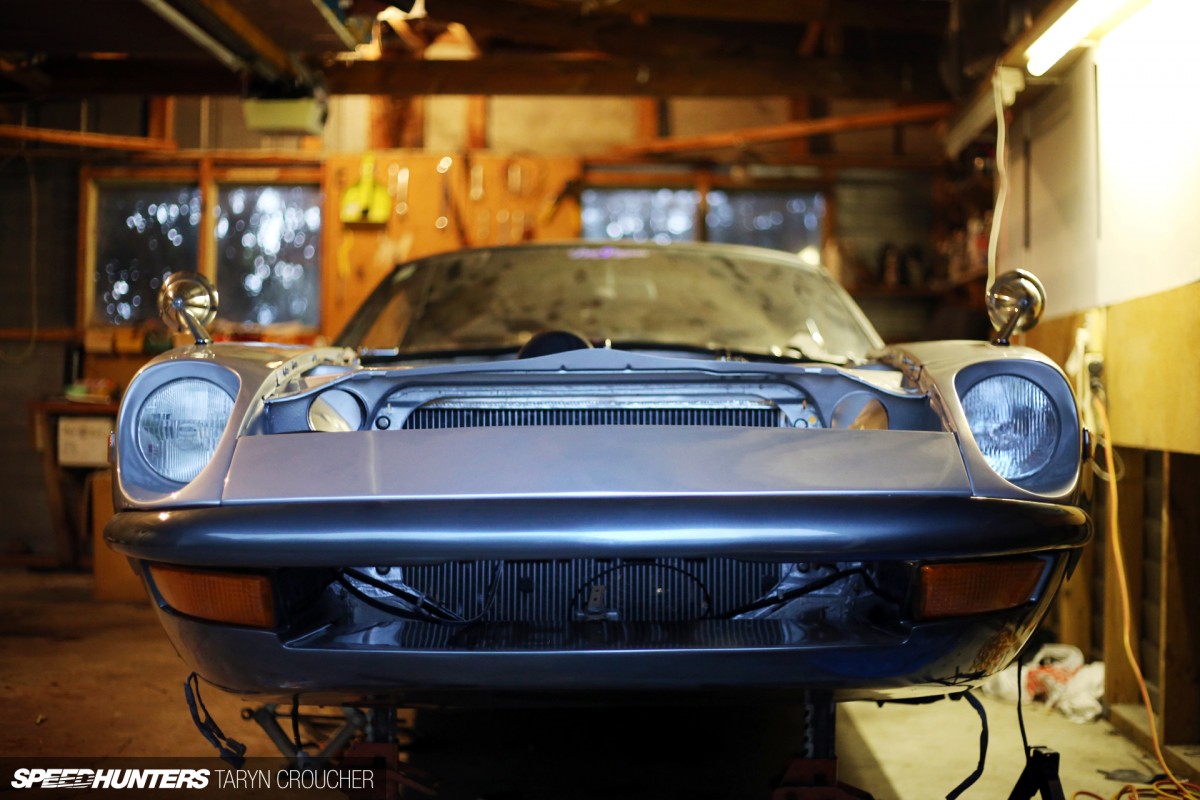
Over the weekend we put the front fenders back on so at least the S30 is actually starting to look like a car again…
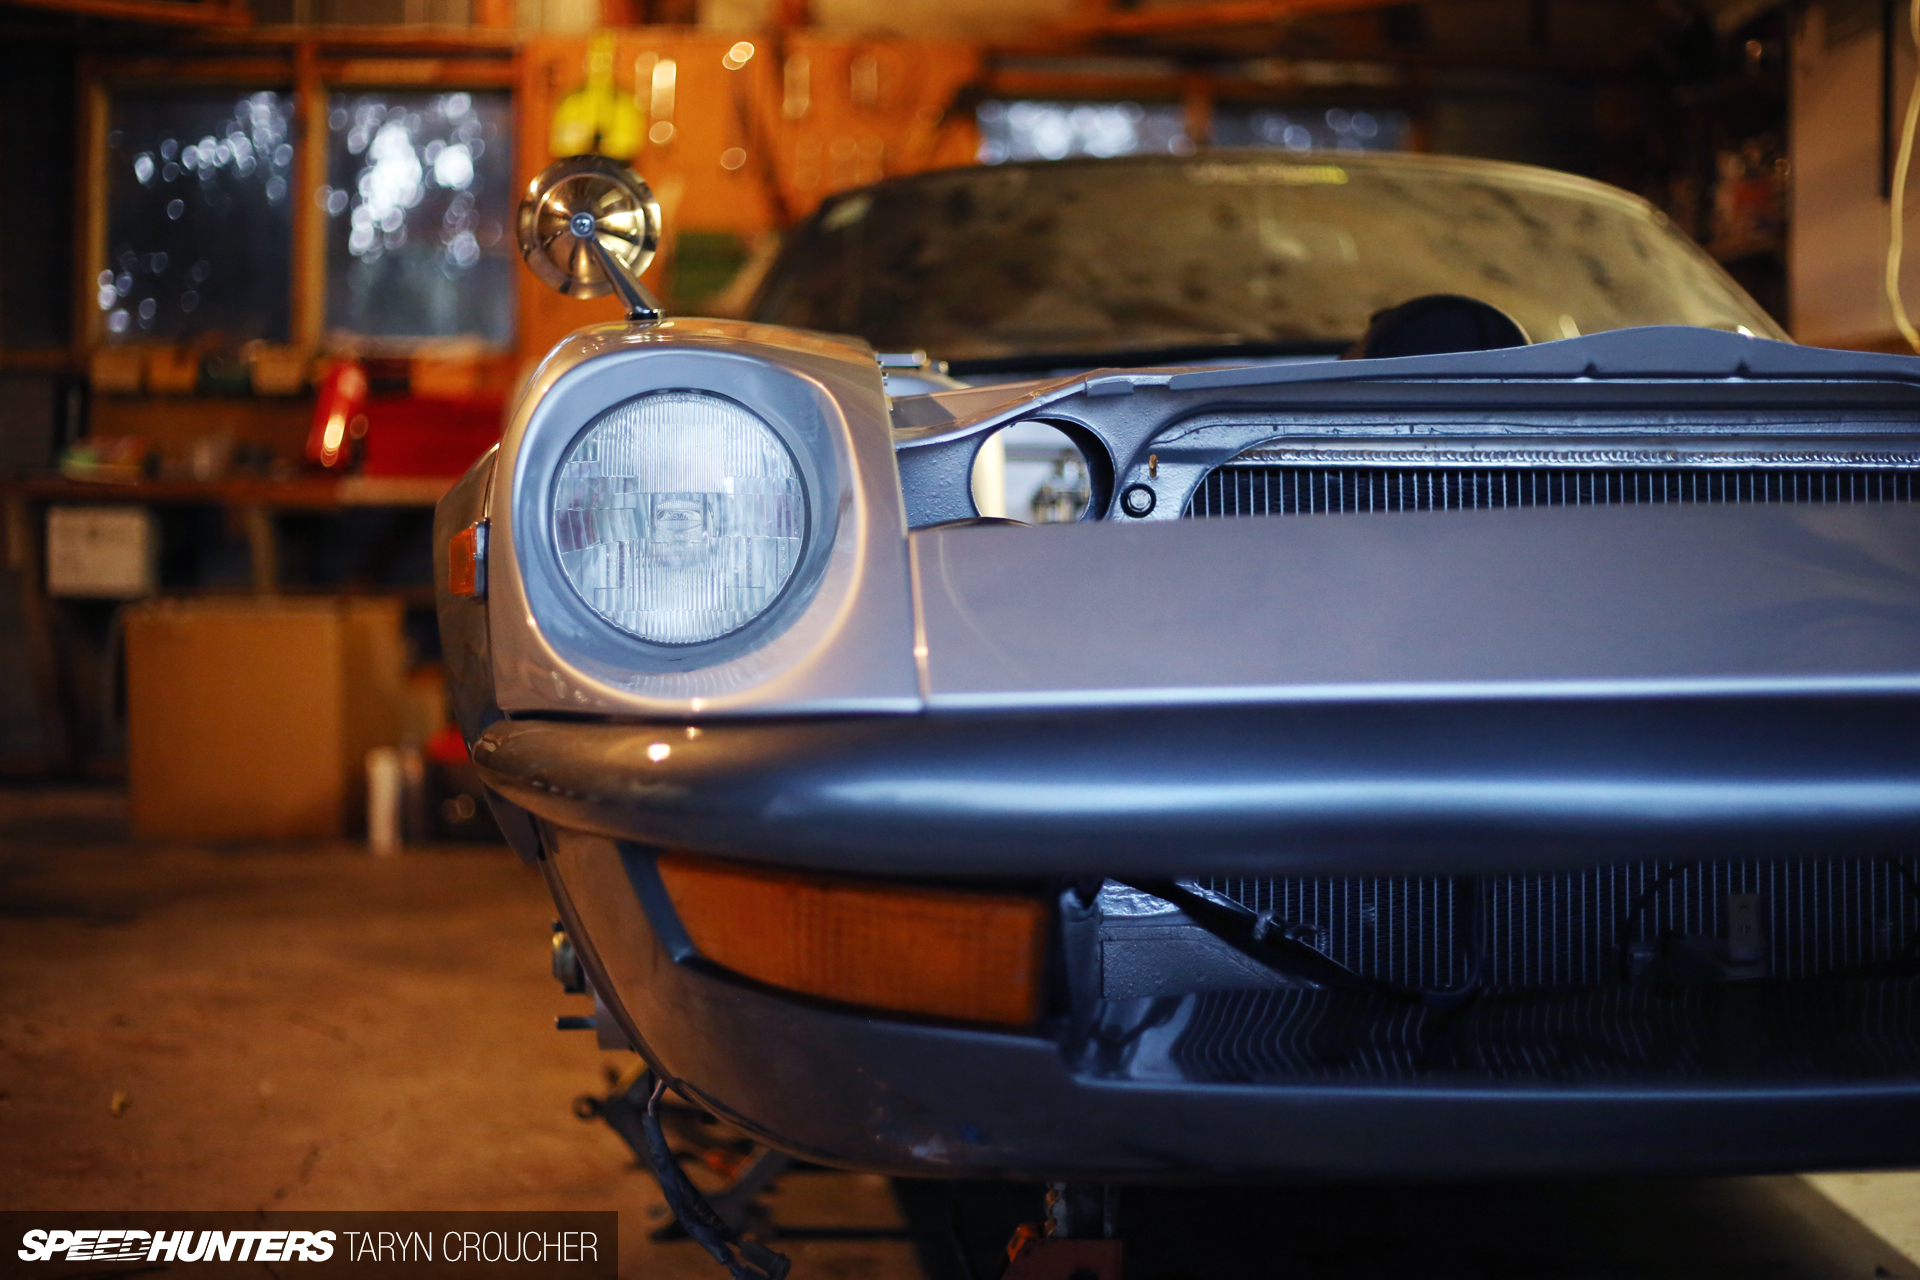
… especially with the front bumper back on too. The ‘G-nose’ bumper is one of my favourite features of the car, and I just can’t imagine Project Z without it now. It’s such a sleek, sultry addition to the already elegant lines of the S30 chassis. Without the G-nose, to me the Z is like a cupcake without icing. If you don’t have a sweet tooth it isn’t a problem I guess, but if you do, well… it’s just not the same!

I’ve learnt my lesson; I’m not going to get you excited this time and tell you next month the Z will be moving under its own power. Instead I’m going to try my best to repress my impatient streak and try to embrace the challenges we face in putting this car together. Having the Z back up and running by the end of January seems like a pretty realistic deadline right now, so I’m not going to put too much pressure on myself. Having something to look forward to is a good thing, and believe me, I’m really looking forward to turning that key clockwise in the ignition again. Good things take time, and that’s fine by me.
OFFICIAL SPEEDHUNTERS SUPPLIERS


Taryn restoring a dash is not as hard as you may think, just like painting a car the prep is the most important part. Give it a shot I'm sure the results will be more than worth your time and their is something nice about being around objects you know you have slaved over to create / restore using your own hands.
Isn't the coolant bypass line there for emissions ?? Something to do with allowing the car to warm up quicker thus reducing emissions .Since your car was originally EFI that could explain why your car has it and other Z's don't. I could be completely wrong on that
Lovely car BTW !!
One thing I've noticed from your posts - nice car by the way - is that you always have very nicely manicured nails for a car chick (no offense intended by that term). My girlfriend approves.
Thank you for not choosing Wats. I've been watching your build this entire time thinking; "She's gonna put Wats on it." I'm pleasantly surprised. Those Fatlace wheels are quite fetching.
I had coolant running through my SU carbs on my 260z but since those have been replaced with triples, the heater connections are the only things hooked into the coolant system (apart from the rad). The hose you need is 16mm ID, slightly less than a meter required in total.
LukeHuxham You can even take the time out to flock the dash, add that 'racecar' feel to it.
By the way, I can't remember if you have aircon fitted, but if not then there are unused threaded holes in the block right under the crankcase breather which can be used for mounting a catch tank.
Just block off that coolant bypass.
It originally would have run from the bypass line you have pictured, into the throttle body of your FI equipped manifold, then back to the t-stat housing. I blocked mine off on my 280zx and have had no problems (granted, i did live in the Arizona desert). As long as your triple 40's don't provide a passage for coolant, then you don't need it.
All it is for is to prevent the throttle body from freezing up. shouldn't be a problem in your hemisphere right?
@Octopus thats a great idea! I know where the catch can on my turbo motor is going now. Good call Octopus!
What, no fitment preview!?!
I know dat feel. Dem setbacks. But hey! it makes the finishing product so much more worth it! Keep it up
You can plug the external bypass so long as the internal bypass in the block is clear. Some L-Series motors even had lower radiator hose fittings without the cast in tee; instead they had a threaded in t-fitting that was easily replaced with a straight barbed fitting. Easy way to clean things up, and delete the bypass that way.
You can plug the external bypass so long as the internal bypass on the block is clear. Some L-Series motors even had the lower radiator hose outlet without the cast in tee; instead they had a threaded in t-fitting that is easily replaced with a straight barbed fitting. Simple way to clean things up and delete the bypass that way.
I don't think for the last two years during my build did we hit a deadline, every month I would think next month we will have that, that and that done. A month later it was very unlikely they were done, in fact I was usually only one thing done from a list of around 3-4. The number of small things that set back a build is unreal. It is never ever straightforward no matter how much you think something is going to be it aint. Really does give you a great insight into why mechanics charge the way they do for some things, building a car yourself with help from a professional is a great way to learn and to get a real appreciation for professional mechanics.
Haha I know the feeling of thinking you're almost done! I've been saying my car will be up and running in a few weeks for a few months now.
Wheels look beautiful.. nice pick Taryn!
simply mount the catch can somewhere on the engine with brackets and at a low point....
keep up the good work Taryn .... waiting patiently for the final product and enjoyin all the work that was done .... Must says those guys that helping you are really good at what they are doing ..... luv the fact that u learning more stuff day by day with them ... you guys are like a team that can trust one another .....should do a picture with all that helped with the project and have that picture digitally signed ... one for the history books ....
Is it too much to ship a dash from an area with a less humid climate? Like canada or some of the northern states? I know there's a z junkyard in washington (or maybe oregon not sure) 1000 just seems kind of steep to repair a couple cracks...
Great update. Looking forward to more!
Agree flock the dash!
the coolant bypass was to warm up the carbs with the original dual SU carbs. it would warm up the intake manifold.
i blocked it off even when i was using su carbs. since you are using triple mikuni's you can definetly have them blocked off.
i've even seen some z's with the port fully deleted i think off a 280z. i just had a rubber cap on mine.
That's not a 280ZX alternator either, it's an RB one. That's why the pulleys and plugs are different and a 280ZX one will bolt up and plug in with the factory wiring.
Taryn Croucher
Been stockpiling resources for replacing or refurbishing mine eventually. Here is a company in Florida in the USA that makes a fiberglass one. website seems a bit dated though, so beware.
http://www.pdkfabrication.com/Dash.htm
if you find some room in your budget, a LOT of room, there is always the dream choice: NOS
http://shop.jdm-car-parts.com/index.php?main_page=product_info&cPath=37_31&products_id=217
not having purchased from these companies, I say beware, but these are things i've bookmarked in the past...
NolanLonn find one in good shape, I dare you. they are all in terrible shape.
Simply P the fatlace wheels are her track wheels, she may still end up with wats for day to day. I like the wats though. before i even knew the whole scene i saw wats on a Z in my neighborhood and thought "those are the most perfect wheels possible for that car". 5 years later, my opinion hasnt changed.
Harrisonlee is correct. Coolant bypass was for heating intake manifold and is totally unnecessary with your setup. Blank it off. I have and im still running SU's
I know how you feel re the wiring Taryn! I'm, quite frankly, cacking myself about rewiring the car. I might have to get someone else to do it along the route you have gone.
http://img.photobucket.com/albums/v447/corollags/260Z%20Restoration/2013-10-14184309_zps48f5d449.jpg
I cant wait to get to the stage you are at where I'm rebuilding and making good, not stripping down!
This makes me want to strip the Evo down and rebuild it. lol Nearly there Taryn!
Good luck with your project. I'm
currently
in the beginning of restoring my 240Z in Germany. Just paid 500$ for shipping....
But fortunately my Dashboard is still in a good condition.
Eliminate the coolant bypass. Heres a clean way to do it: http://inzane240.blogspot.com/2011/09/ghetto-fab.html
Here is what I did with the catch can. Granted it does clutter up the engine bay, but this was the least intrusive spot I found while still managing to show off the hardware: http://inzane240.blogspot.com/2012/05/catch-can-complete.html
Oh ya and look into brass shifter bushings. They won't wear out like the plastic ones will.
Nick Hale This eliminates the whole heater assembly though. if you are going to want to keep your heater, you can do the same thing on the fixture that is protruding up out of the radiator hose fixture. Just get a NPT (pipe thread) tap and tap that hole, then screw in a little npt plug like nick did. you can do the same thing on the T-stat housing, but that hole is already threaded, so just find a Pipe thread plug and you should be good to go!
P.S. Nick, nice name bro! no wonder you have such good taste in cars!
Nick Hale I like this setup. You could have a coolant overflow mounted on the other side for a symmetrical looking setup. are you just looping the oil return back into the PCV take off on the lower part of the block?
Watanabe's are fine, I like them on vintage J-tin, but its the laziest wheel choice I can think of for a Z or Hako. So many equally suitable and timeless choices out there (SSR's, Work's, Enkei's got some vintage ones...).
Watanabe's are fine, I like them on vintage J-tin, but its the laziest wheel choice I can think of for a Z or Hako. So many equally suitable and timeless choices out there (SSR's, Work's, Enkei's got some vintage ones...).
I know all too well about part delivery and cost.. having an import (jap) project car in brazil usually means 2 weeks for anything (and 2 weeks for anything that is fast shipping and you know exactly where to source...)
About the dash, FRP/CF using the original dash as mould isn't an option?
If you want a solution on the Dash - hit me up at I did my Z dash (that was featured on here a year ago I think) and it still in perfect oreder after almost 2 years now of use, and looks exact like factory Its pretty easy to do the job your self or by people who have right knowledge
  Heres a picture: https://www.facebook.com/photo.php?fbid=160495737356427&set=a.142716699134331.34794.135300686542599&type=3&theater
For the dash just epoxy and then sand. Finally texture spray it. It gives it reinforcement and a texture like a gun grip. Great to give a refreshed unique look and feel. You can even spray it with engine bay and then texture spray it so it will resist heat.
Absolutely love this build. More of this stuff please!
Therese's a how to on Ratsun.net that will tell you how to refinish your dash for about $100 and some elbow grease. I think ZEP makes a UV resistant bumper finish that matches the texture of the original very closely.
Simply P Yeah Wats are a common look on Zs, but only because they look so good! The FZER02s are so different to the CR01s I think that's one of the reasons I was drawn to them. Sigh... I love wheels haha
MatthewDear coming next month...
Jaemcius Thanks will do!
RussClarke I agree! It's funny as throughout this build I've received feedback from a few people who have criticised that I'm getting other people to work on the car instead of doing 'everything' myself. The fact is that I'm a writer and a photographer and I work full-time in Marketing/Sales, and I don't posses all of the knowledge/tools to do a lot of the work myself or at home. But I do make the time to go along to every workshop and every person's house that has helped us to watch everything that's happening, so that I can document it but also so that I can grow to have a better understanding of how mechanical processes work, and so that I know exactly how my car is being built. The truth is that I love it so much, and without this hobby I think I would go totally insane! I think secretly a part of me never wants the build process to end
ssbeane When will the car be ready? Just a few more weeks. Just another month. Oh... any week now!
koknyol Thanks, it wasn't a hard choice. I seem to have a thing for new wheels with a nostalgic influence!
NolanLonn hmmm harder than it sounds... and shipping to NZ is killer!
S2k_adz Nice! Haha hang in there... you will get there!
SuzyWallace Don't do it!!! hahaha
Kurae You are lucky! I don't think I've ever seen a Z dash here without cracks...
Taryn Croucher how much did those FZero2s end up costing landed here? I estimate about $1500?
You should try just searching for dash skins that you bond to the dash. They are about 100-200$.. a cheap alternative to restoring yours..they might be harder to find though being in NZ. I've got a little 280zx project of my own... so jealous of the g-nose for s30's..
Also want to mention my l28 has no coolant bypass.. seems it would only be used in case the thermostat sticks closed?
No updates since November? Wheres my next fix?
Damn it! You have great taste in rim choice! I was planning on putting in the same Fatlaces until I saw you had already done it hmmm...it's difficult to choose a cool rim that hasn't been done on Z's before.
http://www.classiczcars.com/forums/interior-s30/23919-dash-repair-process-pictures.html
Heres a good way to (cheaply) restore your dash might be show quality but better than anything else short of having yours proffesionally refurbished
Great thread! Im intrigued to see whats next for Project Z. When's the next update?
SamJarratt Hey Sam, I'm aiming to have the next update published next week. Stay tuned... it's going to be the best one yet!