
When you mess around with an old car, especially an old car that’s been modified for most of its life, it’s a bit like wandering through a minefield. The longer you walk around, the more likely you’re going to find something that’s going to cause some serious problems. Although thankfully Project Z hasn’t caused death or serious injury to anyone, it has however, drastically depleted my life savings and there have been days where baked beans and other various canned goods have been eaten in an effort to survive. These have been desperate times, but I know that one day soon it’ll all be worth it – and that day seems to be drawing closer and closer with every packet of Ramen noodles consumed.

In my last update we uncovered some hidden secrets of Project Z’s past, the restored L28 motor was lowered back into the newly painted engine bay, and shiny new exhaust headers were fabricated and bolted on. In recent news, last week the Z was loaded up onto another transporter and taken to Strange Workshop, where local car builder Jon Sowden had offered to lend us a hand and the use of a hoist to fit a bigger fuel pump and fuel lines, and as it turned out, to fabricate a whole new exhaust system to go behind the new headers.
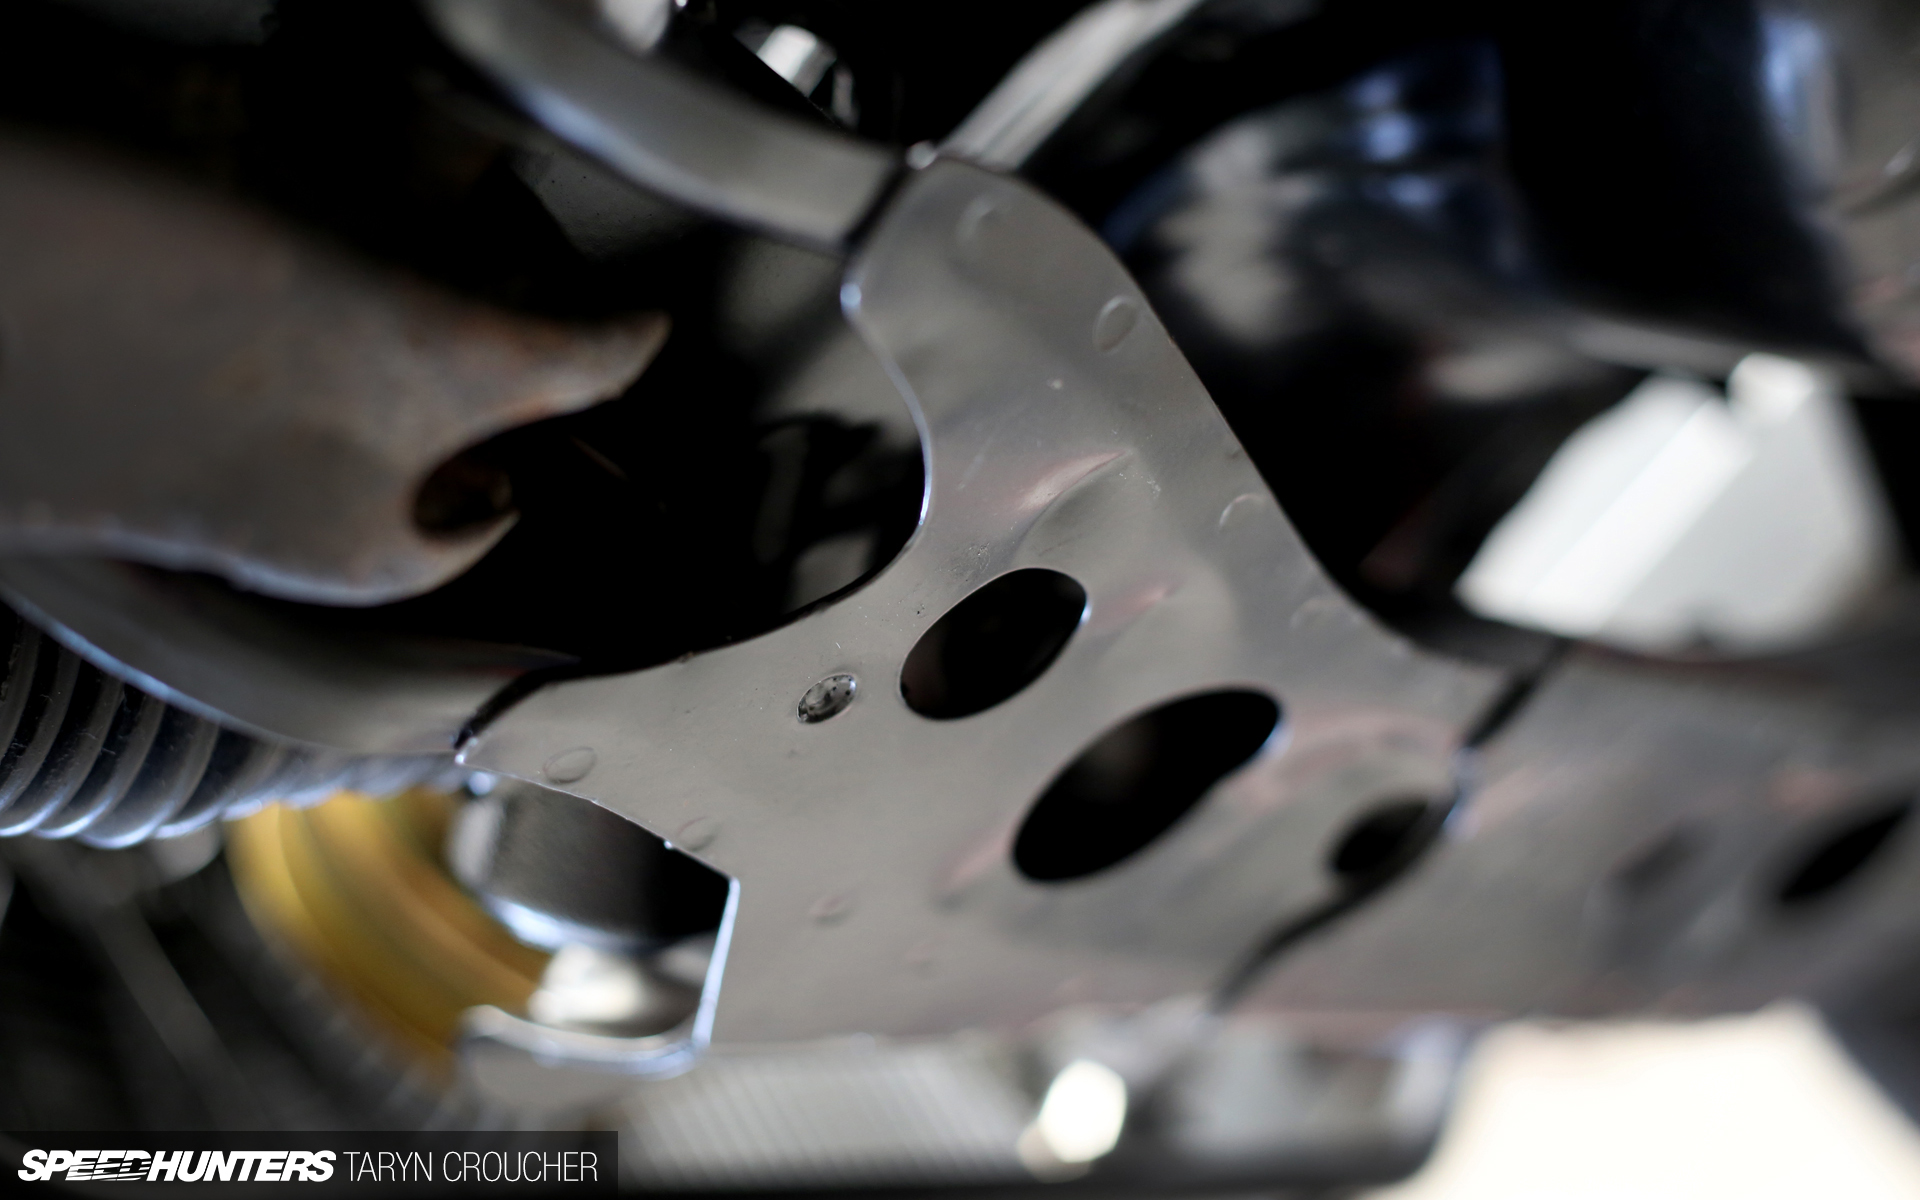
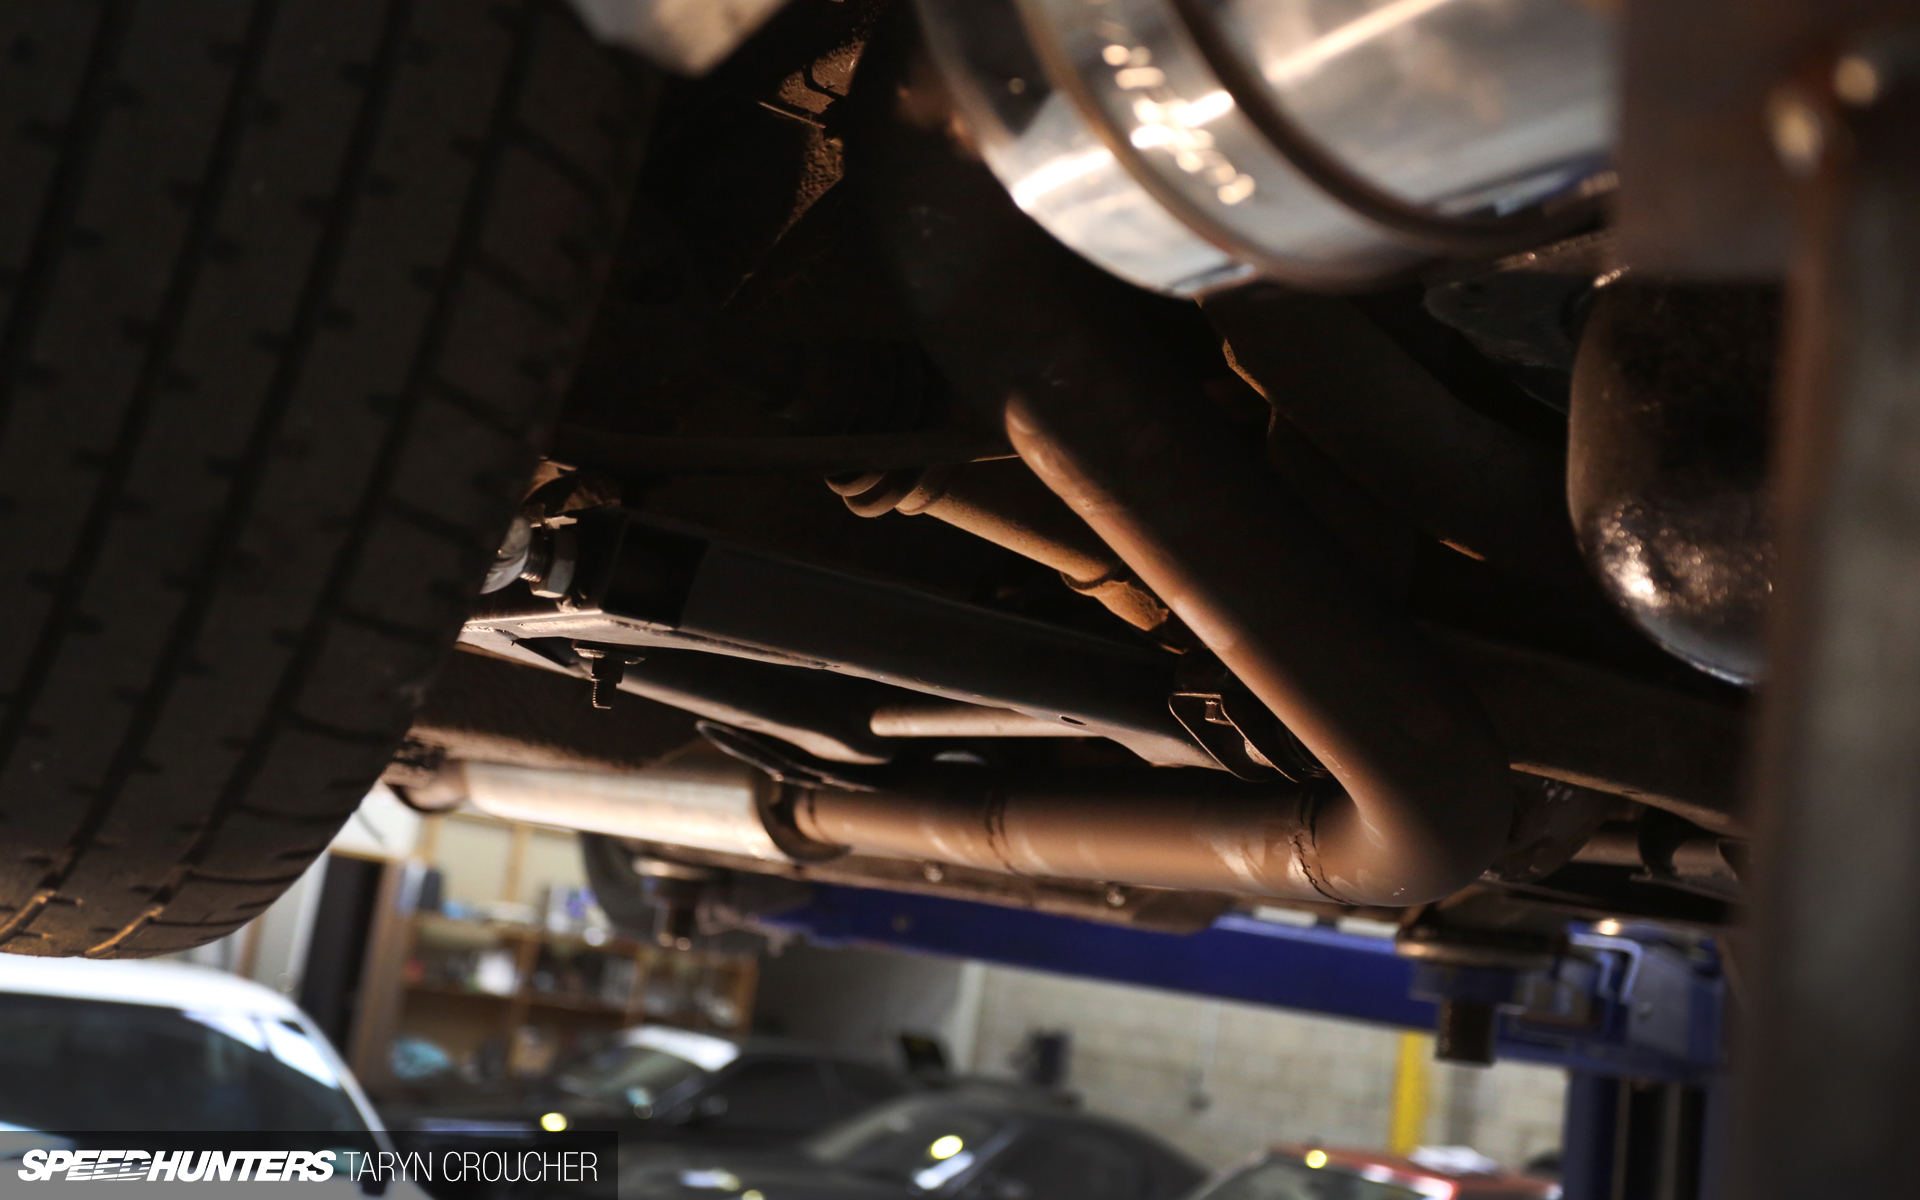
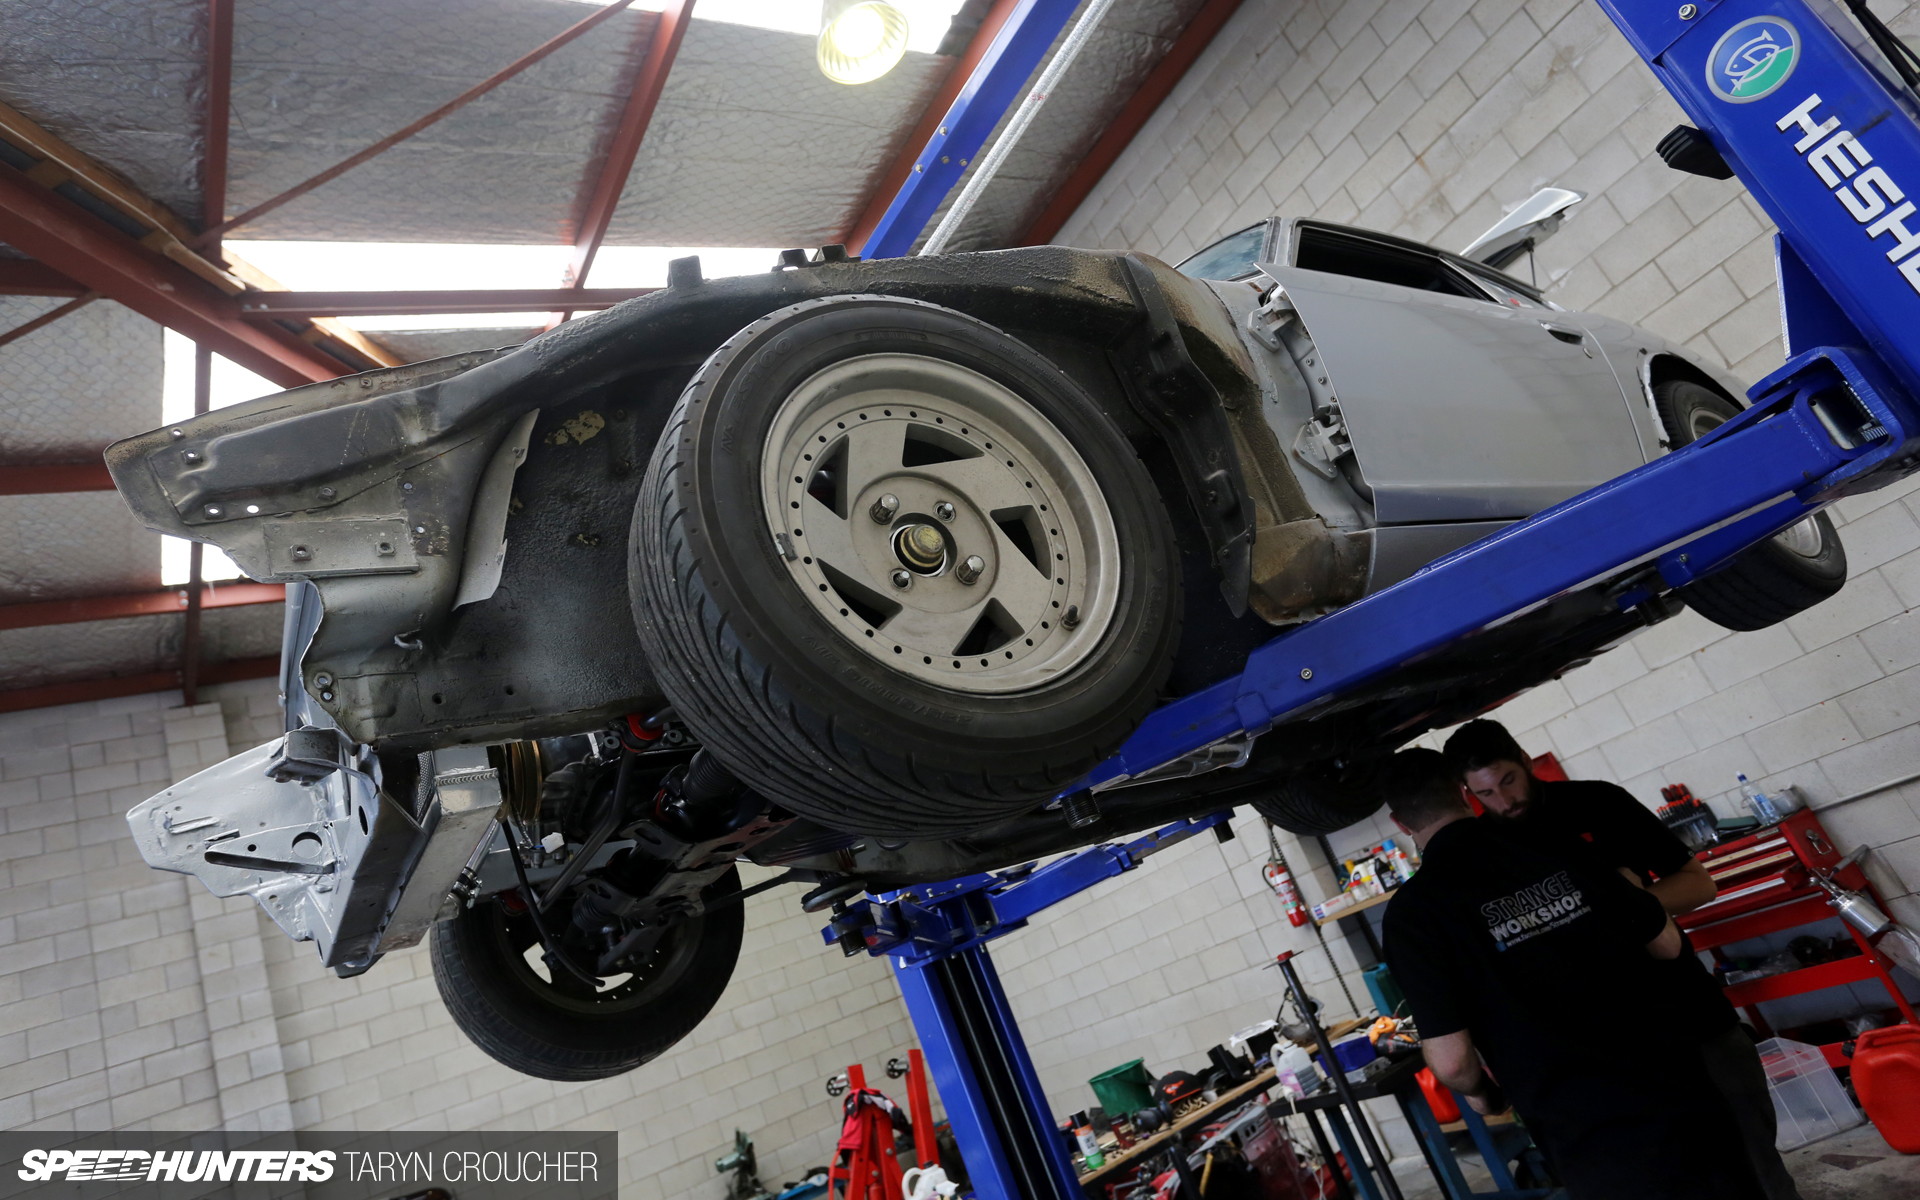
Once up on the hoist, it was nice to be able to properly admire the powdercoated subframe, sway bar, steering rack and sump, which are now all a nice glossy black colour instead of rusty old tarnished metal.
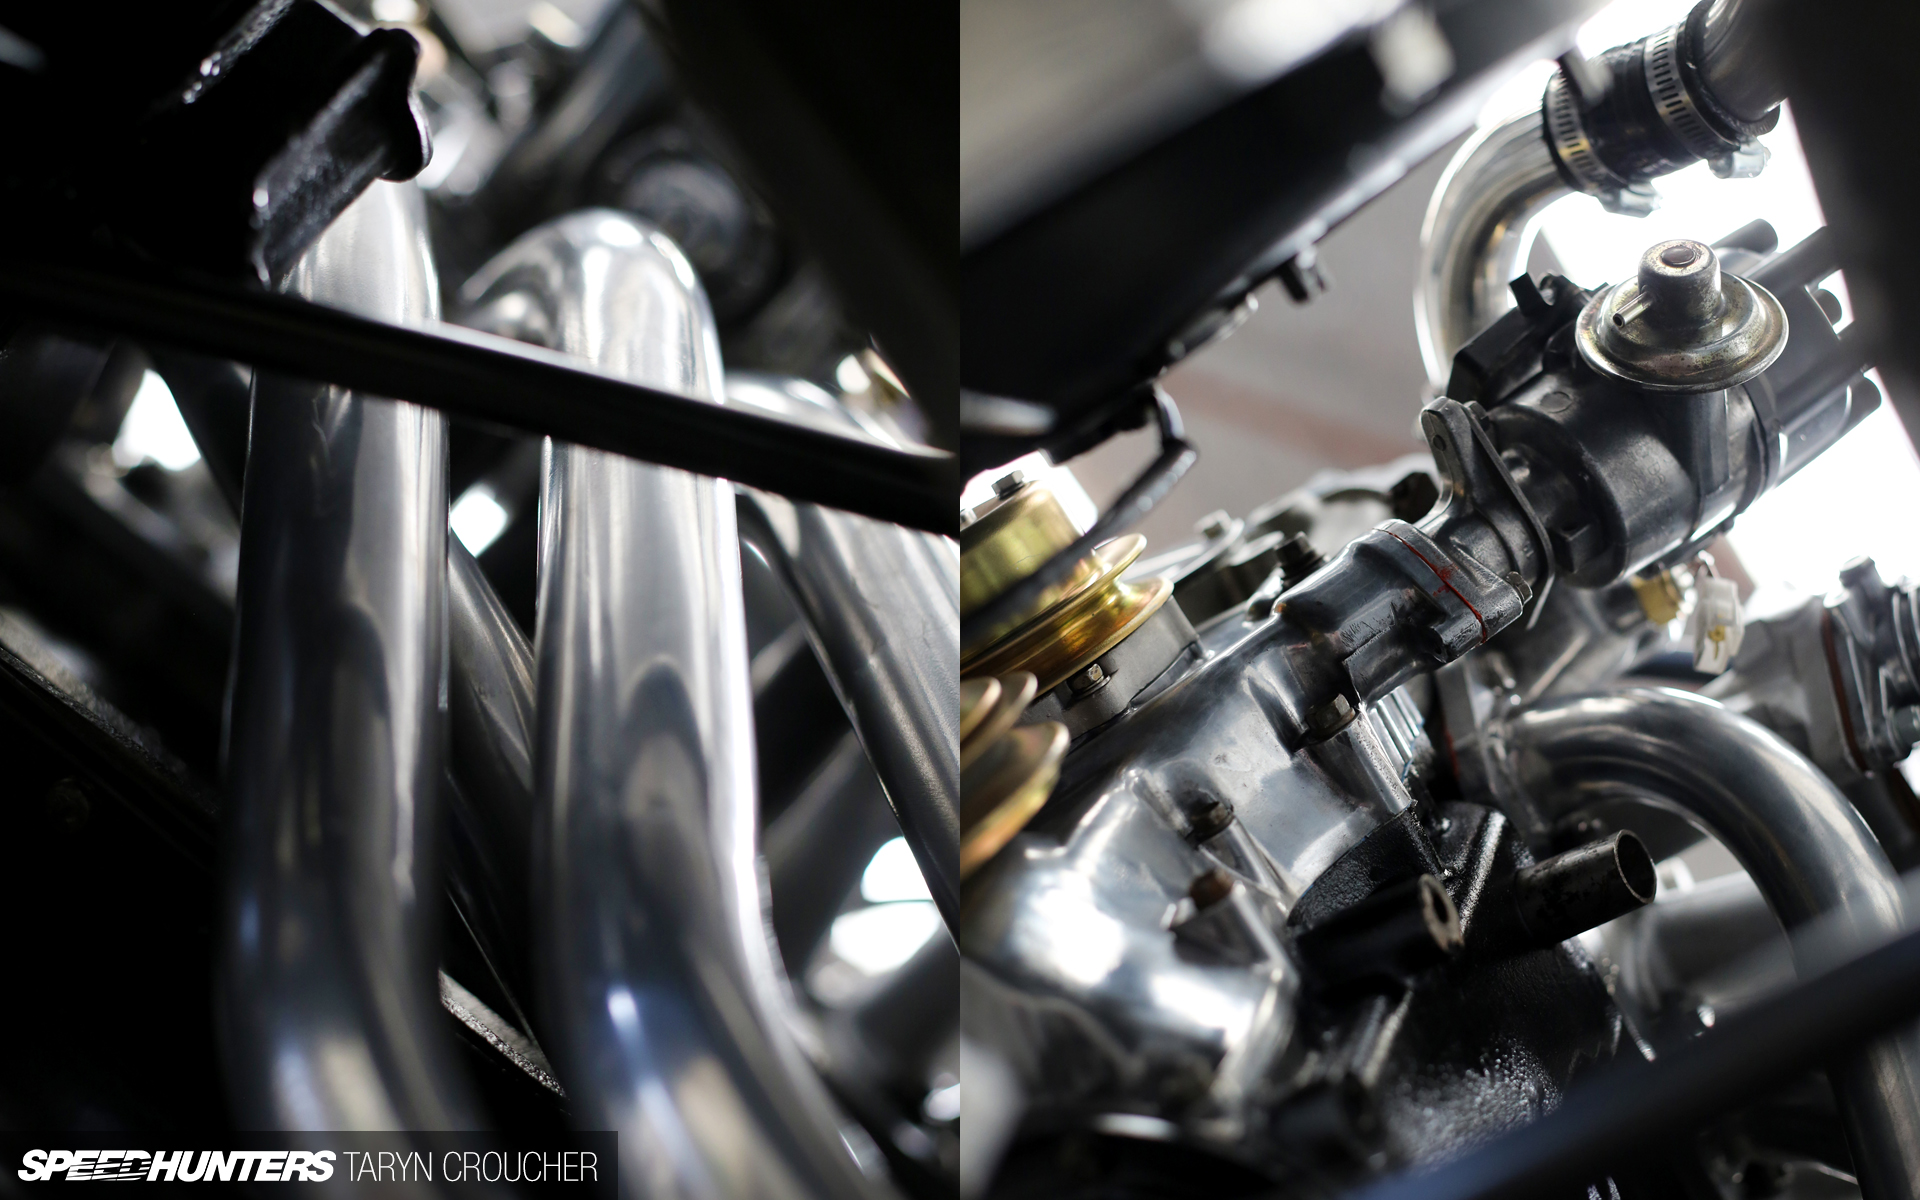
The view from under this area doesn’t look too bad either. It’s a shame the headers are mostly hidden underneath the triple carbs now – more on those soon.

The main thing we needed to achieve from having the car up in the air was to fit the fuel new pump and run new fuel lines, as the small electric Facet pump that fed the old twin SU carbs was now too small – there was no way it could supply enough fuel for the triples. Here is a photo comparison of the two, with the old pump on the right.

The old pump was replaced with a tried and trusted Carter 40/70.

This also meant ripping out the factory fuel lines and replacing them with a larger 10mm line to allow for more volume.

We also fitted a simple Holley adjustable fuel pressure regulator at the same time to make sure the carbs were getting the exact fuel pressure they needed. Too much and the bowls will flood, not enough and they will starve. We’ll be relying on this little guy to keep the right balance.
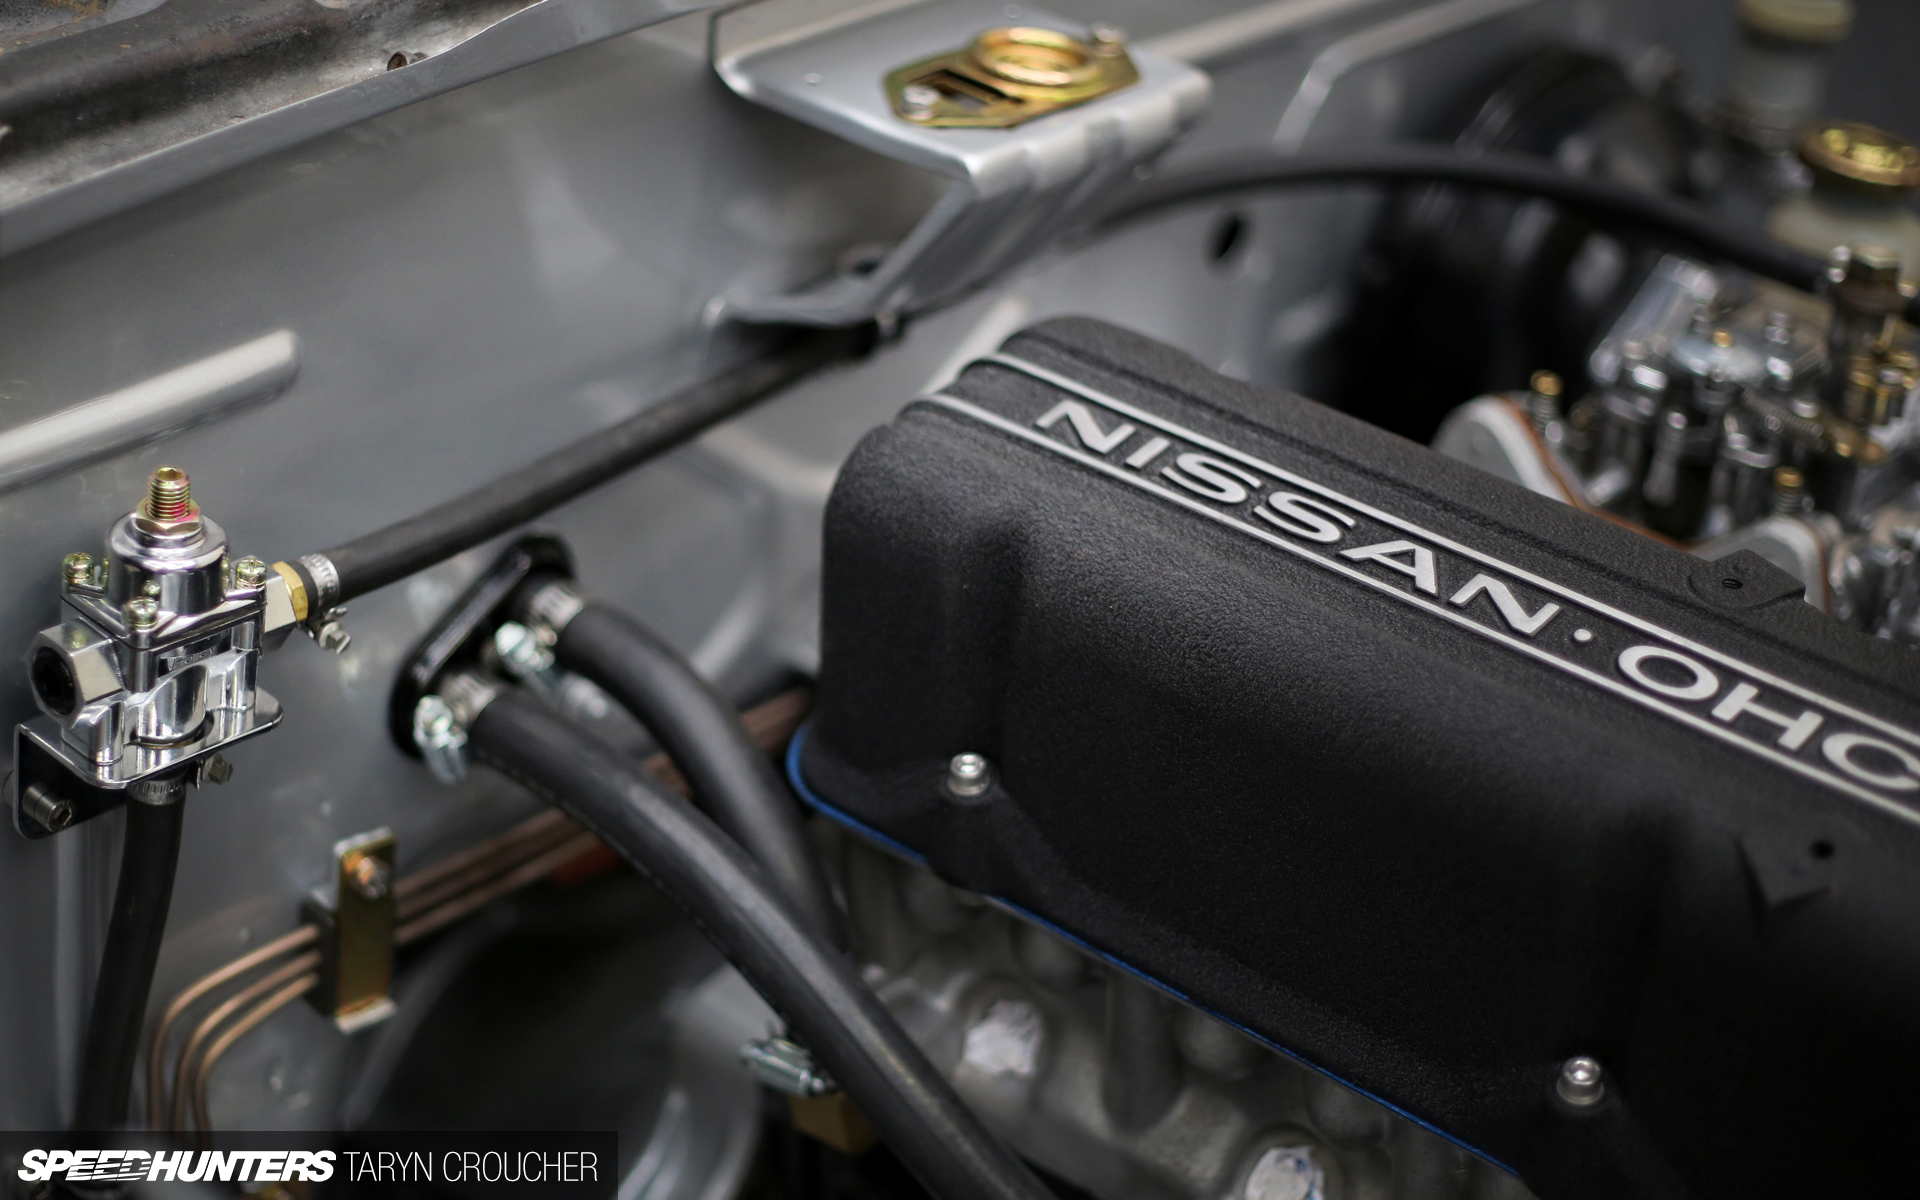
Though we could’ve gone for braided lines, I didn’t really think this look would suit the feel of the car and the style we’ve chosen to go with – the original engine, crinkle coat cam cover and old-school gold passivated details.
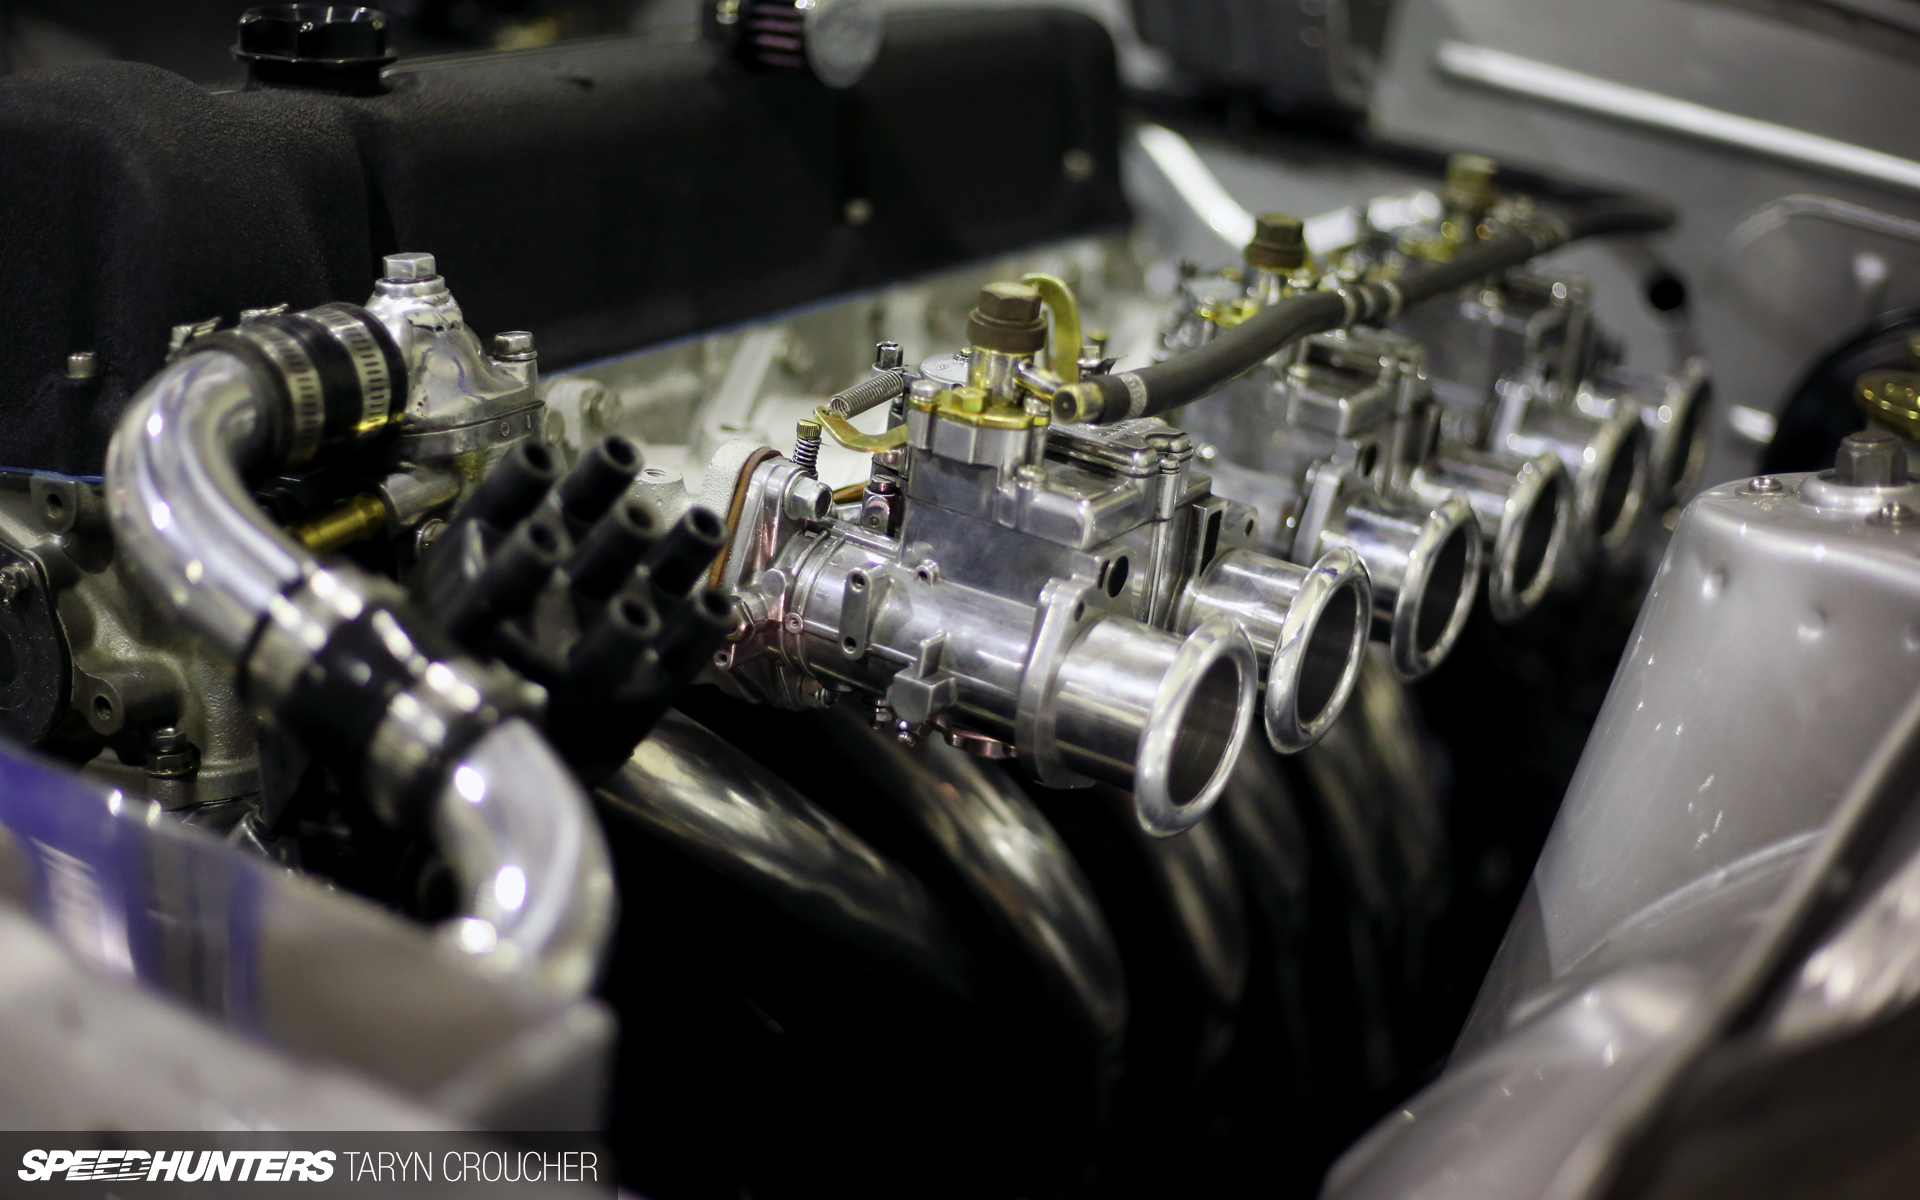
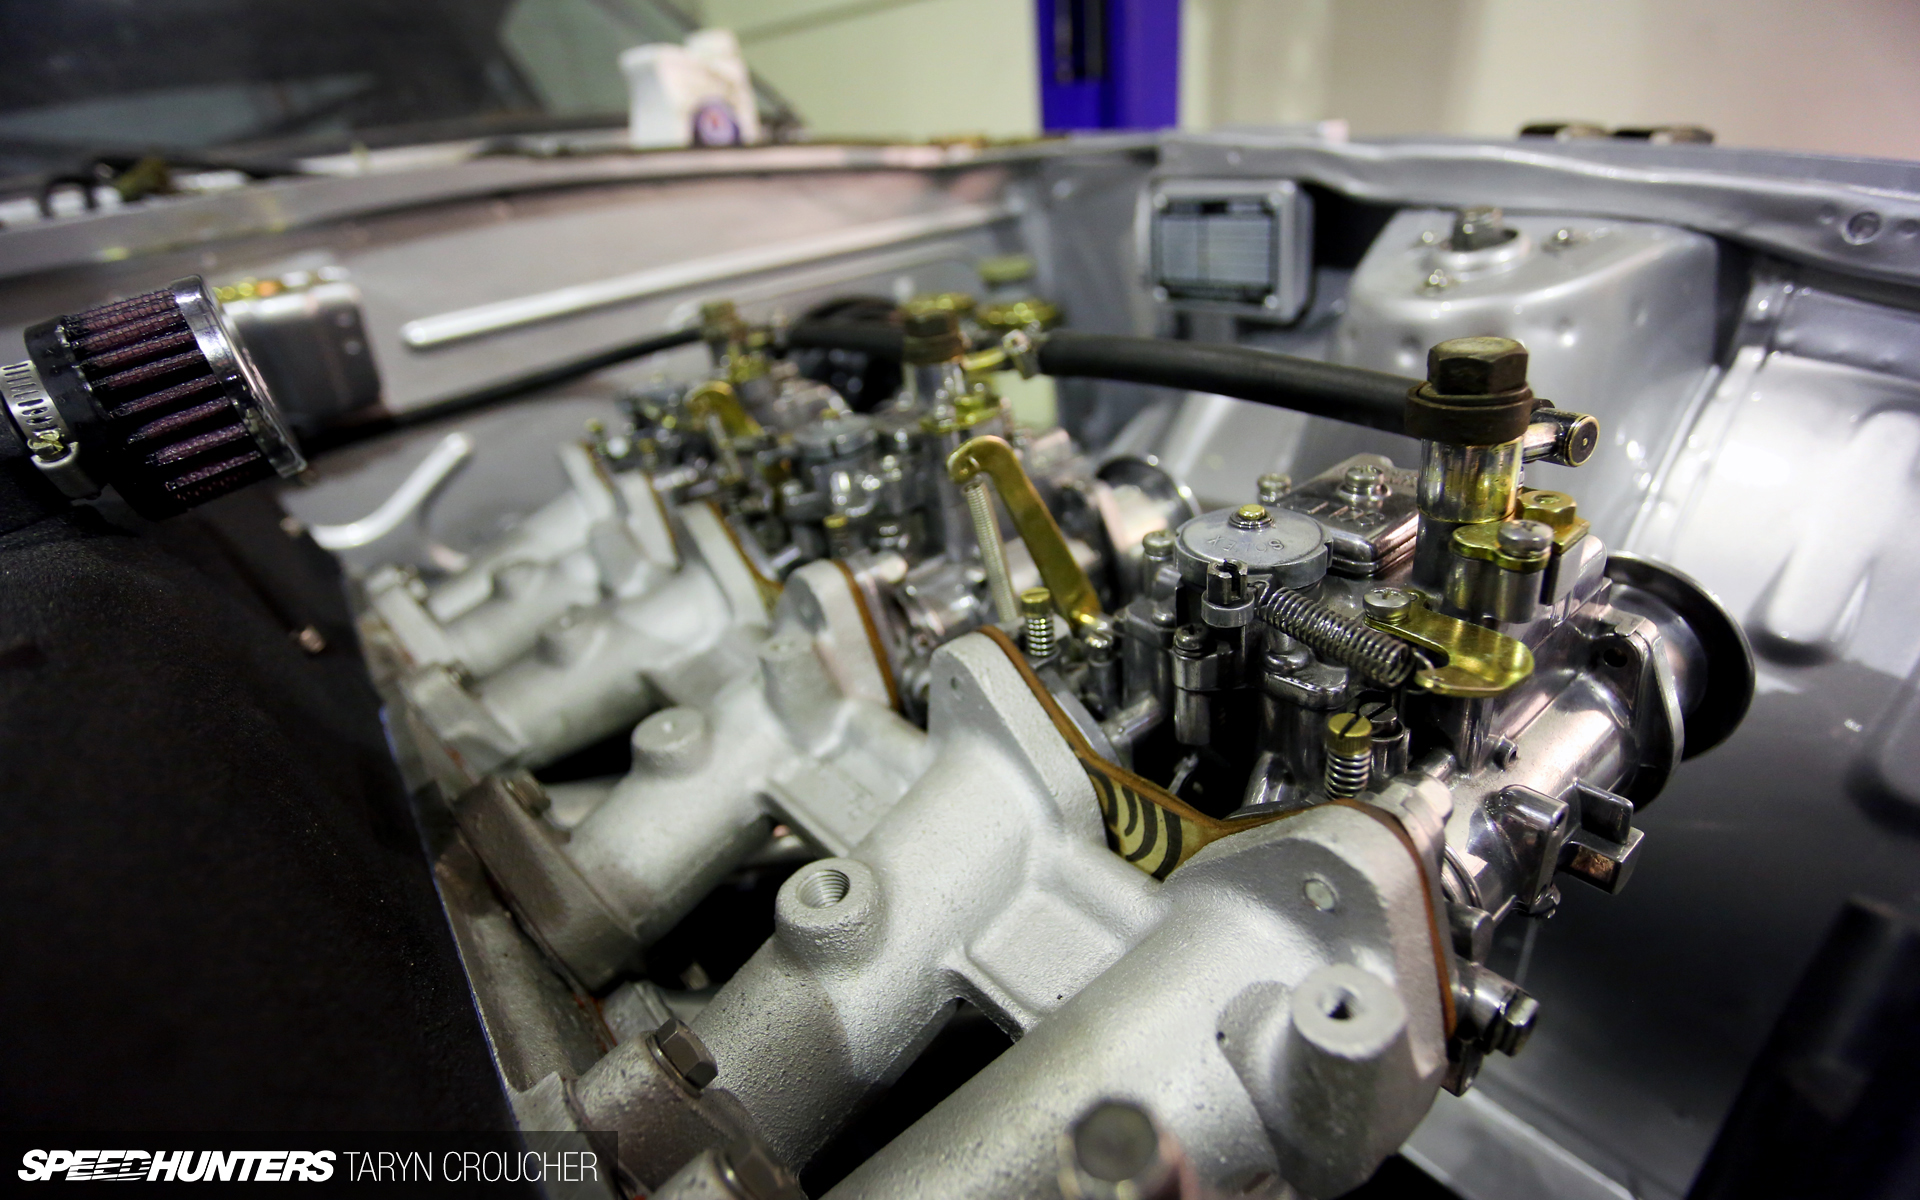
The 40mm Mikuni Solex R-type carbs are now mounted onto the Redline manifold, which fits perfectly next to the custom-made flange on the new headers…
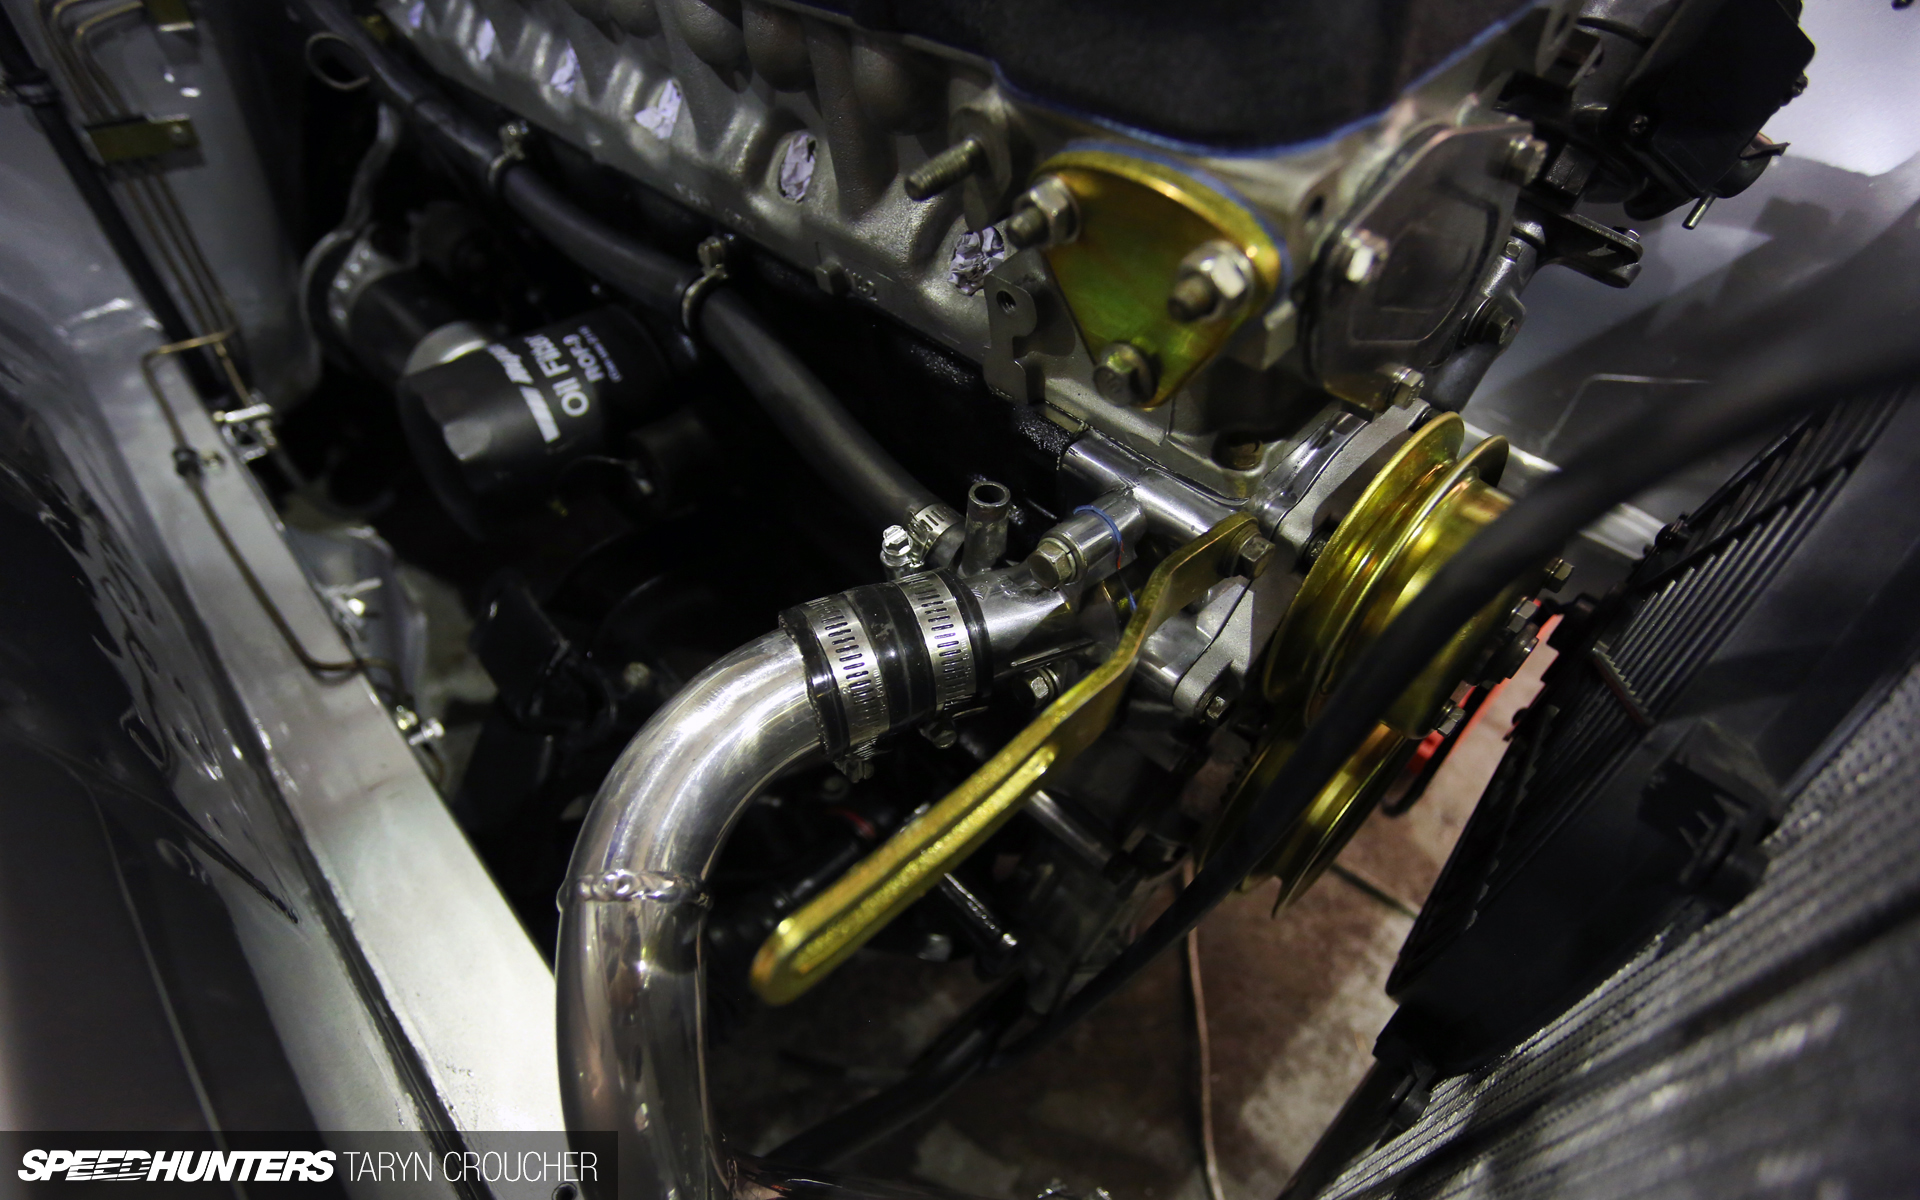
… and the new Fenix alloy race radiator has been put back in too (this was purchased earlier in the year but was taken out for the rebuild), with all new custom alloy piping.
Excuse the not-quite-right-length fuel line and temporary banjo bolts in the fuel feeds for the carbs, the real ones are off being passivated to match the other bits.
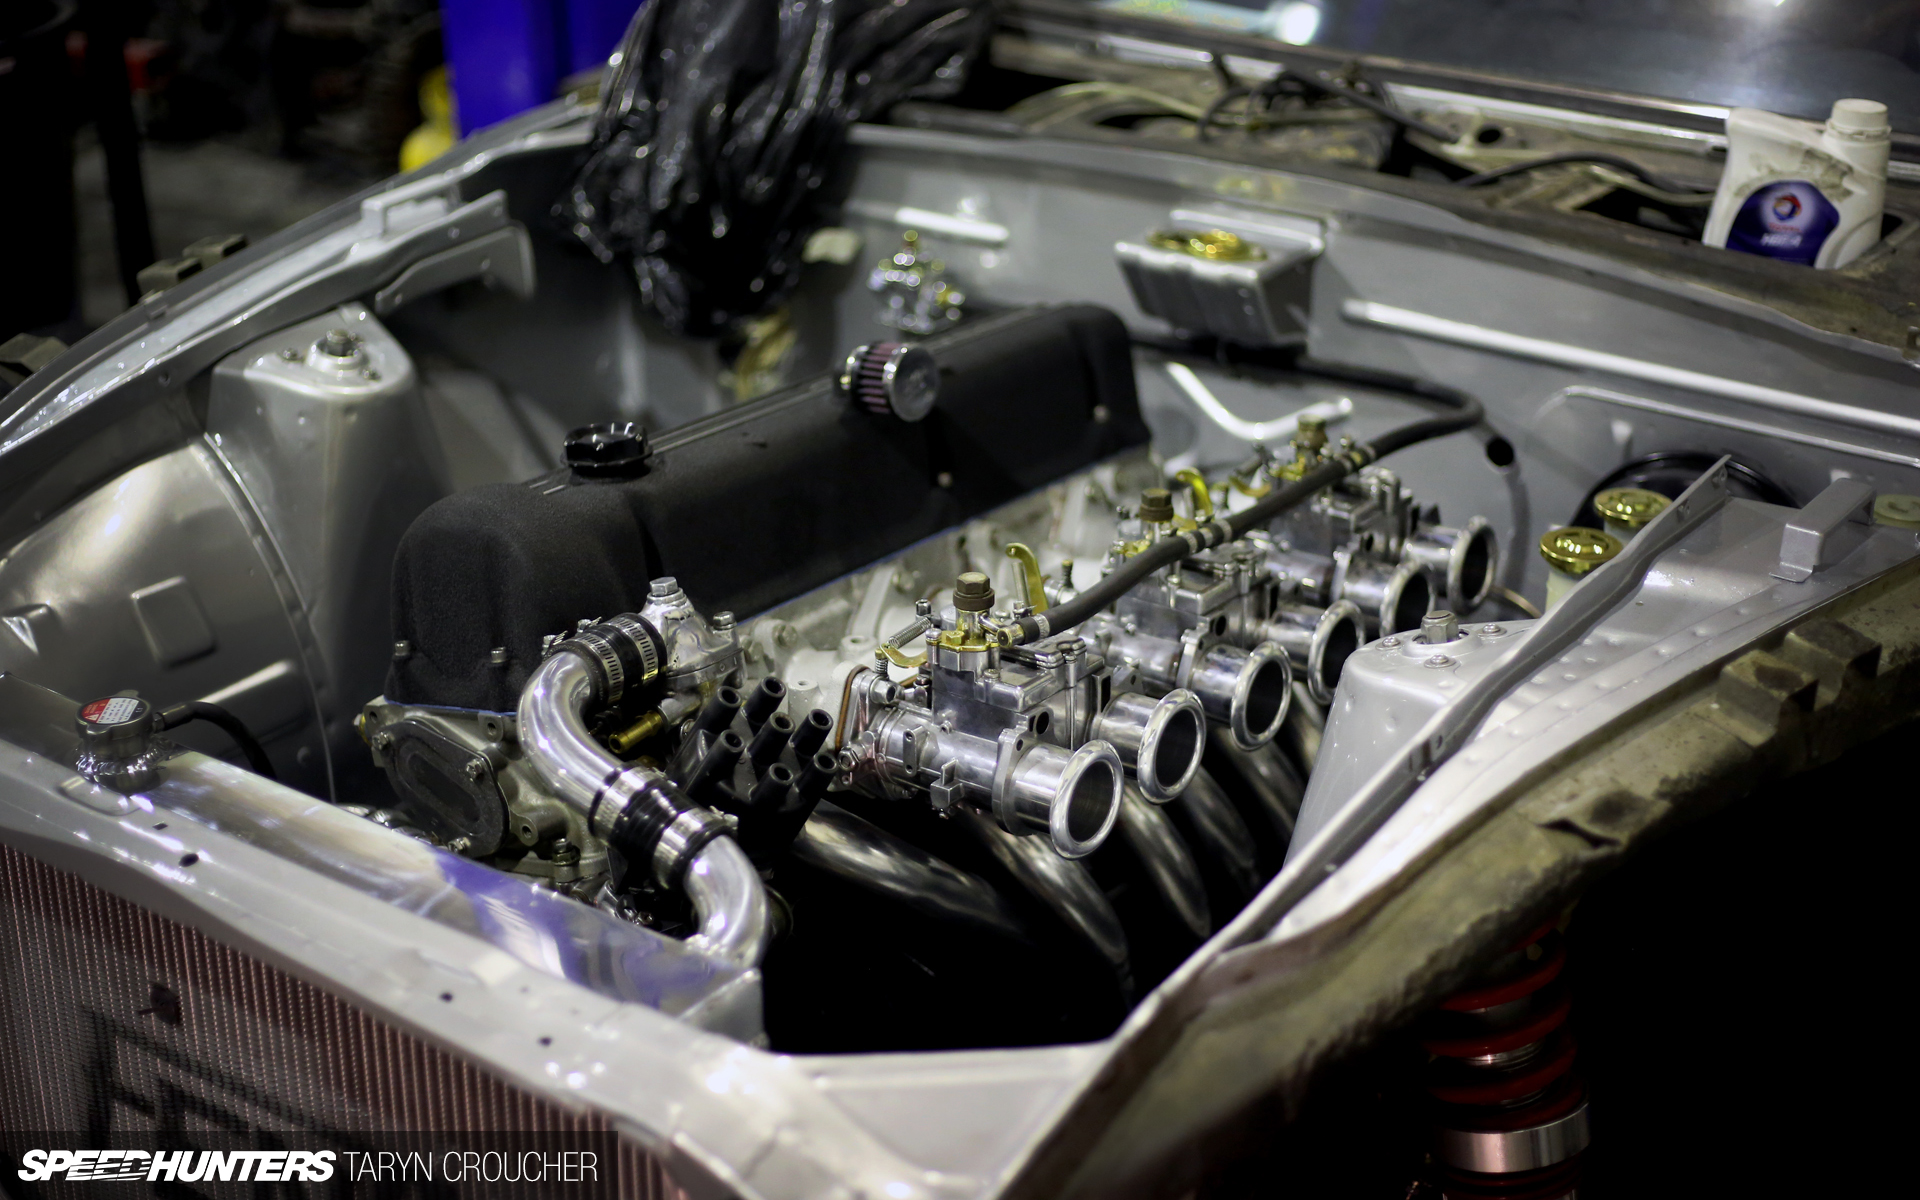
Is it wrong to be head over heels in love with an engine? Sigh… I can’t get enough of looking at it. If this is how I feel now, I can only imagine how much I’m going to be drooling over it once it actually runs!
Next up, the exhaust…
Problems and solutions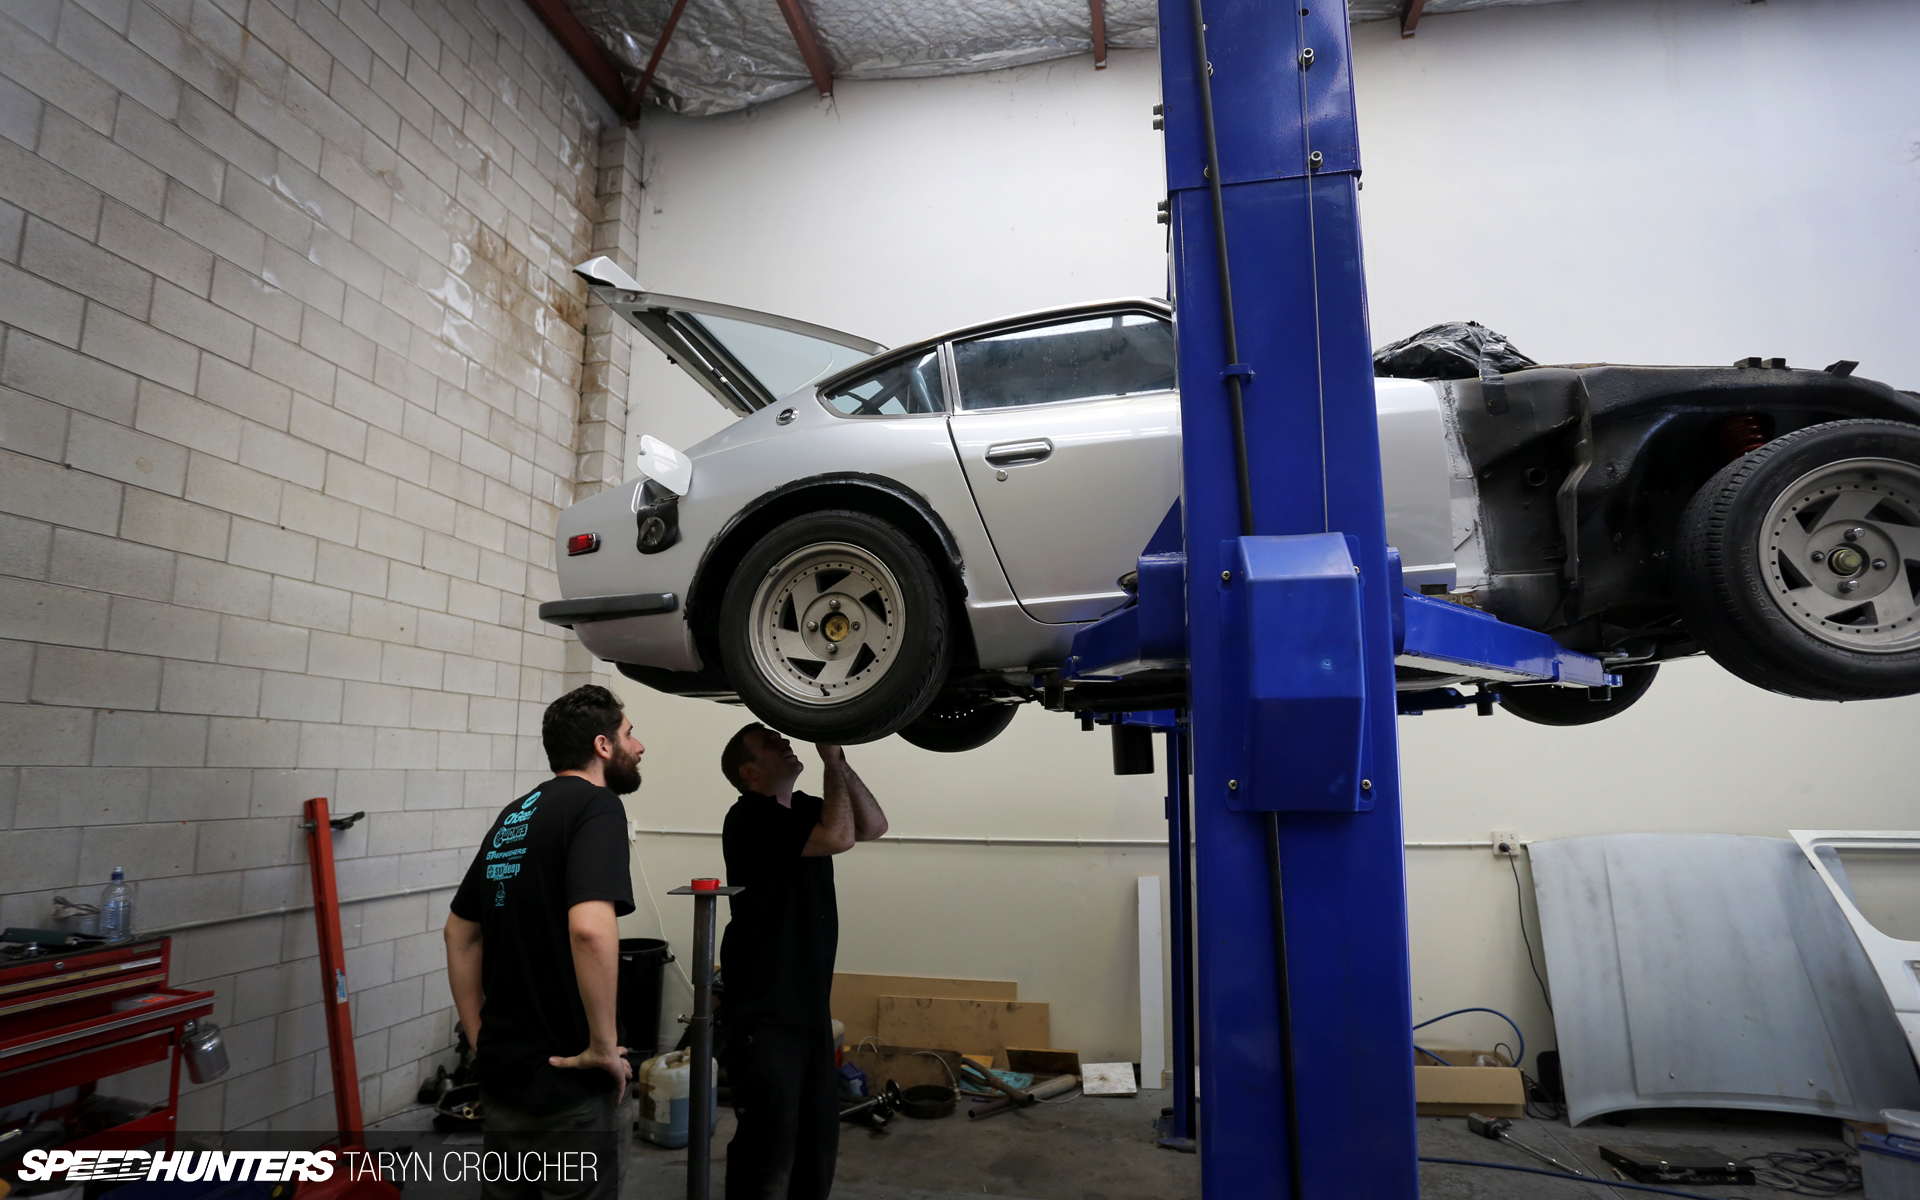
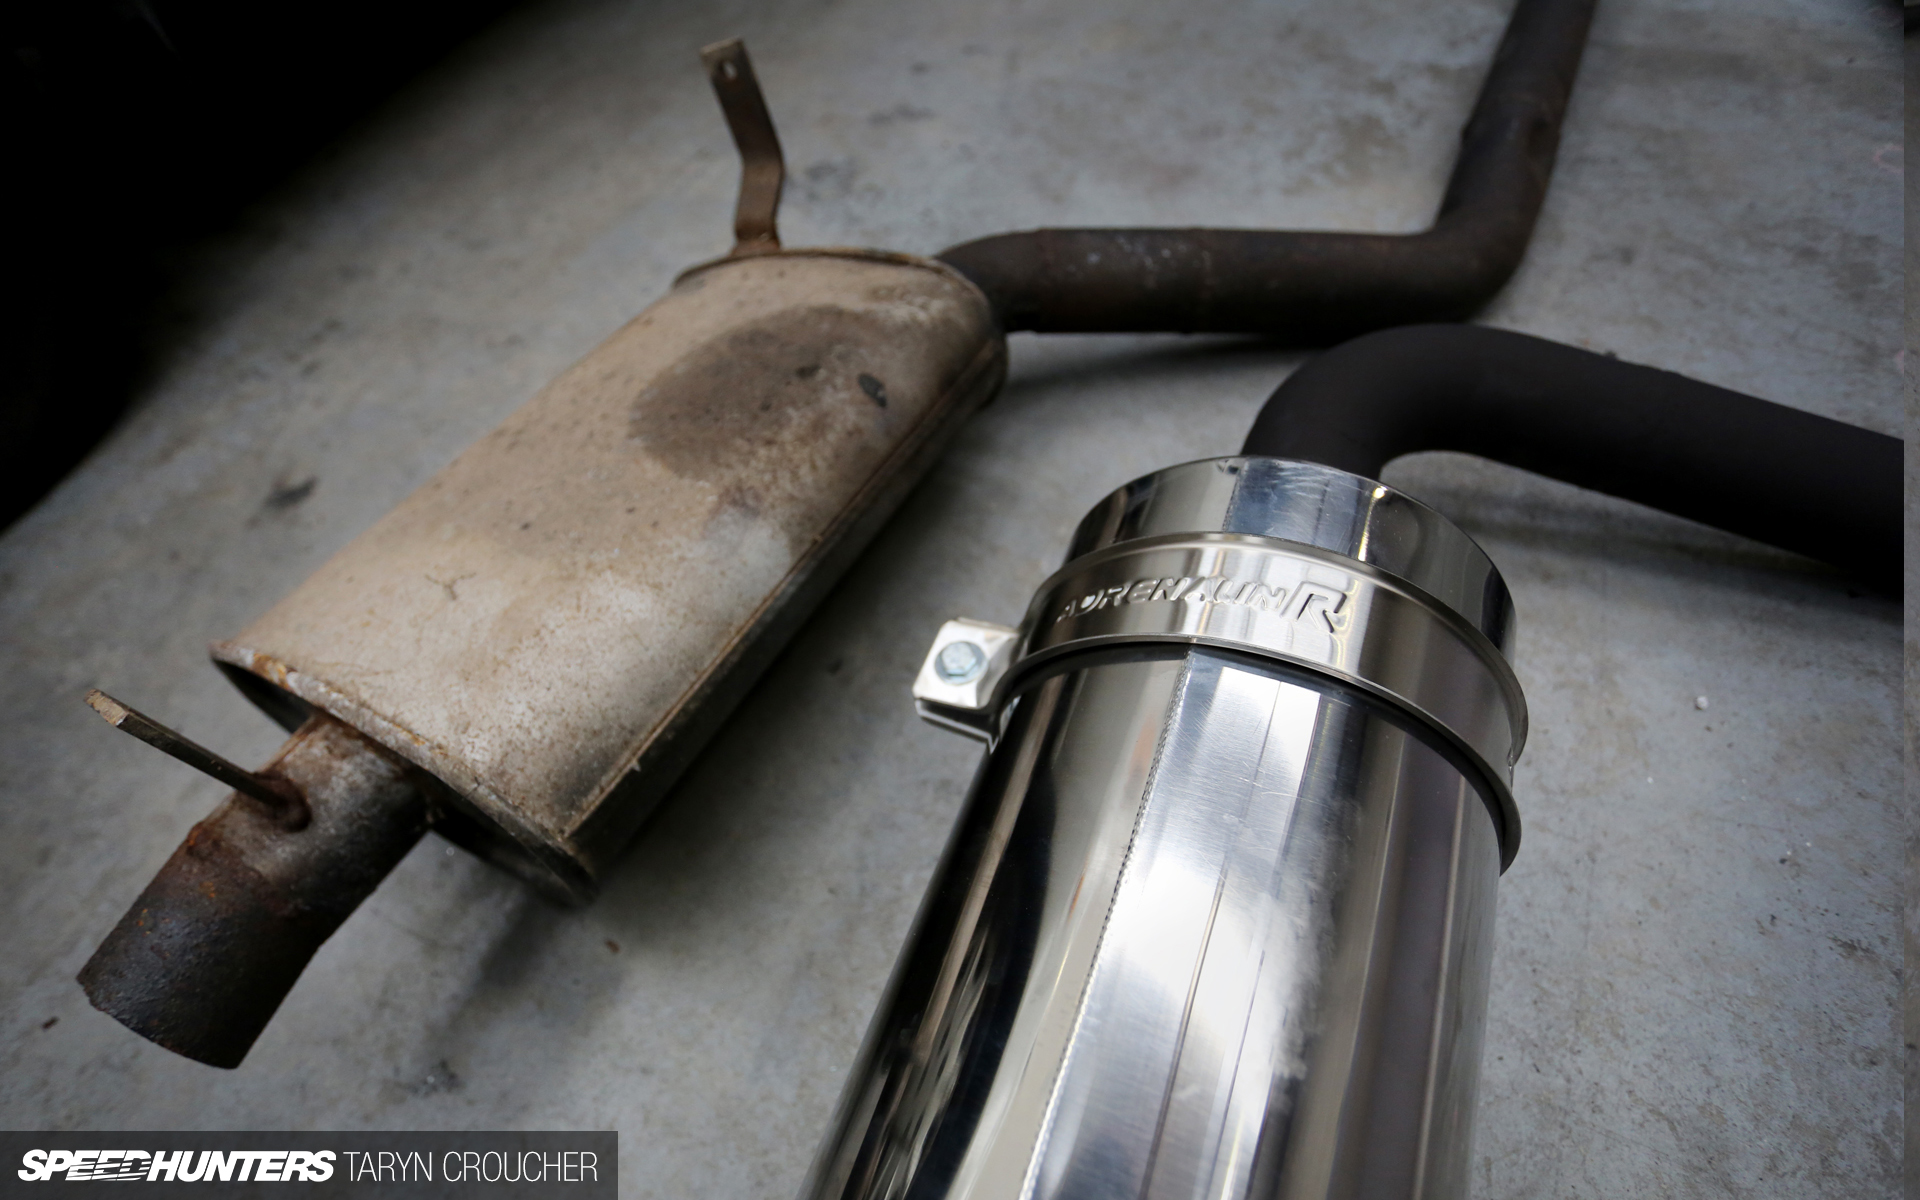
We were originally just going to use Jon’s hoist to bolt up the 2.5-inch exhaust that came with the car when we bought it, but when we pulled it out of storage to bring it down we had to laugh (and cry) at how awfully old and crappy it looked! It was battered and banged up with no mandrel bends and a completely blown out resonator and muffler, both of which wouldn’t have performed very well when they were brand new, let alone after 20 years of use.
We decided to get an all-new exhaust made up, and thanks to Jon’s handy work we now have an exhaust that fits and looks at least ten times better than the old one.
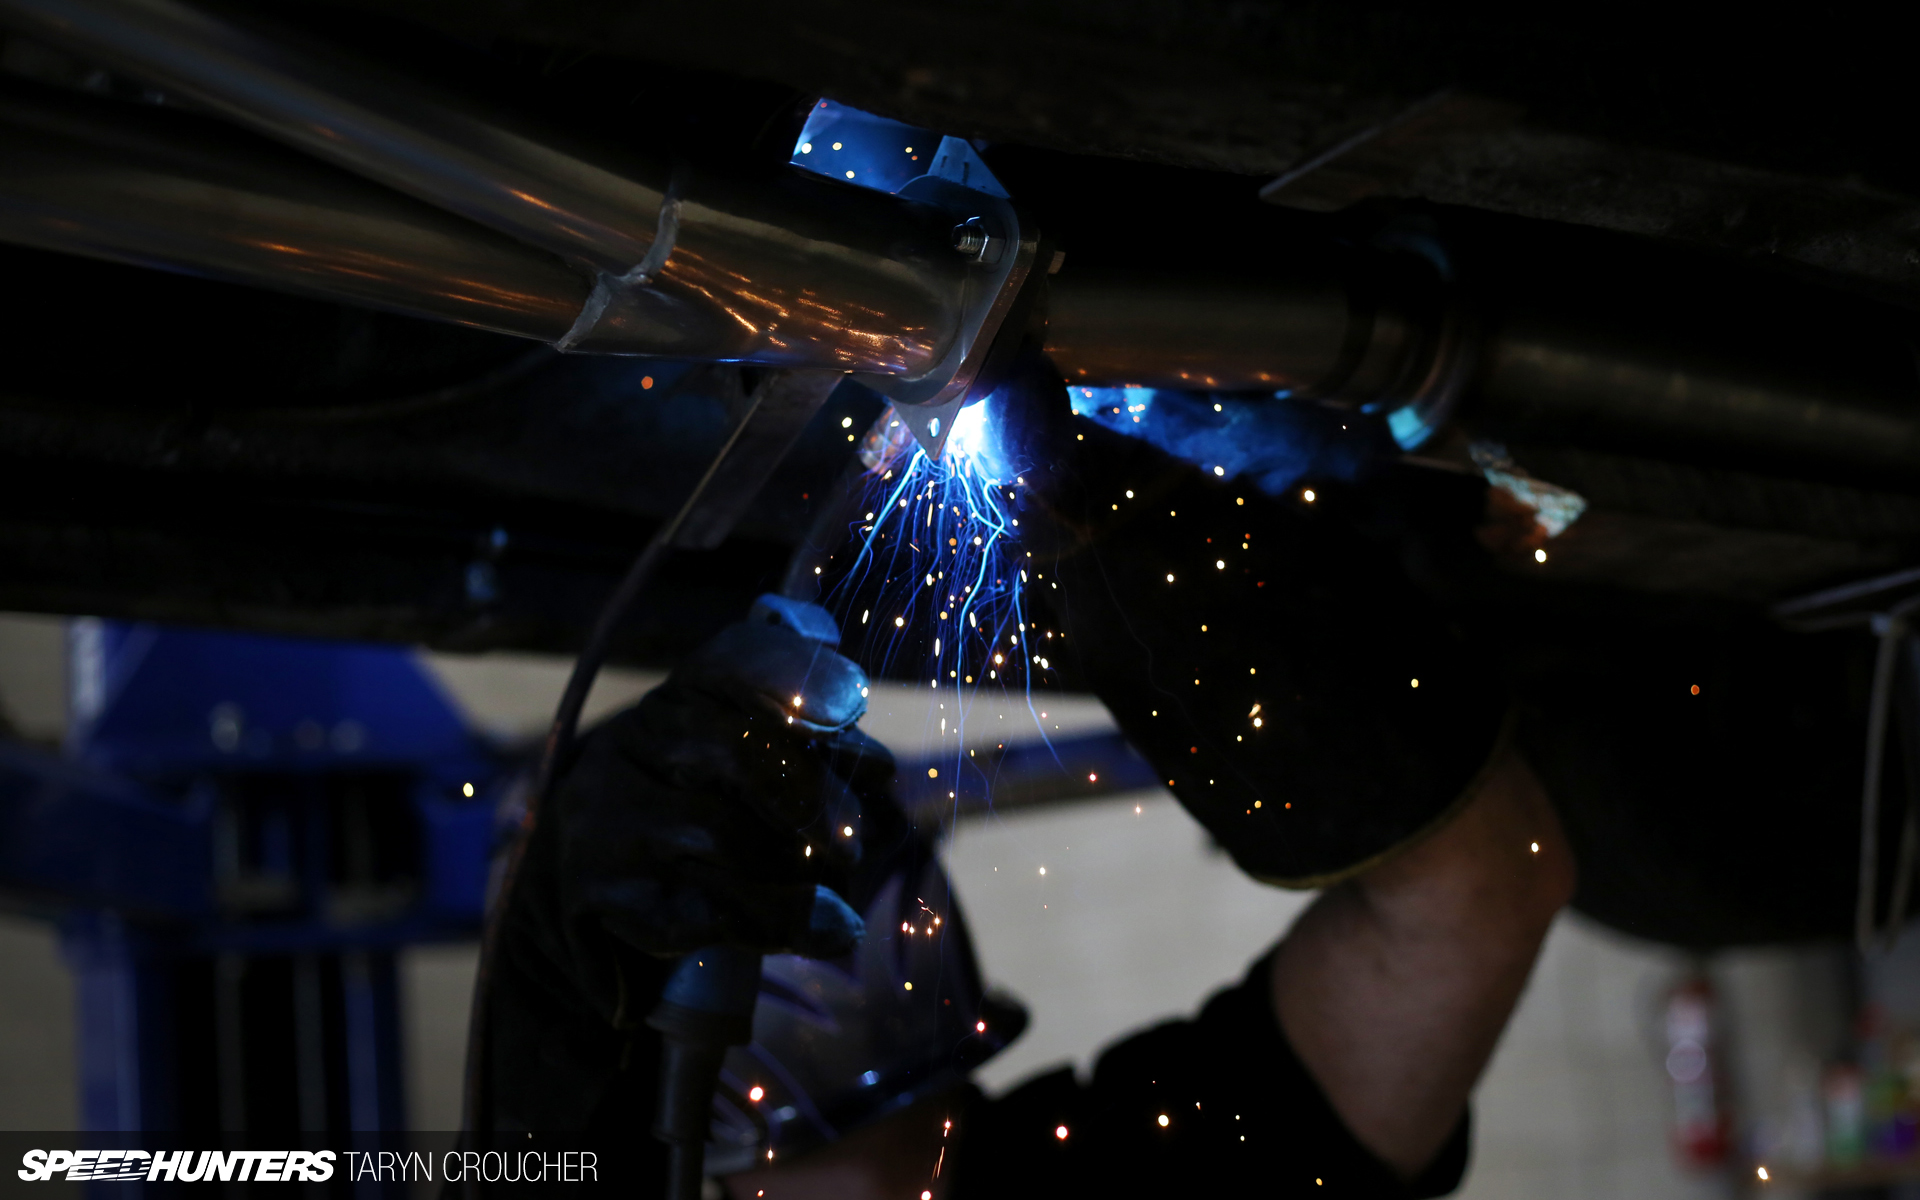
Though the costs were escalating, this would be a good thing in the long run, as it meant Jon could build us a new mandrel-bent exhaust and we could use some super high quality mufflers/resonators, which came from local NZ company AdrenalinR.
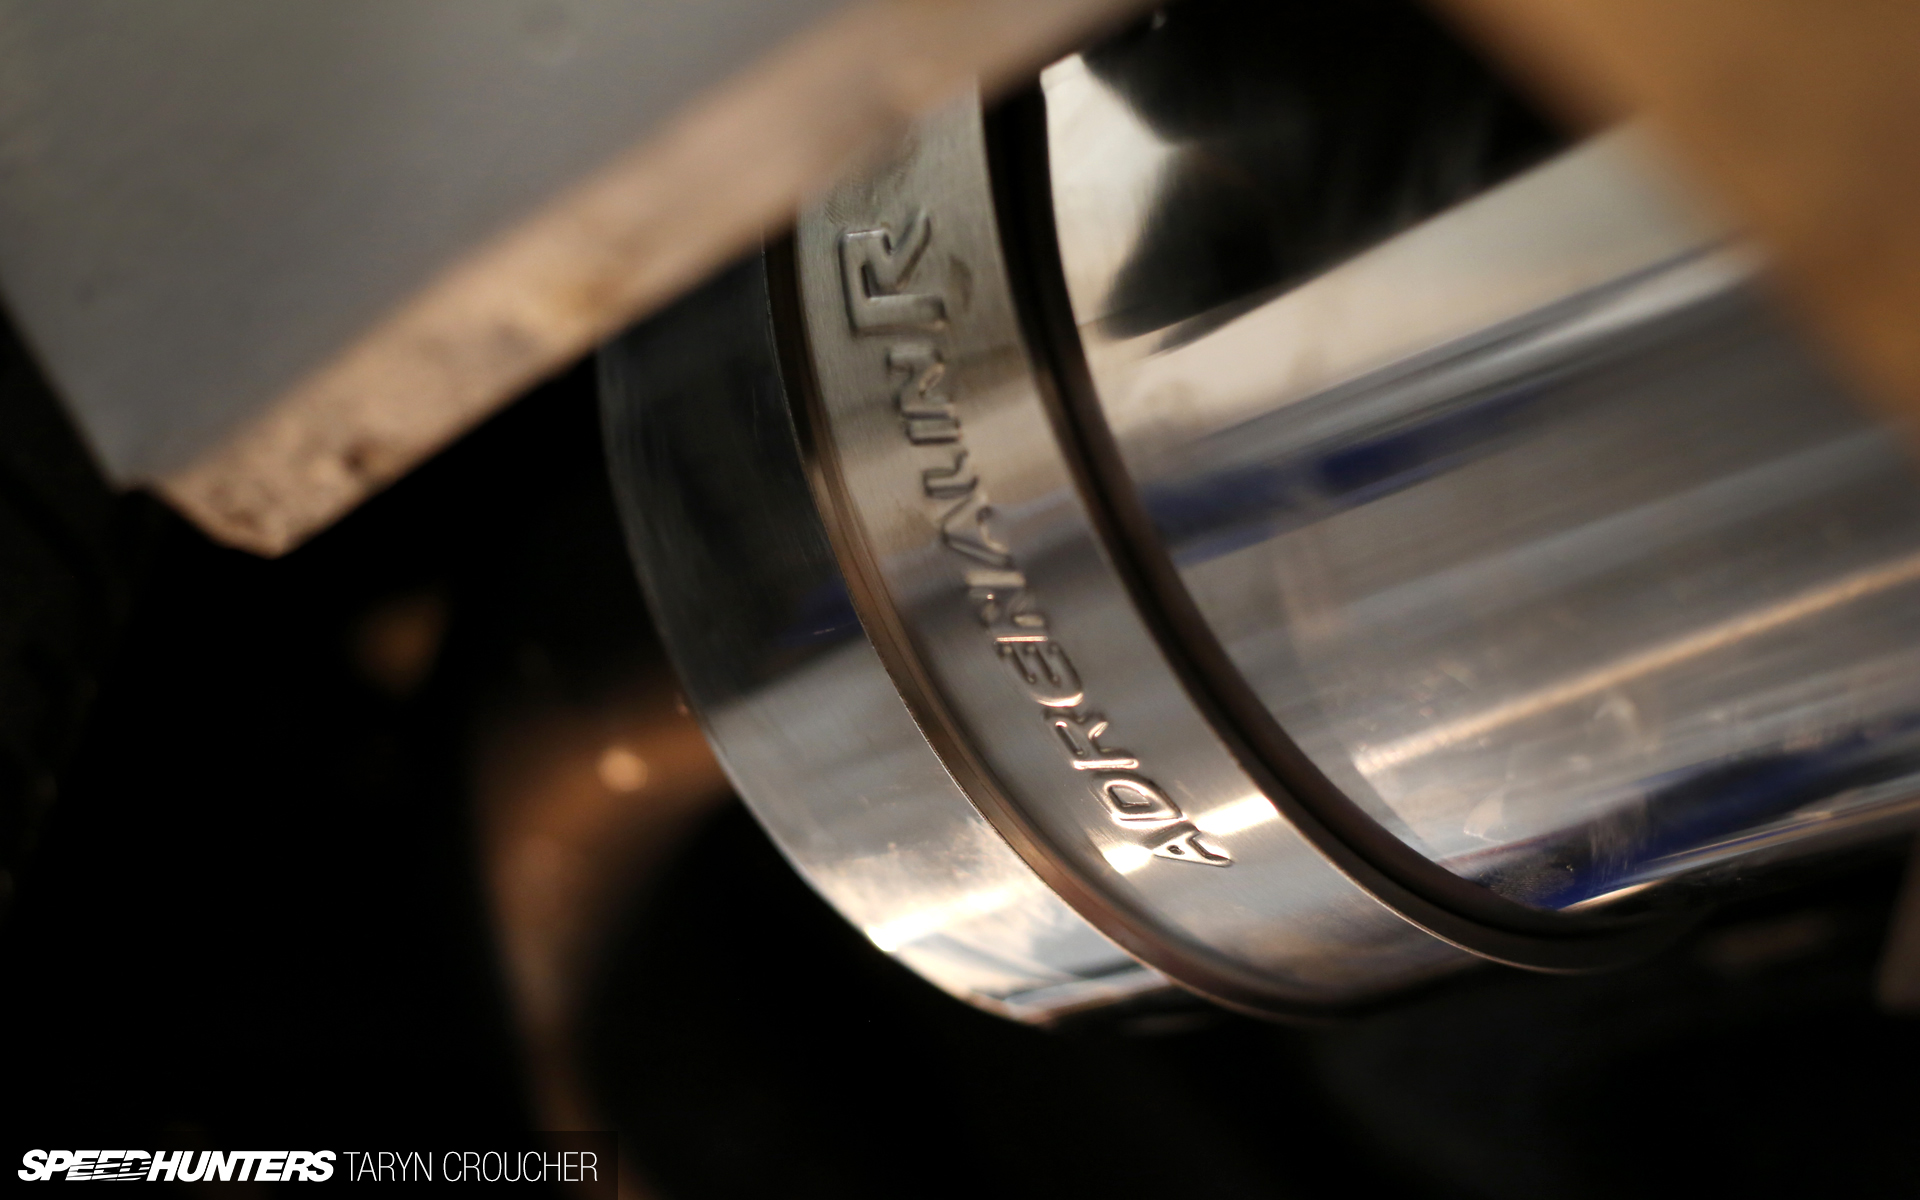
A lot of people swear by the AdrenalinR systems here, and they’re pretty well known for cutting out drone without robbing power, so we measured it all up and got on the phone.
We went with a torque chamber resonator and what was originally a twin exit muffler for that old school look.
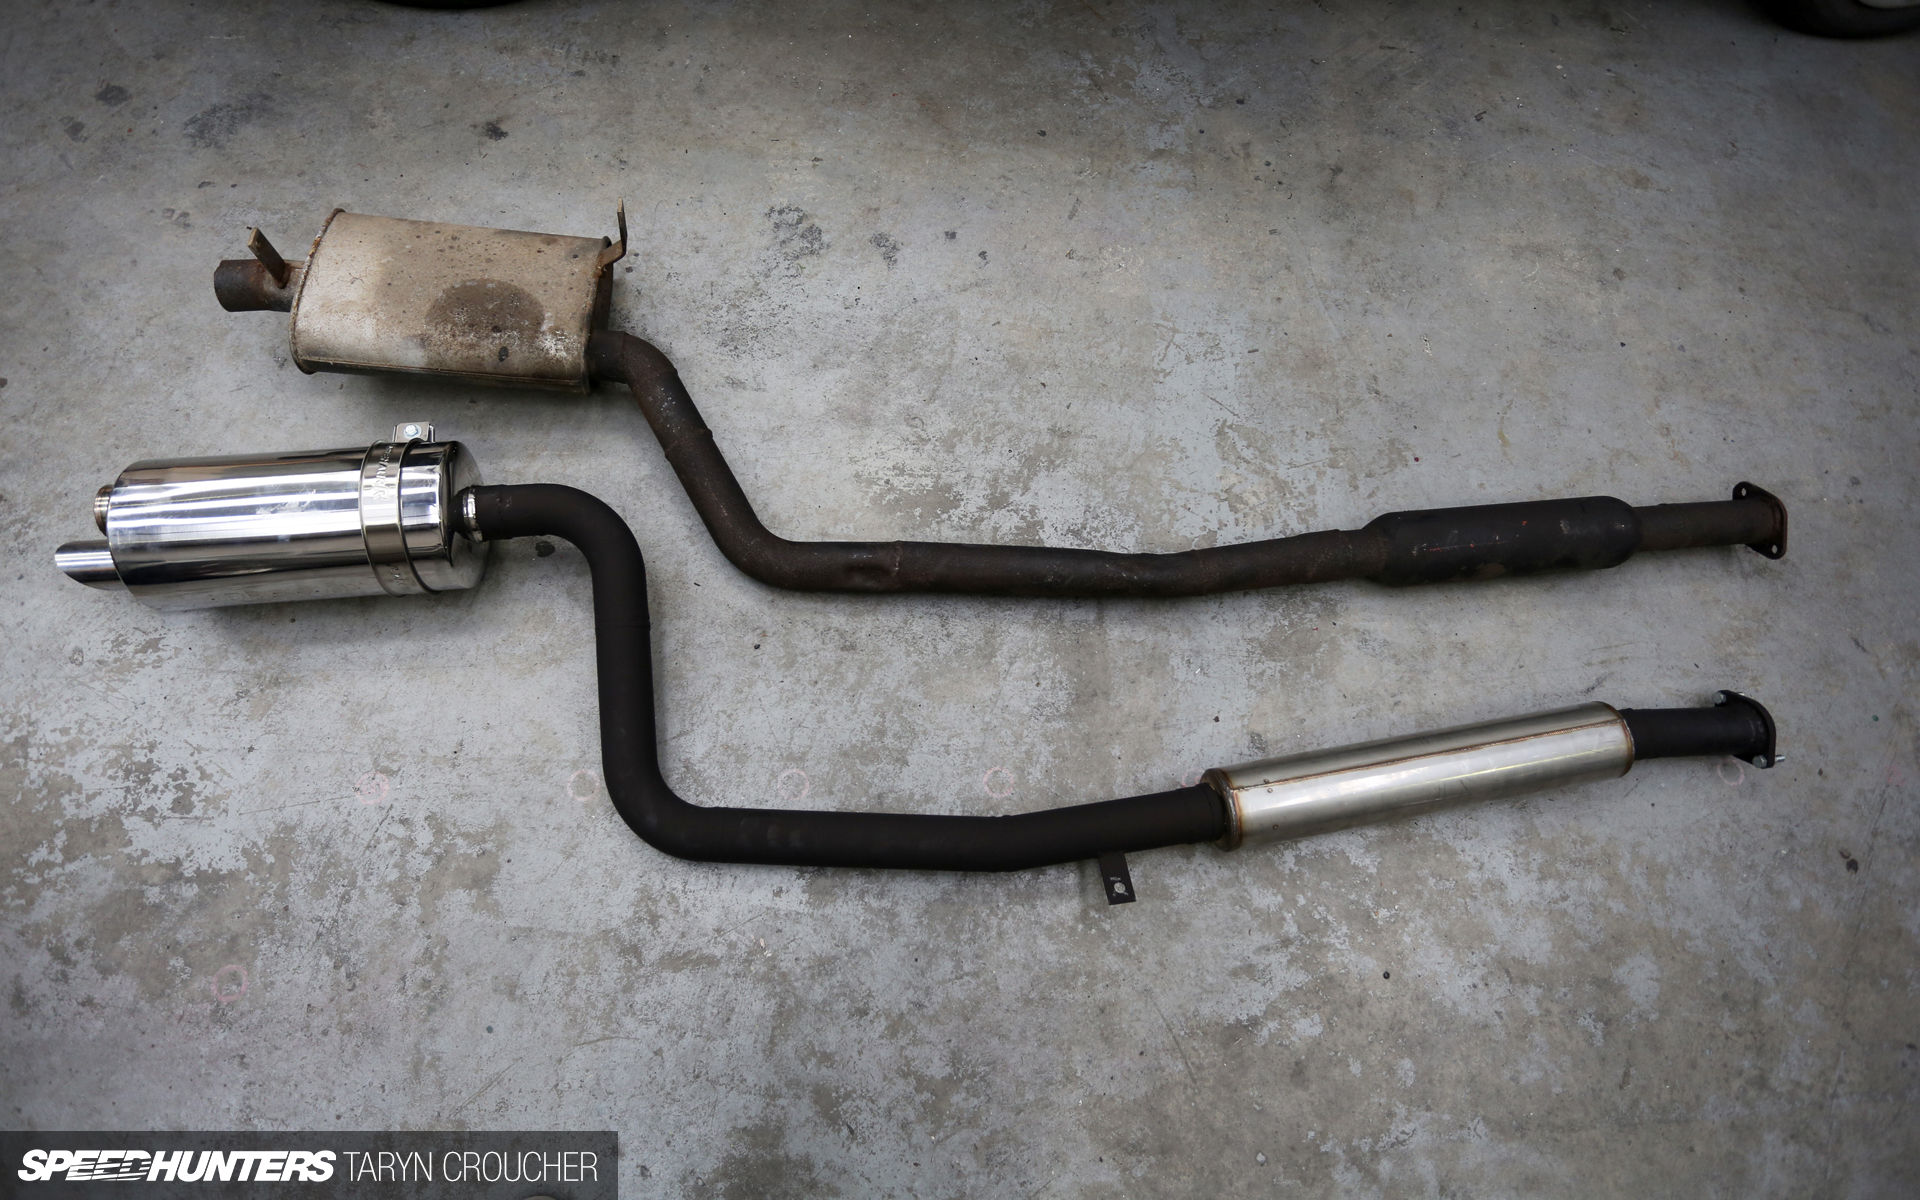
Check out the massive improvement! Anyway, this seemed like the right choice, but it didn’t quite work out as we’d originally envisioned. The muffler, when turned on its side for vertical pipes, was just too big. This was my fault as I had all the dimensions but it’s always hard to visualise something until you actually see it on the car.
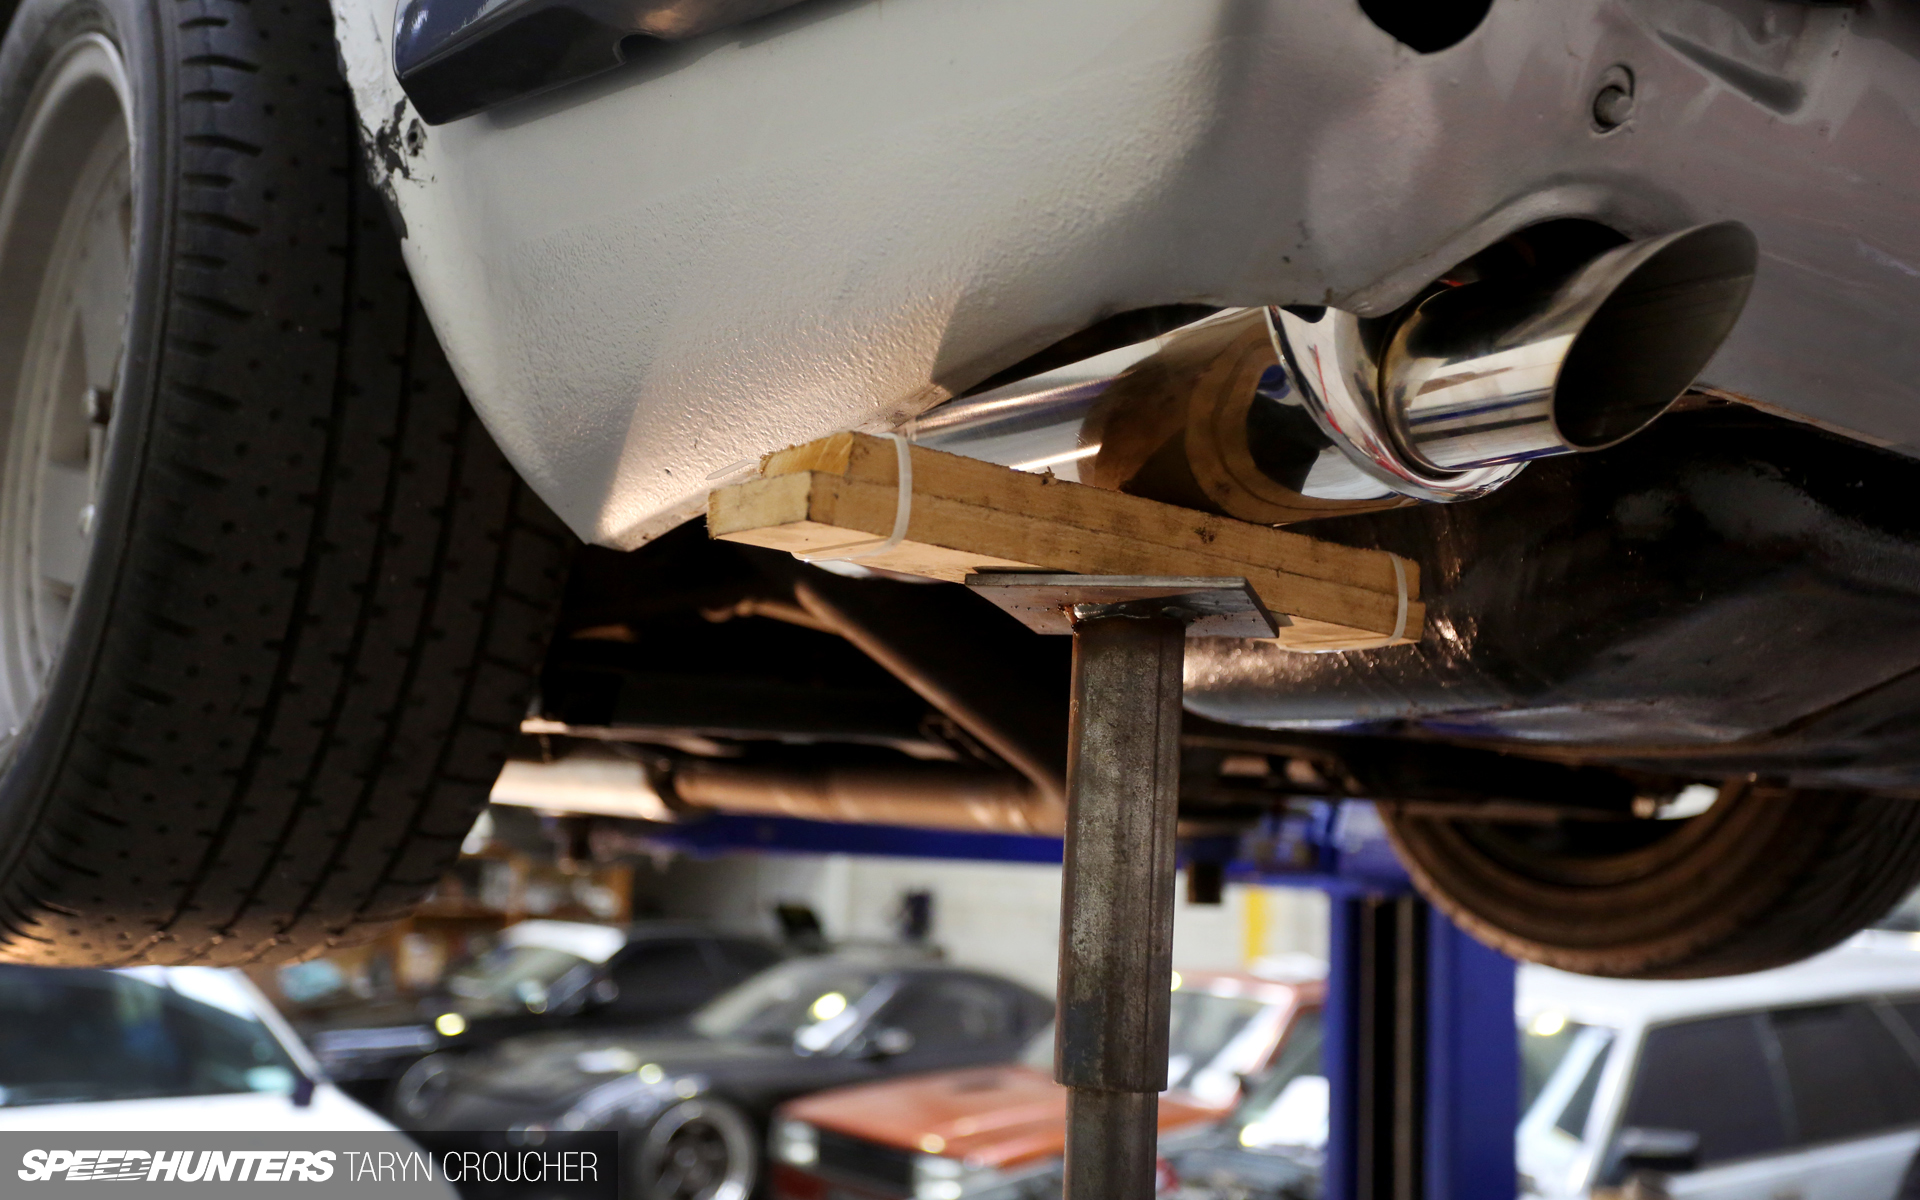
Luckily Jon was able to modify the muffler and it’s actually worked out better than we imagined, as it’s allowed it to sit super high up under the body, which is useful considering the car’s ride height – it’s also a clean look, while still not appearing too modern.
The old exhaust used to be the lowest point underneath the car, but the new system is now tucked very high up into the body, as high as possible, to keep it off the road.
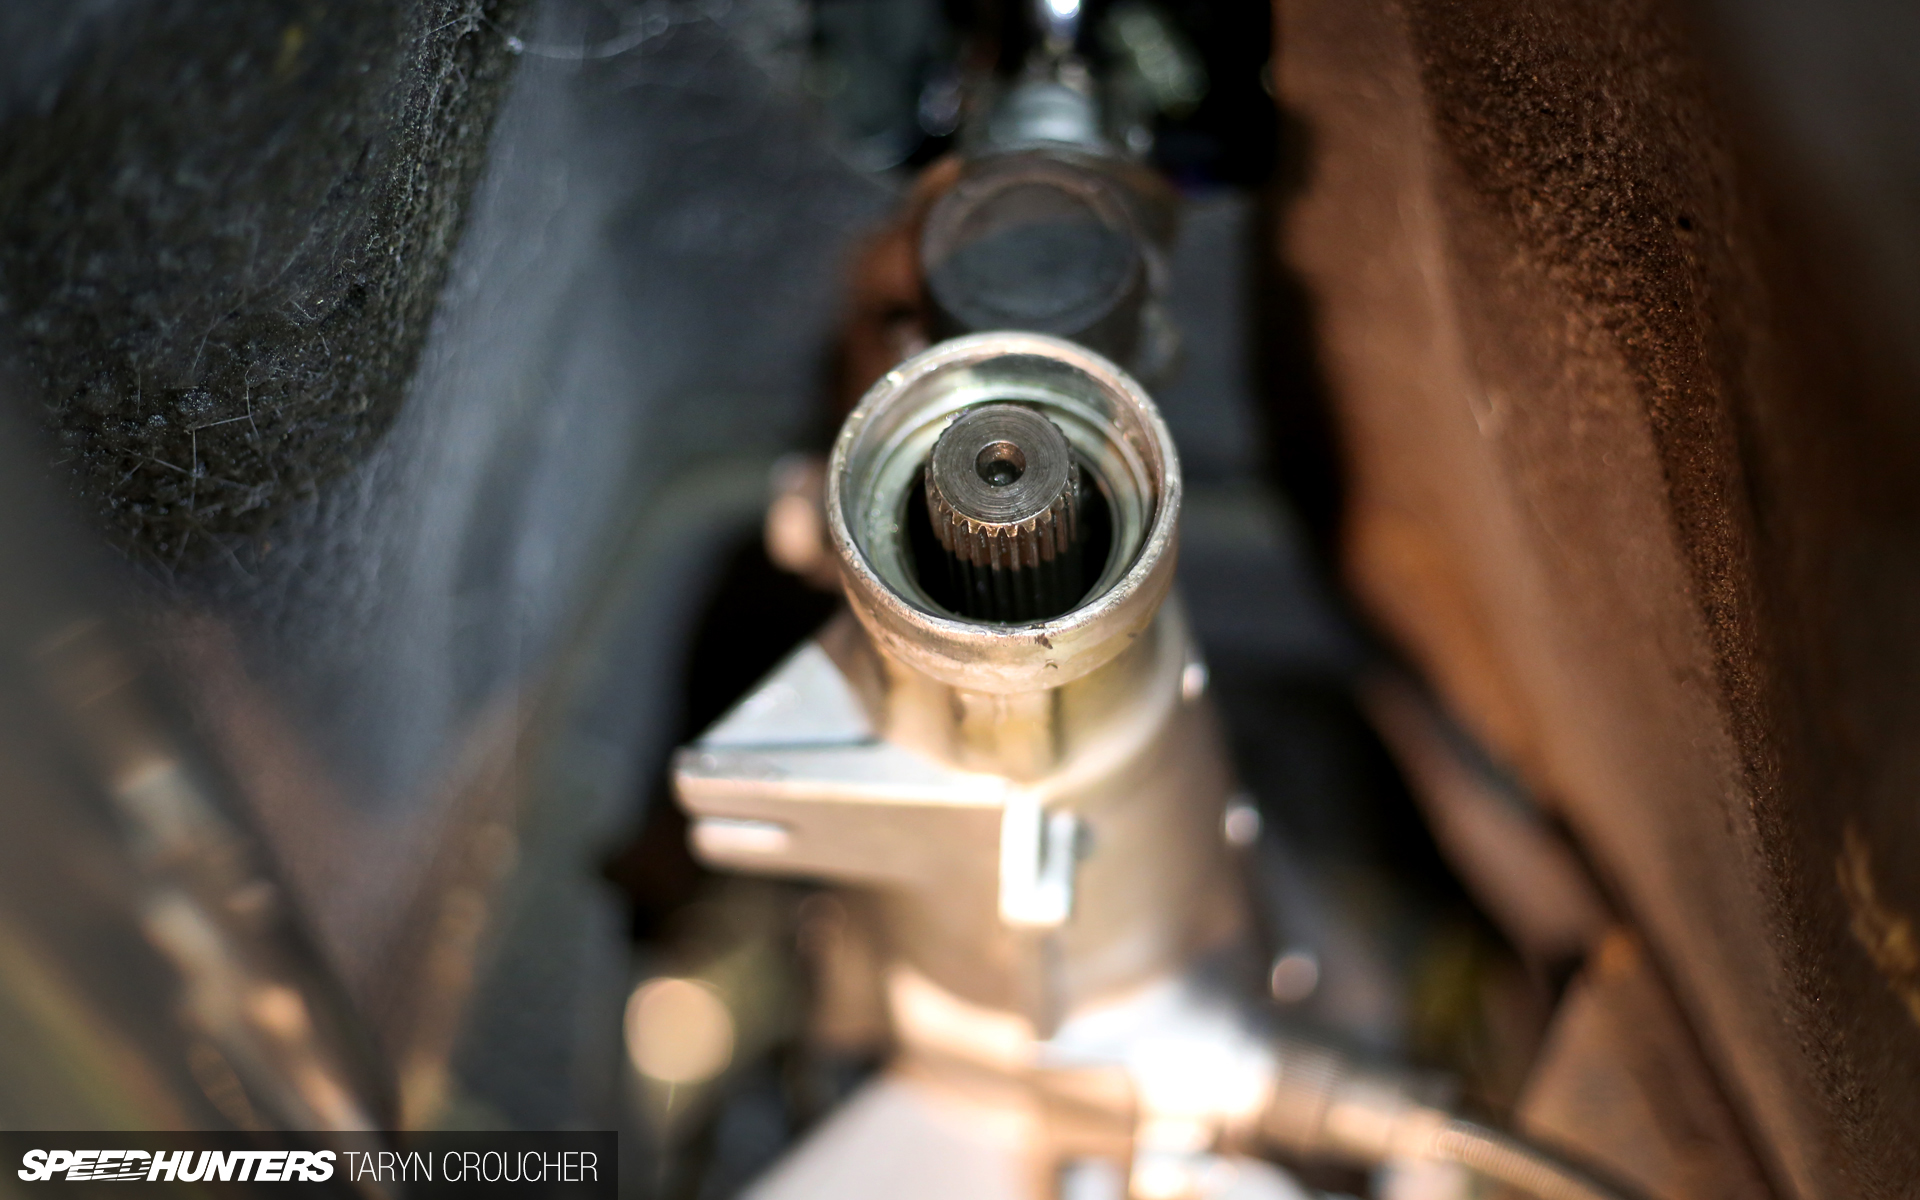
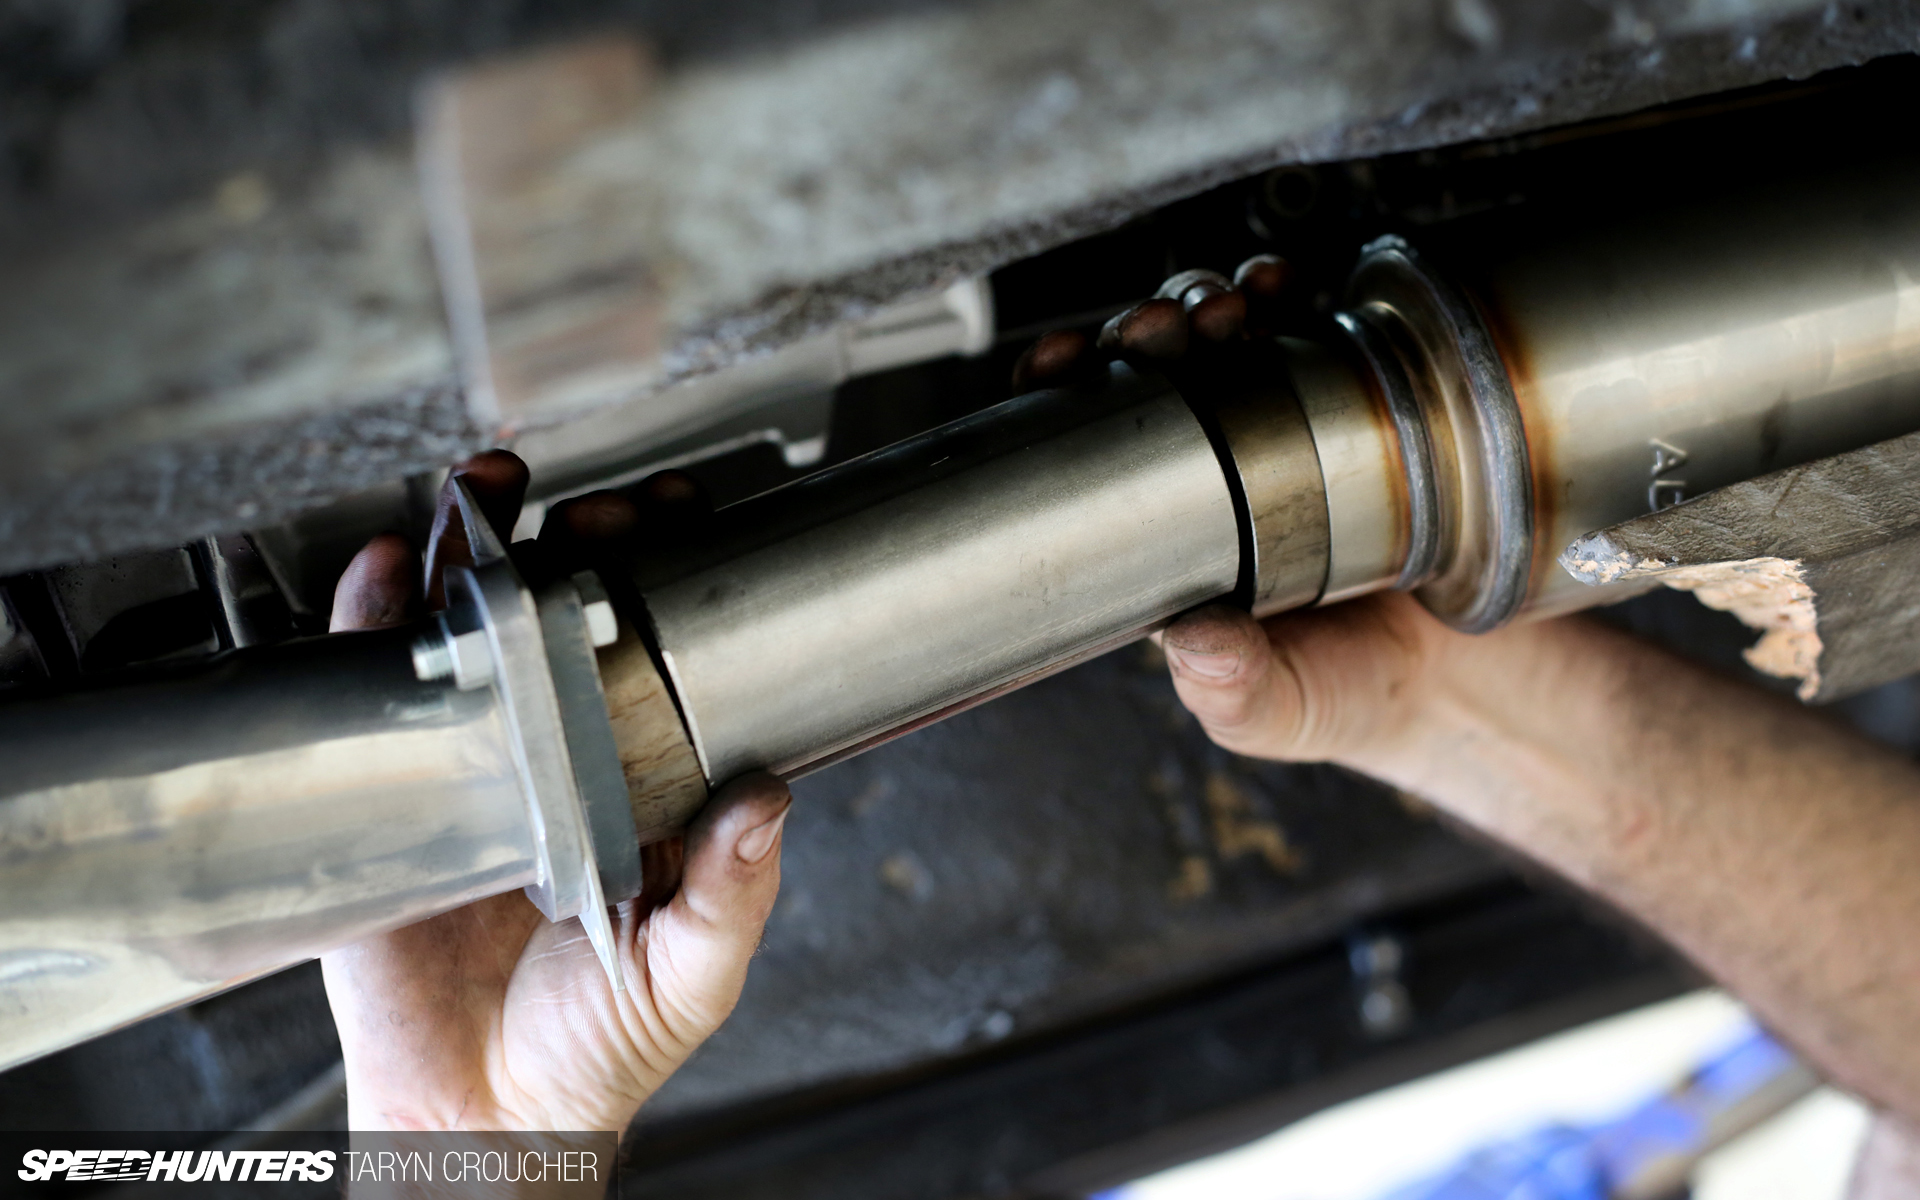
While underneath the Datsun earlier in the month, we had noticed that the rear seal on the five-speed B-Type box was looking pretty rugged, so we decided to change it whilst the car was on the hoist. That’s the problem when you’re working on cars that have been messed with for the last three decades – there’s just so much that can go wrong! The box had obviously been dropped on its end at some point, and it had bent the tail, which was no longer round. Though the seal surface seemed okay, getting the new seal past the bent part was a no go and we ended up ruining a new seal before realising how out of shape it was. Some slightly questionable tactics were employed that we agreed to never speak of again, but it was eventually returned to its original shape.
With the official to-do list growing smaller by the week, the light at the end of the tunnel is finally starting to seem like it’s within reach. Next up, we just need to sort out a new throttle cable set-up to replace the old linkages, and then the full rewire can commence. It all sounds pretty easy doesn’t it – but I guess we’ll see about that. I’m certainly glad that I won’t have to look at the Z in this sad and very nude-looking state for much longer. If all goes to plan, by next month I might not only have a car that actually looks like a 280Z, but sounds like one too.
Perhaps I should look into recording some video footage to share that #JoyOfMachine moment when the straight-six comes back to life once again?
OFFICIAL SPEEDHUNTERS SUPPLIERS


Video footage YES PLEASE!!
Nice this made my day much better after getting dumped! I can't wait to see a video and hear that L motor. 12:34 am.
could I get the cover photo in desktop form? I think I found a new background...
"Some slightly questionable tactics were employed that we agreed to never
speak of again, but it was eventually returned to its original shape."
In short: they hit it with a hammer.
Not a plastic one either...
me gusta!
Did you sell the SU carbs? im looking for some
Looking good! (please eat some proper food)
TysonFloris Click on presentation mode (Icon on the left below the article title) and you should be able to save it from there.
Looking good Taryn!! Hey just a question, i'm painting my rocker cover soon too and was wondering how / who you got to do you crinkle black? Big fan of the look but don't want it looking sub par
ToyotaSupraMan Let's be honest, anybody who has restored any car or worked on one ever has done this.
aussieANON ToyotaSupraMan I have a tool I call 'The Persuader' for these types of moments.
WillBullock aussieANON ToyotaSupraMan I refer to it as the use of brute force and ignorance. Gets the job done.
There's nothing quite like the moment when you use a big fuckoff hammer and it actually works.
And if it breaks, you needed a new one anyway.
That engine looks phenomenal!
beautiful. you have done great job guys, i wish you many many lucky years with this car!
Nice work, L series engines do look great.
Damn that motor and bay is looking quite lovely! Good work Taryn! Keep it up!
Some form of an inline 6 with carbs / velocity stacks is something I want to experience one day.... seems like such a cool setup.
I'm gettin real sick of you guys! Its not enough that you all have the best job in the world, and you get to rub it in our face all day. But NOW you have a Z that looks 6.5 times better than mine!
Good job on the z. I'm jealous.
Taryn - what oil cap are you using? Is it anodized black aluminum, or black plastic?
Awesome build! I am slowly stripping my 78' 260Z down for a full restoration. If its anything like yours when finished I will be over the moon! Removed the engine and box last night so its just running gear before I can take it for blasting. I cant decide weather to keep faithful to the L series or put in something a little more modern!
You should do this motor http://www.rebelloracing.com/nissan1.htm
The L series sounds too good to get rid of!
Yes!! Video footage please.. ;D
s2k_adz sounds awesome! Goodluck
peter_brueckner It's a black anodized buddy club cap
nickmmele sorry
@Kevin Truong thanks Kevin!
majys thank-you!
JonathanShephard We originally had done it at home but it was a bit patchy/uneven looking, so we took it into our local paint guy. It's really hard to get it looking perfect
lol nice!
ConnorAnderson sorry they have already been sold
Que perfecto te esta quedando! eres increible
Hello I am a Chinese who want to see a different world wants to make friends
You may want to change the fuel line running between your firewall and engine to black braided line. In the unfortunate event that you should ever get into an accident, that line could be easily severed by the engine and start a fire by spraying onto the header.
Other than that it looks great. I can't wait to start on my 240z and get it looking good.
A few things.
1. Are you sure that a rubber hose with p claps is legal here in NZ? Well for the whole length and under the car with no protection - you should at least cap it to stop sharp objects from cutting/puncture the hose.
2. As this car was a 280z with efi then the factory hard lines were 8mm x 2 one feed and one return + there might have been one 6mm for the carbon can. A single 8mm line is more than enough to feed a mild L28 with triple 40mm mikuni carbs. Hell if you wanted more just use two as feed lines.
Combat mode Hello!